Home>Technology>Smart Home Devices>How To Send A Fax On A Brother Printer
Smart Home Devices
How To Send A Fax On A Brother Printer
Modified: January 9, 2024
Learn how to easily send a fax using your Brother printer, a convenient feature for smart home devices. Follow our step-by-step guide for seamless faxing.
(Many of the links in this article redirect to a specific reviewed product. Your purchase of these products through affiliate links helps to generate commission for Storables.com, at no extra cost. Learn more)
Introduction
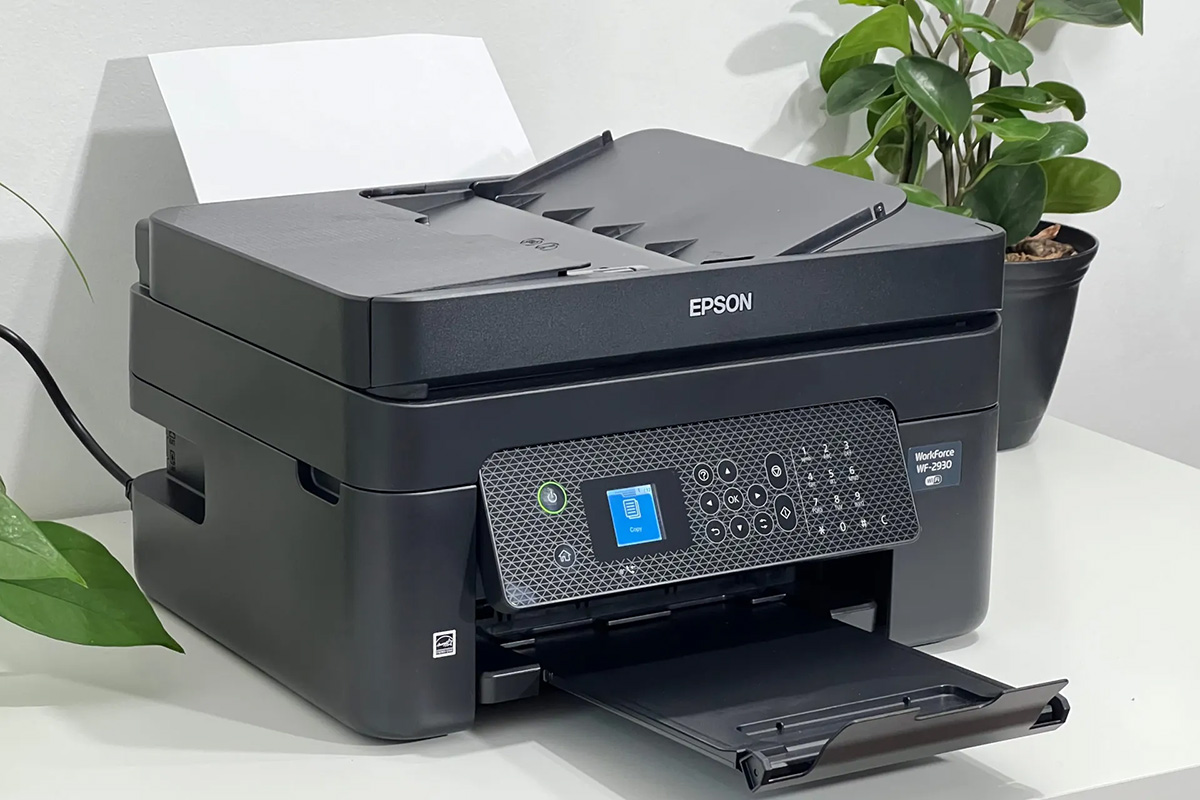
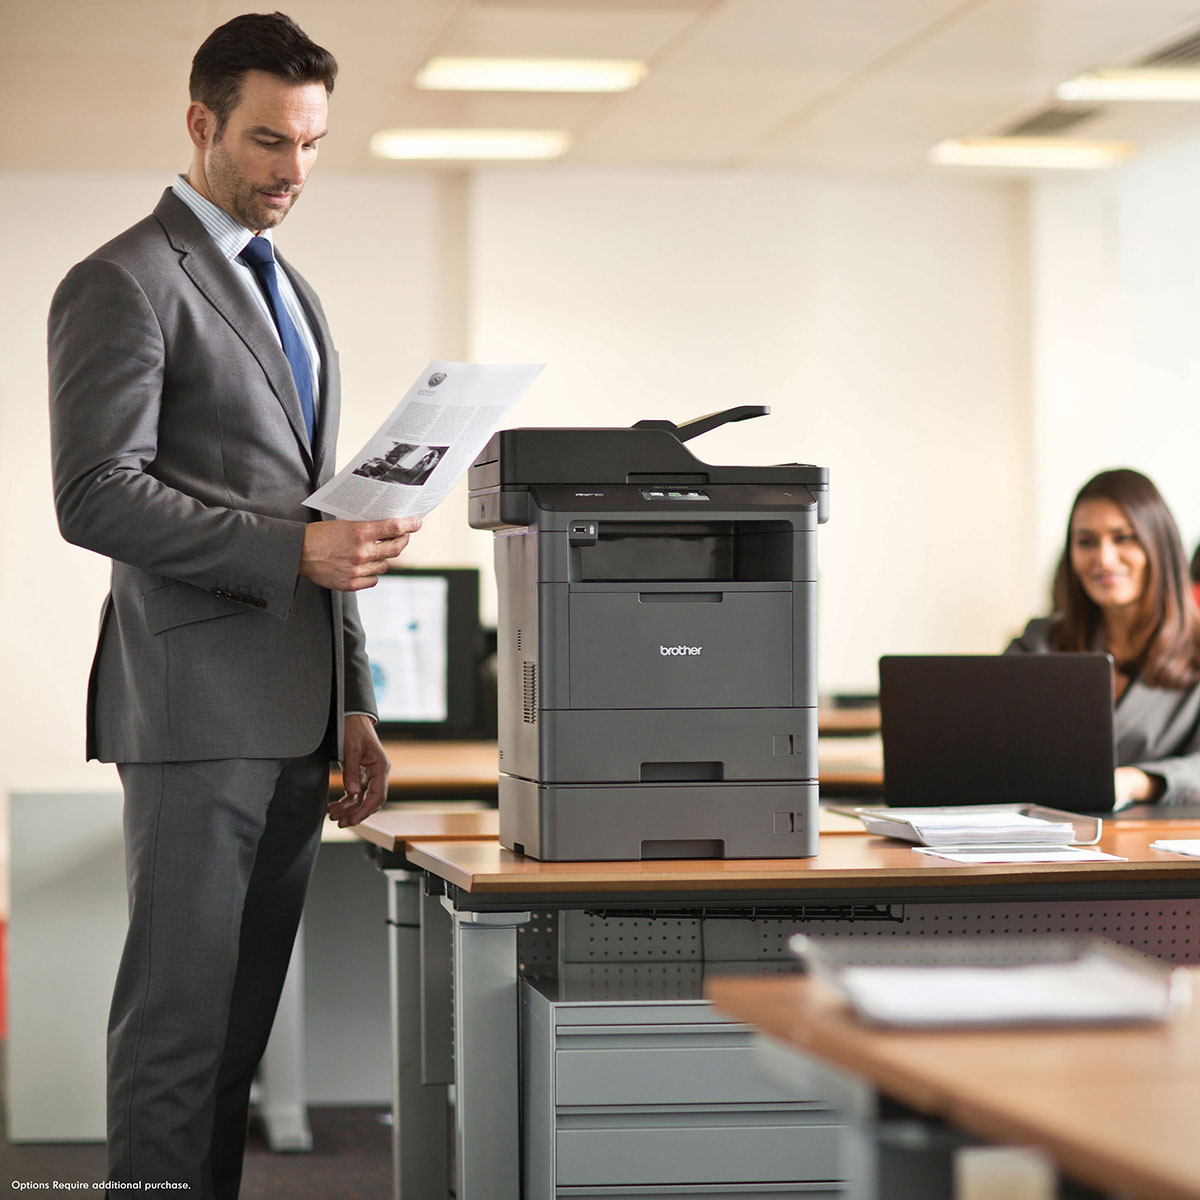
Welcome to the world of Brother printers, where modern technology meets the traditional practice of sending faxes. While the digital age has transformed the way we communicate, faxing remains a crucial method for transmitting documents securely and reliably. Brother printers, equipped with advanced faxing capabilities, offer a seamless and efficient way to send faxes directly from your home or office.
In this comprehensive guide, we will walk you through the process of sending a fax on a Brother printer, providing step-by-step instructions to ensure that your fax reaches its destination successfully. Whether you are a seasoned professional or a newcomer to the world of fax machines, this article will equip you with the knowledge and confidence to utilize your Brother printer’s faxing functionality with ease.
Let’s embark on this fax-sending journey, where we will unravel the intricacies of setting up and sending a fax using your Brother printer, empowering you to harness the full potential of this versatile device.
Key Takeaways:
- Sending a fax on a Brother printer is easy! Just set up the fax, load your document, enter the recipient’s fax number, and hit send. Your Brother printer handles the rest for seamless and reliable fax transmissions.
- Brother printers make faxing a breeze. With simple setup, accurate document loading, and easy recipient input, you can confidently send faxes with modern technology and traditional reliability.
Read more: How To Fax On Brother Printer
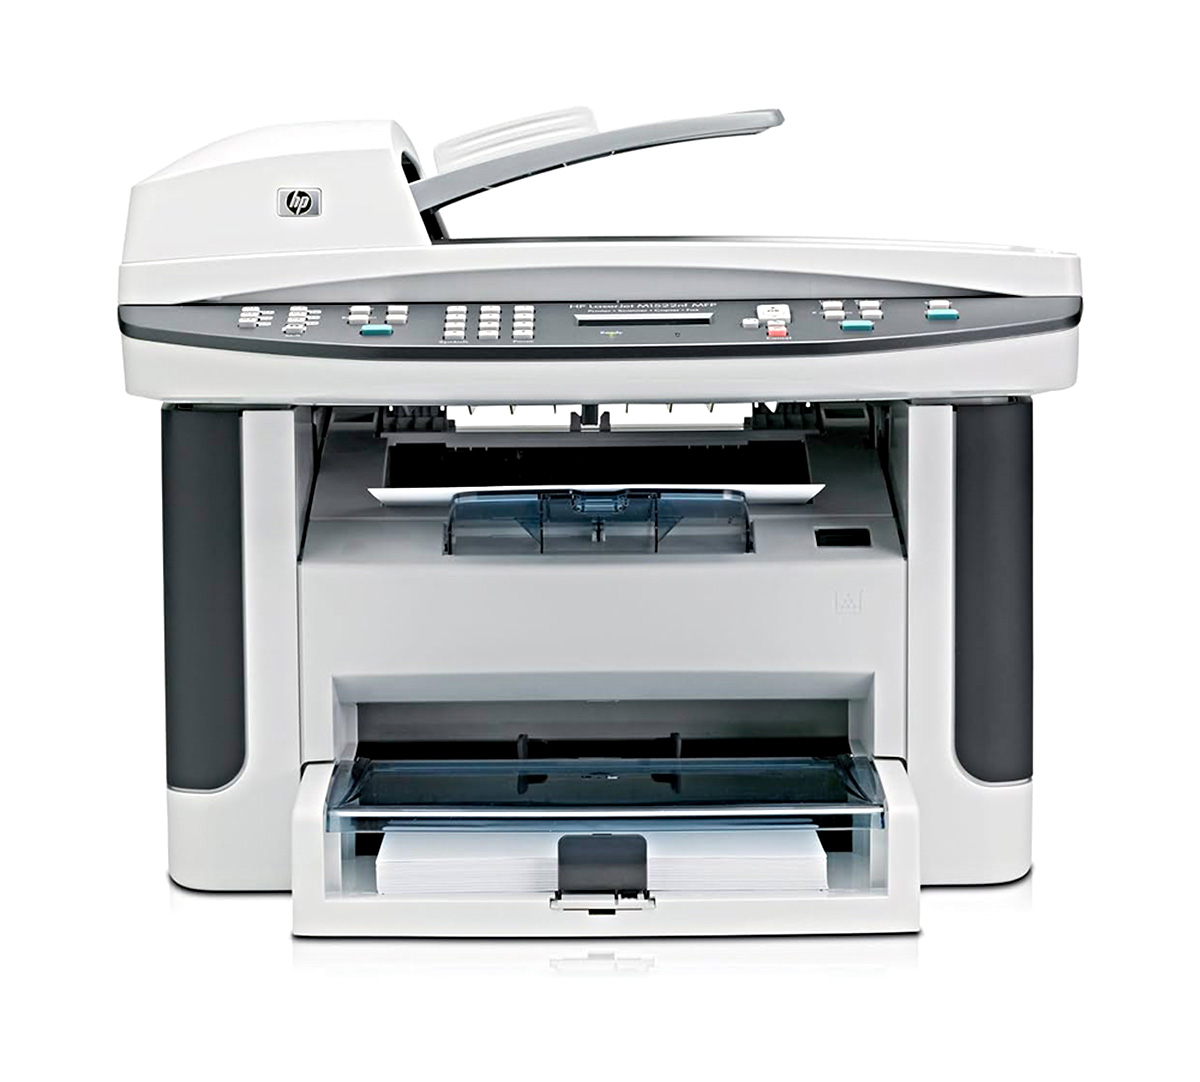
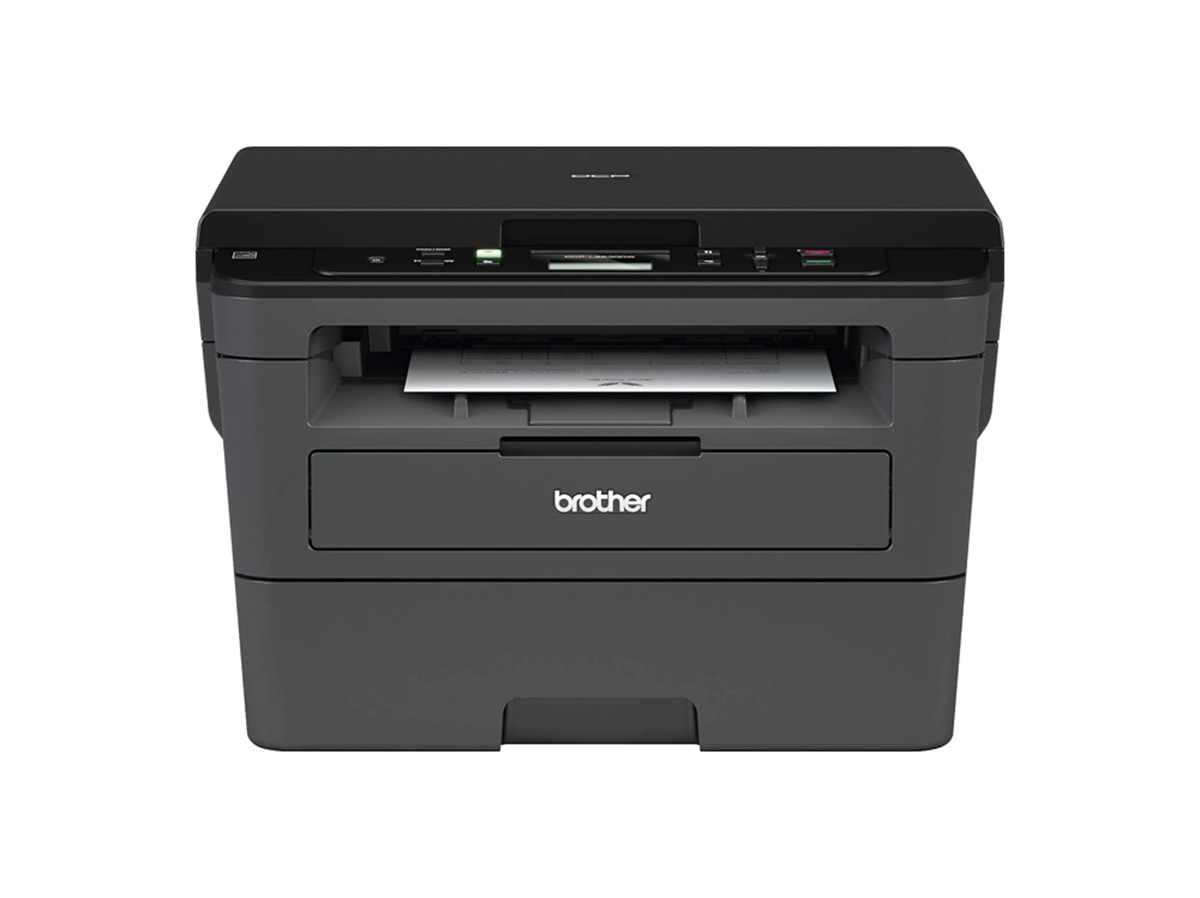
Step 1: Check Fax Capability
Before diving into the process of sending a fax, it’s essential to verify that your Brother printer is equipped with faxing capabilities. Most modern Brother printers come with multifunctional features, including printing, scanning, copying, and faxing. To confirm whether your specific model supports faxing, refer to the printer’s user manual or specifications provided by the manufacturer.
Alternatively, you can check the control panel or display screen of the printer for any dedicated fax-related buttons or menu options. If your printer is designed to send and receive faxes, it will typically have a designated section in the menu for fax settings and configurations.
Additionally, ensure that your Brother printer is connected to a working telephone line or a Voice Over Internet Protocol (VoIP) service that supports fax transmissions. Without a proper connection, the fax functionality of the printer may be limited or disabled.
By confirming the faxing capabilities of your Brother printer and establishing a reliable communication link, you can proceed with confidence to the next steps of setting up and sending a fax, knowing that your device is fully equipped to handle the task at hand.
Step 2: Set Up Fax
Setting up the fax functionality on your Brother printer is a crucial step that ensures seamless transmission of your documents. To begin, locate the fax setup menu on the printer’s control panel or interface. This menu typically contains options for configuring essential fax settings, such as the fax header, transmission settings, and speed dial entries.
Start by entering your personal or company information, known as the fax header, into the printer’s settings. The fax header typically includes details such as your name, fax number, and any additional information you wish to appear at the top of the transmitted faxes. This step personalizes your fax transmissions and provides recipients with essential identification details.
Next, review and adjust the transmission settings to align with your specific faxing needs. These settings may include the fax resolution, contrast, and transmission speed. Selecting the appropriate resolution ensures that the transmitted documents maintain clarity and legibility, while adjusting the contrast can optimize the quality of the received faxes. Additionally, configuring the transmission speed allows you to prioritize either speed or quality, depending on the nature of your faxed documents.
Furthermore, consider adding frequently used fax numbers to the speed dial list. This feature streamlines the process of sending faxes to frequently contacted recipients, eliminating the need to manually enter their fax numbers for each transmission. By setting up speed dial entries, you can expedite the faxing process and improve overall efficiency.
Once you have customized the fax settings to suit your preferences, your Brother printer will be primed and ready to handle the faxing tasks ahead. This proactive setup ensures that your fax transmissions are tailored to your specific requirements, enhancing the overall faxing experience and optimizing the quality of your sent documents.
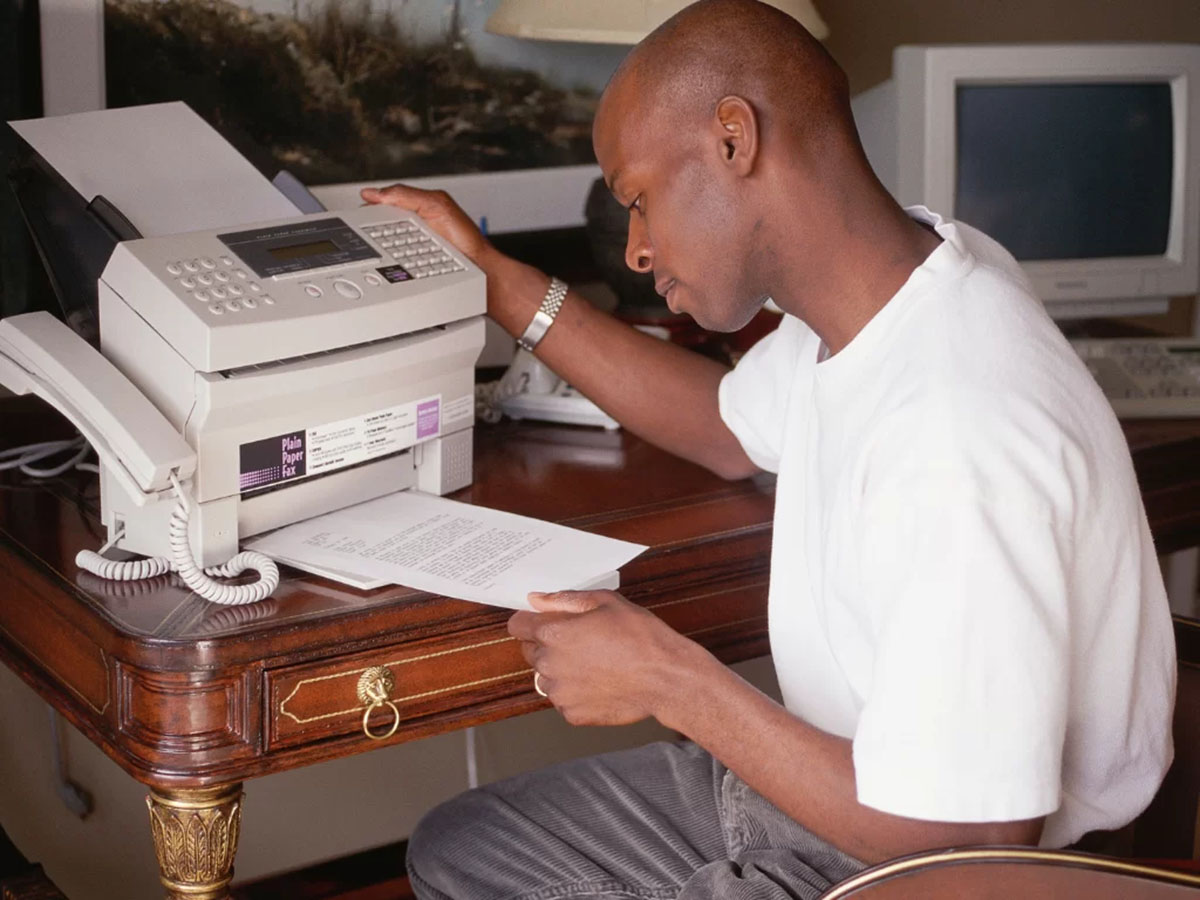
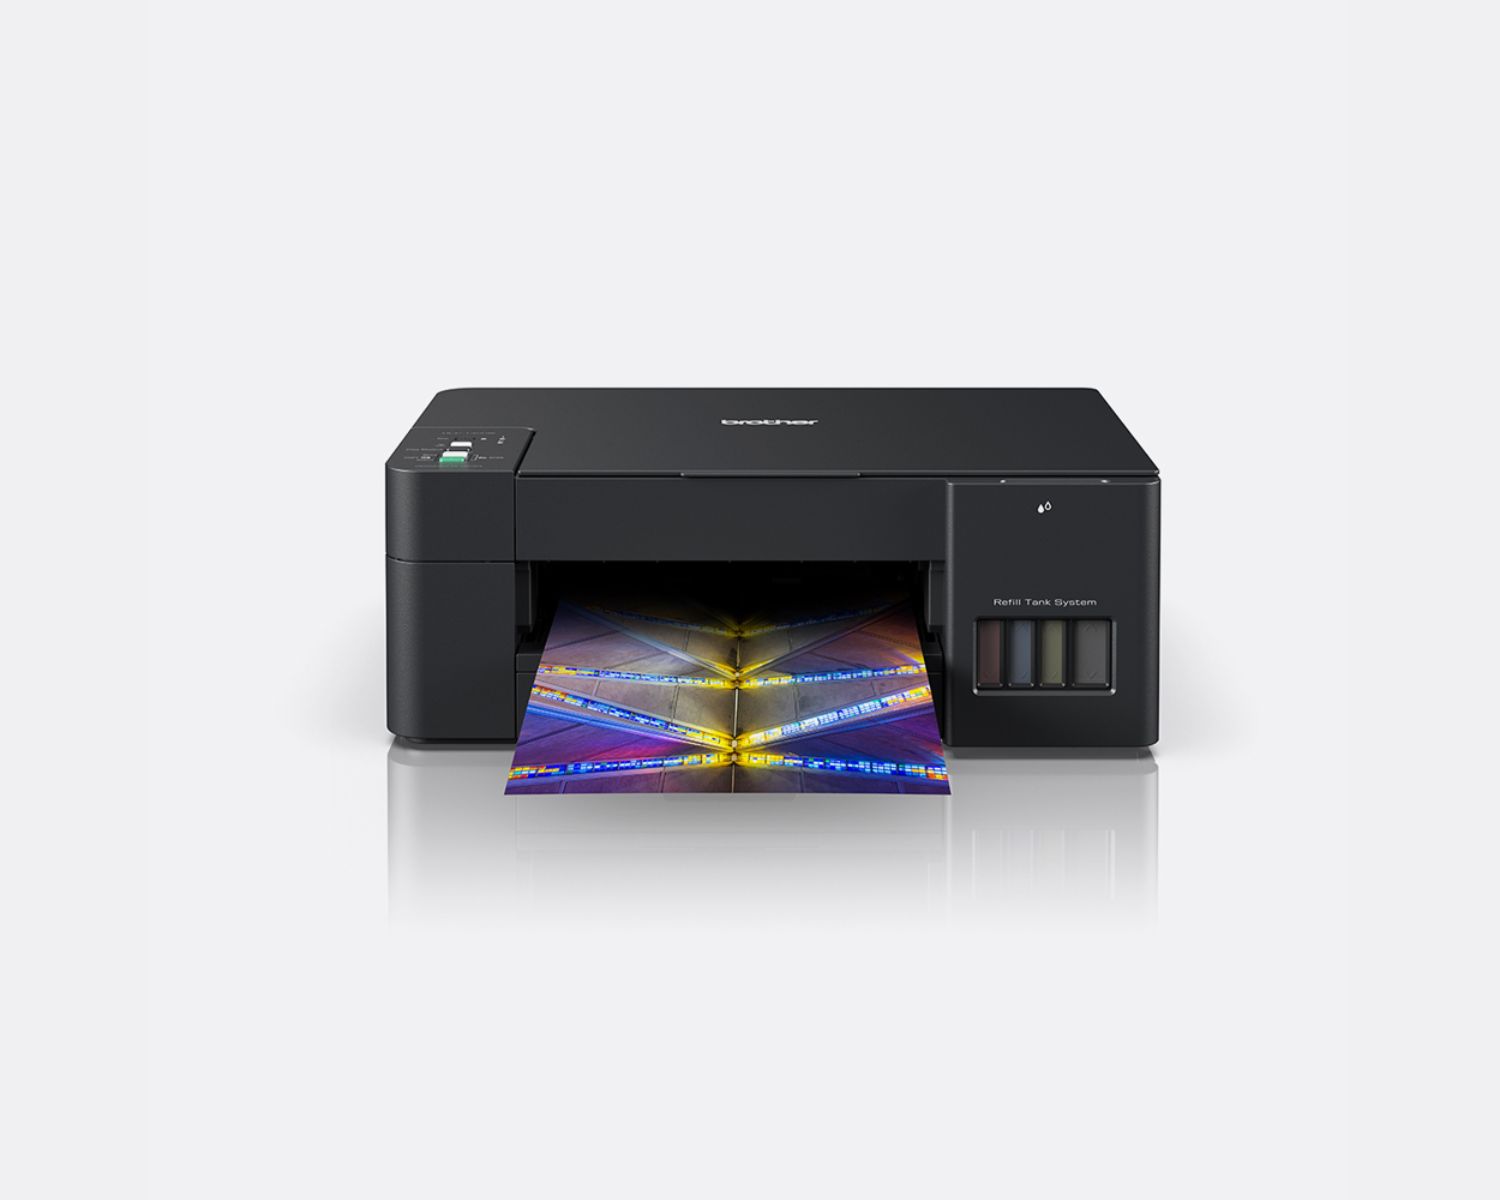
Step 3: Load the Document
With the fax functionality configured and ready for use, the next step involves preparing the document you intend to fax. Whether it’s a contract, a report, or a handwritten letter, ensuring that the document is properly loaded and positioned in the printer is essential for a successful fax transmission.
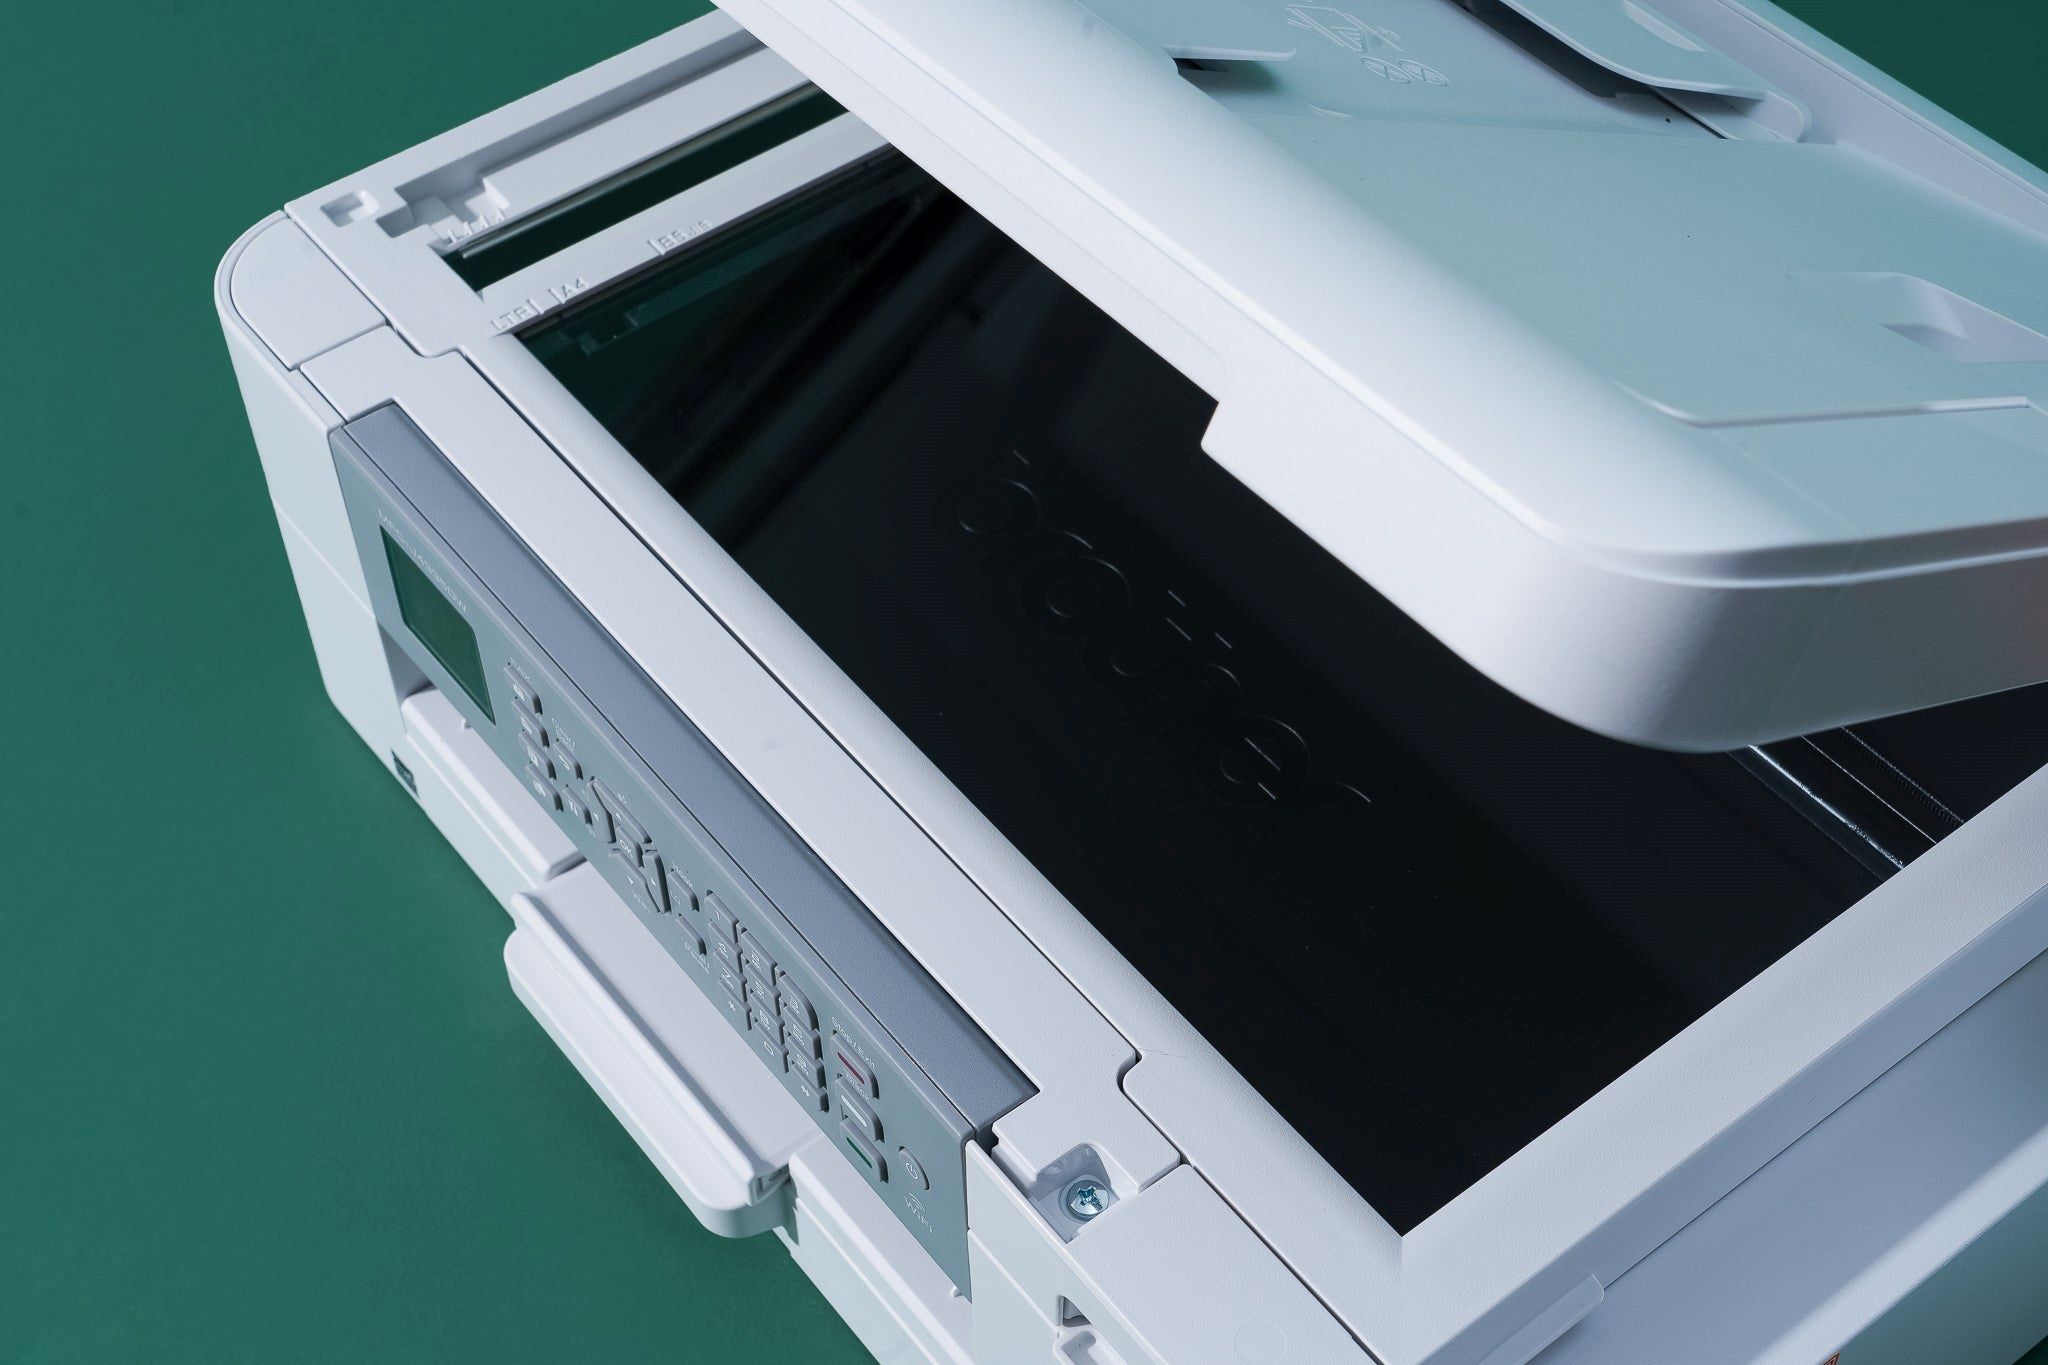
Begin by placing the document face down on the Brother printer’s document glass or into the automatic document feeder (ADF), depending on the model of your printer. The document glass is ideal for single-page or delicate documents, allowing for precise positioning and scanning, while the ADF is suitable for multi-page documents, as it can automatically feed and scan multiple pages in succession.
Align the document neatly within the designated area, ensuring that it is free from folds, creases, or tears that could affect the scanning and transmission process. Proper alignment and positioning of the document contribute to the clarity and legibility of the transmitted fax, minimizing the risk of errors or misinterpretations on the recipient’s end.
If the document contains multiple pages, arrange them in the desired order before loading them into the ADF, if applicable. This step streamlines the scanning process and ensures that the pages are transmitted in the correct sequence, preserving the document’s integrity and coherence at the recipient’s end.
By meticulously loading the document into your Brother printer, you set the stage for a smooth and accurate fax transmission, laying the foundation for the successful conveyance of your important documents to their intended recipients.
Make sure your Brother printer is connected to a phone line. Load the document you want to fax into the feeder. Dial the recipient’s fax number using the printer’s keypad. Press the “Start” or “Send” button to send the fax.
Step 4: Enter Recipient’s Fax Number
Once your document is loaded and ready for transmission, it’s time to input the recipient’s fax number into your Brother printer. This crucial step ensures that your fax reaches the intended destination accurately and efficiently.
Access the printer’s fax interface or menu, where you will find the option to enter the recipient’s fax number. Depending on the model of your Brother printer, this process may involve using the numeric keypad on the control panel to input the fax number directly or selecting a recipient from the speed dial list if you have previously saved their fax number for quick access.
When entering the fax number manually, double-check the digits to ensure accuracy, as even a single incorrect digit can result in the fax being sent to the wrong recipient or failing to reach its intended destination. If the recipient’s fax number includes an external dialing prefix, such as a country or area code, be sure to include it to facilitate the successful transmission of your fax across different geographical locations.
For added convenience, some Brother printers allow you to store frequently used fax numbers in the address book, enabling you to select recipients from a preconfigured list. This feature simplifies the process of entering fax numbers for regular correspondents and minimizes the likelihood of errors during manual input.
By accurately inputting the recipient’s fax number into your Brother printer, you pave the way for a seamless and reliable transmission, ensuring that your document reaches its intended destination without any unnecessary delays or complications.
Read more: How To Fax To A Printer
Step 5: Send the Fax
With the recipient’s fax number entered and the document loaded, you are now ready to initiate the fax transmission using your Brother printer. This final step encapsulates the culmination of your preparations, transforming your document into a digital format for swift and secure delivery to the recipient’s fax machine.
Begin by accessing the fax transmission options on your printer, typically found within the fax menu or interface. Here, you will have the opportunity to review the transmission settings, such as the resolution and contrast, before initiating the transmission. Confirm that the settings align with your preferences and the nature of the document to be faxed.
Once you are satisfied with the transmission settings, initiate the fax transmission by selecting the “Send” or “Start” option on the printer’s interface. Your Brother printer will then begin the process of scanning the loaded document and converting it into a digital fax format for transmission over the connected telephone line or VoIP service.
During the transmission process, your printer will display status indicators or progress updates, allowing you to monitor the progress of the fax transmission. This visibility ensures that you can confirm the successful initiation of the fax and address any potential issues promptly, such as paper jams or transmission errors.
Upon completion of the transmission, your Brother printer will typically provide a confirmation message or status report, indicating the outcome of the fax transmission. This report may include details such as the transmission time, the recipient’s fax number, and the status of the transmission (e.g., “Sent” or “Failed”).
By initiating the fax transmission using your Brother printer, you conclude the process of sending a fax with confidence, knowing that your document has been securely and efficiently conveyed to its intended recipient, leveraging the reliable faxing capabilities of your multifunctional printer.
Conclusion
Congratulations! You have successfully navigated the process of sending a fax on your Brother printer, harnessing the power of modern technology to transmit your documents with ease and efficiency. By following the comprehensive steps outlined in this guide, you have gained valuable insights into leveraging the faxing capabilities of your multifunctional printer, empowering you to communicate seamlessly in both digital and traditional formats.
Through the meticulous setup of faxing functionalities, including configuring transmission settings and entering recipient details, you have established a solid foundation for sending faxes with precision and clarity. Loading your documents carefully and accurately inputting the recipient’s fax number have further contributed to the reliability and professionalism of your fax transmissions.
As you send your fax and receive confirmation of its successful transmission, take pride in the seamless integration of traditional communication methods with modern printing technology. Whether you are transmitting essential business documents, contracts, or personal correspondence, your Brother printer has proven to be a versatile and dependable tool for handling your faxing needs.
Embrace the convenience and reliability of faxing with your Brother printer, knowing that you can effortlessly convey important information to recipients across the globe. As technology continues to evolve, your printer remains a steadfast ally in bridging the gap between digital communication and the enduring legacy of fax transmissions.
With this newfound knowledge and proficiency, you are well-equipped to navigate the world of faxing with confidence, leveraging the capabilities of your Brother printer to facilitate seamless and secure document transmissions. Embrace the versatility of your multifunctional printer, and continue to explore its diverse features for a truly integrated printing and communication experience.
Frequently Asked Questions about How To Send A Fax On A Brother Printer
Was this page helpful?
At Storables.com, we guarantee accurate and reliable information. Our content, validated by Expert Board Contributors, is crafted following stringent Editorial Policies. We're committed to providing you with well-researched, expert-backed insights for all your informational needs.

0 thoughts on “How To Send A Fax On A Brother Printer”