Home>Technology>Smart Home Devices>How To Install Lexmark Printer To Computer Without Cd


Smart Home Devices
How To Install Lexmark Printer To Computer Without Cd
Modified: August 17, 2024
Learn how to install your Lexmark printer to your computer without a CD. Follow our step-by-step guide for easy setup. Discover more smart home devices tips.
(Many of the links in this article redirect to a specific reviewed product. Your purchase of these products through affiliate links helps to generate commission for Storables.com, at no extra cost. Learn more)
Introduction
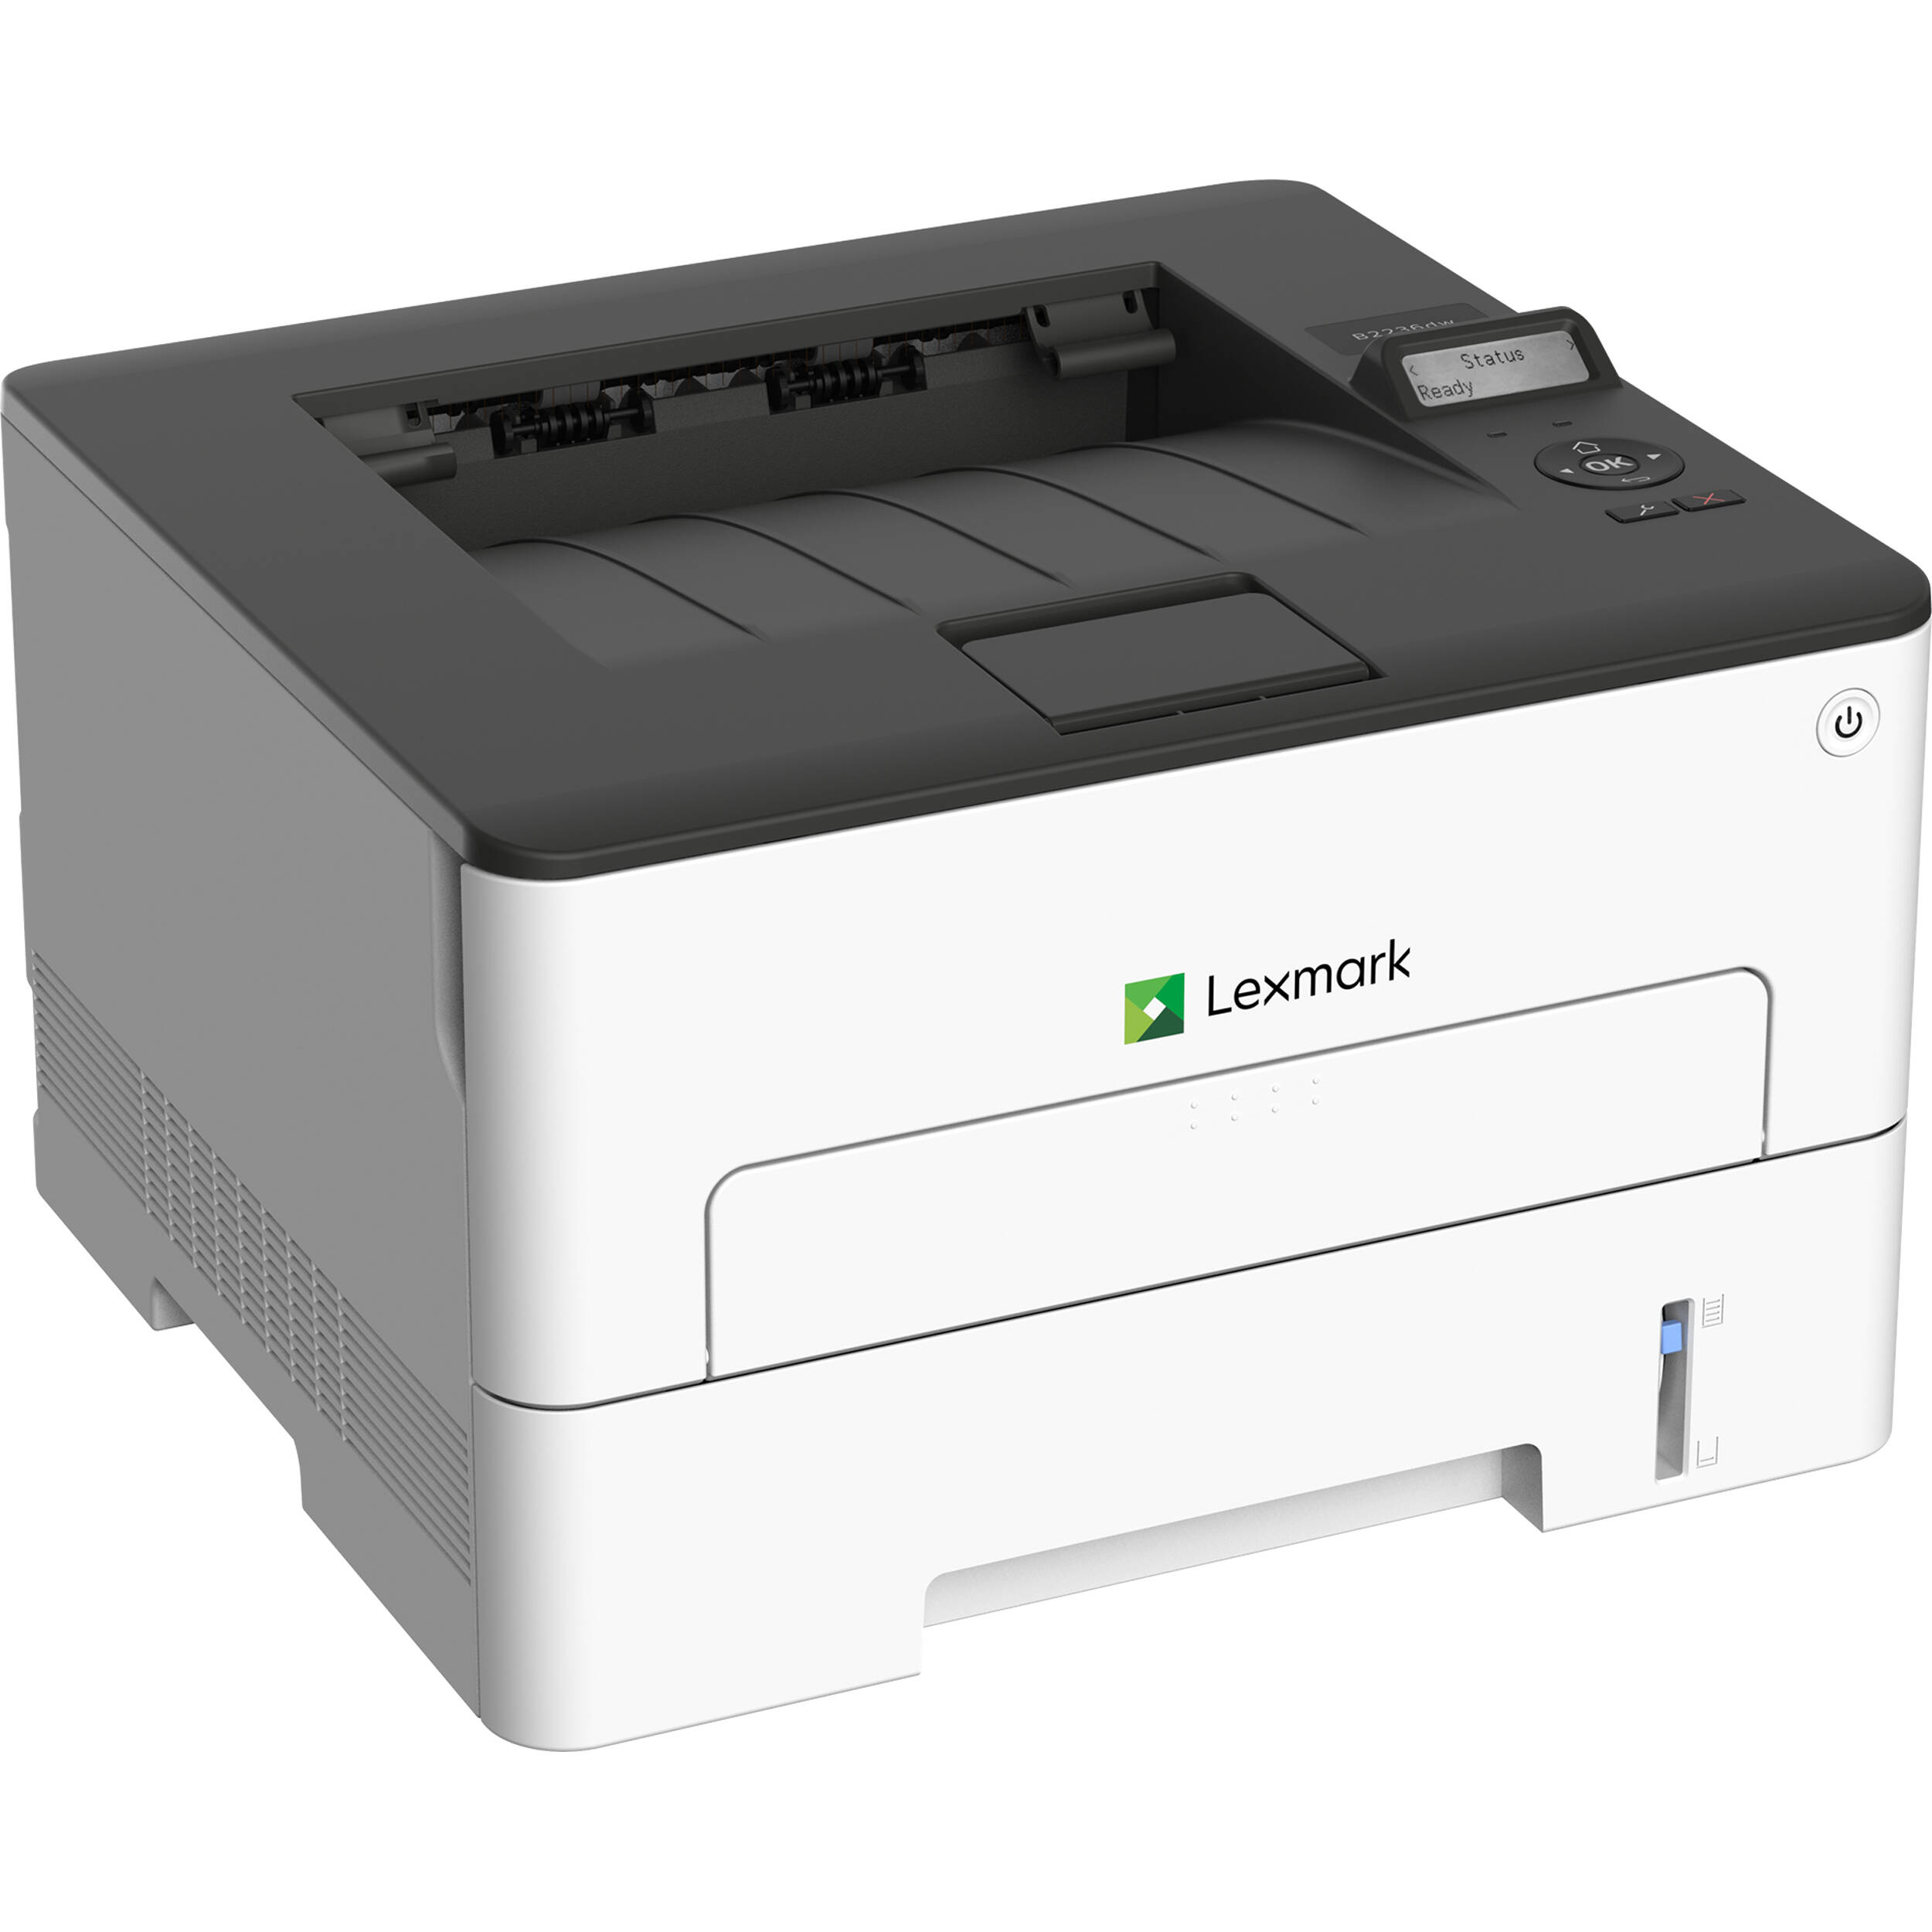
So, you just got your hands on a brand-new Lexmark printer but realized that it didn't come with a setup CD. Don't worry; in this digital age, you can easily install your Lexmark printer to your computer even without the CD. Whether you're using a Windows PC or a Mac, the process is relatively straightforward. In this guide, we'll walk you through the steps to install your Lexmark printer without the need for a CD. By the end of this article, you'll be ready to start printing and scanning with your new Lexmark printer in no time. Let's dive in!
Key Takeaways:
- You can easily install a Lexmark printer to your computer without a CD by downloading the printer driver from the official Lexmark website and following the step-by-step installation process. It’s hassle-free and convenient!
- Connecting your Lexmark printer to your computer is a breeze, whether through a USB cable or wireless setup. Once connected, you can start printing and scanning without any CD required. Enjoy the convenience!
Step 1: Check for Compatibility
Before you begin the installation process, it’s crucial to ensure that your Lexmark printer is compatible with your computer’s operating system. Visit the official Lexmark website and navigate to the support or downloads section. Here, you can search for your specific printer model and verify its compatibility with your operating system. Whether you’re using Windows 10, Windows 8, Windows 7, macOS, or any other operating system, Lexmark provides the necessary drivers and software for a wide range of platforms.
Once you’ve confirmed the compatibility, you can proceed with confidence, knowing that you’ll be able to obtain the required software and drivers for your Lexmark printer. If your operating system is supported, you’re ready to move on to the next step of downloading the printer driver.
Step 2: Download the Printer Driver
With the compatibility check complete, it’s time to download the printer driver for your Lexmark printer. Start by visiting the official Lexmark website and navigating to the support or downloads section. Here, you’ll be prompted to enter your printer model or search for it using the provided tools. Once you’ve located your printer model, you’ll find a list of available drivers and software for download.
Ensure that you select the appropriate driver for your operating system. For instance, if you’re using a Windows computer, you’ll need to download the driver compatible with your version of Windows, whether it’s Windows 10, Windows 8, or Windows 7. Similarly, if you’re using a Mac, you’ll need to download the driver designed for macOS.
After selecting the correct driver, initiate the download process. Depending on your internet speed and the size of the driver package, the download may take a few minutes. Once the download is complete, you’ll have the necessary files to proceed with the installation of your Lexmark printer.
Downloading the printer driver directly from the official Lexmark website ensures that you have the most up-to-date and compatible software for your printer, enabling smooth functionality and optimal performance. With the driver downloaded, you’re now ready to move on to the next step of installing the printer driver on your computer.
You can install a Lexmark printer to your computer without a CD by downloading the driver from the Lexmark website. Simply go to their support page, enter your printer model, and download the driver for your operating system.
Step 3: Install the Printer Driver
Now that you’ve downloaded the printer driver for your Lexmark printer, it’s time to proceed with the installation. Locate the downloaded driver file on your computer, typically in the “Downloads” folder unless you specified a different location. Double-click on the driver file to initiate the installation process.
Follow the on-screen instructions provided by the driver installation wizard. This may involve agreeing to the software’s terms and conditions, specifying the installation location, and confirming the installation settings. Ensure that you carefully review each step to guarantee a successful installation of the printer driver.
During the installation, the driver package will set up the necessary software components and drivers required for your Lexmark printer to communicate with your computer seamlessly. Once the installation is complete, you may be prompted to restart your computer to finalize the setup. It’s essential to follow through with any post-installation instructions to ensure that the printer driver is fully integrated into your system.
By installing the printer driver obtained from the official Lexmark website, you’re ensuring that your printer is equipped with the latest software and drivers, optimizing its performance and compatibility with your computer. With the printer driver successfully installed, you’re now ready to proceed to the final step of connecting your Lexmark printer to your computer.
Step 4: Connect the Printer to the Computer
With the printer driver successfully installed on your computer, it’s time to connect your Lexmark printer. Begin by ensuring that your printer is powered on and ready for setup. Depending on the model, you may need to connect the printer to your computer using a USB cable or configure a wireless connection.
If you’re using a USB connection, locate a suitable USB cable and connect one end to the USB port on your printer and the other end to a USB port on your computer. Once the physical connection is established, your computer should automatically detect the printer and complete the setup process. If prompted, follow any on-screen instructions to finalize the connection.
For wireless setup, refer to your printer’s user manual or the instructions provided by Lexmark for guidance on connecting your printer to your wireless network. This typically involves accessing the printer’s settings or control panel to select your wireless network and enter the network password, if required. Once the wireless connection is established, your computer should be able to detect the printer on the network, allowing you to proceed with printing and scanning tasks.
Upon successful connection, your computer should recognize the Lexmark printer, and you’ll be able to access its functionality directly from your computer. Whether you’re printing documents, photos, or scanning important paperwork, your Lexmark printer is now seamlessly integrated with your computer, ready to serve your printing and scanning needs.
With the printer connected and set up, you’ve completed the installation process for your Lexmark printer, even without the need for a setup CD. You’re now all set to enjoy the convenience and efficiency of printing and scanning with your new Lexmark printer.
Read more: How To Install Printer Without Cd
Conclusion
Congratulations! You’ve successfully installed your Lexmark printer to your computer without the need for a setup CD. By following the steps outlined in this guide, you’ve demonstrated that setting up a printer can be a straightforward and hassle-free process, even in the absence of a physical installation disc. With the availability of online resources and driver downloads, connecting your Lexmark printer to your computer has never been easier.
Throughout this process, you’ve ensured compatibility, obtained the necessary printer driver, installed the driver on your computer, and connected the printer, culminating in a seamless integration between your Lexmark printer and your computer. This means you can now effortlessly print documents, photos, and more, as well as conveniently scan important materials directly to your computer.
Remember that maintaining the latest printer drivers and software is essential for optimal performance and functionality. Periodically check for driver updates on the Lexmark website to ensure that your printer remains fully compatible with your computer’s operating system and benefits from any performance enhancements or new features.
With your Lexmark printer successfully installed, you can now embark on a journey of productive and efficient printing and scanning, whether for personal, academic, or professional purposes. Enjoy the convenience and versatility of your Lexmark printer as it becomes an integral part of your computing experience.
Thank you for joining us on this installation journey. We hope this guide has empowered you to set up your Lexmark printer with confidence and ease. Happy printing and scanning!
Frequently Asked Questions about How To Install Lexmark Printer To Computer Without Cd
Was this page helpful?
At Storables.com, we guarantee accurate and reliable information. Our content, validated by Expert Board Contributors, is crafted following stringent Editorial Policies. We're committed to providing you with well-researched, expert-backed insights for all your informational needs.



0 thoughts on “How To Install Lexmark Printer To Computer Without Cd”