Articles
How To Tarp A Chimney
Modified: February 24, 2024
Learn how to properly wrap a chimney with a tarp to protect it from damage and leaks. Our articles provide step-by-step instructions and tips to ensure a successful tarp installation.
(Many of the links in this article redirect to a specific reviewed product. Your purchase of these products through affiliate links helps to generate commission for Storables.com, at no extra cost. Learn more)
Introduction
When it comes to protecting your chimney from the elements, tarping it is an effective and affordable solution. Whether you’re facing a harsh winter storm or need to temporarily seal the chimney during repairs, knowing how to properly tarp a chimney is essential. In this article, we’ll guide you through the step-by-step process, ensuring that your chimney remains safe and secure.
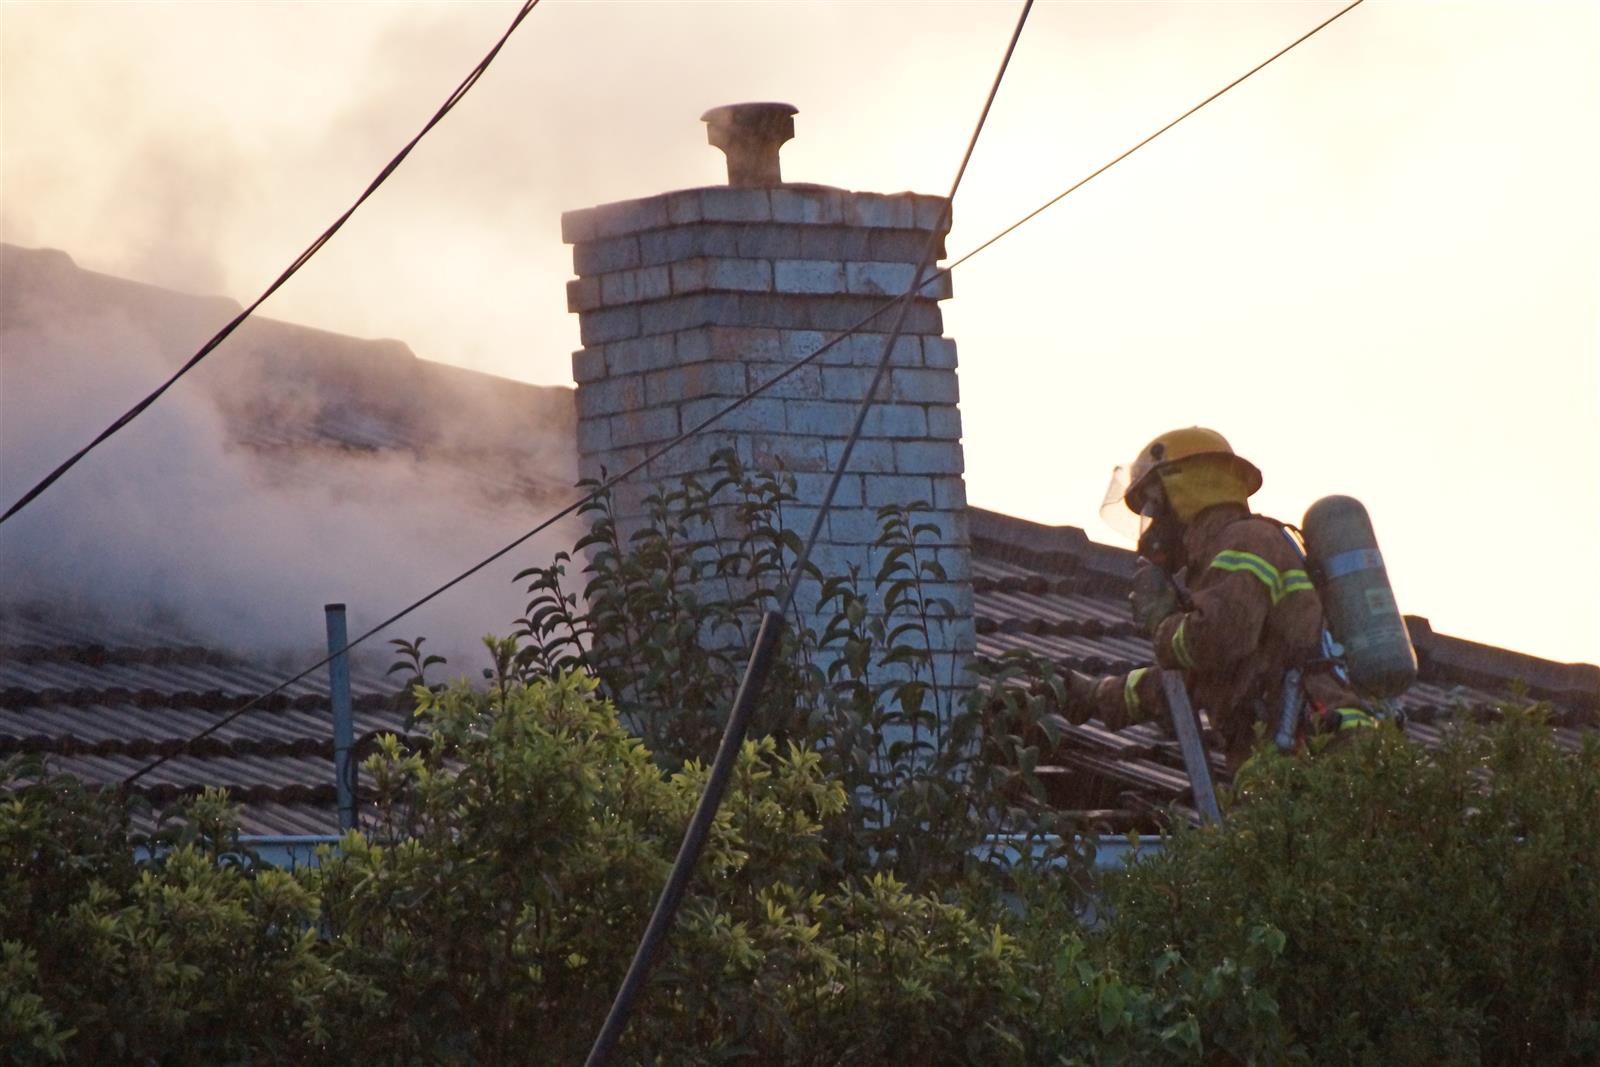
Before we dive into the details, let’s discuss why tarping your chimney is important. The chimney is exposed to the outside elements, including rain, snow, and debris. If not properly protected, these elements can cause damage to the chimney structure, leading to costly repairs. By tarping the chimney, you create a barrier that shields it from potential moisture buildup, leaks, and other weather-related problems.
Now, let’s get started with the step-by-step process of tarping a chimney.
Key Takeaways:
- Protect your chimney from the elements by tarping it properly. Gather materials, prepare the area, secure the tarp, ensure ventilation, and perform regular maintenance for long-lasting protection.
- Tarping your chimney is a practical and cost-effective way to prevent damage. Stay proactive with regular inspections and maintenance to ensure your chimney remains safe and secure.
Read more: How To Put Tarp On Roof
Step 1: Gather the necessary materials
Before you begin tarping your chimney, it’s important to gather all the necessary materials. Having everything you need on hand will make the process smoother and more efficient. Here’s a list of essential materials:
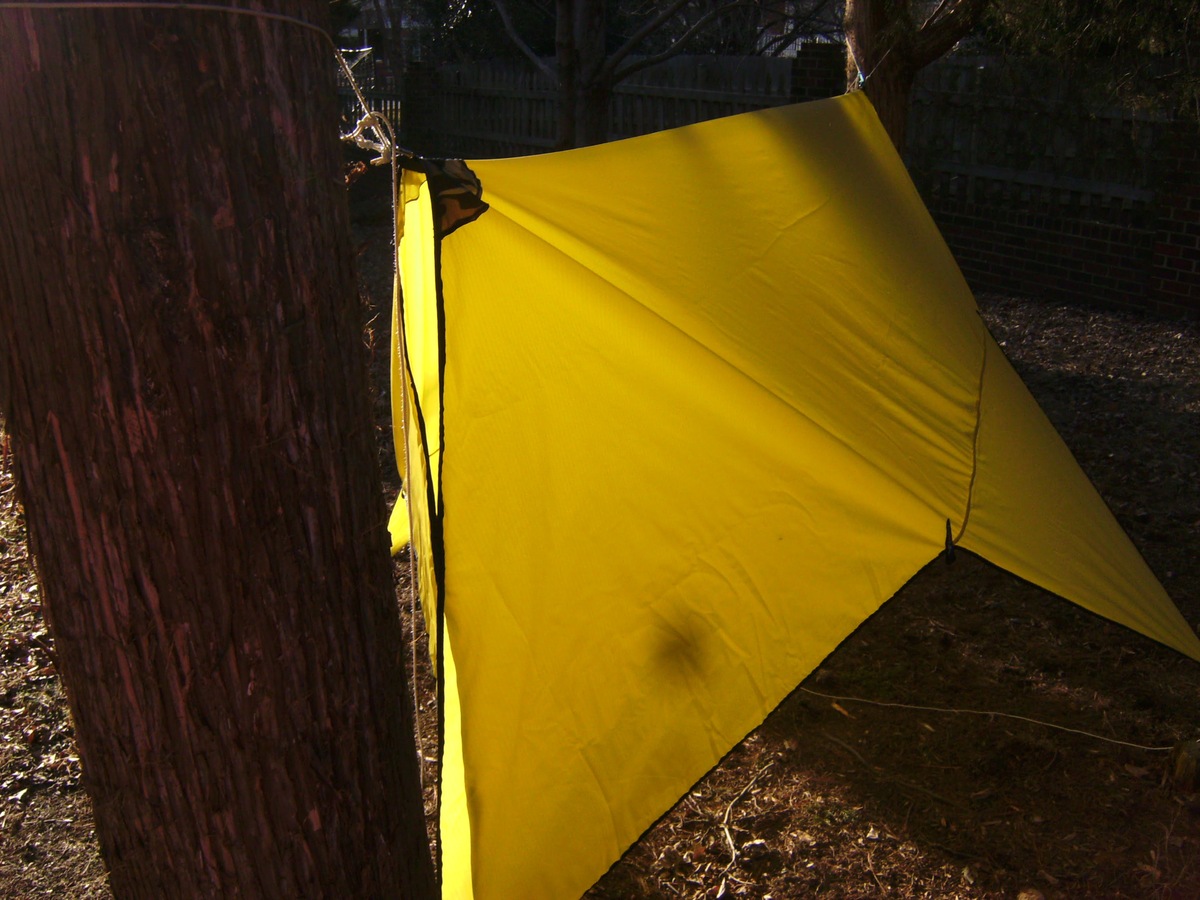
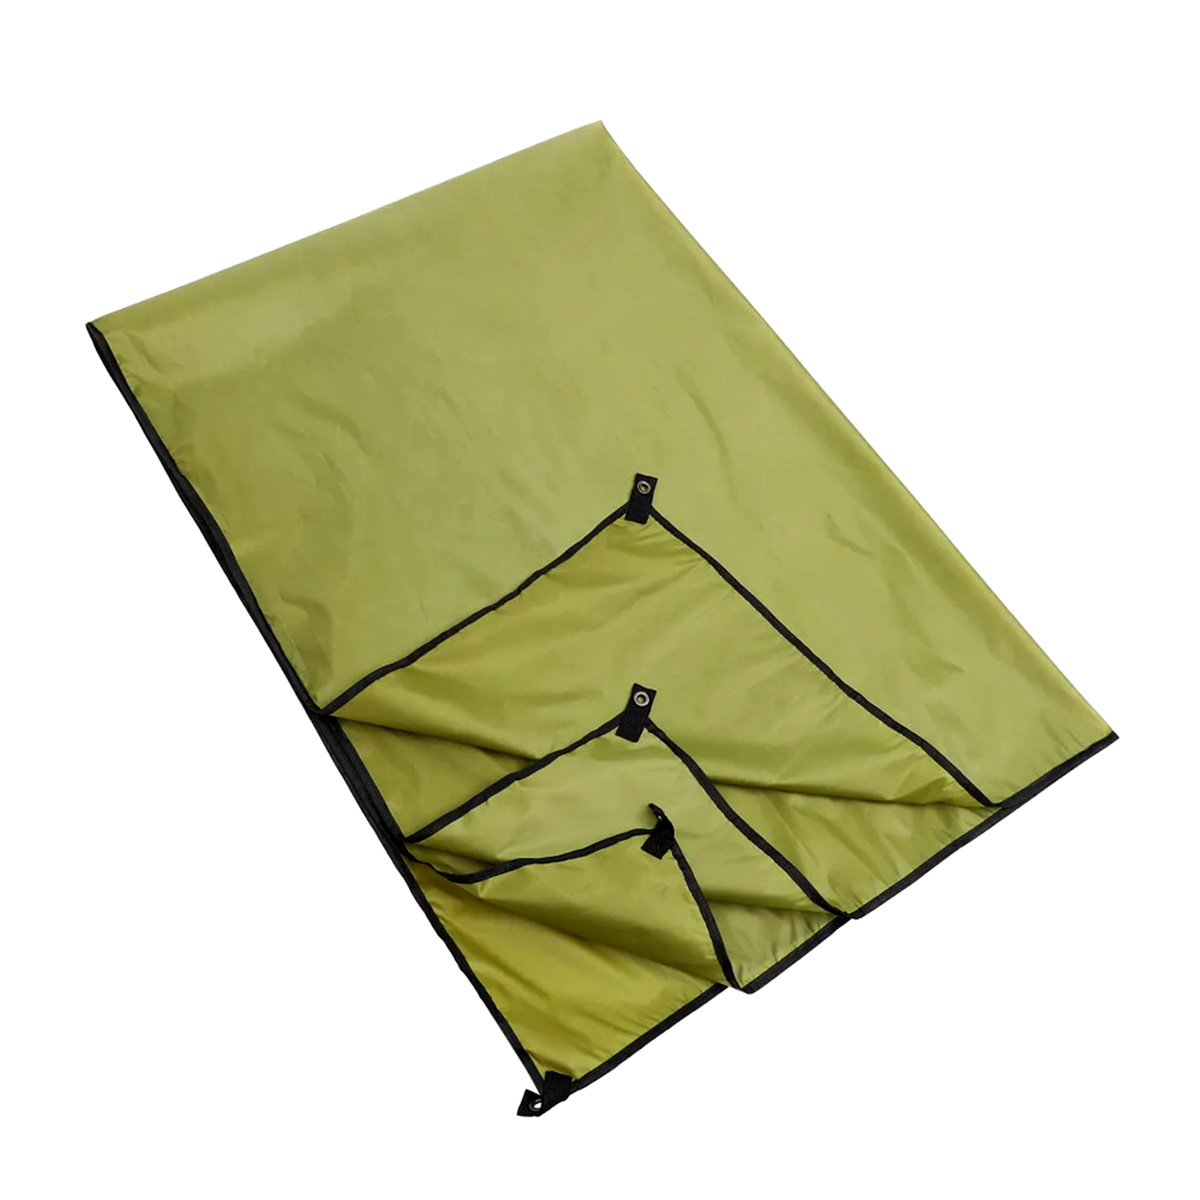
- A heavy-duty tarp: Choose a tarp that is specifically designed for outdoor use and is large enough to cover the entire chimney. Make sure the tarp is made of waterproof material to ensure maximum protection.
- Bungee cords or rope: These will be used to secure the tarp in place.
- Ladder: If your chimney is located on the roof, you’ll need a sturdy ladder to access it safely.
- Gloves: Protect your hands by wearing work gloves throughout the tarping process.
- Tarp clips or clamps (optional): These can be helpful in securing the tarp to the chimney.
Once you have gathered all the necessary materials, you’re ready to move on to the next step.
Step 2: Prepare the chimney for tarping
Before you can start tarping the chimney, it’s important to prepare the area to ensure a smooth and secure installation. Follow these steps to properly prepare the chimney:
- Clear any obstructions: Remove any debris or objects that may be present on or around the chimney. This includes leaves, twigs, or any other items that could potentially puncture or damage the tarp.
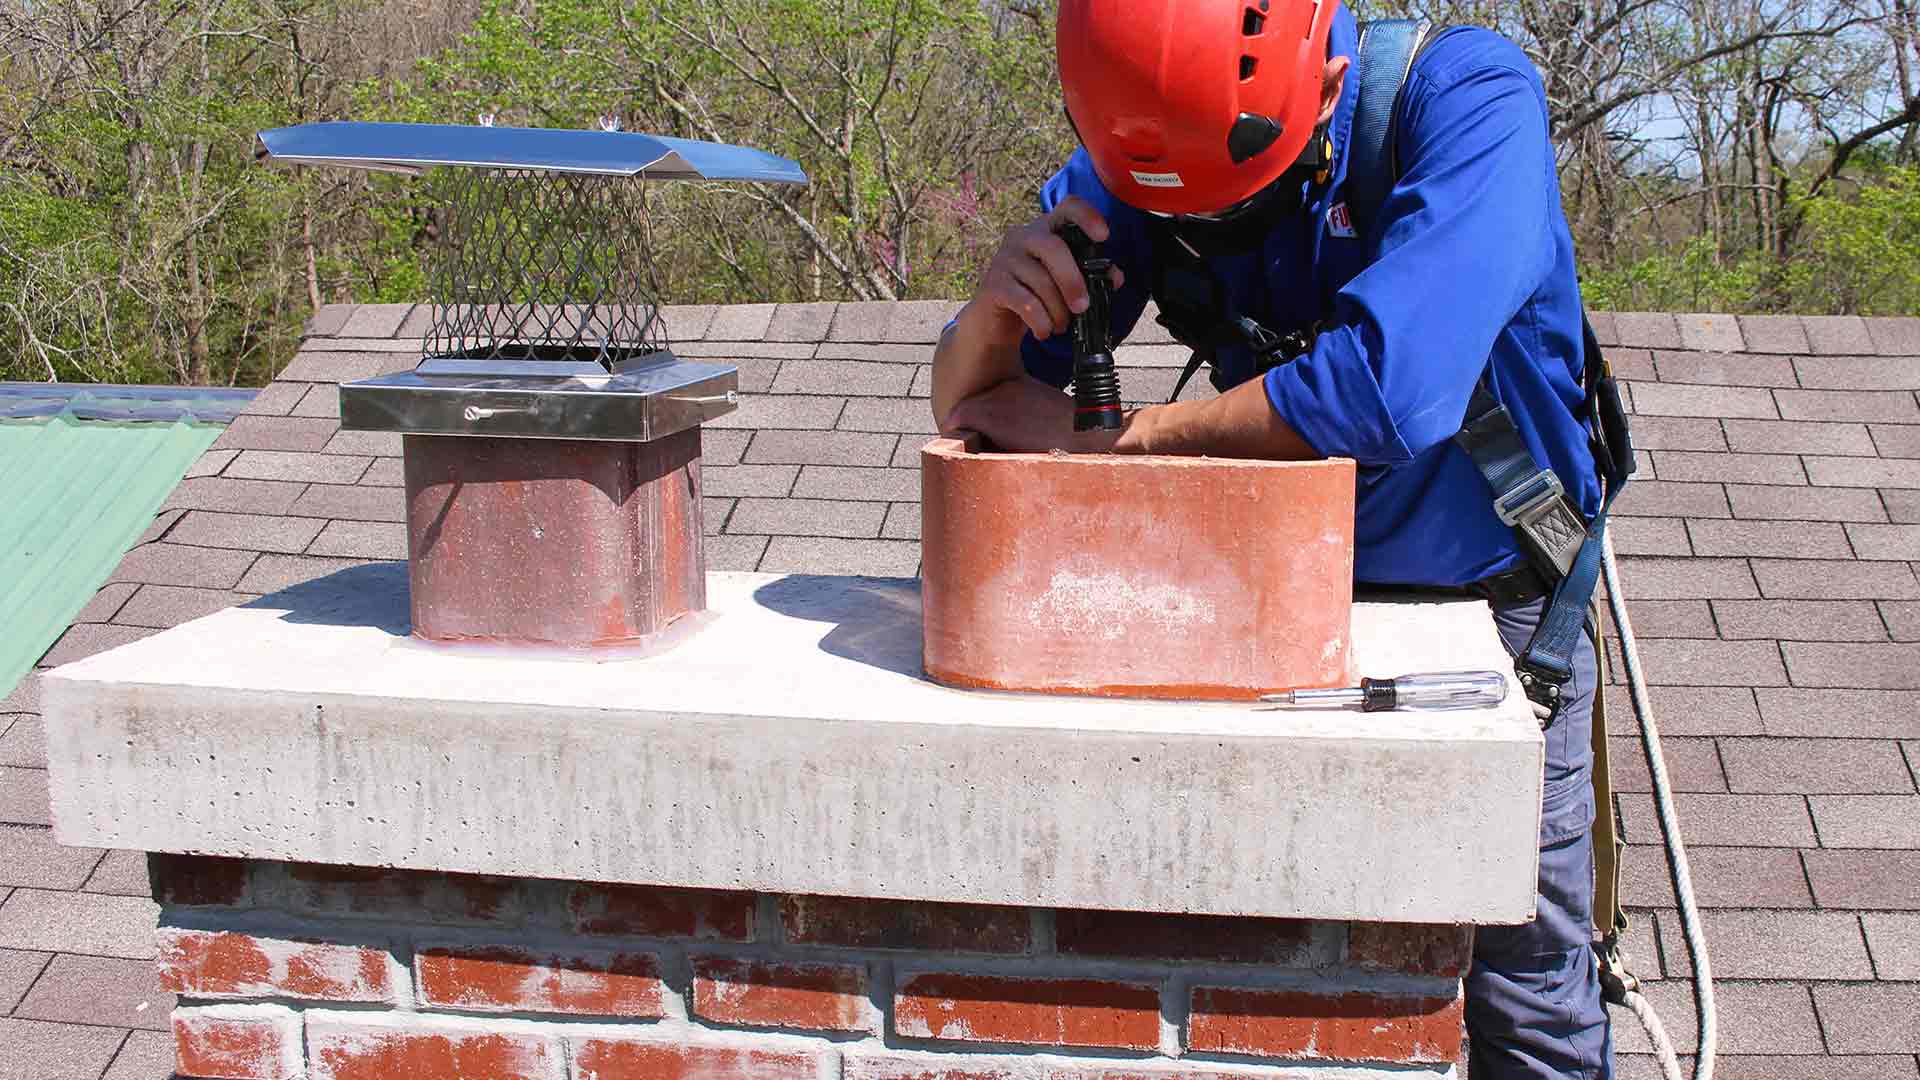
- Inspect the chimney: Take a close look at the chimney for any signs of damage or loose bricks. If you notice any issues, it’s best to address them before tarping. Repairing any damage will help maintain the integrity of the structure and prevent further problems.
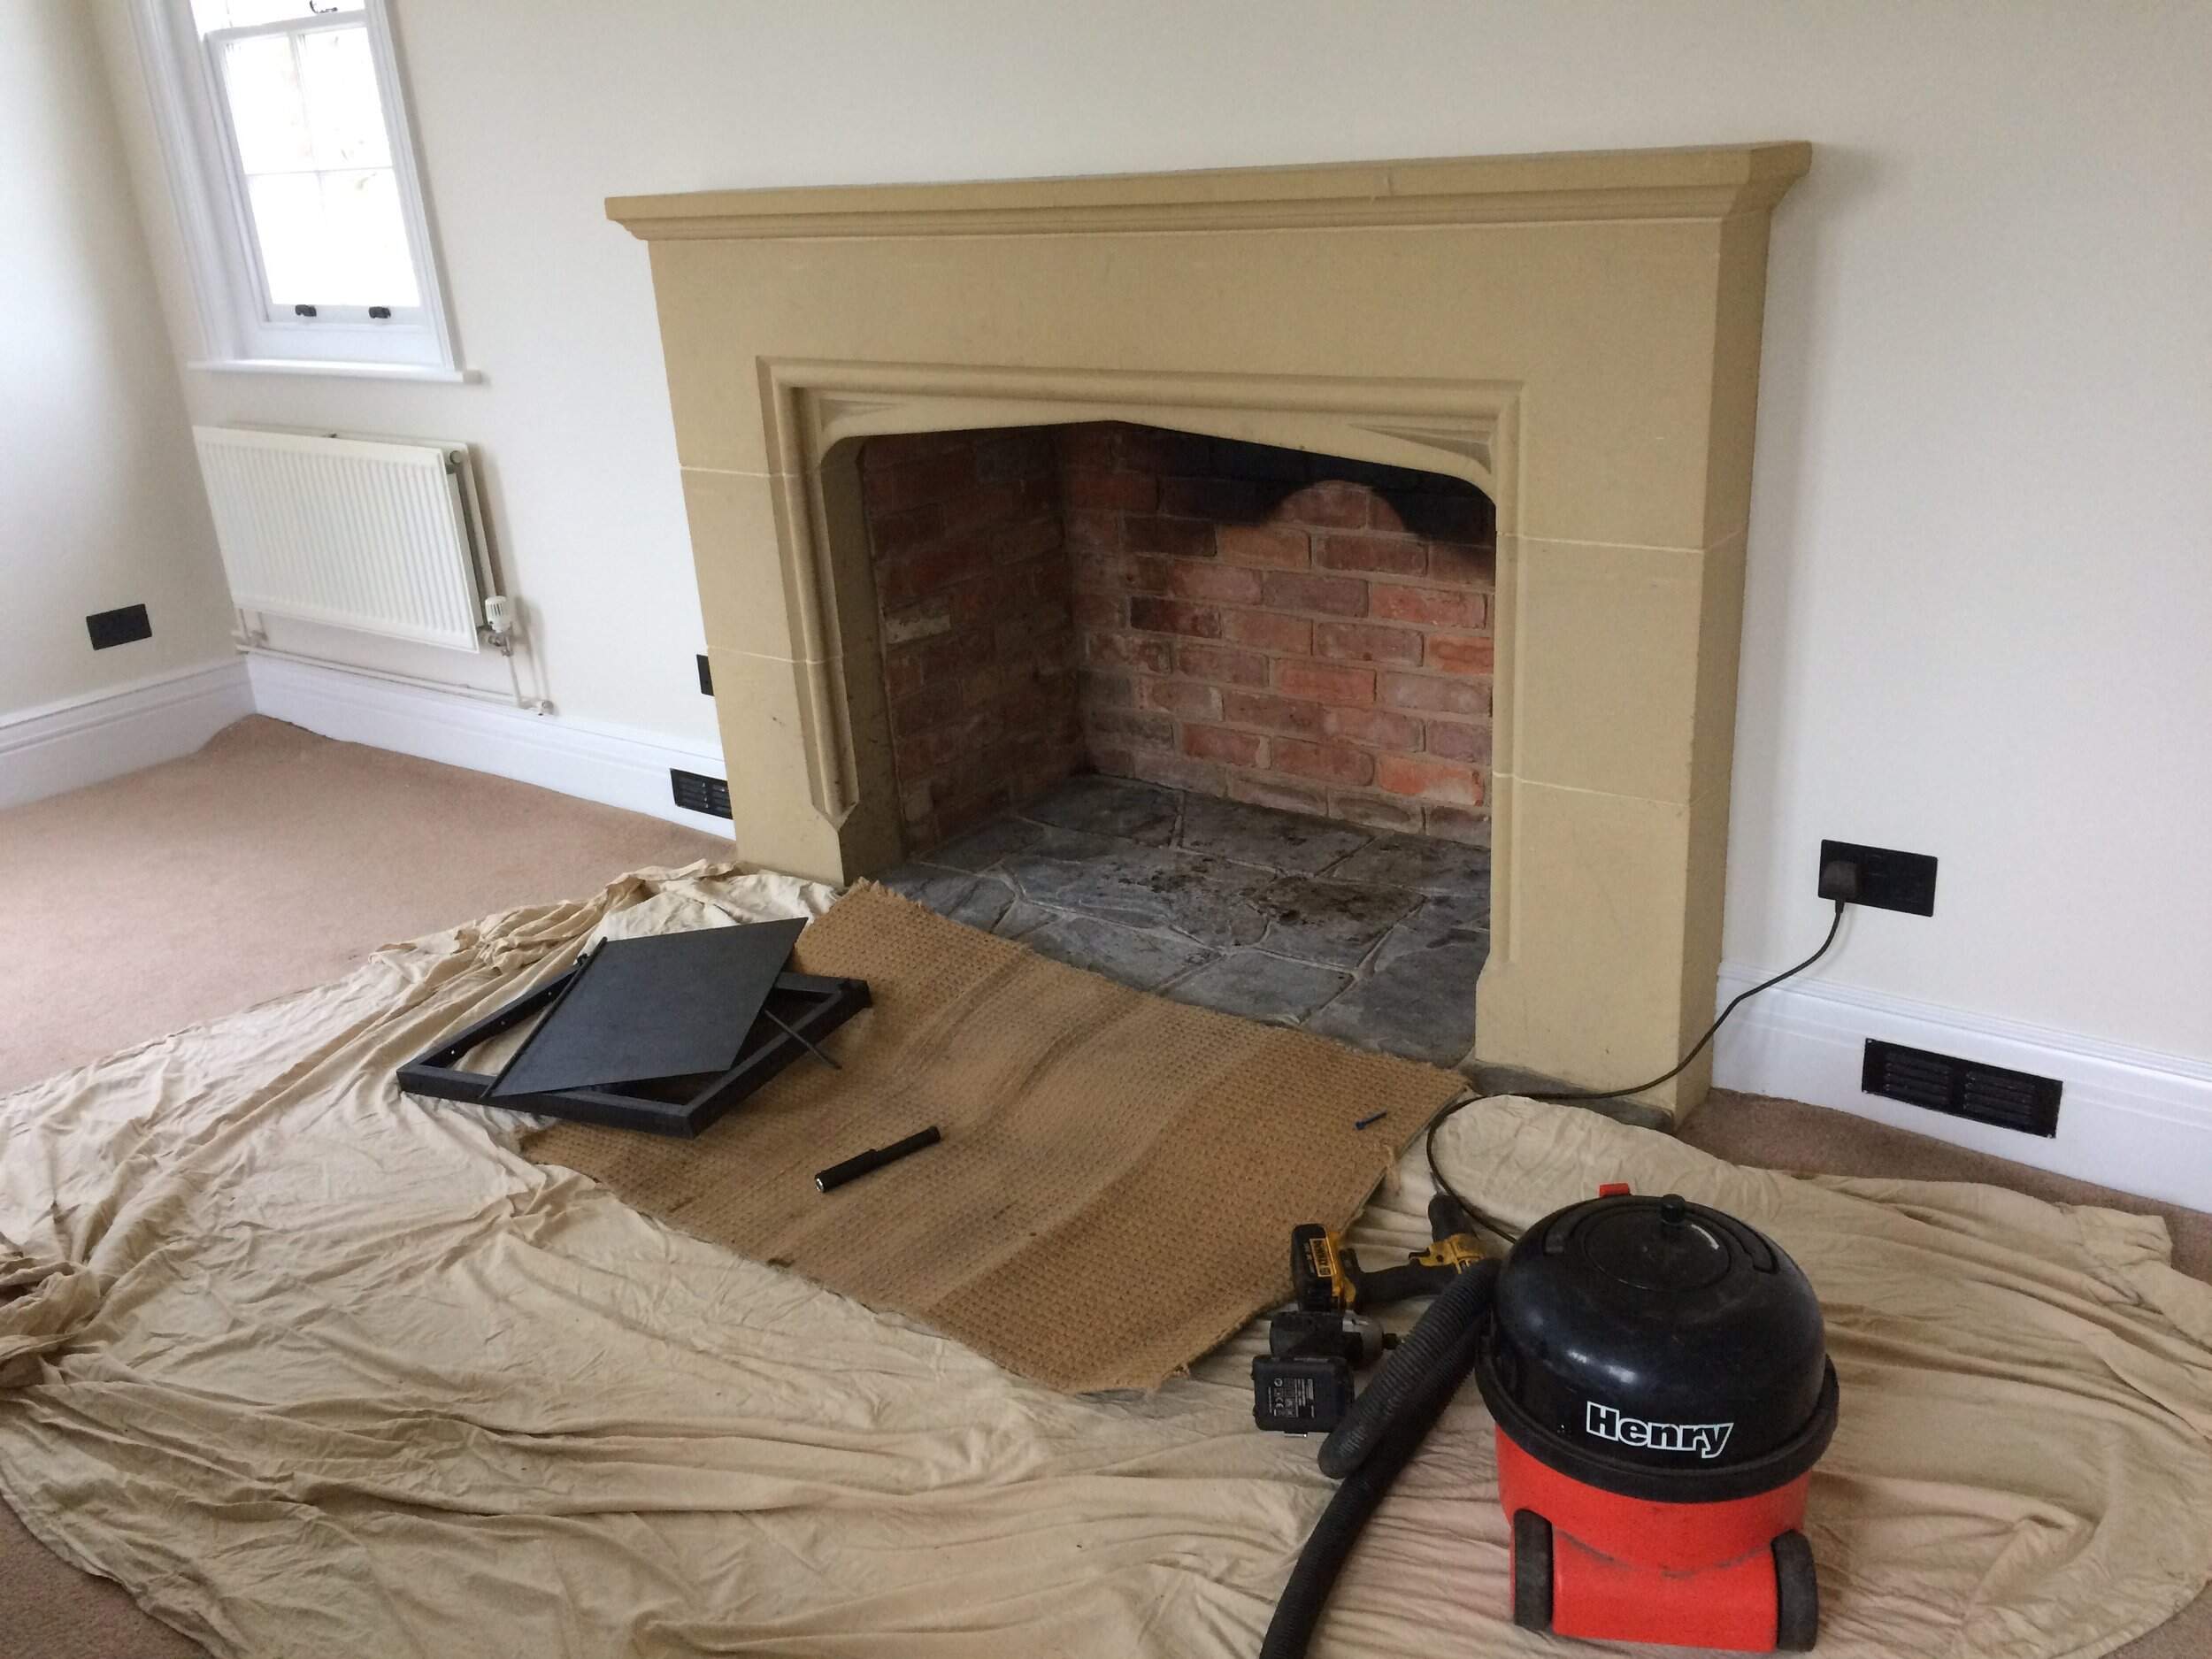
- Clean the chimney: If there is any dirt, grime, or soot buildup on the chimney, it’s advisable to clean it before tarping. Use a chimney brush or other appropriate cleaning tools to remove any buildup. This will ensure the tarp adheres properly to the surface and provides better protection.
- Trim nearby branches: If there are tree branches or foliage in close proximity to the chimney, trim them back to prevent any potential damage to the tarp during strong winds or storms.
By following these preparatory steps, you’ll create an optimal environment for tarping the chimney and ensure the best possible protection.
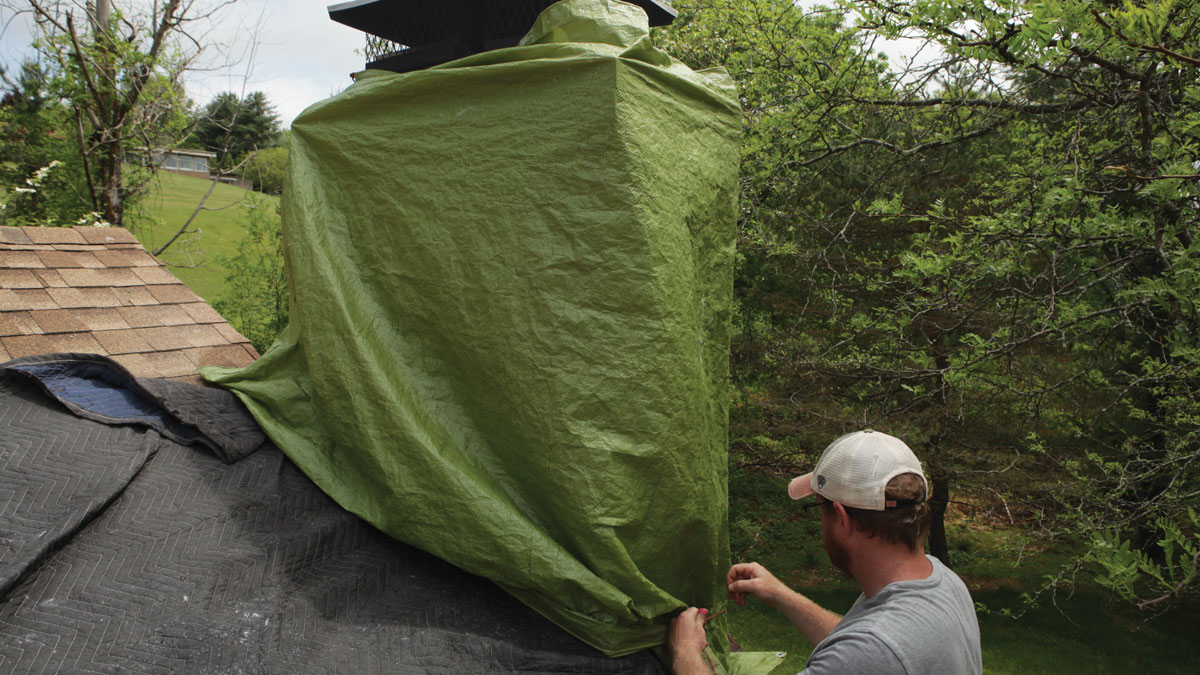
Step 3: Secure the tarp over the chimney
Now that you have gathered your materials and prepared the chimney, it’s time to secure the tarp over the chimney. Follow these steps to ensure a proper and secure installation:
- Position the tarp: Place the tarp over the chimney, ensuring that it covers the entire chimney surface and extends beyond the edges. Allow for some overhang to ensure complete coverage.
- Secure the corners: Starting with one corner, use bungee cords or rope to pull the tarp tightly and secure it to a stable anchor point. Repeat this step for each corner, adjusting the tension as needed to ensure a snug fit.
- Secure the sides: Once the corners are secured, apply tension along the sides of the tarp. Use bungee cords or rope to anchor the sides to nearby structures, such as roof edges or gutters. Ensure that the tarp is taut and free from wrinkles or sagging.
- Consider additional security measures: Depending on the size and shape of your chimney, you may need to use tarp clips or clamps to secure the tarp more effectively. These can be attached to the tarp and anchored to the chimney or other sturdy structures.
It’s important to take your time during this step to ensure that the tarp is properly secured. A tight and secure installation will help prevent any potential damage or displacement during heavy winds or storms.
When tarping a chimney, make sure to use a heavy-duty, waterproof tarp that is large enough to cover the entire chimney and secure it tightly to prevent any water from entering.
Step 4: Ensure proper ventilation
While tarping your chimney is a great way to protect it from the elements, it’s important to ensure proper ventilation to prevent moisture buildup and damage. Follow these steps to maintain adequate airflow:
- Create ventilation gaps: Cut small openings or slits in the tarp to allow for airflow. These gaps should be strategically placed on the sides or top of the tarp, away from direct water entry points. Ensure that the openings are not too large, as this could compromise the tarp’s effectiveness.
- Monitor the tarp regularly: Periodically check the tarp and ensure that the ventilation gaps remain open and unobstructed. Clear away any debris or leaves that may accumulate around the openings.
- Consider chimney caps or devices: If you anticipate an extended period of tarping, you may want to consider installing chimney caps or devices specifically designed to allow proper ventilation while keeping out rain and debris. These can provide additional protection and peace of mind.
Remember, proper ventilation is essential to prevent condensation, mold growth, and other issues that can arise from trapped moisture. By incorporating these ventilation measures, you’ll help maintain the health and integrity of your chimney while it is tarped.
Read more: How To Store Tarps
Step 5: Regular maintenance and inspection
After tarping your chimney, it’s important to perform regular maintenance and inspections to ensure its continued protection and functionality. Here are some key maintenance and inspection tasks to consider:
- Check the tarp periodically: Regularly inspect the tarp to ensure it is secure, free from tears or damage, and properly covering the chimney. If you notice any issues, such as tears or loose edges, make the necessary repairs or adjustments promptly.
- Clean the tarp: Remove any debris, leaves, or dirt that may accumulate on the tarp. This will help prevent moisture buildup and potential damage to the tarp itself.
- Inspect the chimney for leaks: Look for any signs of water intrusion or leaks around the chimney area. If you notice any water stains or dampness, it may indicate a problem with the tarp or chimney. Address any leaks promptly to prevent further damage.
- Remove the tarp when necessary: If the tarp has been in place for an extended period, it’s important to remove it and assess the chimney’s condition. This allows for a thorough inspection and any necessary maintenance or repairs to be carried out.
By performing regular maintenance and inspections, you can ensure that your tarping efforts remain effective and that your chimney stays well-protected even during extended periods of tarping.
Conclusion
Tarping your chimney is a practical and cost-effective way to protect it from the elements and potential damage. By following the step-by-step guide outlined in this article, you can ensure a proper and secure tarping installation. Remember to gather all the necessary materials, prepare the chimney, and secure the tarp tightly while allowing for proper ventilation.
Regular maintenance and inspections are crucial to monitor the condition of the tarp and the chimney itself. By staying vigilant and addressing any issues promptly, you can maintain the integrity of your chimney and prevent costly repairs.
Tarping your chimney is not only a practical measure but also one that provides peace of mind. Knowing that your chimney is protected from rain, snow, and debris can save you from potential headaches down the line.
So, whether you’re facing inclement weather or need to temporarily seal your chimney for repairs, follow these steps and rest assured that your chimney will remain safe and secure. Happy tarping!
Frequently Asked Questions about How To Tarp A Chimney
Was this page helpful?
At Storables.com, we guarantee accurate and reliable information. Our content, validated by Expert Board Contributors, is crafted following stringent Editorial Policies. We're committed to providing you with well-researched, expert-backed insights for all your informational needs.


0 thoughts on “How To Tarp A Chimney”