Home>Technology>Smart Home Devices>How To Connect Munbyn Printer To Computer
Smart Home Devices
How To Connect Munbyn Printer To Computer
Modified: January 18, 2024
Learn how to easily connect your Munbyn printer to your computer and start printing with smart home devices. Simplify your printing setup today!
(Many of the links in this article redirect to a specific reviewed product. Your purchase of these products through affiliate links helps to generate commission for Storables.com, at no extra cost. Learn more)
Introduction
Welcome to the world of smart home devices, where convenience and innovation intersect to transform the way we interact with our living spaces. One of the most intriguing aspects of this technological revolution is the ability to connect various devices to a central hub, such as a computer, for seamless control and monitoring. In this comprehensive guide, we will delve into the process of connecting a Munbyn printer to a computer, unlocking a world of possibilities for efficient printing and document management within your smart home ecosystem.
As smart home technology continues to evolve, the integration of smart printers has become increasingly popular, offering a bridge between the digital and physical realms. By connecting your Munbyn printer to your computer, you can harness the power of modern printing capabilities while leveraging the connectivity and intelligence of your smart home network. Whether you seek to print documents, labels, or shipping labels, the ability to seamlessly link your Munbyn printer to your computer opens up a myriad of opportunities for streamlining your daily tasks.
Throughout this guide, we will walk you through the step-by-step process of connecting your Munbyn printer to your computer, ensuring that you can effortlessly navigate this integration and begin leveraging the full potential of your smart printing solution. From gathering the necessary equipment to installing printer drivers and conducting a test print, each step is designed to provide you with a clear understanding of the process, empowering you to embrace the future of printing technology within your smart home environment.
So, grab your enthusiasm for innovation and let's embark on this enlightening journey to connect your Munbyn printer to your computer, unlocking the seamless fusion of traditional printing with the cutting-edge capabilities of smart home technology. Get ready to witness the convergence of convenience and connectivity as we delve into the intricacies of integrating your Munbyn printer into your smart home ecosystem. Let's dive in and explore the wonders that await as we merge the realms of printing and smart home technology.
Key Takeaways:
- Connecting your Munbyn printer to your computer opens up a world of possibilities for efficient printing and document management within your smart home ecosystem. It’s a seamless fusion of traditional printing with cutting-edge smart home technology.
- By following the comprehensive steps outlined in this guide, you can successfully integrate your Munbyn printer with your computer, ushering in a new era of printing convenience and functionality within your smart home environment.
Read more: How To Connect Brother Printer To Computer
Step 1: Gather Necessary Equipment
Before embarking on the process of connecting your Munbyn printer to your computer, it is essential to ensure that you have all the necessary equipment at your disposal. By gathering these items, you can streamline the integration process and minimize any potential disruptions. Here’s a comprehensive list of the essential equipment you will need:
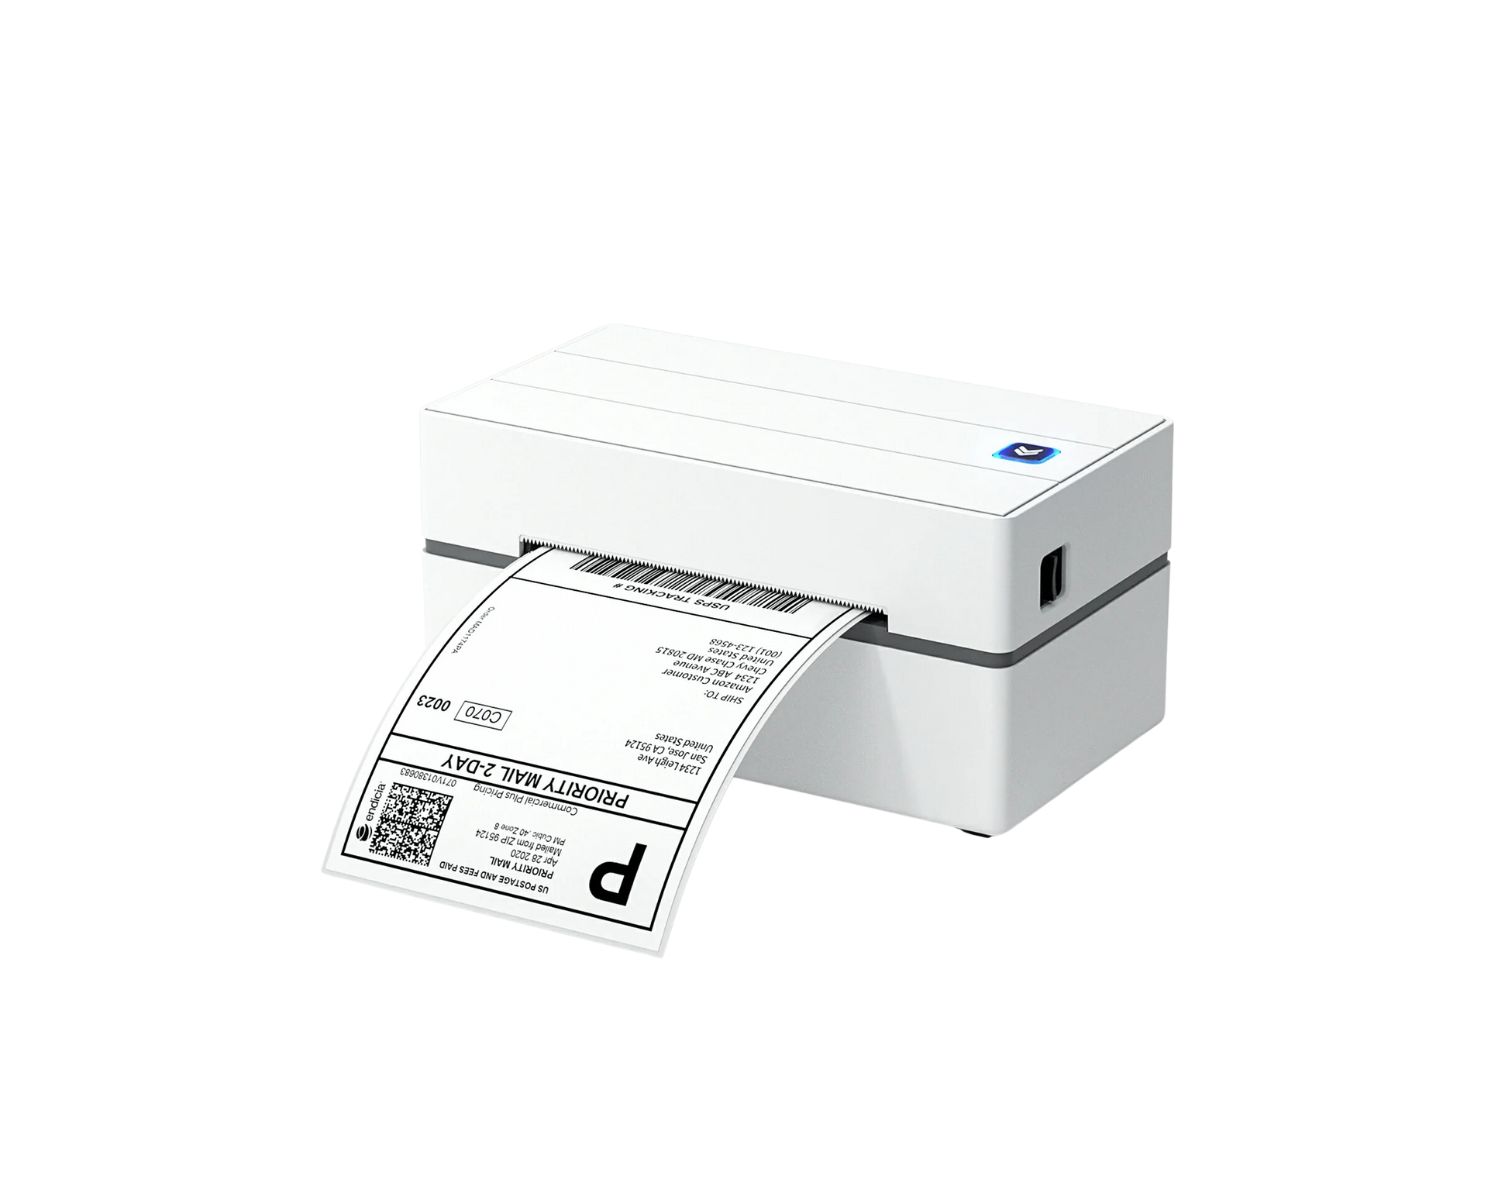
- Munbyn Printer: The central component of this integration is, of course, the Munbyn printer itself. Ensure that the printer is in good working condition and is equipped with all the required components, such as ink cartridges and paper.
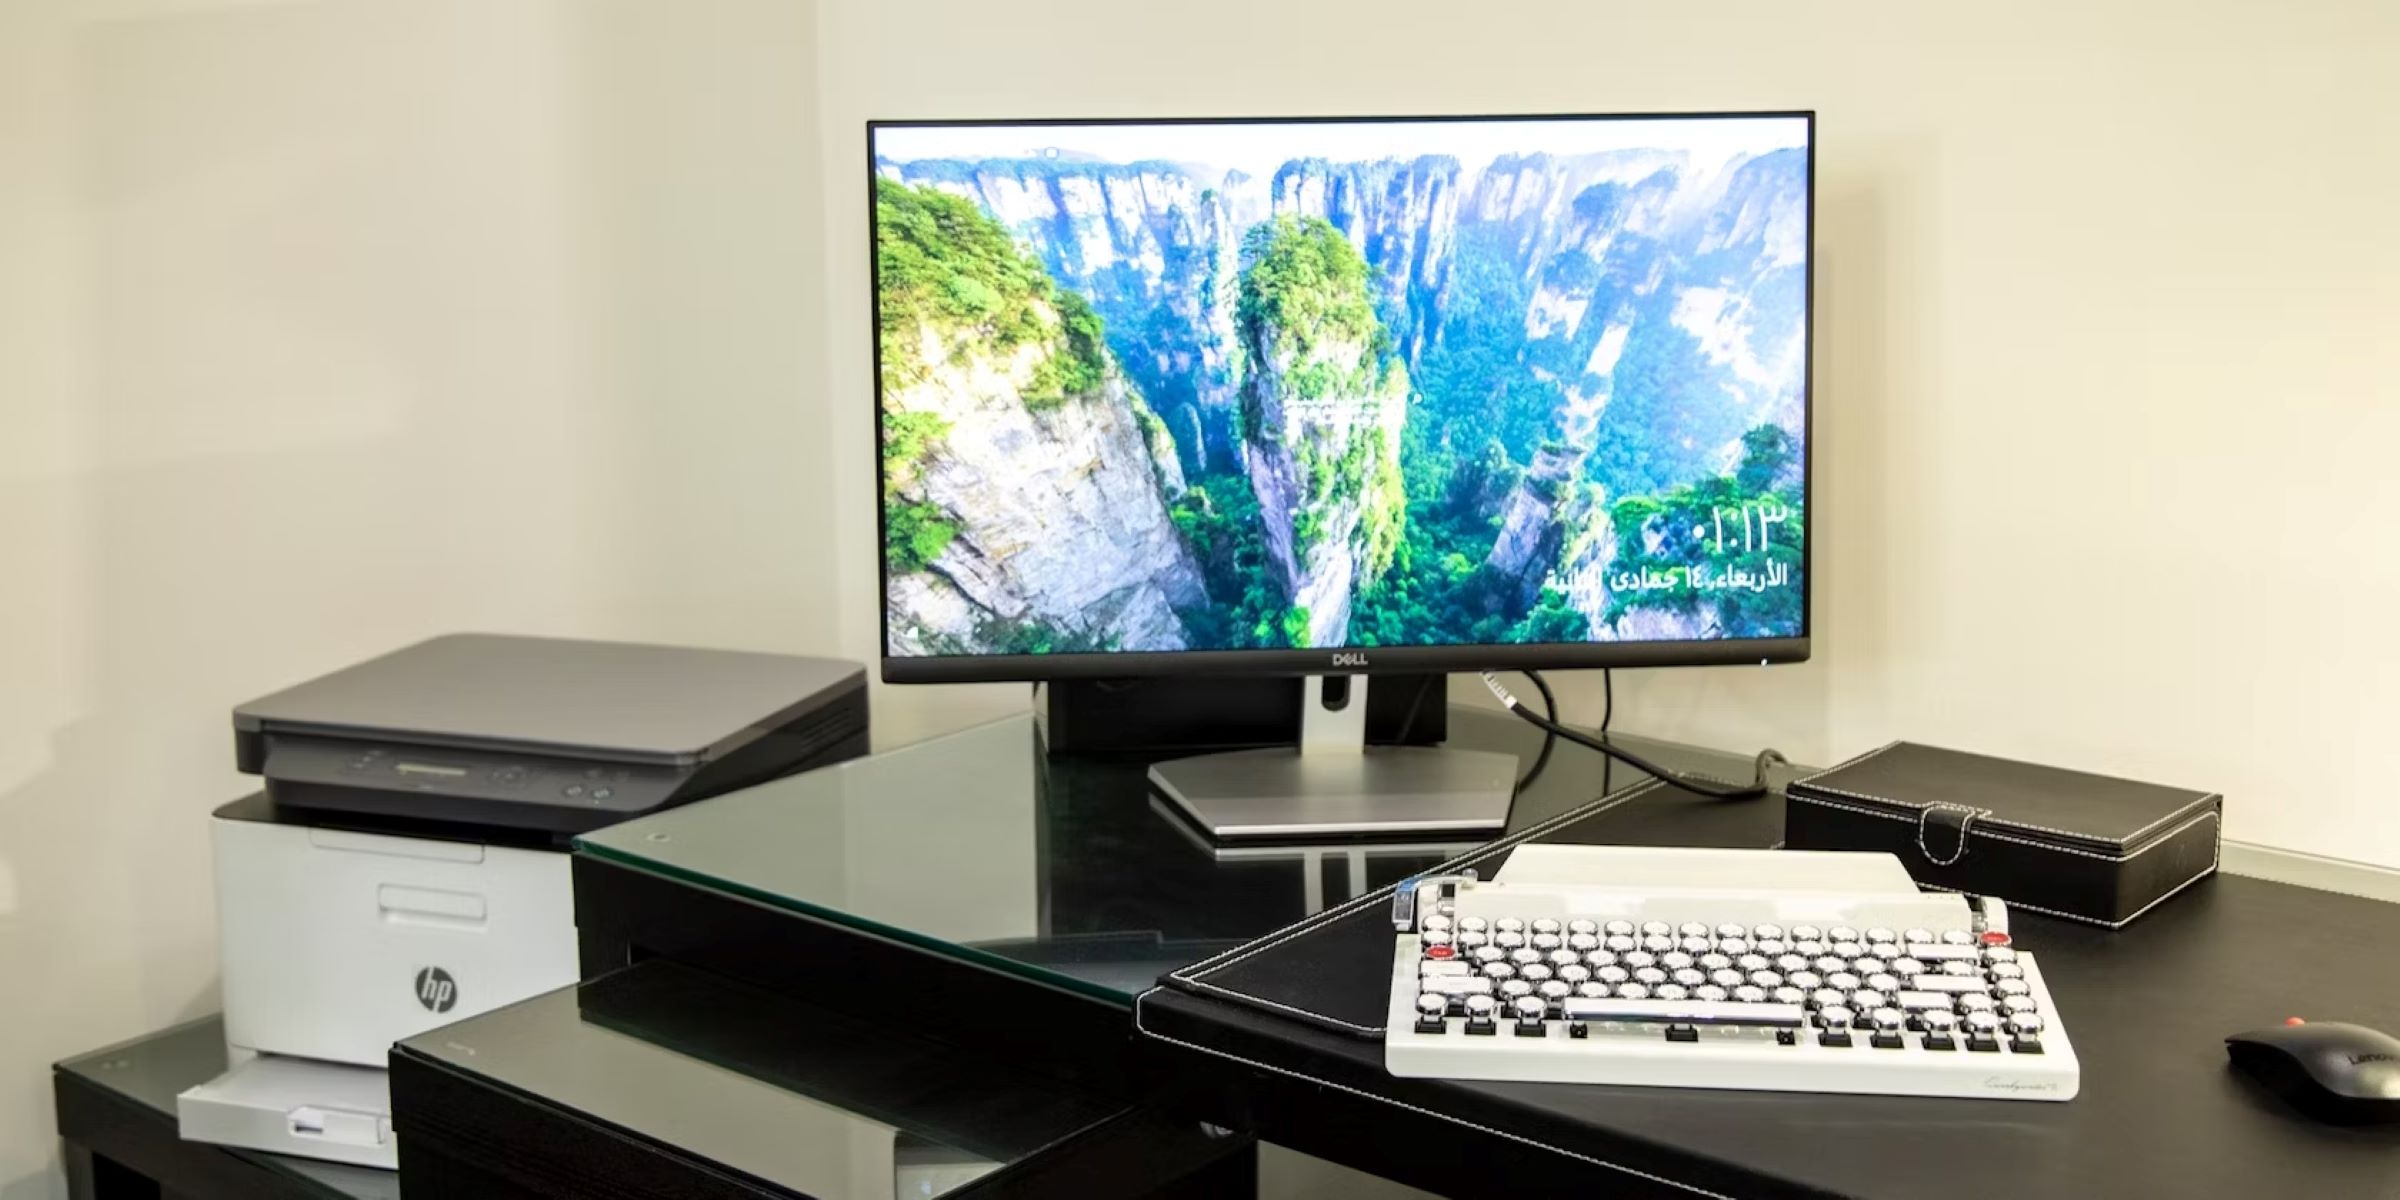
- Computer: Whether you have a desktop computer or a laptop, ensure that it is powered on and functioning properly. Additionally, make sure that the computer has available USB ports or supports wireless connectivity, depending on the type of connection you intend to establish with the Munbyn printer.
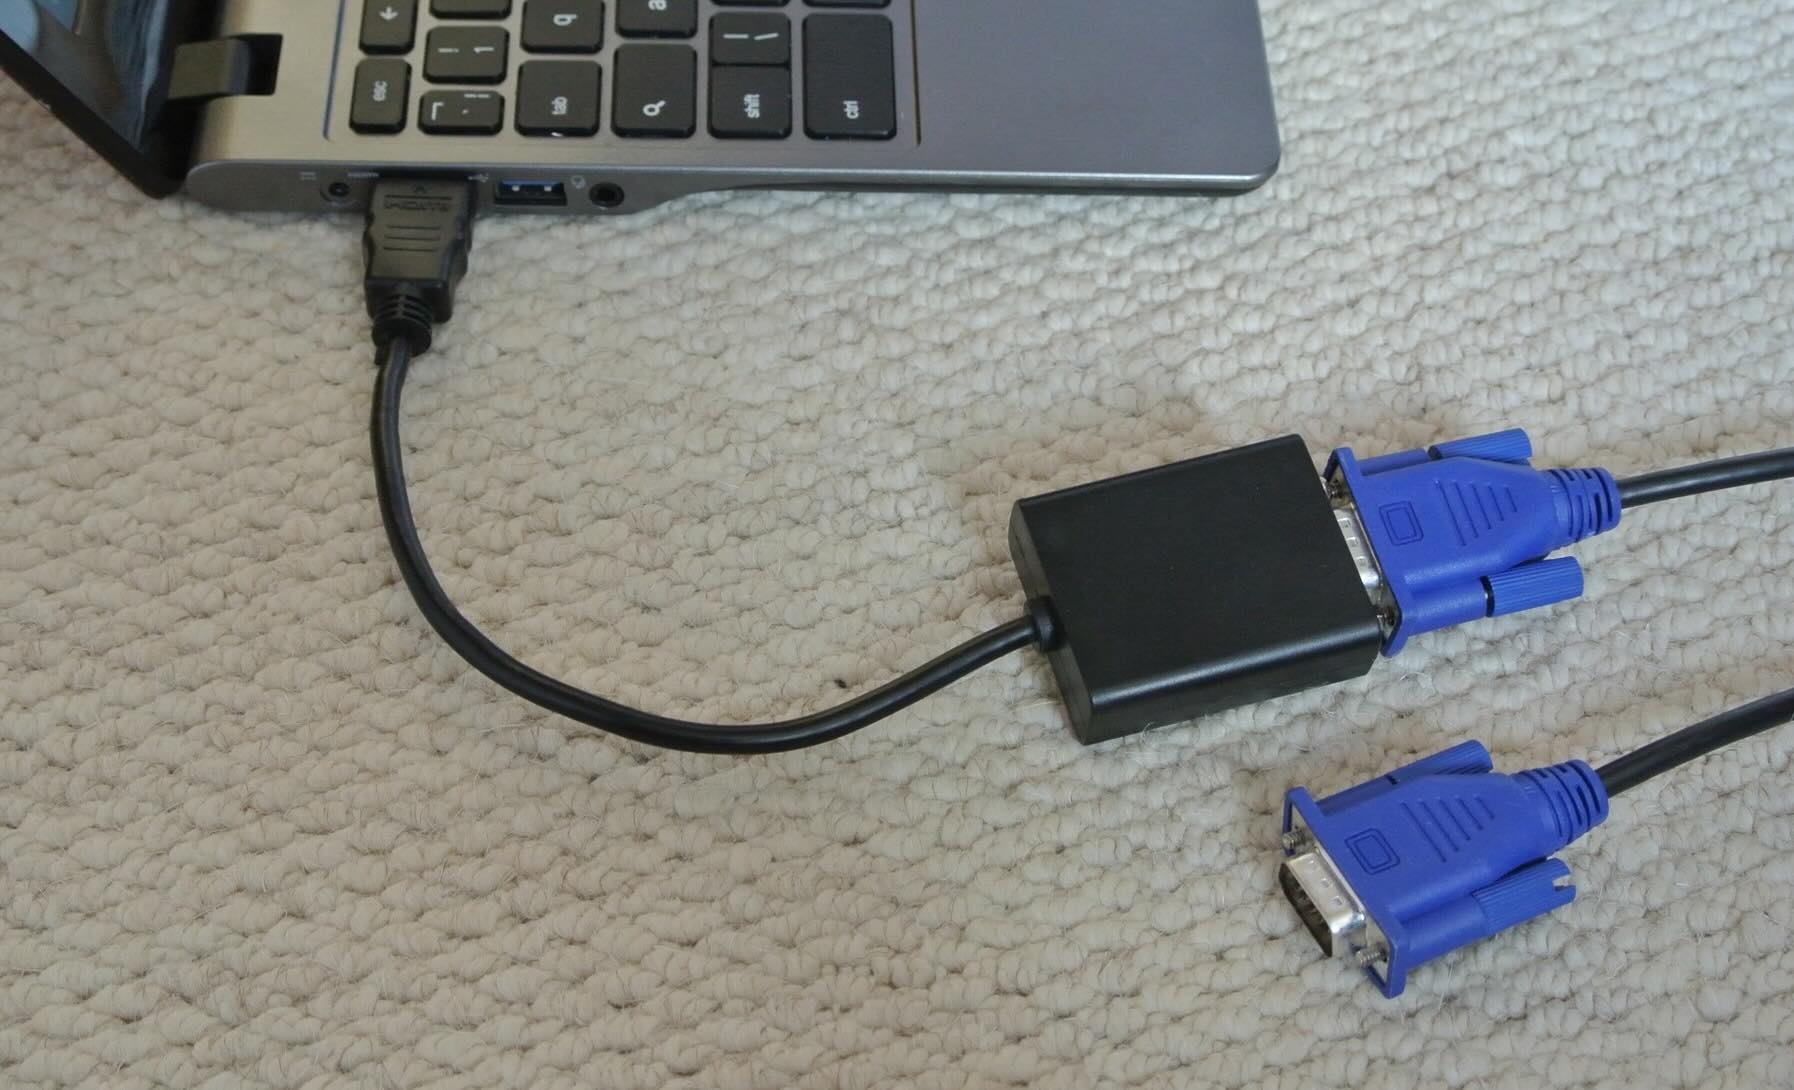
- USB Cable or Wireless Connection: Depending on your preferred method of connection, you will need a USB cable if you plan to establish a direct wired connection between the Munbyn printer and your computer. Alternatively, if you opt for wireless connectivity, ensure that your computer and the Munbyn printer are compatible with the same wireless network.
- Printer Drivers: It’s crucial to have the necessary printer drivers readily available for installation on your computer. These drivers facilitate communication between the Munbyn printer and your computer, enabling seamless printing operations.
- Power Cables and Adapters: Ensure that the Munbyn printer and your computer are both connected to a power source. Verify that all required power cables and adapters are available and functioning correctly.
- Network Credentials (if applicable): If you opt for wireless connectivity, ensure that you have the network credentials, such as the Wi-Fi network name and password, readily available. This information will be essential for establishing a secure and stable wireless connection.
By meticulously gathering these essential components and ensuring that everything is in optimal working condition, you can set the stage for a smooth and successful integration of your Munbyn printer with your computer. With the necessary equipment at your disposal, you are well-prepared to proceed to the next crucial steps in this process. Let’s move forward and delve into the installation of printer drivers to initiate the seamless connection between your Munbyn printer and your computer.
Step 2: Install Printer Drivers
Once you have gathered all the necessary equipment, the next pivotal step in connecting your Munbyn printer to your computer is the installation of printer drivers. These drivers serve as the crucial link between your computer’s operating system and the Munbyn printer, enabling seamless communication and functionality. Here’s a detailed guide on how to install the printer drivers:
- Locate the Printer Drivers: Begin by locating the specific printer drivers designed for your Munbyn printer model. These drivers are typically provided in the form of a CD-ROM or can be downloaded from the official Munbyn website. Ensure that you have the correct drivers compatible with your printer model and your computer’s operating system.
- Insert the Installation Media: If you have received a CD-ROM containing the printer drivers, insert it into your computer’s optical drive. Alternatively, if you are downloading the drivers from the Munbyn website, navigate to the designated download page and follow the instructions to acquire the necessary files.
- Run the Driver Installation Wizard: Once the installation media is inserted or the driver files are downloaded, initiate the installation process by running the driver installation wizard. This typically involves executing the setup file or following the on-screen prompts to commence the installation procedure.
- Follow the Installation Instructions: As the installation wizard launches, carefully follow the on-screen instructions to proceed with the installation. This may involve accepting the end-user license agreement, specifying the installation directory, and configuring additional settings based on your preferences.
- Complete the Installation: After configuring the installation settings, allow the installation wizard to complete the installation of the printer drivers. Once the process is finalized, you will receive a confirmation indicating that the Munbyn printer drivers have been successfully installed on your computer.
- Restart Your Computer (if required): In some cases, it may be necessary to restart your computer to finalize the installation of the printer drivers. If prompted to do so, restart your computer to ensure that the installed drivers are fully integrated into the operating system.
By meticulously following these steps, you can successfully install the essential printer drivers that facilitate seamless communication between your Munbyn printer and your computer. With the drivers in place, your computer is now equipped to recognize and interact with the Munbyn printer, setting the stage for the upcoming crucial step of physically connecting the printer to your computer. Let’s proceed to the next step and initiate the process of establishing a direct connection between your Munbyn printer and your computer.
Make sure to install the necessary printer drivers on your computer before connecting the Munbyn printer. You can usually find the drivers on the manufacturer’s website or on the installation CD that came with the printer. Once the drivers are installed, connect the printer to your computer using a USB cable or through a wireless network.
Step 3: Connect Printer to Computer
With the printer drivers successfully installed on your computer, the next pivotal step in the integration process is to physically connect your Munbyn printer to your computer. Whether you opt for a direct wired connection or a wireless setup, this step is essential for establishing the communication link between the printer and your computer. Here’s a comprehensive guide on how to connect your Munbyn printer to your computer:
- Wired Connection (USB Cable): If you prefer a direct wired connection, begin by locating an available USB port on your computer. Once identified, connect one end of the USB cable to the USB port on your computer and the other end to the corresponding USB port on your Munbyn printer. Ensure that the connections are secure and firmly in place.
- Wireless Connection: Alternatively, if you opt for a wireless setup, ensure that your Munbyn printer is powered on and within range of your wireless network. Access the printer’s control panel or settings interface to initiate the wireless connectivity setup process. Follow the on-screen prompts to select your wireless network and enter the necessary credentials, such as the Wi-Fi network name and password, to establish a secure connection.
- Verify Connection Status: After establishing the physical connection or configuring the wireless setup, verify the connection status to ensure that your Munbyn printer is recognized by your computer. Navigate to your computer’s device settings or control panel and check for the presence of the Munbyn printer in the list of available devices. If the printer is detected, it indicates that the connection has been successfully established.
- Install Additional Software (if required): Depending on your specific printing requirements and the features offered by the Munbyn printer, you may need to install additional software or utilities to optimize the functionality of the printer. Follow the manufacturer’s recommendations and instructions to install any supplementary software that enhances the printing experience.
By meticulously following these steps, you can successfully connect your Munbyn printer to your computer, whether through a direct wired connection using a USB cable or a wireless setup that leverages your existing wireless network. With the printer now seamlessly integrated into your computer environment, you are poised to embark on the final step of this process: conducting a test print to ensure that the connection and functionality are operating as intended. Let’s proceed to the next crucial step and initiate the test print to validate the successful integration of your Munbyn printer with your computer.
Step 4: Test Print
As the final stage in the process of connecting your Munbyn printer to your computer, conducting a test print serves as the definitive validation of the successful integration and functionality of the printer within your smart home environment. By initiating a test print, you can verify that the communication link between your computer and the Munbyn printer is operational, ensuring that you are ready to harness the full potential of this seamless connection. Here’s a comprehensive guide on how to conduct a test print:
- Select a Test Document: Begin by selecting a suitable test document or image that you intend to print as part of the test. This can be a simple text document, a colorful image, or any content that allows you to assess the print quality and functionality of the Munbyn printer.
- Initiate the Print Command: Open the selected test document on your computer and navigate to the print settings or options within the application you are using. Select the Munbyn printer as the designated printing device and configure any additional print settings, such as the number of copies, paper size, and print quality, based on your preferences.
- Monitor the Printing Process: Once the print settings are configured, initiate the print command to send the test document to the Munbyn printer. Observe the printing process closely to ensure that the printer receives the print job and begins processing the document without any errors or interruptions.
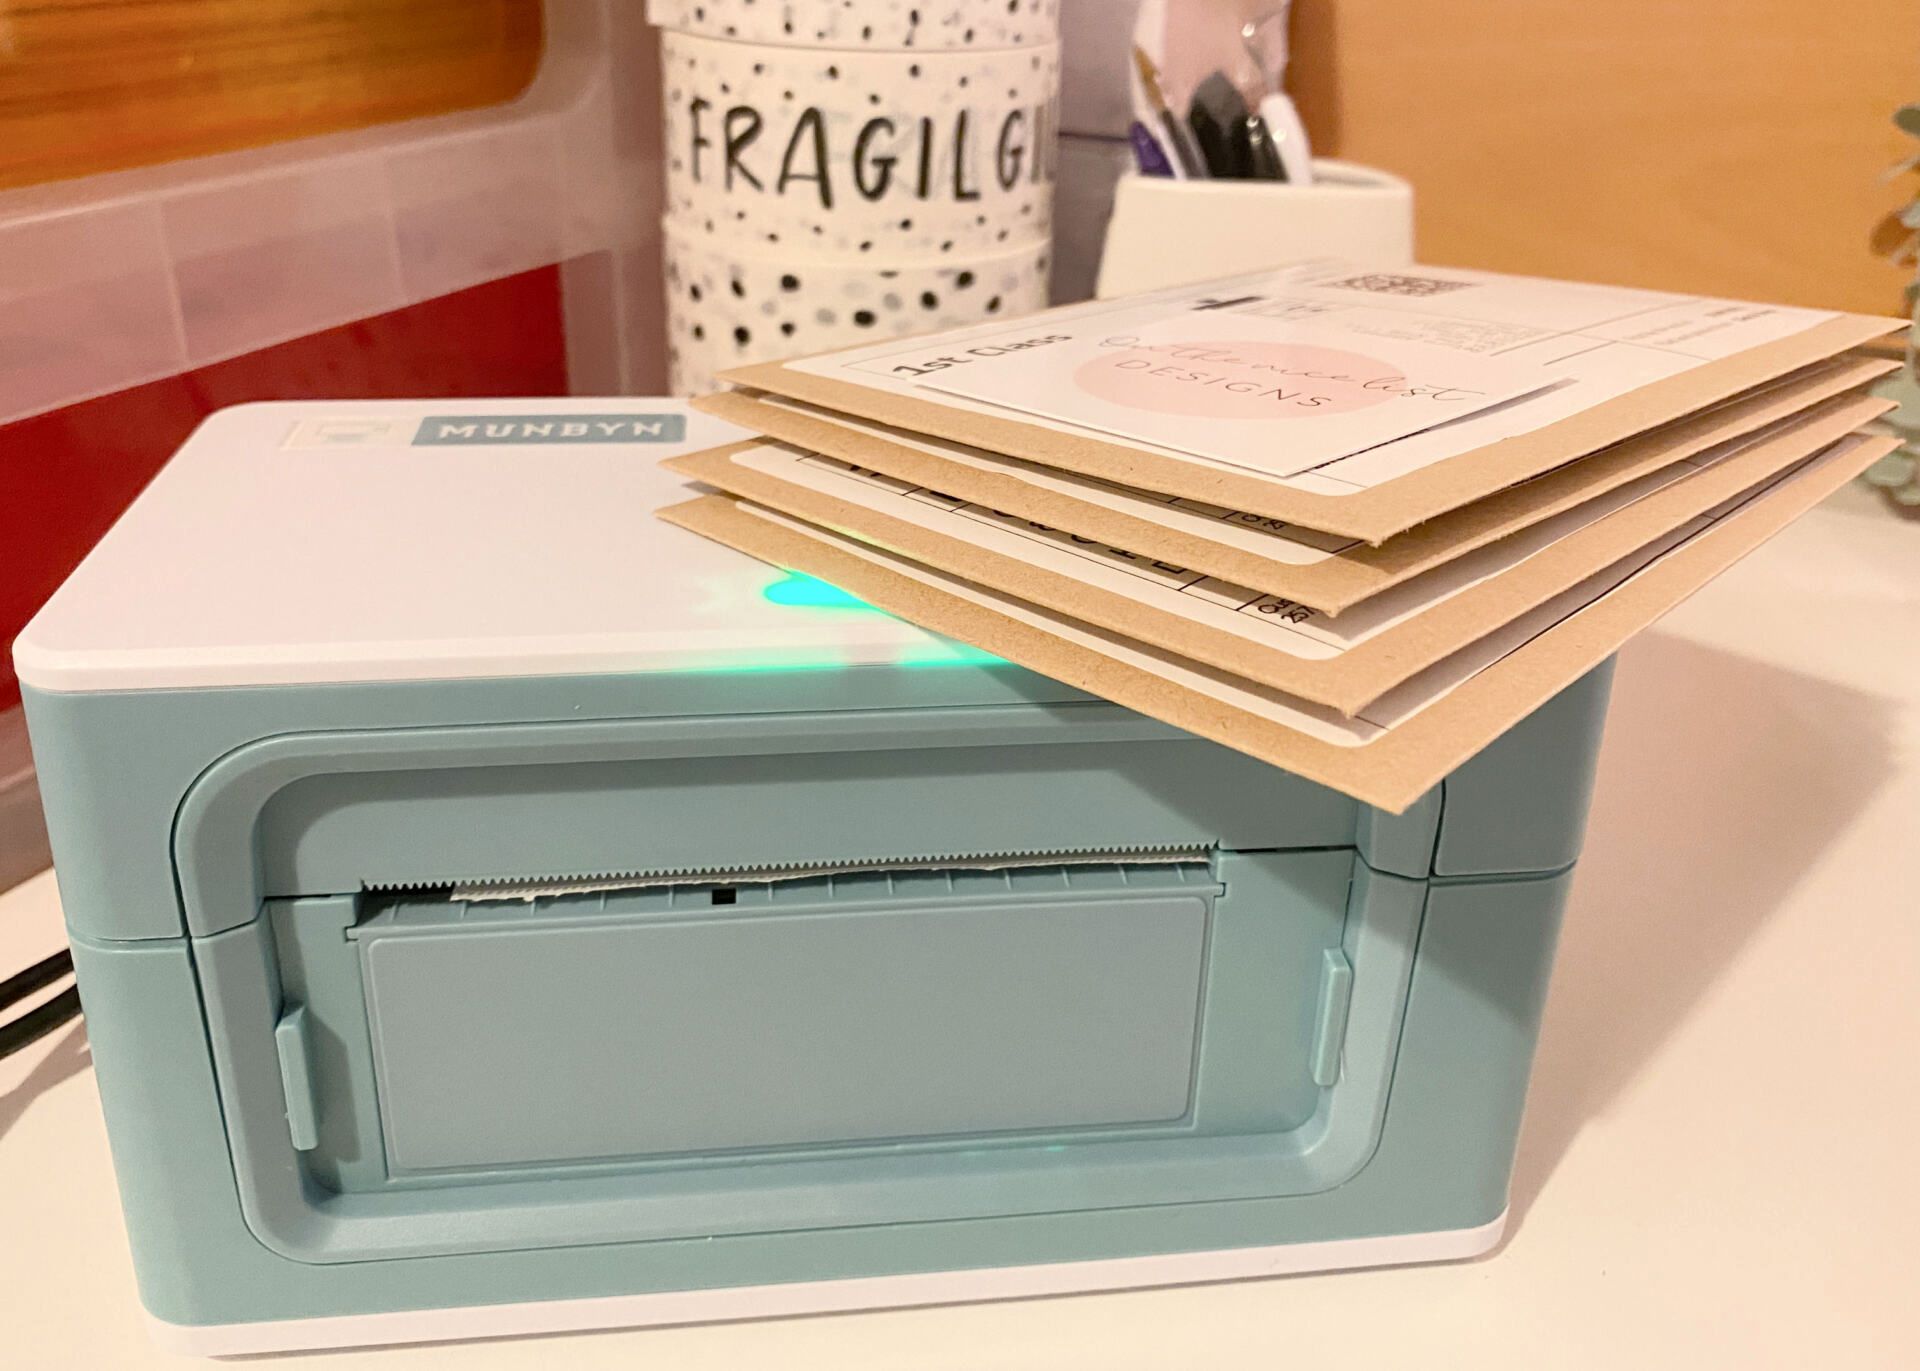
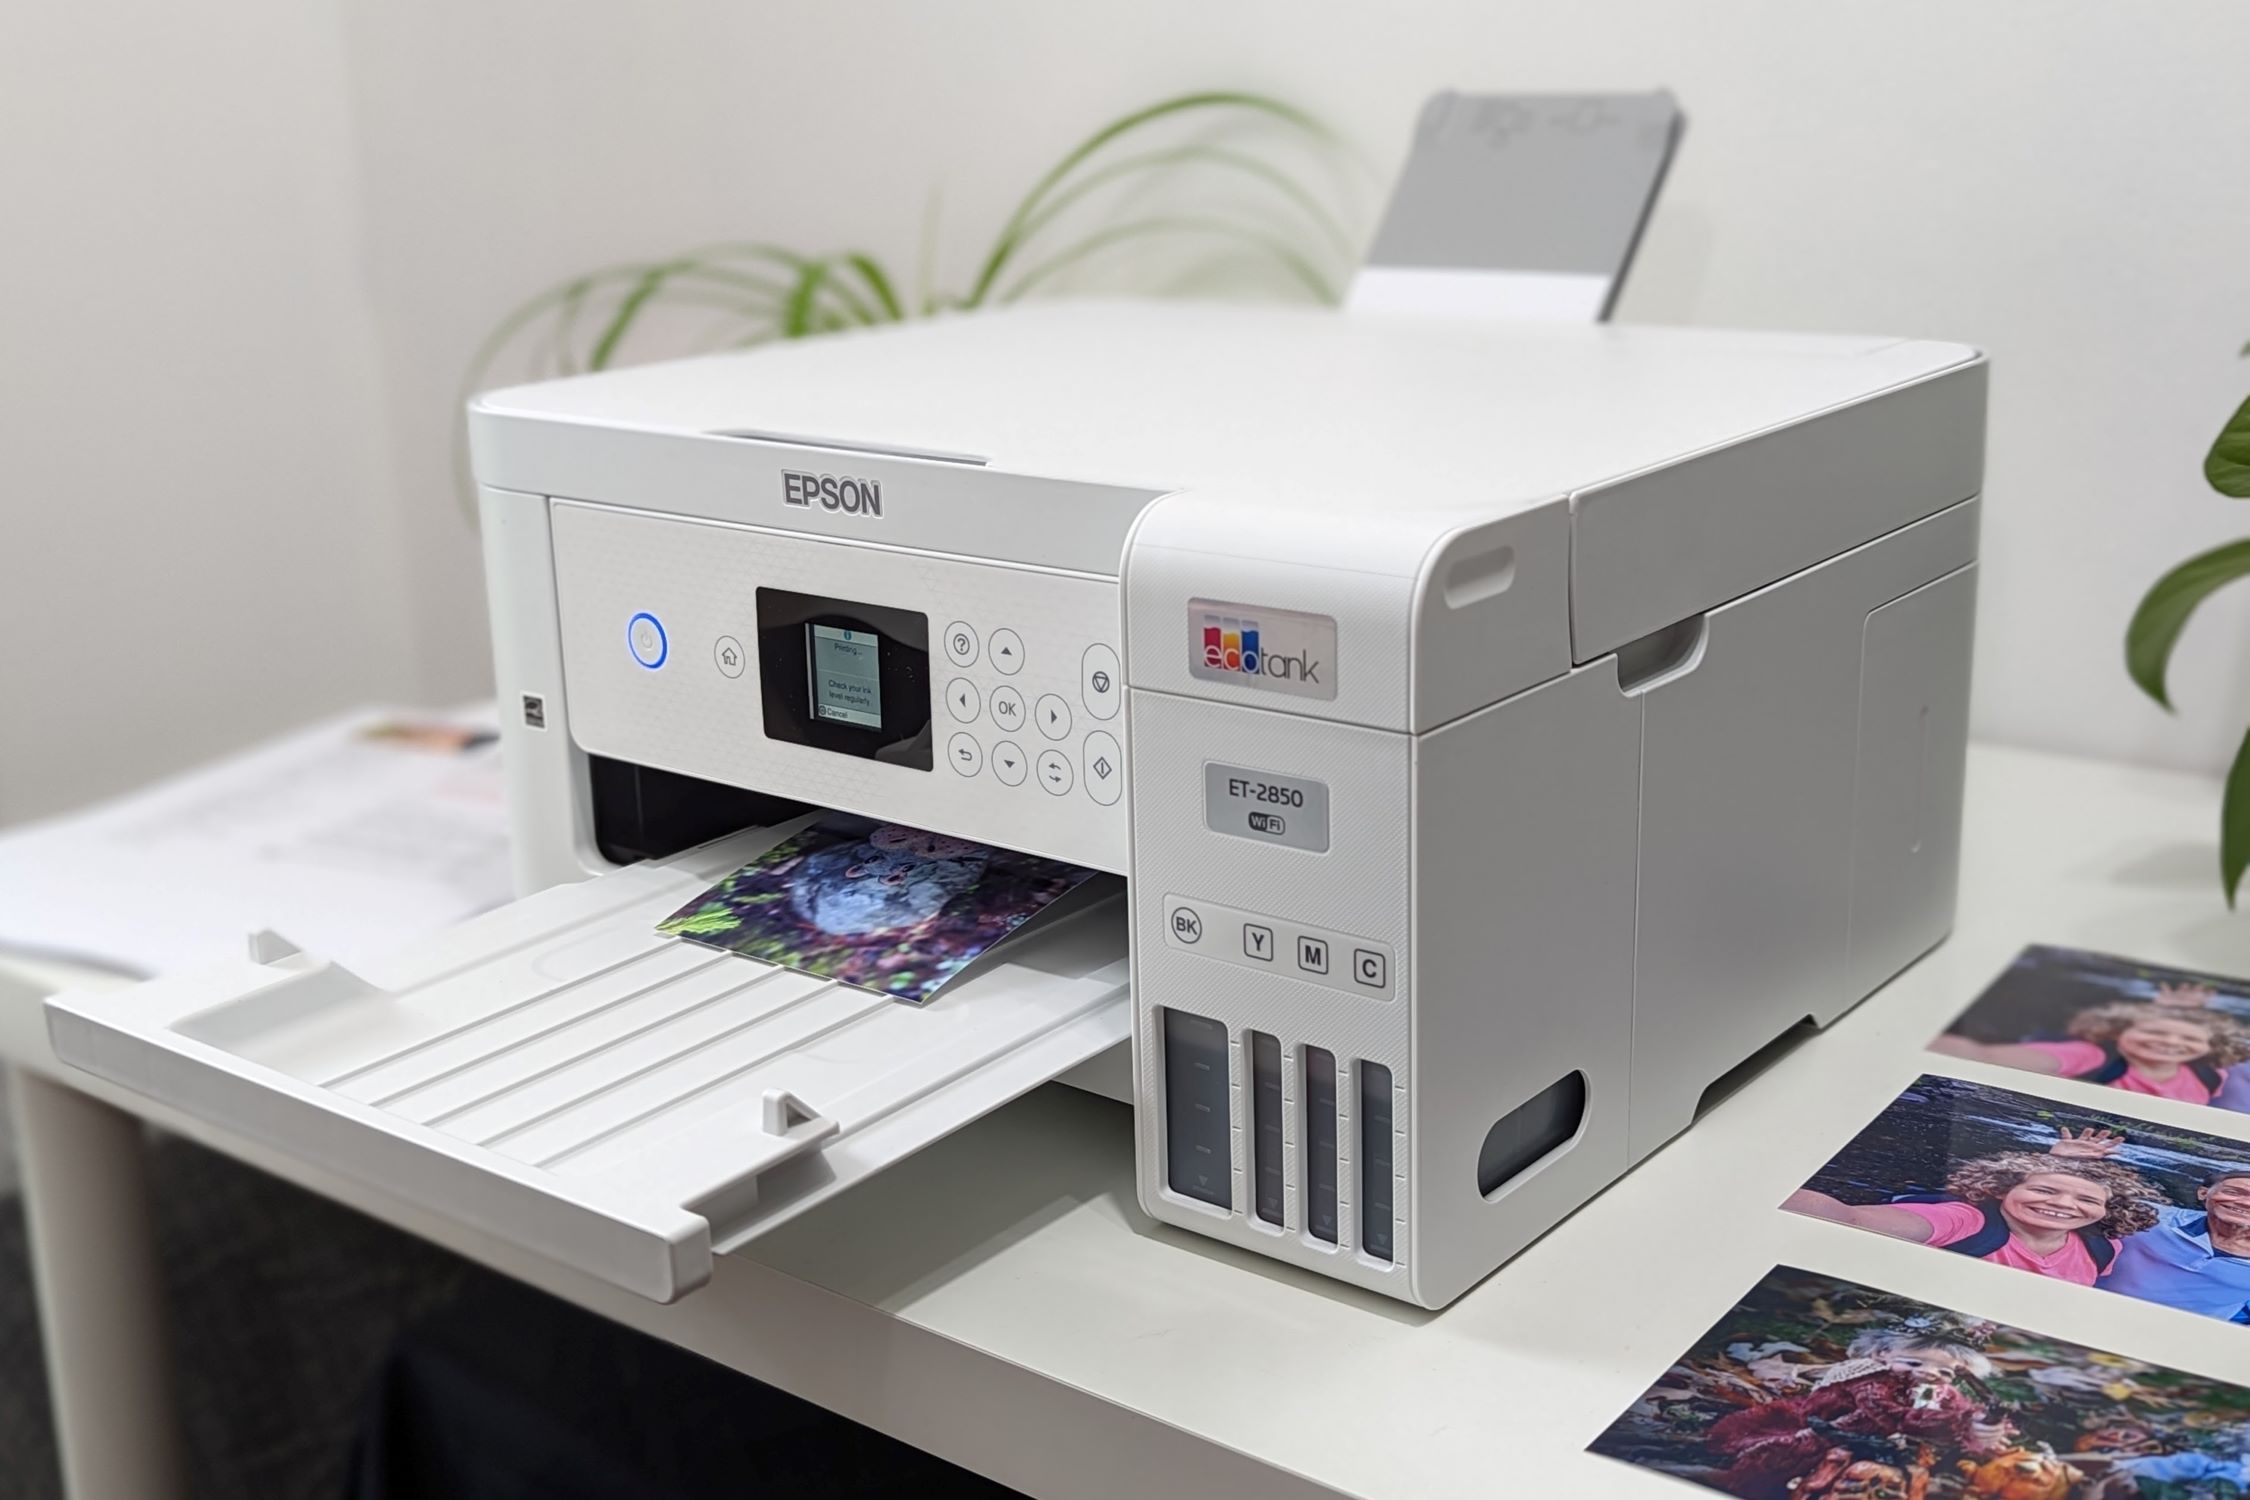
- Inspect the Printed Output: After the printing process is completed, carefully retrieve the printed test document from the Munbyn printer’s output tray. Inspect the printed output for any issues related to print quality, alignment, or color accuracy. Verify that the printed document accurately reflects the content and formatting of the original test document.
- Assess Overall Performance: Evaluate the overall performance of the Munbyn printer based on the printed test document. Pay attention to factors such as print clarity, color vibrancy, and alignment precision to gauge the printer’s functionality and suitability for your printing needs.
By meticulously conducting a test print and assessing the printed output, you can confidently verify the successful integration of your Munbyn printer with your computer. The completion of this test print serves as the definitive confirmation that the printer is fully operational within your smart home environment, ready to fulfill your printing requirements with efficiency and precision. With the test print successfully completed, you have successfully navigated the process of connecting your Munbyn printer to your computer, unlocking a seamless printing experience within your smart home ecosystem.
Congratulations on successfully integrating your Munbyn printer with your computer, ushering in a new era of printing convenience and functionality within your smart home environment. With the printer now seamlessly connected and validated through the test print, you are well-equipped to leverage the full potential of this integration for all your printing needs. Embrace the seamless fusion of technology and convenience as you embark on a journey of efficient printing and document management within your smart home ecosystem.
Conclusion
Congratulations on successfully navigating the process of connecting your Munbyn printer to your computer within your smart home environment. By following the comprehensive steps outlined in this guide, you have unlocked the seamless integration of modern printing technology into your digital ecosystem, setting the stage for efficient document management and printing convenience. As you reflect on this transformative journey, it’s essential to recognize the significance of this integration and the myriad of benefits it brings to your smart home environment.
With your Munbyn printer seamlessly connected to your computer, you now have the power to effortlessly print documents, labels, and shipping labels, leveraging the advanced capabilities of smart printing technology. The fusion of traditional printing with the intelligence of your smart home network offers a harmonious blend of convenience and innovation, empowering you to streamline your daily tasks and enhance your overall productivity.
Embracing the future of printing technology within your smart home environment opens up a world of possibilities, allowing you to harness the power of modern printing capabilities while seamlessly integrating with your digital ecosystem. From creating professional-quality documents to efficiently managing your printing tasks, the integration of your Munbyn printer with your computer marks a significant milestone in enhancing the functionality and connectivity of your smart home devices.
As you embark on this new chapter of seamless printing convenience, remember that the successful integration of your Munbyn printer with your computer is a testament to your adaptability and enthusiasm for embracing innovative technologies. The harmonious coexistence of traditional printing with the intelligence of your smart home network exemplifies the transformative potential of smart home devices in simplifying and enhancing everyday tasks.
With the completion of this integration, you are now poised to explore the myriad of printing possibilities and embrace the efficiency and convenience that smart printing technology brings to your smart home environment. As you embark on this journey, may the seamless connectivity and advanced capabilities of your Munbyn printer and computer integration enrich your daily experiences and elevate the functionality of your smart home ecosystem.
Embrace the future of printing technology within your smart home environment, and revel in the seamless fusion of convenience, innovation, and connectivity as you embark on a journey of efficient printing and document management within your digital ecosystem.
Frequently Asked Questions about How To Connect Munbyn Printer To Computer
Was this page helpful?
At Storables.com, we guarantee accurate and reliable information. Our content, validated by Expert Board Contributors, is crafted following stringent Editorial Policies. We're committed to providing you with well-researched, expert-backed insights for all your informational needs.

0 thoughts on “How To Connect Munbyn Printer To Computer”