Home>Technology>Smart Home Devices>How To Scan From Printer To Computer With Canon
Smart Home Devices
How To Scan From Printer To Computer With Canon
Modified: October 19, 2024
Learn how to easily scan from your Canon printer to your computer using smart home devices. Follow our step-by-step guide for seamless scanning.
(Many of the links in this article redirect to a specific reviewed product. Your purchase of these products through affiliate links helps to generate commission for Storables.com, at no extra cost. Learn more)
Introduction
Welcome to the world of smart home devices, where convenience and innovation intersect to simplify our daily lives. In this article, we will delve into the seamless process of scanning documents from a Canon printer to your computer. As technology continues to evolve, Canon has remained at the forefront of innovation, providing users with intuitive solutions for document management.
Scanning documents from your Canon printer to your computer offers a quick and efficient way to digitize physical copies, enabling easy storage, sharing, and organization. Whether you're digitizing important paperwork or creating digital backups of cherished memories, the process of scanning from your Canon printer to your computer is straightforward and user-friendly.
Throughout this guide, we will navigate the step-by-step process, ensuring that you can effortlessly harness the full potential of your Canon printer. So, let's embark on this journey of seamless document management, where the physical and digital realms converge to simplify your daily workflow.
Key Takeaways:
- Scanning from your Canon printer to your computer is a seamless process that involves connecting the devices, opening the Canon IJ Scan Utility, selecting the scan type, adjusting settings, previewing, and saving the scanned document.
- By utilizing Canon’s intuitive scanning software, you can effortlessly transition physical documents to digital assets, ensuring efficient organization and accessibility within your digital ecosystem.
Read more: How To Scan To My Computer From HP Printer
Step 1: Ensure your Canon printer is connected to your computer
Before initiating the scanning process, it is crucial to ensure that your Canon printer is seamlessly connected to your computer. This connection can be established through various methods, such as a direct USB connection or a wireless network connection.
If you are using a USB connection, simply connect one end of the USB cable to the designated port on your Canon printer and the other end to a compatible USB port on your computer. Once the physical connection is established, your computer should automatically detect the printer, enabling seamless communication between the devices.
Alternatively, if you are utilizing a wireless network connection, ensure that both your Canon printer and computer are connected to the same Wi-Fi network. This wireless connection allows for convenient printing and scanning without the limitations of physical cables.
It is important to verify that your Canon printer is powered on and in a ready state before proceeding with the scanning process. This ensures that the printer is prepared to execute the scanning commands from your computer, facilitating a smooth and efficient workflow.
By ensuring a reliable connection between your Canon printer and computer, you pave the way for a seamless scanning experience, where documents can be effortlessly digitized and stored on your computer with just a few simple steps.
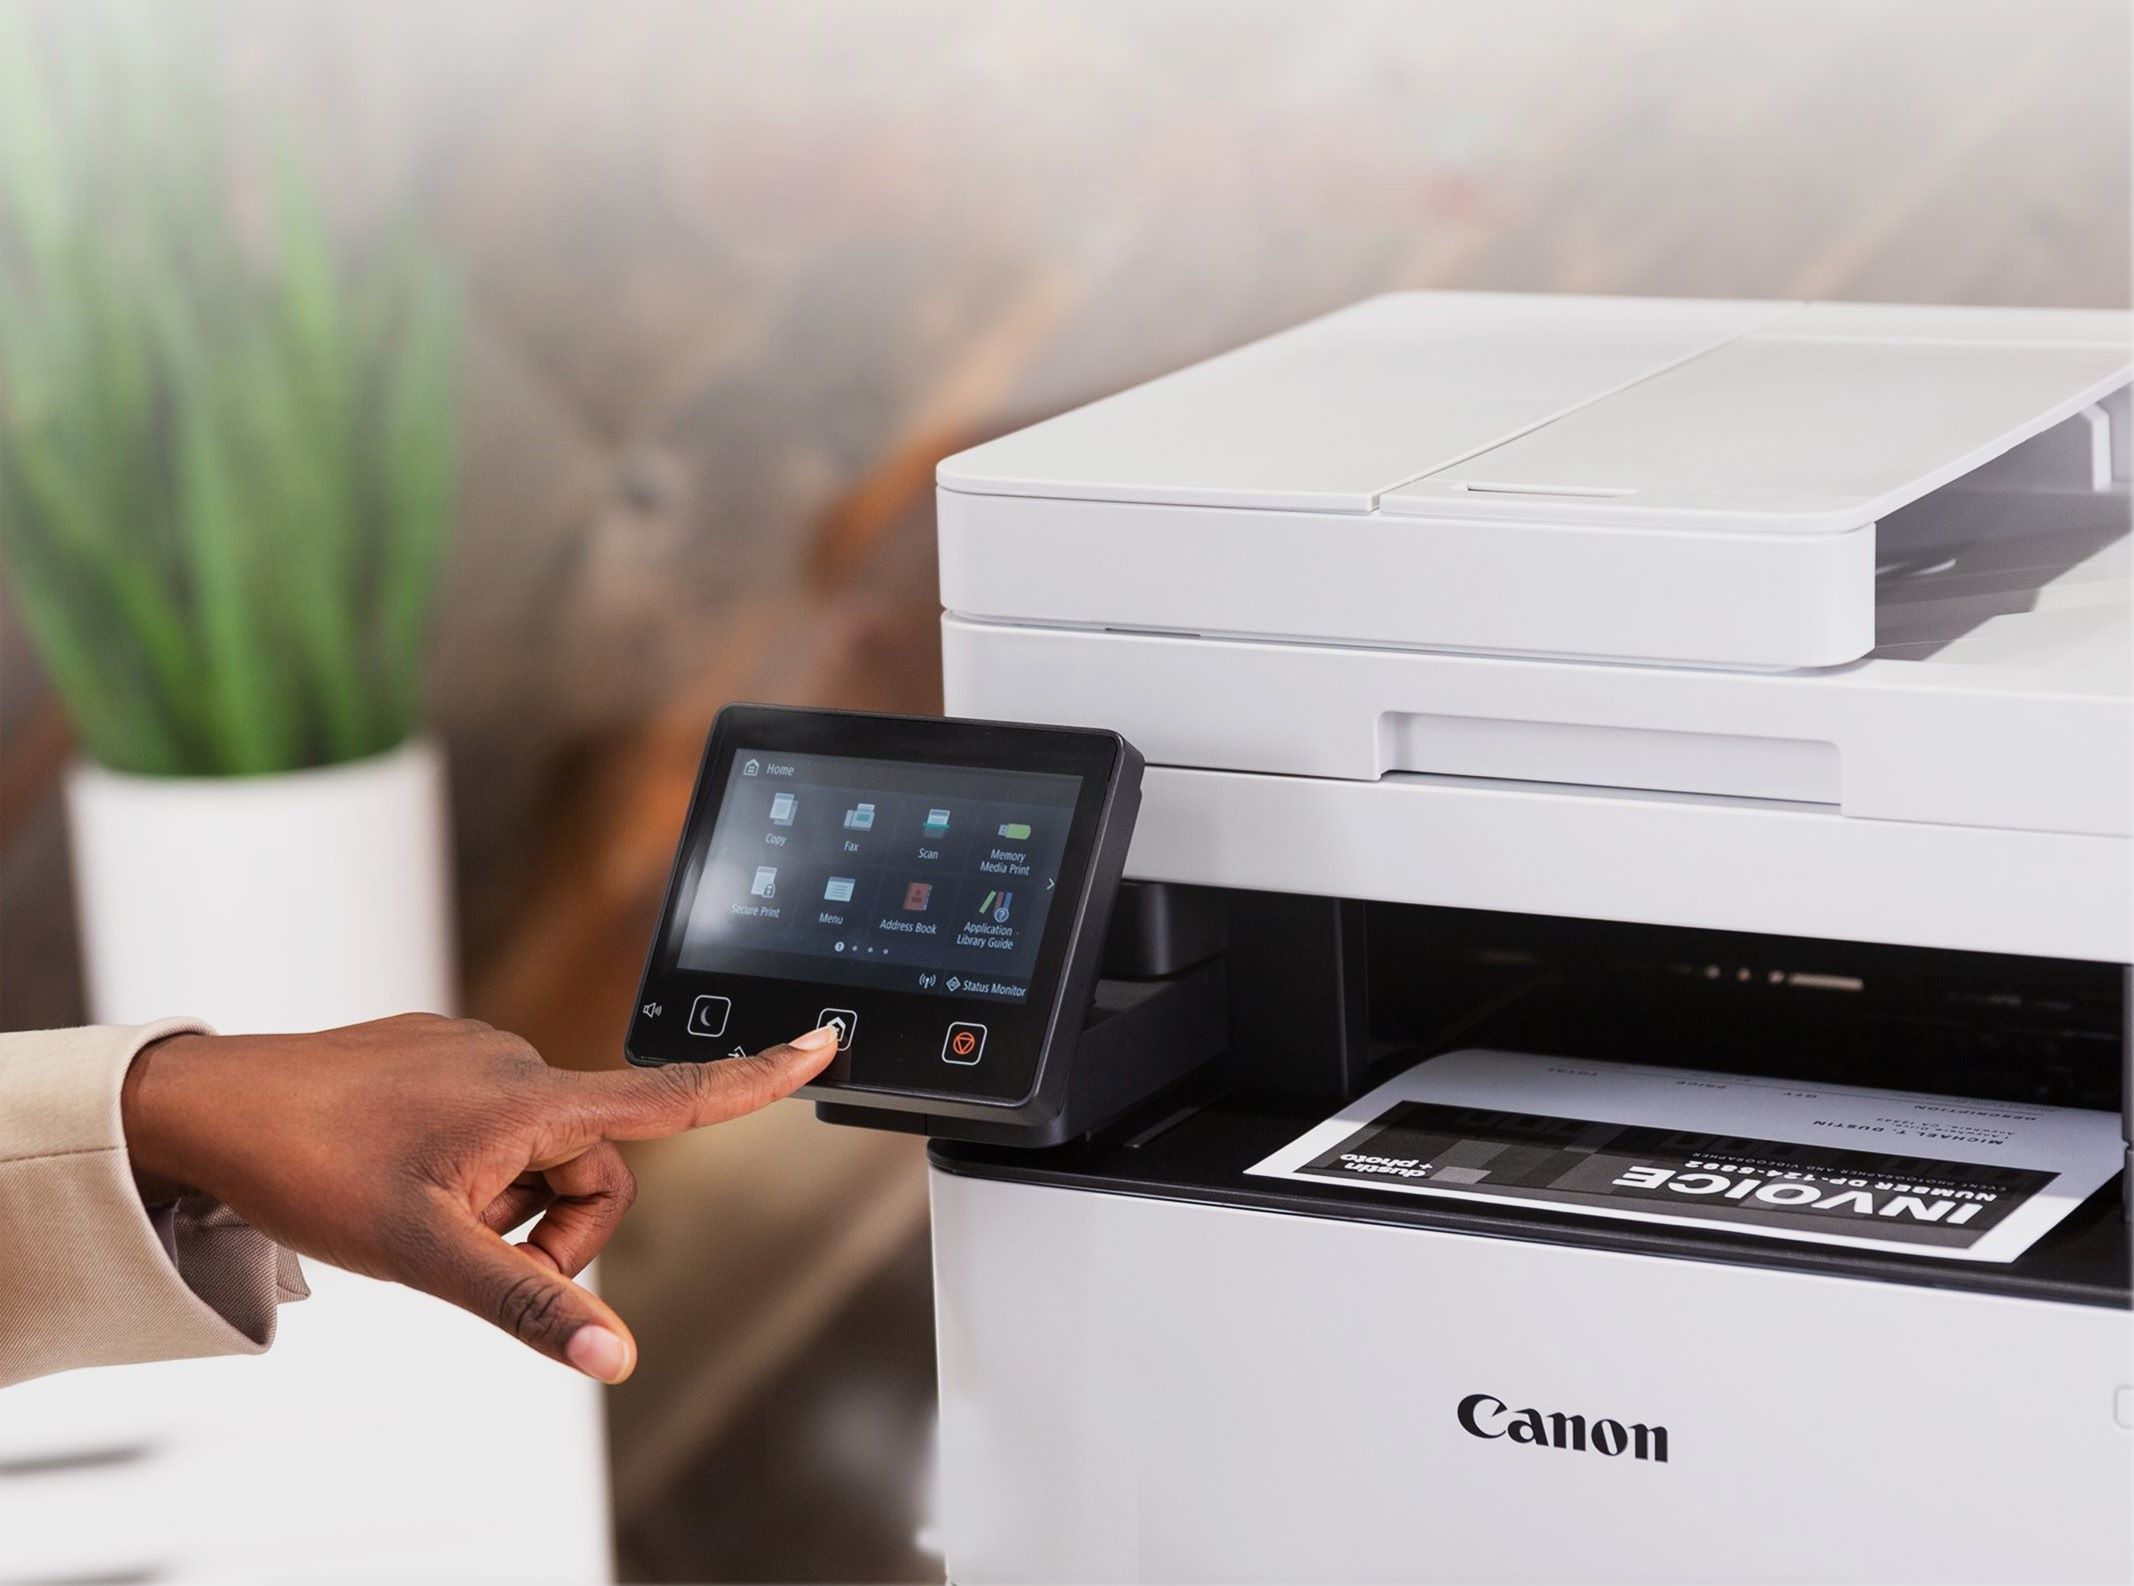
Step 2: Open the Canon IJ Scan Utility
Once your Canon printer is successfully connected to your computer, the next step is to open the Canon IJ Scan Utility, a comprehensive software application designed to facilitate scanning and document management. This utility provides a user-friendly interface, allowing you to initiate scanning tasks with ease.
To open the Canon IJ Scan Utility, navigate to your computer’s list of installed applications and locate the Canon folder. Within the Canon folder, you will find the Canon IJ Scan Utility application. Double-click on the application icon to launch the utility, initiating the interface that empowers you to execute various scanning functions.
Upon launching the Canon IJ Scan Utility, you will be greeted with a range of scanning options, including the ability to perform standard document scans, photo scans, and custom scans tailored to your specific preferences. The intuitive layout of the utility ensures that users of all levels can seamlessly navigate the scanning process, making it an accessible tool for both personal and professional use.
By opening the Canon IJ Scan Utility, you gain access to a versatile platform that empowers you to harness the full potential of your Canon printer’s scanning capabilities. Whether you are digitizing important documents or preserving cherished memories, the utility serves as a gateway to efficient and reliable document management.
With the Canon IJ Scan Utility at your fingertips, you are poised to embark on a scanning journey that transcends the traditional boundaries of physical documentation, ushering in a new era of digital convenience and accessibility.
Step 3: Select the type of scan
After launching the Canon IJ Scan Utility, the next pivotal step in the scanning process is to select the type of scan that aligns with your specific requirements. Canon’s intuitive scanning software offers a range of scanning options, catering to diverse document types and purposes.
When prompted to select the type of scan, you will be presented with several predefined scan modes, each tailored to address distinct document types. These may include options such as “Document Scan,” “Photo Scan,” “Custom Scan,” and more, ensuring that you can optimize the scanning process based on the nature of the content being digitized.
If you are scanning standard documents, the “Document Scan” mode is ideal for capturing text-based content with precision and clarity. On the other hand, the “Photo Scan” mode is designed to preserve the vibrant details and colors of photographs, making it the preferred choice for digitizing visual memories.
For more specialized scanning requirements, the “Custom Scan” mode empowers you to tailor the scanning parameters to suit your unique preferences. This customizable approach enables you to fine-tune settings such as resolution, file format, and color depth, ensuring that the scanned output meets your exact specifications.
By selecting the appropriate scan type, you lay the foundation for a tailored scanning experience that optimally addresses the characteristics of the documents or images being scanned. This thoughtful selection process sets the stage for high-quality digitization, preserving the essence of the original content with precision and fidelity.
With Canon’s versatile scan modes at your disposal, you can confidently embark on the scanning journey, knowing that the chosen scan type aligns perfectly with the nature of the content you aim to digitize.
Make sure your Canon printer is connected to your computer. Place the document on the scanner glass or in the automatic document feeder. Open the Canon scanning software on your computer and select the type of scan you want. Press the scan button to start the process.
Step 4: Adjust scan settings
Once you have selected the type of scan that best suits your document or image, the next step involves fine-tuning the scan settings to ensure that the digitized output meets your precise requirements. Canon’s scanning software provides a wealth of adjustable settings, empowering you to customize the scanning process according to your preferences.
Among the key scan settings that you can adjust are the resolution, document type, color mode, and file format. The resolution setting dictates the level of detail captured during the scanning process, with higher resolutions preserving finer nuances and textures, ideal for intricate documents or high-quality images.
Furthermore, the document type setting allows you to specify whether you are scanning a document, photo, or other specialized content, enabling the software to optimize the scanning parameters accordingly. This tailored approach ensures that the scanning process is attuned to the specific characteristics of the material being digitized.
Color mode settings offer the flexibility to choose between color, grayscale, or black and white scanning, accommodating diverse content types and preferences. Whether you seek to capture vivid hues, nuanced grayscale tones, or monochromatic precision, the color mode settings cater to a spectrum of visual requirements.
Additionally, the choice of file format is a pivotal consideration, as it determines the digital output’s compatibility and quality. Canon’s scanning software supports popular file formats such as PDF and JPEG, offering versatility in preserving scanned content in formats suitable for various applications and devices.
By adjusting the scan settings with precision and care, you ensure that the scanning process aligns harmoniously with your vision for the digitized output. This meticulous customization paves the way for scanned documents and images that faithfully capture the essence and intricacies of the original content.
With Canon’s comprehensive array of adjustable scan settings, you possess the tools to tailor the scanning process to your exact specifications, fostering a seamless transition from physical documents to digital assets.
Read more: How To Scan On Mac With Canon Printer
Step 5: Preview and scan
As you approach the culmination of the scanning process, the pivotal step of previewing and executing the scan awaits. Canon’s scanning software empowers you to preview the scanned document or image before finalizing the digitization, ensuring that the output meets your expectations and specifications.
Upon configuring the scan settings to your desired parameters, the software provides a preview of the scanned content, allowing you to assess the visual fidelity, composition, and overall quality of the digitized output. This preview functionality serves as a valuable checkpoint, enabling you to make any necessary adjustments before committing to the final scan.
During the preview stage, you have the opportunity to verify that the document or image is accurately captured, with details preserved to your satisfaction. This visual confirmation ensures that the digitized output faithfully mirrors the essence of the original content, upholding the integrity and clarity of the scanned material.
Once you have reviewed the preview and ensured that the scanned content meets your standards, you can proceed to execute the scan with confidence. The software seamlessly initiates the scanning process, capturing the document or image with precision and efficiency, translating the physical content into a digital representation on your computer.
By embracing the preview and scan stage, you exercise meticulous oversight over the digitization process, affirming that the scanned output aligns seamlessly with your expectations. This thoughtful approach elevates the scanning experience, empowering you to preserve documents and images with uncompromising accuracy and fidelity.
With Canon’s intuitive scanning software guiding you through the preview and scan phase, you embark on a seamless transition from physical to digital, harnessing the power of technology to preserve and manage your valuable content with ease.
Step 6: Save the scanned document
Upon completing the scanning process, the final step entails saving the scanned document to your computer, ensuring that the digitized content is securely preserved and readily accessible for future use. Canon’s scanning software offers a streamlined approach to saving scanned documents, providing flexibility in file management and organization.
After the scan is executed, the software presents you with the option to specify the destination folder and file name for the scanned document. This pivotal stage allows you to designate a location on your computer where the scanned file will be stored, facilitating easy retrieval and seamless integration into your digital workflow.
When choosing the destination folder, consider creating a dedicated repository for scanned documents, promoting efficient organization and accessibility. By structuring your digital filing system, you can categorize scanned content based on relevance, projects, or document types, enhancing the overall manageability of your digital archive.
Furthermore, assigning a descriptive and meaningful file name to the scanned document contributes to its recognizability and relevance within your digital repository. Clear and concise file naming conventions enable swift identification and retrieval, streamlining your document management endeavors.
Canon’s scanning software supports popular file formats such as PDF and JPEG, allowing you to select the most suitable format for the scanned document based on your intended usage. Whether you seek a universally compatible PDF for professional documentation or a JPEG for visual content, the software accommodates diverse file format preferences.
By saving the scanned document with meticulous attention to destination, file name, and format, you fortify the foundations of your digital document management, fostering a cohesive and accessible repository of digitized content. Canon’s user-friendly software empowers you to seamlessly integrate scanned documents into your digital ecosystem, unlocking the potential for streamlined organization and retrieval.
With the scanning process culminating in the secure preservation of the digitized document on your computer, you have successfully bridged the realms of physical and digital, harnessing Canon’s innovative solutions to streamline document management with precision and ease.
Conclusion
Embarking on the journey of scanning documents from your Canon printer to your computer unveils a realm of seamless digitization, where physical content is transformed into versatile digital assets with precision and ease. Canon’s commitment to innovation and user-centric design is exemplified through the intuitive scanning process, facilitated by the Canon IJ Scan Utility.
By ensuring that your Canon printer is connected to your computer, opening the Canon IJ Scan Utility, selecting the appropriate scan type, adjusting scan settings, previewing and executing the scan, and saving the scanned document, you have navigated a comprehensive and streamlined workflow that harmoniously integrates physical and digital realms.
As you harness the power of Canon’s scanning software, you unlock a realm of possibilities for efficient document management, empowering you to preserve, organize, and share content with unparalleled convenience. Whether you are digitizing essential paperwork, capturing cherished memories, or creating a digital archive of visual content, the scanning process seamlessly aligns with your diverse needs and aspirations.
The meticulous customization and user-friendly interface of Canon’s scanning software ensure that every step of the scanning process is infused with precision and accessibility, fostering a seamless transition from physical to digital. As you save the scanned documents to your computer, you lay the foundation for a cohesive and organized digital repository, where valuable content awaits at your fingertips.
In conclusion, the process of scanning from your Canon printer to your computer transcends the realms of mere digitization, offering a gateway to effortless document management and preservation. With Canon’s innovative solutions at your disposal, the seamless convergence of physical and digital content becomes a reality, empowering you to navigate the digital landscape with confidence and ease.
Embrace the transformative capabilities of Canon’s scanning technology, and embark on a journey where the boundaries between the tangible and digital dissolve, giving rise to a harmonious and efficient approach to document management.
Frequently Asked Questions about How To Scan From Printer To Computer With Canon
Was this page helpful?
At Storables.com, we guarantee accurate and reliable information. Our content, validated by Expert Board Contributors, is crafted following stringent Editorial Policies. We're committed to providing you with well-researched, expert-backed insights for all your informational needs.


0 thoughts on “How To Scan From Printer To Computer With Canon”