Home>Technology>Home Entertainment Systems>How To Connect Roku 3 To A Home Theater System
Home Entertainment Systems
How To Connect Roku 3 To A Home Theater System
Modified: August 16, 2024
Learn how to easily connect your Roku 3 to a home entertainment system for an immersive viewing experience. Follow our step-by-step guide now!
(Many of the links in this article redirect to a specific reviewed product. Your purchase of these products through affiliate links helps to generate commission for Storables.com, at no extra cost. Learn more)
Introduction
Setting up a Roku 3 with a home theater system can elevate your entertainment experience to new heights. By seamlessly integrating the Roku 3 streaming player with your home theater setup, you can enjoy a wide array of streaming content, including movies, TV shows, music, and more, all in stunning high-definition quality. Whether you're a movie buff, a sports enthusiast, or a music lover, connecting your Roku 3 to your home theater system opens up a world of entertainment possibilities right in the comfort of your living room.
The Roku 3 is a versatile streaming device that offers access to popular streaming services such as Netflix, Hulu, Amazon Prime Video, and many others. With its user-friendly interface and intuitive navigation, the Roku 3 provides a convenient way to stream your favorite content directly to your TV. When paired with a home theater system, the Roku 3 can deliver immersive audio and video experiences that rival traditional cable or satellite TV services.
In this guide, we will walk you through the step-by-step process of connecting your Roku 3 to your home theater system. Whether you're a tech-savvy enthusiast or a novice in the world of home entertainment setups, this guide will provide you with clear and concise instructions to ensure a seamless integration of your Roku 3 with your home theater system. By following these steps, you'll be able to enjoy the full potential of your Roku 3 and create a captivating home theater experience that caters to your entertainment preferences.
So, grab your favorite snacks, settle into your comfiest spot on the couch, and get ready to embark on a journey to unlock the full potential of your home entertainment system with the Roku 3. Let's dive into the process of connecting and optimizing your Roku 3 for an unparalleled home theater experience.
Key Takeaways:
- Elevate your home entertainment with Roku 3 by seamlessly connecting it to your home theater system. Enjoy a wide array of streaming content in stunning high-definition quality for an immersive experience.
- Gather the necessary cables and equipment, follow step-by-step instructions to connect Roku 3 to your home theater system, and optimize audio settings for a captivating home theater experience.
Step 1: Gather the Necessary Cables and Equipment
Before embarking on the exciting journey of connecting your Roku 3 to your home theater system, it's essential to gather the required cables and equipment to ensure a smooth setup process. Here's a comprehensive list of the necessary items you'll need to gather:
-
Roku 3 Streaming Player: The heart of your streaming experience, the Roku 3 offers a wide range of features and capabilities, including access to various streaming services, a user-friendly interface, and high-definition video playback.
-
HDMI Cable: To establish a high-quality audio and video connection between the Roku 3 and your TV, you'll need an HDMI cable. This cable will transmit both audio and video signals, delivering a crisp and immersive viewing experience.
-
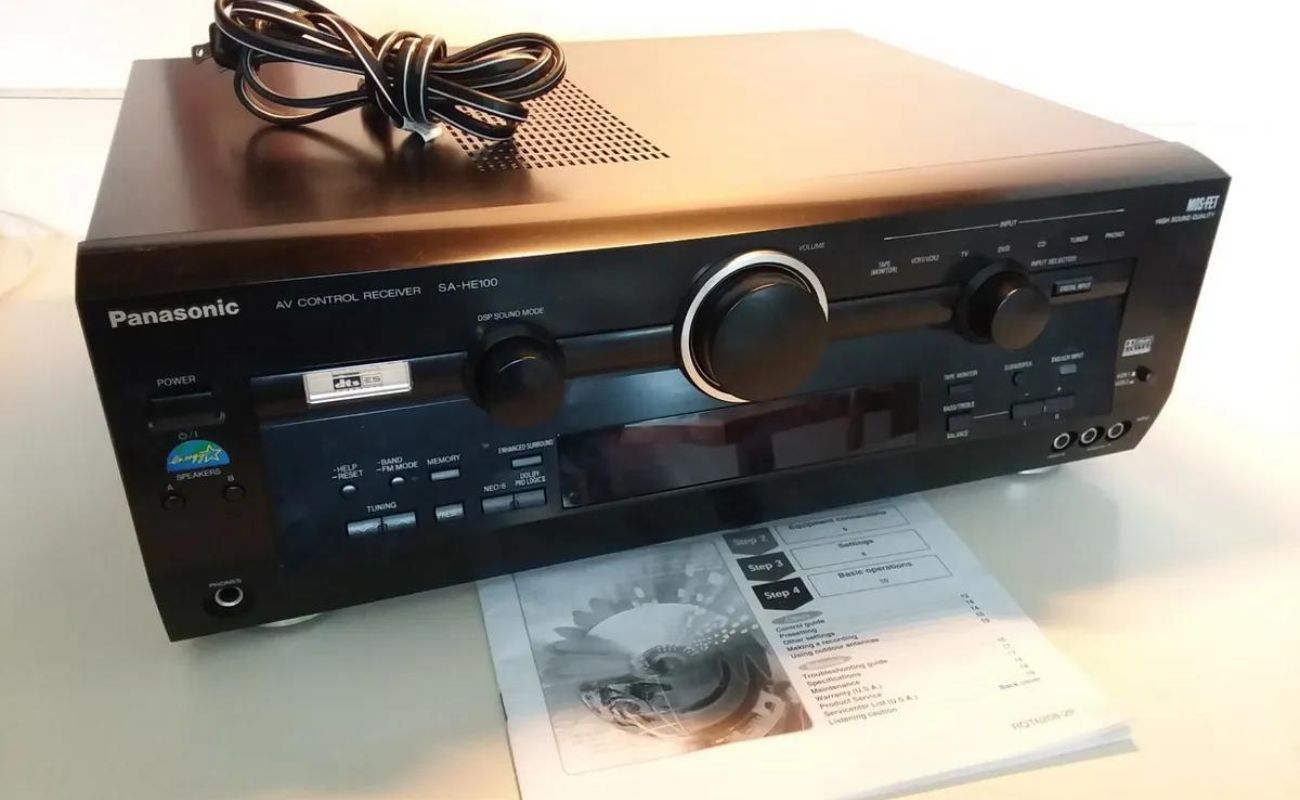
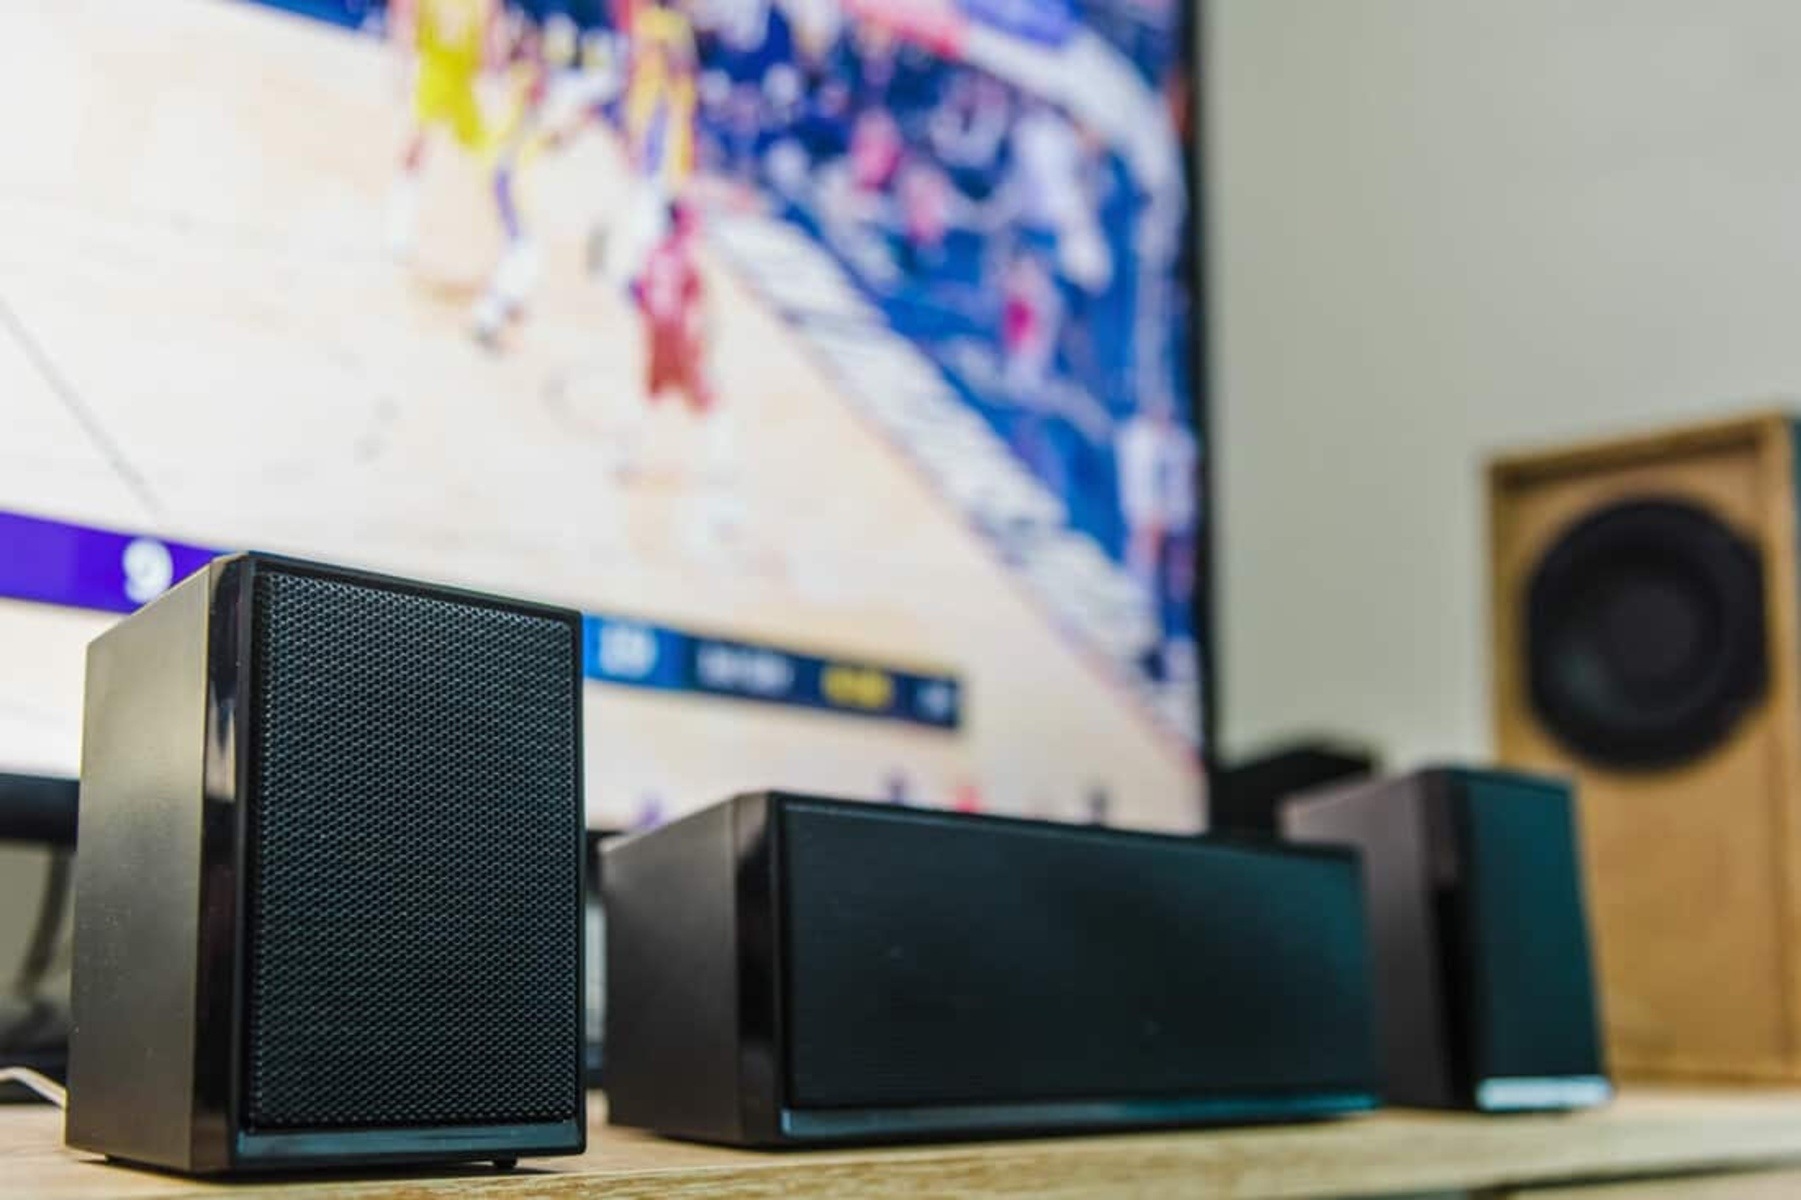
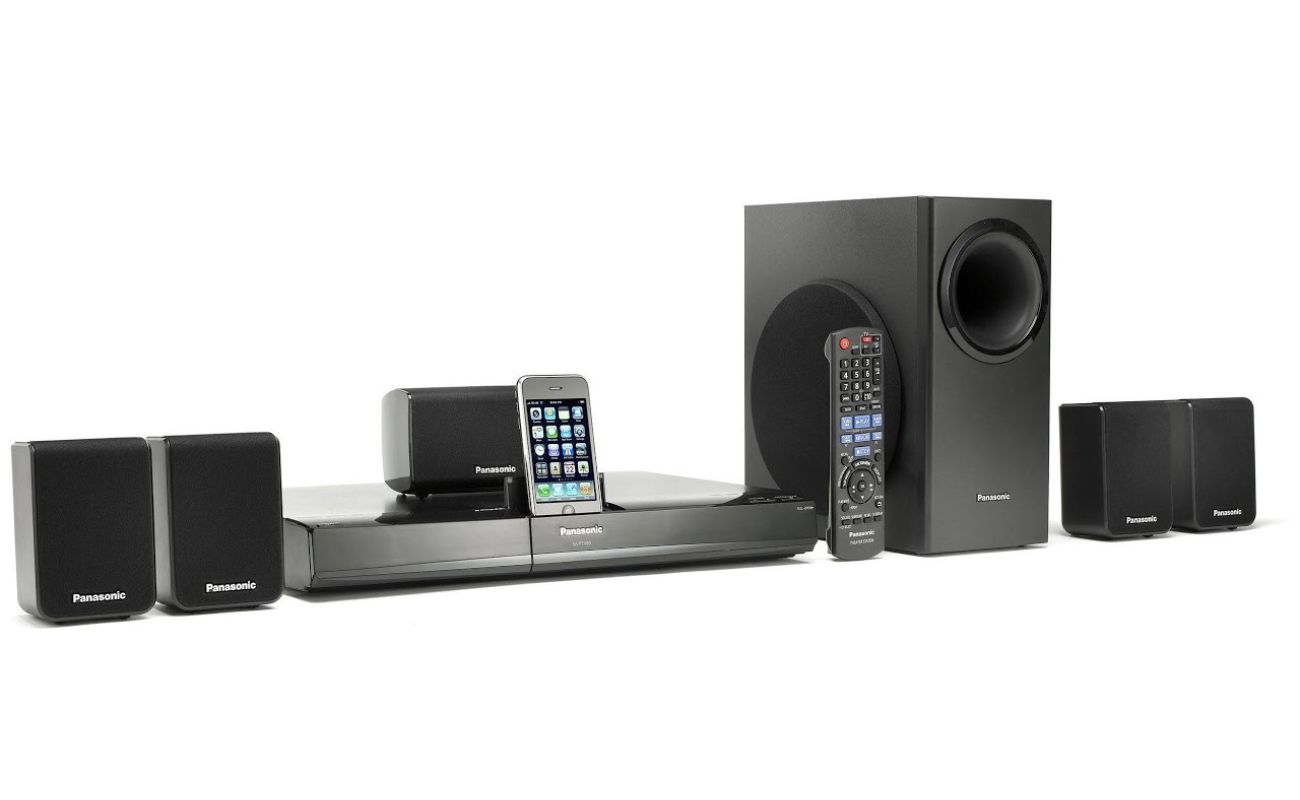
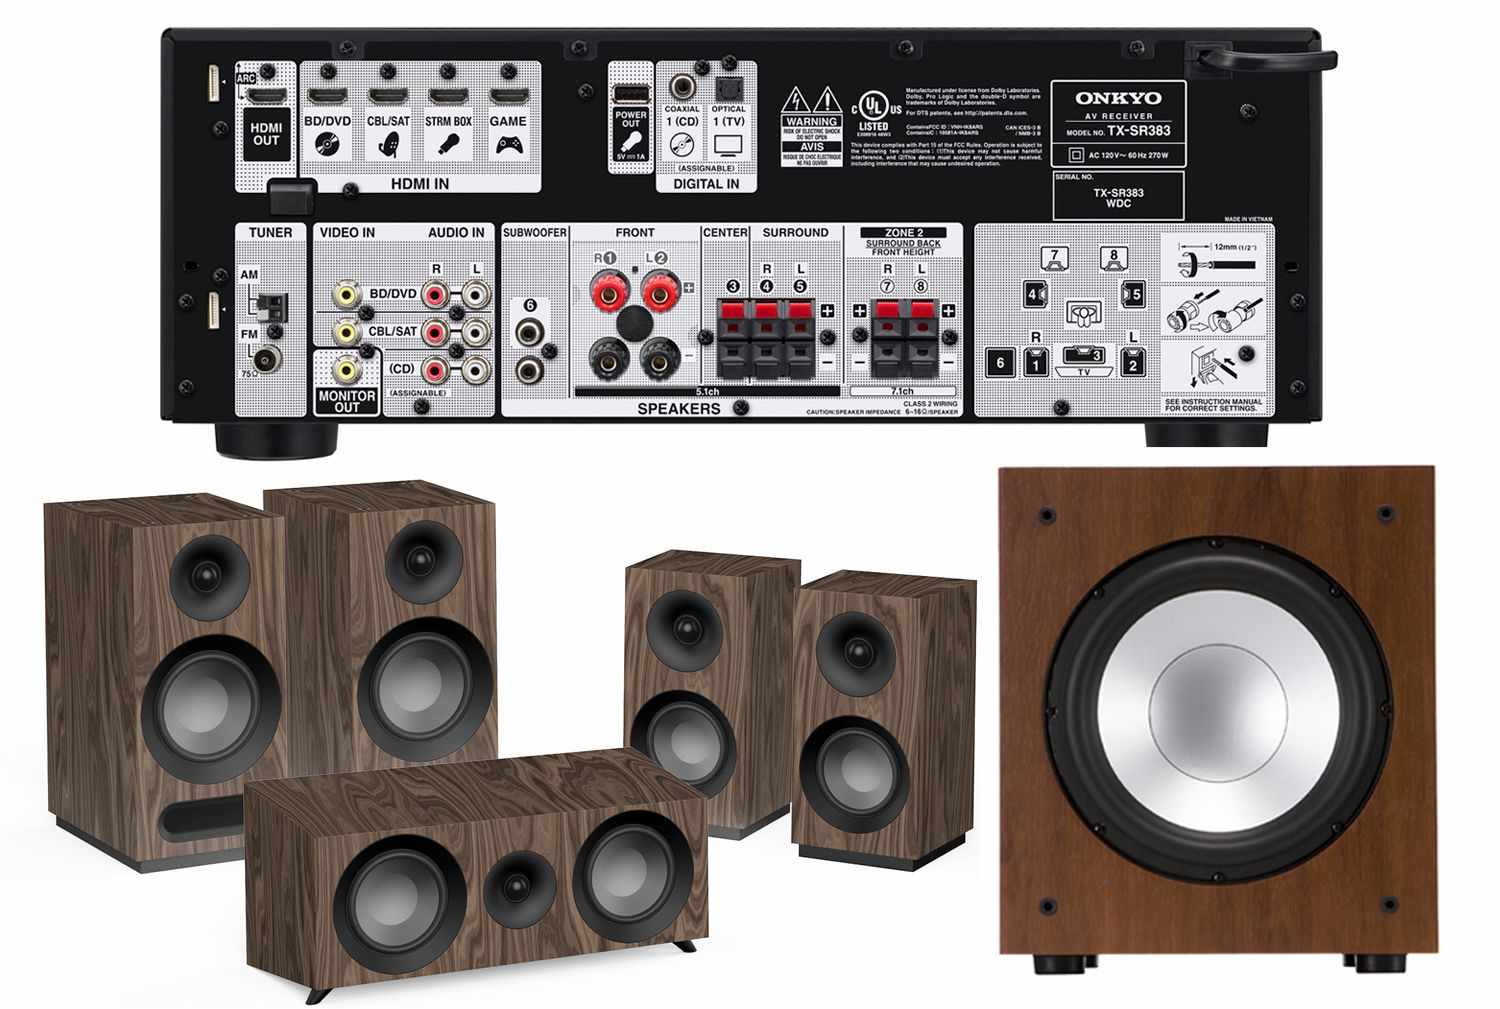
Home Theater Receiver or Soundbar: Depending on your home theater setup, you'll need a compatible home theater receiver or soundbar to handle the audio output from the Roku 3. A receiver or soundbar enhances the audio quality, providing rich, surround sound for a truly cinematic experience.
-
TV with HDMI Input: Ensure that your TV has an available HDMI input port to connect the Roku 3. Most modern TVs are equipped with multiple HDMI ports, allowing you to easily integrate external devices such as the Roku 3.
-
Power Adapter and Cable: The Roku 3 comes with a power adapter and cable for powering the device. Make sure to have these components ready for the setup process.
-
Internet Connection: To stream content through the Roku 3, you'll need a reliable internet connection. Whether it's a wired Ethernet connection or a wireless Wi-Fi connection, ensure that your home network is up and running.
By gathering these essential cables and equipment, you'll be well-prepared to proceed with the setup process. Having everything at hand will streamline the connection process and minimize any potential interruptions. With the necessary components in place, you're ready to move on to the next step of connecting the Roku 3 to your home theater system.
Step 2: Connect the Roku 3 to the Home Theater System
Now that you've gathered all the necessary cables and equipment, it's time to dive into the exciting process of connecting your Roku 3 to your home theater system. Follow these steps to seamlessly integrate the Roku 3 with your existing setup:
-
Locate the HDMI Port: Begin by identifying an available HDMI input port on your TV. Most modern TVs feature multiple HDMI ports, typically located on the back or side of the TV. Take note of which HDMI port you'll be using to connect the Roku 3.
-
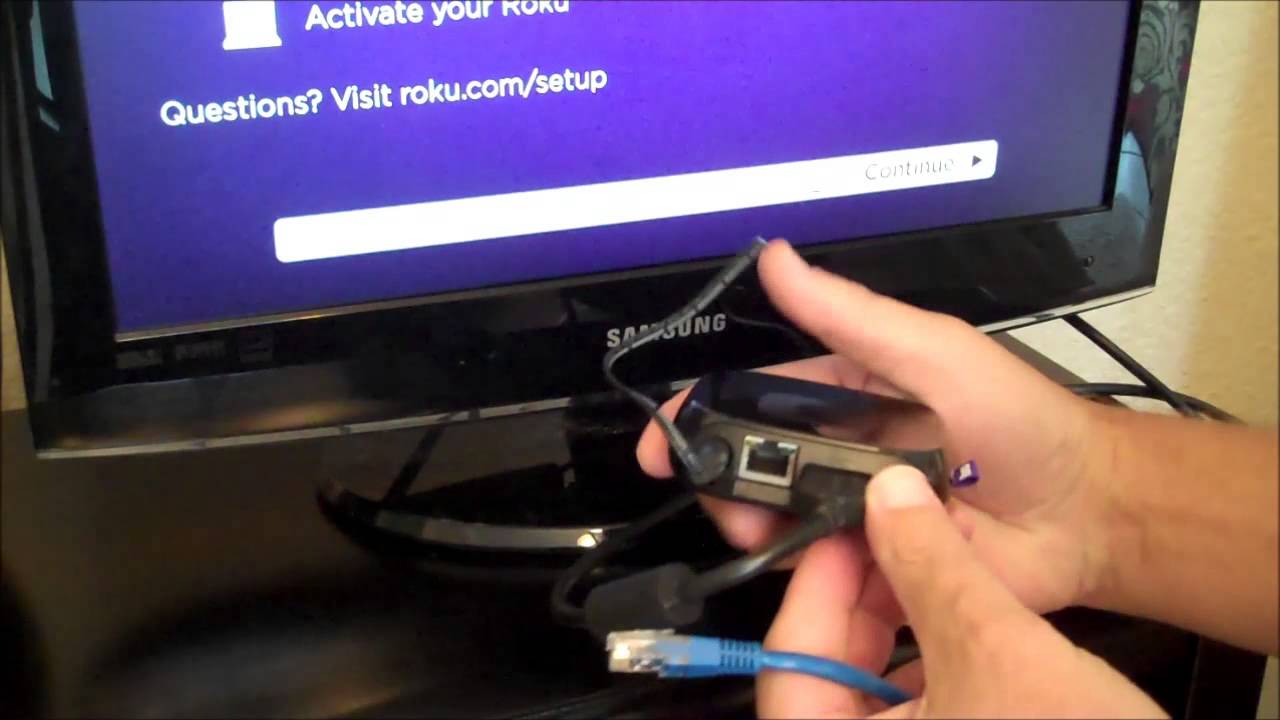
Connect the HDMI Cable: Take one end of the HDMI cable and plug it into the HDMI output port on the Roku 3. Then, connect the other end of the HDMI cable to the HDMI input port on your TV. Ensure that the cable is securely inserted into both the Roku 3 and the TV to establish a stable connection.
-
Power Up the Roku 3: Use the provided power adapter and cable to connect the Roku 3 to a power source. Once the Roku 3 is powered up, you should see the Roku logo appear on your TV screen, indicating that the device is ready for setup.
-
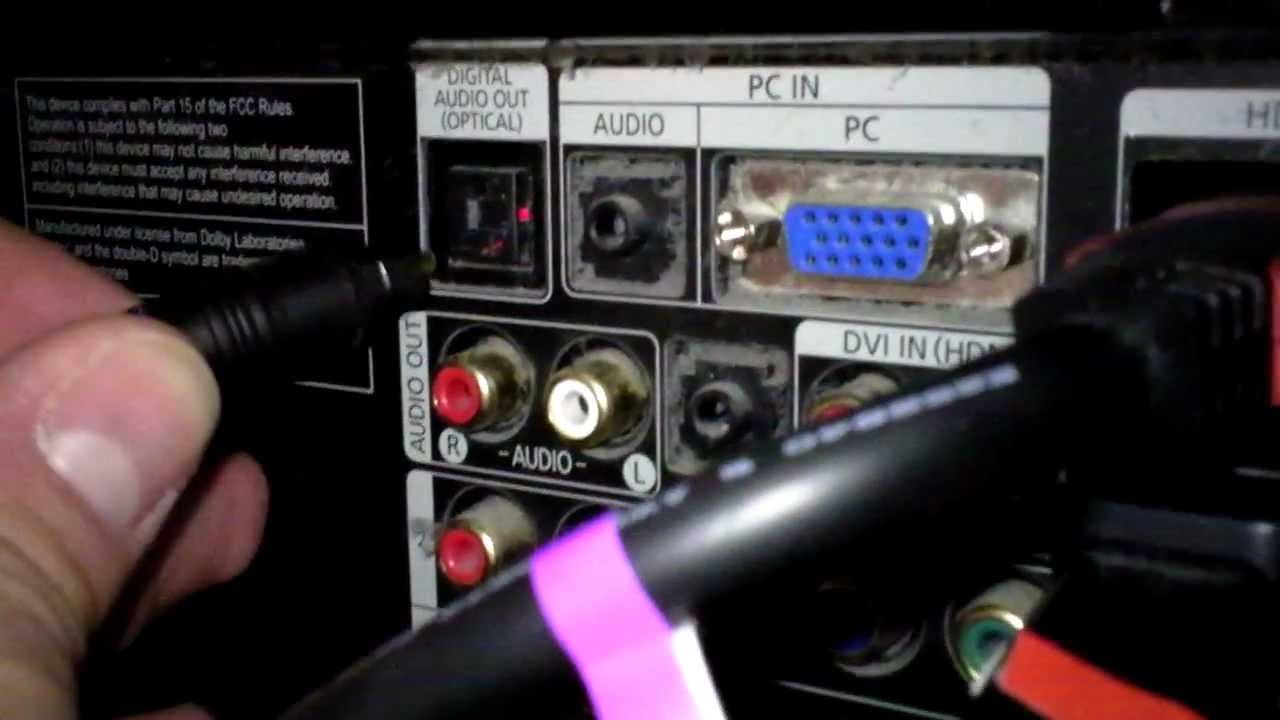
Audio Connection: If you're using a home theater receiver or soundbar, you'll need to establish an audio connection from the Roku 3 to the receiver or soundbar. Depending on your setup, this may involve using an optical audio cable or HDMI ARC (Audio Return Channel) if supported by your devices. Consult the user manuals for your specific equipment to determine the best audio connection method.
-
Internet Connection: To enable streaming capabilities, connect the Roku 3 to your home network. You can do this by selecting your Wi-Fi network from the Roku 3's setup menu and entering the network password. Alternatively, if you have an Ethernet cable available, you can directly connect the Roku 3 to your router for a wired connection.
By following these steps, you'll successfully connect the Roku 3 to your home theater system, paving the way for an immersive entertainment experience. With the physical connections in place, you're ready to move on to the next step of setting up the Roku 3 on your TV.
Now that the Roku 3 is seamlessly integrated into your home theater system, it's time to optimize the audio settings to ensure a captivating audio experience that complements the stunning visuals.
To connect Roku 3 to a home theater system, use an HDMI cable to connect the Roku to the HDMI input on the home theater receiver. Then, use another HDMI cable to connect the receiver to the TV. Select the correct input on the receiver and TV to start enjoying your Roku on the home theater system.
Step 3: Set Up the Roku 3 on the TV
With the physical connections established, it's time to set up the Roku 3 on your TV to unleash its full potential. Follow these steps to seamlessly configure the Roku 3 for an immersive streaming experience:
-
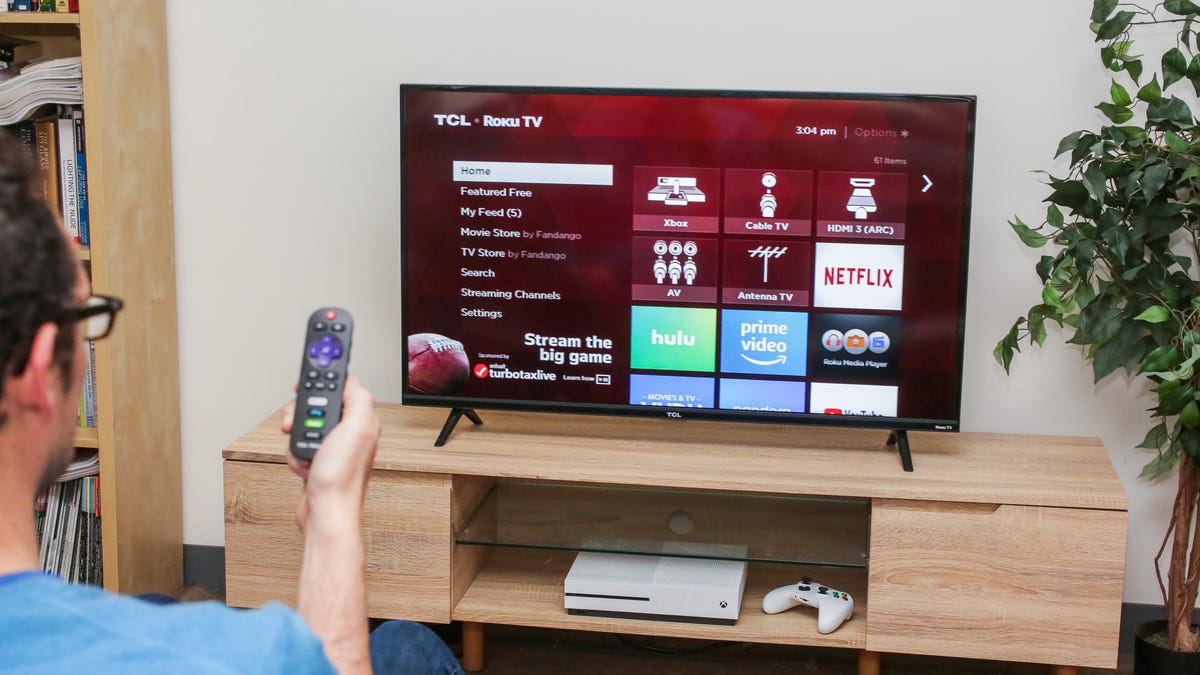
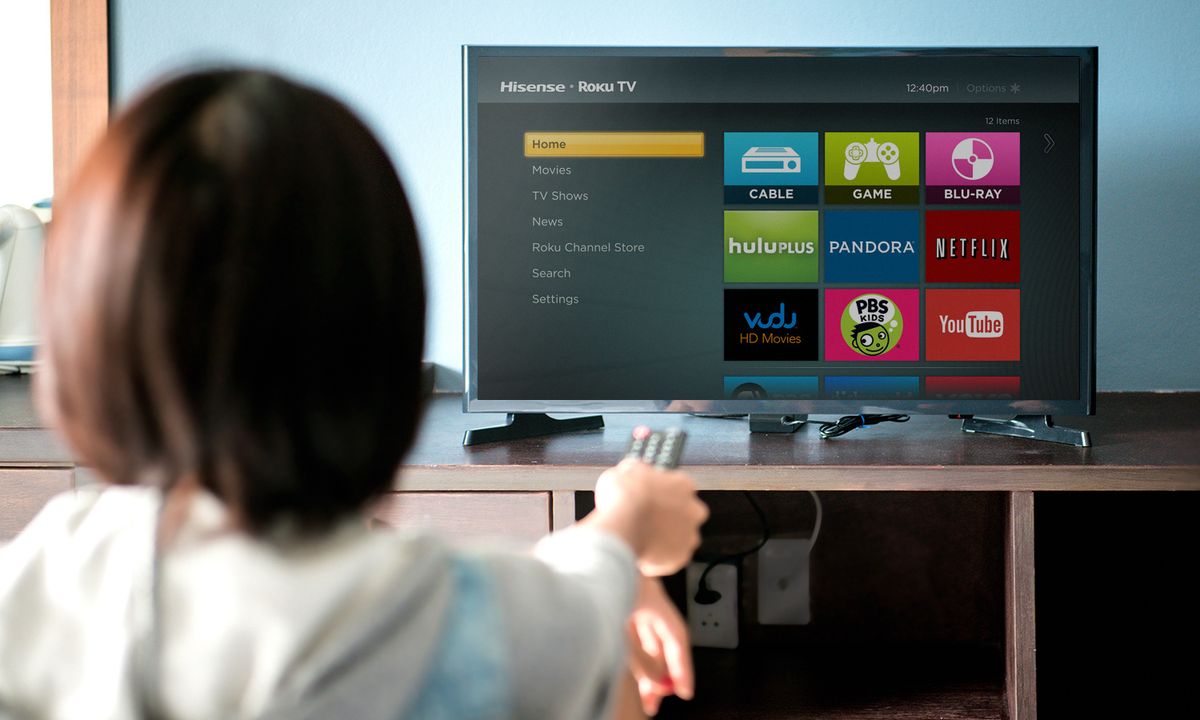
Select the Input Source: Using your TV remote, navigate to the input or source selection menu. Choose the HDMI input to which you connected the Roku 3. Once selected, you should see the Roku logo or the initial setup screen on your TV.
-
Pair the Remote: If you're setting up the Roku 3 for the first time, you'll need to pair the included remote with the device. Simply insert the batteries into the remote, and it should automatically pair with the Roku 3. Follow any on-screen prompts to complete the pairing process.
-
Choose Language and Network: Upon booting up, the Roku 3 will prompt you to select your preferred language. After selecting the language, the Roku 3 will search for available wireless networks. Choose your Wi-Fi network from the list and enter the network password to establish a connection.
-
Update Software: Once connected to the internet, the Roku 3 may check for software updates. If an update is available, allow the device to download and install the latest software to ensure optimal performance and access to the latest features.
-
Sign In or Create a Roku Account: If you already have a Roku account, sign in using your credentials. If not, you can create a new account directly from the Roku 3 by following the on-screen instructions. A Roku account allows you to manage your streaming channels, preferences, and settings.
-
Link the Roku 3: During the setup process, you may be prompted to link the Roku 3 to your Roku account. Follow the instructions to generate a unique linking code and enter it on the Roku website using a computer or mobile device. This links the Roku 3 to your account and enables personalized streaming experiences.
-
Add Channels: Once the Roku 3 is set up and linked to your account, you can start adding channels to customize your streaming lineup. Browse the Roku Channel Store and select from a wide range of streaming services, including popular options like Netflix, Hulu, Amazon Prime Video, and more. Simply click "Add Channel" to include them in your Roku lineup.
-
Customize Display Settings: Depending on your TV and personal preferences, you may want to customize the display settings on the Roku 3. This can include adjusting the screen resolution, display type, and other visual preferences to ensure an optimal viewing experience.
By following these steps, you'll effectively set up the Roku 3 on your TV, paving the way for a personalized and immersive streaming experience. With the Roku 3 configured and connected to your home theater system, you're ready to fine-tune the audio settings for a captivating audio experience.
Step 4: Adjust the Audio Settings
Now that the Roku 3 is seamlessly integrated into your home theater system and the visual setup is complete, it's time to ensure that the audio settings are optimized to deliver a captivating and immersive sound experience. By fine-tuning the audio settings, you can elevate your home entertainment experience to new heights, bringing your favorite movies, TV shows, and music to life with rich, high-quality sound.
Here's how to adjust the audio settings on the Roku 3 to achieve optimal audio performance:
-
Access the Audio Settings: Using the Roku remote, navigate to the Roku home screen and select the "Settings" option. From the settings menu, choose "Audio" to access the audio settings for the Roku 3.
-
Audio Output Mode: Within the audio settings, you'll find the option to select the audio output mode. Depending on your home theater setup, you can choose between stereo, surround sound, or other audio output modes. If you're using a home theater receiver or soundbar, select the appropriate audio output mode that matches your setup to ensure the best audio performance.
-
Volume Mode: The Roku 3 offers different volume modes to accommodate various audio setups. You can choose between "Leveling" and "Night" modes. "Leveling" mode helps to normalize the volume across different content, reducing sudden volume fluctuations. "Night" mode is ideal for watching movies or shows at lower volumes without sacrificing dialogue clarity, making it perfect for late-night viewing sessions.
-
HDMI Audio: If you're using an HDMI connection to transmit audio from the Roku 3 to your home theater receiver or soundbar, ensure that the HDMI audio settings are optimized. The Roku 3 allows you to adjust the HDMI audio settings to match the capabilities of your audio equipment, ensuring seamless audio transmission.
-
Audio Guide: For users who may benefit from audio descriptions of on-screen menus and options, the Roku 3 offers an audio guide feature. This accessibility feature provides spoken descriptions of on-screen elements, making it easier for visually impaired users to navigate the Roku interface and adjust settings.
By adjusting these audio settings, you can tailor the audio output of the Roku 3 to suit your specific home theater setup and preferences. Whether you prefer immersive surround sound for action-packed blockbusters or crisp, clear audio for dialogue-heavy dramas, the Roku 3's audio settings allow you to customize the sound to your liking.
With the audio settings optimized, you're now ready to test the connection and immerse yourself in a captivating home theater experience that combines stunning visuals with rich, high-quality sound. Let's move on to the final step of testing the connection and enjoying your enhanced home entertainment setup.
Read more: How To Connect Roku TV To Google Home
Step 5: Test the Connection and Enjoy Your Home Theater Experience
With the Roku 3 seamlessly integrated into your home theater system and the audio and visual settings optimized, it's time to put everything to the test and immerse yourself in a captivating home theater experience. Testing the connection and enjoying your favorite content on the big screen is the culmination of the setup process, allowing you to fully appreciate the seamless integration of the Roku 3 with your home entertainment setup.
Here's how to test the connection and make the most of your home theater experience with the Roku 3:
-
Select Your Favorite Content: Use the Roku remote to navigate through the available streaming channels and select your favorite content to stream. Whether it's a blockbuster movie, a binge-worthy TV series, or a playlist of your favorite music, the Roku 3 offers a vast selection of streaming options to cater to your entertainment preferences.
-
Playback and Audio Testing: Start streaming your chosen content and pay attention to the audio and video quality. Listen for the clarity and richness of the audio, ensuring that the sound is well-balanced and immersive. If you're watching a movie or TV show with dynamic audio effects, such as explosions or dramatic musical scores, take note of how the audio enhances the overall viewing experience.
-
Visual Quality Assessment: Evaluate the visual quality of the streamed content, taking note of the sharpness, color accuracy, and overall visual appeal. The Roku 3 supports high-definition streaming, so you should expect crisp, detailed visuals that bring your favorite content to life on the screen.
-
Audio Surround Experience: If you have a home theater receiver or soundbar, pay attention to the surround sound experience. Notice how the audio fills the room, creating a cinematic atmosphere that draws you into the on-screen action. Whether it's the subtle ambiance of a quiet scene or the thunderous impact of an action sequence, the Roku 3's audio capabilities should deliver an immersive surround sound experience.
-
Fine-Tuning and Adjustment: During the testing phase, feel free to fine-tune the audio and visual settings further to suit your preferences. Whether it's adjusting the volume levels, exploring different audio modes, or customizing the display settings, the Roku 3 offers flexibility for personalized adjustments to enhance your viewing and listening experience.
By testing the connection and immersing yourself in your favorite content, you can fully appreciate the seamless integration of the Roku 3 with your home theater system. Whether you're enjoying a movie night with family and friends, catching up on the latest TV shows, or indulging in a music concert from the comfort of your living room, the Roku 3 enhances your home entertainment experience with its versatile streaming capabilities and high-quality audiovisual performance.
As you revel in the immersive experience facilitated by the Roku 3, you'll find that your home theater has been transformed into a hub of entertainment, offering endless possibilities for enjoying a wide range of content with unparalleled convenience and quality. With the connection tested and the home theater experience optimized, it's time to sit back, relax, and savor the captivating entertainment journey that the Roku 3 brings to your living space.
Frequently Asked Questions about How To Connect Roku 3 To A Home Theater System
Was this page helpful?
At Storables.com, we guarantee accurate and reliable information. Our content, validated by Expert Board Contributors, is crafted following stringent Editorial Policies. We're committed to providing you with well-researched, expert-backed insights for all your informational needs.


0 thoughts on “How To Connect Roku 3 To A Home Theater System”