Home>Technology>Smart Home Devices>How To Connect Rollo Printer To Mac
Smart Home Devices
How To Connect Rollo Printer To Mac
Modified: January 25, 2024
Learn how to easily connect your Rollo printer to your Mac and start printing with ease. Get your smart home devices set up in no time!
(Many of the links in this article redirect to a specific reviewed product. Your purchase of these products through affiliate links helps to generate commission for Storables.com, at no extra cost. Learn more)
Introduction
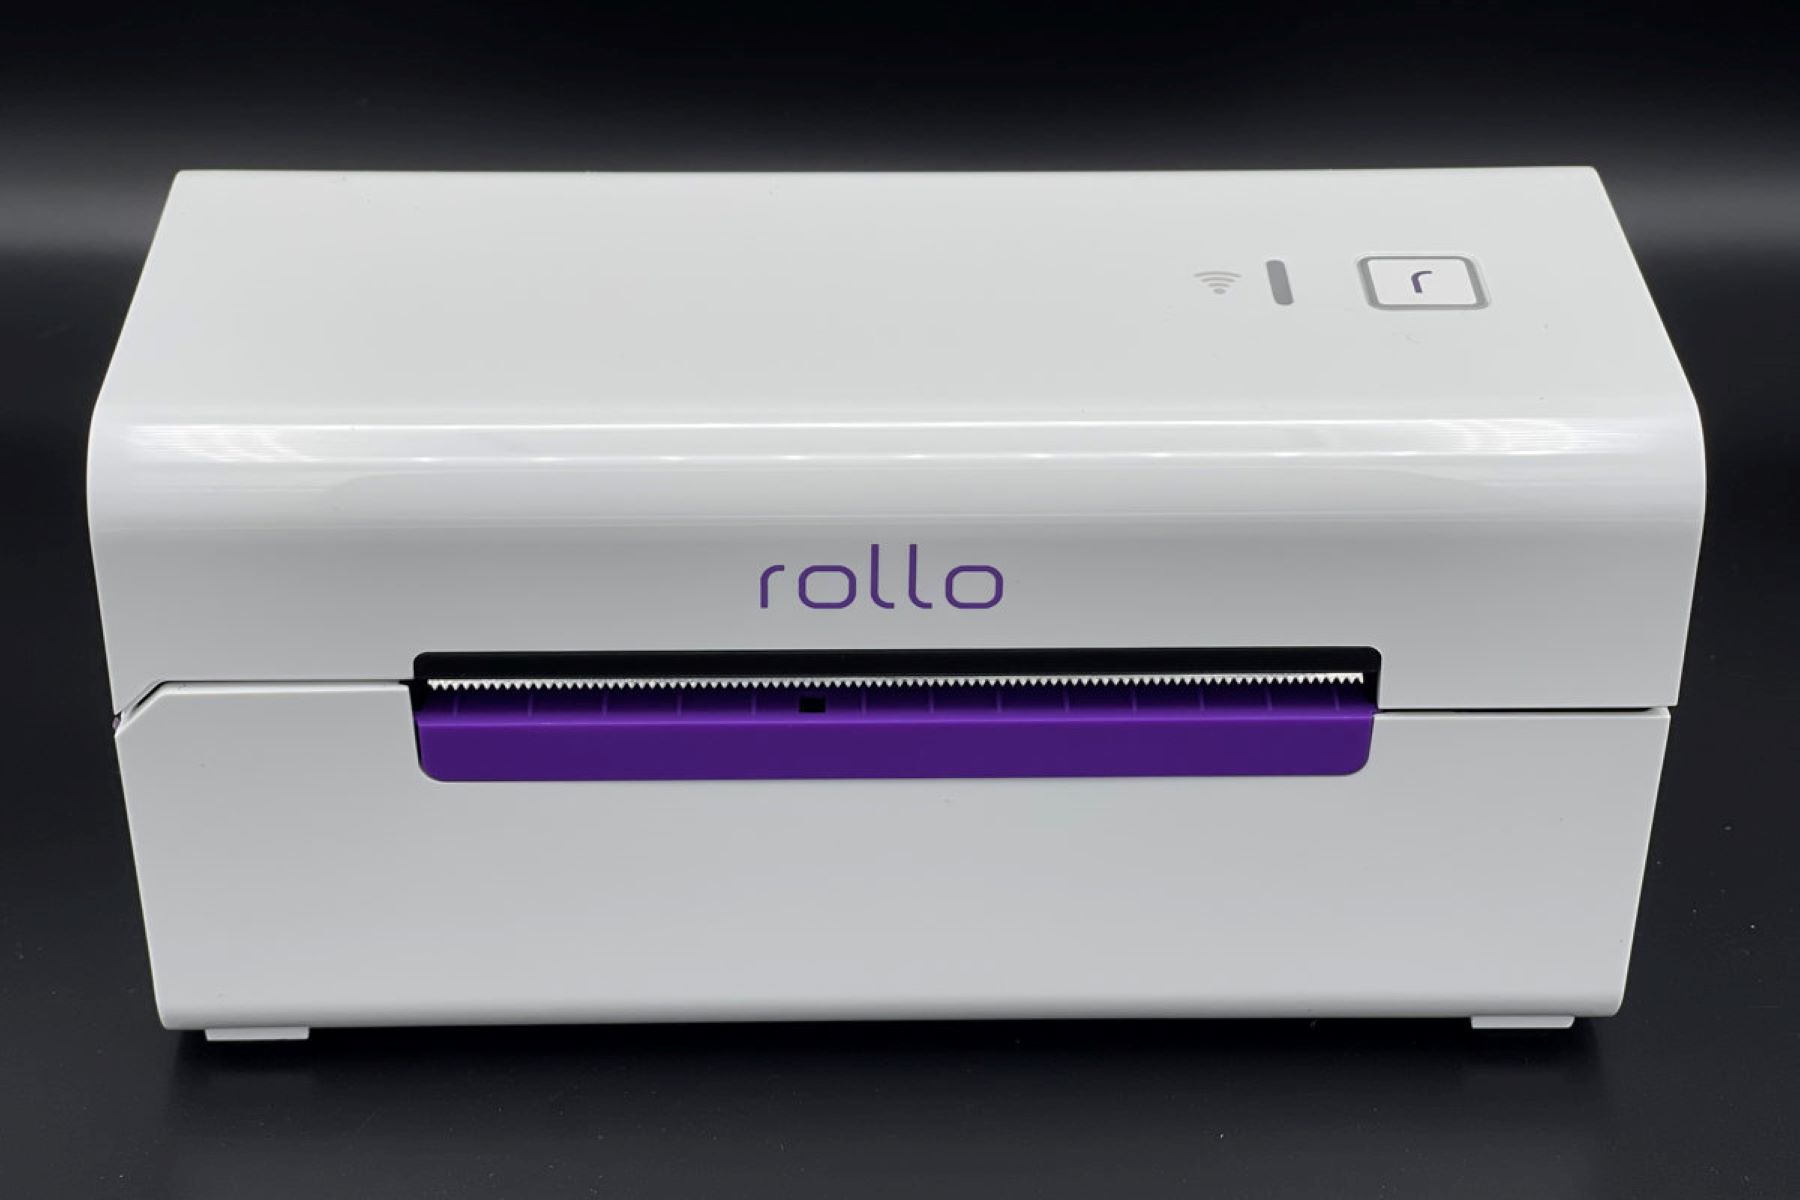
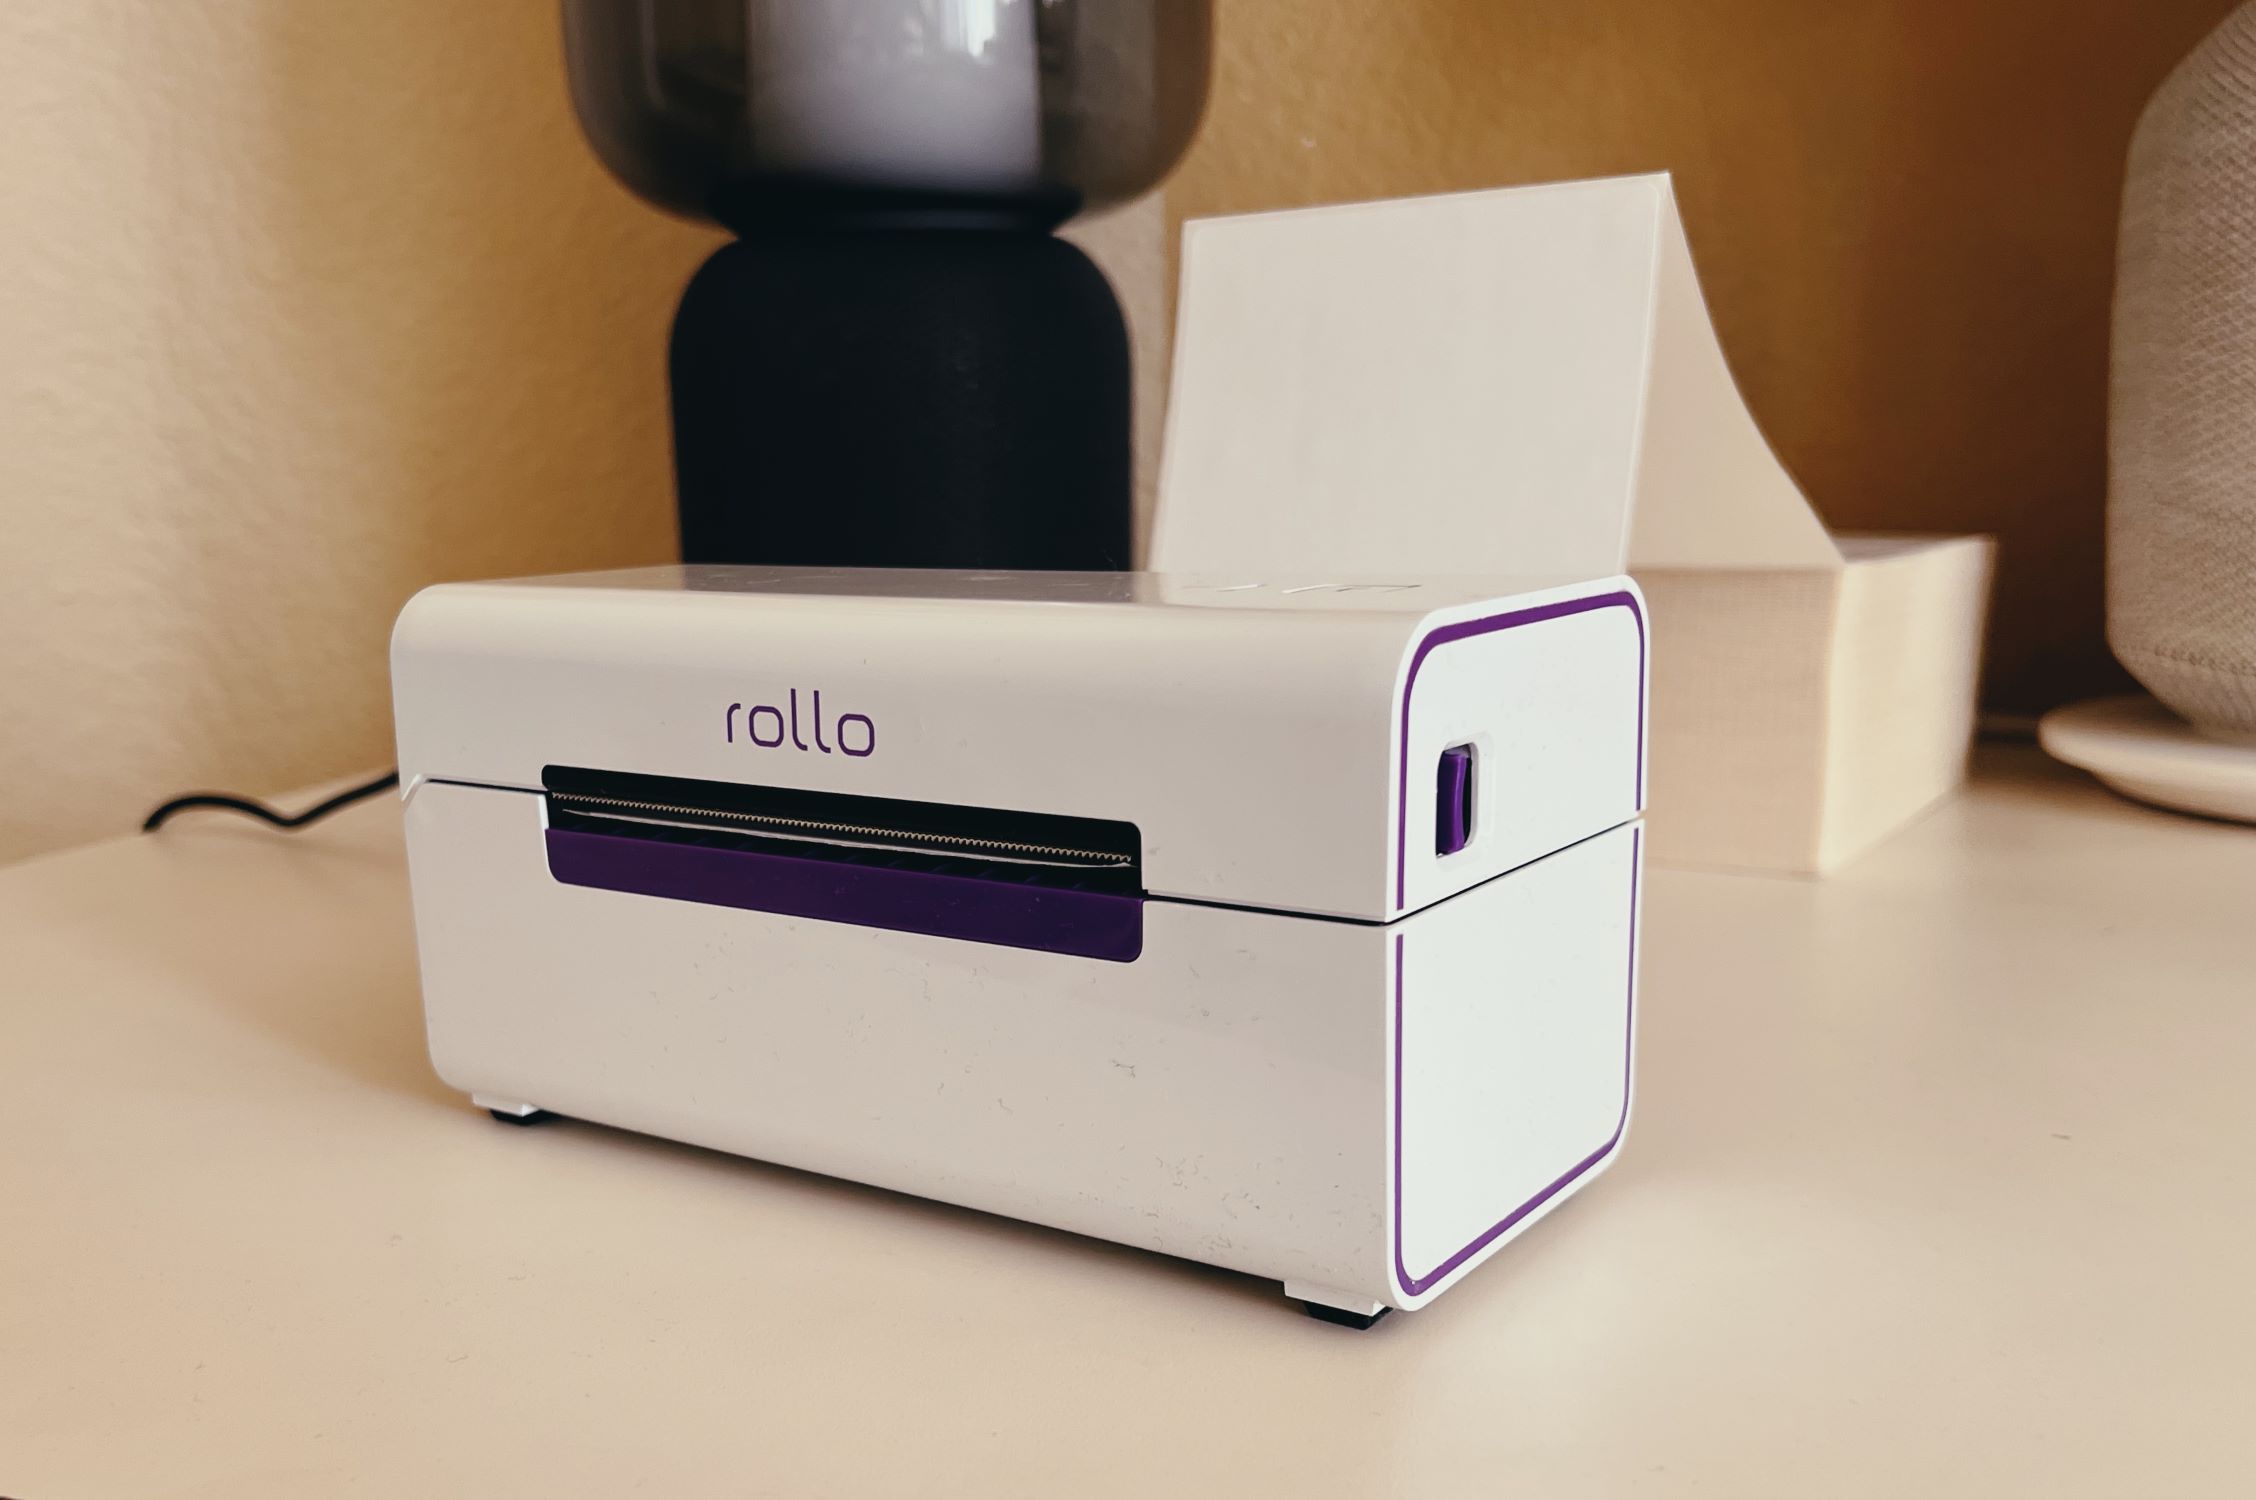
Welcome to the world of smart home devices, where convenience and efficiency merge to elevate the way we interact with our living spaces. Among the myriad of innovative gadgets available, the Rollo Printer stands out as a versatile and user-friendly tool that simplifies printing tasks in a smart and efficient manner.
In this comprehensive guide, we will delve into the seamless process of connecting your Rollo Printer to your Mac, allowing you to effortlessly print labels, shipping documents, and more from the comfort of your home or office. Whether you're a small business owner, an e-commerce entrepreneur, or simply a tech-savvy individual looking to streamline your printing experience, this step-by-step tutorial will equip you with the knowledge and confidence to integrate your Rollo Printer with your Mac system.
By the end of this guide, you will have a clear understanding of the compatibility requirements, the necessary driver installation steps, and the seamless connection process. Additionally, we will ensure that your Rollo Printer is fully operational by guiding you through a simple test to verify the successful connection.
So, grab your Mac, power up your Rollo Printer, and let's embark on this journey to seamlessly integrate your smart printing device with your Mac system. Get ready to witness the fusion of technology and convenience as we unlock the potential of your Rollo Printer in the realm of Mac compatibility. Let's dive in!
Key Takeaways:
- Connecting your Rollo Printer to your Mac involves checking compatibility, downloading the Rollo Printer driver, installing it, and physically connecting the devices. Testing the connection ensures seamless printing for labels, shipping documents, and more.
- By following the step-by-step guide, you can seamlessly integrate your Rollo Printer with your Mac, unlocking efficient printing capabilities. This fusion of technology and convenience enhances everyday tasks, making printing a breeze.
Read more: How To Connect Mac To Epson Printer
Step 1: Check Compatibility
Before embarking on the process of connecting your Rollo Printer to your Mac, it’s essential to ensure that the two devices are compatible, laying the foundation for a seamless integration. The compatibility check involves assessing the specifications of your Mac system and cross-referencing them with the requirements of the Rollo Printer.
First and foremost, ascertain the operating system version running on your Mac. The Rollo Printer is compatible with macOS 10.9 or later versions, ensuring that a wide range of Mac users can leverage its functionality. To check your macOS version, simply click on the Apple logo in the top-left corner of your screen, select “About This Mac,” and you will find the version information under the “Overview” tab.
Next, confirm that your Mac has a working USB port, as the Rollo Printer connects to the computer via a USB cable. This direct connection facilitates efficient data transfer and printing capabilities, enhancing the overall user experience.
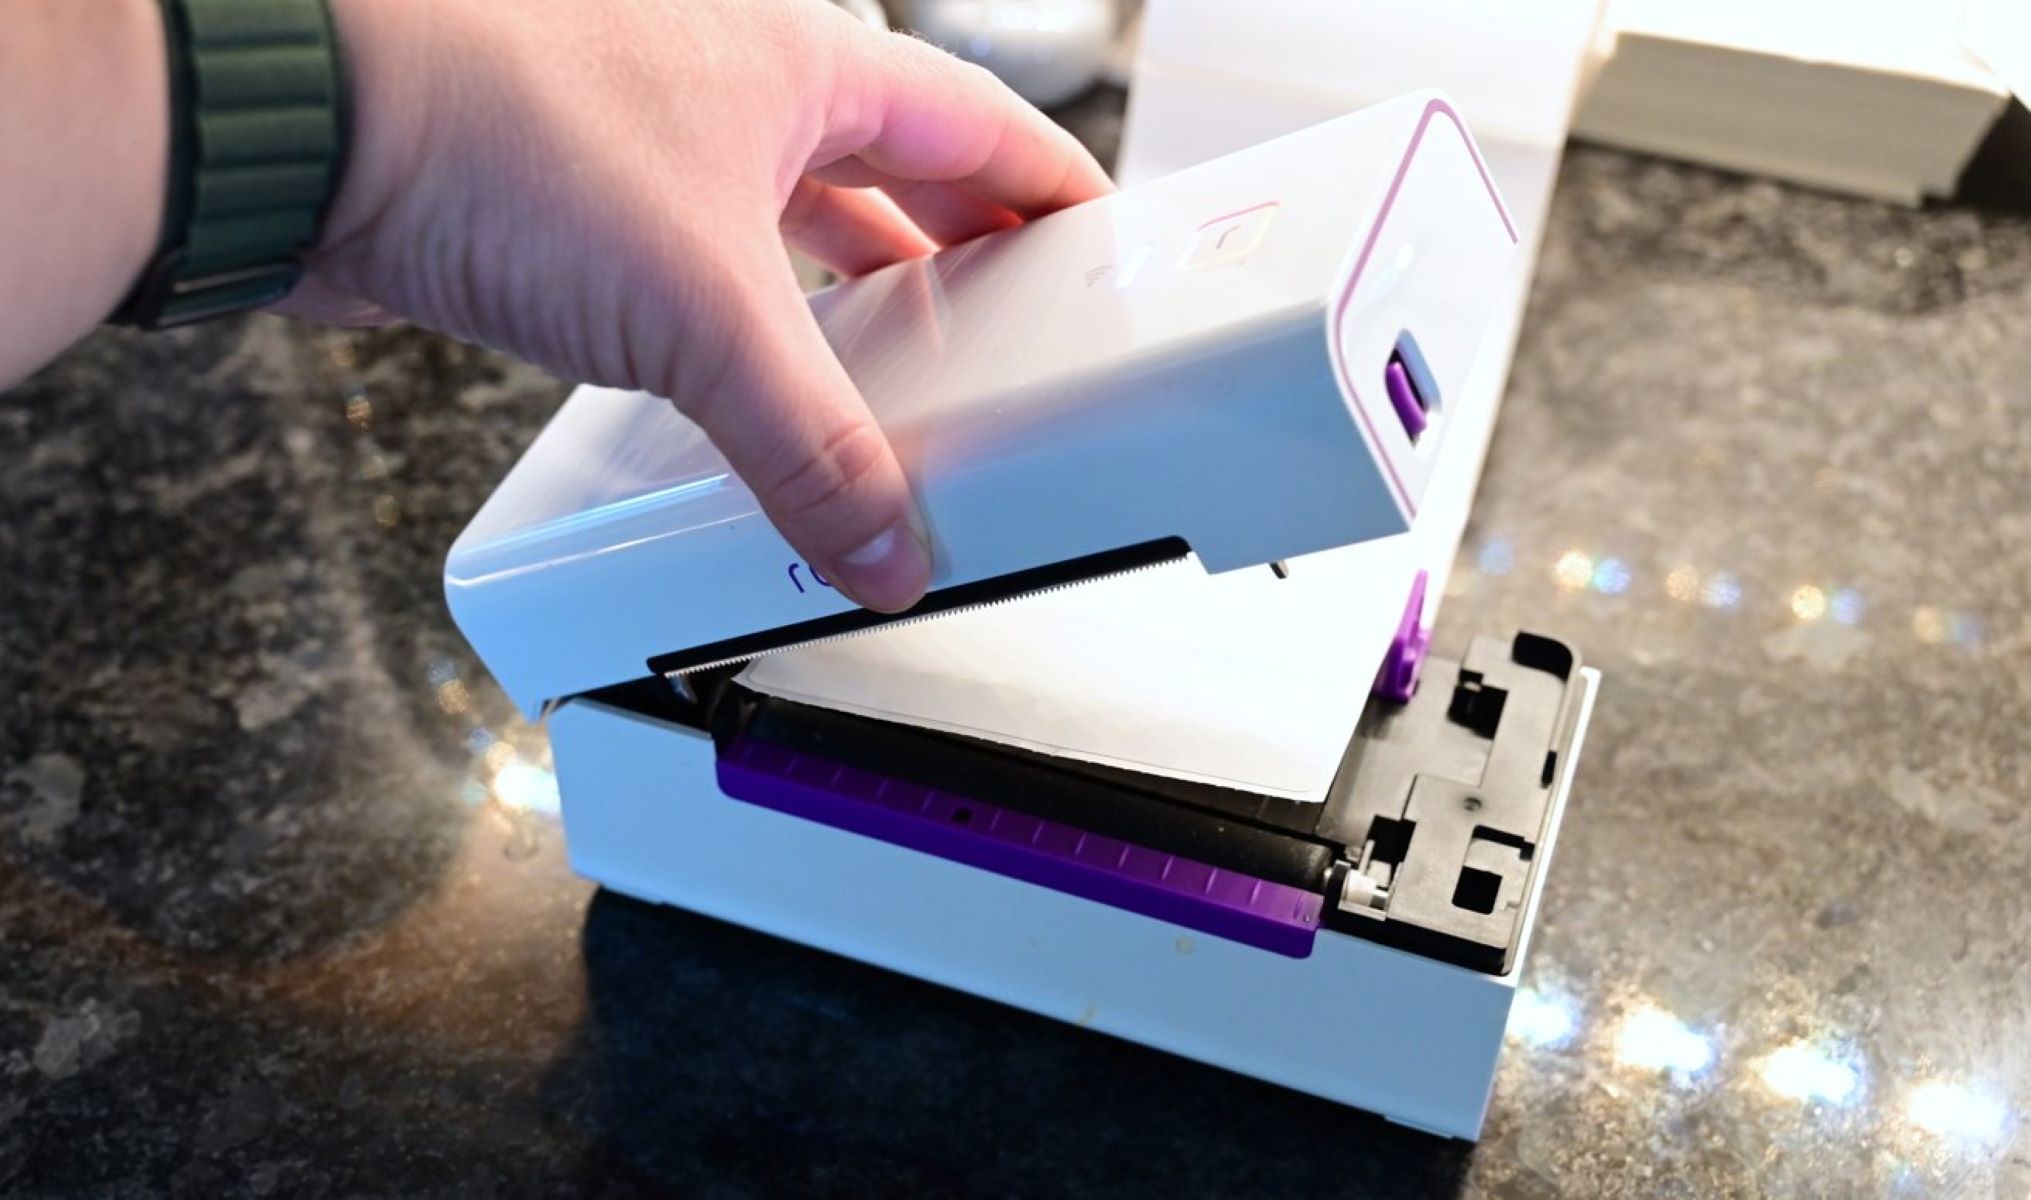
Furthermore, it’s crucial to verify that your Rollo Printer is in optimal working condition. Ensure that the printer is powered on, loaded with the necessary label or paper stock, and free from any hardware issues that may impede the connection process.
By conducting a thorough compatibility check, you can preemptively address any potential obstacles and proceed with confidence, knowing that your Mac and Rollo Printer are primed for a harmonious integration. With the compatibility assessment complete, you are now ready to proceed to the next step and download the essential Rollo Printer driver for your Mac system.
Step 2: Download Rollo Printer Driver
With the compatibility check successfully completed, the next pivotal step in connecting your Rollo Printer to your Mac involves acquiring the essential driver software. The Rollo Printer driver serves as the bridge between your Mac system and the printer, enabling seamless communication and functionality.
To initiate the driver download process, navigate to the official Rollo Printer website using your preferred web browser. Once on the website, locate the “Support” or “Downloads” section, where you can access the latest drivers and software updates specifically tailored for Mac compatibility.
Upon identifying the designated section for Mac drivers, carefully select the appropriate driver for your Mac’s operating system version. It’s crucial to ensure that you download the driver that corresponds to your specific macOS version to guarantee optimal performance and compatibility.
After selecting the correct driver, initiate the download process, and patiently await the completion of the download. Depending on your internet connection speed, the download duration may vary, so exercise patience as the driver file is securely transferred to your Mac system.
Once the driver file is successfully downloaded, locate the file in your designated download folder or the default download location set by your web browser. The driver file is typically in a compressed format, such as a .zip file, and will require extraction to access the installation package.
After extracting the driver file, you are now equipped with the essential software component that will facilitate the seamless connection between your Rollo Printer and your Mac system. With the driver file readily available on your Mac, you are now prepared to proceed to the next step: installing the Rollo Printer driver to empower your Mac with the capability to communicate with the printer effectively.
Step 3: Install Rollo Printer Driver
Having successfully downloaded the essential Rollo Printer driver for your Mac, the subsequent step involves installing the driver to establish a harmonious connection between your Mac system and the printer. The installation process is straightforward and pivotal in enabling your Mac to seamlessly communicate with the Rollo Printer, unlocking its full potential for printing efficiency.
To commence the installation, locate the downloaded driver file on your Mac. Typically, the driver file is in a recognizable format, such as a .pkg or .dmg file, designed for easy installation on macOS.
Double-click on the driver file to initiate the installation process. This action will prompt a guided installation wizard to appear, providing clear instructions and prompts to facilitate a seamless installation experience. Follow the on-screen instructions diligently, ensuring that you review and agree to the necessary terms and conditions as you progress through the installation steps.
During the installation process, the driver software will be securely integrated into your Mac’s operating system, establishing the essential framework for communication with the Rollo Printer. This integration empowers your Mac to recognize and effectively interact with the printer, paving the way for effortless printing tasks in the future.
Upon successful completion of the installation process, you will receive a confirmation message indicating that the Rollo Printer driver has been successfully installed on your Mac. This confirmation signifies that your Mac system is now equipped with the requisite software components to facilitate a seamless connection with the Rollo Printer.
With the driver installation accomplished, your Mac is now primed to establish a robust and efficient connection with the Rollo Printer, setting the stage for streamlined printing operations. The successful installation of the Rollo Printer driver signals the readiness to proceed to the subsequent step: physically connecting the Rollo Printer to your Mac system, culminating in a seamless integration of these two essential devices.
To connect a Rollo printer to a Mac, first download and install the Rollo driver from their website. Then, connect the printer to your Mac using a USB cable and follow the on-screen instructions to complete the setup.
Step 4: Connect Rollo Printer to Mac
With the Rollo Printer driver successfully installed on your Mac, the time has come to establish the physical connection between the printer and your Mac system. This pivotal step involves seamlessly linking the two devices, setting the stage for efficient printing operations and streamlined communication.
To initiate the connection process, ensure that your Rollo Printer is powered on and in a ready state. Additionally, have your Mac system powered up and at the desktop or home screen, ready to recognize and integrate the printer into its array of connected devices.
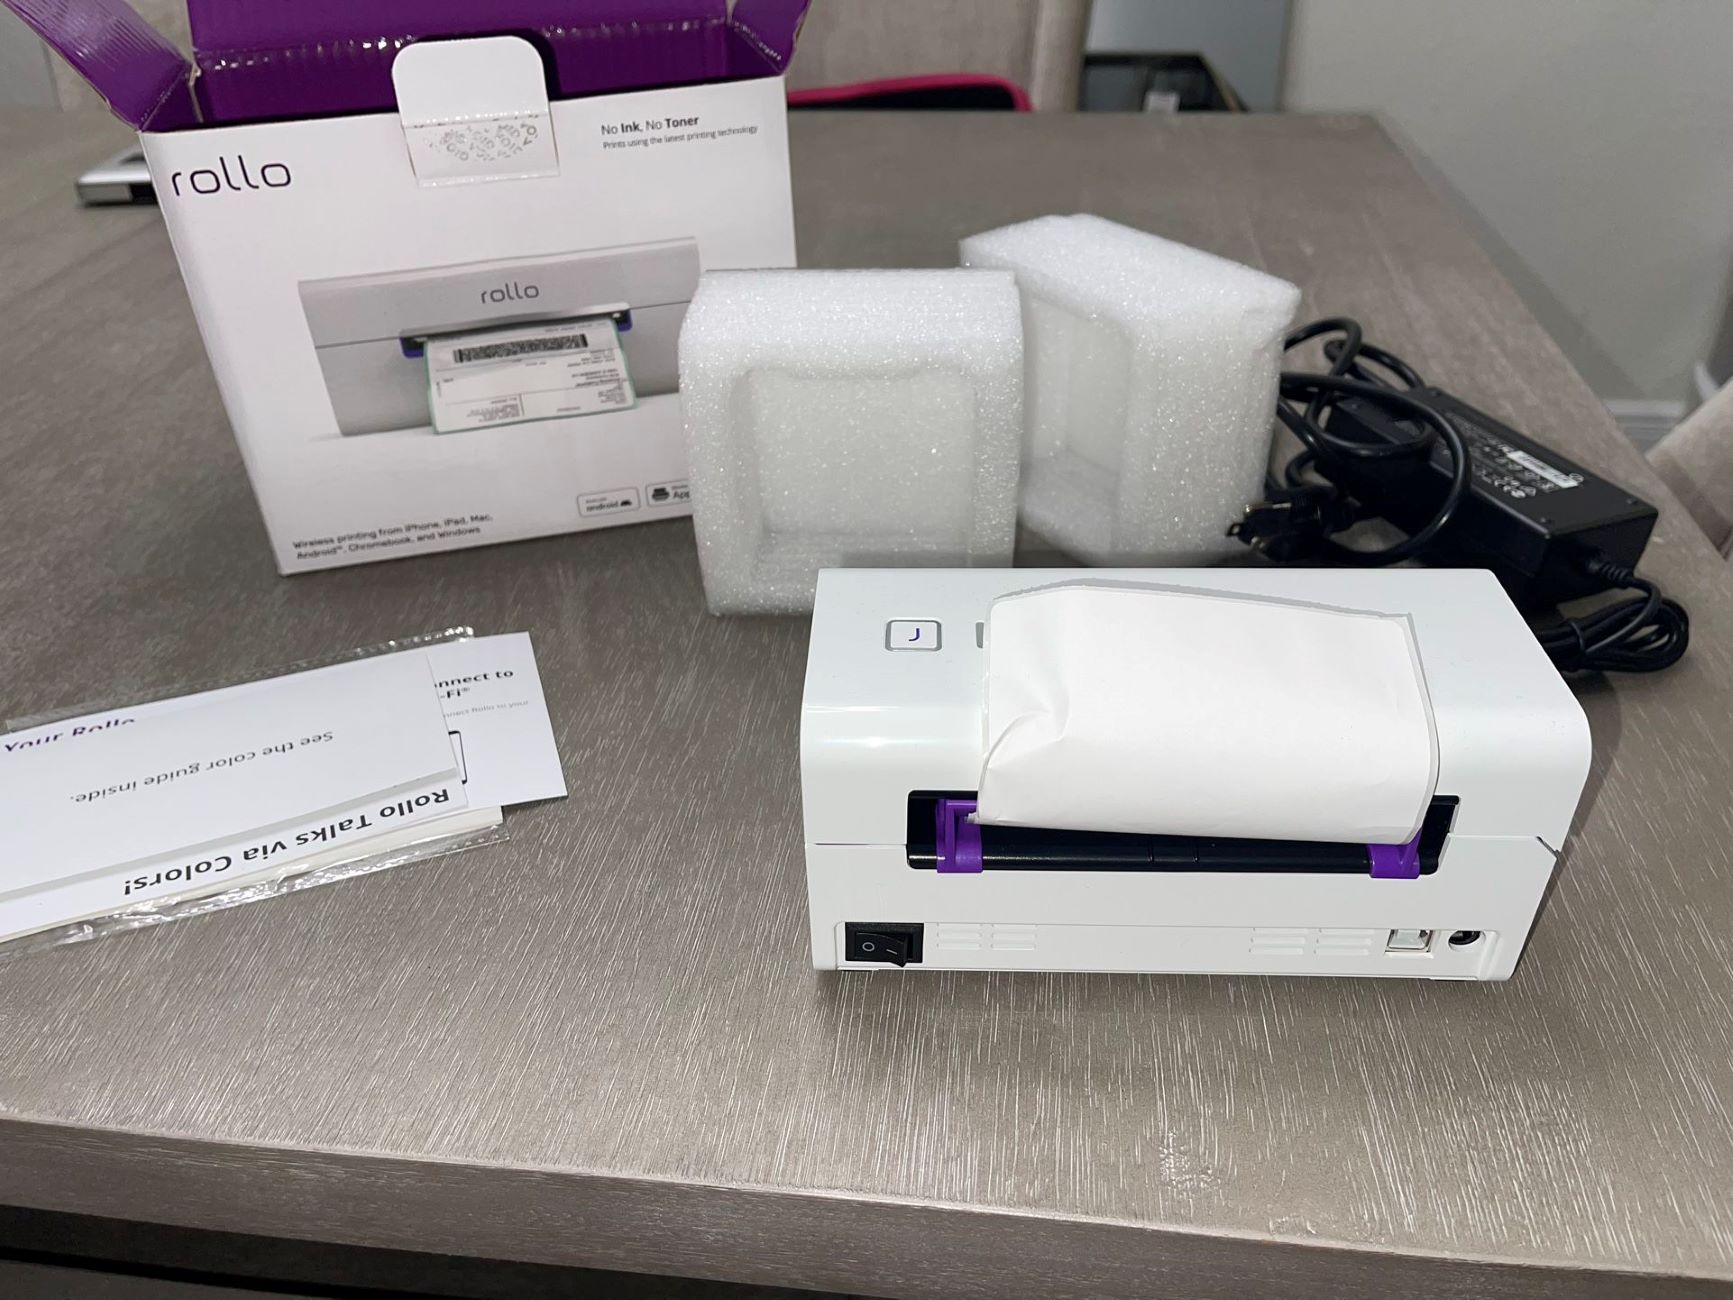
Locate the USB cable that accompanies your Rollo Printer, designed to facilitate a direct and reliable connection with your Mac. Connect one end of the USB cable to the USB port on the Rollo Printer, ensuring a secure and snug fit to guarantee stable connectivity.
With the USB cable securely attached to the Rollo Printer, proceed to connect the other end of the cable to an available USB port on your Mac. As you insert the USB connector into the port, you may hear a subtle click or observe a visual indication on your Mac screen, signaling the detection of the Rollo Printer.
Upon establishing the physical connection, your Mac system will commence the recognition and installation process for the newly connected Rollo Printer. This automated process is facilitated by the previously installed Rollo Printer driver, which enables your Mac to seamlessly identify and integrate the printer into its list of connected devices.
As the recognition and installation process unfolds, follow any on-screen prompts or instructions that may appear on your Mac, ensuring that the printer is being accurately identified and configured for optimal functionality within your Mac environment.
Upon successful recognition and installation, your Rollo Printer is now physically connected to your Mac, poised to deliver seamless printing capabilities and efficient communication with your Mac system. With the connection established, you are now prepared to proceed to the final step: testing the connection to verify the successful integration of your Rollo Printer with your Mac.
Read more: How To Connect To HP Printer On Mac
Step 5: Test the Connection
With your Rollo Printer successfully connected to your Mac, it’s time to verify the integration and functionality of the printer within your Mac environment. Testing the connection ensures that the printer is recognized, operational, and ready to fulfill your printing needs with efficiency and precision.
To initiate the testing process, open a document, label, or any printable item on your Mac that you intend to print using the Rollo Printer. This can be a shipping label, barcode, or any other item that aligns with your printing requirements.
Once the desired content is ready for printing, access the print command within the application or software you are using. This typically involves clicking on “File” and selecting “Print” from the dropdown menu, initiating the printing interface on your Mac.
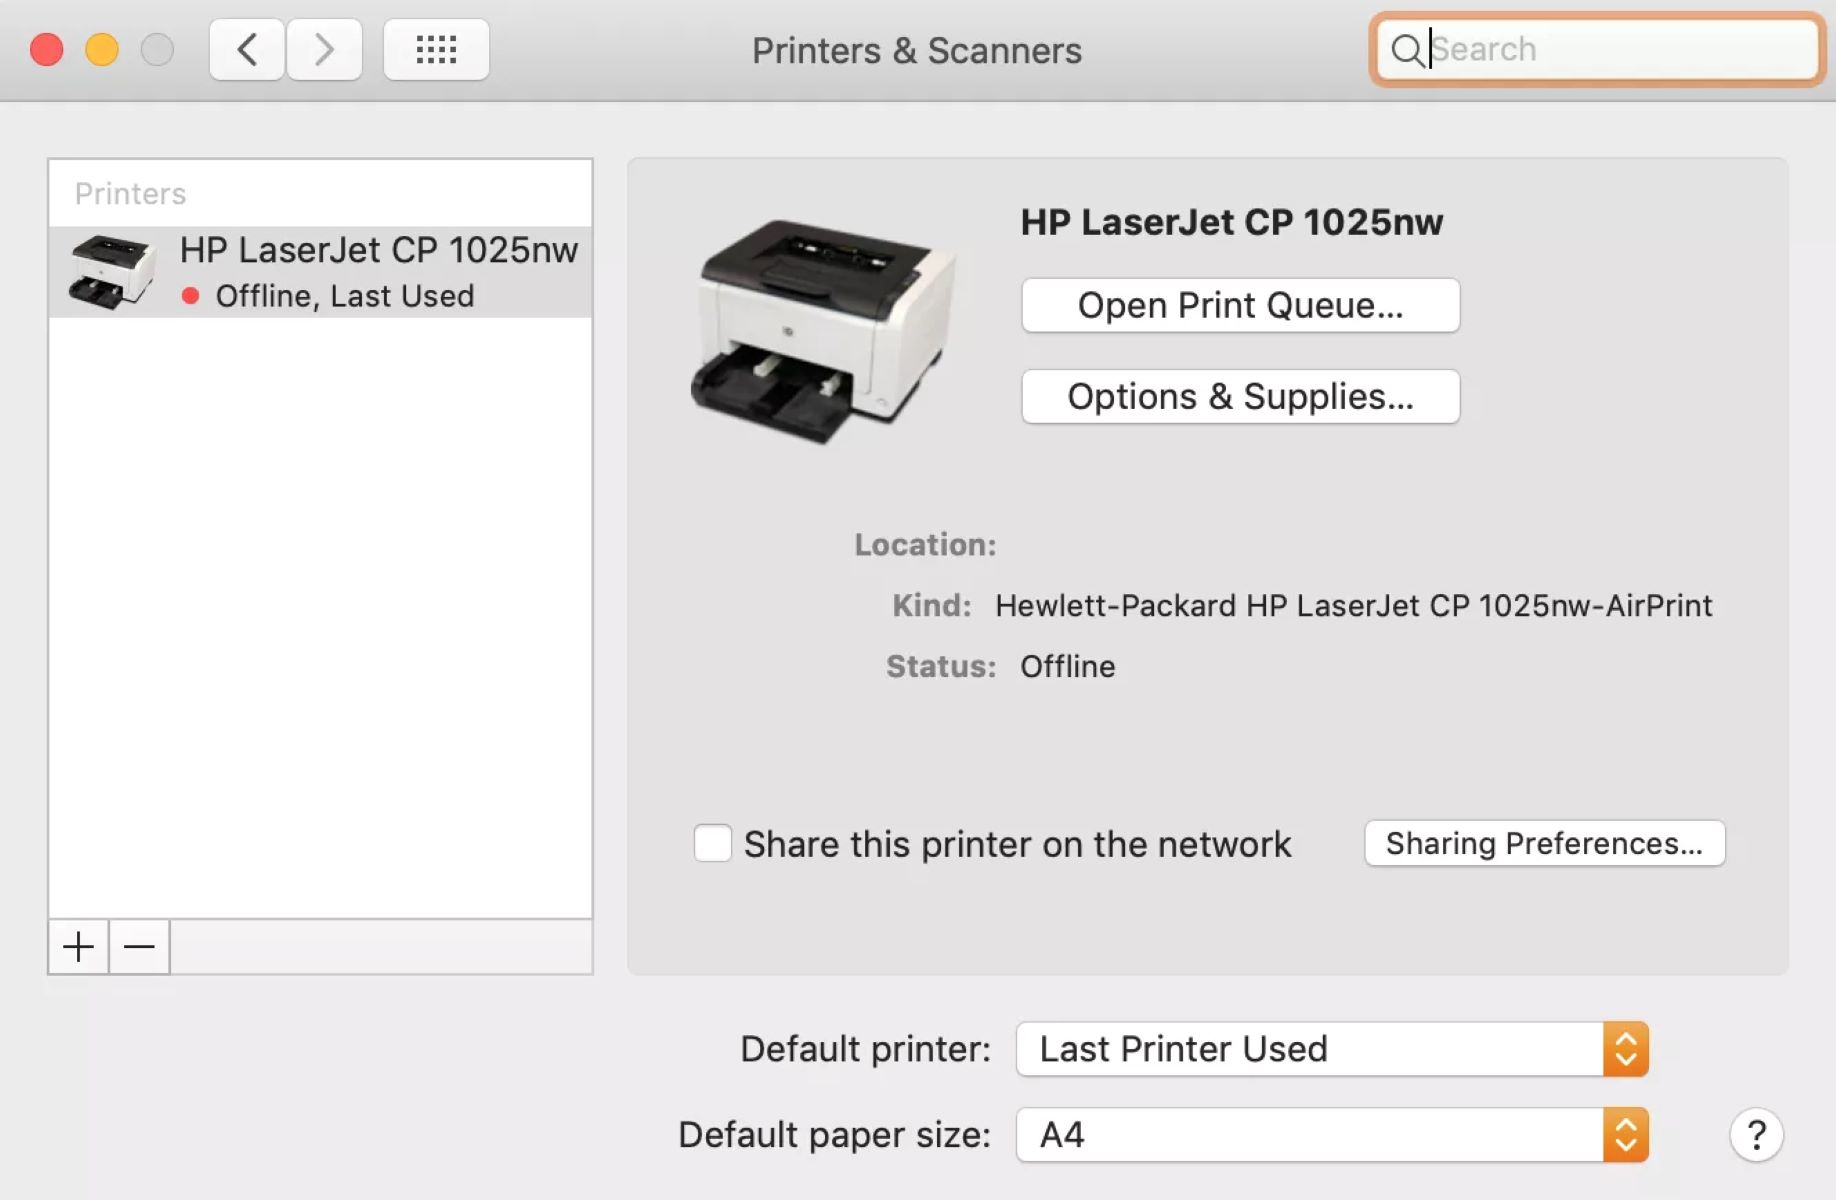
Within the print interface, ensure that the Rollo Printer is selected as the designated printing device. This selection is crucial in directing the printing job to the Rollo Printer, leveraging the successful connection established in the previous steps.
Upon selecting the Rollo Printer, review the print settings to confirm that they align with your printing preferences, such as label size, orientation, and quality. This attention to detail ensures that the printing parameters are optimized for the intended output.
Proceed to initiate the printing process by clicking on the “Print” button within the print interface. As the printing job is executed, observe the Rollo Printer for any indications of activity, such as paper movement and printing sounds, signifying that the printer is actively processing the print job.
Upon completion of the printing task, retrieve the printed output from the Rollo Printer and inspect it for quality, clarity, and alignment. Verify that the printed content accurately reflects the original document or label, confirming that the Rollo Printer has seamlessly translated the digital content into a tangible, printed form.
If the printed output meets your expectations and aligns with the intended content, congratulations! You have successfully tested the connection between your Rollo Printer and your Mac, validating the seamless integration and operational functionality of the printer within your Mac environment.
With the successful testing of the connection, you can now leverage the full potential of your Rollo Printer for a myriad of printing tasks, ranging from shipping labels to barcode printing and beyond. The completion of the testing process signifies the culmination of a seamless integration journey, empowering you to harness the efficiency and convenience of the Rollo Printer within your Mac ecosystem.
Conclusion
Congratulations on successfully connecting your Rollo Printer to your Mac, unlocking a world of seamless printing capabilities and operational efficiency within your smart home or office environment. Through the comprehensive steps outlined in this guide, you have navigated the process of compatibility assessment, driver acquisition, installation, physical connection, and testing, culminating in a harmonious integration of these essential devices.
By meticulously checking the compatibility of your Mac system and the Rollo Printer, you have laid the foundation for a robust and efficient connection, ensuring that both devices are primed for seamless communication and collaboration. The acquisition and installation of the Rollo Printer driver have equipped your Mac with the essential software components, empowering it to recognize and interact with the printer effortlessly.
Through the physical connection process, you have bridged the gap between your Mac and the Rollo Printer, facilitating direct and reliable communication that sets the stage for streamlined printing operations. The successful testing of the connection has validated the operational functionality of the printer within your Mac environment, affirming its readiness to fulfill your printing needs with precision and efficiency.
As you embark on your printing journey with the Rollo Printer and your Mac, you are poised to leverage the seamless integration achieved through this guide, empowering you to effortlessly print labels, shipping documents, barcodes, and various other items with ease and confidence. The fusion of technology and convenience encapsulated in this connection process exemplifies the transformative potential of smart home devices in enhancing everyday tasks.
With the Rollo Printer seamlessly integrated into your Mac environment, you are now equipped to harness the efficiency, precision, and convenience that this smart printing device offers, elevating your printing experience to new heights. Whether you are a small business owner, an e-commerce entrepreneur, or an individual seeking to streamline your printing tasks, the successful connection between your Rollo Printer and your Mac signifies a significant step towards operational efficiency and enhanced productivity.
Embrace the seamless integration achieved through this guide, and revel in the convenience of effortlessly printing from your Mac using the Rollo Printer. Your journey to a harmonious printing experience has just begun, and the successful connection between these two essential devices marks the commencement of a transformative printing journey within your smart home or office environment.
Frequently Asked Questions about How To Connect Rollo Printer To Mac
Was this page helpful?
At Storables.com, we guarantee accurate and reliable information. Our content, validated by Expert Board Contributors, is crafted following stringent Editorial Policies. We're committed to providing you with well-researched, expert-backed insights for all your informational needs.


0 thoughts on “How To Connect Rollo Printer To Mac”