Home>Technology>Smart Home Devices>How To Scan On Mac With Canon Printer
Smart Home Devices
How To Scan On Mac With Canon Printer
Modified: October 20, 2024
Learn how to easily scan on your Mac using a Canon printer. Discover seamless integration with smart home devices for efficient scanning.
(Many of the links in this article redirect to a specific reviewed product. Your purchase of these products through affiliate links helps to generate commission for Storables.com, at no extra cost. Learn more)
Introduction
Welcome to the digital era, where the integration of smart home devices has revolutionized the way we interact with technology. Among these devices, Canon printers stand out as versatile tools that seamlessly merge the physical and digital worlds. In this article, we will delve into the realm of scanning with Canon printers on Mac, exploring the setup process, scanning techniques, adjustment of scan settings, and troubleshooting common issues. Whether you are a student, a professional, or a creative individual, the ability to scan documents and images with ease is a valuable asset in today's fast-paced world.
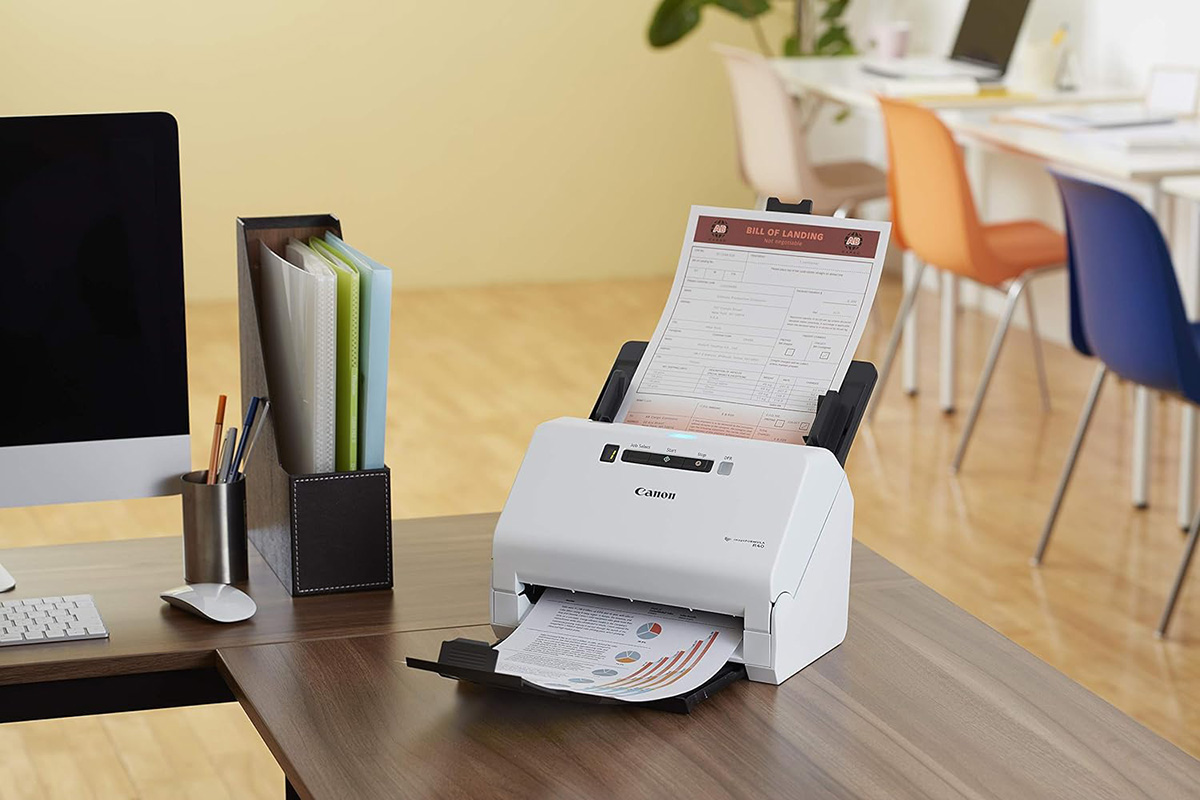
Scanning with a Canon printer on a Mac offers a convenient and efficient way to digitize physical documents, artwork, photographs, and more. It eliminates the need for standalone scanners and streamlines the process of capturing and storing visual content. Additionally, the seamless integration between Canon printers and Mac systems ensures a user-friendly experience, allowing you to harness the full potential of your devices.
In the following sections, we will provide comprehensive guidance on setting up your Canon printer on a Mac, executing scanning tasks, fine-tuning scan settings to suit your specific requirements, and addressing potential challenges that may arise during the scanning process. By the end of this article, you will be equipped with the knowledge and skills to maximize the scanning capabilities of your Canon printer, empowering you to digitize and manage a wide array of physical content effortlessly.
So, without further ado, let's embark on this enlightening journey into the realm of scanning with Canon printers on Mac, where the convergence of innovation and practicality awaits.
Key Takeaways:
- Scanning with a Canon printer on a Mac is a breeze! Just follow the simple setup process, use the Canon IJ Scan Utility, and adjust settings to digitize documents and images with ease and precision.
- Save and share your scanned content effortlessly on your Mac. Whether it’s PDFs, JPEGs, or sharing through email and cloud storage, Canon printers make it seamless to manage your digitized files.
Read more: How To Scan From Mac To HP Printer
Setting up your Canon printer on Mac
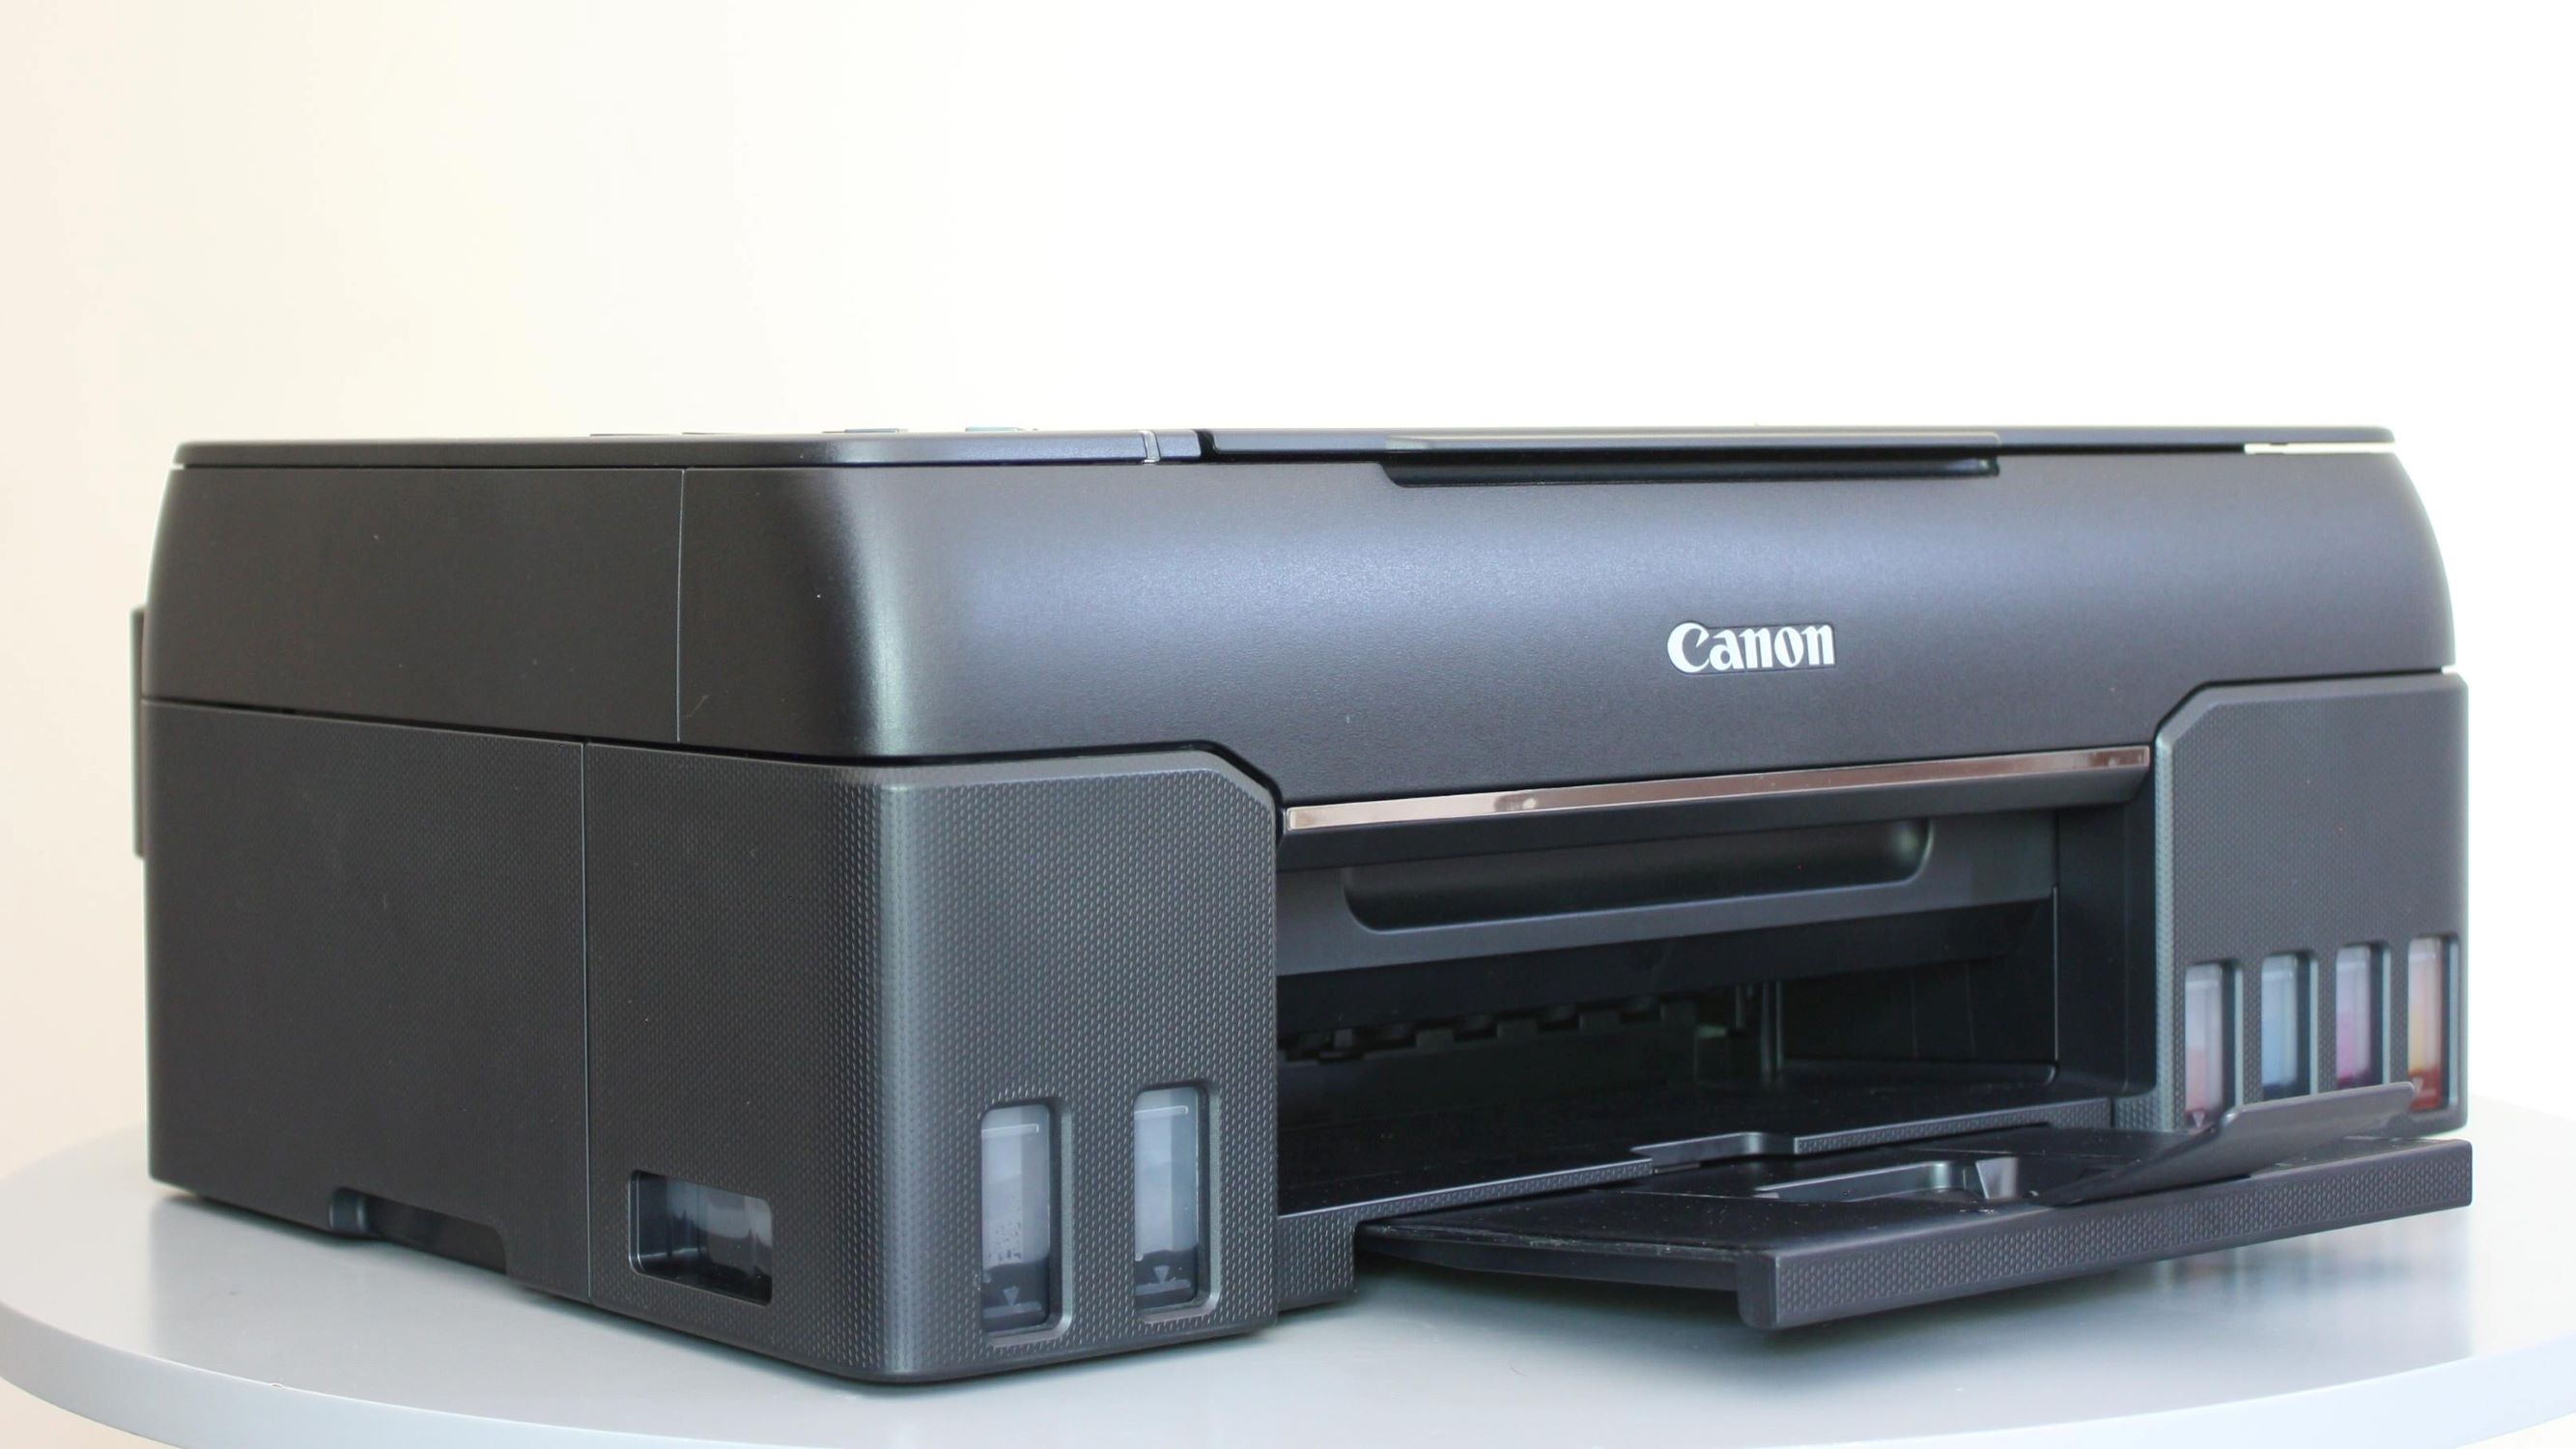
Before embarking on your scanning endeavors, it is crucial to ensure that your Canon printer is seamlessly integrated with your Mac system. The setup process involves a series of straightforward steps that pave the way for a harmonious connection between your printer and computer.
First and foremost, it is essential to confirm that your Canon printer is compatible with Mac operating systems. Canon provides comprehensive support for Mac users, offering a wide range of drivers and software tailored to ensure optimal functionality. By visiting the official Canon website, you can easily access the necessary resources to identify the compatible drivers and software for your specific printer model.
Once you have determined the compatibility of your Canon printer with Mac, the next step involves downloading and installing the requisite drivers and software. Canon simplifies this process by providing intuitive guides and direct download links on their website. By following the instructions and selecting the appropriate drivers for your printer model and Mac OS version, you can swiftly initiate the installation process.
After successfully installing the drivers and software, it is time to establish the physical connection between your Canon printer and Mac. Depending on the printer model, you may utilize a USB cable or connect wirelessly via Wi-Fi. For USB connections, simply plug one end of the cable into your printer and the other end into an available USB port on your Mac. If you opt for wireless connectivity, refer to the printer's manual or the Canon website for detailed instructions on configuring the wireless connection.
With the physical connection in place, it is advisable to conduct a test print to verify the functionality of your Canon printer. This step ensures that your printer is recognized by your Mac and can successfully communicate with the installed drivers and software. By printing a test page, you can confirm that the setup process has been executed effectively, laying the groundwork for seamless scanning operations.
Once your Canon printer is successfully set up on your Mac, you are ready to delve into the realm of scanning, harnessing the impressive capabilities of your device to digitize a myriad of physical content with ease and precision.
Scanning with Canon printer on Mac
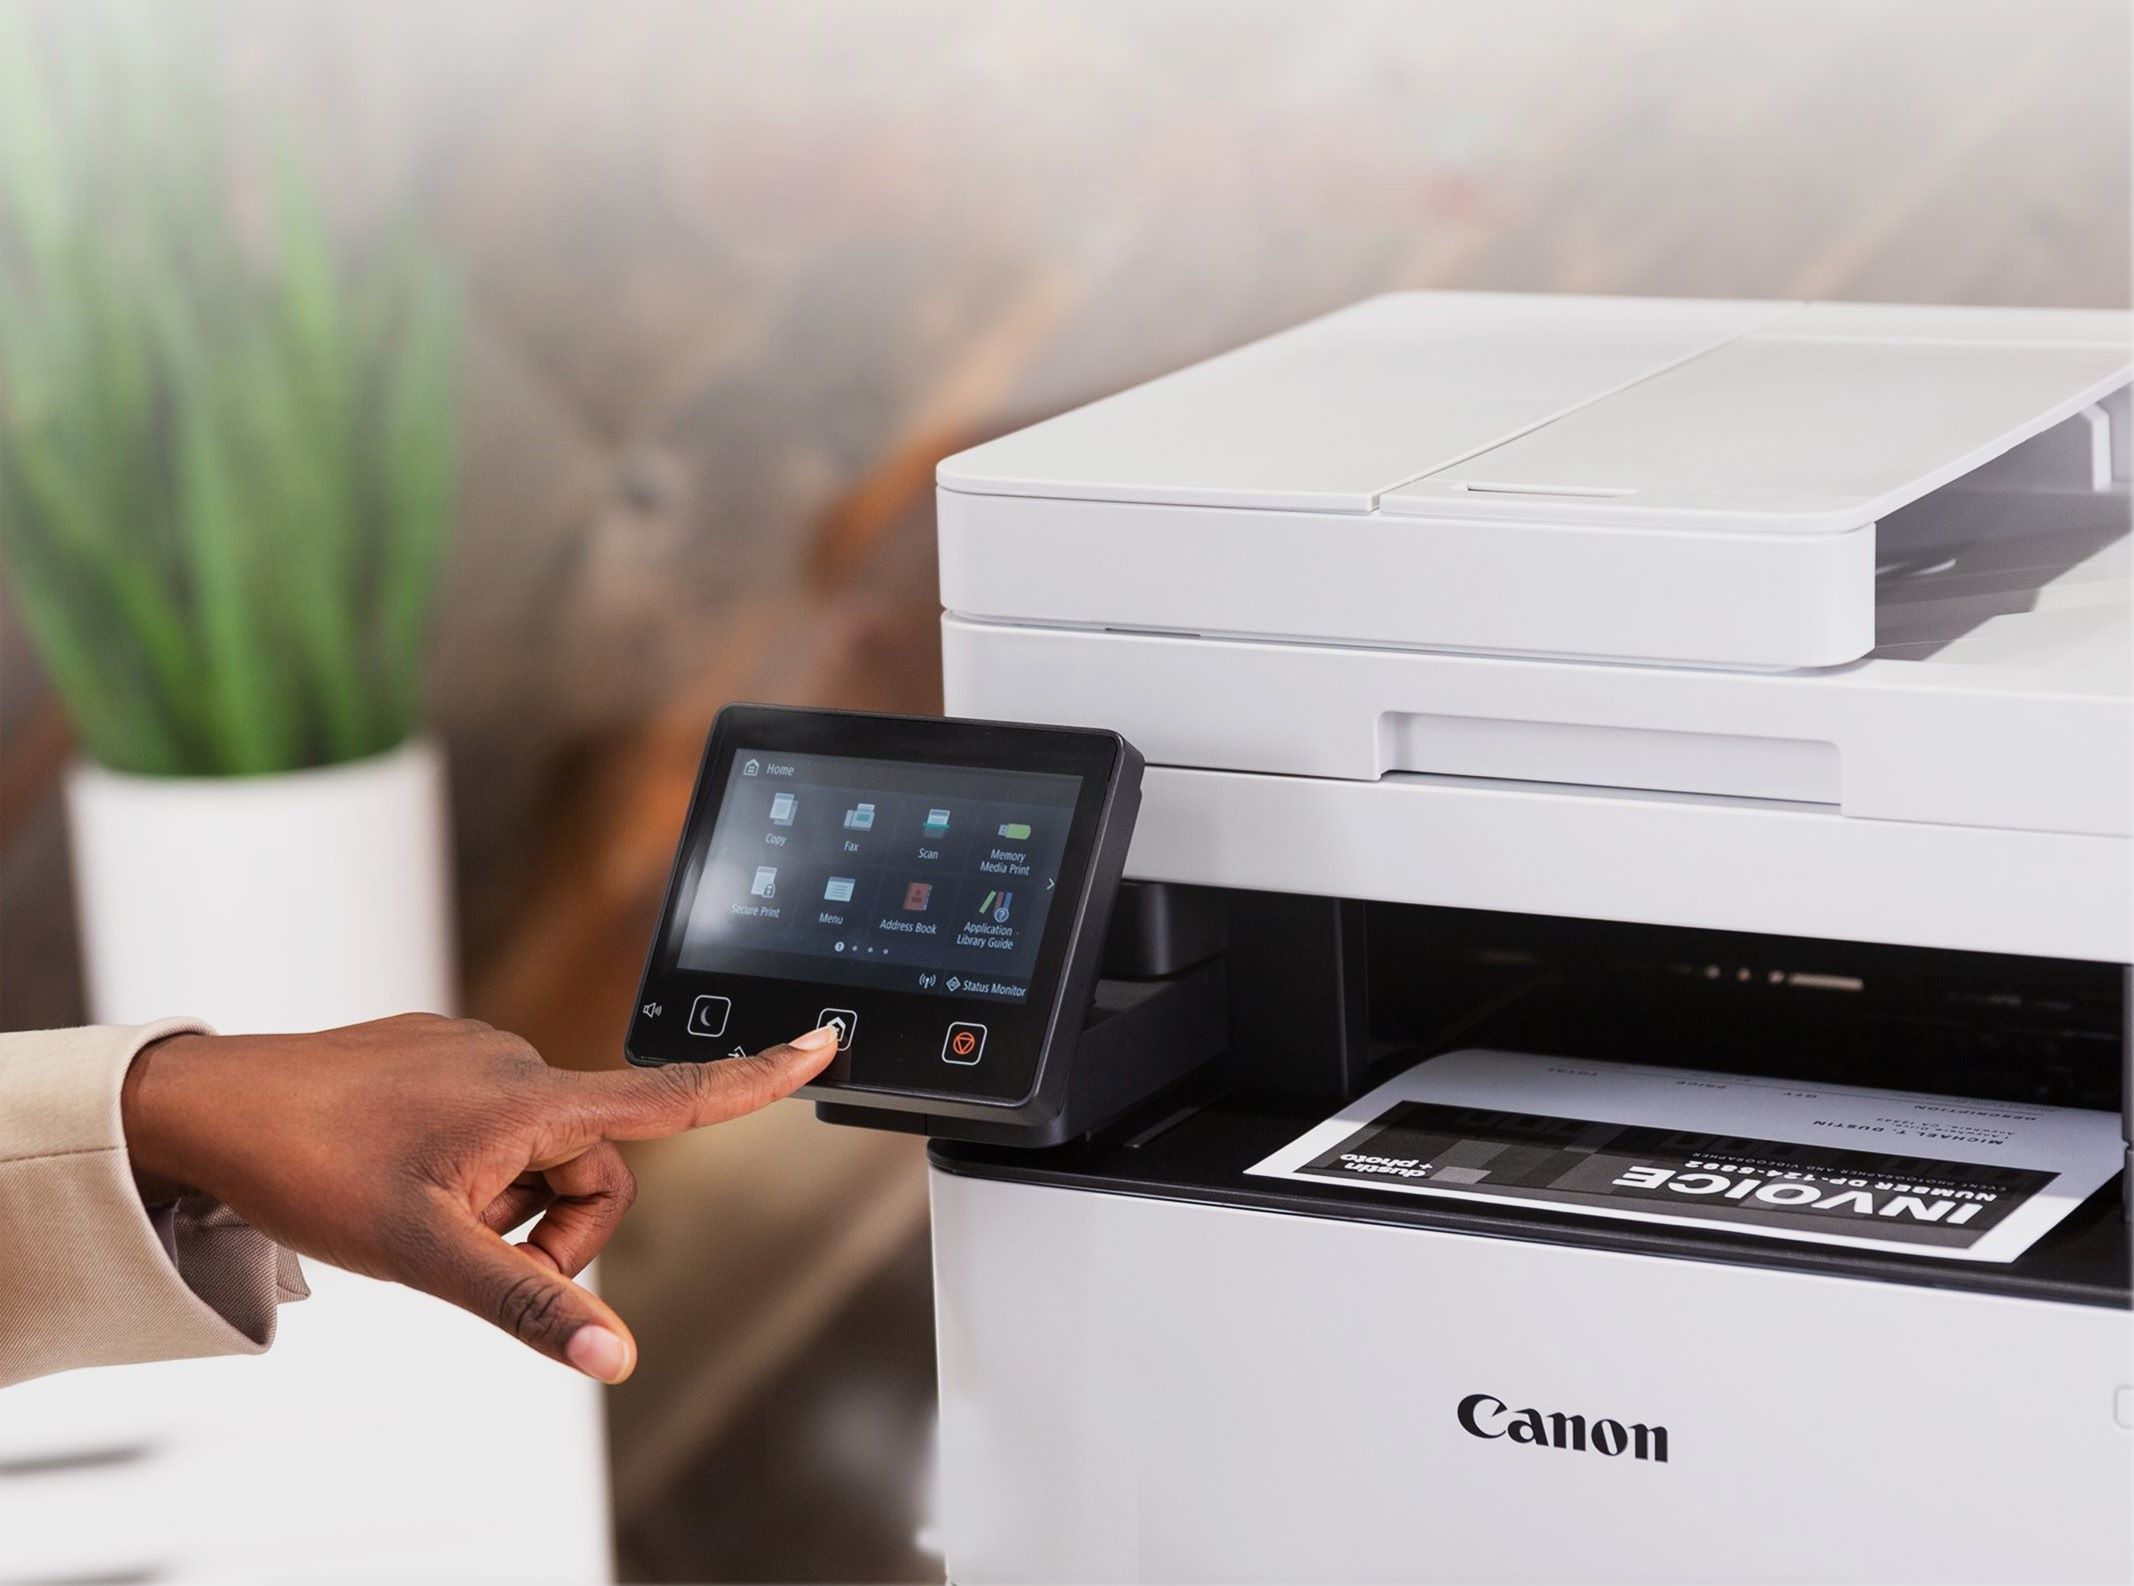
Now that your Canon printer is seamlessly integrated with your Mac, it’s time to explore the exciting realm of scanning. Canon printers offer a diverse array of scanning options, allowing you to digitize documents, photographs, artwork, and other visual content with remarkable ease and efficiency. Whether you prefer a streamlined approach or desire advanced customization, the scanning capabilities of Canon printers on Mac cater to a wide spectrum of user preferences.
One of the most convenient methods of initiating a scan with your Canon printer on Mac is through the utilization of the Canon IJ Scan Utility. This intuitive software provides a user-friendly interface, enabling you to effortlessly initiate scanning tasks and customize various settings to suit your specific requirements. By launching the Canon IJ Scan Utility on your Mac, you gain access to a plethora of scanning options, including document scanning, photo scanning, and custom scan modes.
For those seeking a seamless and rapid scanning experience, the document scan mode offers a straightforward approach to digitizing text-based content. By selecting this mode within the Canon IJ Scan Utility, you can specify the desired settings such as color mode, resolution, and file format before initiating the scan. This streamlined process ensures that your documents are swiftly transformed into digital format, ready for storage, sharing, or further processing.
On the other hand, if you are keen on preserving the intricate details and vibrant colors of photographs and artwork, the photo scan mode presents an ideal solution. This mode allows you to fine-tune settings such as resolution, brightness, and contrast, ensuring that your scanned images faithfully capture the essence of the original content. Whether you are archiving cherished memories or digitizing creative works, the photo scan mode empowers you to achieve exceptional results with ease.
Furthermore, the Canon IJ Scan Utility grants users the flexibility to create custom scan settings tailored to their unique preferences. From adjusting color balance to defining scan areas and optimizing image quality, the custom scan mode opens the door to personalized scanning experiences, accommodating diverse content types and creative visions.
By leveraging the intuitive functionality of the Canon IJ Scan Utility on your Mac, you can unleash the full potential of your Canon printer, transforming physical content into digital assets with remarkable clarity and precision. The seamless integration between Canon printers and Mac systems ensures a harmonious scanning experience, empowering you to digitize a wide array of visual content effortlessly.
Adjusting Scan Settings
When it comes to scanning with your Canon printer on Mac, the ability to adjust scan settings plays a pivotal role in tailoring the digitization process to suit your specific requirements. Canon printers offer a diverse range of customizable settings, empowering you to fine-tune various aspects of the scanning process and achieve optimal results for different types of content.
One of the key settings that significantly influences the quality and file size of scanned documents and images is the resolution. By adjusting the resolution settings within the Canon IJ Scan Utility on your Mac, you can control the level of detail captured during the scanning process. Higher resolutions are ideal for preserving fine details in photographs and artwork, while lower resolutions are suitable for text-based documents, striking a balance between file size and image clarity.
Color mode settings enable you to define how colors are captured and reproduced in scanned content. Whether you are scanning vibrant photographs, monochrome documents, or everything in between, the color mode settings within the Canon IJ Scan Utility allow you to select the appropriate color reproduction method, ensuring that the scanned output faithfully reflects the original content’s color palette.
Besides resolution and color mode, the brightness and contrast settings offer valuable tools for refining the visual characteristics of scanned content. By fine-tuning these settings within the Canon IJ Scan Utility, you can enhance the overall appearance of scanned documents and images, adjusting brightness to achieve optimal visibility and contrast to accentuate details and textures.
Additionally, the scan area settings provide the flexibility to define the specific region of the document or image that you wish to capture during the scanning process. This feature is particularly useful for eliminating unnecessary margins or focusing on a specific area of interest within the original content, allowing you to customize the scan area to suit the unique characteristics of each item being digitized.
By leveraging these customizable scan settings within the Canon IJ Scan Utility on your Mac, you can fine-tune the digitization process to align with your specific preferences and the nature of the content being scanned. This level of control empowers you to achieve exceptional results, ensuring that the scanned output accurately reflects the essence and details of the original physical content.
To scan on a Mac with a Canon printer, open the Canon IJ Scan Utility. Place the document on the scanner, select “Document” or “Photo” and click “Scan.” Save the scanned file to your desired location.
Saving and Sharing Scanned Documents
Once you have successfully scanned your documents or images with your Canon printer on your Mac, the next crucial step is to save and share the digitized content efficiently. Canon printers, in conjunction with Mac systems, offer a seamless workflow for saving scanned documents and images in various file formats and sharing them through diverse channels, ensuring that your digitized content is readily accessible and shareable.
Upon completing the scanning process using the Canon IJ Scan Utility on your Mac, you have the option to save the scanned output in a range of popular file formats, including PDF, JPEG, TIFF, and PNG. This versatility enables you to tailor the file format to suit the specific requirements of the digitized content, whether it is a multi-page document, a high-resolution photograph, or a transparent image with intricate details.
For multi-page documents, the PDF format offers an ideal solution for consolidating scanned pages into a single, easily shareable file. The Canon IJ Scan Utility allows you to seamlessly create PDF documents from scanned content, providing options to adjust compression settings, select page sizes, and organize the scanned pages within the PDF file, ensuring a streamlined and professional presentation of your digitized documents.
When it comes to sharing scanned content, Mac users benefit from a myriad of built-in options for disseminating digitized documents and images. Whether you prefer to send scanned files via email, upload them to cloud storage platforms, or integrate them into presentations and reports, the seamless integration of Canon printers with Mac systems ensures that sharing scanned content is a hassle-free and efficient process.
By leveraging the native sharing capabilities of Mac, you can swiftly disseminate your scanned content to diverse destinations, including email recipients, messaging apps, cloud storage services, and productivity applications. This seamless integration enhances the accessibility and utility of your digitized content, allowing you to seamlessly incorporate it into your digital workflows and communication channels.
Furthermore, the Canon IJ Scan Utility on Mac provides the option to save scanned content directly to designated folders, streamlining the organization and accessibility of your digitized documents and images. By specifying the destination folder and file naming conventions, you can establish a structured and easily navigable repository for your scanned content, facilitating efficient retrieval and management.
Ultimately, the seamless interplay between Canon printers and Mac systems empowers users to not only digitize physical content with remarkable ease and precision but also to save and share the digitized output efficiently, ensuring that the benefits of scanning extend beyond mere conversion to digital format, enhancing accessibility and collaboration in the digital realm.
Read more: How To Scan Documents On A Canon Printer
Troubleshooting Common Scanning Issues
While scanning with your Canon printer on Mac is generally a seamless and efficient process, occasional issues may arise that hinder the smooth execution of scanning tasks. Understanding and addressing these common scanning issues empowers you to maintain a consistent and trouble-free scanning experience, ensuring that you can harness the full potential of your Canon printer for digitizing a wide array of physical content.
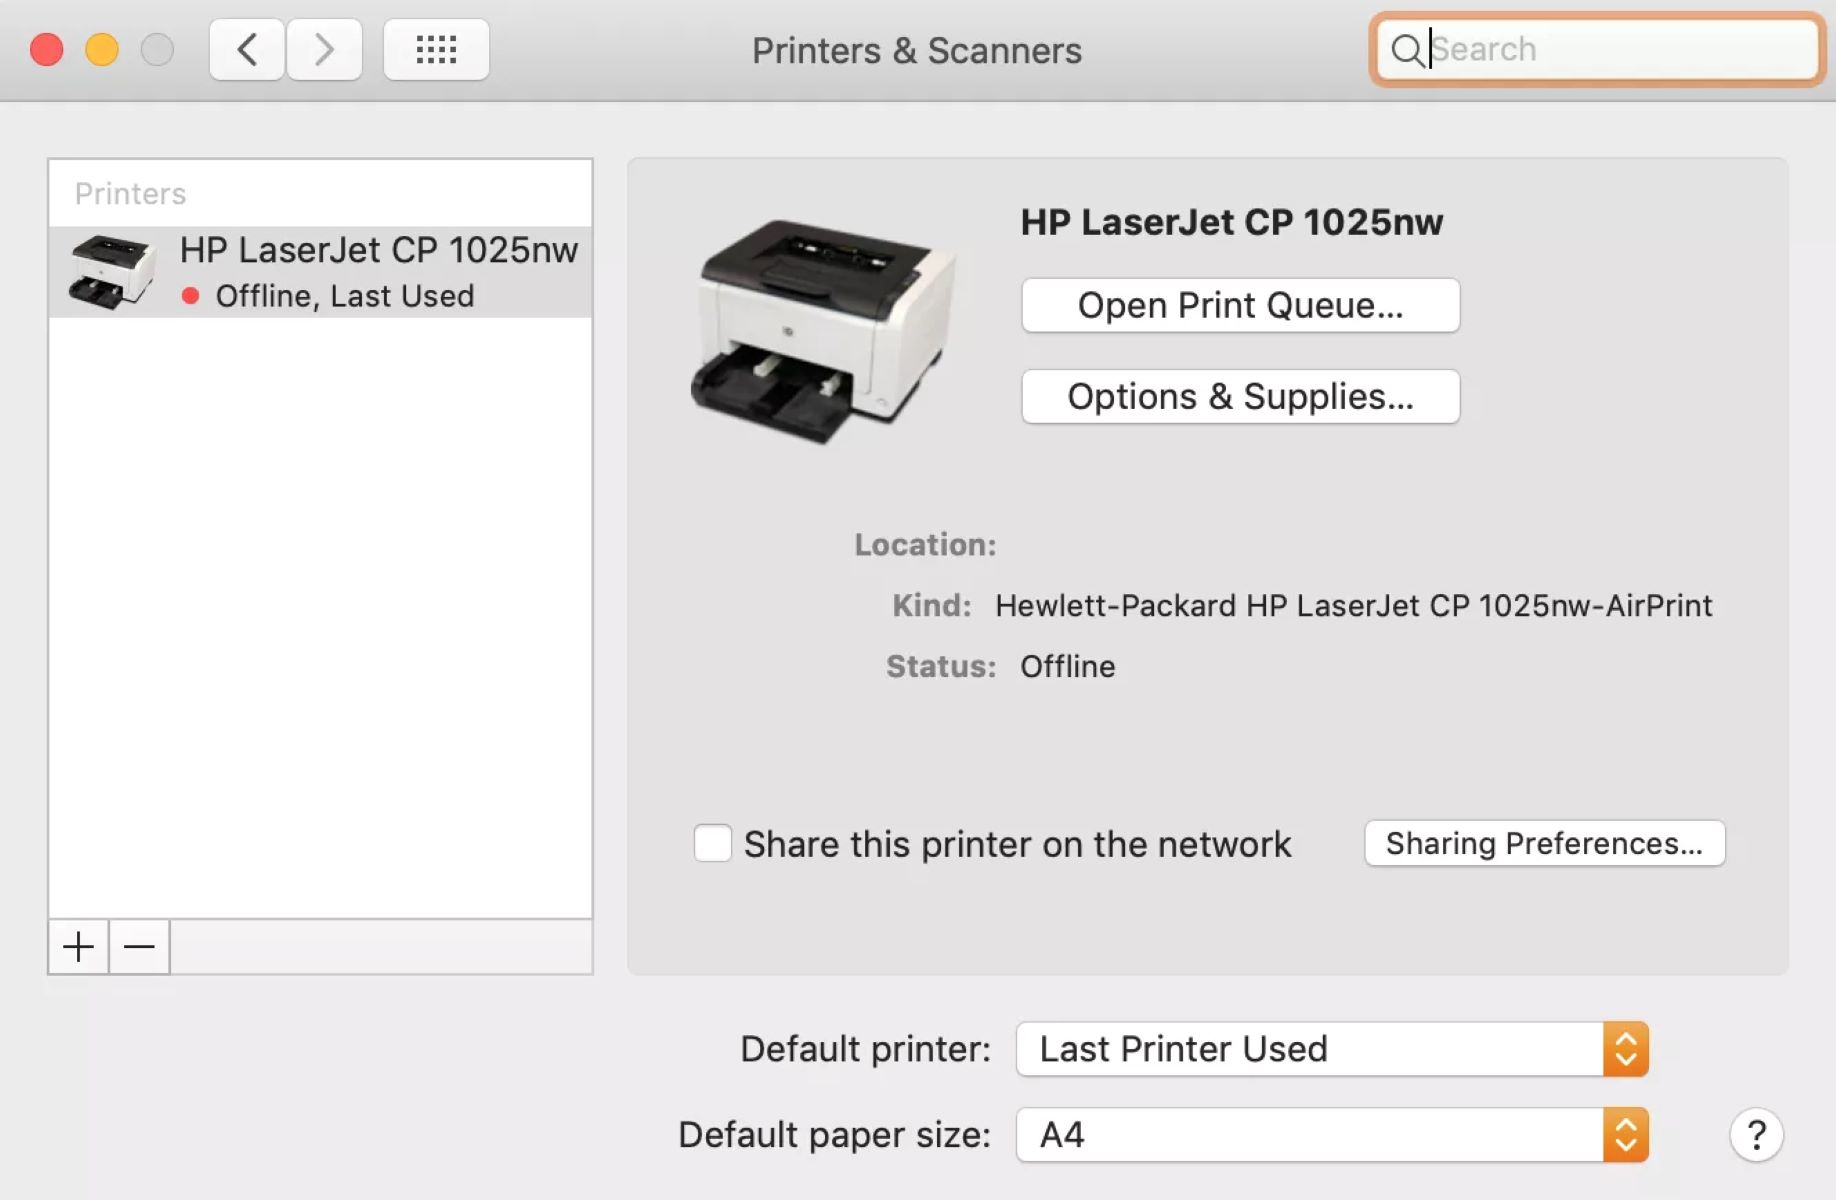
One prevalent issue that users may encounter is the inability to detect the Canon printer during the scanning process. In such instances, it is advisable to verify the physical connection between the printer and your Mac, ensuring that the USB cable, if utilized, is securely plugged in, or that the wireless connection is stable and functional. Additionally, confirming that the correct printer drivers and software are installed on your Mac is crucial for establishing seamless communication between the devices.
Another common concern is the quality of the scanned output, particularly issues related to clarity, color accuracy, and file size. If you notice discrepancies in the scanned output, such as blurry text, inaccurate colors, or excessively large file sizes, it is beneficial to review and adjust the scan settings within the Canon IJ Scan Utility. Fine-tuning settings such as resolution, color mode, brightness, and contrast can significantly impact the quality and characteristics of the scanned content.
Occasionally, users may encounter challenges related to the scanning speed and responsiveness of the Canon printer. If the scanning process appears to be sluggish or unresponsive, it is advisable to ensure that the printer is adequately powered and connected to your Mac. Additionally, restarting both the printer and your Mac, as well as closing unnecessary applications running in the background, can help alleviate potential performance issues and enhance the scanning experience.
Furthermore, network-related issues may impede the wireless scanning capabilities of Canon printers on Mac. If you encounter difficulties in initiating scans over a wireless connection, verifying the stability and signal strength of the Wi-Fi network, as well as ensuring that the printer and Mac are connected to the same network, can help resolve connectivity issues and restore seamless wireless scanning functionality.
In the event of persistent scanning issues that cannot be resolved through basic troubleshooting steps, seeking assistance from Canon’s customer support or referring to the comprehensive support resources available on their official website can provide valuable insights and solutions tailored to your specific printer model and Mac configuration.
By familiarizing yourself with these common scanning issues and their respective troubleshooting approaches, you can mitigate potential challenges and maintain a smooth and efficient scanning experience with your Canon printer on Mac, ensuring that the digitization of physical content remains a seamless and rewarding endeavor.
Conclusion
As we conclude our exploration of scanning with Canon printers on Mac, it is evident that the seamless integration of these devices offers a wealth of opportunities for digitizing physical content with remarkable ease and precision. From the initial setup process to the execution of scanning tasks, adjustment of scan settings, and the efficient saving and sharing of digitized content, Canon printers on Mac present a harmonious and user-friendly ecosystem that empowers individuals to embrace the benefits of digitization.
By following the comprehensive guidance provided in this article, users can confidently navigate the setup process, initiate scanning tasks with confidence, and fine-tune scan settings to achieve optimal results for diverse types of content. The intuitive functionality of the Canon IJ Scan Utility on Mac serves as a cornerstone of the scanning experience, offering a diverse array of scanning modes, customizable settings, and seamless sharing options that cater to a wide spectrum of user preferences and creative endeavors.
Furthermore, the ability to troubleshoot common scanning issues ensures that users can maintain a consistent and trouble-free scanning experience, addressing potential challenges with confidence and efficiency. Whether it involves verifying the printer connection, adjusting scan settings, or resolving network-related issues, the knowledge and insights gained from this article empower users to overcome obstacles and maintain a seamless scanning workflow.
Ultimately, the convergence of Canon printers and Mac systems heralds a new era of digital empowerment, where the physical and digital realms seamlessly intertwine, fostering creativity, productivity, and accessibility. The ability to effortlessly digitize physical content, share it across diverse platforms, and collaborate with ease underscores the transformative potential of scanning with Canon printers on Mac, enriching the digital experiences of individuals across various domains.
As you embark on your scanning endeavors with Canon printers on Mac, may the knowledge and insights gleaned from this article serve as a guiding light, empowering you to unlock the full potential of your devices and embrace the art of digitization with confidence and creativity. The world of scanning awaits, brimming with possibilities and opportunities to transform physical content into digital assets that enrich and elevate your digital journey.
Now that you've mastered scanning documents with your Canon printer on Mac, you might be wondering about the initial setup process for your device. If setting up gadgets sounds tricky, don't worry! Our guide on Canon Printer Setup walks you through every step, ensuring you're up and running without a hitch. Whether you're a tech newbie or just need a quick refresher, this article makes printer setup a breeze. So, why wait? Get your Canon printer functioning flawlessly today!
Frequently Asked Questions about How To Scan On Mac With Canon Printer
Was this page helpful?
At Storables.com, we guarantee accurate and reliable information. Our content, validated by Expert Board Contributors, is crafted following stringent Editorial Policies. We're committed to providing you with well-researched, expert-backed insights for all your informational needs.


0 thoughts on “How To Scan On Mac With Canon Printer”