Home>Technology>Smart Home Devices>How To Make Printer Ink
Smart Home Devices
How To Make Printer Ink
Modified: January 9, 2024
Learn how to make printer ink at home and save money on smart home devices. Discover eco-friendly ink-making techniques and reduce your environmental impact.
(Many of the links in this article redirect to a specific reviewed product. Your purchase of these products through affiliate links helps to generate commission for Storables.com, at no extra cost. Learn more)
Introduction
Welcome to the fascinating world of DIY printer ink! In this guide, we will explore the art of creating your own printer ink, a process that not only allows you to exercise your creativity but also provides an eco-friendly alternative to traditional ink cartridges. By utilizing simple materials and following a few straightforward steps, you can produce high-quality ink tailored to your specific printing needs.
Are you ready to embark on a journey of innovation and resourcefulness? Let's delve into the materials needed and the step-by-step process of making your own printer ink. Whether you're a seasoned DIY enthusiast or a curious beginner, this endeavor promises to be both rewarding and enlightening. Let's roll up our sleeves and uncover the secrets of crafting custom printer ink that will breathe new life into your printing endeavors.
Key Takeaways:
- You can make your own printer ink using simple materials like charcoal, gum arabic, and distilled water. It’s a fun and eco-friendly way to create custom ink for your printing needs.
- Testing and refining the ink ensures it meets your standards. By storing it properly, you can use your homemade ink for various printing projects, adding a personal touch to every print.
Read more: How To Make Printer Use Color Ink For Black
Materials Needed
Before diving into the ink-making process, it’s essential to gather the necessary materials. The following items are fundamental for creating your homemade printer ink:
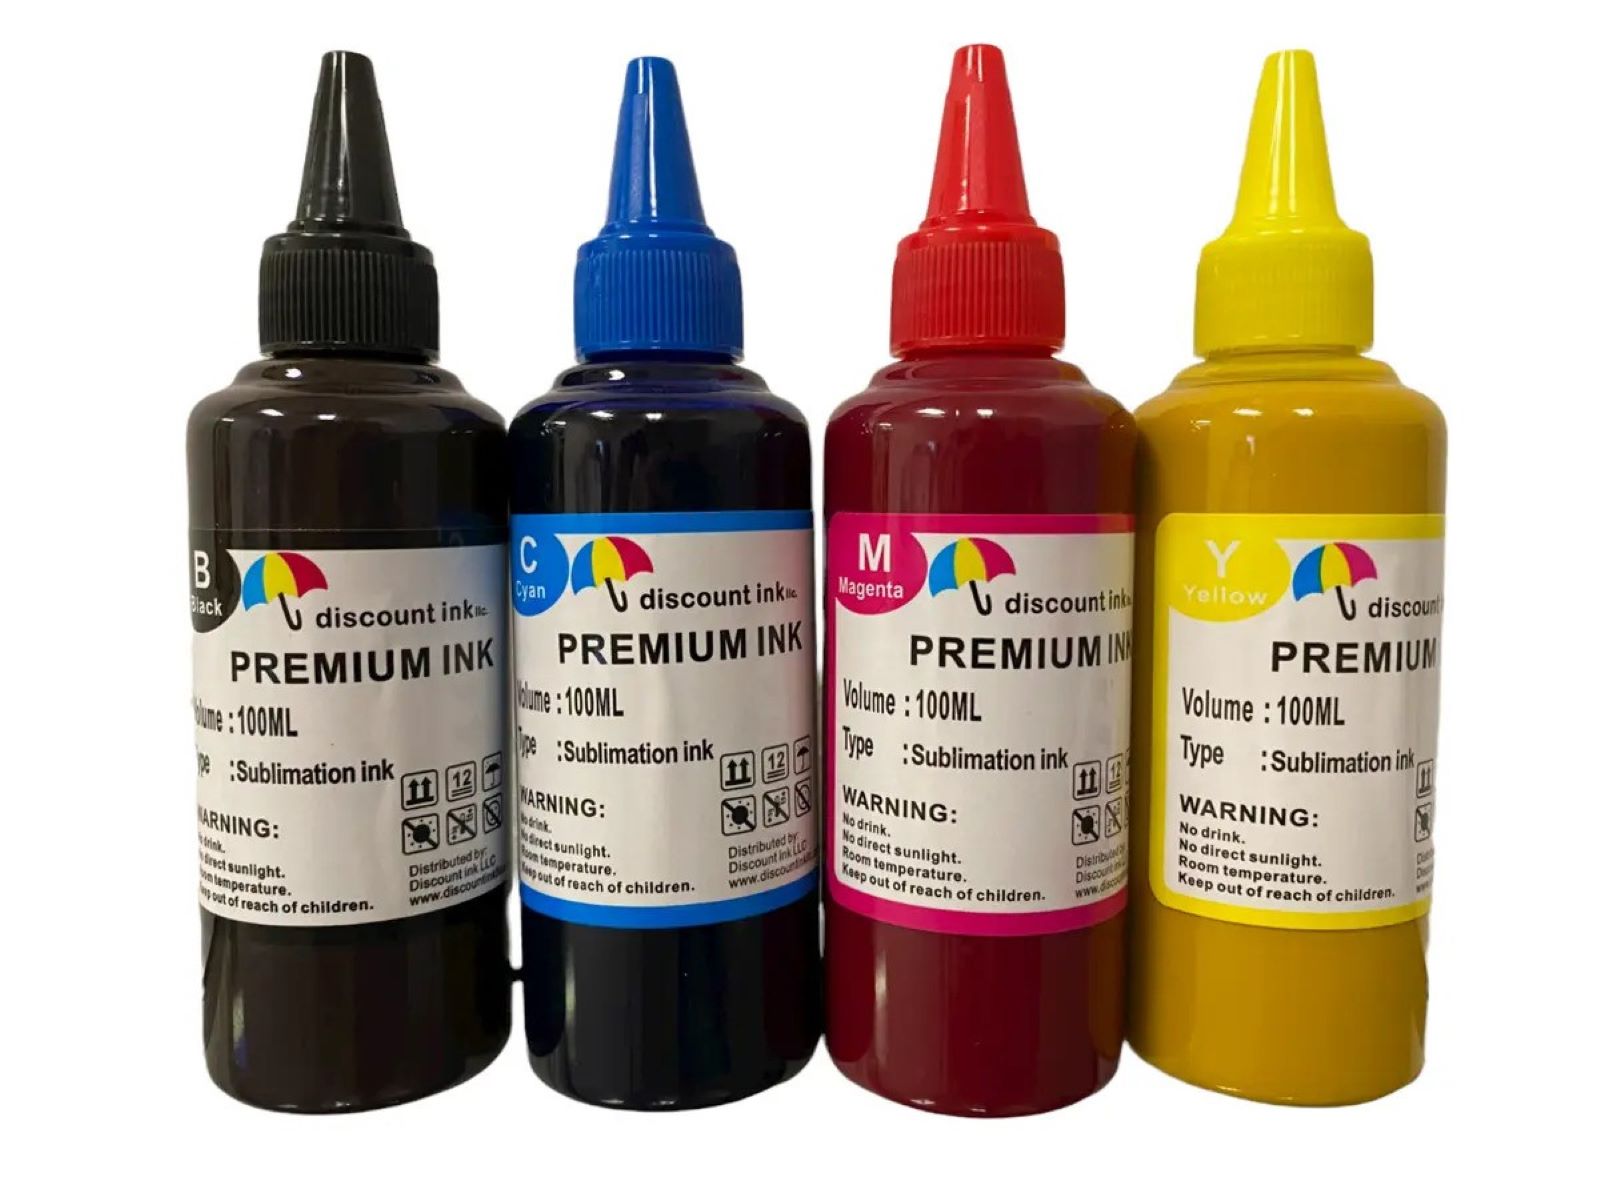
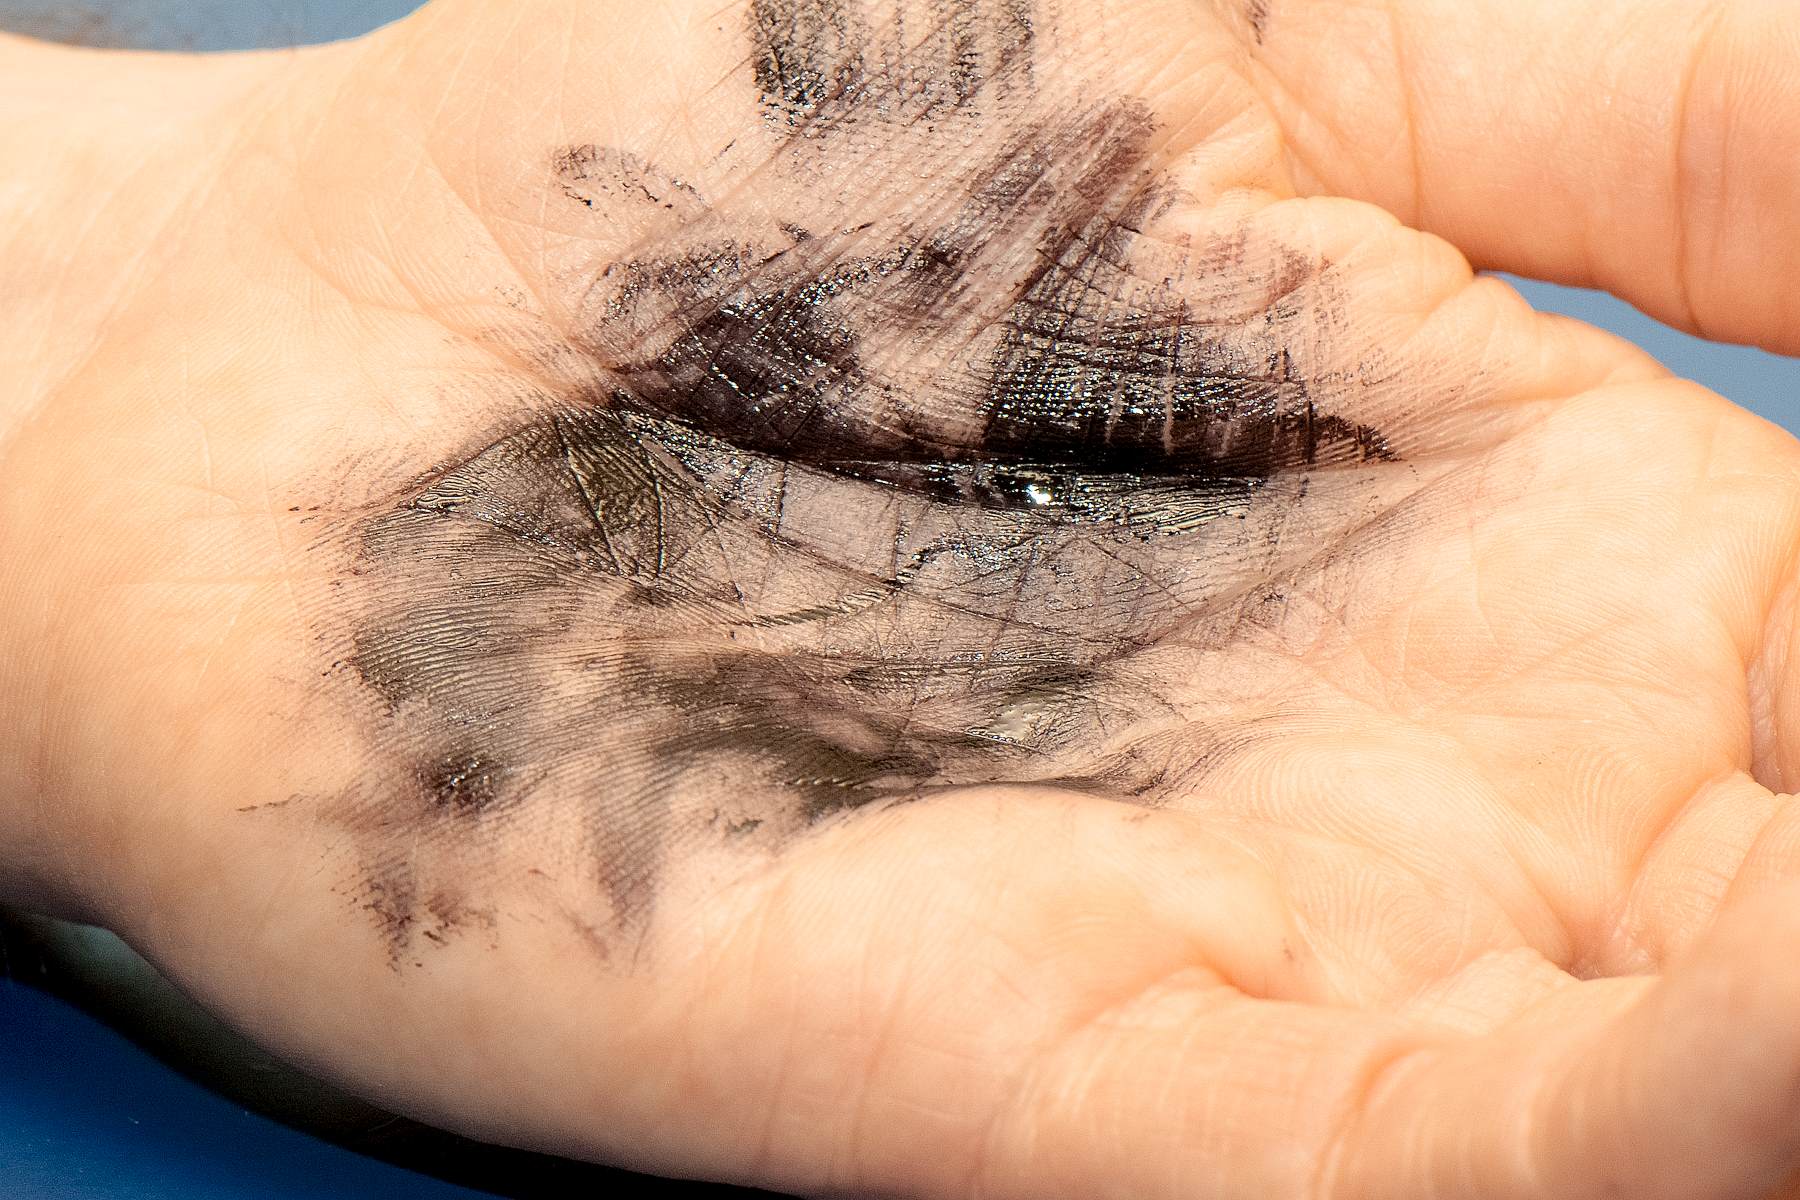
- 1. Carbon black or color pigments: These can be sourced from various sources, such as charcoal, ash, or natural pigments, depending on the desired ink color.
- 2. Distilled water: It serves as the solvent for the pigments and helps achieve the desired consistency of the ink.
- 3. Gum arabic: This natural resin is used as a binding agent, ensuring that the pigment adheres to the paper when printing.
- 4. Glass or ceramic plate: An ideal surface for mixing and grinding the ink components.
- 5. Glass muller or spatula: These tools are essential for grinding and mixing the pigments with the binding agent and water.
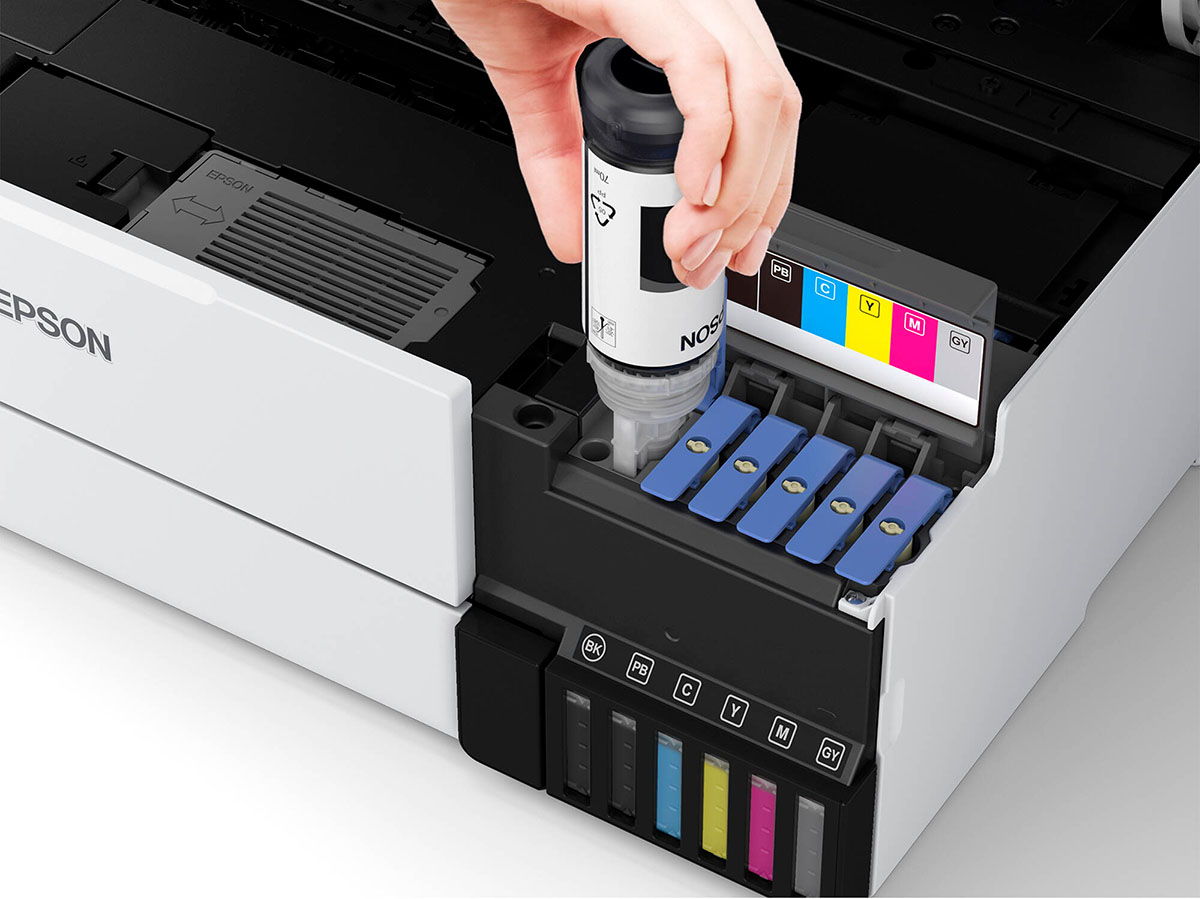
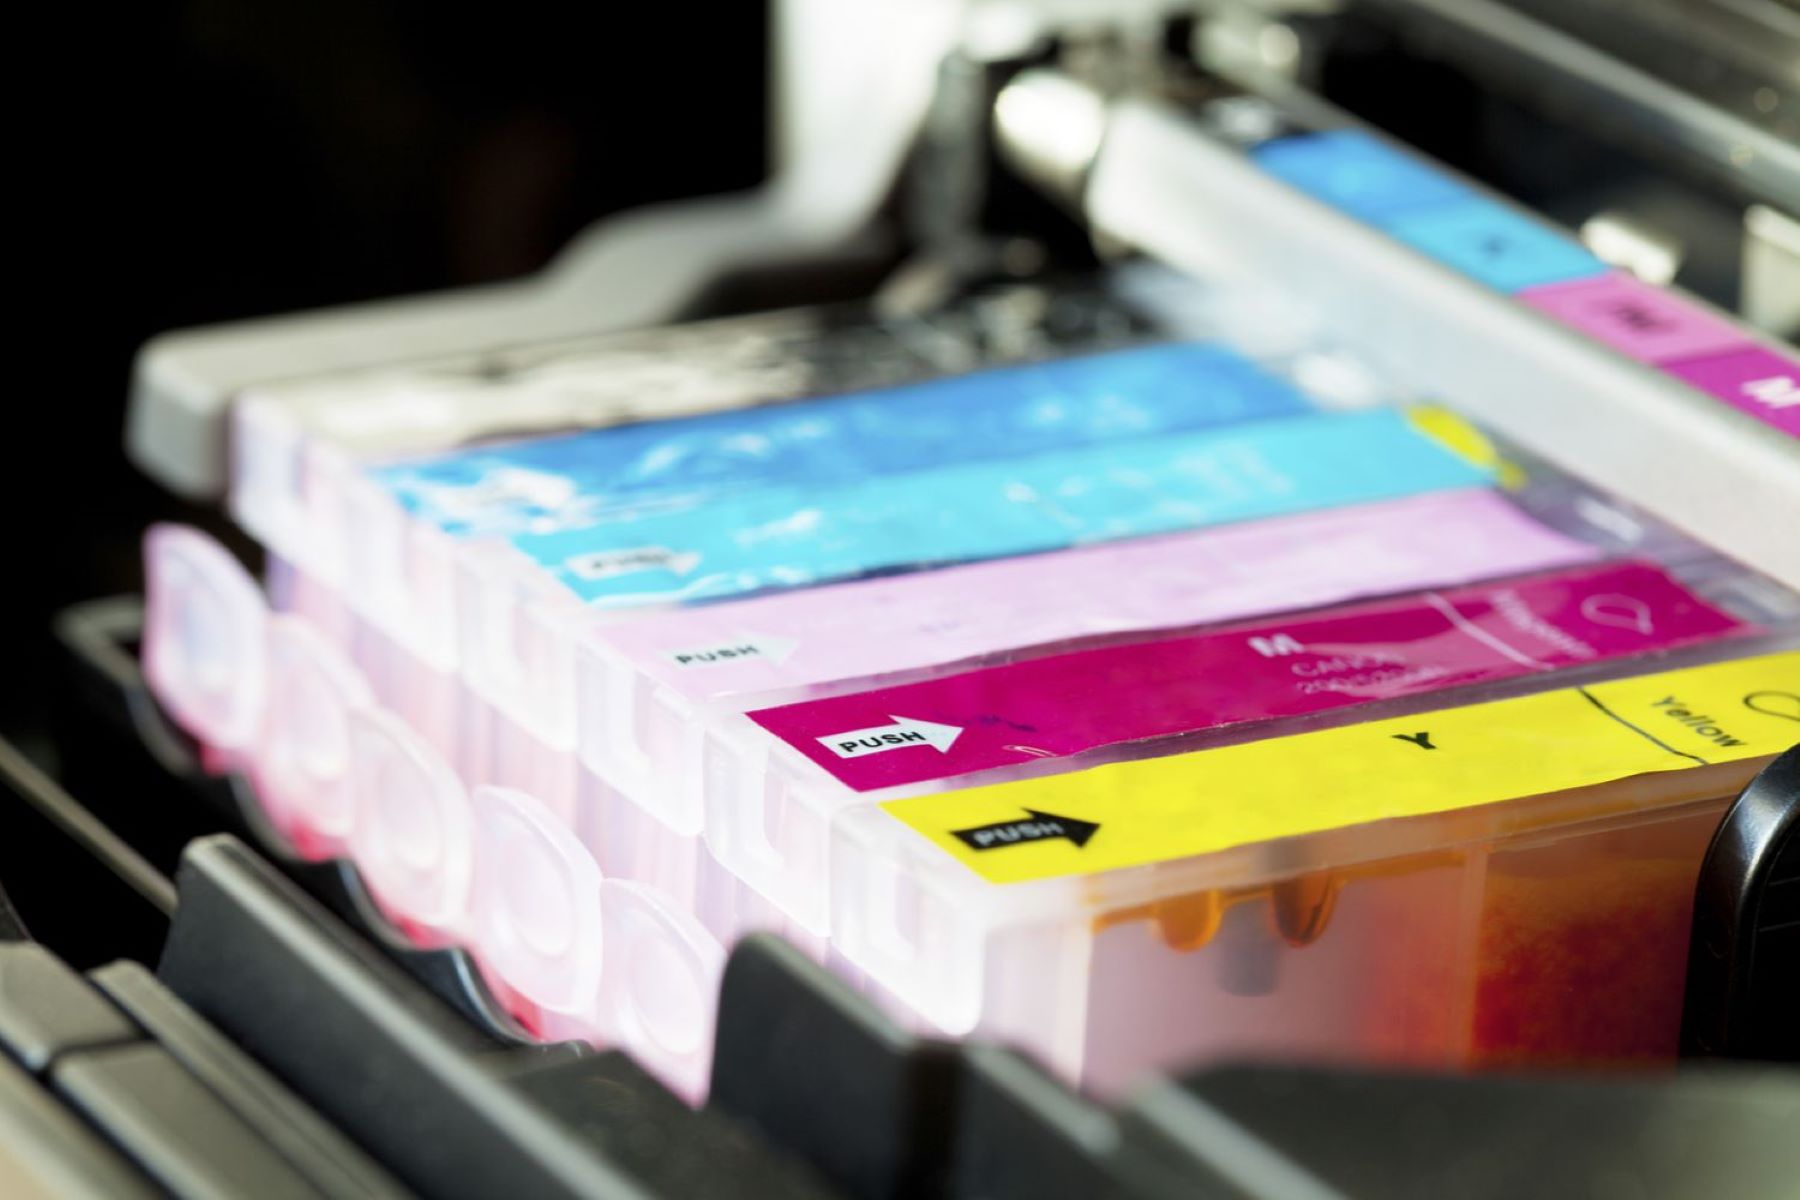
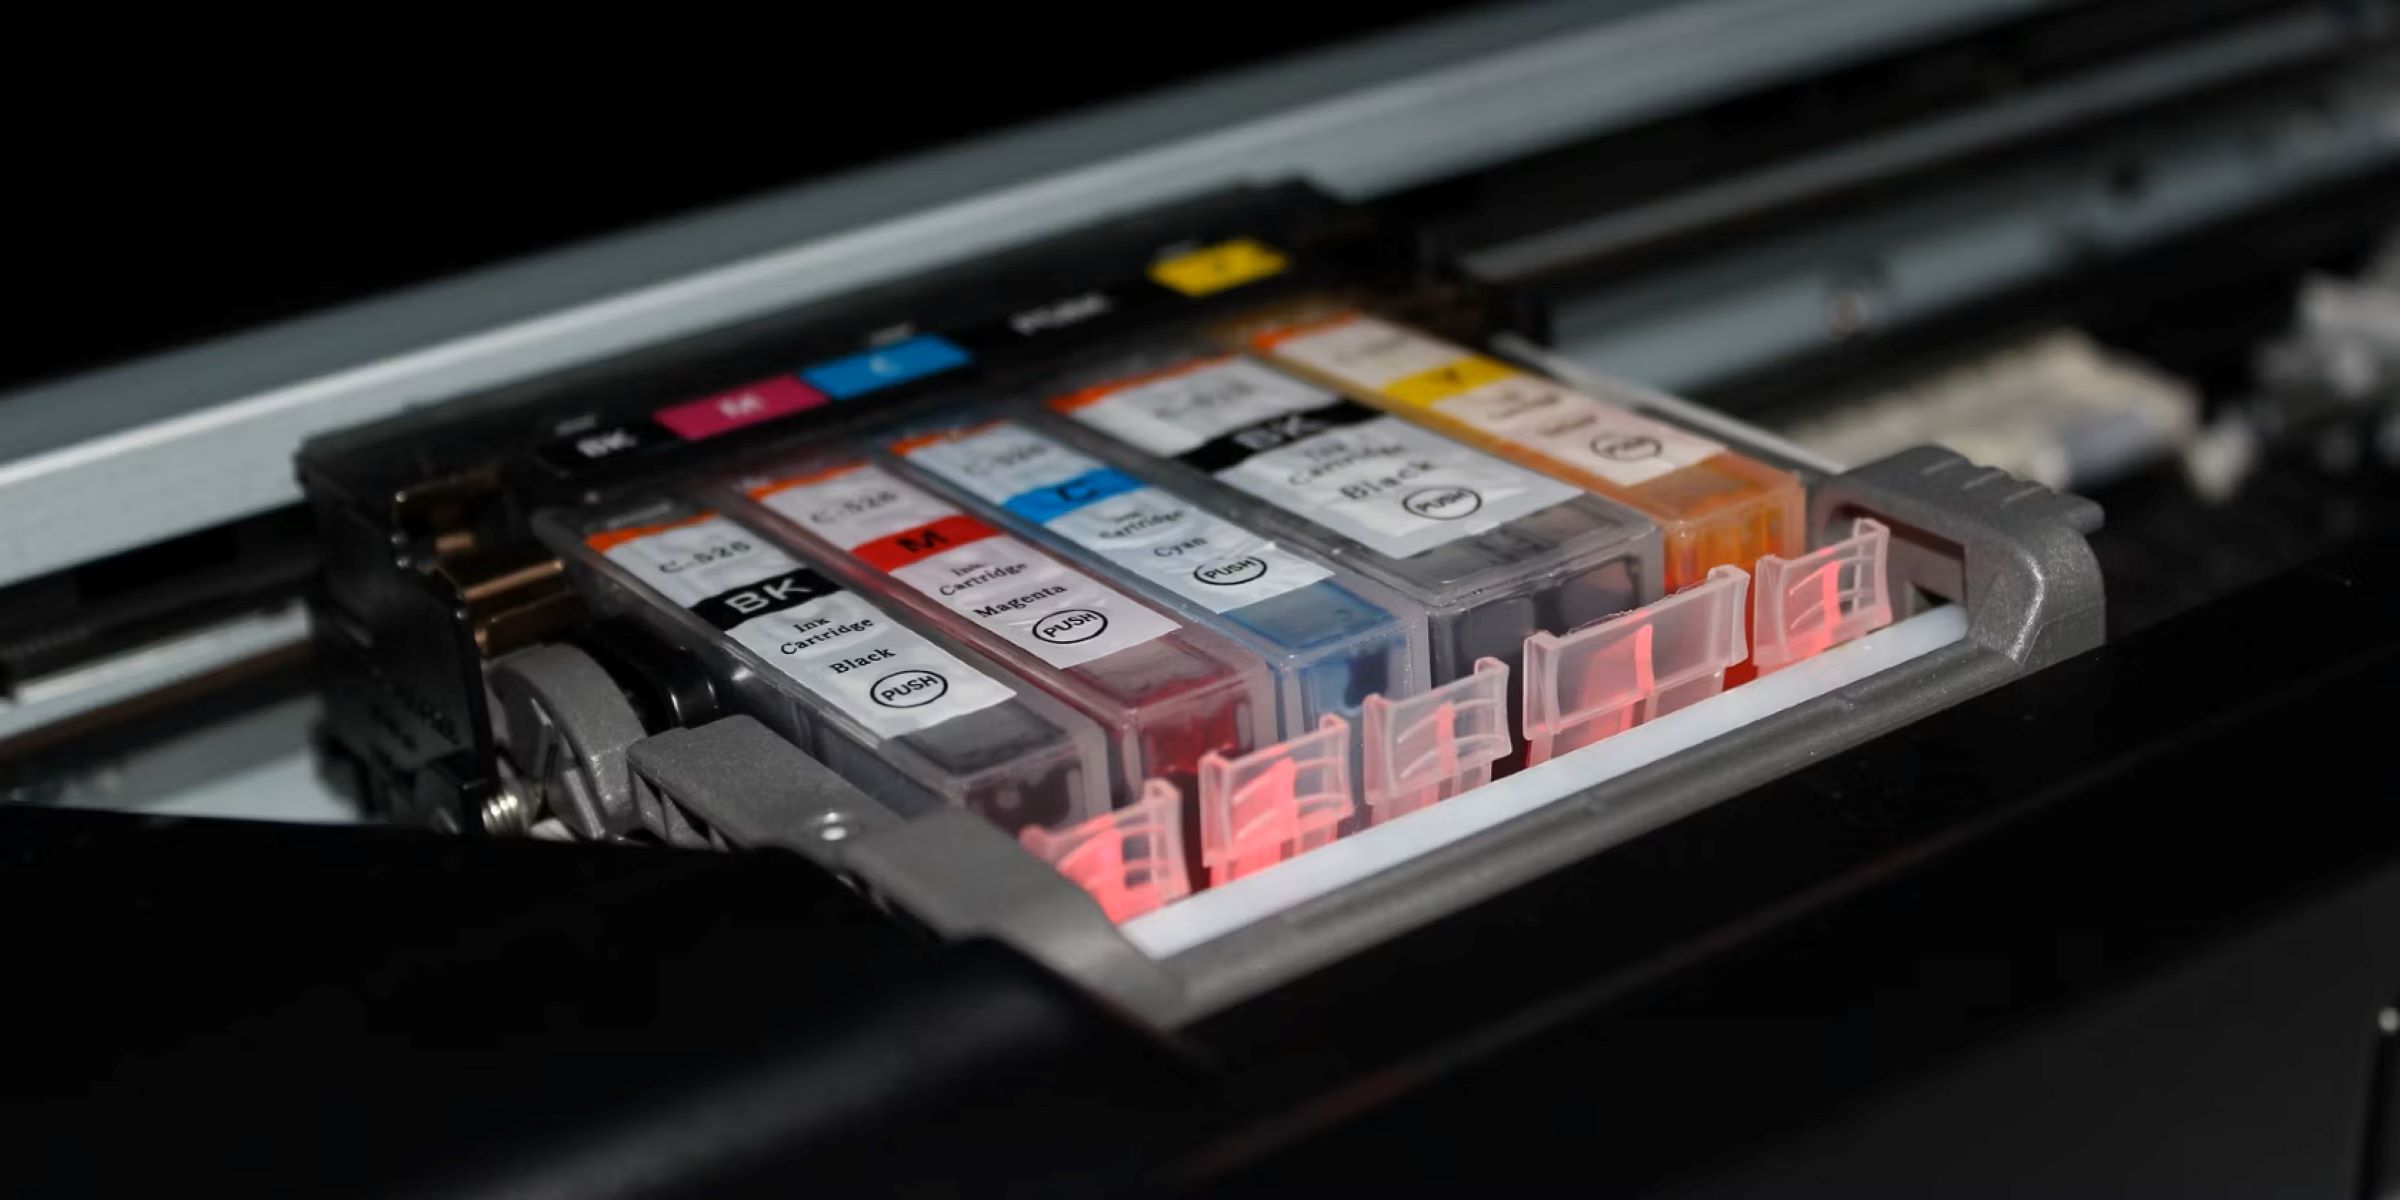
- 6. Airtight containers: These are necessary for storing the prepared ink to maintain its quality and prevent evaporation.
- 7. Syringe or dropper: These tools facilitate precise measurement and dispensing of the ink solution.
- 8. Protective gear: It’s advisable to use gloves and protective clothing to prevent staining and ensure safety during the ink-making process.
By assembling these materials, you are well-equipped to embark on the journey of creating your own printer ink. The next step involves preparing the ink solution, where these materials will come together to form a custom ink blend tailored to your preferences and printing requirements.
Step 1: Gather the Ingredients
Before delving into the ink-making process, it’s crucial to gather all the necessary ingredients and tools. Here’s a detailed breakdown of the essential components:
Pigments: Depending on your color preference, you can choose carbon black for black ink or various color pigments for colored ink. These pigments can be obtained from natural sources such as charcoal, ash, or natural mineral pigments. Selecting high-quality pigments is vital for achieving vibrant and long-lasting ink.
Distilled Water: This pure form of water is free from impurities and additives, making it an ideal solvent for the pigments. It ensures that the ink maintains a smooth consistency and adheres well to the printing surface.
Gum Arabic: As a natural resin obtained from the Acacia tree, gum arabic acts as a binding agent, enhancing the adhesion of the pigment to the paper. It also contributes to the ink’s viscosity and flow, crucial aspects for optimal printing results.
Mixing Tools: A glass or ceramic plate serves as the mixing surface, providing a smooth and non-reactive area for blending the ink components. Additionally, a glass muller or spatula is essential for grinding and mixing the pigments with the binding agent and water to achieve a homogeneous ink solution.
Storage Containers: Airtight containers are necessary for storing the prepared ink. These containers help preserve the ink’s quality and prevent evaporation, ensuring that the ink remains viable for future use.
Measuring Tools: A syringe or dropper facilitates precise measurement and dispensing of the ink solution, allowing for accurate and consistent ink production.
Protective Gear: It’s advisable to wear gloves and protective clothing to prevent staining and ensure personal safety during the ink-making process. This precautionary measure also minimizes direct contact with the pigments and binding agents.
By gathering these ingredients and tools, you are ready to embark on the ink-making journey, where creativity and precision converge to produce custom printer ink tailored to your specific printing needs.
Step 2: Prepare the Ink Solution
Now that you have assembled the necessary ingredients and tools, it’s time to begin the process of preparing the ink solution. This step involves meticulous blending and mixing to achieve a high-quality ink that meets your printing requirements. Follow these key guidelines to ensure a successful ink preparation process:
1. Measure the Ingredients: Start by accurately measuring the pigments, distilled water, and gum arabic. Precision in measurement is crucial for achieving the desired ink color, consistency, and adhesion properties.
2. Mixing the Pigments: On the glass or ceramic plate, place the measured pigments and add a small amount of distilled water. Use the glass muller or spatula to grind and mix the pigments thoroughly, creating a smooth paste. This process ensures that the pigments are evenly distributed and well-incorporated into the ink solution.
3. Adding the Binding Agent: Once the pigments are adequately mixed, introduce the gum arabic to the paste. Gradually incorporate the gum arabic while continuing to blend the mixture. This step is crucial for achieving the desired viscosity and adhesion properties of the ink.
4. Adjusting the Consistency: Depending on the intended use and printing requirements, you can adjust the ink’s consistency by adding more distilled water. This step allows you to fine-tune the ink solution, ensuring optimal flow and performance during printing.
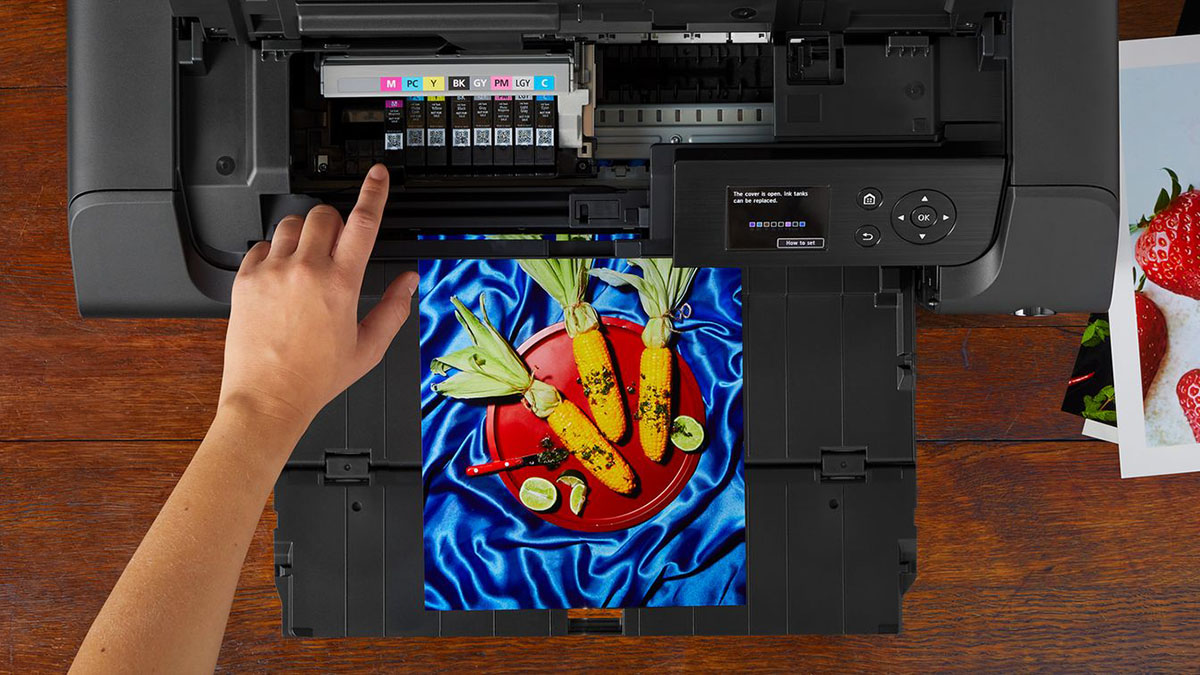
5. Test Printing: Before storing the ink, perform a test print to evaluate the color accuracy, saturation, and overall printing quality. This step allows for adjustments to be made if necessary, ensuring that the ink meets your expectations.
6. Strain the Ink (Optional): For a smoother and more refined ink, you can opt to strain the ink solution through a fine-mesh sieve or cheesecloth. This additional step helps remove any remaining particles or impurities, resulting in a cleaner and more consistent ink.
By following these steps with precision and attention to detail, you will successfully prepare a custom ink solution tailored to your specific printing needs. The next step involves testing the ink to ensure its quality and performance before storing it for future use.
You can make printer ink by mixing water, glycerin, and a colorant like food coloring or powdered pigments. Adjust the ratios to achieve the desired color intensity and test on a small scale before using in your printer.
Step 3: Test the Ink
Testing the ink is a crucial step in the ink-making process, allowing you to evaluate its color accuracy, saturation, and overall performance. By conducting a thorough ink test, you can make necessary adjustments to ensure that the ink meets your printing expectations. Follow these essential guidelines to effectively test the ink:
1. Print Quality Assessment: Begin by selecting a test document or image that encompasses a range of colors and intricate details. This will provide a comprehensive assessment of the ink’s performance across various printing scenarios.
2. Calibration: Ensure that your printer is properly calibrated to achieve accurate color reproduction. This step is essential for obtaining reliable test results and identifying any potential issues with the ink’s color fidelity.
3. Print Evaluation: Proceed to print the test document or image using the prepared ink. Carefully examine the printed output, paying close attention to color vibrancy, tonal range, and overall clarity. Assess whether the ink accurately reproduces the intended colors and details.
4. Color Accuracy Check: Compare the printed output with the original document or image to verify the ink’s color accuracy. Pay attention to subtle nuances and variations in color to ensure that the ink faithfully replicates the intended hues.
5. Saturation and Coverage: Evaluate the ink’s saturation and coverage by examining areas of solid color and gradients within the printed test document. Assess whether the ink delivers consistent coverage and smooth color transitions without streaking or patchiness.
6. Detail Reproduction: Inspect the printed output for fine details and intricate patterns to determine the ink’s ability to reproduce subtle nuances and complex textures. This step is crucial for assessing the ink’s precision and fidelity in capturing intricate design elements.
7. Adjustment and Iteration: Based on the test results, make necessary adjustments to the ink formulation if any discrepancies are identified. This may involve fine-tuning the pigment-to-binder ratio or adjusting the ink’s consistency to optimize its performance.
By thoroughly testing the ink and iteratively refining its composition, you can ensure that the final ink solution meets your quality standards and printing requirements. Once the ink has been successfully tested and refined, the next step involves storing it appropriately for future use.
Read more: How To Dispose Of Printer Ink
Step 4: Store the Ink
Proper storage is essential for maintaining the quality and longevity of the homemade printer ink. By following best practices for ink storage, you can ensure that the ink remains viable for future use, preserving its color integrity and performance. Here’s a comprehensive guide to effectively store the prepared ink:
1. Airtight Containers: Transfer the prepared ink solution into clean and airtight containers to prevent evaporation and maintain its consistency. Glass or plastic containers with secure lids are ideal for storing ink, ensuring a sealed environment that protects against air and moisture exposure.
2. Labeling: Clearly label each ink container with the ink color, date of preparation, and any specific details regarding the ink formulation. This labeling practice promotes organization and facilitates easy identification of the ink, especially when storing multiple ink variations.
3. Storage Environment: Store the ink containers in a cool, dark, and dry environment to minimize exposure to light and temperature fluctuations. Avoid placing the ink near heat sources or direct sunlight, as prolonged exposure can compromise the ink’s quality and stability.
4. Inventory Management: Maintain an inventory log or database to track the quantity and characteristics of stored ink. This practice helps monitor ink usage, expiration dates, and formulation details, enabling efficient management of ink supplies and replenishment when needed.
5. Periodic Inspection: Regularly inspect stored ink containers for any signs of contamination, sedimentation, or changes in consistency. If any abnormalities are observed, take necessary measures to address potential issues and maintain the ink’s quality.
6. Usage Guidelines: Establish usage guidelines for the stored ink, including recommended shelf life, usage frequency, and compatibility with specific printing projects. By adhering to these guidelines, you can optimize the ink’s performance and minimize wastage.
7. Inventory Rotation: Implement a rotation system for stored ink to ensure that older batches are used before newer ones. This practice helps prevent ink spoilage and ensures that ink supplies remain fresh and viable for printing needs.
By following these storage guidelines, you can safeguard the quality and usability of the homemade printer ink, maximizing its longevity and ensuring consistent printing performance. With the ink securely stored, you are well-prepared to unleash its potential for a wide range of printing projects.
Conclusion
Congratulations on mastering the art of creating your own printer ink! Through this journey, you have gained valuable insights into the meticulous process of crafting custom ink tailored to your specific printing needs. By harnessing simple materials and following a methodical approach, you have unlocked the potential to produce high-quality ink that reflects your creativity and resourcefulness.
As you reflect on this endeavor, consider the environmental benefits of DIY printer ink, which offers a sustainable alternative to traditional ink cartridges. By utilizing natural pigments and minimizing waste, you have contributed to a more eco-friendly approach to printing, aligning with the principles of sustainability and responsible resource utilization.
Furthermore, the process of making printer ink has empowered you to exercise precision and creativity, blending pigments with precision, adjusting ink consistency, and fine-tuning color accuracy. This hands-on experience not only enhances your understanding of ink composition but also fosters a deeper appreciation for the artistry behind printing and color reproduction.
By testing and refining the ink, you have honed your ability to evaluate and optimize printing performance, ensuring that the ink meets your exacting standards. This iterative process of testing and adjustment embodies the spirit of continuous improvement, driving you to achieve superior printing results with each batch of homemade ink.
As you store the prepared ink for future use, you are poised to embark on a multitude of printing projects, each imbued with the essence of your custom ink blend. From artistic creations to professional documents, your homemade ink will infuse every print with a touch of individuality and craftsmanship.
Embrace the possibilities that homemade printer ink offers, from personalized color palettes to innovative printing applications. Your journey into the realm of ink-making has not only expanded your creative horizons but also positioned you as a steward of sustainable printing practices.
As you venture forward, may the ink you create continue to inspire ingenuity and elevate your printing endeavors. With each stroke of the printer, your custom ink will leave an indelible mark, a testament to your dedication to craftsmanship and environmental consciousness.
Frequently Asked Questions about How To Make Printer Ink
Was this page helpful?
At Storables.com, we guarantee accurate and reliable information. Our content, validated by Expert Board Contributors, is crafted following stringent Editorial Policies. We're committed to providing you with well-researched, expert-backed insights for all your informational needs.


0 thoughts on “How To Make Printer Ink”