Home>Technology>Smart Home Devices>How To Remove Ink From Ecotank Printer
Smart Home Devices
How To Remove Ink From Ecotank Printer
Modified: January 25, 2024
Learn effective methods to remove ink from your Ecotank printer and keep your smart home devices running smoothly. Discover tips and tricks for ink removal to maintain the performance of your printer.
(Many of the links in this article redirect to a specific reviewed product. Your purchase of these products through affiliate links helps to generate commission for Storables.com, at no extra cost. Learn more)
**
Introduction
**
Welcome to the world of Ecotank printers, where innovation meets sustainability. Ecotank printers are renowned for their cost-effective, high-quality printing and eco-friendly design. However, one common concern that users may encounter is the accidental spilling or leaking of ink. When faced with this situation, it's essential to know how to effectively remove ink from your Ecotank printer without causing damage.
In this comprehensive guide, we will explore the intricacies of Ecotank printers, delve into the materials needed for ink removal, and discuss various proven methods to safely and efficiently remove ink from your printer. Whether you're a seasoned Ecotank user or a newcomer to this technology, this article will equip you with the knowledge and techniques to address ink-related mishaps with confidence.
So, let's embark on this journey to discover the best practices for maintaining your Ecotank printer and ensuring its longevity. Whether it's a minor ink spill or a more significant mishap, you'll learn how to tackle the situation effectively while preserving the integrity of your Ecotank printer. Let's dive in and explore the world of Ecotank printers and the best methods for removing ink stains.
Key Takeaways:
- Swiftly power off and unplug your Ecotank printer in case of ink spills. Use isopropyl alcohol and precision tools like cotton swabs for safe and effective ink removal without damaging the printer.
- Gather lint-free cloths, isopropyl alcohol, cotton swabs, protective gloves, and a dust blower to safely and meticulously remove ink stains from your Ecotank printer. These tools ensure a thorough and careful cleaning process.
Read more: How To Remove Ink From A Tablecloth
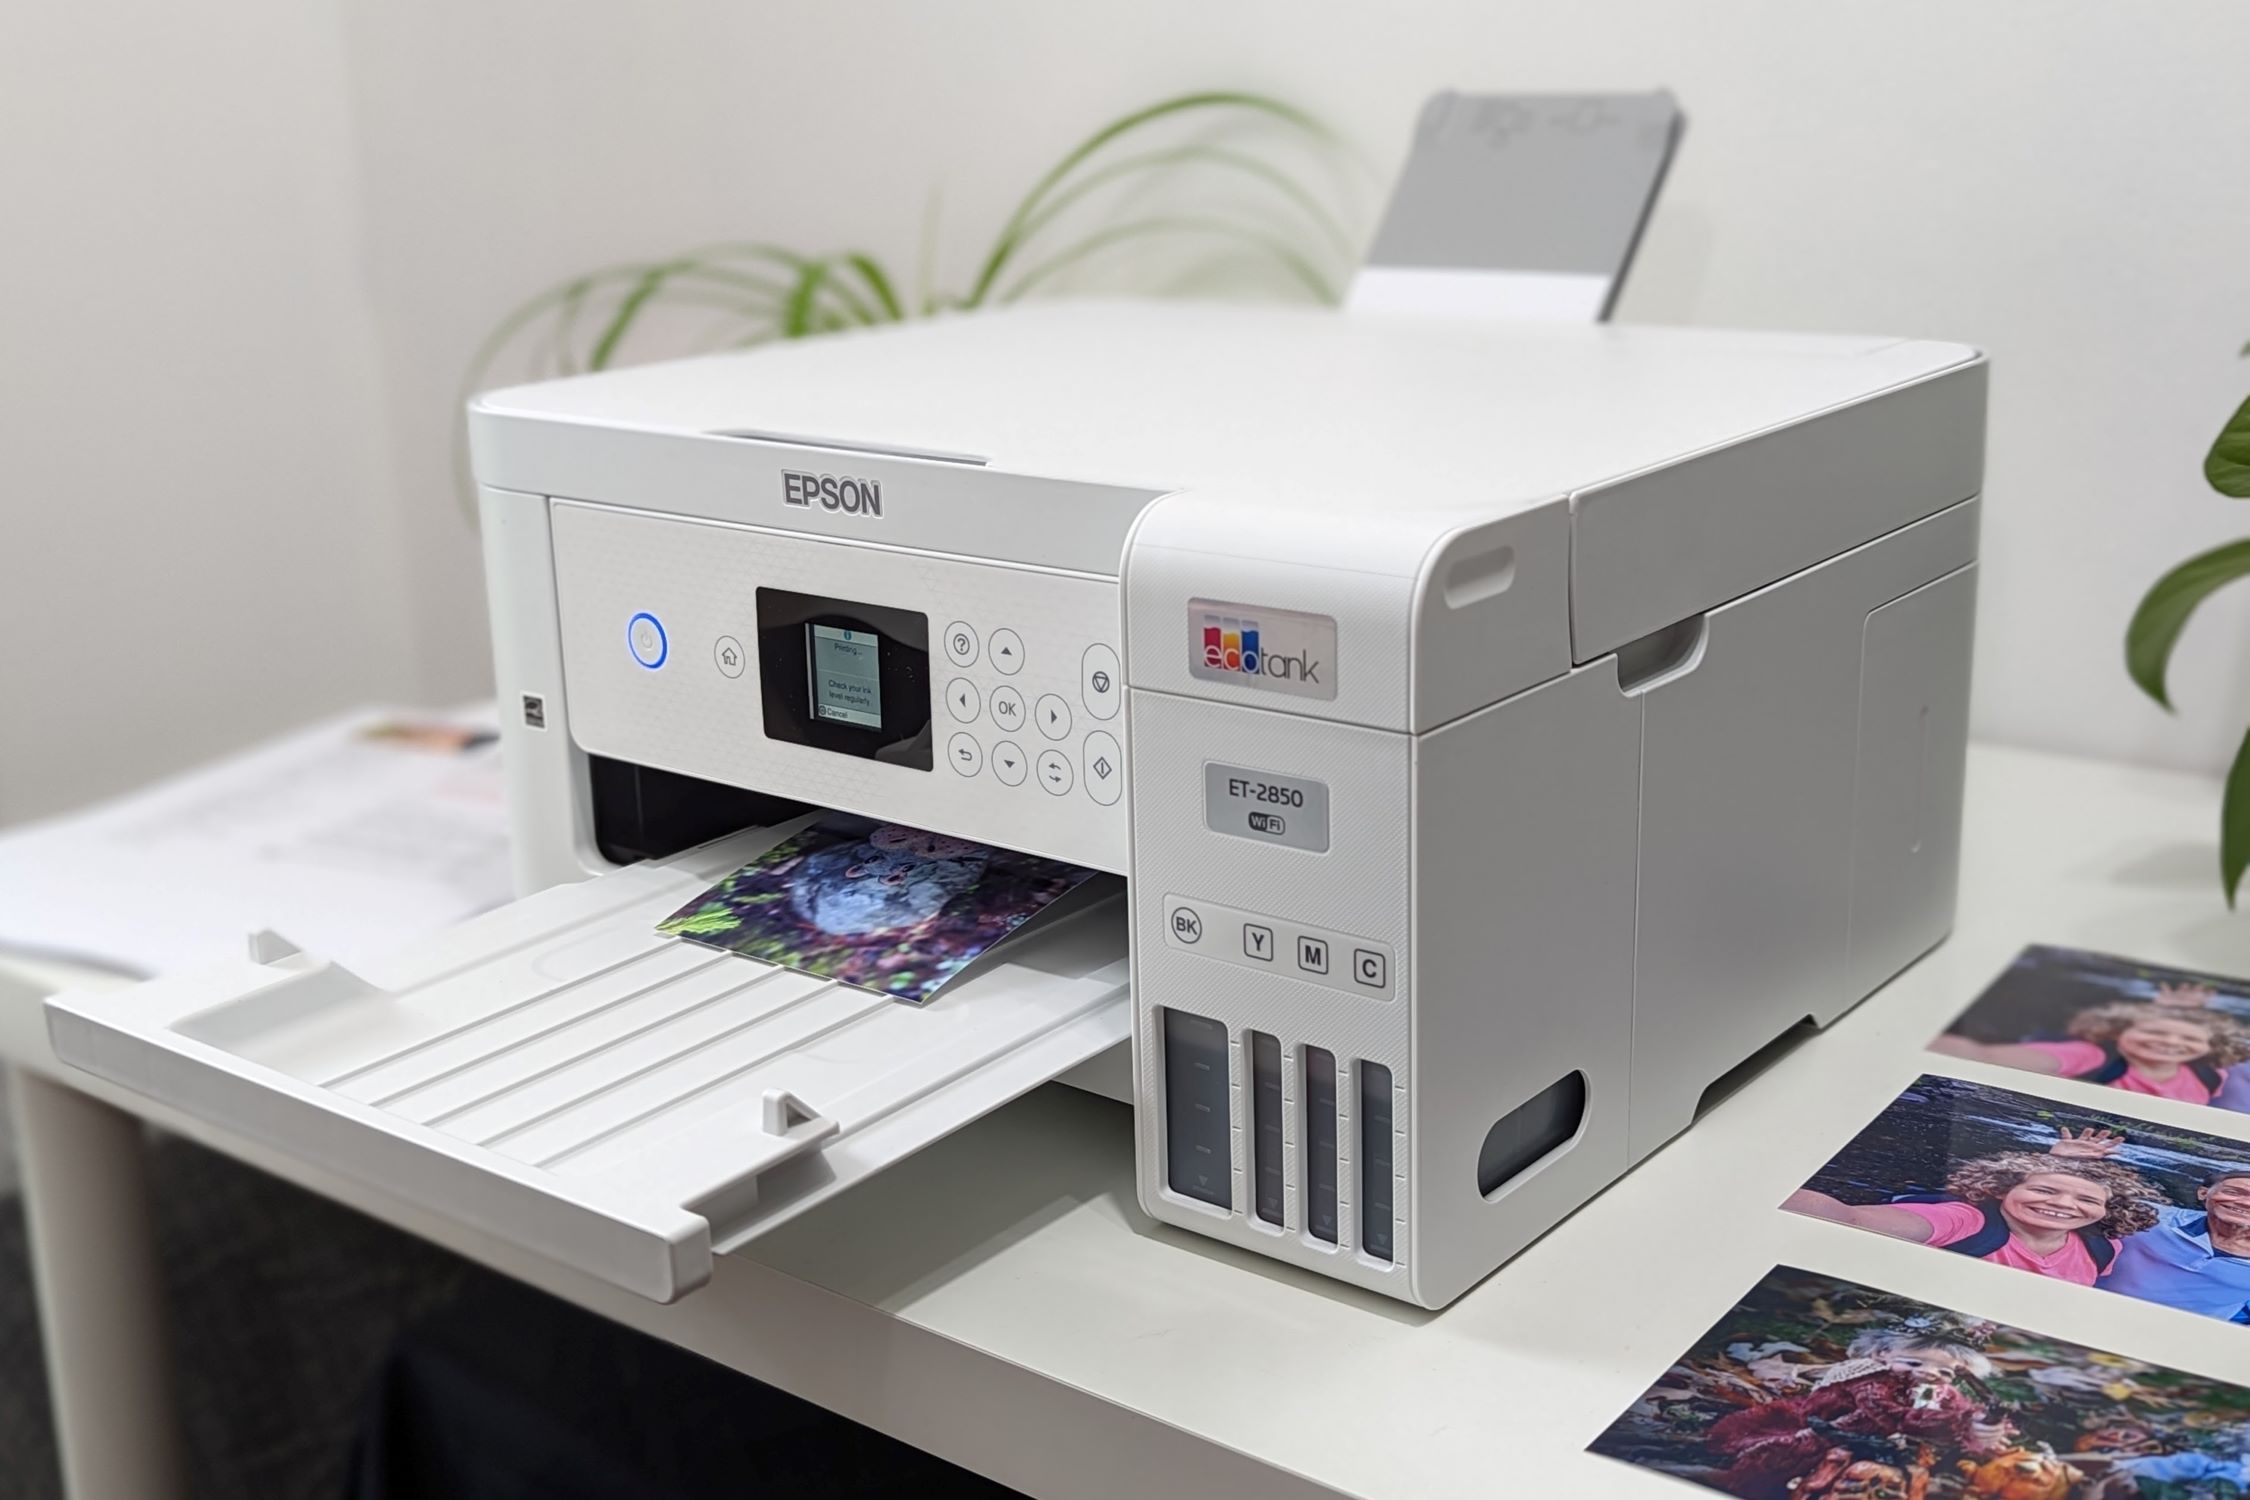
Understanding the Ecotank Printer
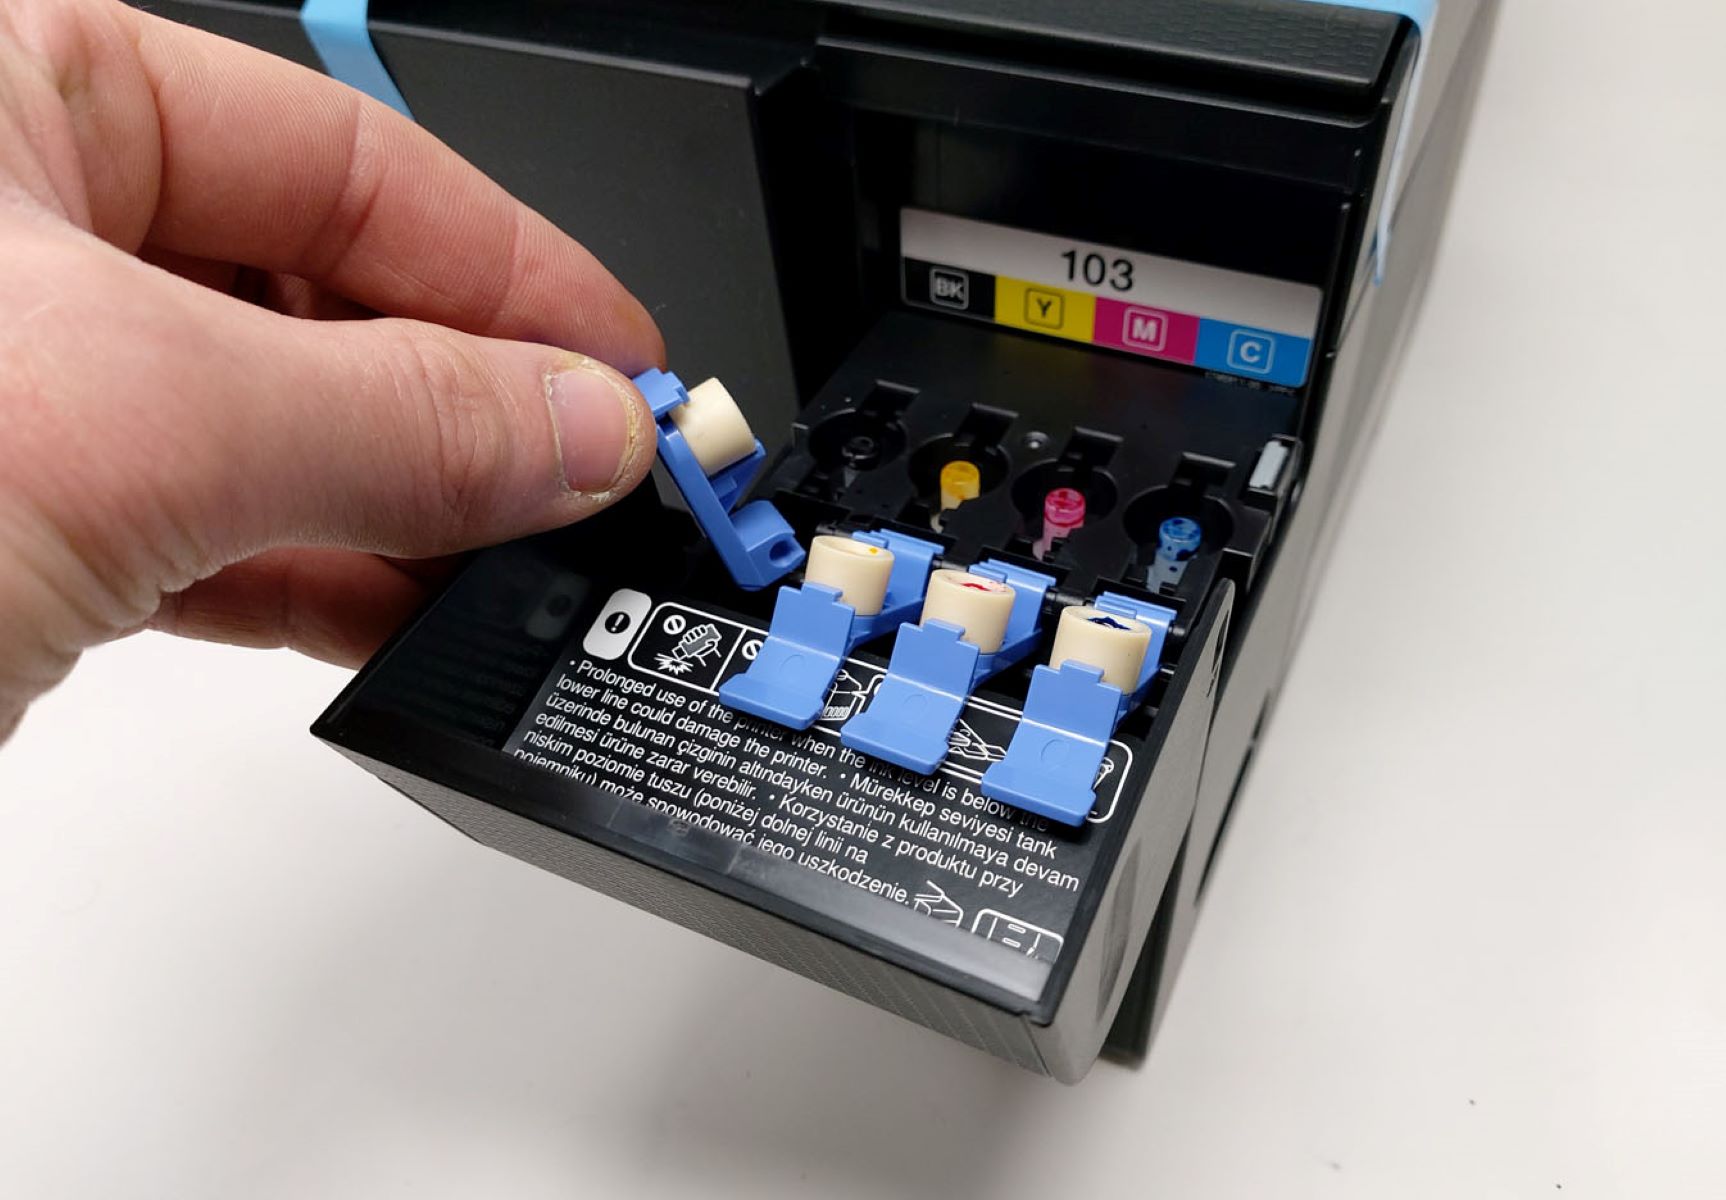
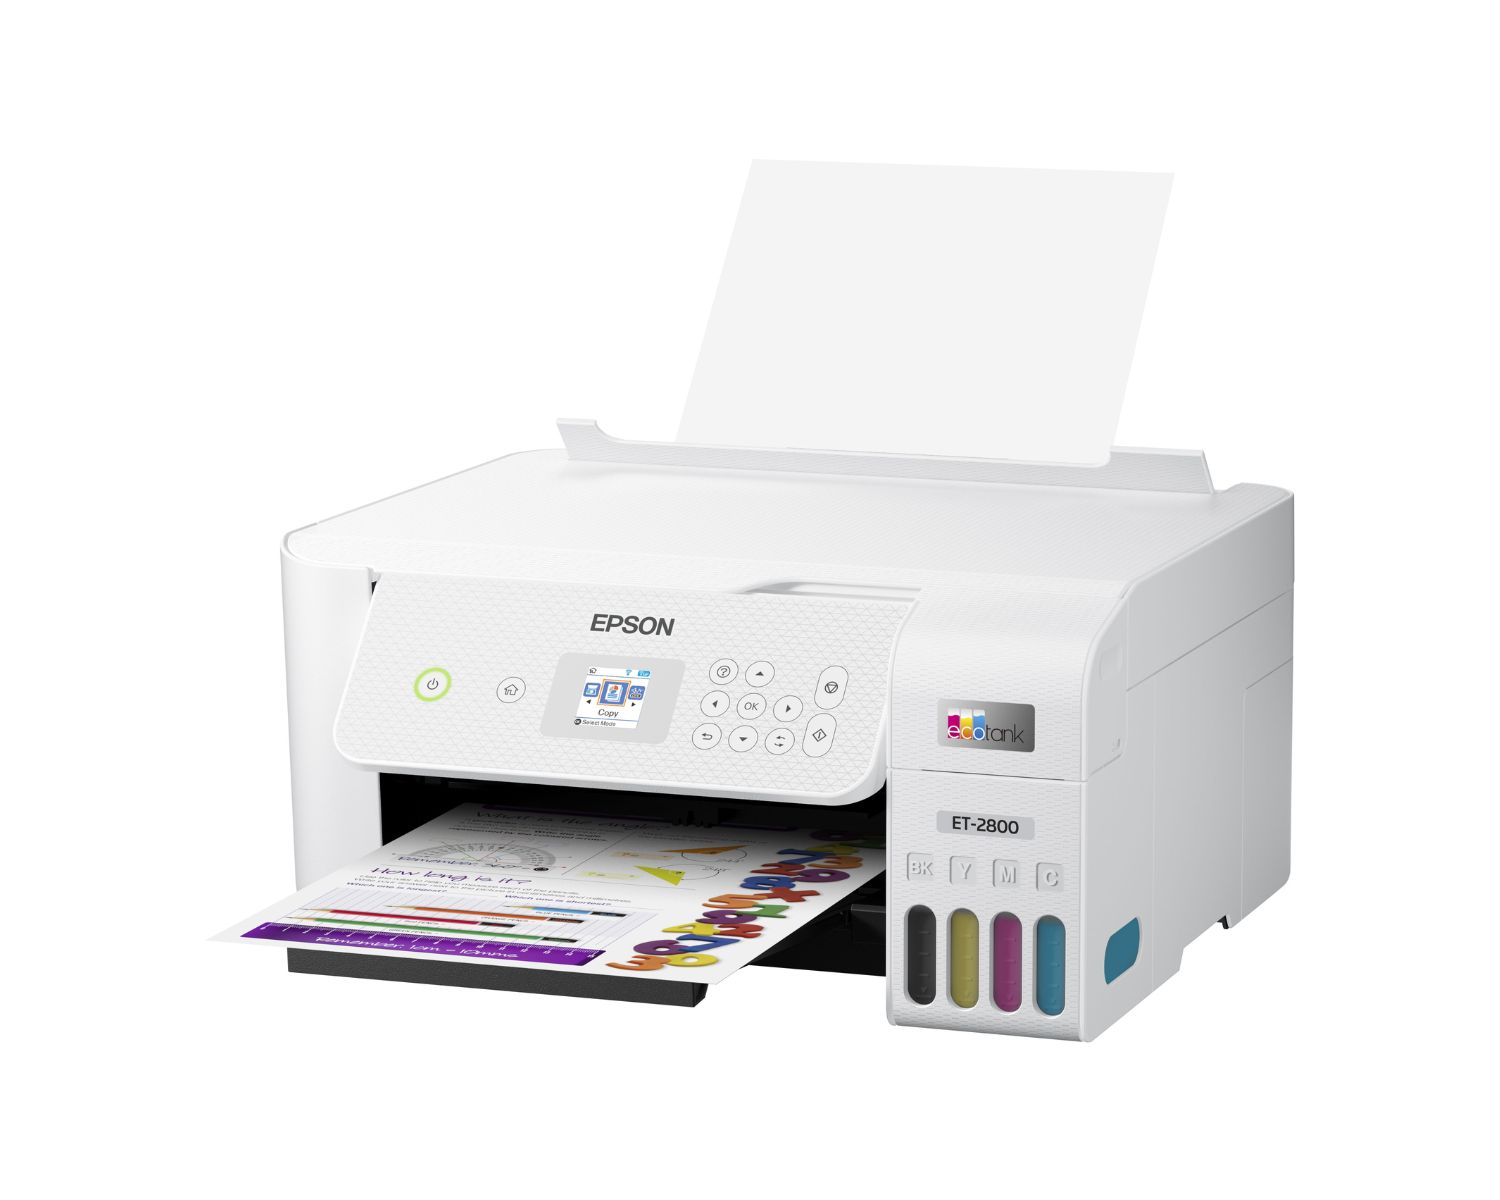
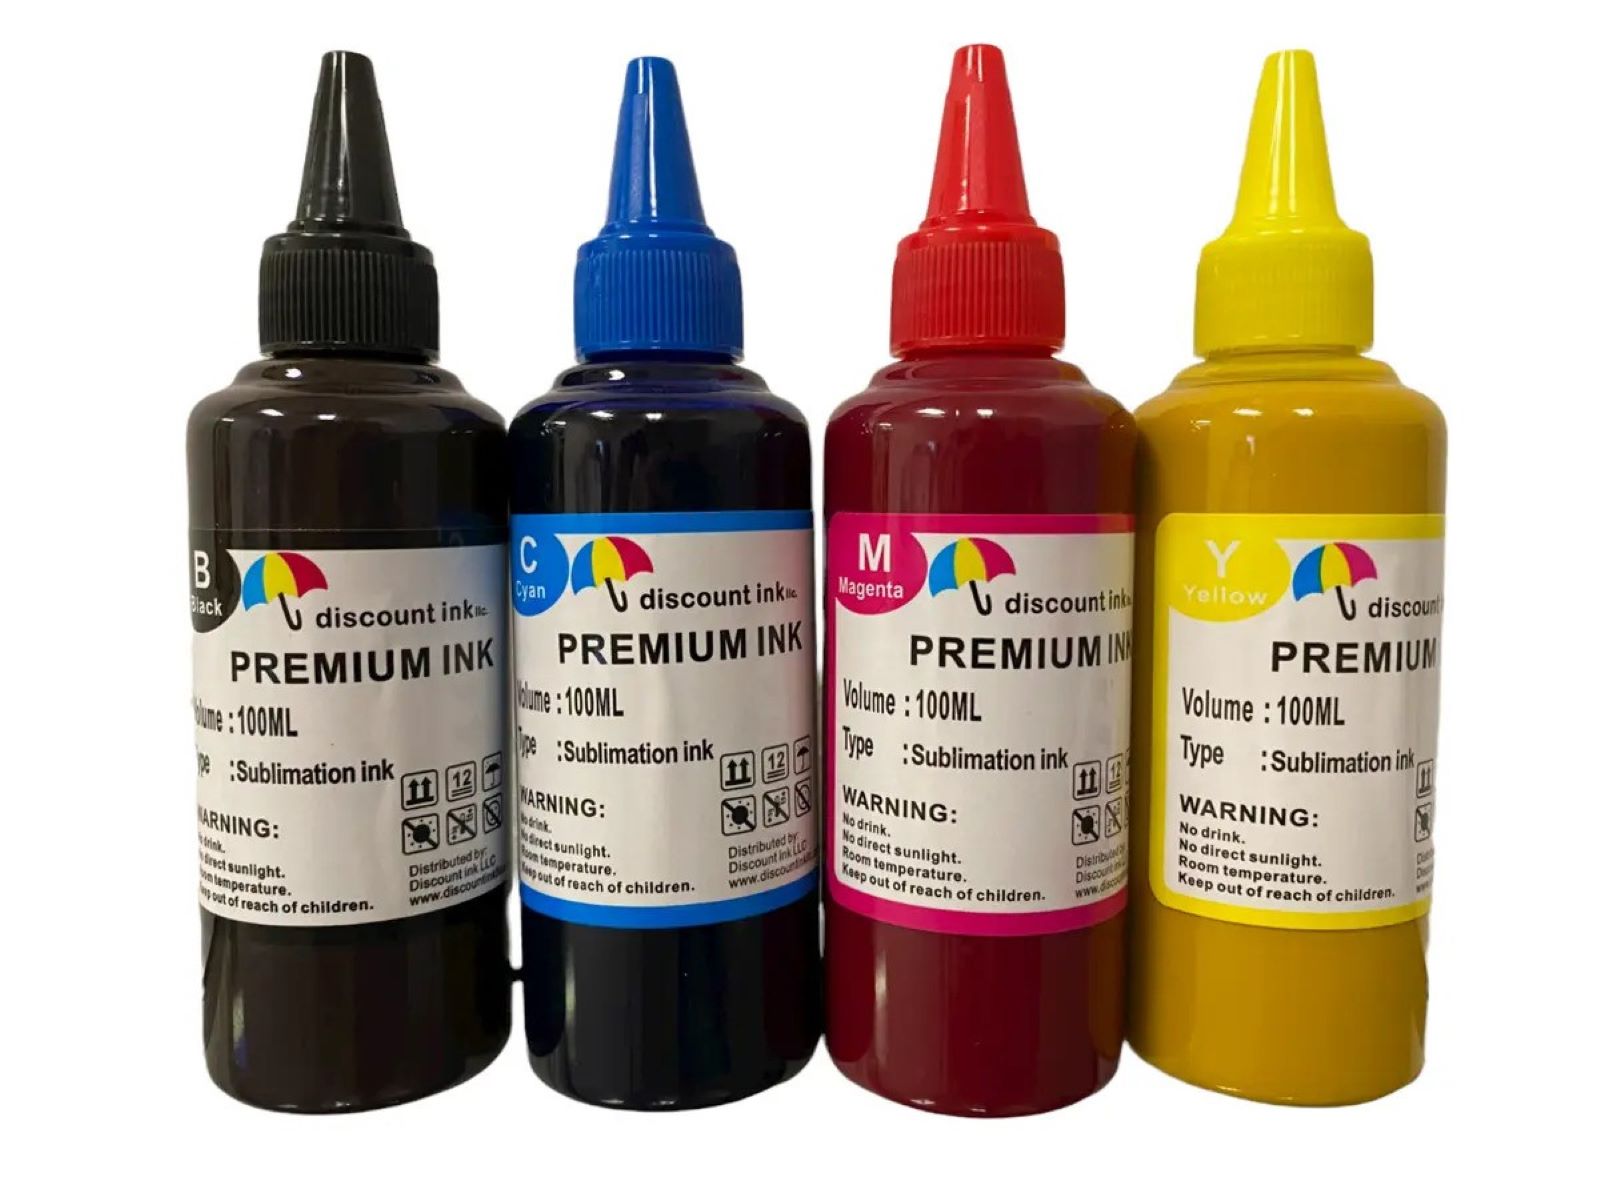
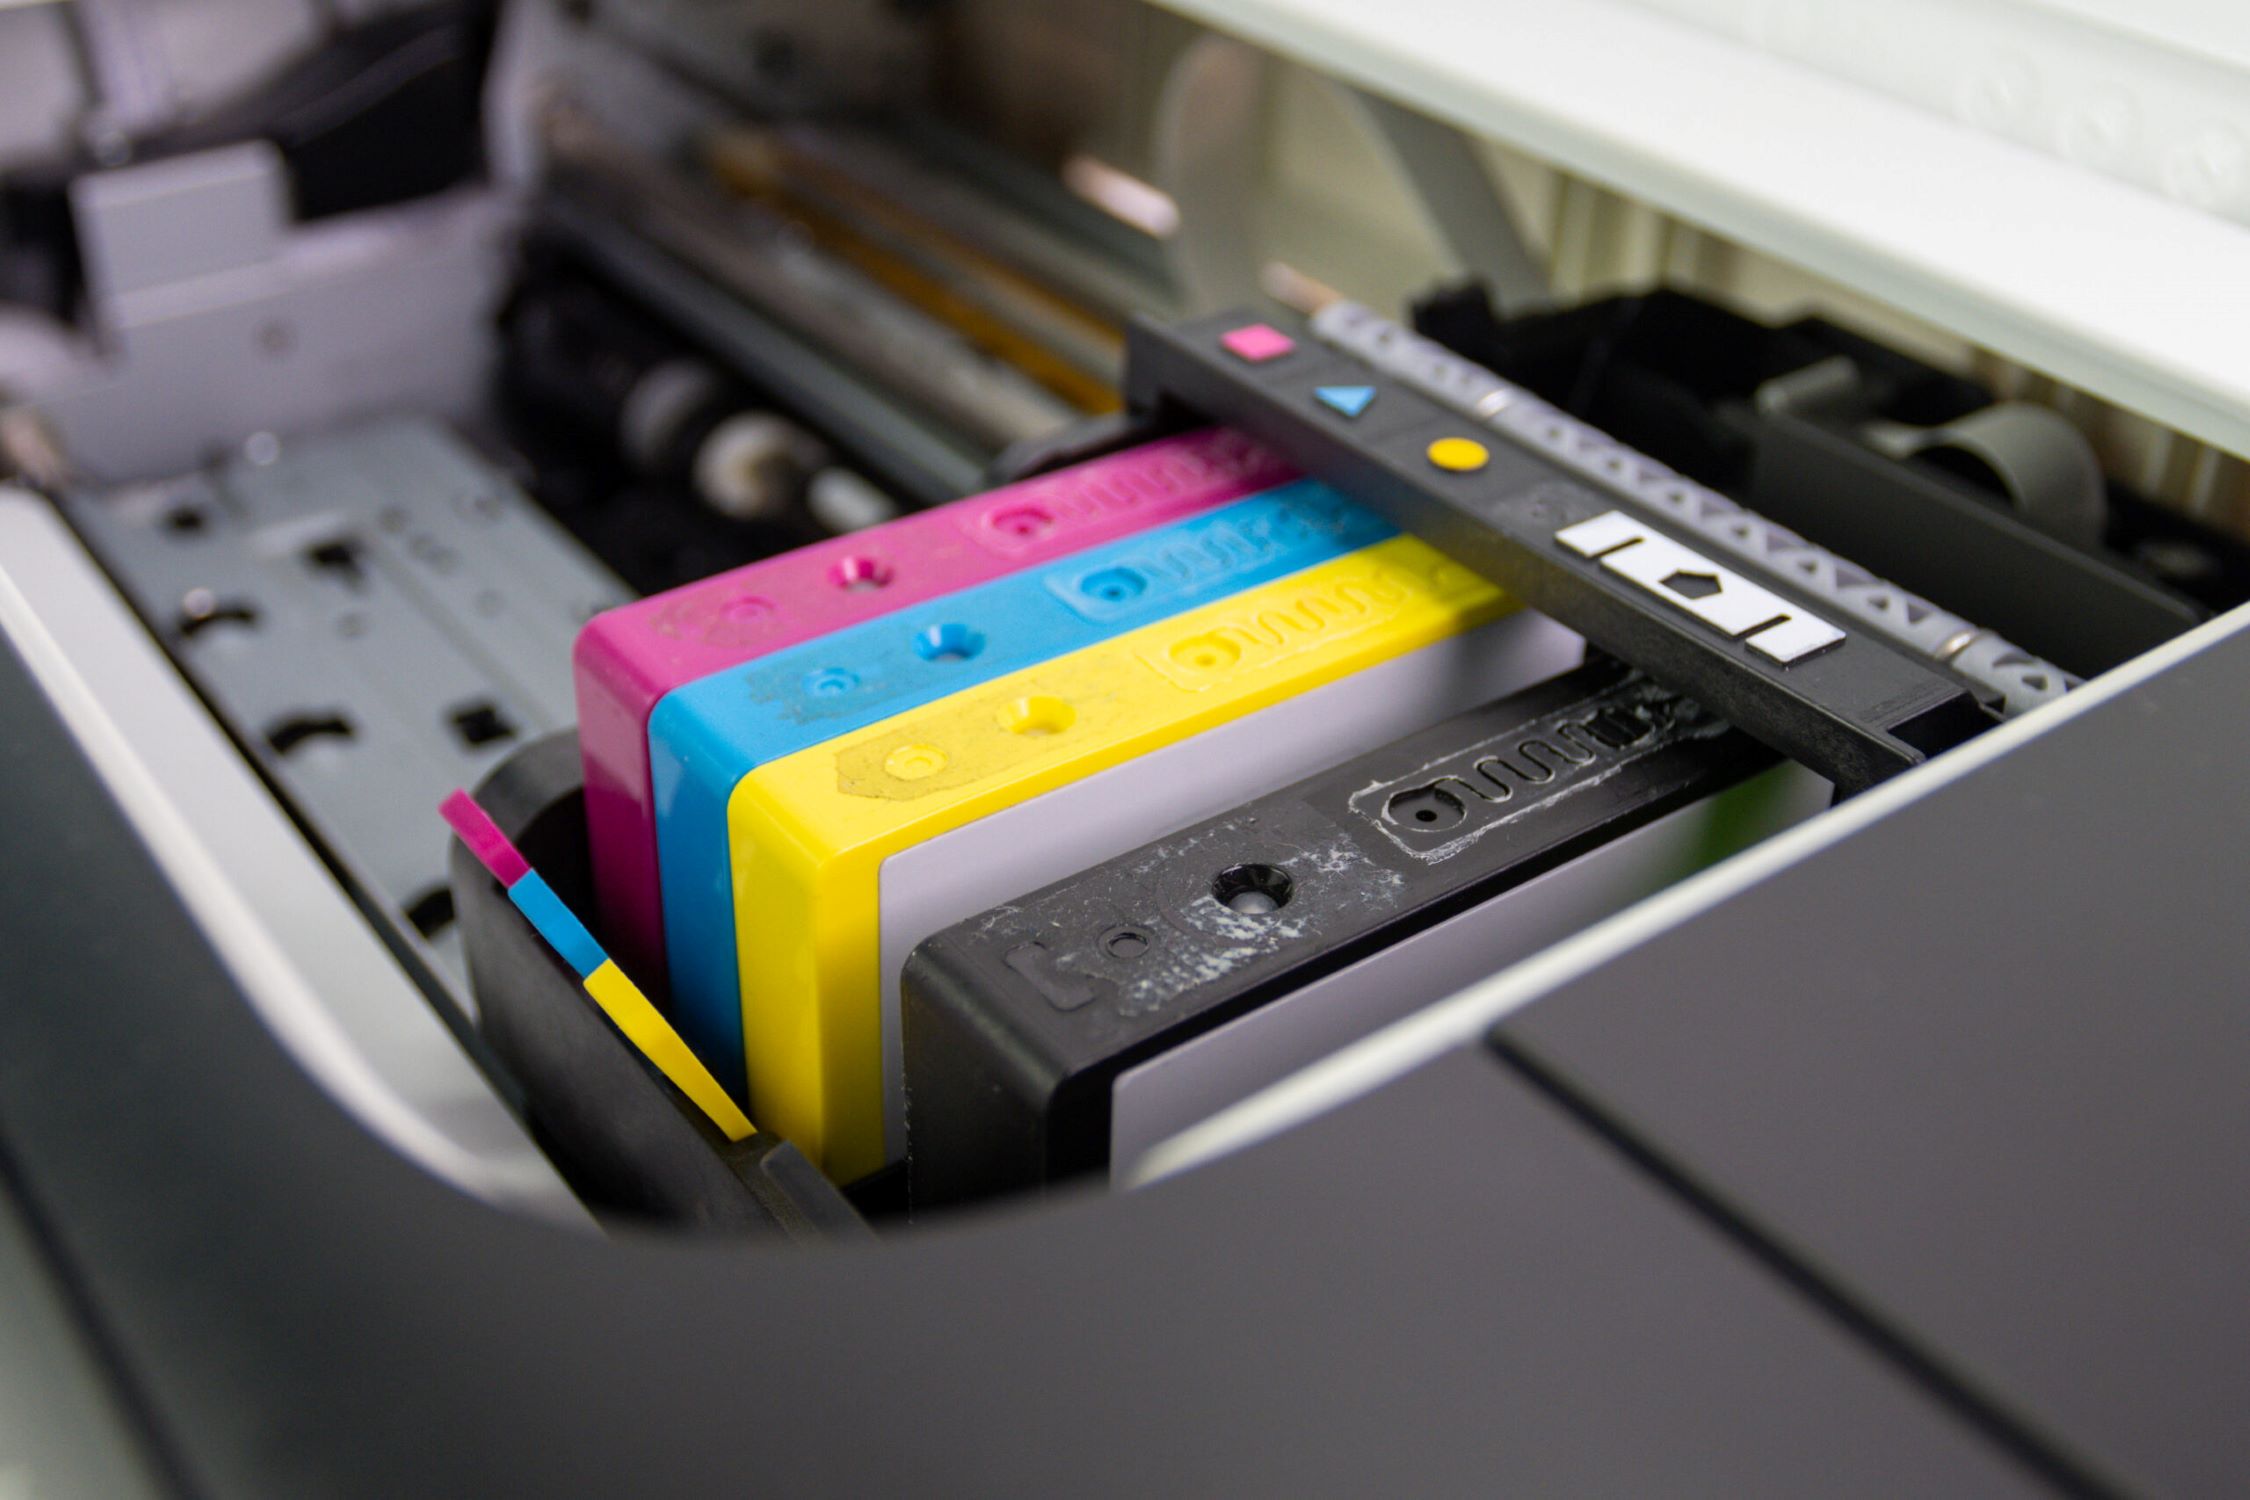
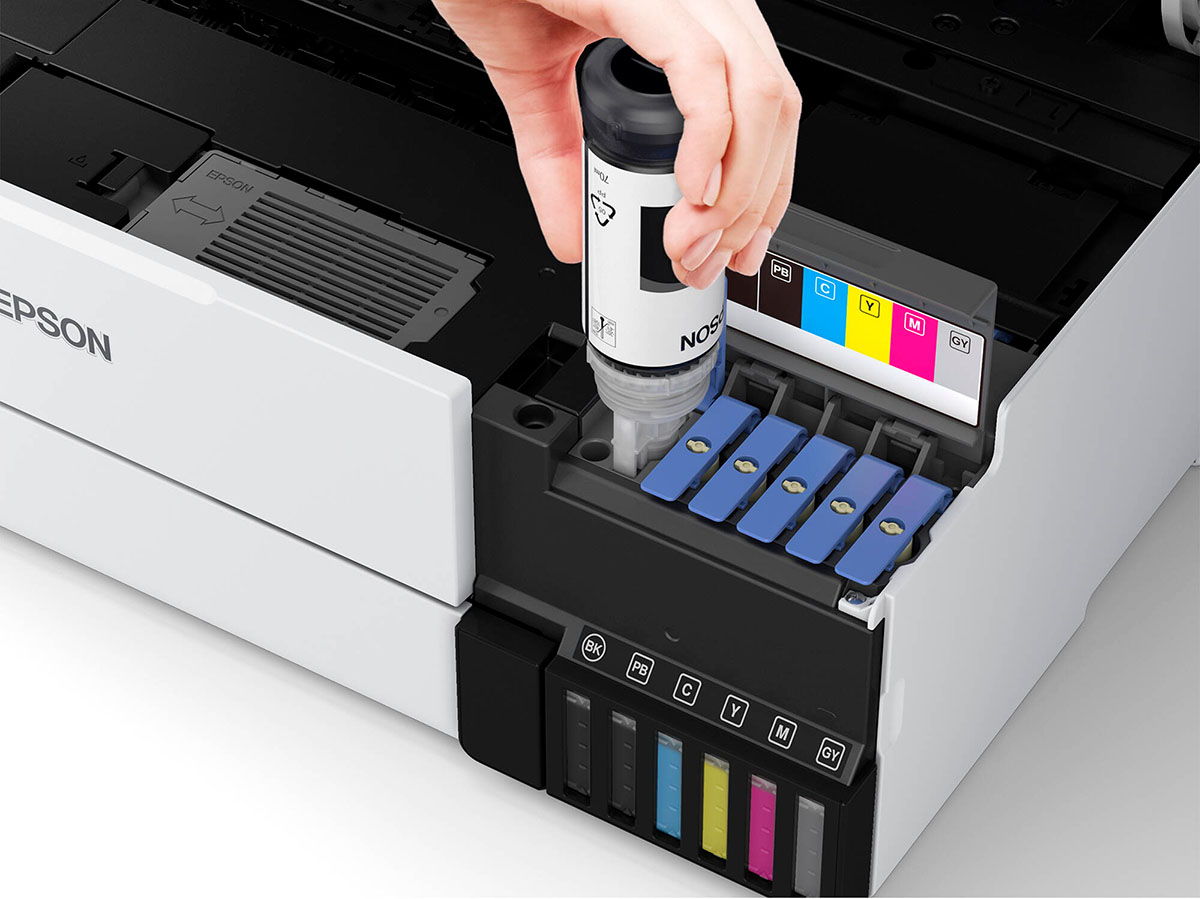
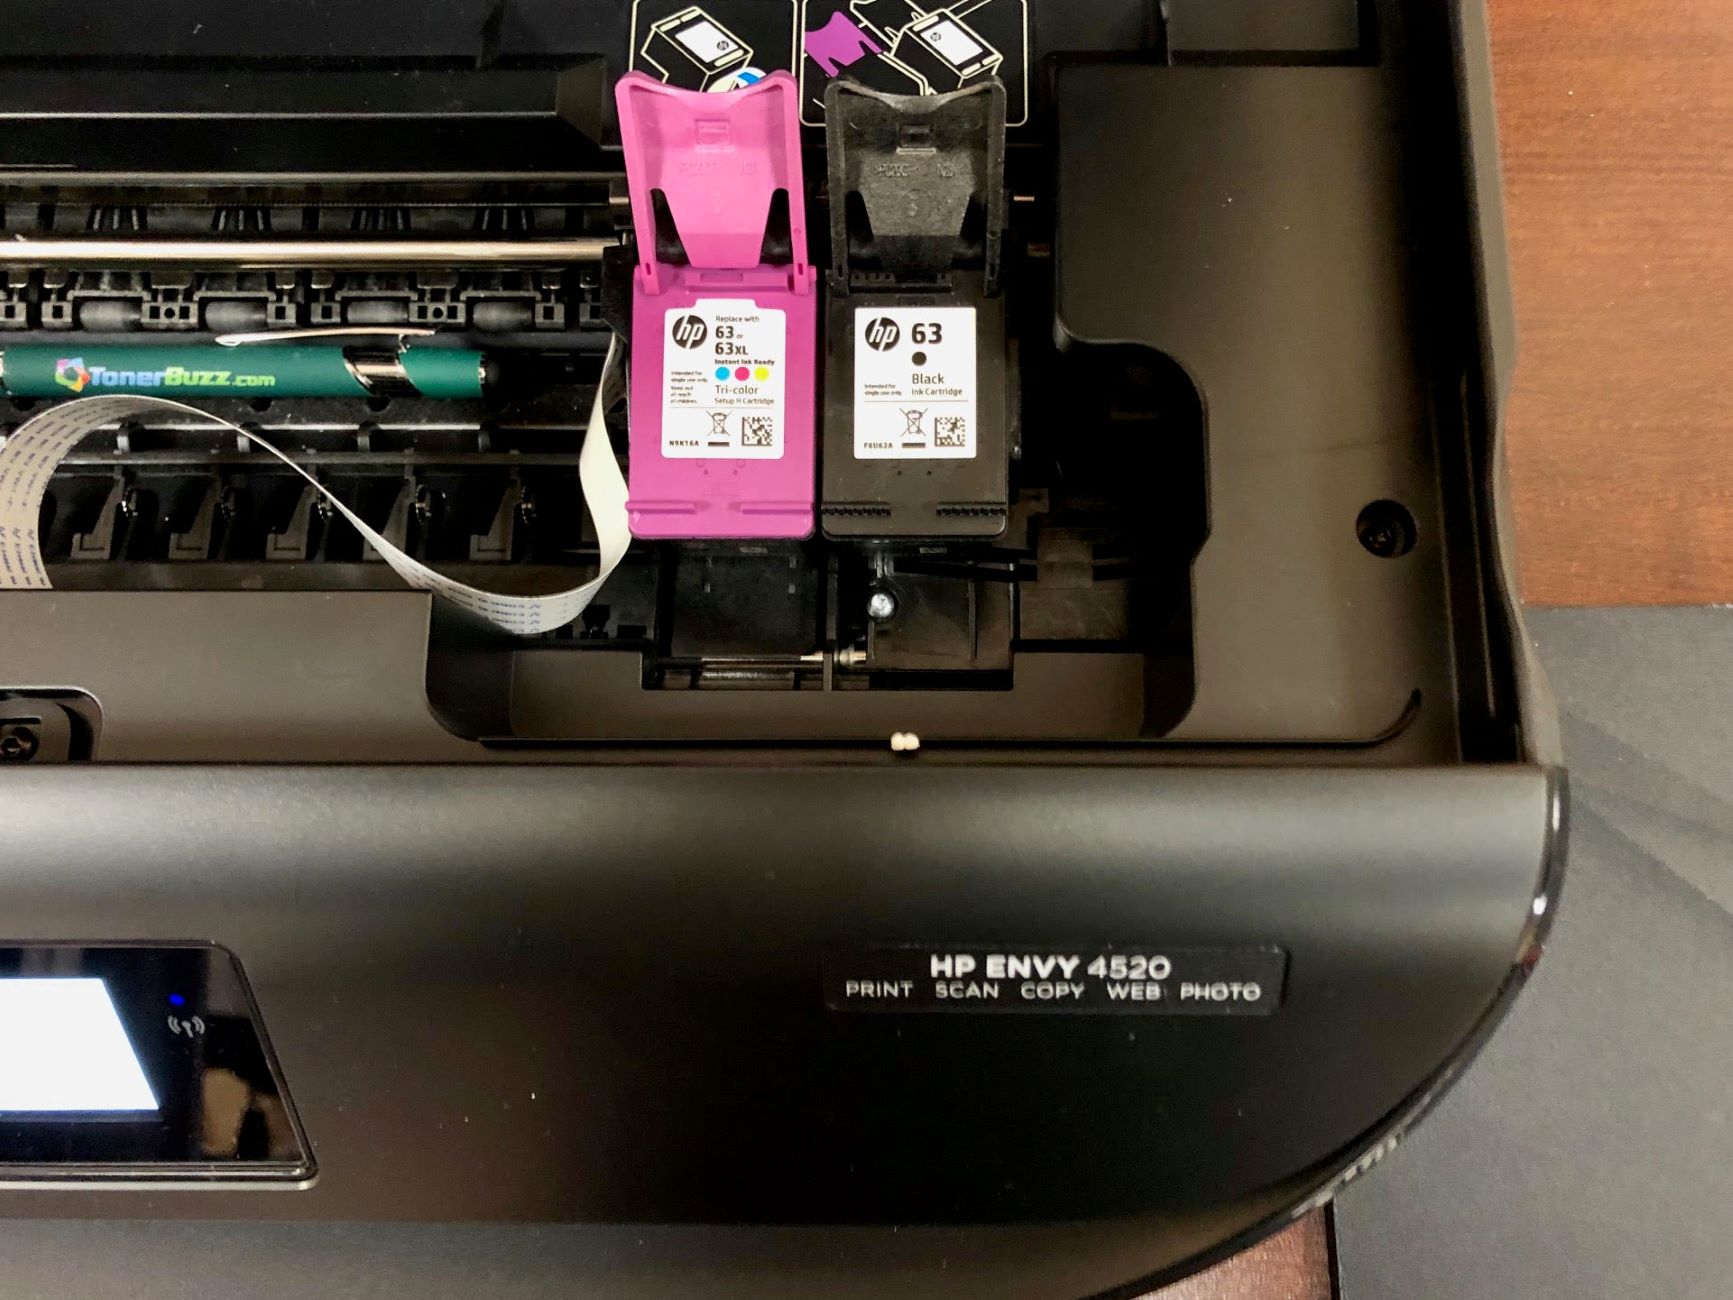
Before delving into the process of removing ink from an Ecotank printer, it’s essential to grasp the fundamental features and mechanisms of this innovative printing technology. Unlike traditional inkjet printers, Ecotank printers are designed with built-in ink tanks that can be easily refilled using high-capacity ink bottles. This revolutionary design eliminates the need for conventional ink cartridges, offering a more sustainable and cost-effective printing solution.
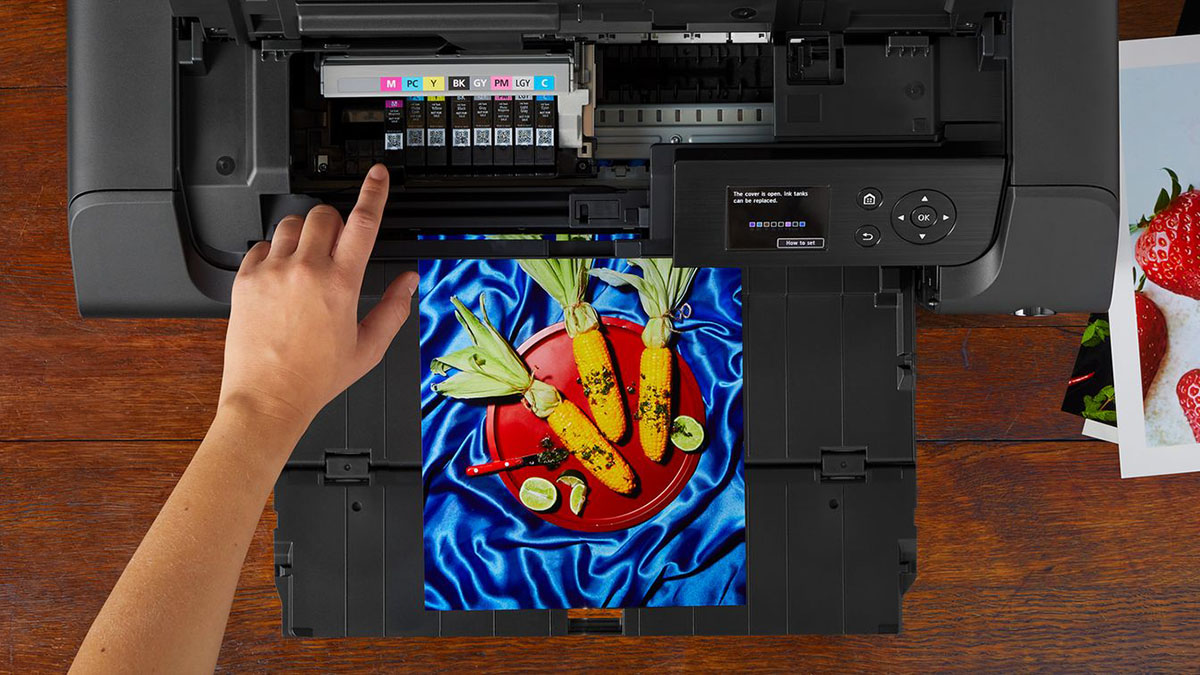
Ecotank printers are celebrated for their remarkable ink efficiency, enabling users to print thousands of pages before needing to replenish the ink supply. This is made possible by the generous ink reservoirs integrated into the printer, which can be conveniently refilled with genuine Ecotank ink bottles. As a result, users can enjoy consistent, high-quality prints without the hassle of frequently replacing cartridges.
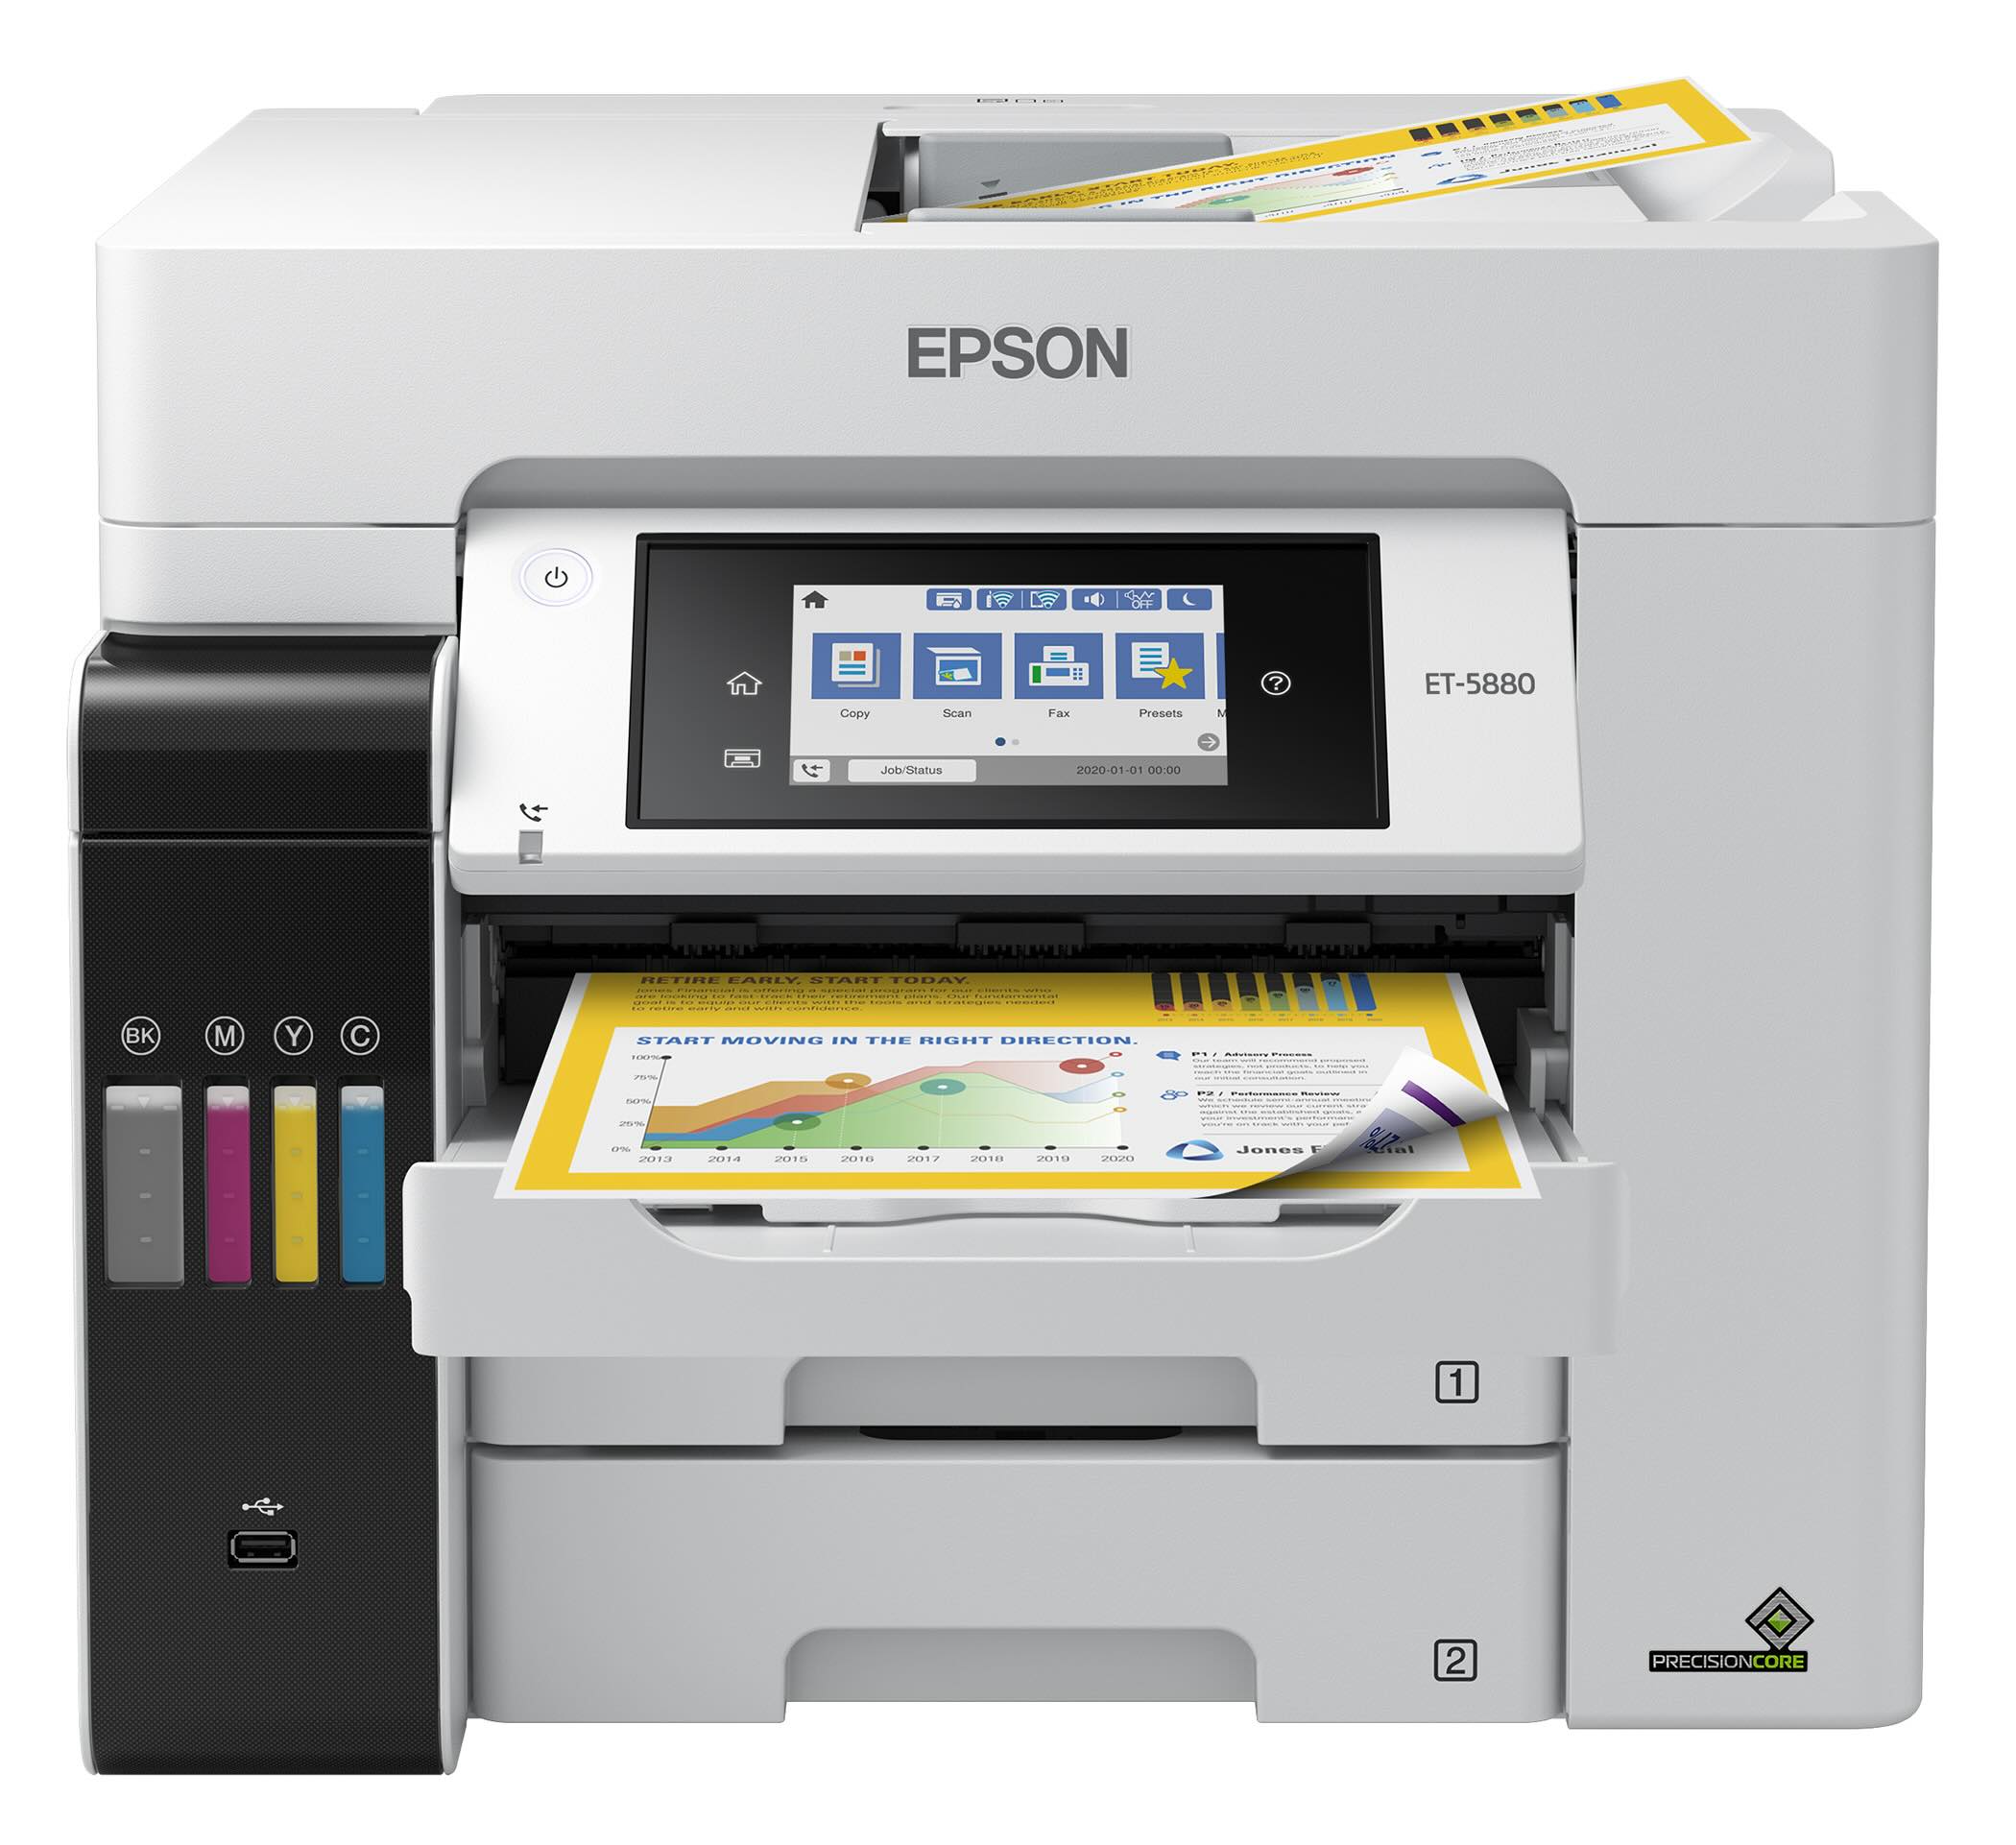
Furthermore, Ecotank printers are engineered to deliver exceptional print quality, whether it’s vivid color documents or crisp black-and-white text. The innovative Micro Piezo printhead technology ensures precise ink droplet placement, resulting in sharp, detailed prints with vibrant colors and smooth gradients.
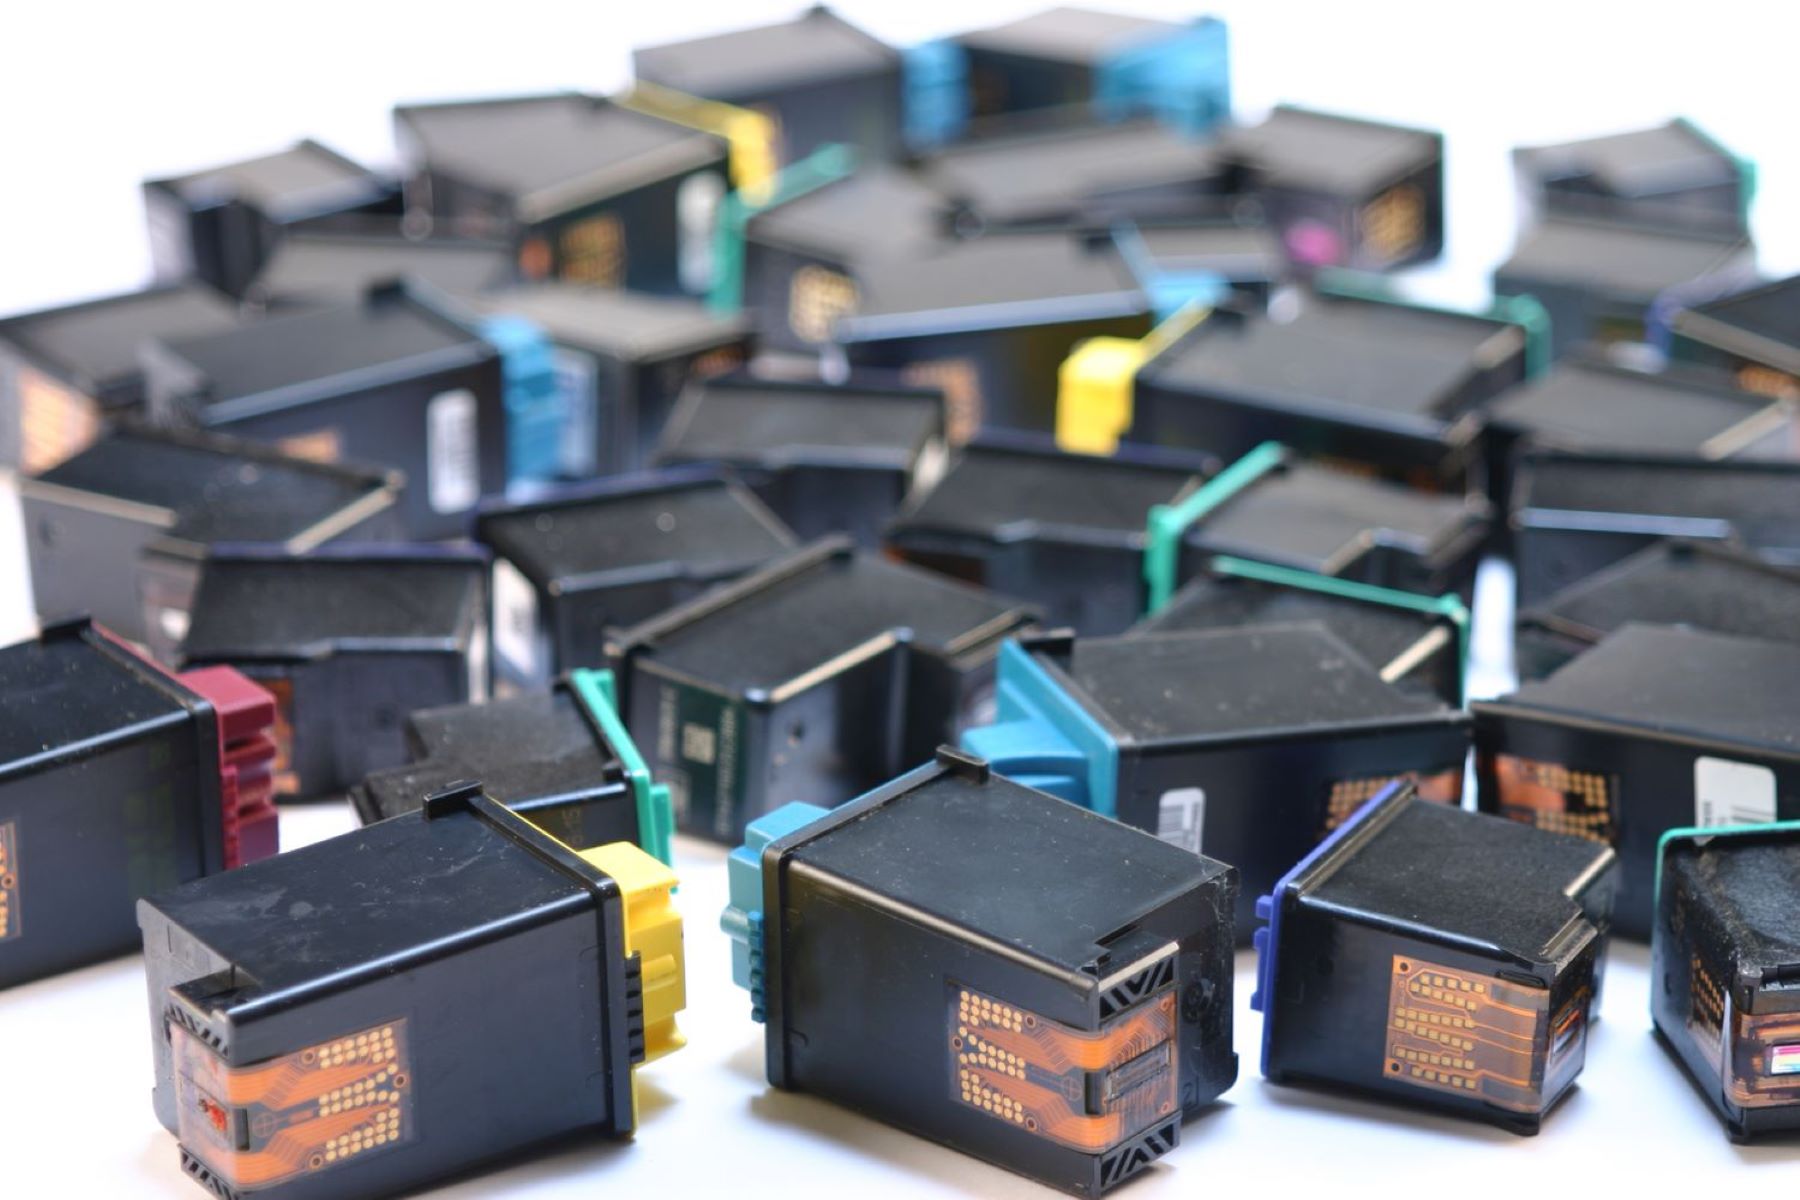
Another notable advantage of Ecotank printers is their eco-conscious design. By reducing the reliance on disposable ink cartridges, these printers contribute to a more sustainable printing environment, minimizing plastic waste and promoting a more efficient ink consumption model.
Understanding the core principles and benefits of Ecotank printers lays the groundwork for effectively addressing ink-related issues. With this knowledge in mind, you’ll be better equipped to navigate the process of removing ink from your Ecotank printer while safeguarding its performance and longevity.
Materials Needed
Before embarking on the task of removing ink from your Ecotank printer, it’s essential to gather the necessary materials to ensure a safe and effective cleaning process. Having the right tools at your disposal will streamline the ink removal procedure and help protect the internal components of your printer. Here are the key materials needed for this task:
- Lint-Free Cloths: Utilize soft, lint-free cloths to gently wipe and clean the affected areas of the printer. These cloths are ideal for preventing lint or fibers from being left behind, ensuring a thorough and tidy cleaning process.
- Isopropyl Alcohol: Isopropyl alcohol, also known as rubbing alcohol, is an effective solvent for dissolving ink stains. It helps break down the ink residue and facilitates its removal from surfaces without causing damage.
- Cotton Swabs: These precision cleaning tools are perfect for reaching small crevices and intricate parts of the printer, allowing for detailed and targeted ink stain removal.
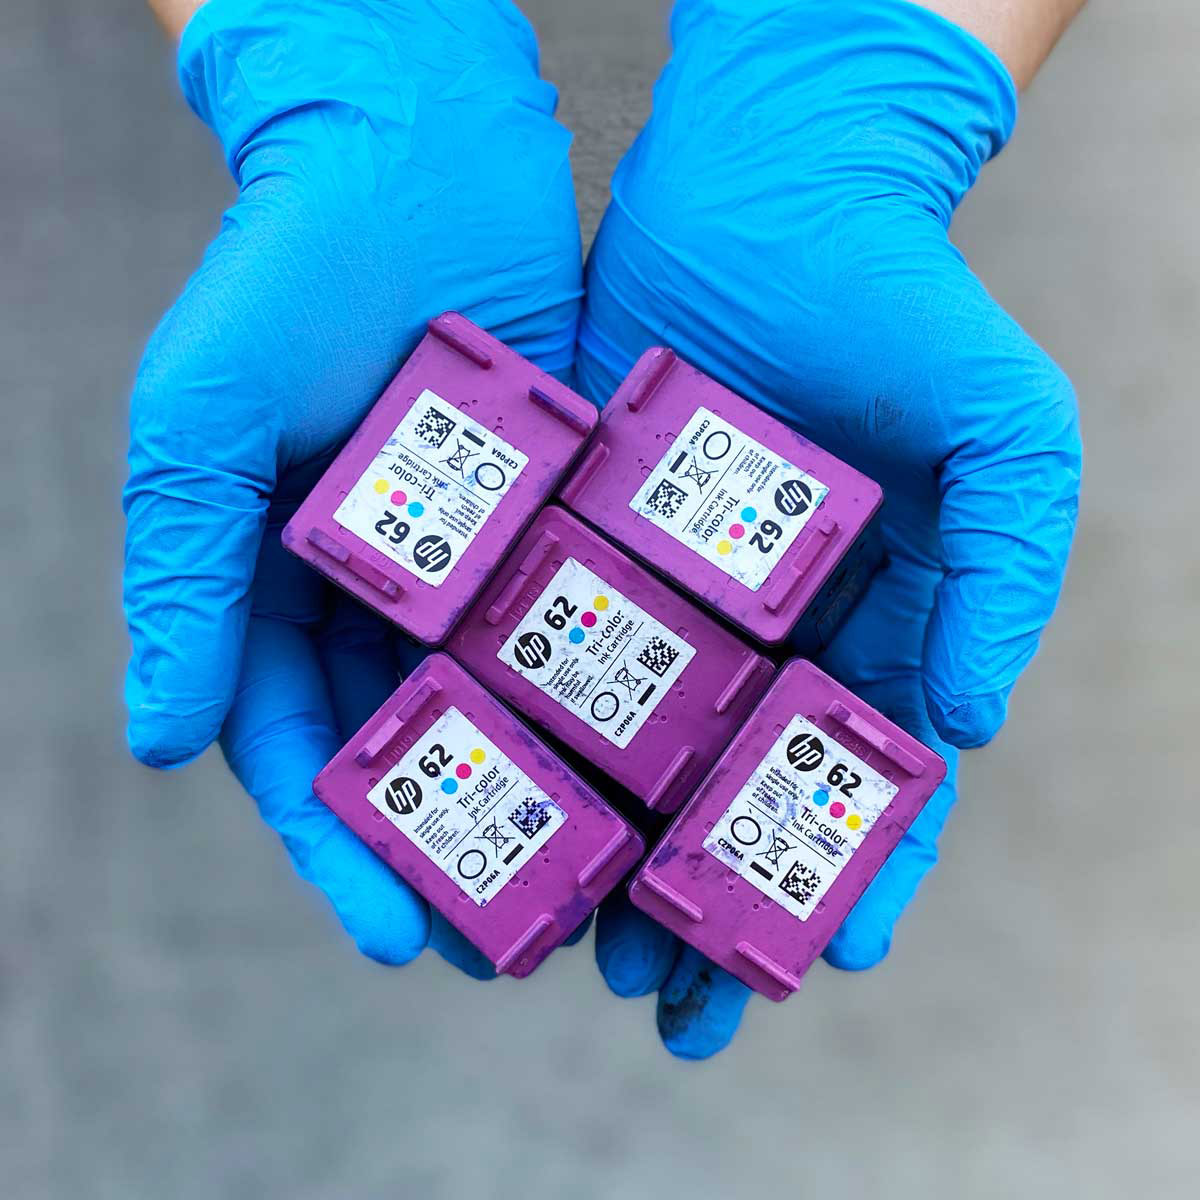
- Protective Gloves: While handling cleaning solvents and ink-stained components, protective gloves are crucial for safeguarding your skin and preventing direct contact with potentially harmful substances.
- Plastic Spatula or Soft Scraper: In cases where ink has dried or adhered to surfaces, a plastic spatula or soft scraper can be used to gently dislodge the ink without causing scratches or damage to the printer’s exterior.
- Dust Blower or Compressed Air Canister: To remove loose dust, debris, or loose ink particles from the printer’s interior, a dust blower or compressed air canister can be employed to ensure a clean working environment.
By assembling these essential materials, you’ll be well-prepared to address ink stains or spills on your Ecotank printer effectively and with care. These tools will enable you to execute the ink removal process meticulously, maintaining the integrity and functionality of your printer while restoring its pristine condition.
To remove ink from an Ecotank printer, use a cotton swab dipped in rubbing alcohol to gently dab the ink stain. Be careful not to apply too much pressure to avoid damaging the printer.
Methods for Removing Ink from Ecotank Printer
When confronted with ink stains or spills on your Ecotank printer, employing the right methods for ink removal is crucial to prevent damage and maintain the printer’s performance. Here are several proven techniques for safely and effectively removing ink from your Ecotank printer:
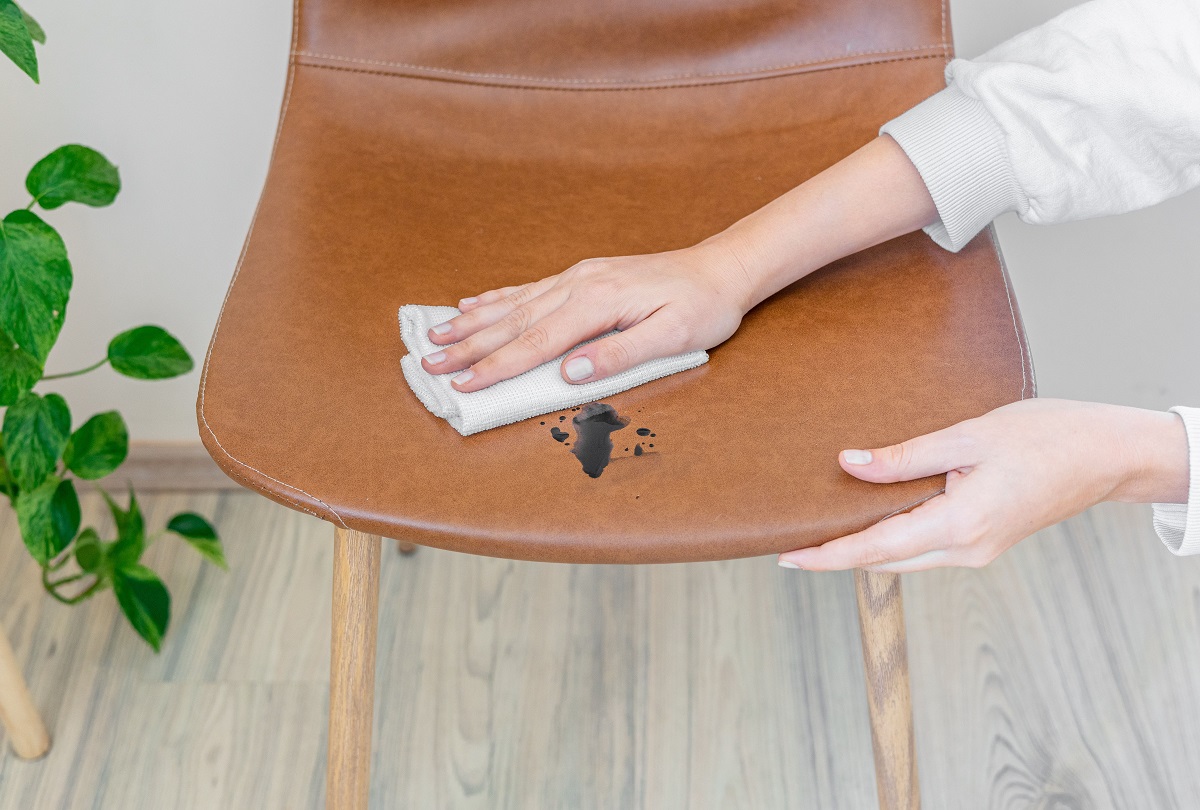
- Immediate Action: In the event of an ink spill, it’s essential to act swiftly. Power off the printer and unplug it from the electrical outlet to prevent any potential damage. Use lint-free cloths to blot and absorb excess ink from the affected areas. Avoid rubbing the ink, as this can spread the stain and drive it deeper into the printer’s components.
- Isopropyl Alcohol Cleaning: Dampen a lint-free cloth with isopropyl alcohol and gently dab the ink-stained areas. The alcohol helps dissolve and lift the ink stains without harming the printer’s surfaces. Exercise caution to avoid excessive saturation and ensure that the alcohol does not seep into sensitive electronic components.
- Precision Cleaning with Cotton Swabs: For intricate areas or small crevices where ink residue may be present, use cotton swabs dipped in isopropyl alcohol to meticulously clean and remove the ink. This targeted approach allows for thorough ink removal without risking damage to delicate printer parts.
- Gentle Scrubbing with Plastic Spatula: If dried ink is stubbornly adhered to the printer’s surface, a plastic spatula or soft scraper can be employed to gently loosen and lift the dried ink. Exercise caution and apply minimal pressure to avoid scratching or damaging the printer’s exterior.
- Air Blowing and Dusting: Utilize a dust blower or compressed air canister to remove loose ink particles, dust, and debris from the printer’s interior and exterior. This step helps maintain a clean and dust-free environment within the printer, contributing to its optimal performance and longevity.
By implementing these meticulous methods for ink removal, you can effectively address ink stains or spills on your Ecotank printer while preserving its functionality and aesthetic appeal. It’s important to approach the ink removal process with care and attention to detail, ensuring that your printer remains in optimal condition for continued reliable use.
Conclusion
Congratulations! You’ve now gained valuable insights into the world of Ecotank printers and learned essential techniques for removing ink stains from these innovative printing devices. As you navigate the realm of Ecotank technology, it’s important to approach ink-related mishaps with confidence and the right tools at your disposal.
By understanding the core features of Ecotank printers and the materials needed for ink removal, you’ve equipped yourself with the knowledge to address ink spills or stains effectively. The methods outlined in this guide provide a comprehensive approach to safely and meticulously remove ink from your Ecotank printer, ensuring that it remains in optimal condition for continued reliable performance.
Remember, swift action is key when dealing with ink spills. Powering off the printer, unplugging it, and promptly addressing the ink stain with the appropriate materials and techniques can prevent potential damage and preserve the integrity of your printer. Whether it’s utilizing isopropyl alcohol for gentle cleaning or employing precision tools like cotton swabs and plastic spatulas, you now have a toolkit for maintaining your Ecotank printer’s pristine condition.
As you embark on your journey with Ecotank printers, embrace the eco-friendly and cost-effective printing solutions they offer. By minimizing ink waste and maximizing print efficiency, Ecotank printers represent a sustainable and forward-thinking approach to modern printing needs.
With the knowledge and methods at your disposal, you’re well-prepared to tackle ink-related challenges and ensure that your Ecotank printer continues to deliver exceptional results. So, go ahead and print with confidence, knowing that you can effectively address ink stains and spills while upholding the performance and longevity of your Ecotank printer.
Here’s to seamless, high-quality printing experiences with your Ecotank printer, free from the worry of ink mishaps. Happy printing!
Frequently Asked Questions about How To Remove Ink From Ecotank Printer
Was this page helpful?
At Storables.com, we guarantee accurate and reliable information. Our content, validated by Expert Board Contributors, is crafted following stringent Editorial Policies. We're committed to providing you with well-researched, expert-backed insights for all your informational needs.


0 thoughts on “How To Remove Ink From Ecotank Printer”