Home>Technology>Smart Home Devices>How To Change Ink On Canon Printer
Smart Home Devices
How To Change Ink On Canon Printer
Modified: October 28, 2024
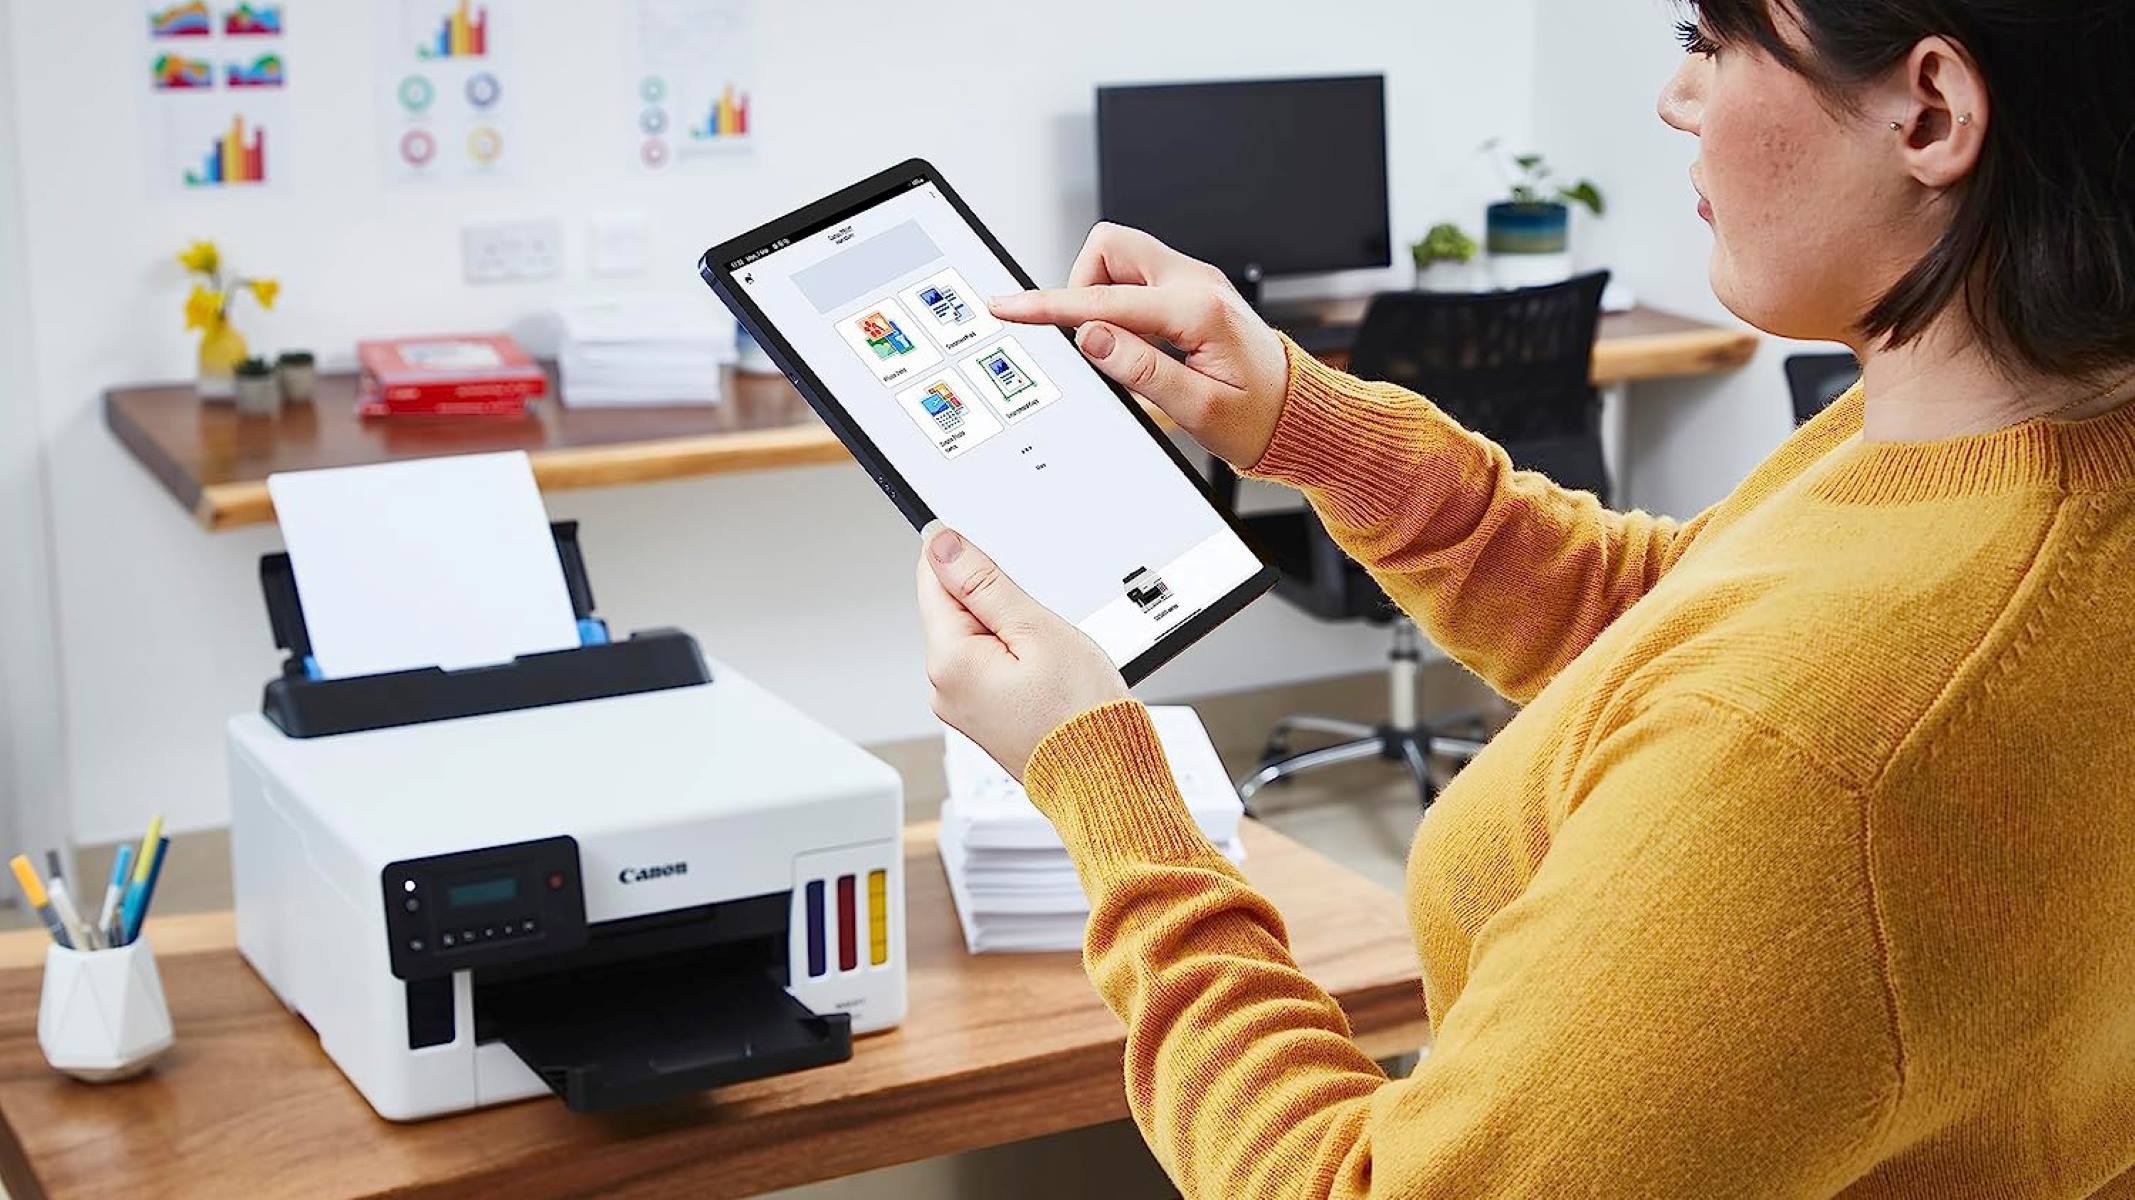
Learn how to easily change ink on your Canon printer and keep your smart home devices running smoothly. Follow our step-by-step guide for quick and hassle-free ink replacement. Keep your smart home devices in top condition with our ink changing tips.
(Many of the links in this article redirect to a specific reviewed product. Your purchase of these products through affiliate links helps to generate commission for Storables.com, at no extra cost. Learn more)
Introduction
Welcome to the world of Canon printers, where the seamless fusion of technology and innovation brings your documents and photos to life with stunning clarity and vibrancy. As you embark on the journey of maintaining your Canon printer, one of the essential tasks you’ll encounter is changing the ink cartridges. Whether you’re a seasoned Canon printer enthusiast or a newcomer to the realm of printing, this guide will walk you through the step-by-step process of changing the ink on your Canon printer with ease and confidence.
Changing the ink on your Canon printer is a fundamental aspect of ensuring the continued high-quality performance of your device. By following the simple yet crucial steps outlined in this guide, you’ll be able to seamlessly replace the ink cartridges, allowing your printer to continue producing exceptional prints for all your needs, from important documents to cherished photographs.
So, let’s dive into the world of Canon printer maintenance and discover the straightforward process of changing the ink cartridges, empowering you to keep your printer in top-notch condition and ready to bring your creations to life.
Key Takeaways:
- Changing the ink on your Canon printer is essential for maintaining high-quality prints. Gather materials, replace the old cartridge with a new one, and test the printer to ensure seamless integration and exceptional performance.
- By following the step-by-step guide, you can confidently maintain and optimize your Canon printer. The meticulous process ensures that your printer is ready to produce vibrant, high-quality prints with precision and clarity.
Read more: How To Check Ink On Canon Printer
Step 1: Gather the Necessary Materials
Before embarking on the ink cartridge replacement journey, it’s essential to gather the necessary materials to ensure a smooth and efficient process. Here’s what you’ll need:
- New Ink Cartridge: Ensure that you have the correct replacement ink cartridge for your specific Canon printer model. Canon printers typically use individual color cartridges, so identify the exact cartridge or cartridges that need to be replaced.
- Protective Gloves (Optional): While not mandatory, wearing protective gloves can help prevent ink from coming into direct contact with your skin during the replacement process.
- Clean Cloth or Paper Towels: Having a clean cloth or paper towels on hand will allow you to wipe any ink residue or smudges that may occur during the cartridge replacement.
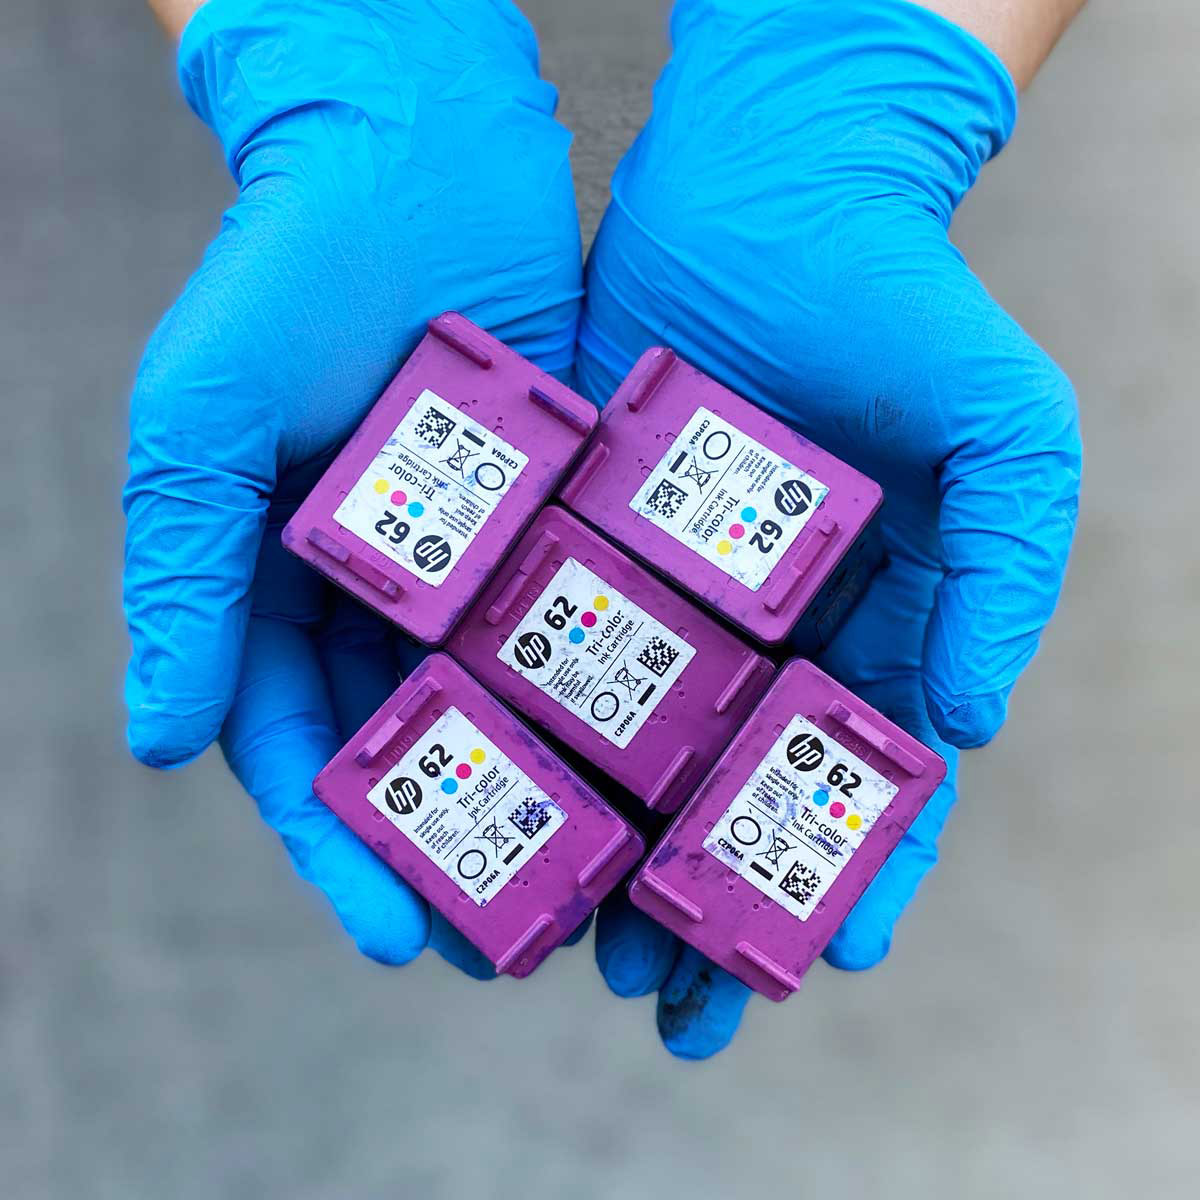
- Recycling Materials: To dispose of the old ink cartridges responsibly, prepare a recycling bag or container to store the used cartridges for proper recycling or disposal.
- Printer Manual: Keeping the printer manual or referring to the manufacturer’s online resources can provide valuable insights and specific instructions tailored to your Canon printer model.
By ensuring that you have these materials at your disposal, you’ll be fully equipped to proceed with confidence as you embark on the ink cartridge replacement process for your Canon printer.
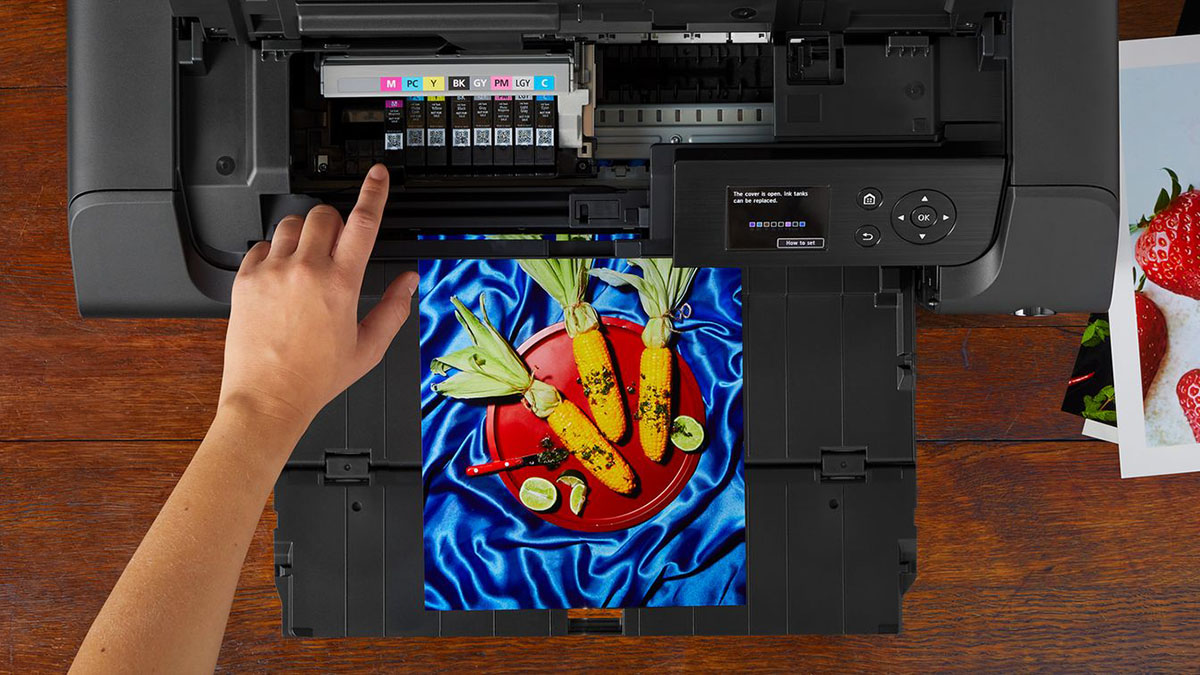
Step 2: Turn on the Printer and Open the Ink Cartridge Door
Before delving into the ink cartridge replacement process, it’s crucial to start by turning on your Canon printer. Once the printer is powered on, carefully open the ink cartridge door to access the cartridges. Here’s a detailed breakdown of this step:
First, locate the power button on your Canon printer and press it to turn on the device. Allow the printer to complete its startup process, ensuring that it is ready to proceed with the ink cartridge replacement.
Next, identify the ink cartridge door, which is typically located on the front of the printer. The specific location may vary based on your Canon printer model, so refer to your printer manual or the manufacturer’s online resources for precise guidance.
Once you’ve located the ink cartridge door, gently open it to reveal the ink cartridges housed within the printer. Take care to handle the door and the printer components with a delicate touch to avoid causing any damage during the process.
By turning on the printer and opening the ink cartridge door, you’ve set the stage for the subsequent steps in the ink cartridge replacement process. This initial preparatory phase positions you to seamlessly proceed with removing the old ink cartridge and installing the new one, ensuring that your Canon printer continues to deliver exceptional print quality for your documents and images.
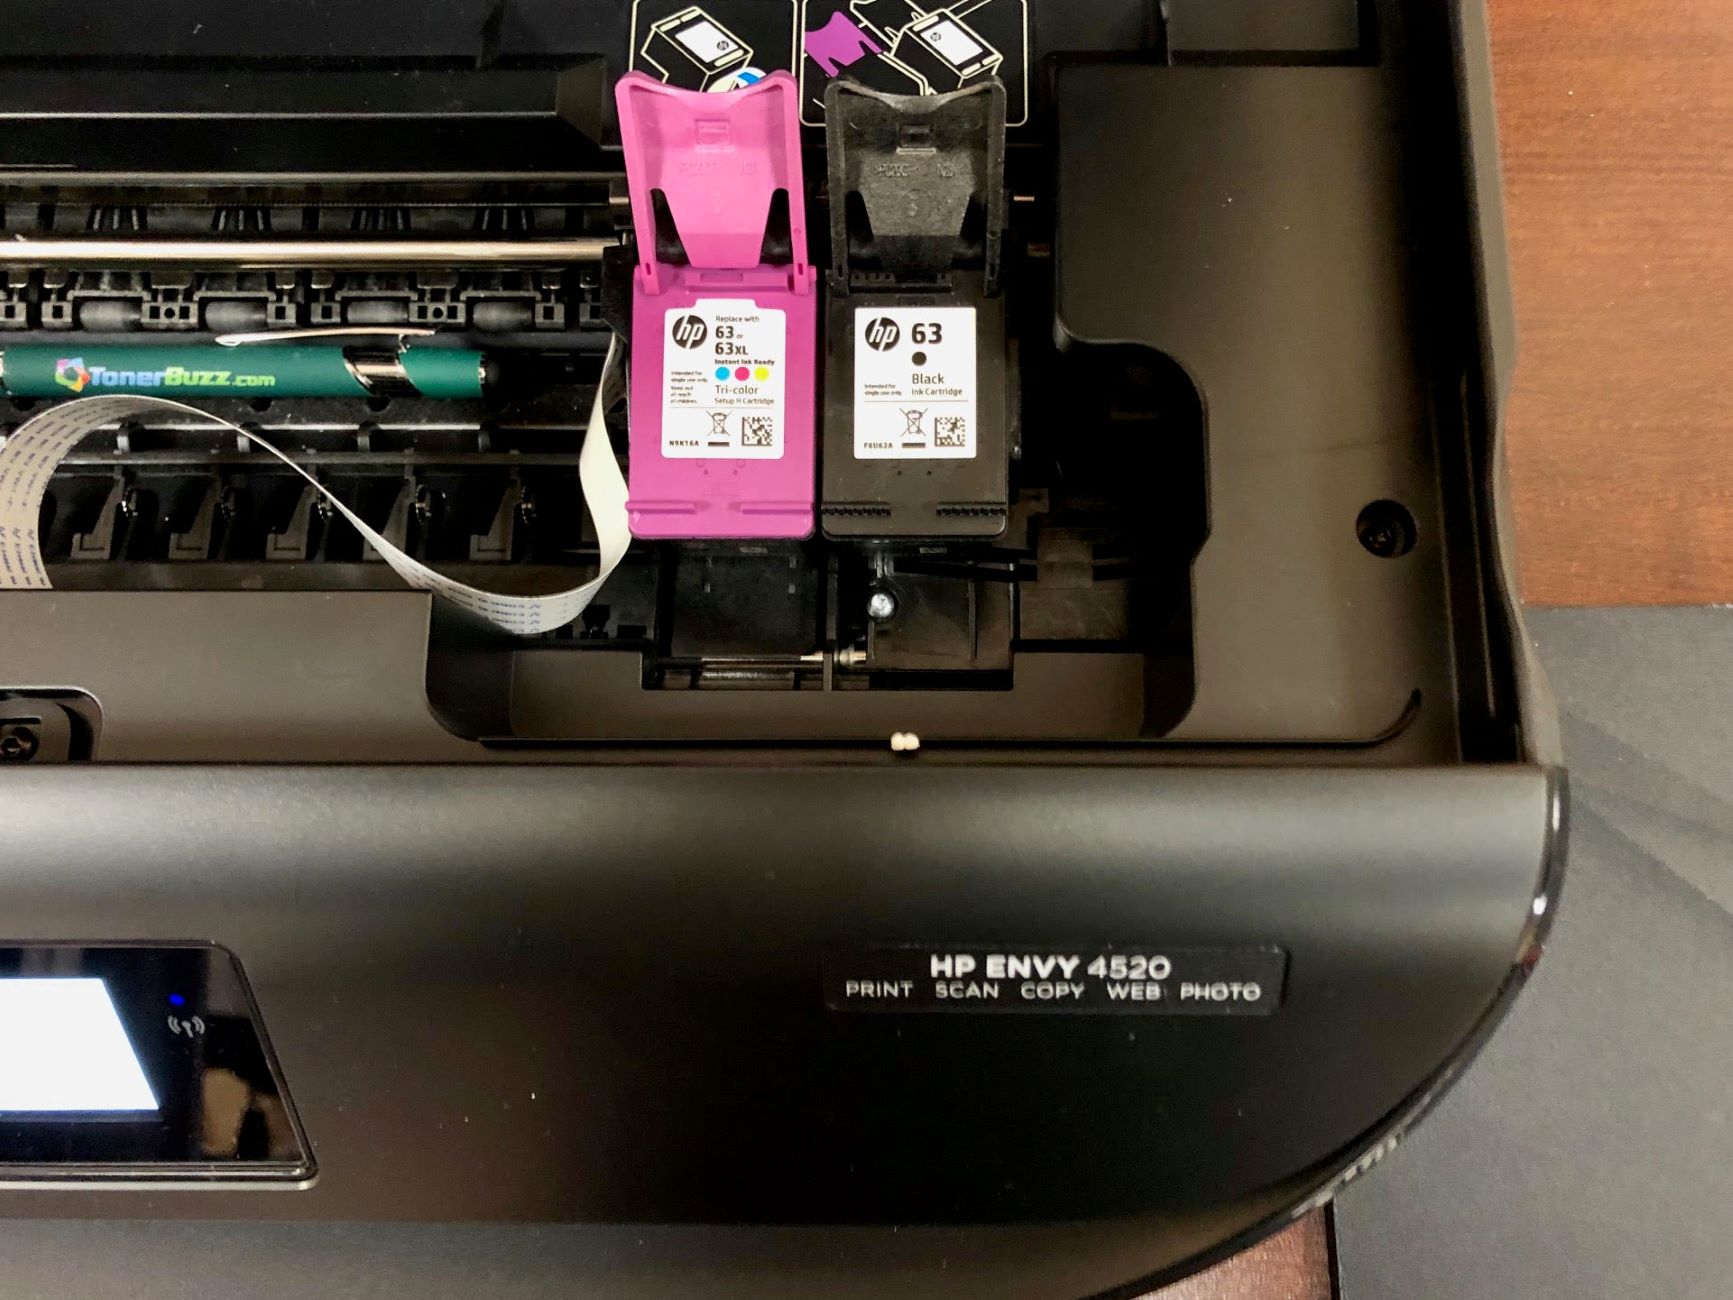
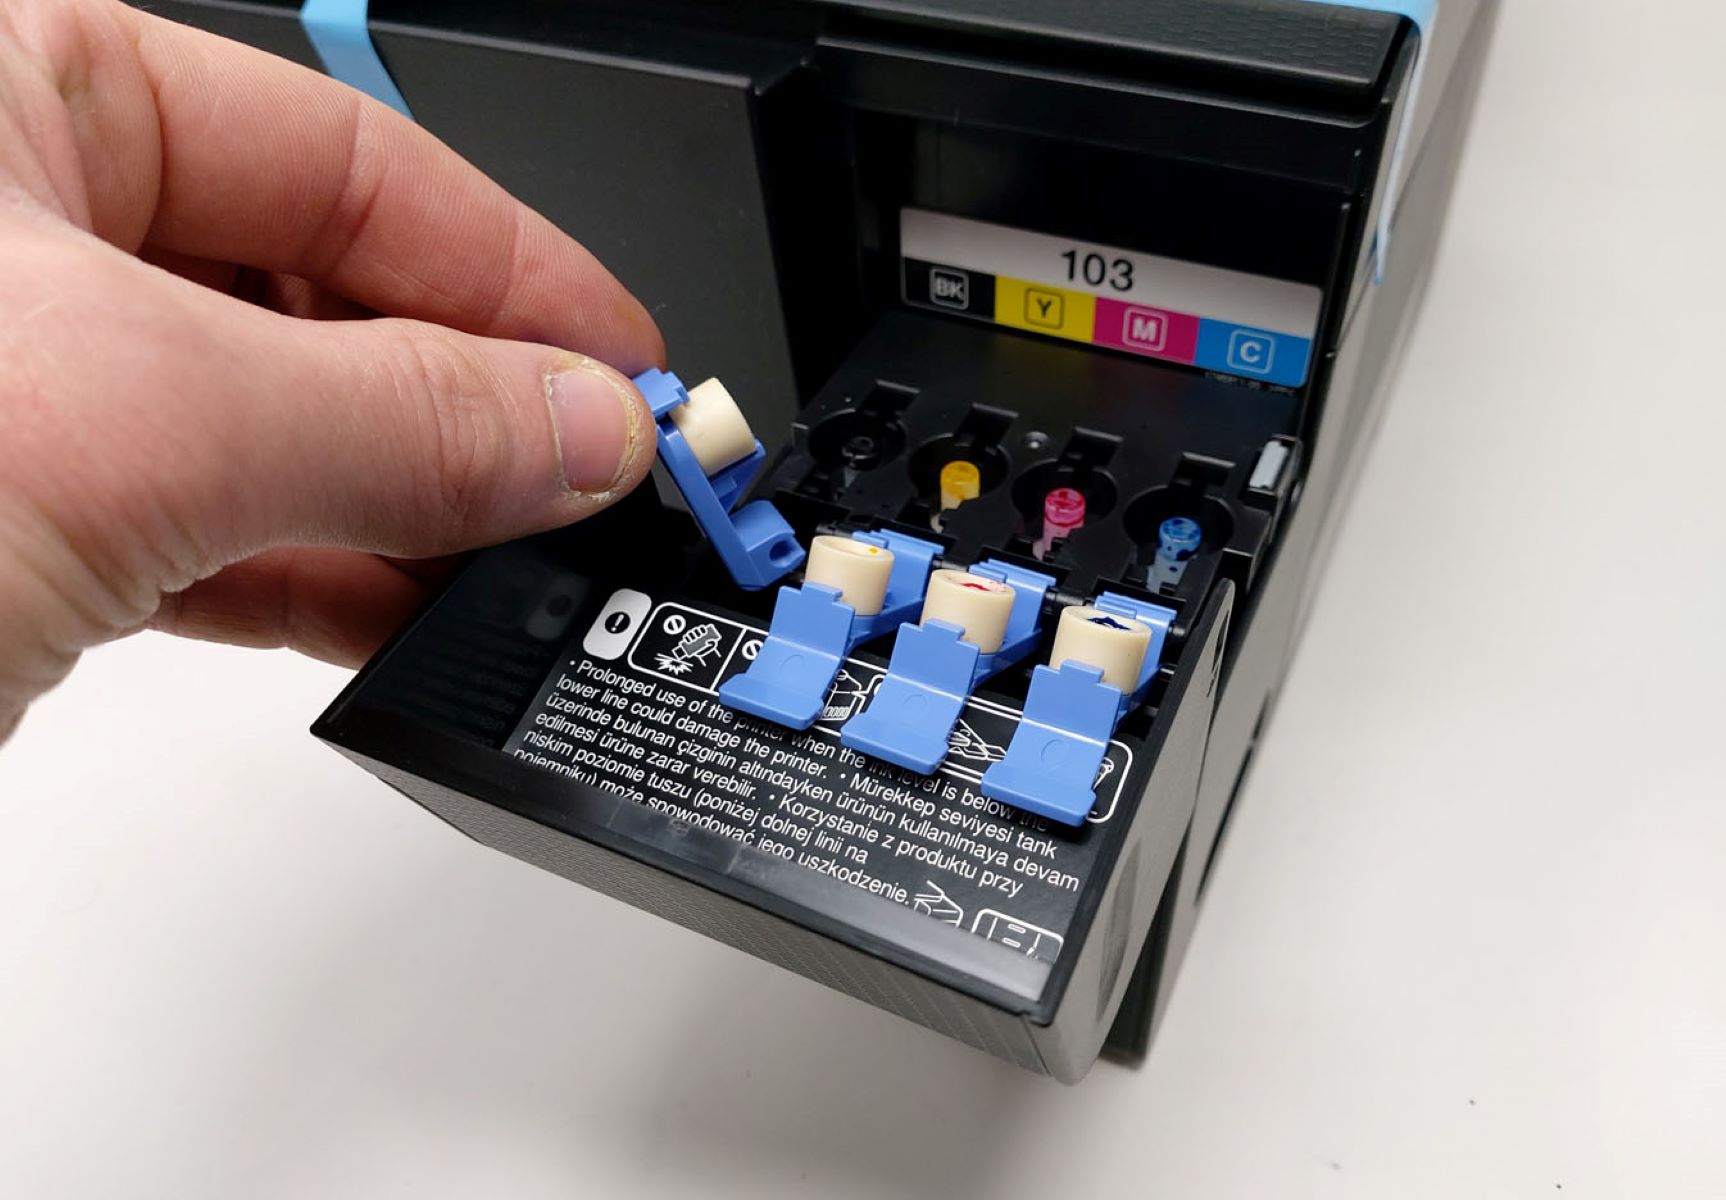
Step 3: Remove the Old Ink Cartridge
With the ink cartridge door open and the printer powered on, you’re ready to remove the old ink cartridge from your Canon printer. This step requires precision and attention to detail to ensure a seamless transition to the new cartridge. Here’s a comprehensive guide on how to remove the old ink cartridge:
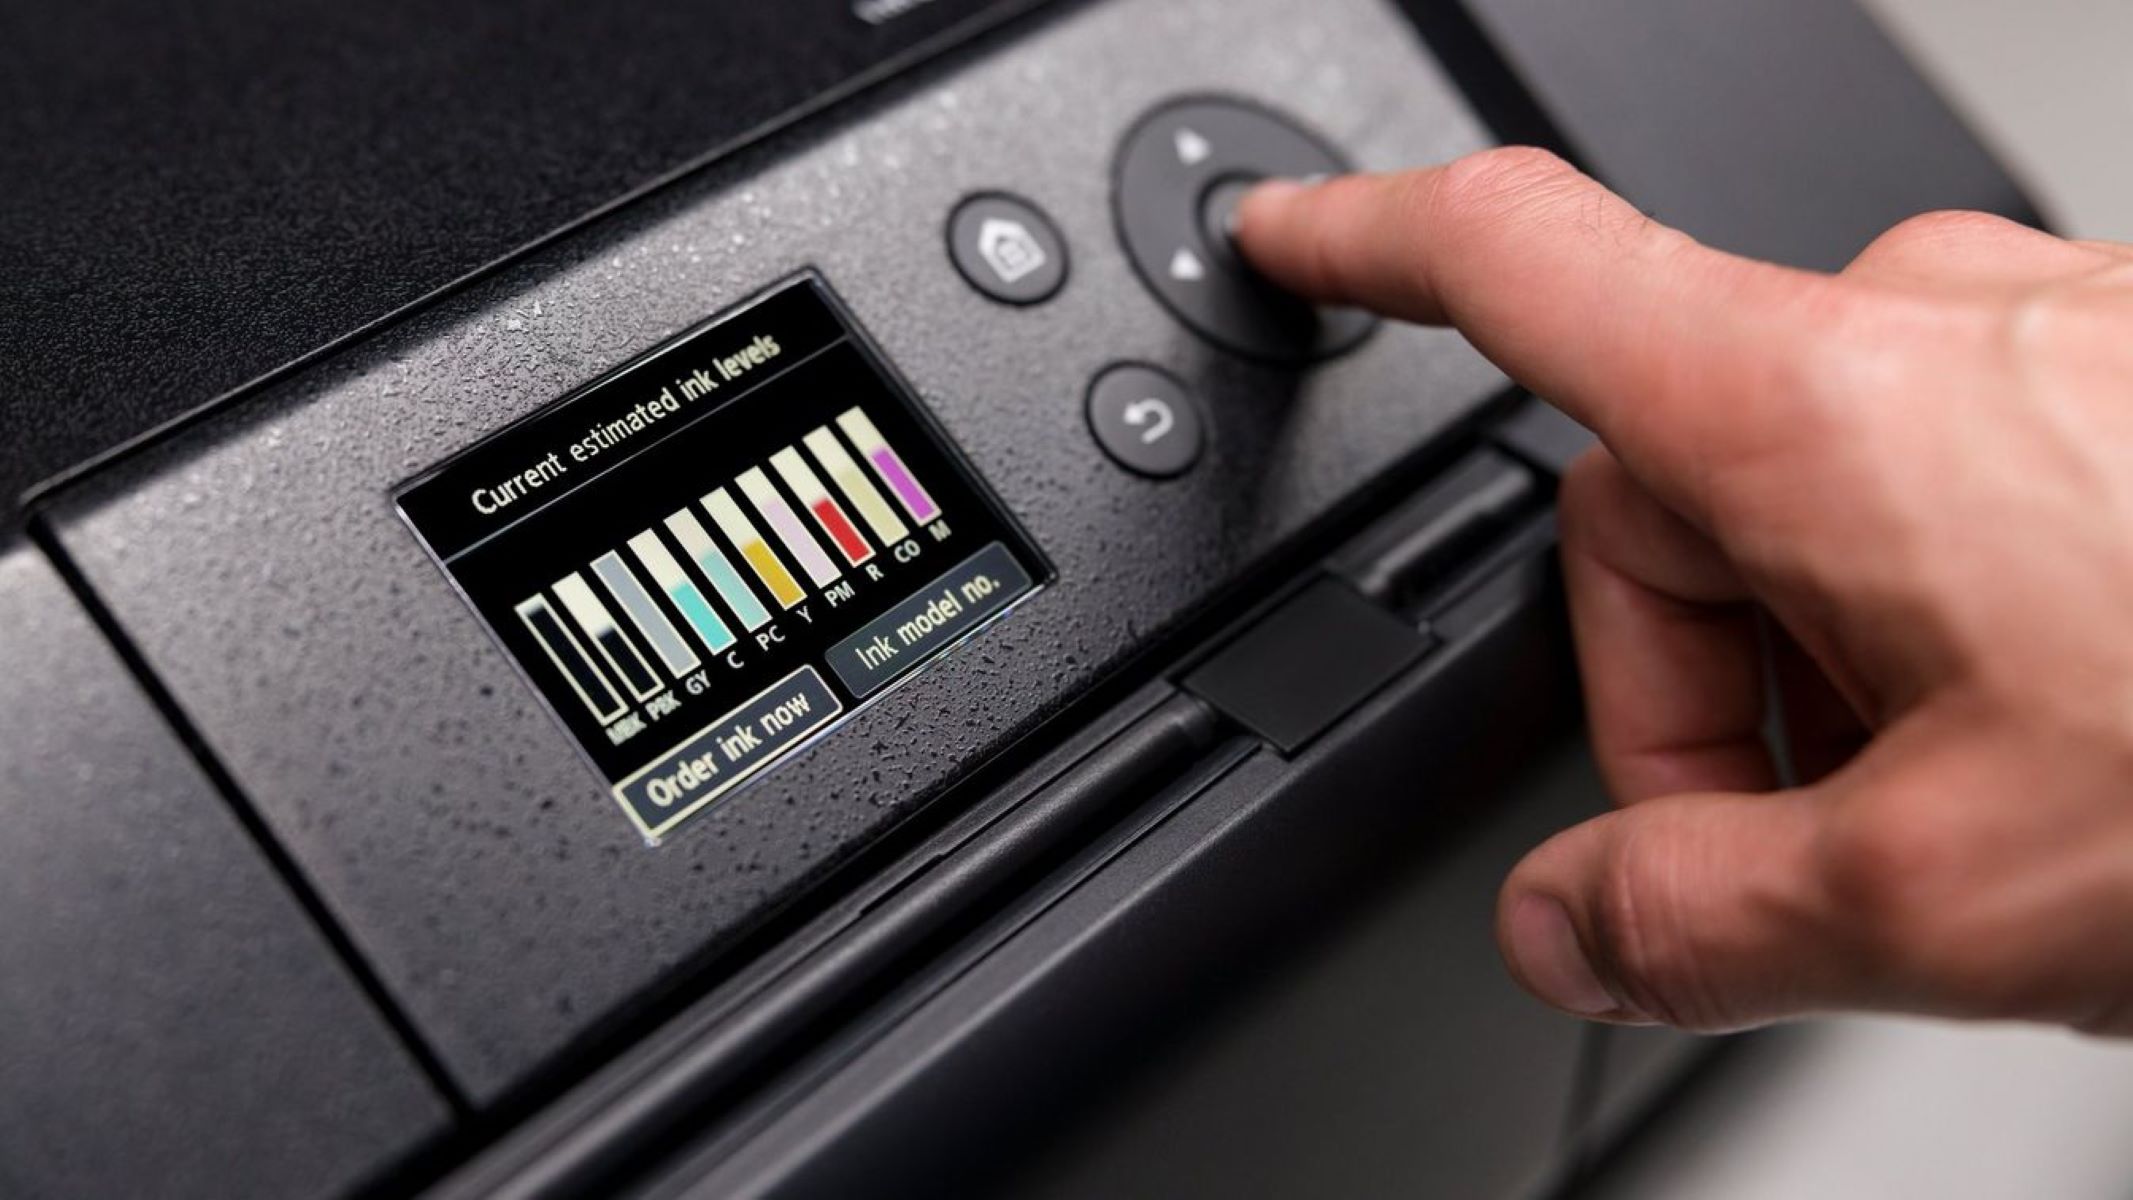
- Identify the Old Cartridge: Take a moment to visually inspect the ink cartridges housed within your printer. Identify the specific cartridge or cartridges that require replacement based on the low ink level indicators or any error messages displayed on the printer’s control panel or accompanying software.
- Prepare for Removal: Before removing the old ink cartridge, it’s advisable to have a clean cloth or paper towels nearby to address any potential ink spillage. Additionally, if your printer model features a locking mechanism for the cartridges, familiarize yourself with the unlocking procedure outlined in the printer manual or online resources.
- Handle with Care: When handling the old ink cartridge, exercise caution to avoid contact with the ink nozzles and electrical contacts. Grasp the cartridge gently and avoid applying excessive force to prevent any damage to the printer components.
- Remove the Cartridge: Depending on your Canon printer model, the process of removing the old ink cartridge may involve pressing a release lever or following a specific removal sequence. Refer to the printer manual or online resources for precise instructions tailored to your printer model.
- Store the Old Cartridge: After successfully removing the old ink cartridge, place it in a designated recycling bag or container for proper disposal or recycling in accordance with environmental guidelines and regulations.
By following these steps with care and precision, you can safely remove the old ink cartridge from your Canon printer, paving the way for the next crucial phase of preparing and installing the new cartridge. This meticulous process ensures that your printer maintains its optimal performance and continues to produce outstanding prints for your various printing needs.
Step 4: Prepare the New Ink Cartridge
As you embark on the ink cartridge replacement journey for your Canon printer, it’s essential to prepare the new ink cartridge for seamless installation. This step involves ensuring that the new cartridge is primed and ready to deliver exceptional print quality. Here’s a comprehensive guide on how to prepare the new ink cartridge:
- Unpack the New Cartridge: Carefully remove the new ink cartridge from its packaging, taking care not to touch the electrical contacts or ink nozzles. Handle the cartridge with caution to prevent any potential damage during the unpacking process.
- Remove Protective Seals: Check the new cartridge for any protective seals or tapes that need to be removed before installation. These seals are designed to safeguard the cartridge during shipping and storage, so ensure that all protective coverings are properly removed before proceeding.
- Inspect for Damage: Before installing the new cartridge, visually inspect it for any signs of damage or leaks. Ensure that the cartridge is in pristine condition, free from any defects that may impact its performance or the printer’s functionality.
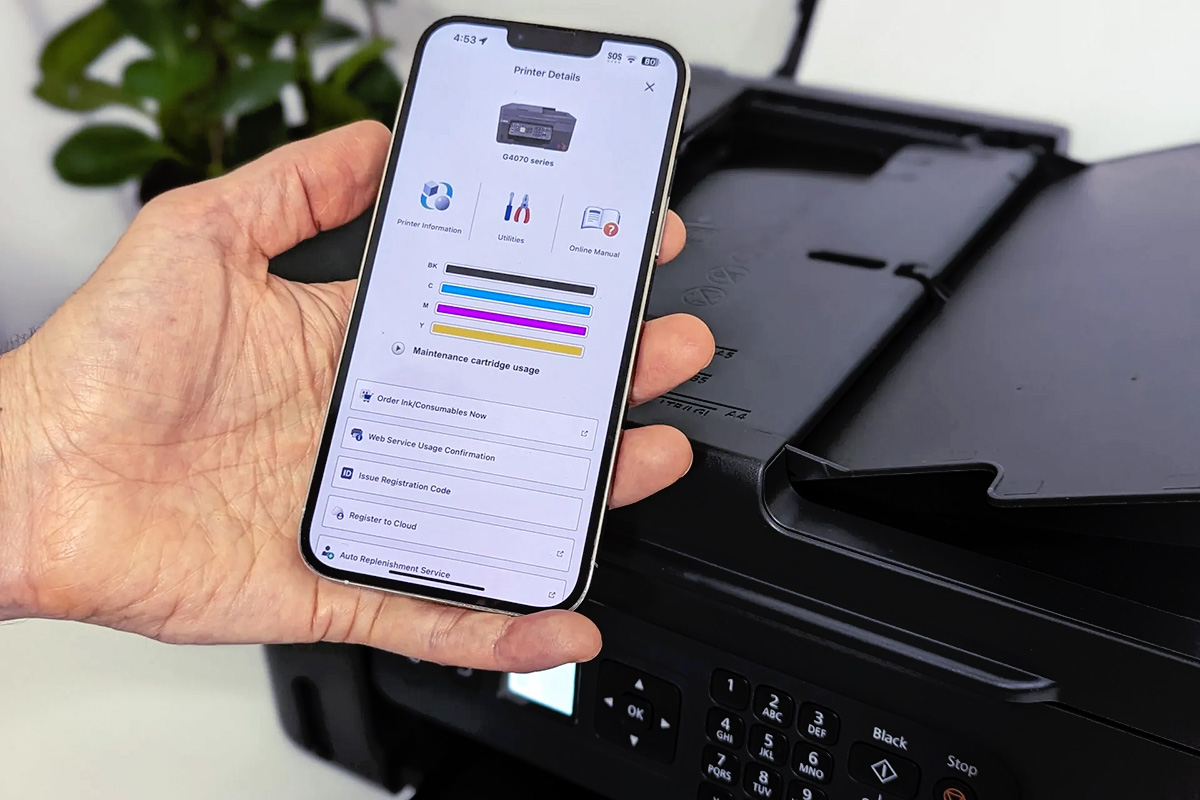
- Check Ink Levels: Some Canon printer models feature ink level indicators on the cartridges, allowing you to verify the ink levels before installation. This step provides insight into the available ink capacity and helps you plan for future replacements based on your printing needs.
- Aligning the Cartridge: If your printer model requires a specific alignment or orientation for the new cartridge, take note of any alignment guides or markings that facilitate the correct insertion of the cartridge into its designated slot.
By meticulously preparing the new ink cartridge, you set the stage for a seamless installation process, ensuring that your Canon printer continues to deliver exceptional print results. This preparatory phase prioritizes the optimal performance of the new cartridge, empowering you to harness the full potential of your printer for all your printing endeavors.
Before changing the ink on your Canon printer, make sure to turn off the printer and open the ink cartridge door. Gently remove the old cartridge and replace it with a new one, making sure it clicks into place. Close the ink cartridge door and turn the printer back on.
Read more: What Is The Ink Absorber On A Canon Printer
Step 5: Install the New Ink Cartridge
With the new ink cartridge prepared and ready for installation, it’s time to proceed with the pivotal step of installing the cartridge into your Canon printer. This process requires precision and attention to detail to ensure a seamless transition to the new cartridge. Here’s a comprehensive guide on how to install the new ink cartridge:
- Locate the Cartridge Slot: Identify the specific slot or slots where the new ink cartridge will be installed within your Canon printer. Depending on your printer model, the cartridge slots may be color-coded or feature clear indicators to guide the installation process.
- Insert the Cartridge: Align the new ink cartridge with its designated slot, ensuring that it is oriented correctly based on any alignment guides or markings. Gently insert the cartridge into the slot, applying even pressure to secure it in place. If your printer model features a locking mechanism, follow the prescribed locking procedure to ensure the cartridge is firmly seated.
- Confirm Proper Installation: After inserting the new cartridge, double-check that it is securely positioned within the slot. Verify that the cartridge is firmly seated and aligned according to the printer’s specifications to guarantee a proper installation.
- Close the Cartridge Door: Once the new ink cartridge is successfully installed, carefully close the ink cartridge door of your Canon printer. Ensure that the door is securely shut to maintain the integrity of the printer’s internal components and to prepare for the subsequent alignment process.
By following these steps with care and precision, you can seamlessly install the new ink cartridge in your Canon printer, setting the stage for continued exceptional print quality and performance. This crucial phase ensures that your printer is ready to produce vibrant, high-quality prints for all your printing needs, from documents to photographs, with precision and clarity.
Step 6: Close the Ink Cartridge Door and Align the Printer
After successfully installing the new ink cartridge, the next vital step in the ink cartridge replacement process for your Canon printer is to close the ink cartridge door and align the printer. This phase ensures that the printer is primed and ready to deliver exceptional print results. Here’s a comprehensive guide on how to close the ink cartridge door and align the printer:
- Securely Close the Cartridge Door: With the new ink cartridge in place, carefully close the ink cartridge door of your Canon printer. Ensure that the door is securely shut, providing a protective enclosure for the cartridges and the internal components of the printer.
- Initiate the Alignment Process: Depending on your Canon printer model, the installation of a new ink cartridge may prompt an automatic alignment process. If the printer does not initiate the alignment automatically, refer to the printer manual or online resources for instructions on how to manually initiate the alignment process.
- Follow Alignment Instructions: If the printer prompts you to align the cartridges, carefully follow the on-screen instructions or the guidance provided in the printer manual. This process ensures that the printer’s components are calibrated to deliver precise and accurate prints, optimizing the quality of your documents and images.
- Verify Alignment Completion: Once the alignment process is complete, verify that the printer displays a confirmation message indicating the successful alignment of the cartridges. This confirmation ensures that the printer is ready to produce exceptional prints with the newly installed ink cartridge.
By meticulously closing the ink cartridge door and aligning the printer, you ensure that your Canon printer is poised to deliver outstanding print quality and performance. This essential phase optimizes the printer’s functionality, allowing you to harness its full potential for a wide range of printing needs, from professional documents to captivating photographs.
Step 7: Test the Printer
With the ink cartridge replacement process nearing completion, the final and crucial step is to test your Canon printer to ensure that the new ink cartridge is seamlessly integrated and ready to produce exceptional prints. This step allows you to verify the printer’s functionality and the quality of the prints it generates. Here’s a comprehensive guide on how to test the printer:
- Print a Test Page: Initiate the printing of a test page to assess the quality and clarity of the prints produced by your Canon printer. Many printer models offer a test page option within the printer’s settings or control panel, allowing you to generate a sample print for evaluation.
- Inspect Print Quality: Examine the test page closely to evaluate the print quality, including text sharpness, color vibrancy, and overall clarity. Look for any signs of smudging, streaking, or color inconsistencies that may indicate issues with the new ink cartridge or the printer’s alignment.
- Address Any Issues: If the test page reveals any print quality issues, such as streaks or color discrepancies, consider running a printer maintenance cycle or realigning the cartridges as recommended by the printer’s troubleshooting options. Additionally, refer to the printer manual or online resources for guidance on addressing specific print quality concerns.
- Verify Operational Functions: Beyond print quality, test the operational functions of the printer, including scanning and copying, if applicable. Ensure that the printer responds promptly to commands and accurately reproduces documents and images, showcasing the seamless integration of the new ink cartridge.
By diligently testing the printer, you can confirm that the new ink cartridge is fully integrated and functioning optimally within your Canon printer. This final phase ensures that your printer is primed to meet your printing needs with precision and reliability, delivering professional-quality prints for your diverse range of documents and images.
Conclusion
Congratulations! You’ve successfully navigated the ink cartridge replacement process for your Canon printer, ensuring that your printer is equipped to deliver exceptional print quality for all your documents and images. By following the step-by-step guide outlined in this article, you’ve empowered yourself to maintain and optimize the performance of your Canon printer with confidence and precision.
Changing the ink on your Canon printer is a fundamental aspect of printer maintenance, and your commitment to this process reflects your dedication to preserving the longevity and functionality of your printer. By gathering the necessary materials, removing the old ink cartridge, preparing and installing the new cartridge, and aligning the printer, you’ve demonstrated a meticulous approach to printer care that will yield outstanding results in your printing endeavors.
As you close the ink cartridge door and align the printer, you’ve set the stage for continued exceptional performance, ensuring that your Canon printer is ready to produce vibrant, high-quality prints with precision and clarity. The final step of testing the printer allows you to verify the seamless integration of the new ink cartridge, affirming that your printer is poised to meet your diverse printing needs with reliability and excellence.
With the ink cartridge replacement process completed, your Canon printer stands ready to bring your documents and images to life with stunning clarity and vibrancy. Whether you’re printing important reports, captivating photographs, or creative projects, your printer is primed to deliver professional-quality prints that reflect your exacting standards.
Thank you for embarking on this ink cartridge replacement journey with your Canon printer. Your commitment to printer maintenance ensures that your printing experiences remain consistently exceptional, providing you with the means to bring your ideas and creations to fruition with unparalleled precision and quality.
Frequently Asked Questions about How To Change Ink On Canon Printer
Was this page helpful?
At Storables.com, we guarantee accurate and reliable information. Our content, validated by Expert Board Contributors, is crafted following stringent Editorial Policies. We're committed to providing you with well-researched, expert-backed insights for all your informational needs.
0 thoughts on “How To Change Ink On Canon Printer”