Home>Technology>Smart Home Devices>How To Make Water Slide Decals With An Inkjet Printer
Smart Home Devices
How To Make Water Slide Decals With An Inkjet Printer
Modified: August 28, 2024
Learn how to create water slide decals for smart home devices using an inkjet printer. Follow our step-by-step guide for professional results.
(Many of the links in this article redirect to a specific reviewed product. Your purchase of these products through affiliate links helps to generate commission for Storables.com, at no extra cost. Learn more)
**
Introduction
**
So, you've got a passion for creating custom designs and want to add a personal touch to your belongings. Whether it's for model making, crafting, or personalizing everyday items, water slide decals are a fantastic way to achieve this. With the right materials and a bit of creativity, you can produce high-quality decals using an inkjet printer right at home.
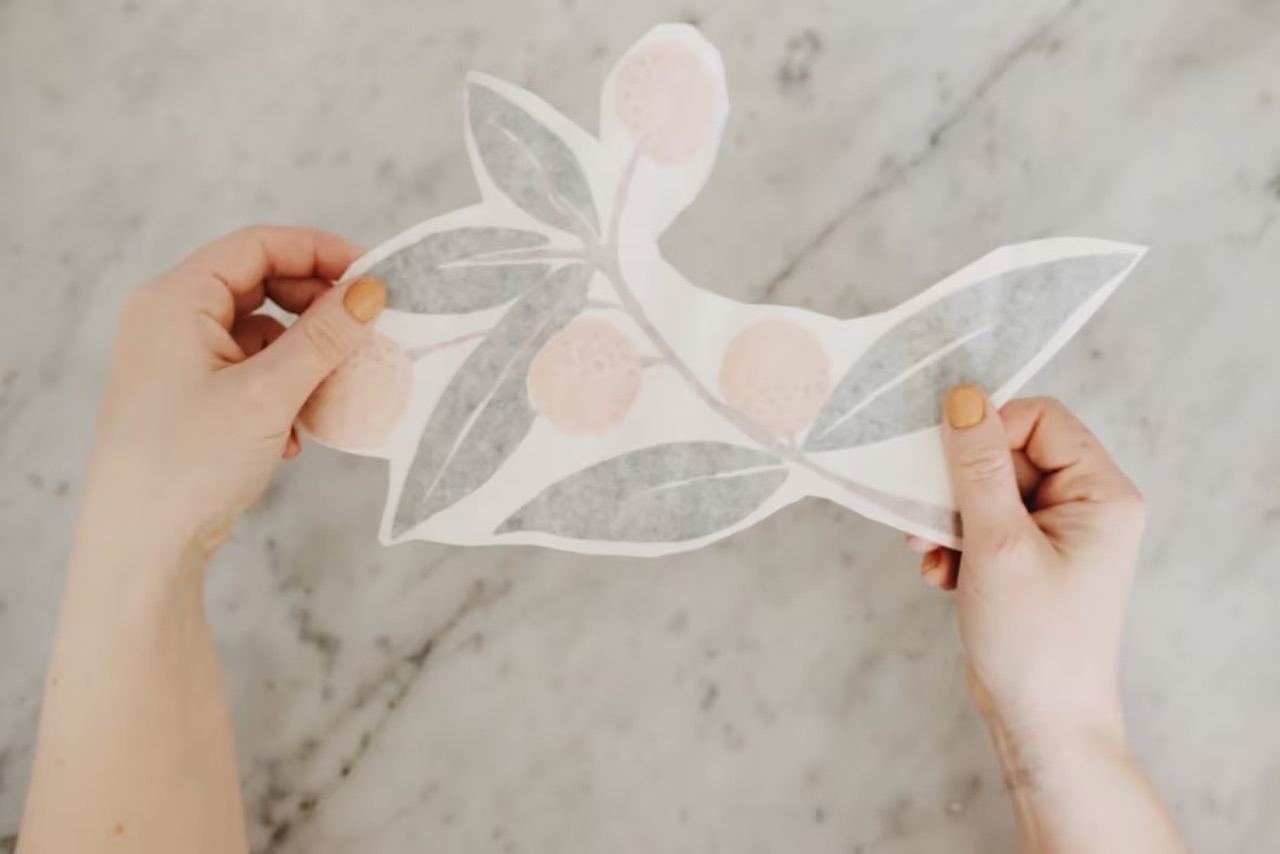
Water slide decals are thin, transparent sheets that can be printed with intricate designs and then transferred onto various surfaces. From decorating model airplanes and cars to customizing ceramic mugs and glassware, the possibilities are endless. With this simple yet effective technique, you can elevate your DIY projects and give your items a professional, customized look.
In this guide, we'll walk you through the process of creating water slide decals using an inkjet printer. You'll learn about the essential materials needed, the preparation required, designing the decals, printing them, and applying them to your chosen surfaces. By the end of this tutorial, you'll be well-equipped to bring your unique designs to life through the art of water slide decals. Let's dive in and unleash your creativity!
**
Key Takeaways:
- Unleash Your Creativity:
Creating water slide decals with an inkjet printer allows you to unleash your creativity and bring your unique designs to life, adding a personal touch to your belongings and DIY projects. - Precision and Patience:
From designing to applying the decals, precision and patience are key to achieving professional-looking results. Take your time to perfect your designs and handle the process with care for vibrant and durable decals.
Read more: What Is An Inkjet Printer
Materials Needed
**
Before diving into the world of water slide decal creation, it's essential to gather the necessary materials. Here's what you'll need to get started:
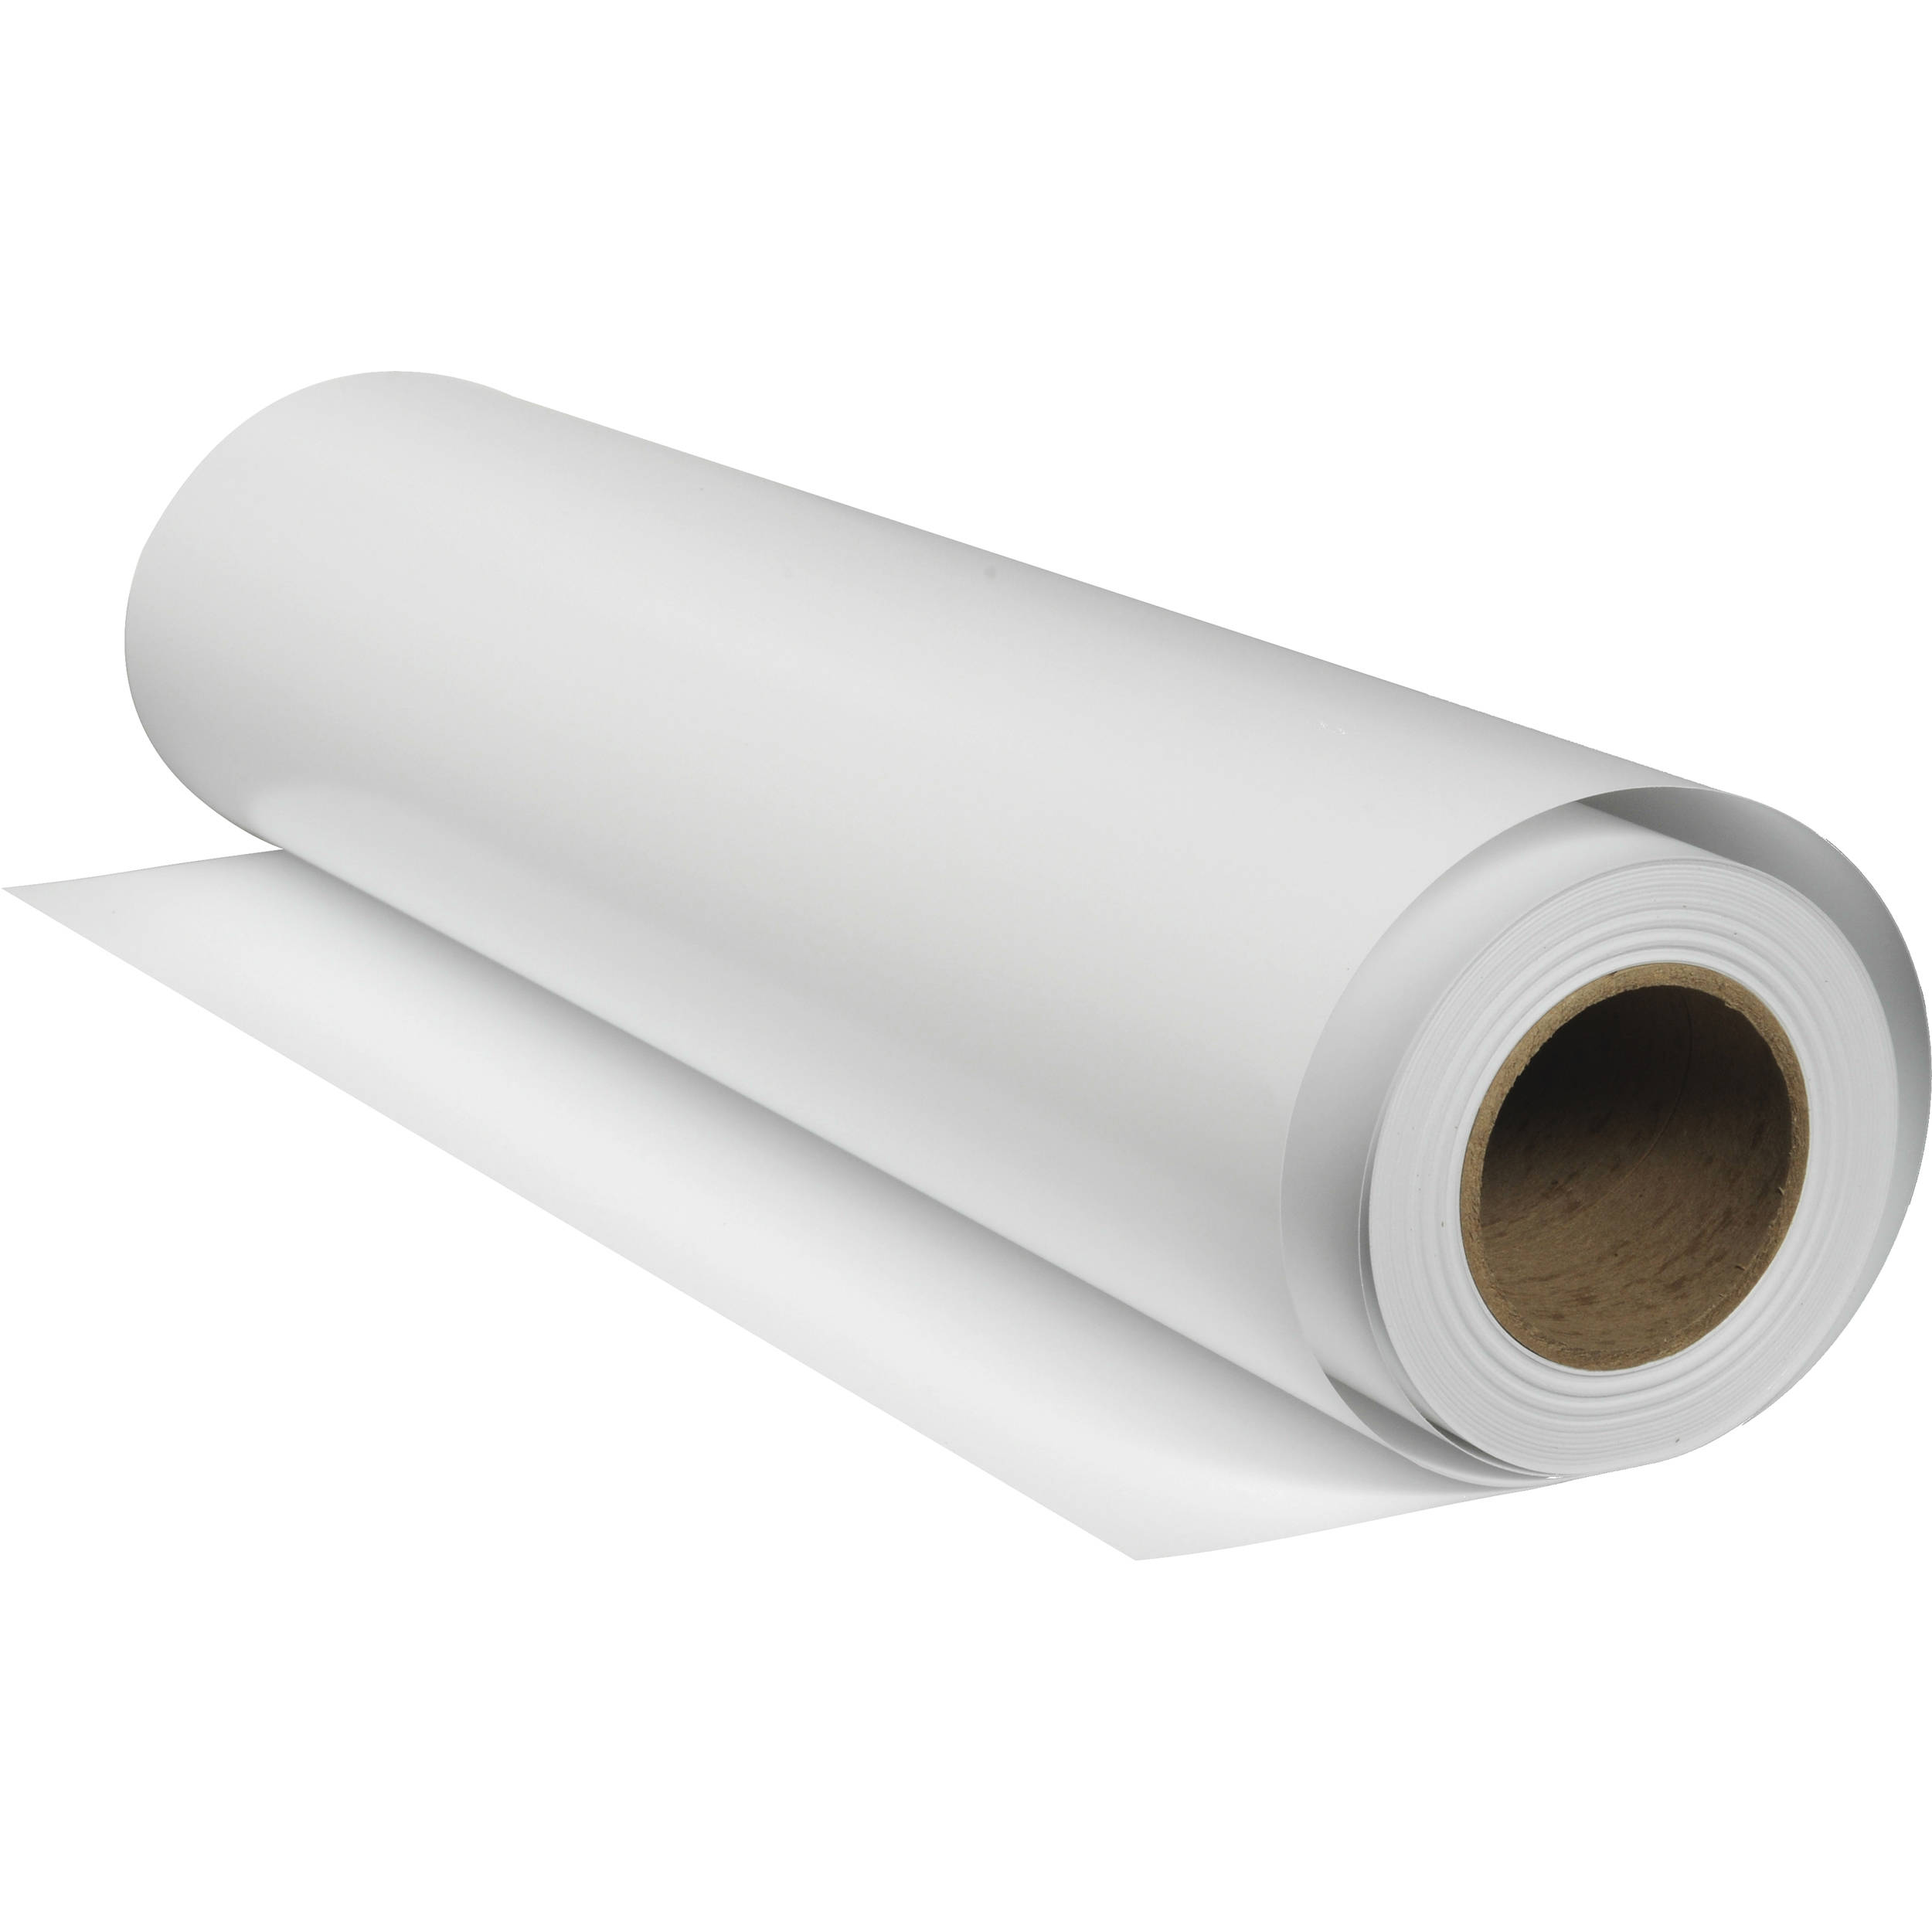
1. Water Slide Decal Paper:
- Select high-quality water slide decal paper suitable for inkjet printers. Ensure that the paper is compatible with your specific printer model to achieve optimal results.
2. Clear Acrylic Spray:
- This will be used to seal and protect your printed decals. Look for a clear acrylic spray designed for use on printed materials.
3. Design Software:
- Utilize graphic design software such as Adobe Photoshop, Illustrator, or free alternatives like GIMP or Inkscape to create and edit your decal designs.
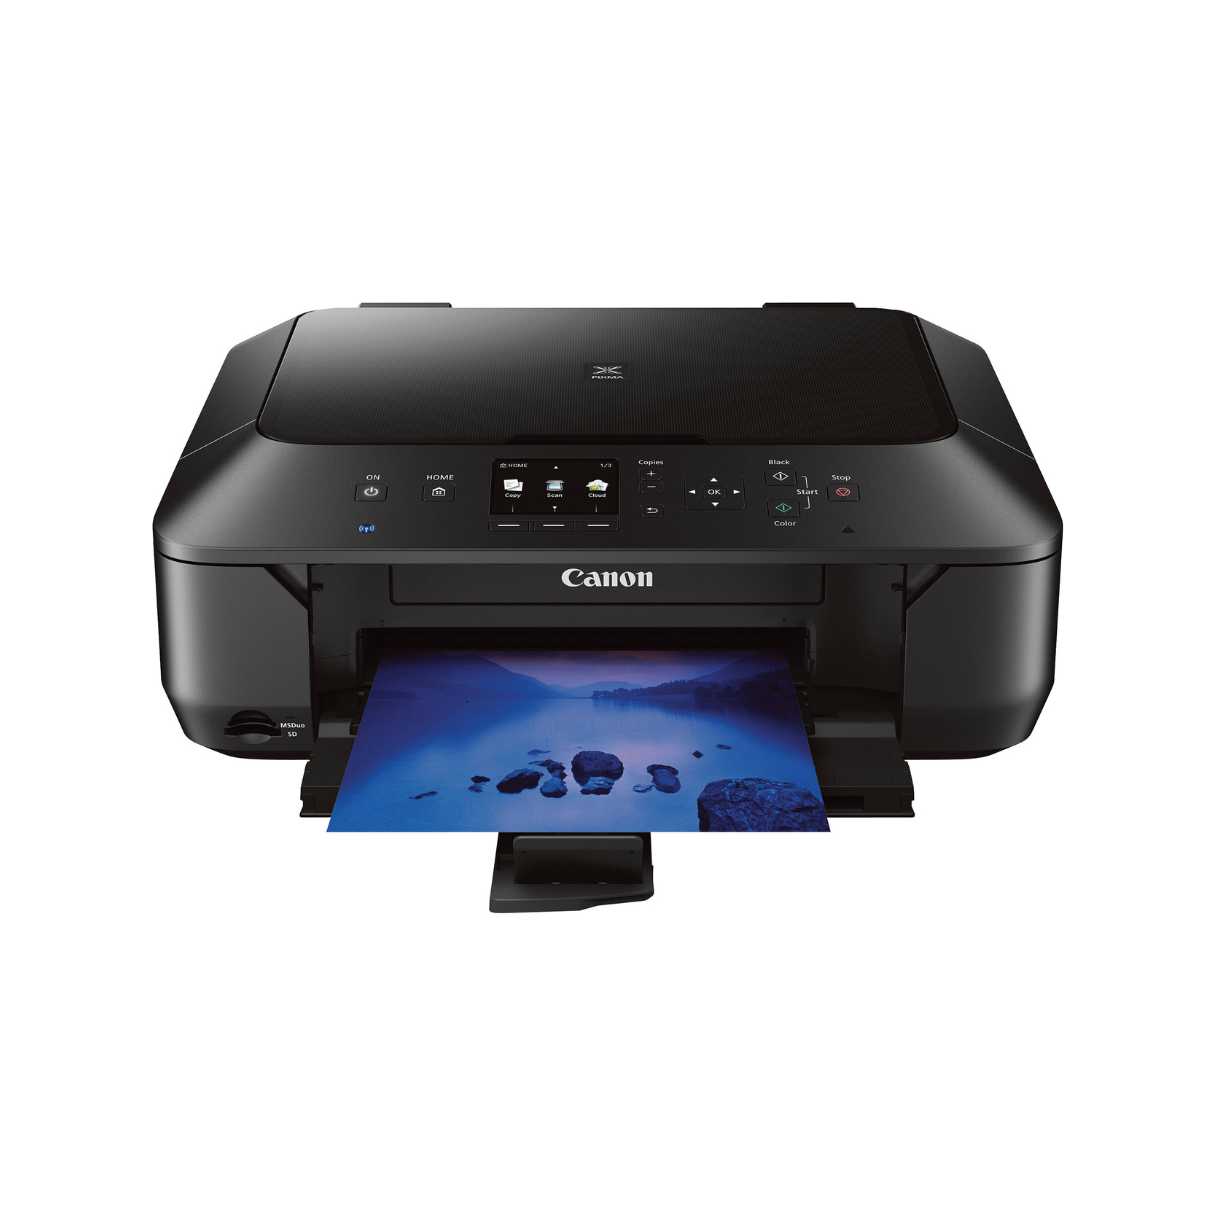
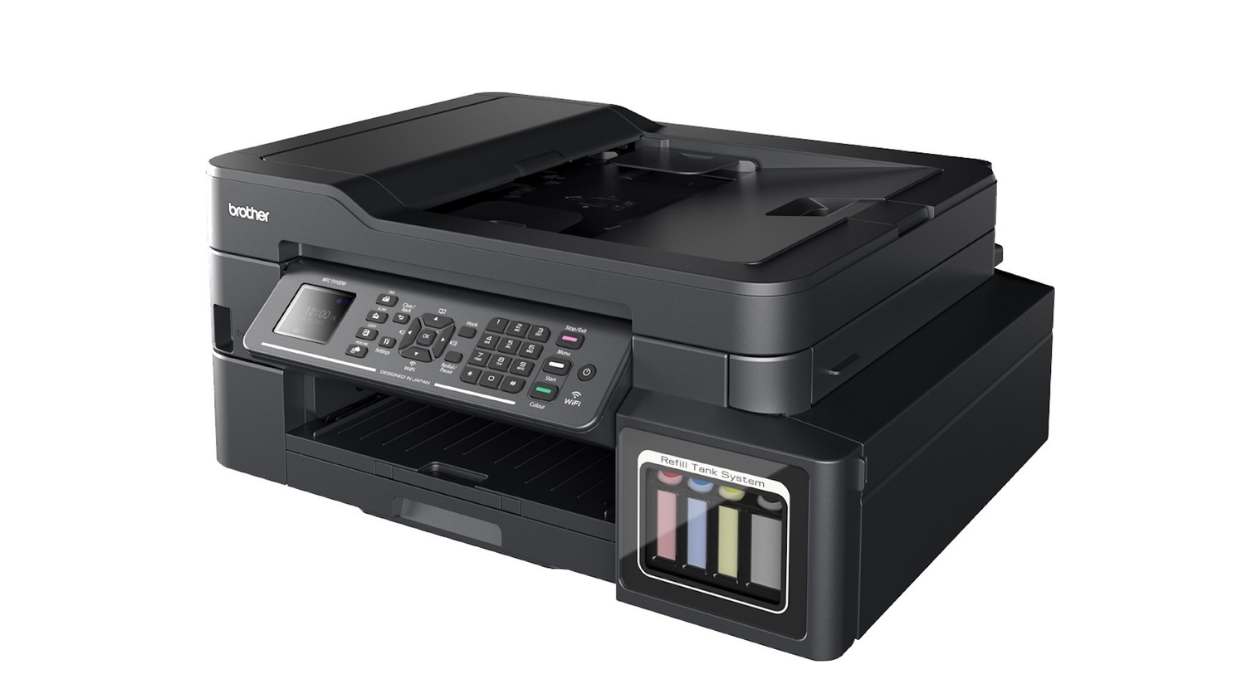
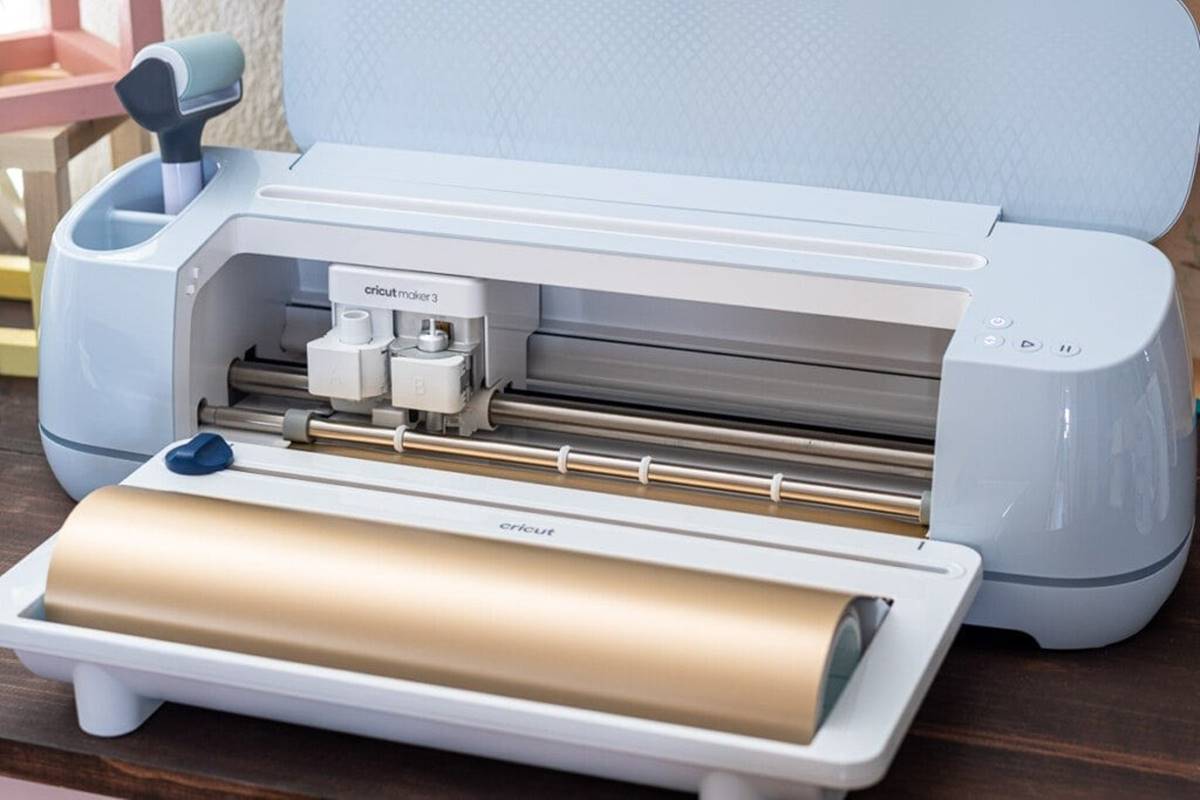
4. Inkjet Printer:
- An inkjet printer capable of producing high-resolution prints is essential for achieving crisp and vibrant decal designs. Ensure that your printer is compatible with the water slide decal paper you have selected.
5. Scissors or Cutting Tool:
- A pair of sharp scissors or a precision cutting tool will be required to trim your printed decals to the desired size and shape.
6. Bowl of Water:
- Prepare a bowl of lukewarm water to soak the decals before applying them to your chosen surfaces.
7. Tweezers:
- Tweezers will come in handy when handling and applying the delicate decals onto your items.
8. Soft Cloth:
- Have a soft, lint-free cloth on hand to gently remove excess water and air bubbles when applying the decals.
9. Chosen Surface Items:
- Whether it's model airplanes, ceramic mugs, or glassware, ensure that the surfaces you plan to apply the decals to are clean and free from dust and debris.
By gathering these materials, you'll be well-prepared to embark on your water slide decal creation journey. With these tools at your disposal, you'll be ready to unleash your creativity and personalize your belongings with custom-designed decals.
**
Preparation
**
Before delving into the creative process of designing and printing your water slide decals, it's crucial to prepare your workspace and materials to ensure a smooth and successful experience. Here are the key steps to take in preparation for creating your custom decals:
1. Set Up Your Workstation:
Create a clean and organized workspace where you can comfortably work on your decal designs and handle the printing process. Clear any clutter and ensure that your printer and design software are readily accessible.
2. Select and Prepare Your Design:
Choose or create the design you wish to transform into a water slide decal. Whether it's a logo, intricate pattern, or custom artwork, ensure that the design is sized appropriately for the item you plan to decorate.
3. Test Print:
Before printing on the water slide decal paper, conduct a test print on regular paper to ensure that the colors and dimensions are to your satisfaction. This step allows you to make any necessary adjustments before using the special decal paper.
4. Prepare Your Printer:
Ensure that your inkjet printer is loaded with the appropriate water slide decal paper. Adjust the printer settings to accommodate the paper type and select the highest print quality for optimal results.
5. Seal Your Designs:
Once printed, use a clear acrylic spray to seal and protect the printed designs. Apply a light, even coat of the spray and allow it to dry thoroughly before handling the decals.
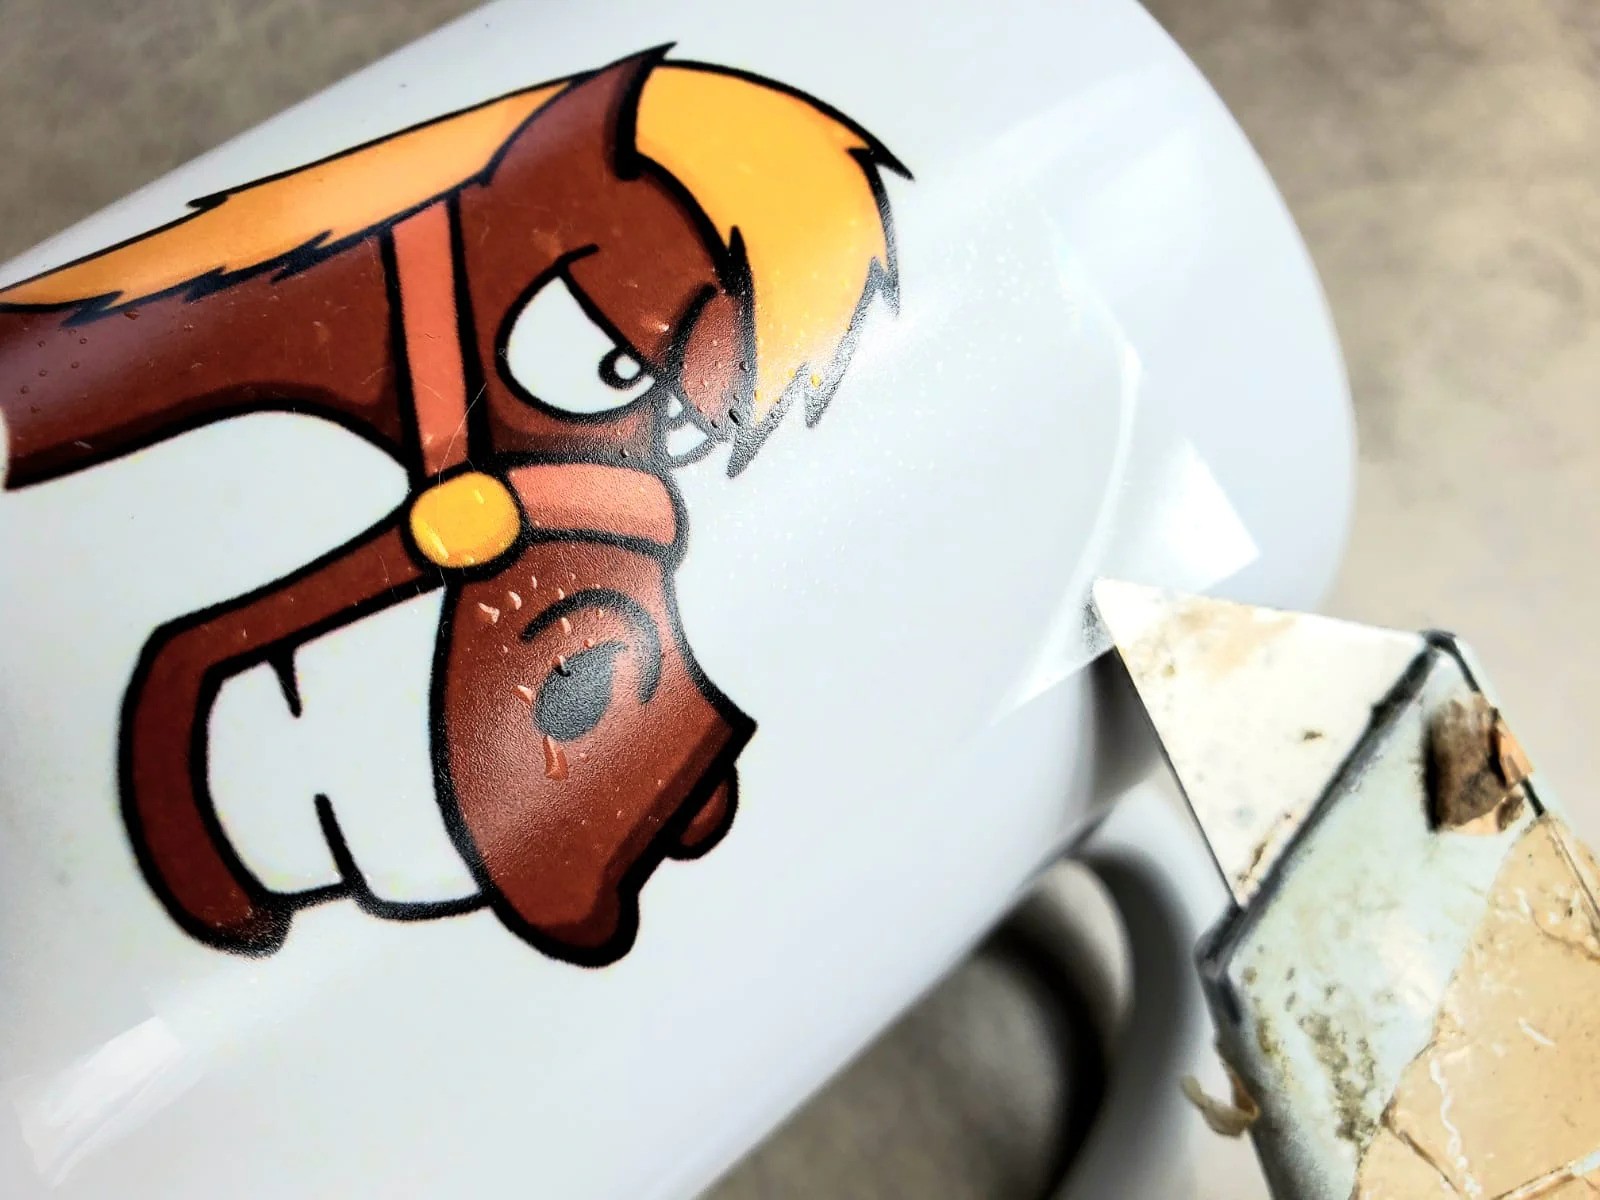
6. Cut Out Your Decals:
Carefully trim your printed designs using scissors or a cutting tool, ensuring that the edges are clean and precise. Take your time to achieve the desired shape and size for each decal.
7. Prepare the Application Surface:
If you are applying the decals to items such as model airplanes or ceramic mugs, ensure that the surfaces are clean and free from dust and oils. This will provide a smooth and secure base for the decals.
By following these preparatory steps, you can set the stage for a successful water slide decal creation process. Taking the time to organize your workspace, perfect your designs, and prepare your materials will contribute to a seamless and enjoyable experience as you bring your custom decals to life.
**
Designing the Decals
**
Now comes the exciting part of the water slide decal creation process – designing your custom decals. Whether you have a specific image in mind or are starting from scratch, the design phase offers endless creative possibilities. Here are the key steps to consider when crafting your decal designs:
1. Conceptualize Your Design:
Consider the item you plan to decorate and envision the design that will complement it best. Whether it’s a logo, intricate pattern, or personalized artwork, take the time to conceptualize the overall look and feel of your decal.
2. Select Your Design Software:
Utilize graphic design software such as Adobe Photoshop, Illustrator, or free alternatives like GIMP or Inkscape to bring your decal designs to life. These tools offer a wide range of features and creative flexibility to realize your vision.
3. Create or Import Your Artwork:
Start by creating your design from scratch or importing existing artwork into your chosen design software. Whether you’re drawing, painting, or digitally creating your design, ensure that it is high in resolution and suitable for printing.
4. Fine-Tune Your Design:
Adjust the colors, dimensions, and overall composition of your design to achieve the desired look. Pay attention to details and ensure that the design reflects your vision accurately.
5. Add Text and Details:
If your decal design includes text or intricate details, carefully incorporate these elements into the overall design. Consider the font styles, sizes, and placement to enhance the visual impact of your decals.
6. Test Your Design:
Before proceeding to print the decals, conduct a final review of your design. Print a test version on regular paper to ensure that the colors, proportions, and details are exactly as you envision them.
7. Save Your Design Files:
Once satisfied with your decal designs, save the files in a high-resolution format suitable for printing. This step ensures that your designs are ready to be transferred onto the water slide decal paper.
By following these steps, you can immerse yourself in the creative process of designing your custom water slide decals. Take the time to explore different ideas, experiment with colors and details, and bring your unique vision to life through your decal designs.
**
To make water slide decals with an inkjet printer, use special water slide decal paper, print your design onto the paper, seal it with a clear spray, and then apply it to your desired surface with water.
Printing the Decals
**
With your custom designs finalized, it’s time to bring them to life by printing them onto the water slide decal paper. This crucial step requires attention to detail and precision to ensure that your decals are vibrant and true to your original vision. Here’s how to effectively print your custom decals:
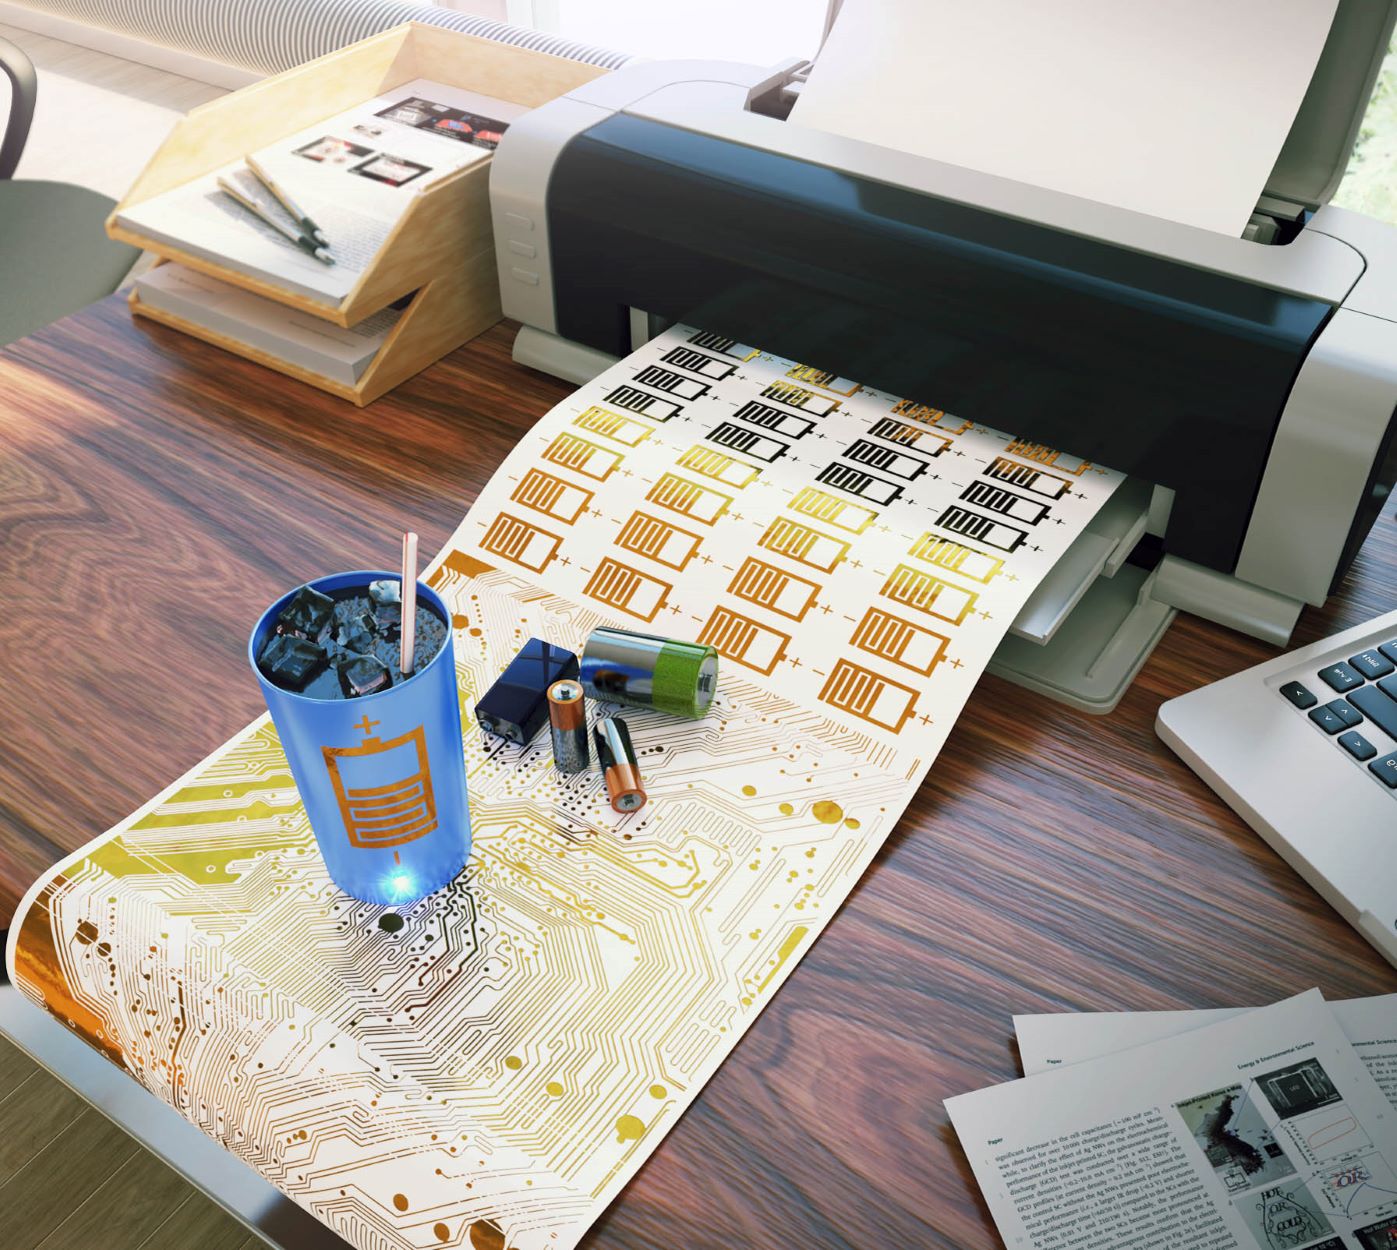
1. Load the Decal Paper:
Ensure that your inkjet printer is loaded with the appropriate water slide decal paper. Follow the manufacturer’s instructions for loading the paper, taking care to position it correctly for optimal printing results.
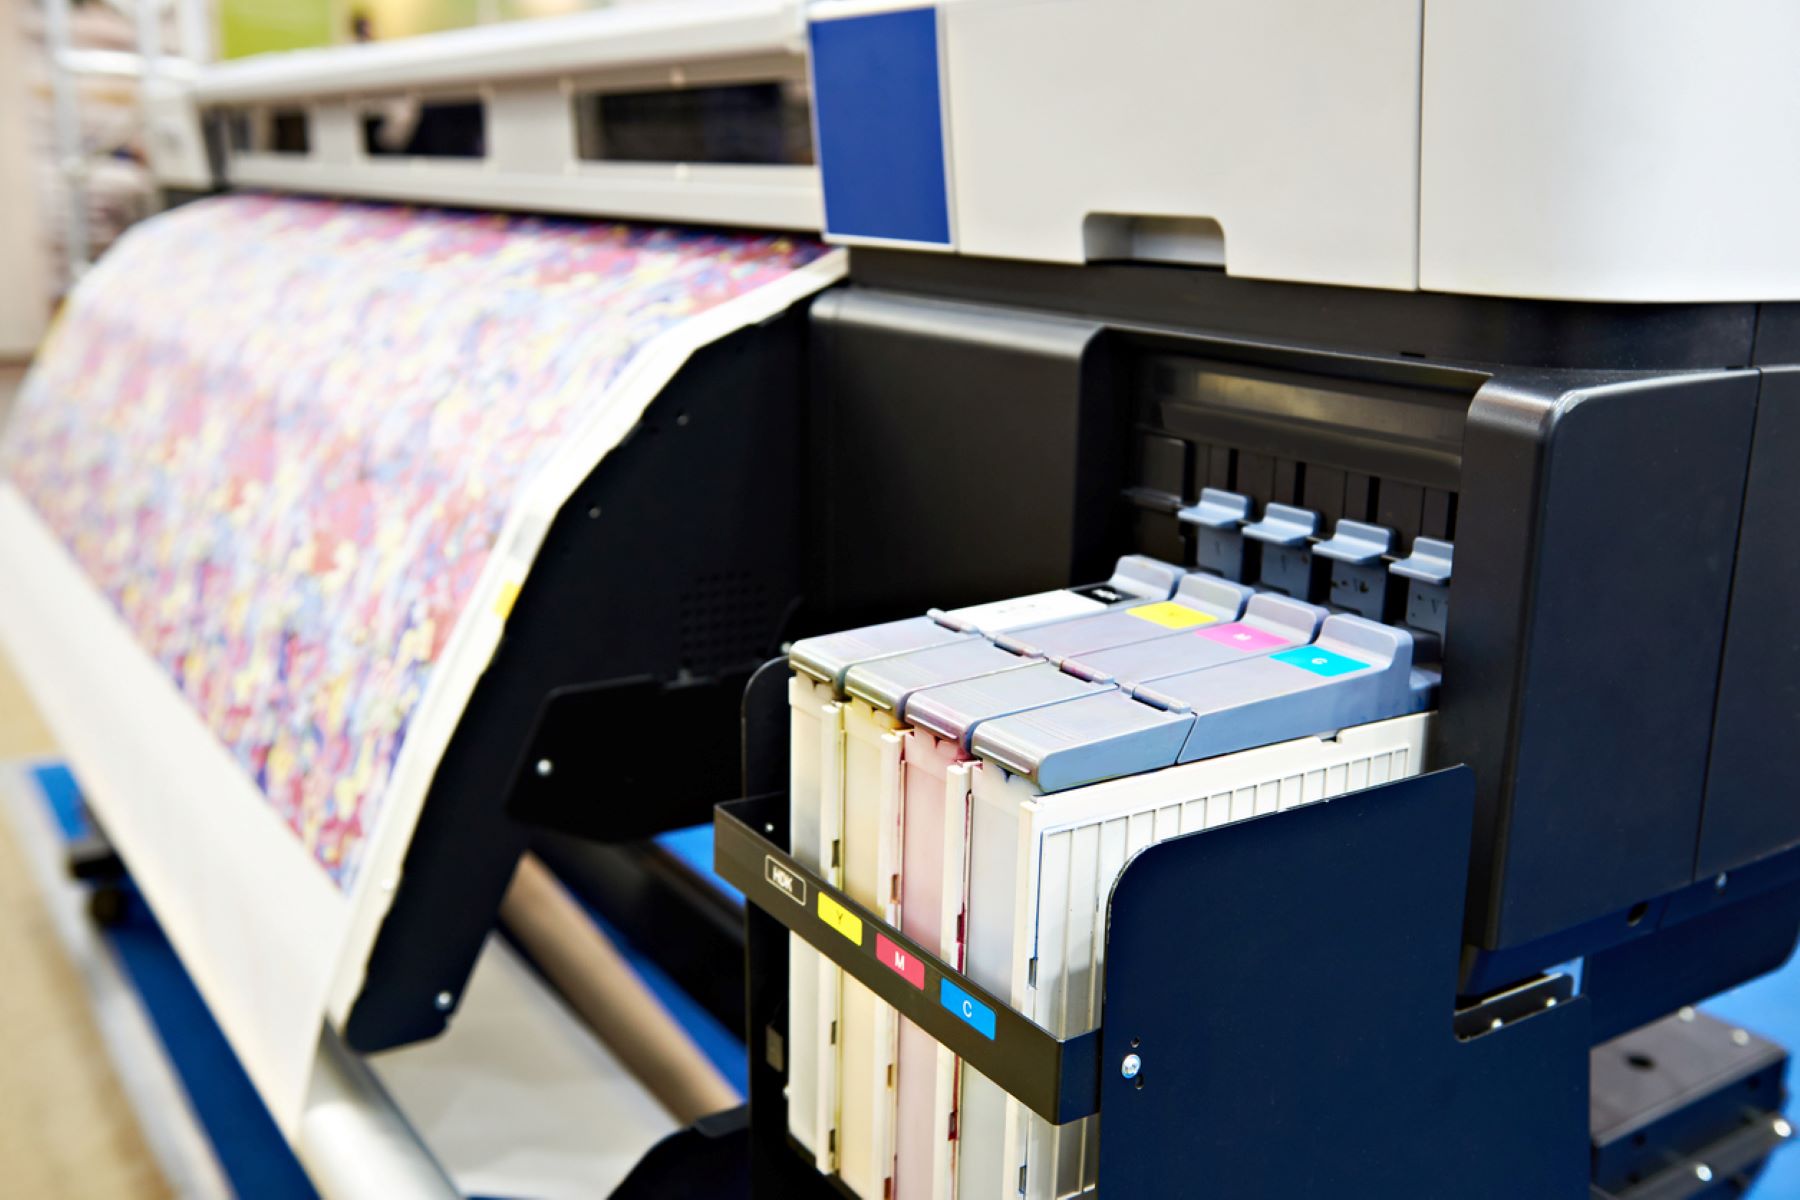
2. Adjust Printer Settings:
Access the printer settings on your computer and select the highest print quality for the best results. Additionally, adjust the paper type settings to match the specifications of the water slide decal paper you are using.
3. Print a Test Sheet:
Before printing on the actual decal paper, consider printing a test sheet on regular paper to ensure that the colors, dimensions, and overall appearance meet your expectations. This step allows you to make any necessary adjustments before proceeding with the final prints.
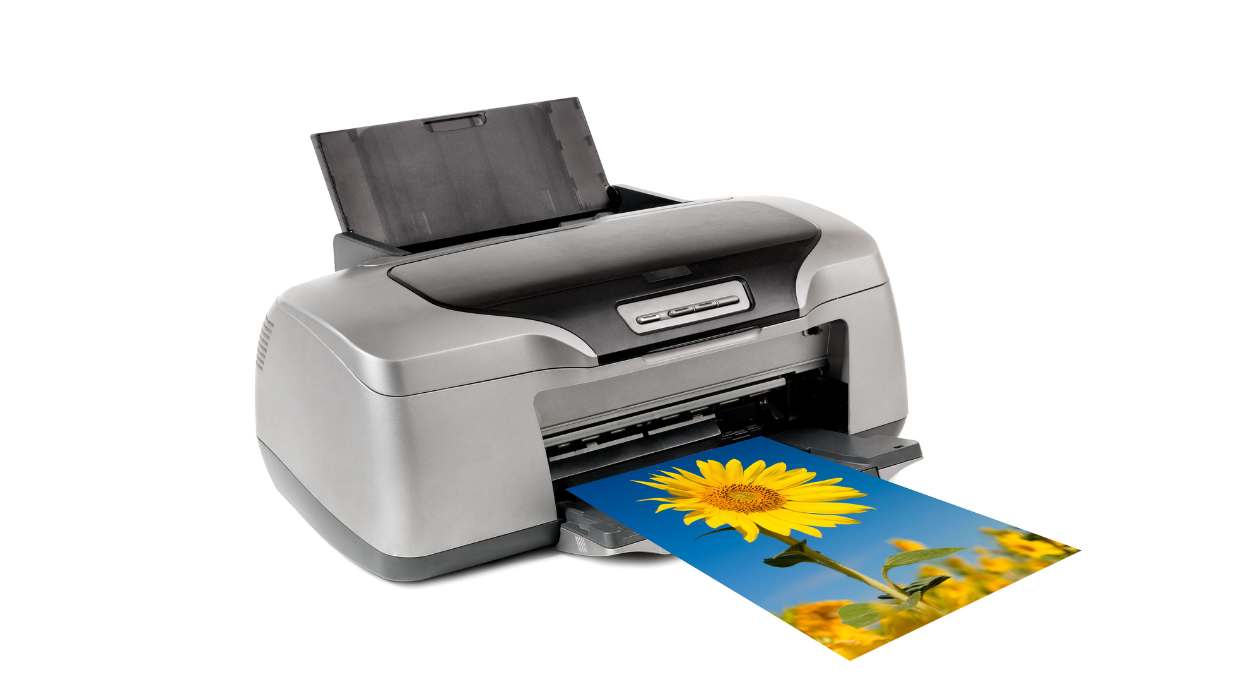
4. Print Your Decals:
Once satisfied with the test print, proceed to print your custom decals onto the water slide decal paper. Keep a close eye on the printing process to ensure that the colors are vibrant and the details are accurately reproduced.
5. Allow the Ink to Dry:
After printing, allow the ink to fully dry before handling the decals. This will prevent smudging and ensure that the designs remain crisp and vibrant throughout the application process.
6. Seal the Decals:
Once the ink is dry, use a clear acrylic spray to seal and protect the printed decals. Apply a light, even coat of the spray and allow it to dry thoroughly before handling the decals.
By following these steps, you can effectively print your custom decals onto the water slide decal paper, ensuring that the designs are vivid and true to your original vision. With precision and attention to detail, you’ll be one step closer to applying your unique decals to your chosen items.
**
Read more: How To Know If Printer Is Inkjet
Applying the Decals
**
As the final step in the water slide decal creation process, applying the decals to your chosen surfaces requires patience and precision to achieve professional-looking results. Whether you’re adorning model airplanes, ceramic mugs, or glassware, the application process is crucial in ensuring that your custom decals adhere seamlessly. Here’s how to effectively apply your water slide decals:
1. Prepare the Decals:
Carefully cut out each printed decal from the water slide decal paper, ensuring that the edges are clean and precise. Place the decals in a sequence that corresponds to your application plan.
2. Soak the Decals:
Fill a bowl with lukewarm water and gently place a decal into the water, ensuring that it becomes fully submerged. Allow the decal to soak for the recommended duration, typically around 30 seconds to 1 minute, or as specified by the manufacturer.
3. Slide the Decal Onto the Surface:
Once the decal has soaked, carefully slide it onto the desired surface. Use a gentle touch to position the decal accurately, ensuring that it adheres smoothly without folding or wrinkling.
4. Remove Excess Water:
Using a soft, lint-free cloth, gently remove any excess water and air bubbles from underneath the decal. Start from the center and carefully work your way outwards to ensure a secure and smooth application.
5. Allow the Decal to Dry:
Once applied, allow the decal to dry completely on the surface. Avoid touching or disturbing the decal during this process to prevent any shifting or damage to the design.
6. Seal the Decal:
After the decal has dried, consider applying an additional layer of clear acrylic spray to seal and protect the decal. This step adds an extra layer of durability and ensures that the design remains vibrant over time.
7. Repeat for Additional Decals:
If applying multiple decals, repeat the soaking, sliding, and drying process for each decal, ensuring that they are positioned and sealed to your satisfaction.
By following these steps, you can effectively apply your custom water slide decals to various surfaces, elevating your items with personalized designs. With attention to detail and a steady hand, you’ll achieve professional-looking results that showcase your creativity and craftsmanship.
**
Conclusion
**
Congratulations on embarking on the creative journey of making water slide decals with an inkjet printer! Through this process, you’ve unlocked the ability to personalize and elevate everyday items, model creations, and craft projects with your unique designs. As you conclude this tutorial, consider the following key takeaways:
Unleash Your Creativity:
The art of water slide decal creation empowers you to unleash your creativity and bring your custom designs to life. Whether it’s a cherished logo, intricate pattern, or personalized artwork, the possibilities are endless when it comes to designing your decals.
Precision and Patience:
From the design phase to the application process, precision and patience are essential in achieving professional-looking results. Take the time to perfect your designs, handle the printing process with care, and apply the decals to your chosen surfaces with precision.
Personalized Touch:
By mastering the art of creating water slide decals, you have the opportunity to add a personalized touch to your belongings. Whether it’s customizing model airplanes, adorning ceramic mugs, or enhancing craft projects, your unique designs will infuse each item with character and individuality.
Quality Materials Matter:
Investing in high-quality water slide decal paper, clear acrylic spray, and utilizing a reliable inkjet printer are crucial in achieving vibrant and durable decals. By prioritizing quality materials, you ensure that your creations stand the test of time.
Endless Possibilities:
As you reflect on this tutorial, remember that the possibilities for using water slide decals are limitless. Whether you’re a hobbyist, a DIY enthusiast, or a professional crafter, the ability to create custom decals opens doors to endless creative opportunities.
As you continue to explore the world of DIY customization and creative expression, may the knowledge and skills gained from this tutorial serve as a springboard for future projects and endeavors. Embrace the art of water slide decal creation with confidence, and let your unique designs leave a lasting impression on the items you cherish.
Now, armed with the knowledge and expertise to create water slide decals, it’s time to unleash your creativity and transform your items with personalized designs. Embrace the art of DIY customization and enjoy the process of bringing your unique vision to life through the magic of water slide decals.
Frequently Asked Questions about How To Make Water Slide Decals With An Inkjet Printer
Was this page helpful?
At Storables.com, we guarantee accurate and reliable information. Our content, validated by Expert Board Contributors, is crafted following stringent Editorial Policies. We're committed to providing you with well-researched, expert-backed insights for all your informational needs.


0 thoughts on “How To Make Water Slide Decals With An Inkjet Printer”