Articles
How To Make Peel And Stick Decals
Modified: December 7, 2023
Learn how to create your own peel and stick decals with our informative articles. Discover step-by-step tutorials and tips for crafting professional-looking decals at home.
(Many of the links in this article redirect to a specific reviewed product. Your purchase of these products through affiliate links helps to generate commission for Storables.com, at no extra cost. Learn more)
Introduction
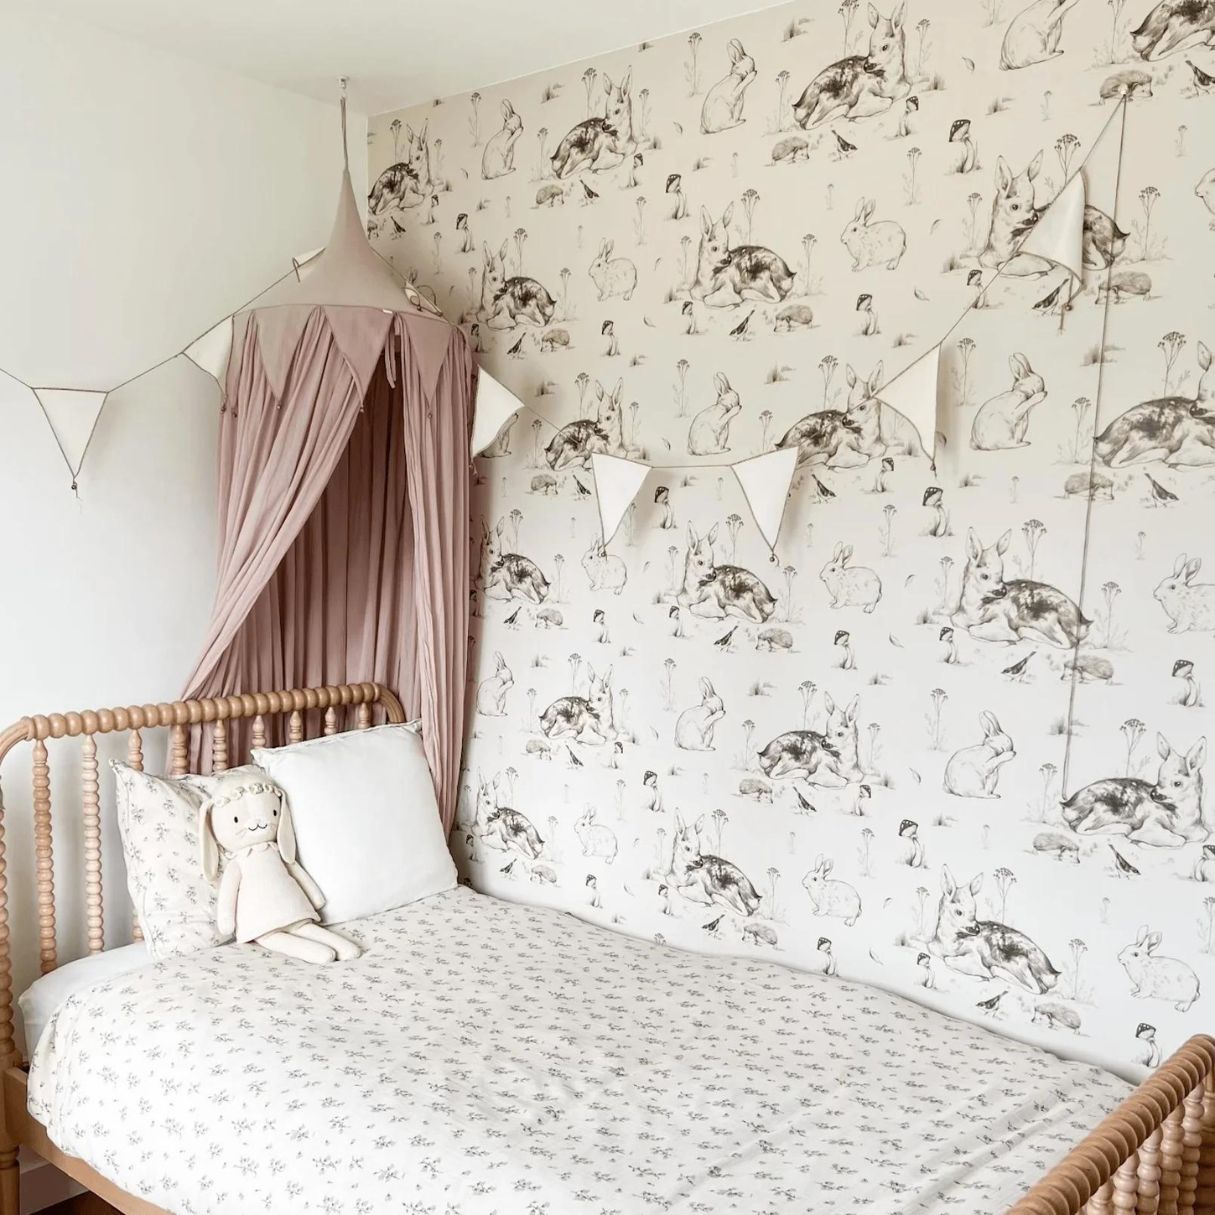
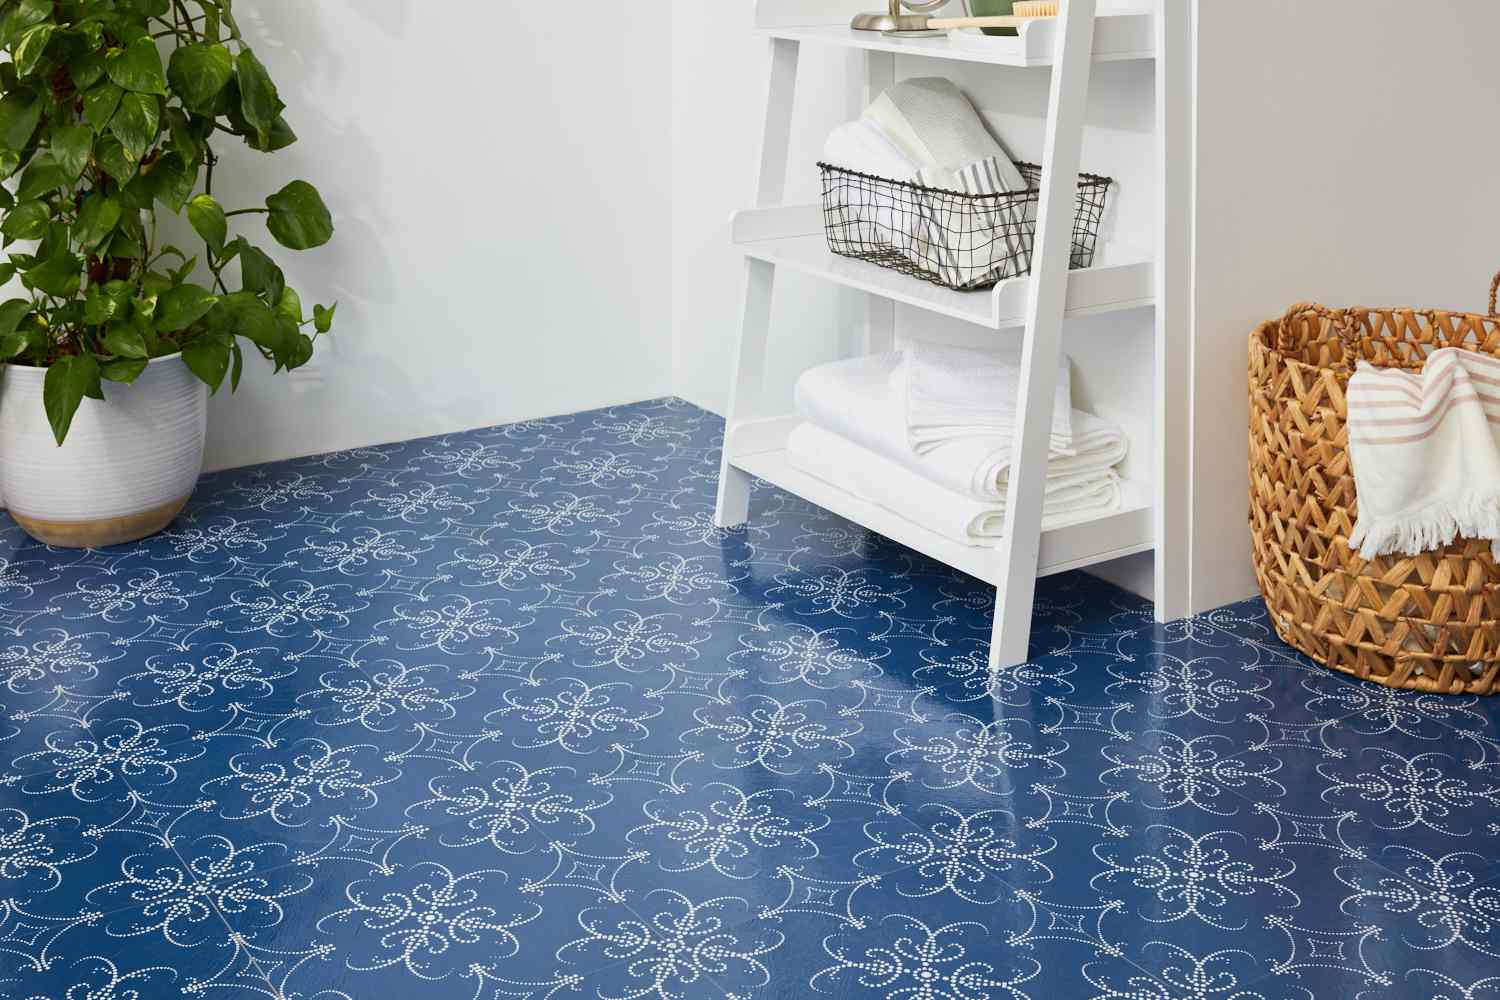
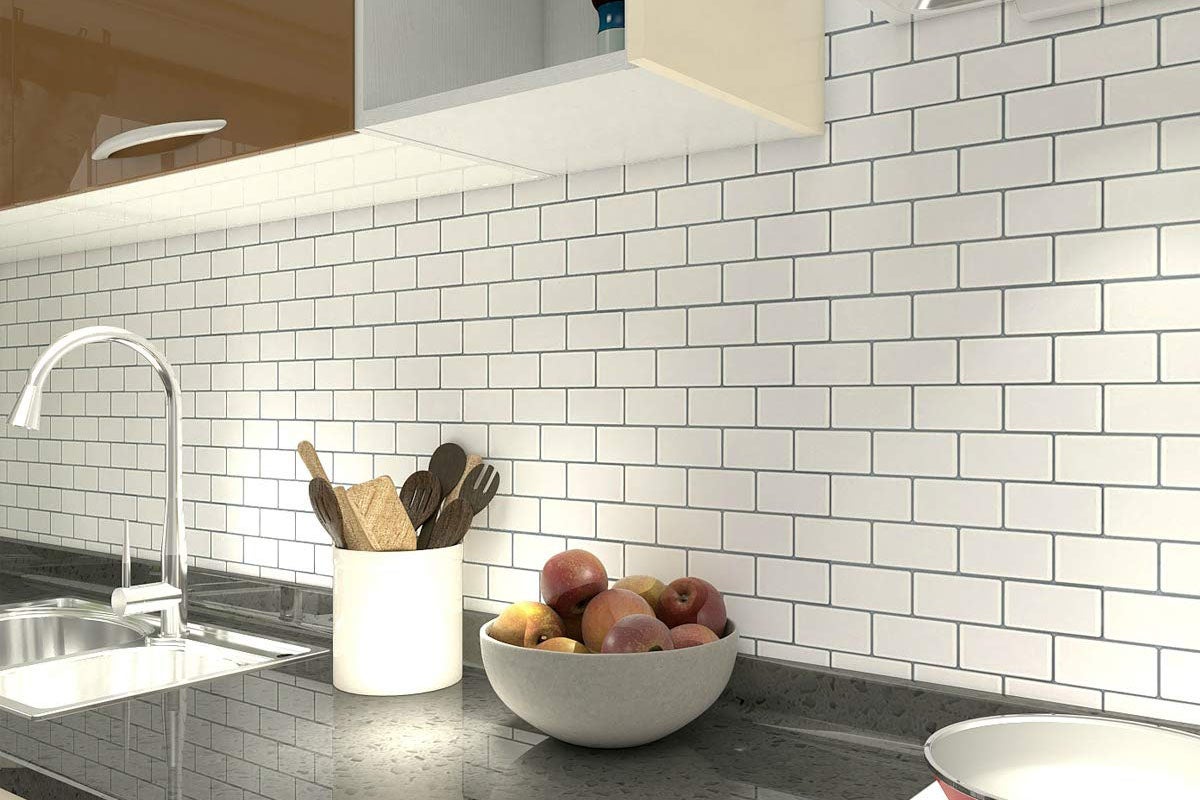
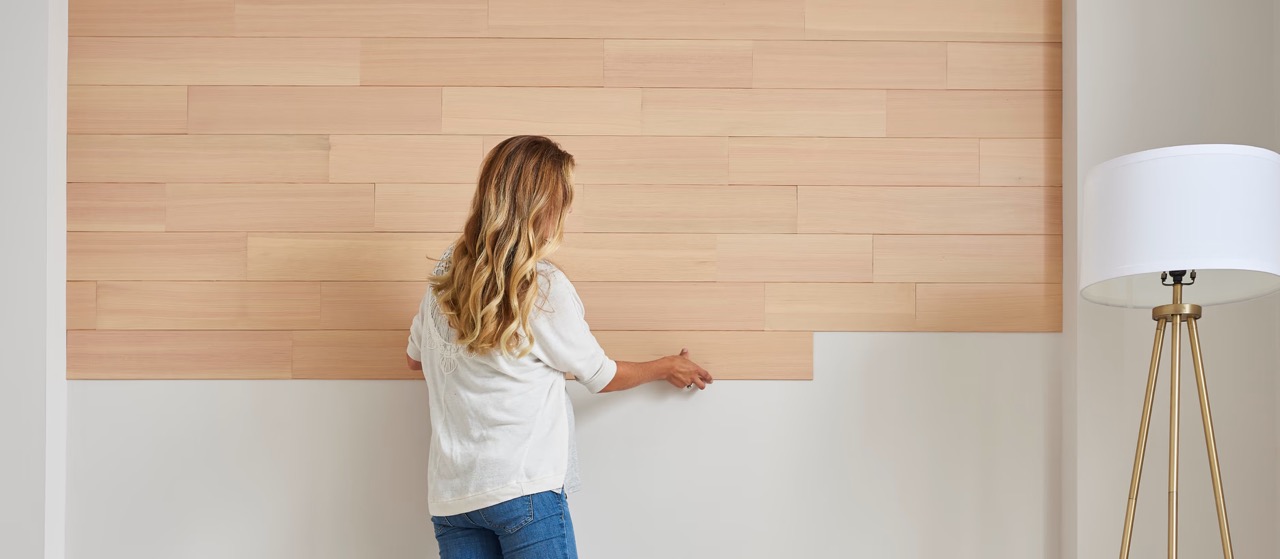
Peel and stick decals are a versatile and easy way to add a touch of style and personality to your space. Whether you want to spruce up your walls, personalize your laptop, or add a decorative element to your furniture, peel and stick decals offer a quick and convenient solution. With their adhesive backing, they can be easily applied and removed without causing any damage.
In this article, we will guide you through the process of using peel and stick decals. We will provide step-by-step instructions and tips to ensure that you achieve the best results. So, let’s gather our materials and get started!
Key Takeaways:
- Transform your space with ease using peel and stick decals. Follow step-by-step instructions for precise application, smooth out air bubbles, and add the finishing touches for a professional look.
- Unleash your creativity and personalize your surroundings with versatile peel and stick decals. From walls to furniture, enjoy a convenient and stylish way to add a personal touch without commitment.
Materials Needed
Before you begin the process of applying peel and stick decals, it’s important to have all the necessary materials on hand. Here’s a list of items you will need:
- Peel and stick decals: You can find a wide variety of decals available online or at your local home decor stores. Choose decals that suit your style and the purpose for which you intend to use them.
- Clean, dry cloth: This will be used to wipe down the surface where you plan to apply the decal. It’s important to ensure that the surface is free of any dust or debris before proceeding.
- Measuring tape or ruler: This tool will come in handy when measuring the dimensions of the decal and determining the proper placement.
- Scissors: You will need scissors to carefully cut the decal according to your desired size and shape.
- Smoothing tool: This can be a credit card, squeegee, or any flat, hard object that will help you remove air bubbles and ensure a smooth application.
- Tape (optional): If you are working with a larger decal, you may find it helpful to use tape to temporarily secure it in position before removing the backing.
Once you have gathered all these materials, you’re ready to move on to the next step: preparing the surface. Let’s get started!
Step 1: Gather Your Supplies
Before you begin the process of applying peel and stick decals, it’s important to gather all the necessary supplies. Having everything at hand will make the process smoother and more efficient. Here’s a checklist of the supplies you will need:
- Peel and stick decals: Choose decals that suit your style and the purpose for which you intend to use them. You can find a wide variety of options online or at home decor stores.
- Clean, dry cloth: This will be used to wipe down the surface where you plan to apply the decal. It’s essential to ensure that the surface is free of any dust or debris before proceeding.
- Measuring tape or ruler: Use this tool to measure the dimensions of the decal and determine the proper placement.
- Scissors: You will need scissors to carefully cut the decal according to your desired size and shape.
- Smoothing tool: A credit card, squeegee, or any flat, hard object can be used to remove air bubbles and ensure a smooth application.
- Tape (optional): If you are working with a larger decal, you may find it helpful to use tape to temporarily secure it in position before removing the backing.
Once you have gathered all these supplies, you’re ready to move on to the next step: preparing the surface. Let’s get started!
Step 2: Prepare the Surface
Preparing the surface is crucial to ensure a successful application of your peel and stick decal. Follow these steps to properly prepare the surface:
- Start by cleaning the surface: Use a clean, dry cloth to wipe down the surface where you plan to apply the decal. Make sure to remove any dust, dirt, or grease that might prevent the decal from adhering properly. If the surface is particularly dirty, you can use a mild soap and water solution to clean it. Just make sure to thoroughly dry the surface before proceeding.
- Check the surface temperature: It’s important to ensure that the surface is neither too cold nor too hot. Extreme temperatures can affect the adhesive properties of the decal and make it difficult to apply. Ideally, the surface temperature should be between 50°F (10°C) and 90°F (32°C).
- Smooth out any imperfections: If the surface has any rough spots or imperfections, such as paint drips or bumps, gently sand them down with fine-grit sandpaper. This will help create a smooth surface for the decal to adhere to.
- Consider the surface material: Different surface materials require different preparation methods. For smooth surfaces like walls, glass, or laptops, you can proceed with applying the decal directly. However, if you’re working with a textured or porous surface, such as brick or fabric, you may need to use additional adhesive or seek specialized decals that are designed for these surfaces.
By properly preparing the surface, you are ensuring that the decal adheres smoothly and stays in place for as long as desired. Now that the surface is ready, let’s move on to the next step: measuring and cutting the decal.
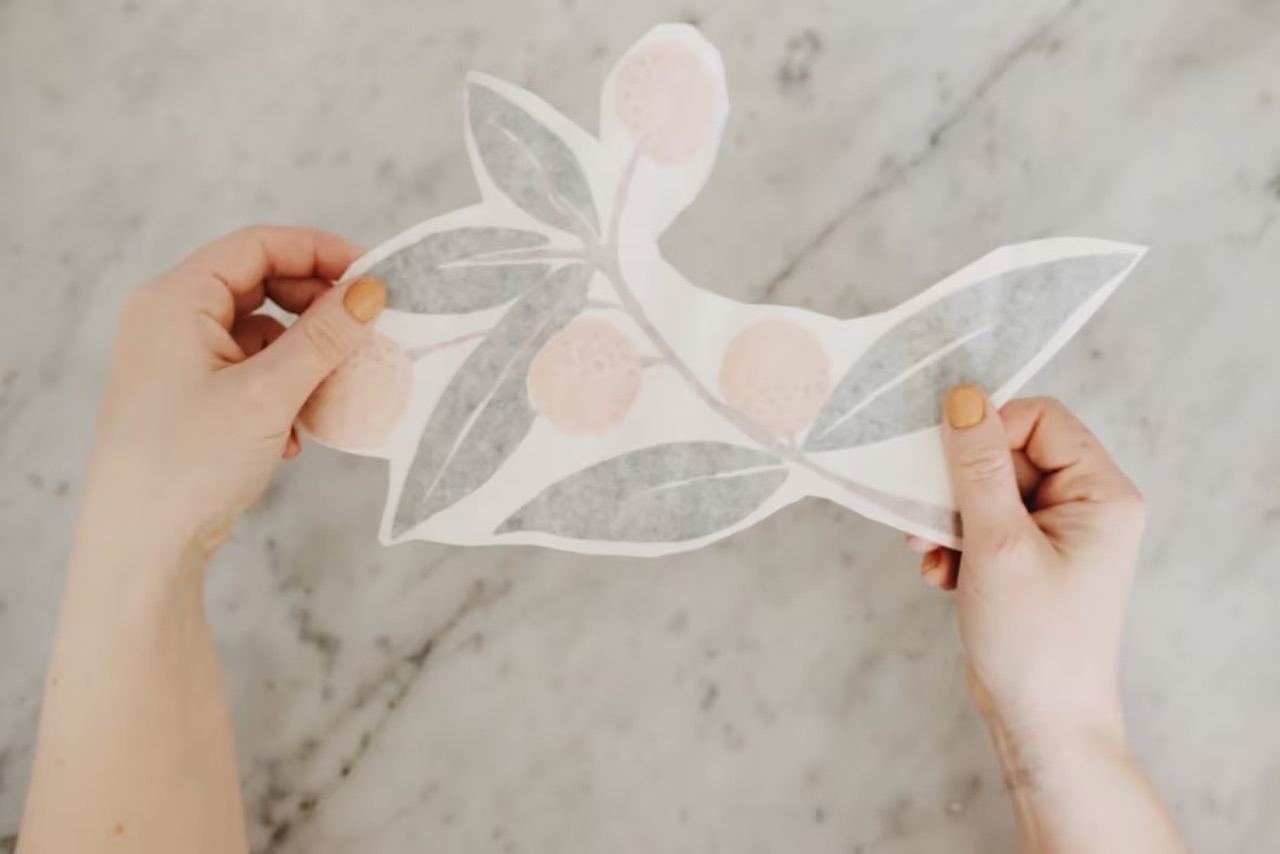
Step 3: Measure and Cut the Decal
Now that you have prepared the surface, it’s time to measure and cut the peel and stick decal to fit your desired area. Follow these steps to ensure a precise and accurate cut:
- Measure the area: Use a measuring tape or ruler to determine the dimensions of the space where you plan to apply the decal. This will help you ensure that the decal fits perfectly and avoids any overlapping or gaps.
- Mark the measurements: Using a pencil, lightly mark the measurements on the backing paper of the decal. This will serve as a guide when cutting the decal.
- Cut the decal: Carefully cut along the marked lines using a pair of scissors. Take your time and make precise cuts to ensure that the decal matches the dimensions of the desired area.
- Trim excess material: If the decal has any excess material that you don’t need, trim it off using scissors. This will help you achieve a clean and seamless application.
Remember to be precise while measuring and cutting the decal to guarantee an accurate fit. Once the decal is cut to size, you’re ready to move on to the next step: positioning the decal on the surface.
Read more: How To Remove Peel And Stick Caulk
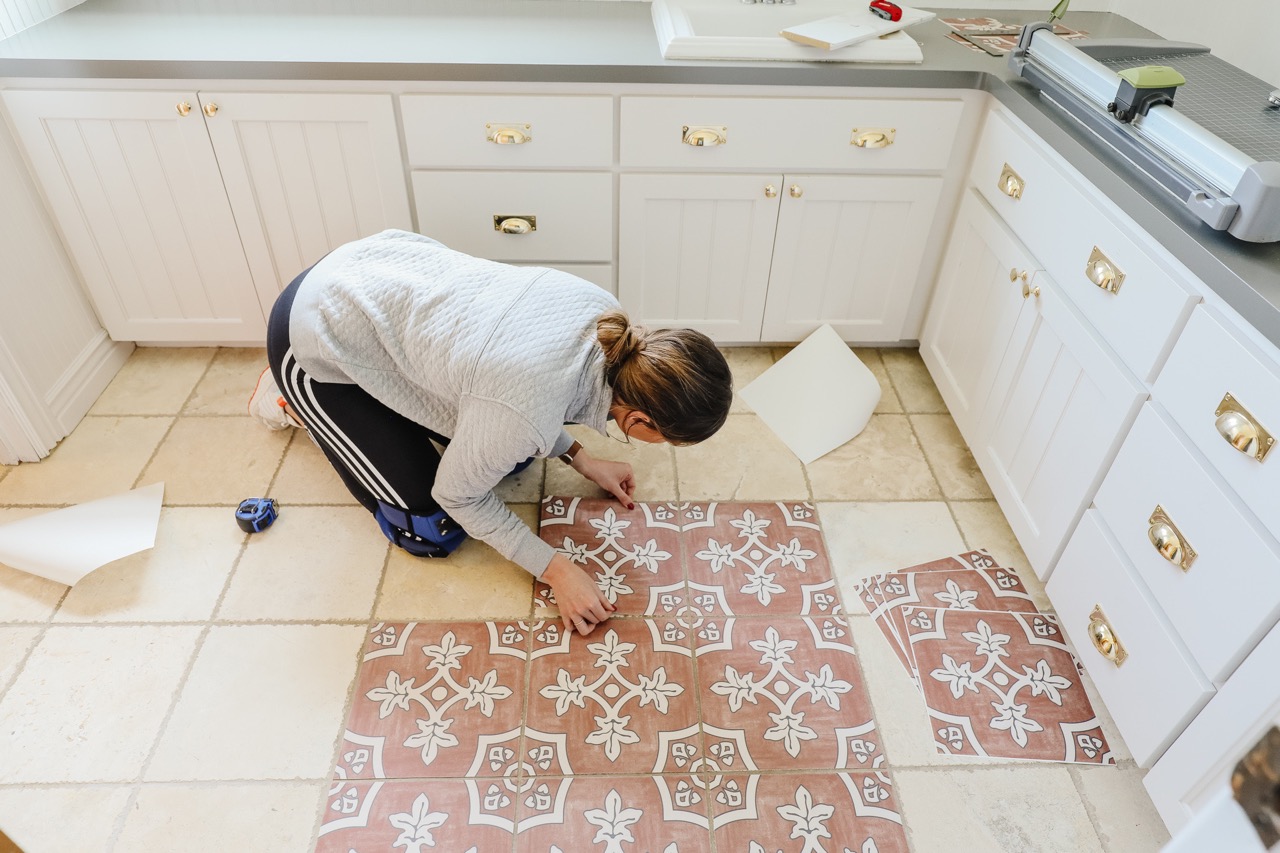
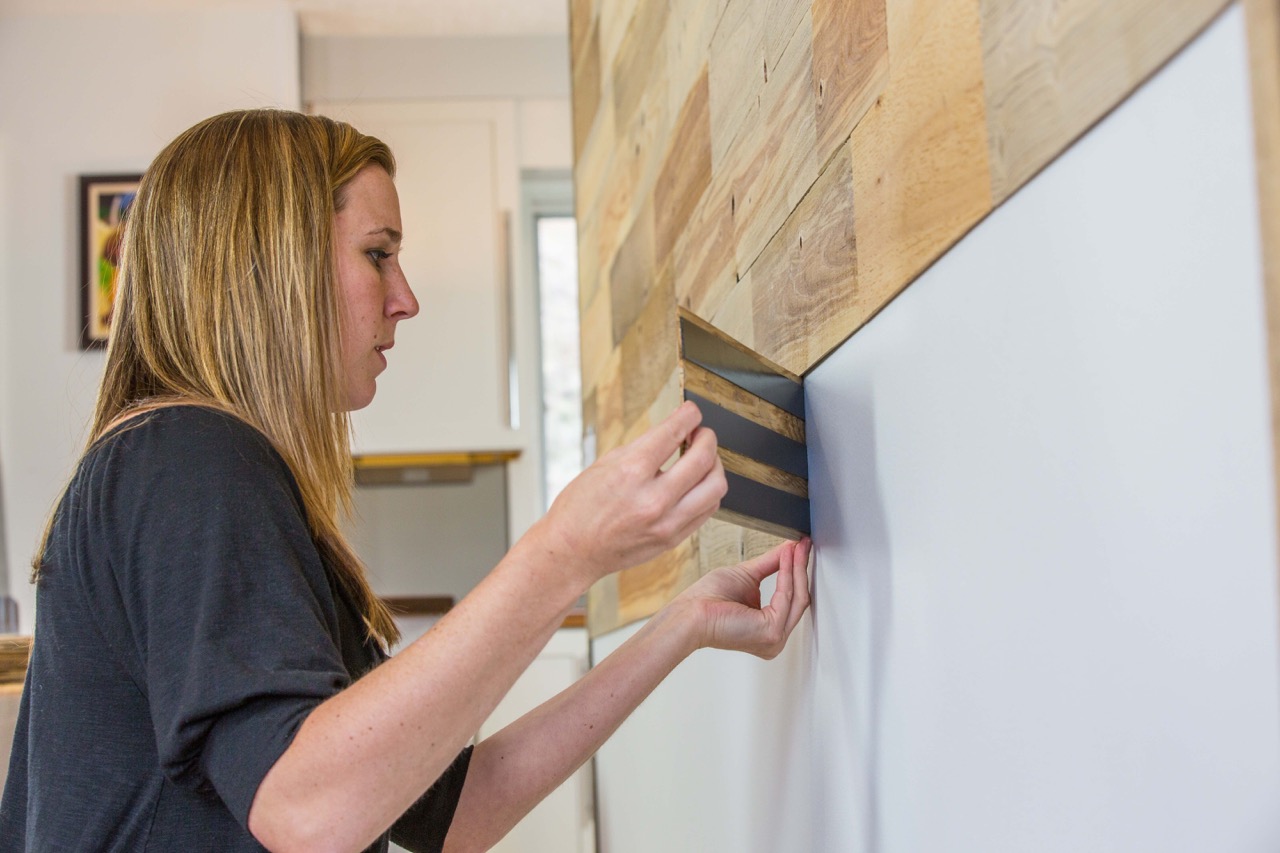
Step 4: Position the Decal
With the decal cut to size, it’s time to position it on the surface. Follow these steps to ensure proper alignment and placement:
- Get a sense of the final placement: Before removing the backing paper, hold the decal up against the surface to get an idea of how it will look once applied. This will help you determine the best position and alignment.
- Use a level or measuring tape (if needed): If you want a perfectly straight or centered decal, you can use a level or measuring tape to ensure accurate placement. This step is particularly important if you’re applying the decal to a wall or a large surface.
- Hold the decal in place (optional): If you find it helpful, you can use tape to temporarily secure the decal in position. This will allow you to step back and assess the placement before committing to the final application.
- Adjust the decal as needed: Carefully move the decal around to find the ideal position. Take your time and make any necessary adjustments to ensure that the decal is placed exactly where you want it.
By taking the time to properly position the decal, you will achieve the desired look and maximize its visual impact. Once you’re satisfied with the decal’s placement, it’s time to move on to the next step: peeling off the backing.
When applying peel and stick decals, make sure to clean the surface thoroughly before sticking to ensure a smooth and long-lasting adhesion.
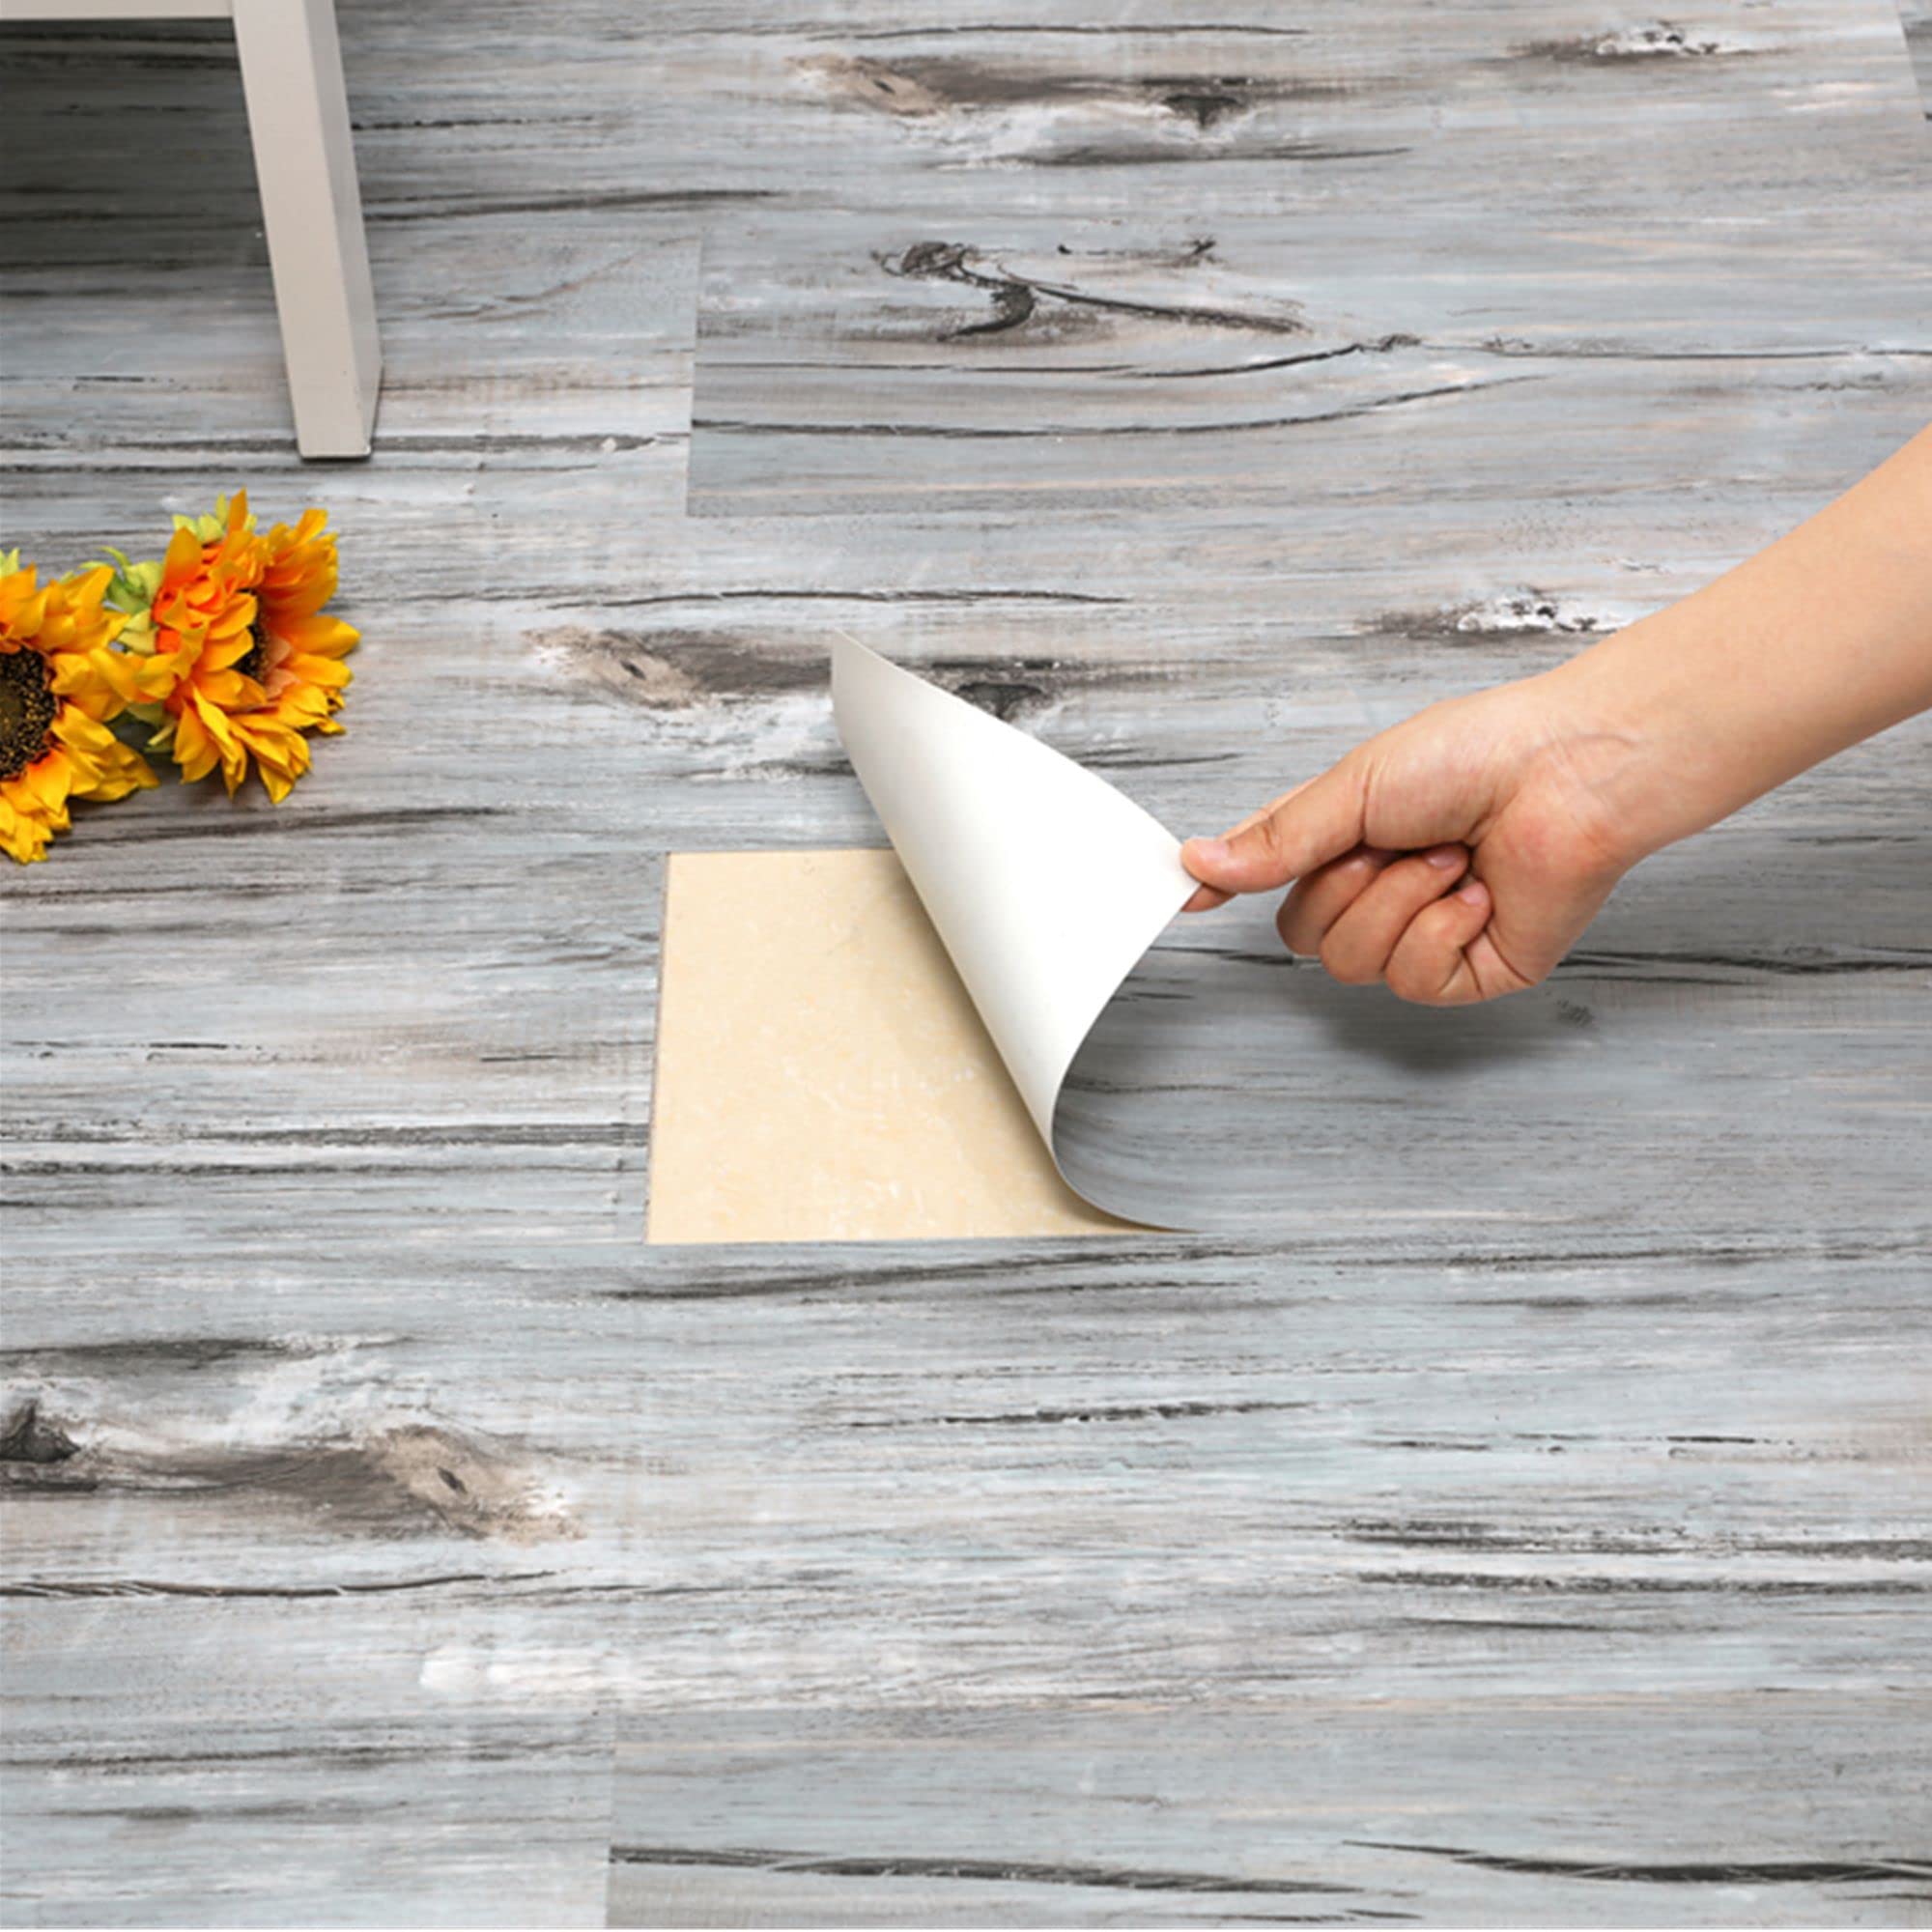
Step 5: Peel Off the Backing
Now that you have positioned the decal, it’s time to remove the backing and reveal the adhesive side. Follow these steps to peel off the backing:
- Starting from one corner, gently lift the edge of the decal’s backing paper. Take care not to touch the adhesive side with your fingers.
- As you lift the backing paper, slowly peel it away from the decal, gradually exposing the adhesive side. Be careful not to rush the process to avoid any accidental sticking or folding of the decal.
- Continue peeling the backing paper off until the entire decal is exposed and ready for application. If you encounter any stubborn areas that cling to the backing paper, use your fingernail or a blunt object to separate them gently.
- While peeling off the backing, avoid letting the exposed adhesive side come into contact with any surfaces or objects that could cause debris to stick to it. Keep the area clean and dust-free.
Peeling off the backing can be a delicate process, so take your time and exercise patience to ensure a smooth application. Once the backing is removed, you’re ready to move on to the next step: smoothing out air bubbles.
Step 6: Smooth out Air Bubbles
After applying the decal to the surface, you may notice the presence of air bubbles trapped underneath. Follow these steps to smooth out the air bubbles and ensure a flawless finish:
- Start from the center: Begin by gently pressing down on the center of the decal and work your way outwards. This will help push out any trapped air and create a smooth surface.
- Use a smoothing tool: Utilize a credit card, squeegee, or any flat, hard object to smooth out the decal and eliminate air bubbles. Start at the center and push the tool in a sweeping motion towards the edges.
- Apply even pressure: Apply consistent and even pressure as you smooth out the decal to ensure optimal adhesion and bubble elimination. Take your time and work methodically to achieve the best results.
- Gently lift and reapply if needed: If you encounter a stubborn air bubble or notice a misalignment, carefully lift the decal using a corner or an edge. Reapply it and continue smoothing from the center outwards.
- Smooth out any wrinkles or creases: If you notice any wrinkles or creases, gently lift and reposition the decal to smooth them out. Work slowly and make necessary adjustments to achieve a wrinkle-free surface.
By taking the time to smooth out air bubbles, you will ensure a professional-looking finish for your peel and stick decal. Once you have eliminated all the air bubbles, you can move on to the next step: repeating the process for additional decals (if applicable).
Step 7: Repeat for Additional Decals
If you have multiple peel and stick decals that you want to apply, follow these steps to repeat the process:
- Clean the surface: Before applying another decal, make sure to clean the surface again using a clean, dry cloth. This will ensure proper adhesion and a clean appearance.
- Measure and cut the decal: Just like in Step 3, measure and cut the additional decal to fit your desired area. Use a measuring tape or ruler to ensure accurate dimensions.
- Position the decal: Follow the instructions in Step 4 to position the decal on the surface. Consider the desired alignment with any existing decals or the overall design of the space.
- Peel off the backing: Proceed to peel off the backing as explained in Step 5, exposing the adhesive side of the decal.
- Smooth out air bubbles: Smooth out any air bubbles using the techniques described in Step 6. Apply even pressure and use a smoothing tool to create a seamless finish.
- Repeat as necessary: Repeat the above steps for each additional decal you wish to apply. Take your time and ensure that each decal is positioned and applied correctly.
By following these steps, you can easily apply multiple decals and create a cohesive and visually appealing design. Once you have successfully applied all the decals, you’re ready to move on to the final step: adding the finishing touches.
Read more: What Is Peel And Stick Tile
Step 8: Final Touches
With the peel and stick decals applied, it’s time to add the final touches to ensure a polished and professional look. Follow these steps to complete the process:
- Inspect the decals: Take a step back and carefully inspect each decal to ensure that it is securely adhered to the surface and free of any air bubbles or imperfections. If you notice any issues, gently lift and reposition the decal or smooth out any problem areas.
- Trim any excess material: If there are any parts of the decal that extend beyond the desired area, use a sharp pair of scissors to trim off the excess. This will give the decal a clean and finished appearance.
- Press down the edges: Go around the edges of each decal and firmly press them down with your fingers or the smoothing tool. This will ensure that the edges are securely adhered to the surface and minimize the risk of peeling or lifting.
- Allow time to set: Depending on the specific adhesive used on the decals, it may require some time to fully set and adhere to the surface. Follow the manufacturer’s instructions regarding drying or setting time to achieve the best results.
- Avoid contact with water: If the decals are applied to surfaces that may come into contact with water, such as bathroom tiles or kitchen backsplashes, it’s important to avoid exposing them to excessive moisture. Be cautious when cleaning the area around the decals to prevent water damage.
- Enjoy and showcase your decals: Now that the decals are securely applied and the final touches are complete, take a moment to admire your work. Step back and enjoy the transformation the decals have brought to your space. Showcase your decals proudly and share your creativity with others!
By following these final touches, you can ensure that your peel and stick decals look seamless and last for a long time. Now, sit back, relax, and enjoy the beauty and personalization that the decals have brought to your surroundings.
Conclusion
Congratulations! You have successfully learned how to apply peel and stick decals to enhance the beauty and personalization of your space. By following the step-by-step instructions and utilizing the right materials, you can achieve a professional-looking finish with ease.
Remember, the key to a successful application is proper preparation, precise measurements, and careful placement. Take your time to clean the surface, measure and cut the decal, and position it correctly. Smooth out any air bubbles and add the final touches to ensure a flawless result.
Peel and stick decals offer a versatile and convenient way to transform your walls, furniture, and other surfaces. They are an excellent option for those who want to change up their decor or add personalized touches without the commitment of permanent changes. With a wide variety of options available, you can find decals that suit your style and reflect your personality.
Remember to follow the manufacturer’s instructions for your specific peel and stick decal, as different types may have slightly different application processes. Additionally, if you are working with textured or porous surfaces, make sure to choose decals that are specifically designed for those types of surfaces or use additional adhesive if needed.
Now it’s time to unleash your creativity and explore the possibilities with peel and stick decals. Whether you want to add a splash of color to your walls, customize your electronic devices, or bring new life to your furniture, peel and stick decals offer a simple and stylish solution.
So, gather your supplies, prepare your surfaces, and confidently apply your peel and stick decals. Enjoy the transformation and make your space uniquely yours!
Frequently Asked Questions about How To Make Peel And Stick Decals
Was this page helpful?
At Storables.com, we guarantee accurate and reliable information. Our content, validated by Expert Board Contributors, is crafted following stringent Editorial Policies. We're committed to providing you with well-researched, expert-backed insights for all your informational needs.


0 thoughts on “How To Make Peel And Stick Decals”