Home>Technology>Smart Home Devices>How To Connect Verizon Wi-Fi Router
Smart Home Devices
How To Connect Verizon Wi-Fi Router
Modified: October 20, 2024
Learn how to connect your Verizon Wi-Fi router to your smart home devices for seamless connectivity and control. Get step-by-step instructions and troubleshooting tips.
(Many of the links in this article redirect to a specific reviewed product. Your purchase of these products through affiliate links helps to generate commission for Storables.com, at no extra cost. Learn more)
Introduction
In today's interconnected world, a reliable Wi-Fi connection is essential for both work and leisure. Whether you're setting up a new Verizon Wi-Fi router or replacing an old one, ensuring a seamless and secure connection is crucial. With the right guidance, the process of connecting your Verizon Wi-Fi router can be straightforward and stress-free.
In this comprehensive guide, we'll walk you through the step-by-step process of connecting your Verizon Wi-Fi router. From gathering the necessary equipment to configuring the Wi-Fi settings, you'll gain valuable insights to streamline the setup process. By the end of this tutorial, you'll be equipped with the knowledge and confidence to enjoy a robust Wi-Fi network in your home or office.
So, let's dive in and embark on this journey to connect your Verizon Wi-Fi router, empowering you to stay connected with ease and efficiency.
Key Takeaways:
- Connecting your Verizon Wi-Fi router is as easy as gathering the necessary equipment, connecting the router to the modem, powering it on, accessing the settings, configuring Wi-Fi, and connecting your devices for seamless internet access.
- Once your Verizon Wi-Fi router is set up, remember to prioritize network security, stay updated on router technology, and explore advanced features to enhance your Wi-Fi experience and seamlessly integrate smart home devices.
Read more: How To Reset Verizon Wi-Fi Router
Step 1: Gather Necessary Equipment
Before embarking on the process of connecting your Verizon Wi-Fi router, it’s essential to gather the necessary equipment. This ensures that you have everything at hand to facilitate a smooth setup process. Here’s a list of the essential equipment you’ll need:
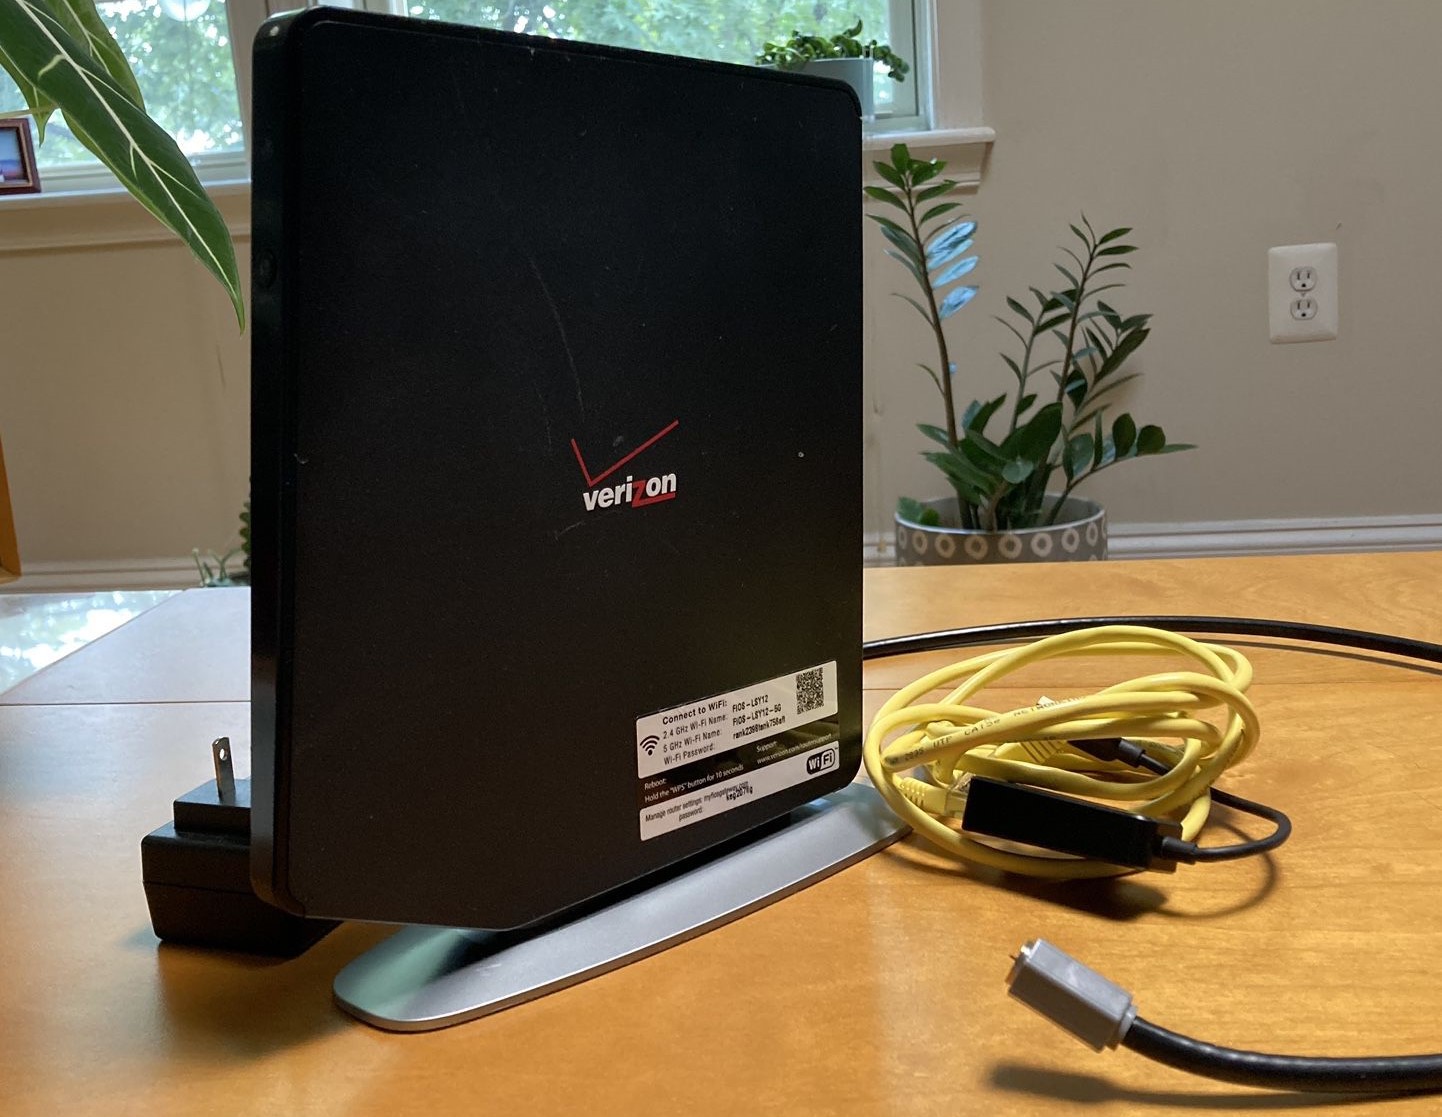
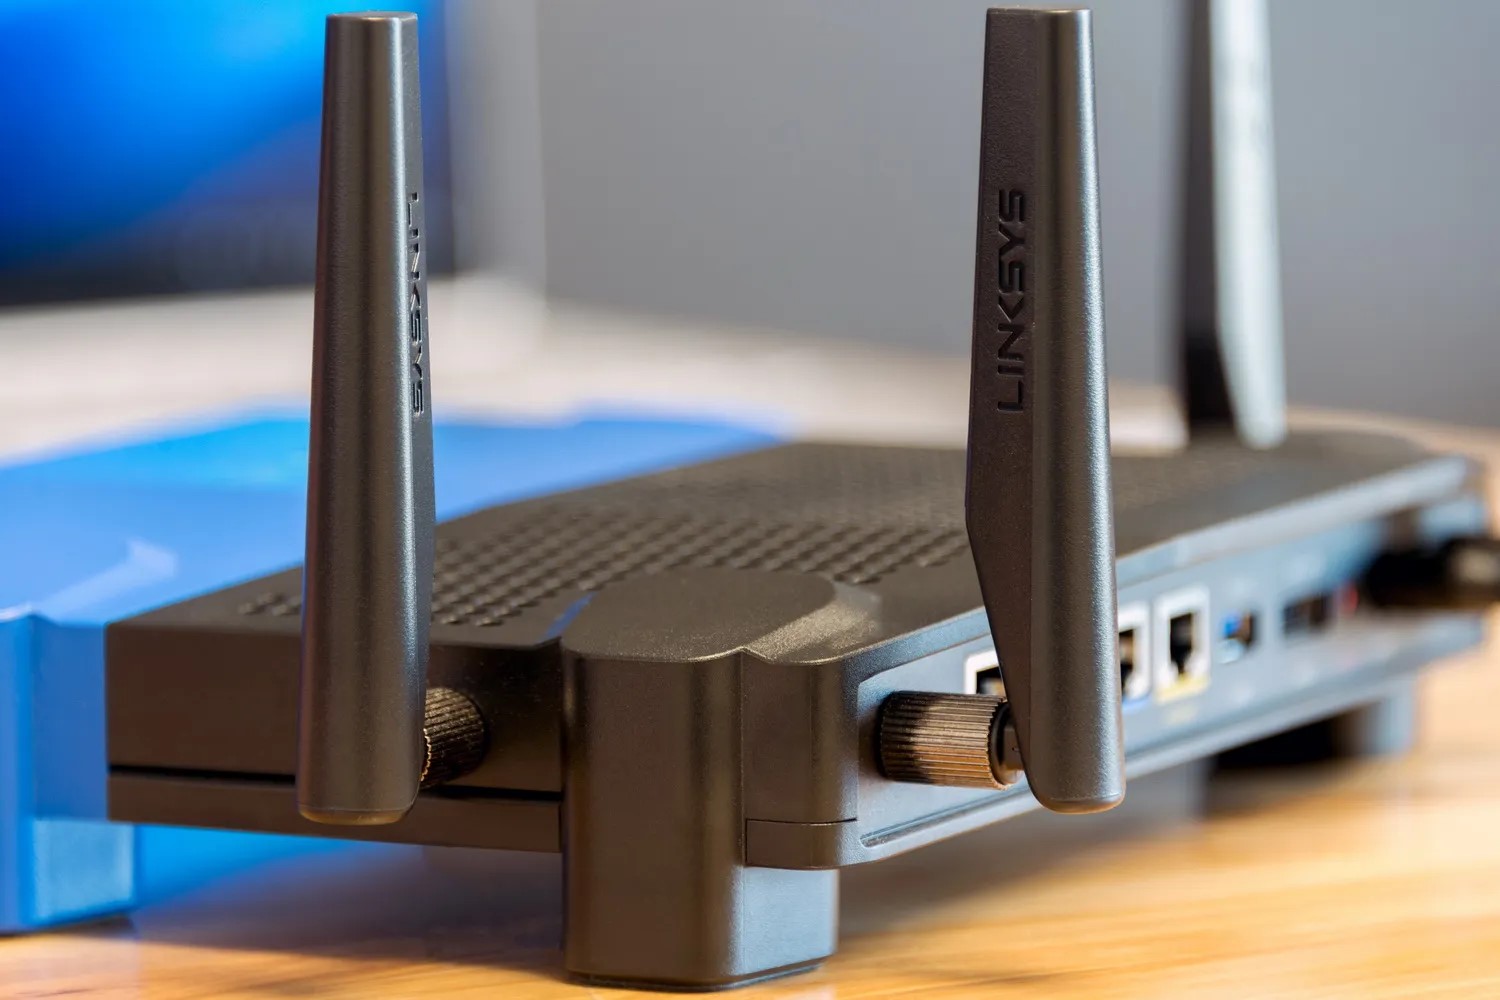
- Verizon Wi-Fi Router: The central component of your Wi-Fi network, the router serves as the gateway to connect your devices to the internet.
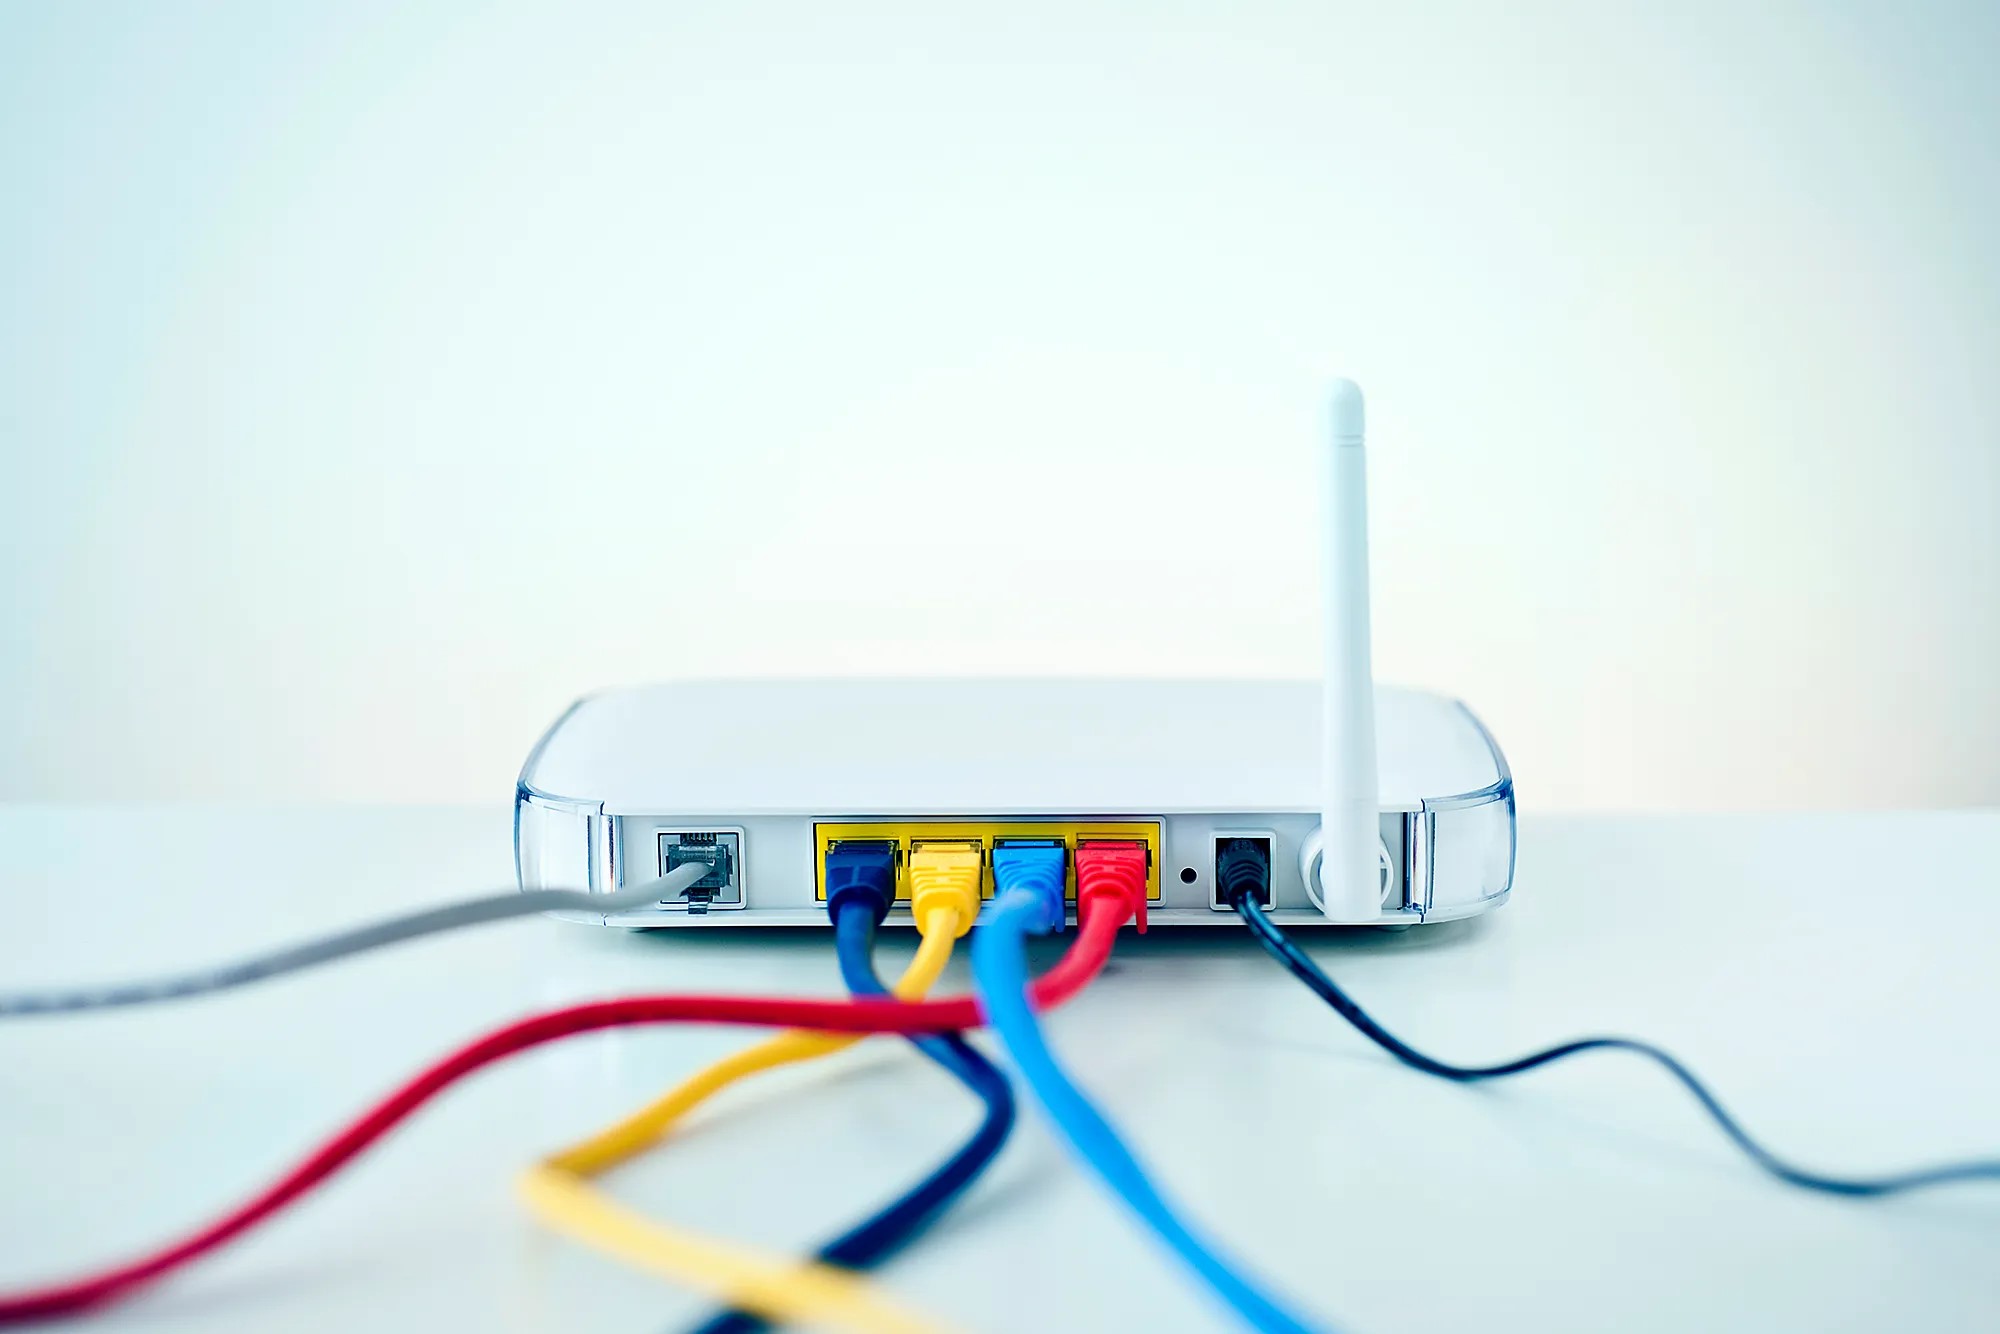
- Modem: The modem acts as the bridge between your internet service provider and your router, enabling the transmission of data signals.
- Ethernet Cable: A high-quality Ethernet cable is required to establish a physical connection between the modem and the router during the setup process.
- Power Adapter: Ensure that you have the power adapter that corresponds to your Verizon Wi-Fi router to provide it with the necessary electrical power.
- Device for Configuration: You’ll need a computer, laptop, tablet, or smartphone to access the router’s settings and configure the Wi-Fi network.
By ensuring that you have these essential components at hand, you’ll be well-prepared to proceed with the setup process without any interruptions. With the equipment in place, you’re ready to move on to the next step of connecting your Verizon Wi-Fi router.
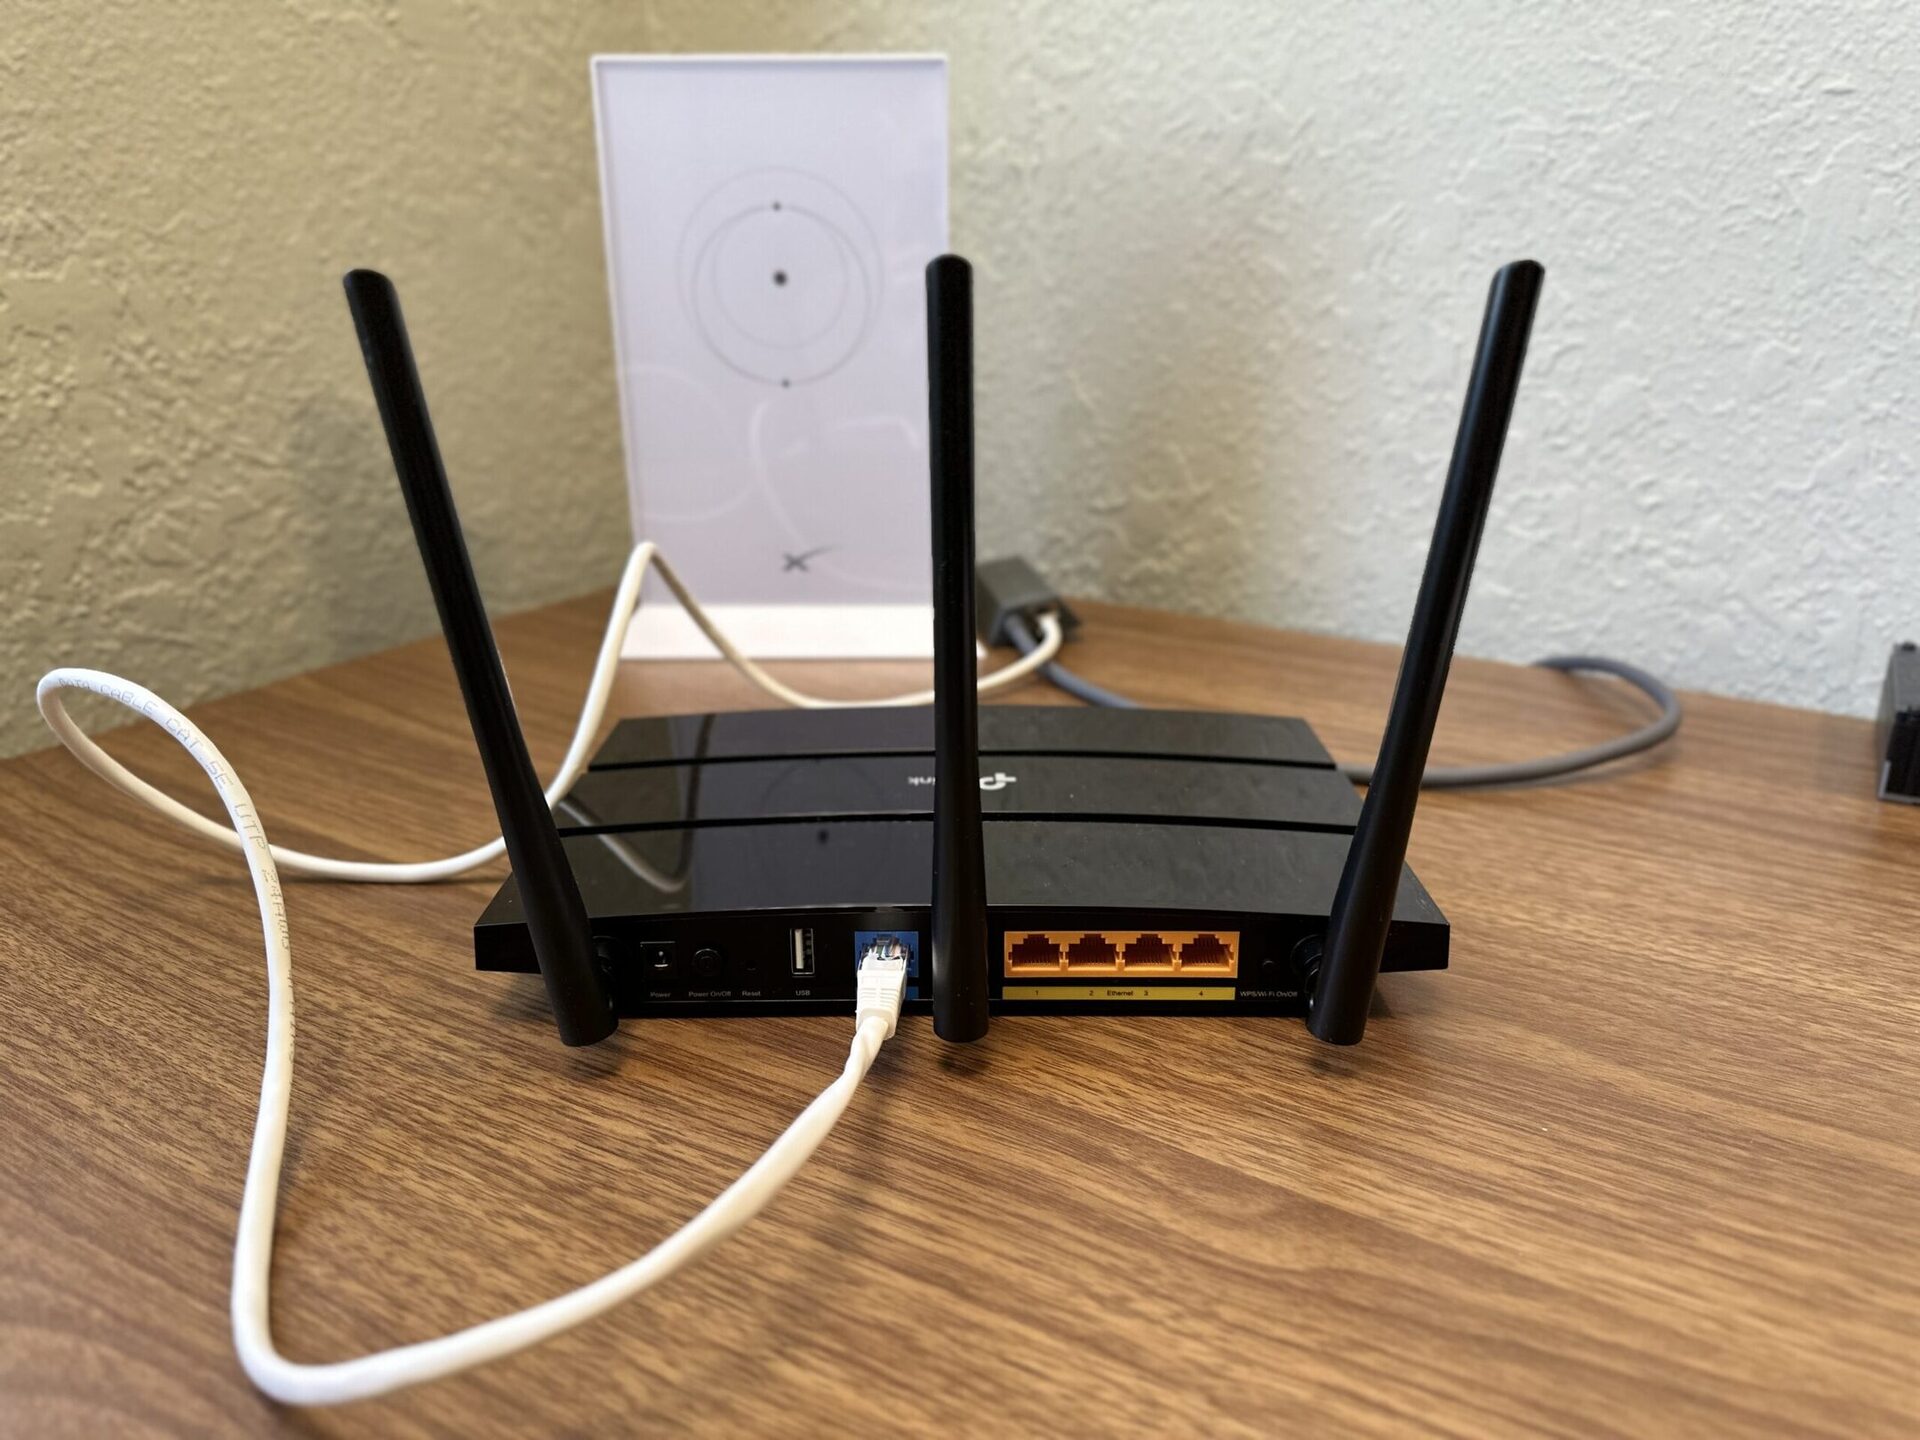
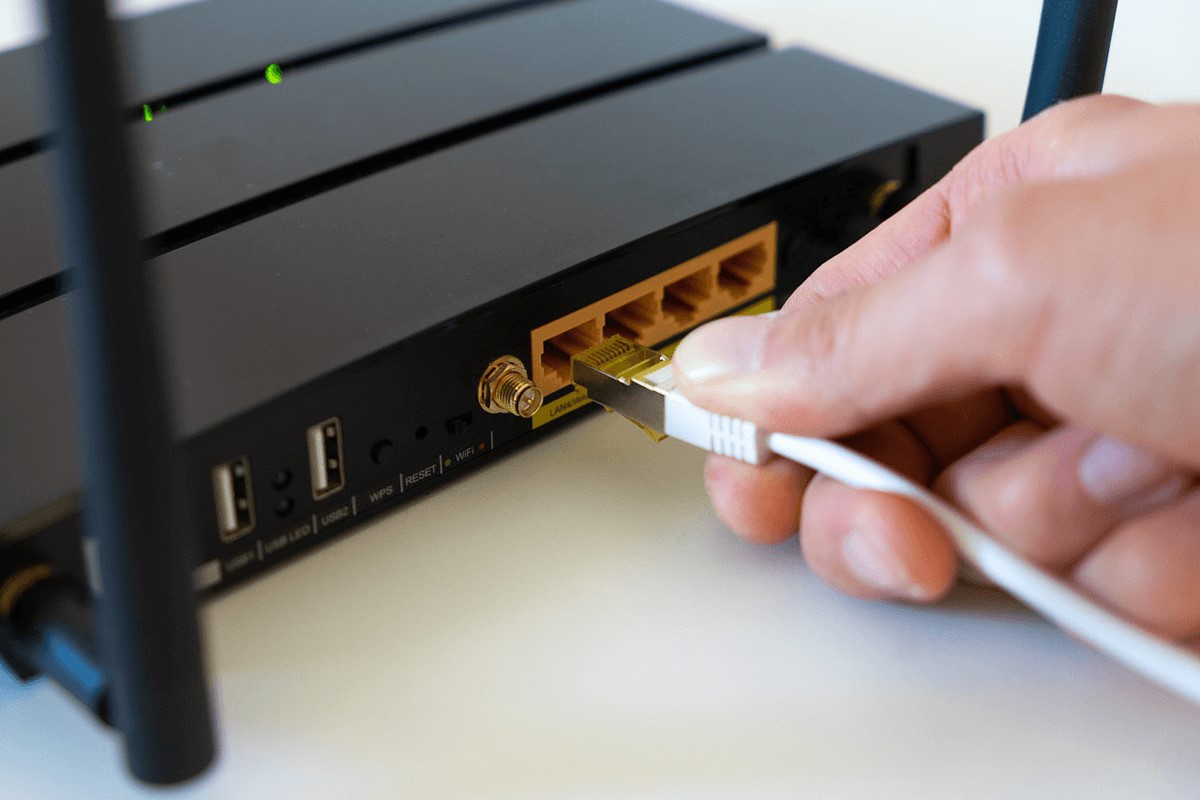
Step 2: Connect the Router to the Modem
Once you’ve gathered the necessary equipment, the next pivotal step in setting up your Verizon Wi-Fi router is to establish a connection between the router and the modem. This connection serves as the foundation for transmitting internet signals and enabling wireless connectivity. Follow these steps to seamlessly connect the router to the modem:
- Power Off: Before making any connections, ensure that both the router and modem are powered off to avoid any electrical mishaps.
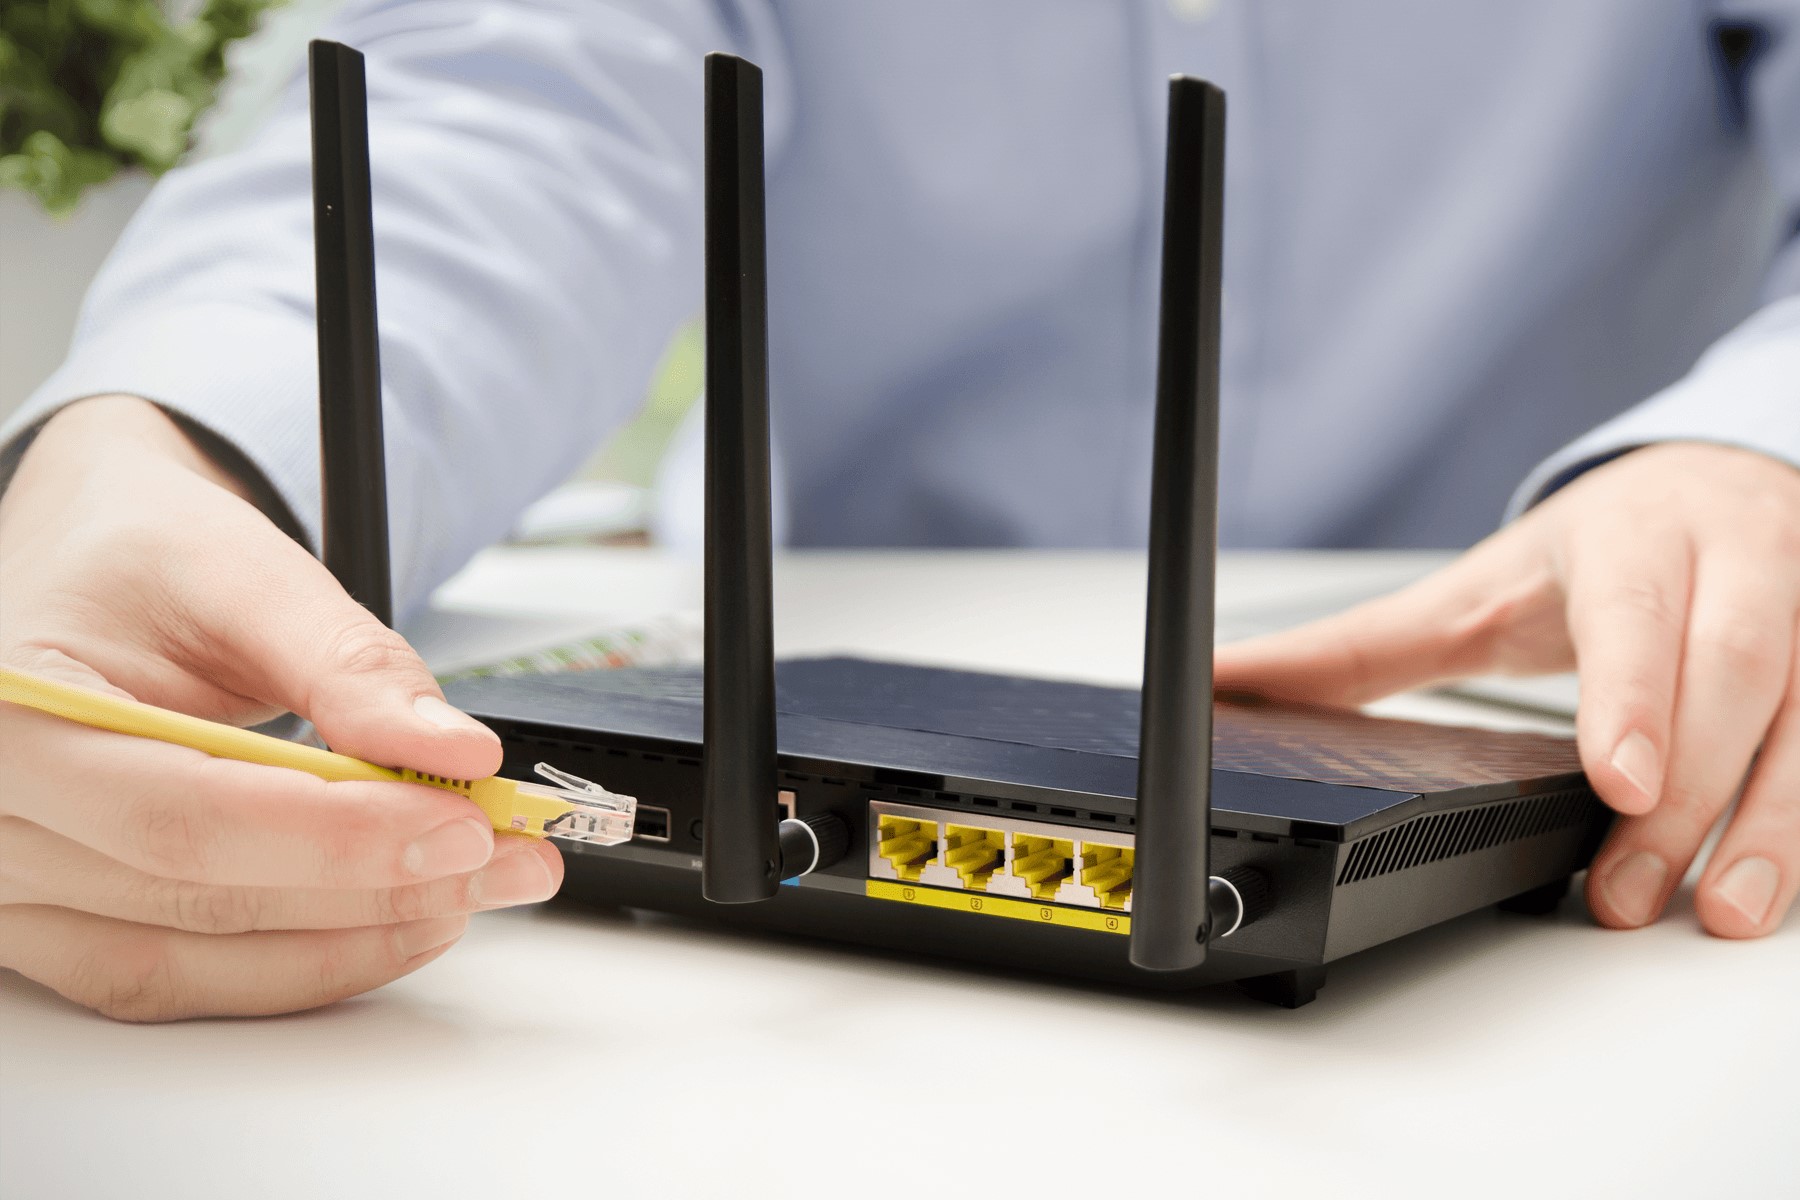
- Locate the Ethernet Port: Identify the Ethernet port on the modem, typically labeled as “Ethernet,” “LAN,” or “Internet.” This is where you’ll connect one end of the Ethernet cable.
- Connect the Ethernet Cable: Take one end of the Ethernet cable and securely insert it into the Ethernet port on the modem. Ensure a snug fit to facilitate reliable data transmission.
- Router Connection: Locate the corresponding Ethernet port on the Verizon Wi-Fi router, often labeled as “WAN,” “Internet,” or “Ethernet.” Connect the other end of the Ethernet cable to this port, establishing a direct link between the router and the modem.
- Power On: Once the connections are in place, power on the modem followed by the Verizon Wi-Fi router. Allow a few minutes for the devices to initialize and establish a connection.
By following these steps, you’ll successfully connect your Verizon Wi-Fi router to the modem, laying the groundwork for a robust and efficient Wi-Fi network. With this crucial connection established, you’re now ready to power on the router and proceed to the next steps of the setup process.
Step 3: Power On the Router
With the router and modem successfully connected, the next step in setting up your Verizon Wi-Fi router is to power it on. This simple yet essential step initiates the router’s functionality and prepares it to transmit Wi-Fi signals to your connected devices. Follow these straightforward guidelines to power on your Verizon Wi-Fi router:
- Locate the Power Port: Identify the power port on the back of your Verizon Wi-Fi router. It is usually located near the Ethernet ports and is designed to accommodate the power adapter.
- Connect the Power Adapter: Take the power adapter that corresponds to your Verizon Wi-Fi router and securely plug it into the power port. Ensure a firm connection to guarantee uninterrupted power supply to the router.
- Power Source: Once the power adapter is connected to the router, plug the adapter into a power outlet or surge protector. Ensure that the power source is stable and reliable to support the continuous operation of the router.
- Power On: After securely connecting the power adapter, switch on the power outlet or surge protector to provide electrical power to the Verizon Wi-Fi router. Upon powering on, the router will initiate its startup sequence, and the indicator lights will illuminate to signify its operational status.
By following these steps, you’ll effectively power on your Verizon Wi-Fi router, setting the stage for the subsequent configuration of Wi-Fi settings. With the router powered on and operational, you’re now poised to access the router’s settings and proceed with the setup process.
To connect a Verizon Wi-Fi router, plug it into a power source and connect it to your modem using an Ethernet cable. Then, follow the setup instructions provided by Verizon to complete the connection process.
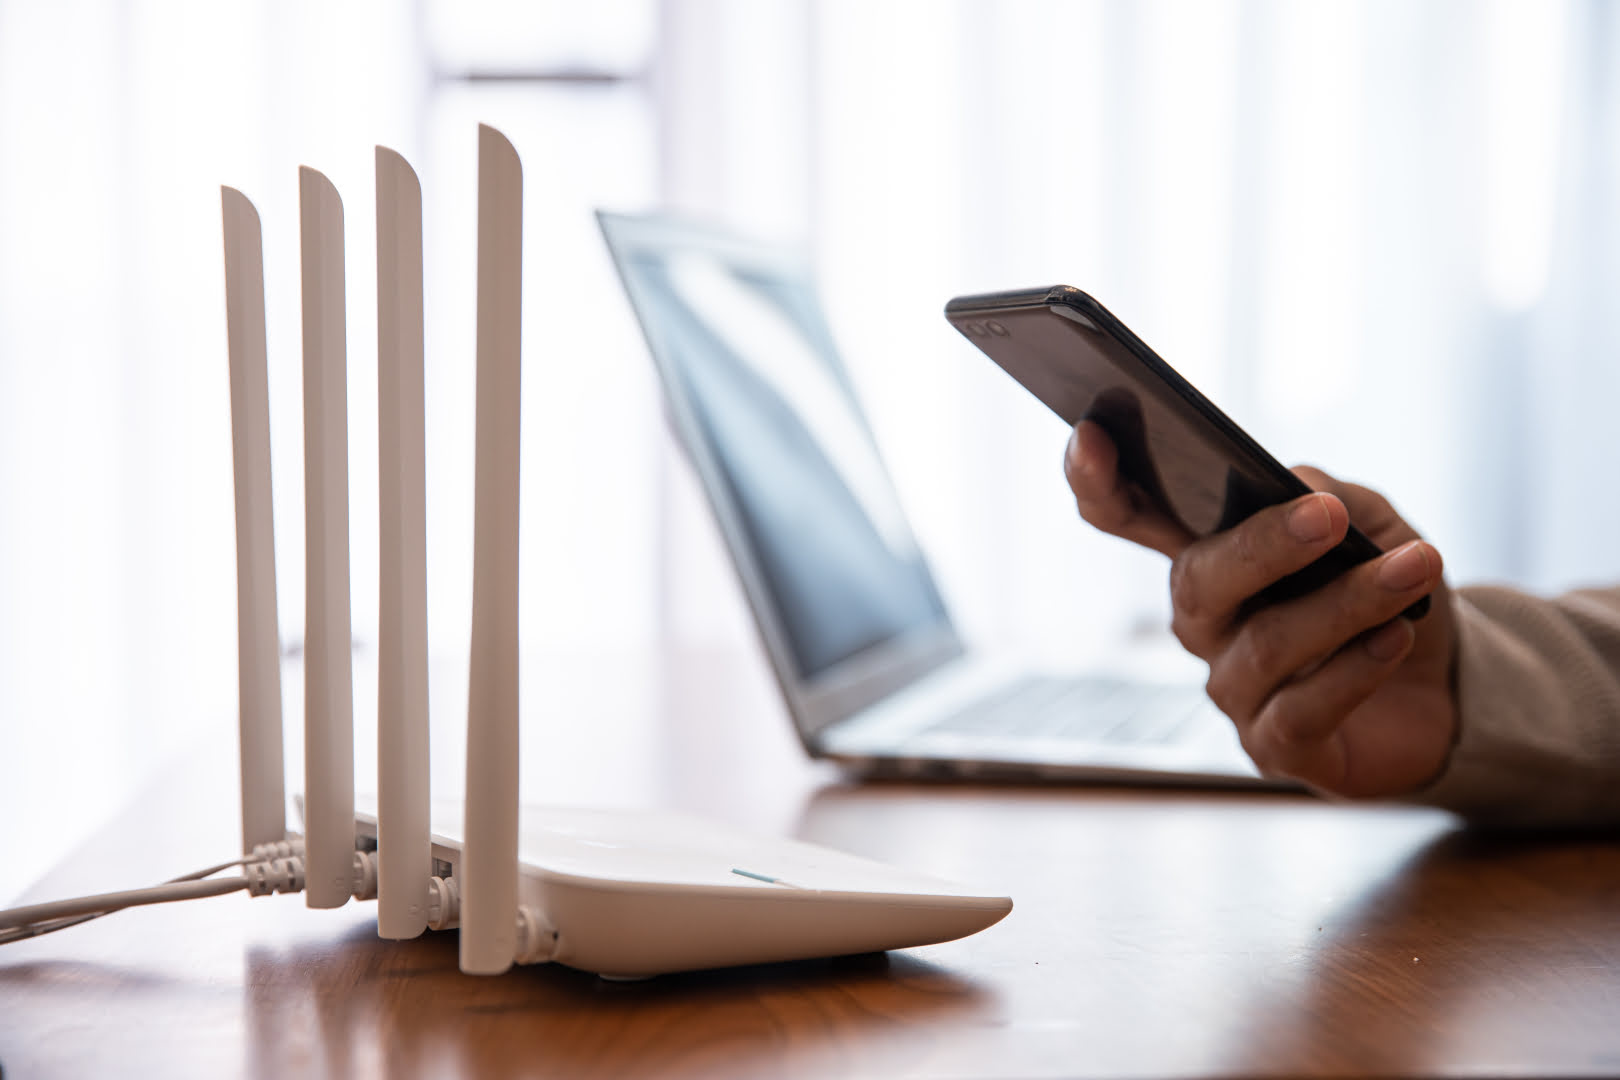
Step 4: Access the Router’s Settings
After powering on your Verizon Wi-Fi router, the next crucial step in the setup process is to access the router’s settings. This enables you to configure and customize various parameters, including network security, Wi-Fi passwords, and other essential features. Follow these steps to seamlessly access your Verizon Wi-Fi router’s settings:
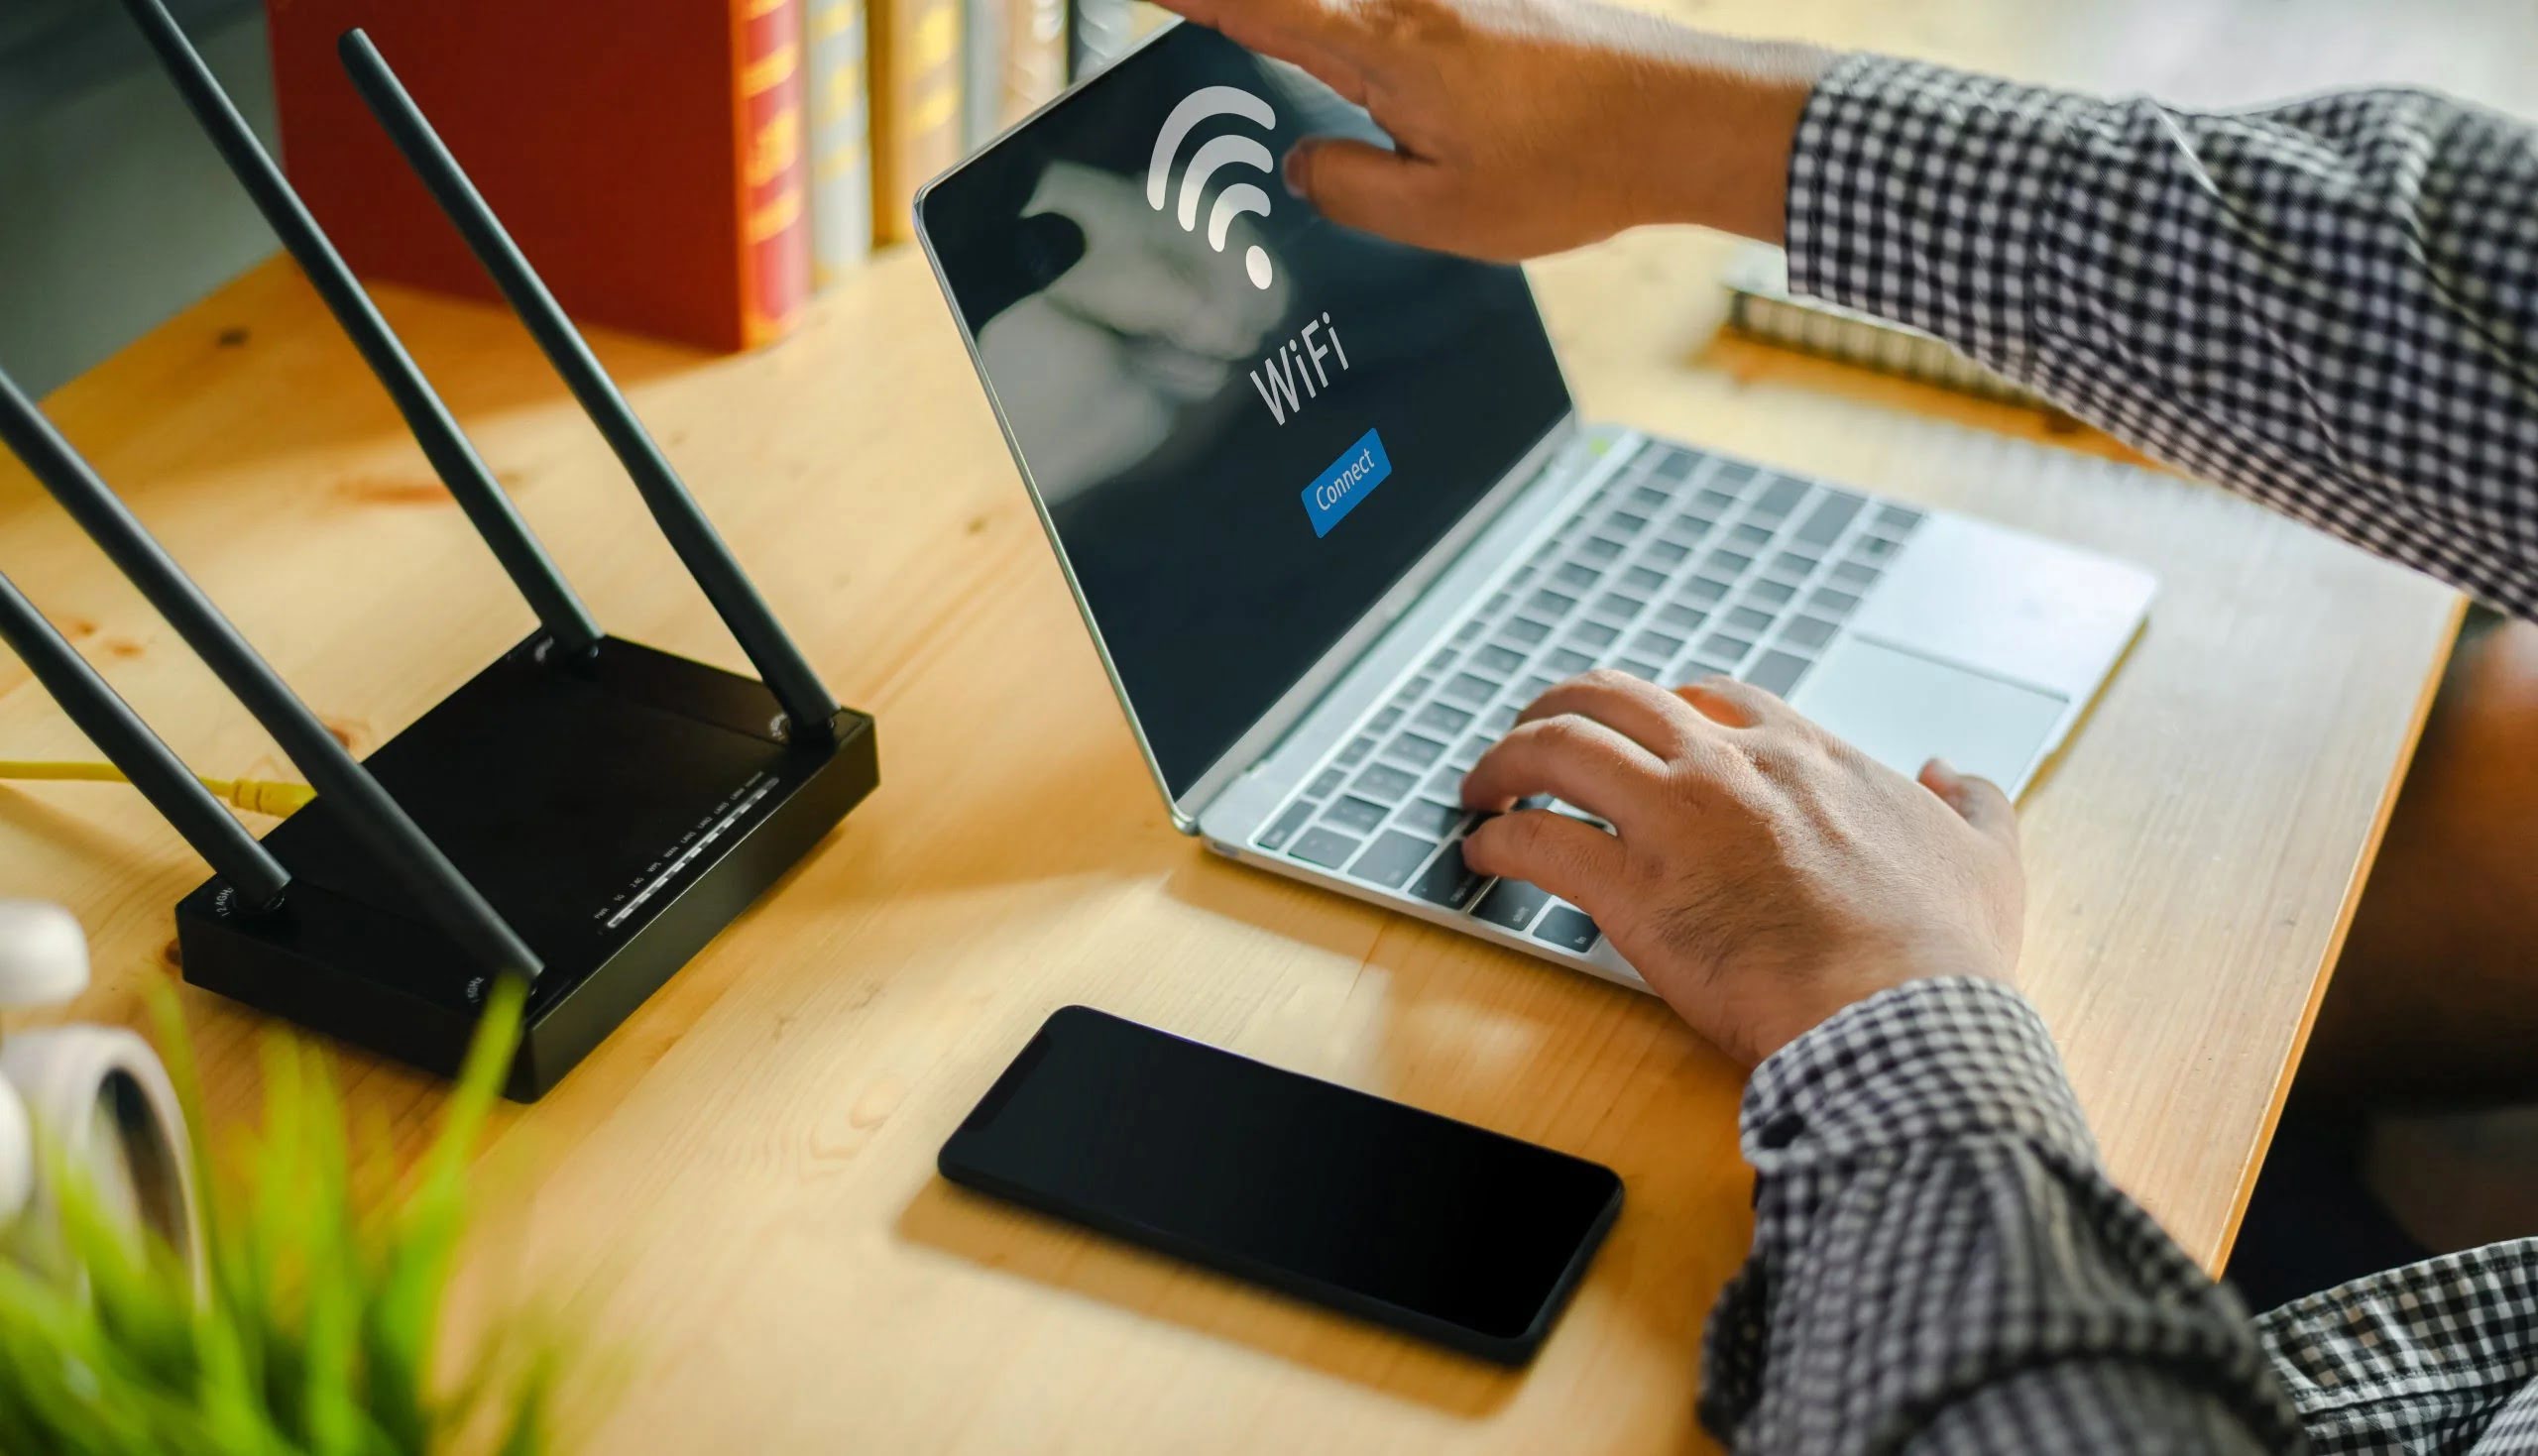
- Connect to the Router: Using a computer, laptop, tablet, or smartphone, connect to the Wi-Fi network transmitted by your Verizon router. Locate the network name (SSID) and enter the corresponding Wi-Fi password to establish a secure connection.
- Launch a Web Browser: Once connected to the Wi-Fi network, open a web browser such as Google Chrome, Mozilla Firefox, Safari, or Microsoft Edge on your device.
- Enter the Router’s IP Address: In the web browser’s address bar, type the default IP address for Verizon routers, which is commonly 192.168.1.1, and press Enter. This will direct you to the router’s login page.
- Enter Login Credentials: Upon accessing the router’s login page, you will be prompted to enter the router’s administrative credentials. By default, the username is often set as admin, and the password is typically password. If these credentials have been customized, use the updated login information.
- Access Router Settings: After successfully logging in, you will gain access to the router’s settings interface. Here, you can customize various parameters such as Wi-Fi network names (SSIDs), Wi-Fi passwords, network security settings, parental controls, and more.
By following these steps, you’ll seamlessly access your Verizon Wi-Fi router’s settings, empowering you to configure the network according to your preferences and security requirements. With access to the router’s settings interface, you’re now ready to proceed with configuring the Wi-Fi settings to establish a secure and efficient wireless network.
Read also: 9 Amazing Verizon Wi-Fi Router For 2025
Step 5: Configure Wi-Fi Settings
Configuring the Wi-Fi settings of your Verizon Wi-Fi router is a pivotal step in creating a secure and efficient wireless network. By customizing parameters such as the Wi-Fi network name (SSID), Wi-Fi password, and security protocols, you can ensure a seamless and protected connectivity experience for all your devices. Follow these steps to effectively configure the Wi-Fi settings on your Verizon router:
- Access Router Settings Interface: Using a web browser, log in to the router’s settings interface by entering the default IP address (e.g., 192.168.1.1) and providing the administrative credentials.
- Navigate to Wi-Fi Settings: Once within the router’s settings interface, locate the section dedicated to Wi-Fi or wireless settings. This is where you can customize the Wi-Fi network name, password, security mode, and other relevant parameters.
- Customize Wi-Fi Network Name (SSID): Enter a distinctive and easily recognizable name for your Wi-Fi network in the SSID field. This name will be visible to devices when they search for available networks.
- Set Wi-Fi Password: Choose a strong and secure password for your Wi-Fi network to prevent unauthorized access. Ideally, the password should be a combination of letters, numbers, and special characters to enhance security.
- Configure Security Mode: Select an appropriate security mode such as WPA2-PSK (Wi-Fi Protected Access 2 – Pre-Shared Key) to encrypt the data transmitted over the Wi-Fi network, safeguarding it from potential intruders.
- Save Settings: After customizing the Wi-Fi settings to your preferences, save the changes within the router’s settings interface. This ensures that the updated configurations are applied to your Wi-Fi network.
By following these steps, you’ll effectively configure the Wi-Fi settings on your Verizon Wi-Fi router, creating a secure and personalized wireless network tailored to your specific requirements. With the Wi-Fi settings in place, you’re now prepared to connect your devices to the Wi-Fi network and enjoy seamless connectivity.
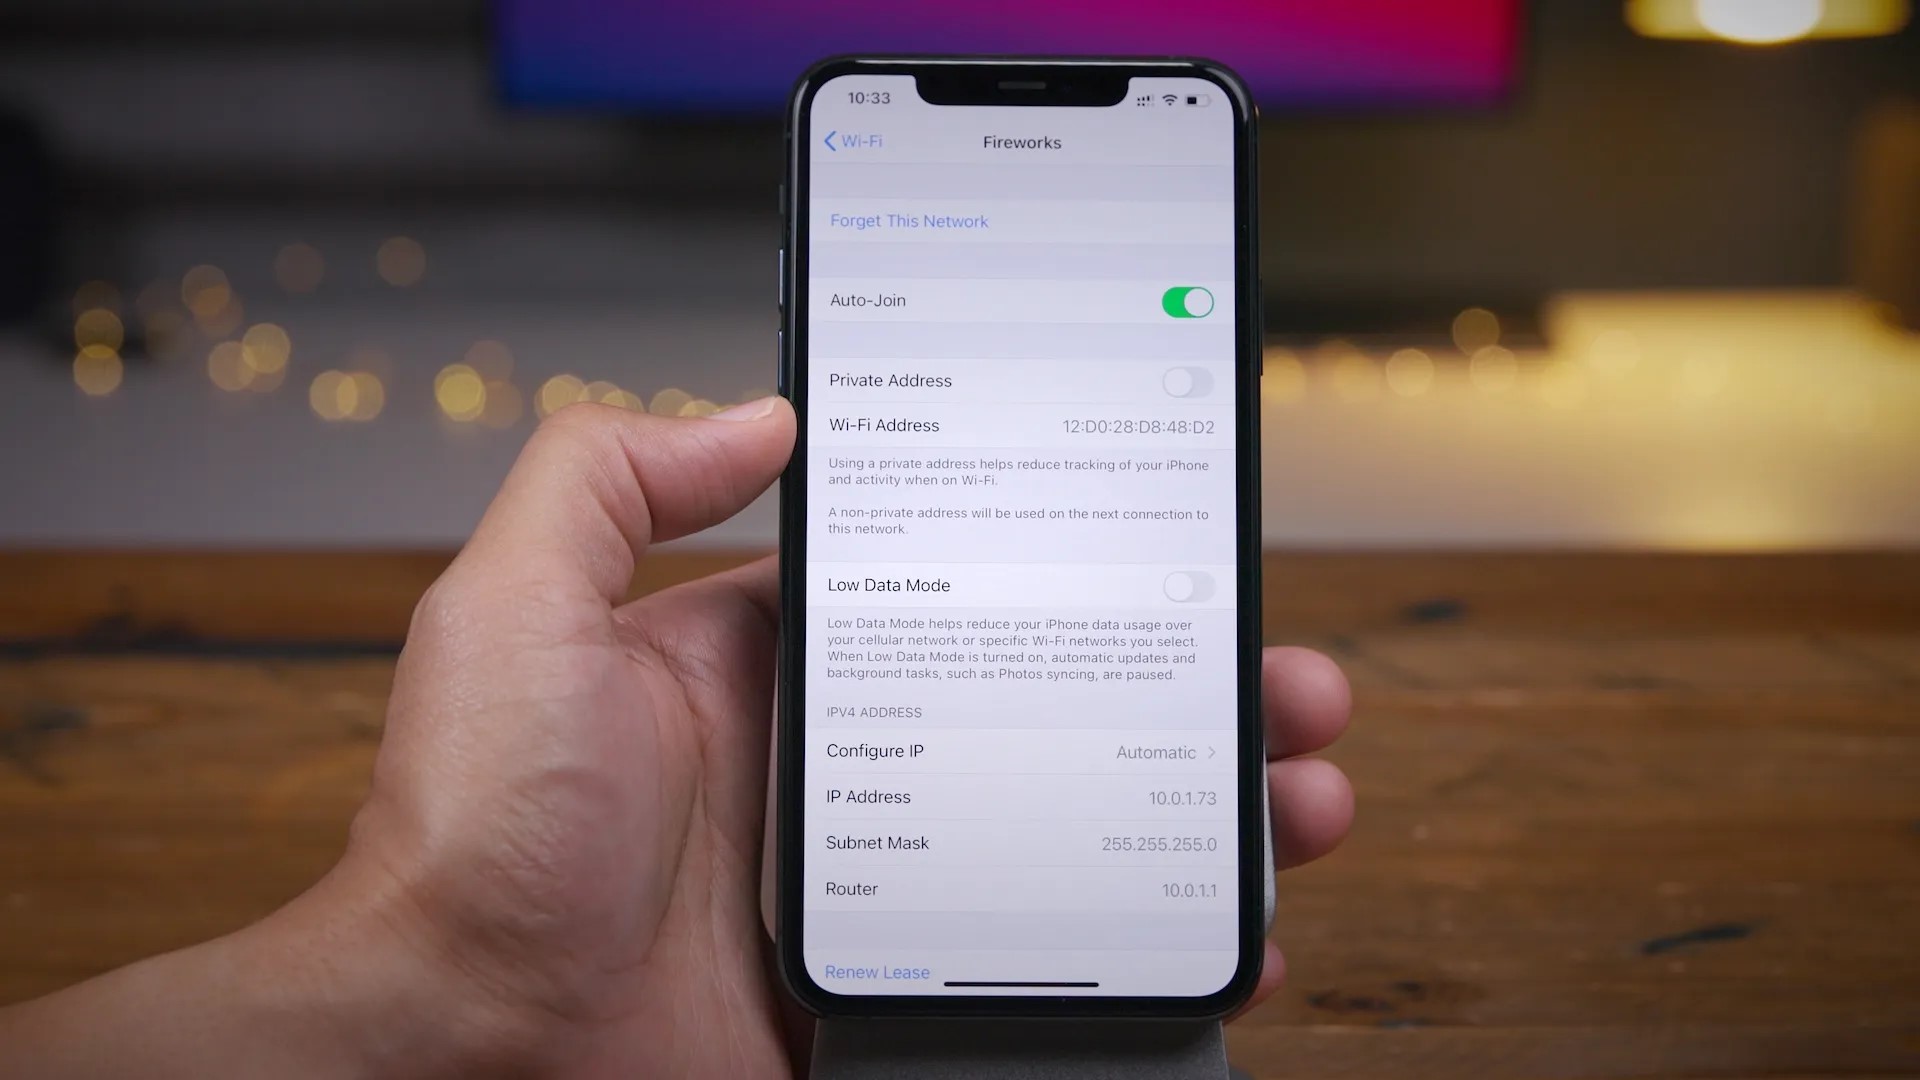
Step 6: Connect Devices to the Wi-Fi Network
With your Verizon Wi-Fi router set up and the Wi-Fi settings configured, the final step involves connecting your devices to the newly established wireless network. Whether it’s a smartphone, laptop, tablet, or smart home device, enabling Wi-Fi connectivity on your devices allows you to harness the benefits of a robust and secure internet connection. Follow these simple guidelines to connect your devices to the Wi-Fi network:
- Enable Wi-Fi on Your Device: Access the settings or control panel on your device and enable the Wi-Fi functionality. This typically involves navigating to the Wi-Fi or network settings and toggling the Wi-Fi switch to the “on” position.
- Select the Wi-Fi Network: Once Wi-Fi is enabled, your device will scan for available networks. From the list of detected networks, choose the Wi-Fi network name (SSID) that corresponds to your Verizon router’s network name, which you configured in the previous step.
- Enter Wi-Fi Password: If prompted, enter the Wi-Fi password that you set during the Wi-Fi settings configuration. Ensure that the password is accurately entered to successfully authenticate and connect to the Wi-Fi network.
- Establish Connection: After entering the correct Wi-Fi password, your device will initiate a connection to the Verizon Wi-Fi network. Once connected, you’ll have seamless access to the internet and network resources.
- Verify Connectivity: To ensure a successful connection, open a web browser or access an online application to verify that your device is effectively connected to the Wi-Fi network and can access the internet without any issues.
By following these steps, you’ll effortlessly connect your devices to the Verizon Wi-Fi network, enabling them to benefit from high-speed internet connectivity and seamless communication. With your devices successfully connected, you can now enjoy the convenience and flexibility of a reliable wireless network in your home or office.
Conclusion
Congratulations! You’ve successfully navigated the process of connecting your Verizon Wi-Fi router, empowering yourself with a robust and secure wireless network. By following the comprehensive steps outlined in this guide, you’ve gained valuable insights into setting up and configuring your router, culminating in a seamless and efficient Wi-Fi experience for all your devices.
As you bask in the convenience of a well-established Wi-Fi network, it’s essential to remember the significance of network security. Regularly updating your router’s firmware, changing the administrative credentials, and periodically reviewing your network settings can fortify the security of your Wi-Fi network, safeguarding it against potential threats.
Furthermore, as technology evolves and new devices join your network, staying informed about the latest advancements in router technology and network optimization can enhance the performance and reliability of your Wi-Fi network. Exploring features such as Quality of Service (QoS), guest networks, and parental controls can further customize your Wi-Fi experience to suit your unique requirements.
By staying attuned to the evolving landscape of smart home devices and the Internet of Things (IoT), you can seamlessly integrate a myriad of connected gadgets into your Wi-Fi network, transforming your living space into a modern, interconnected haven.
As you revel in the seamless connectivity facilitated by your Verizon Wi-Fi router, remember that the journey doesn’t end here. Embracing the ever-expanding realm of smart home devices, streaming services, and digital innovations can further enrich your Wi-Fi experience, creating a harmonious blend of convenience and connectivity in your daily life.
With your Verizon Wi-Fi router serving as the cornerstone of your digital connectivity, you’re poised to embark on a journey of seamless communication, entertainment, and productivity, all within the realm of your secure and efficient wireless network.
Frequently Asked Questions about How To Connect Verizon Wi-Fi Router
Was this page helpful?
At Storables.com, we guarantee accurate and reliable information. Our content, validated by Expert Board Contributors, is crafted following stringent Editorial Policies. We're committed to providing you with well-researched, expert-backed insights for all your informational needs.


0 thoughts on “How To Connect Verizon Wi-Fi Router”