Home>Technology>Smart Home Devices>How To Connect A PC To A Wi-Fi Router
Smart Home Devices
How To Connect A PC To A Wi-Fi Router
Modified: January 4, 2024
Learn how to connect your PC to a Wi-Fi router and set up smart home devices with our step-by-step guide. Ensure a seamless connection for all your smart home devices.
(Many of the links in this article redirect to a specific reviewed product. Your purchase of these products through affiliate links helps to generate commission for Storables.com, at no extra cost. Learn more)
Introduction
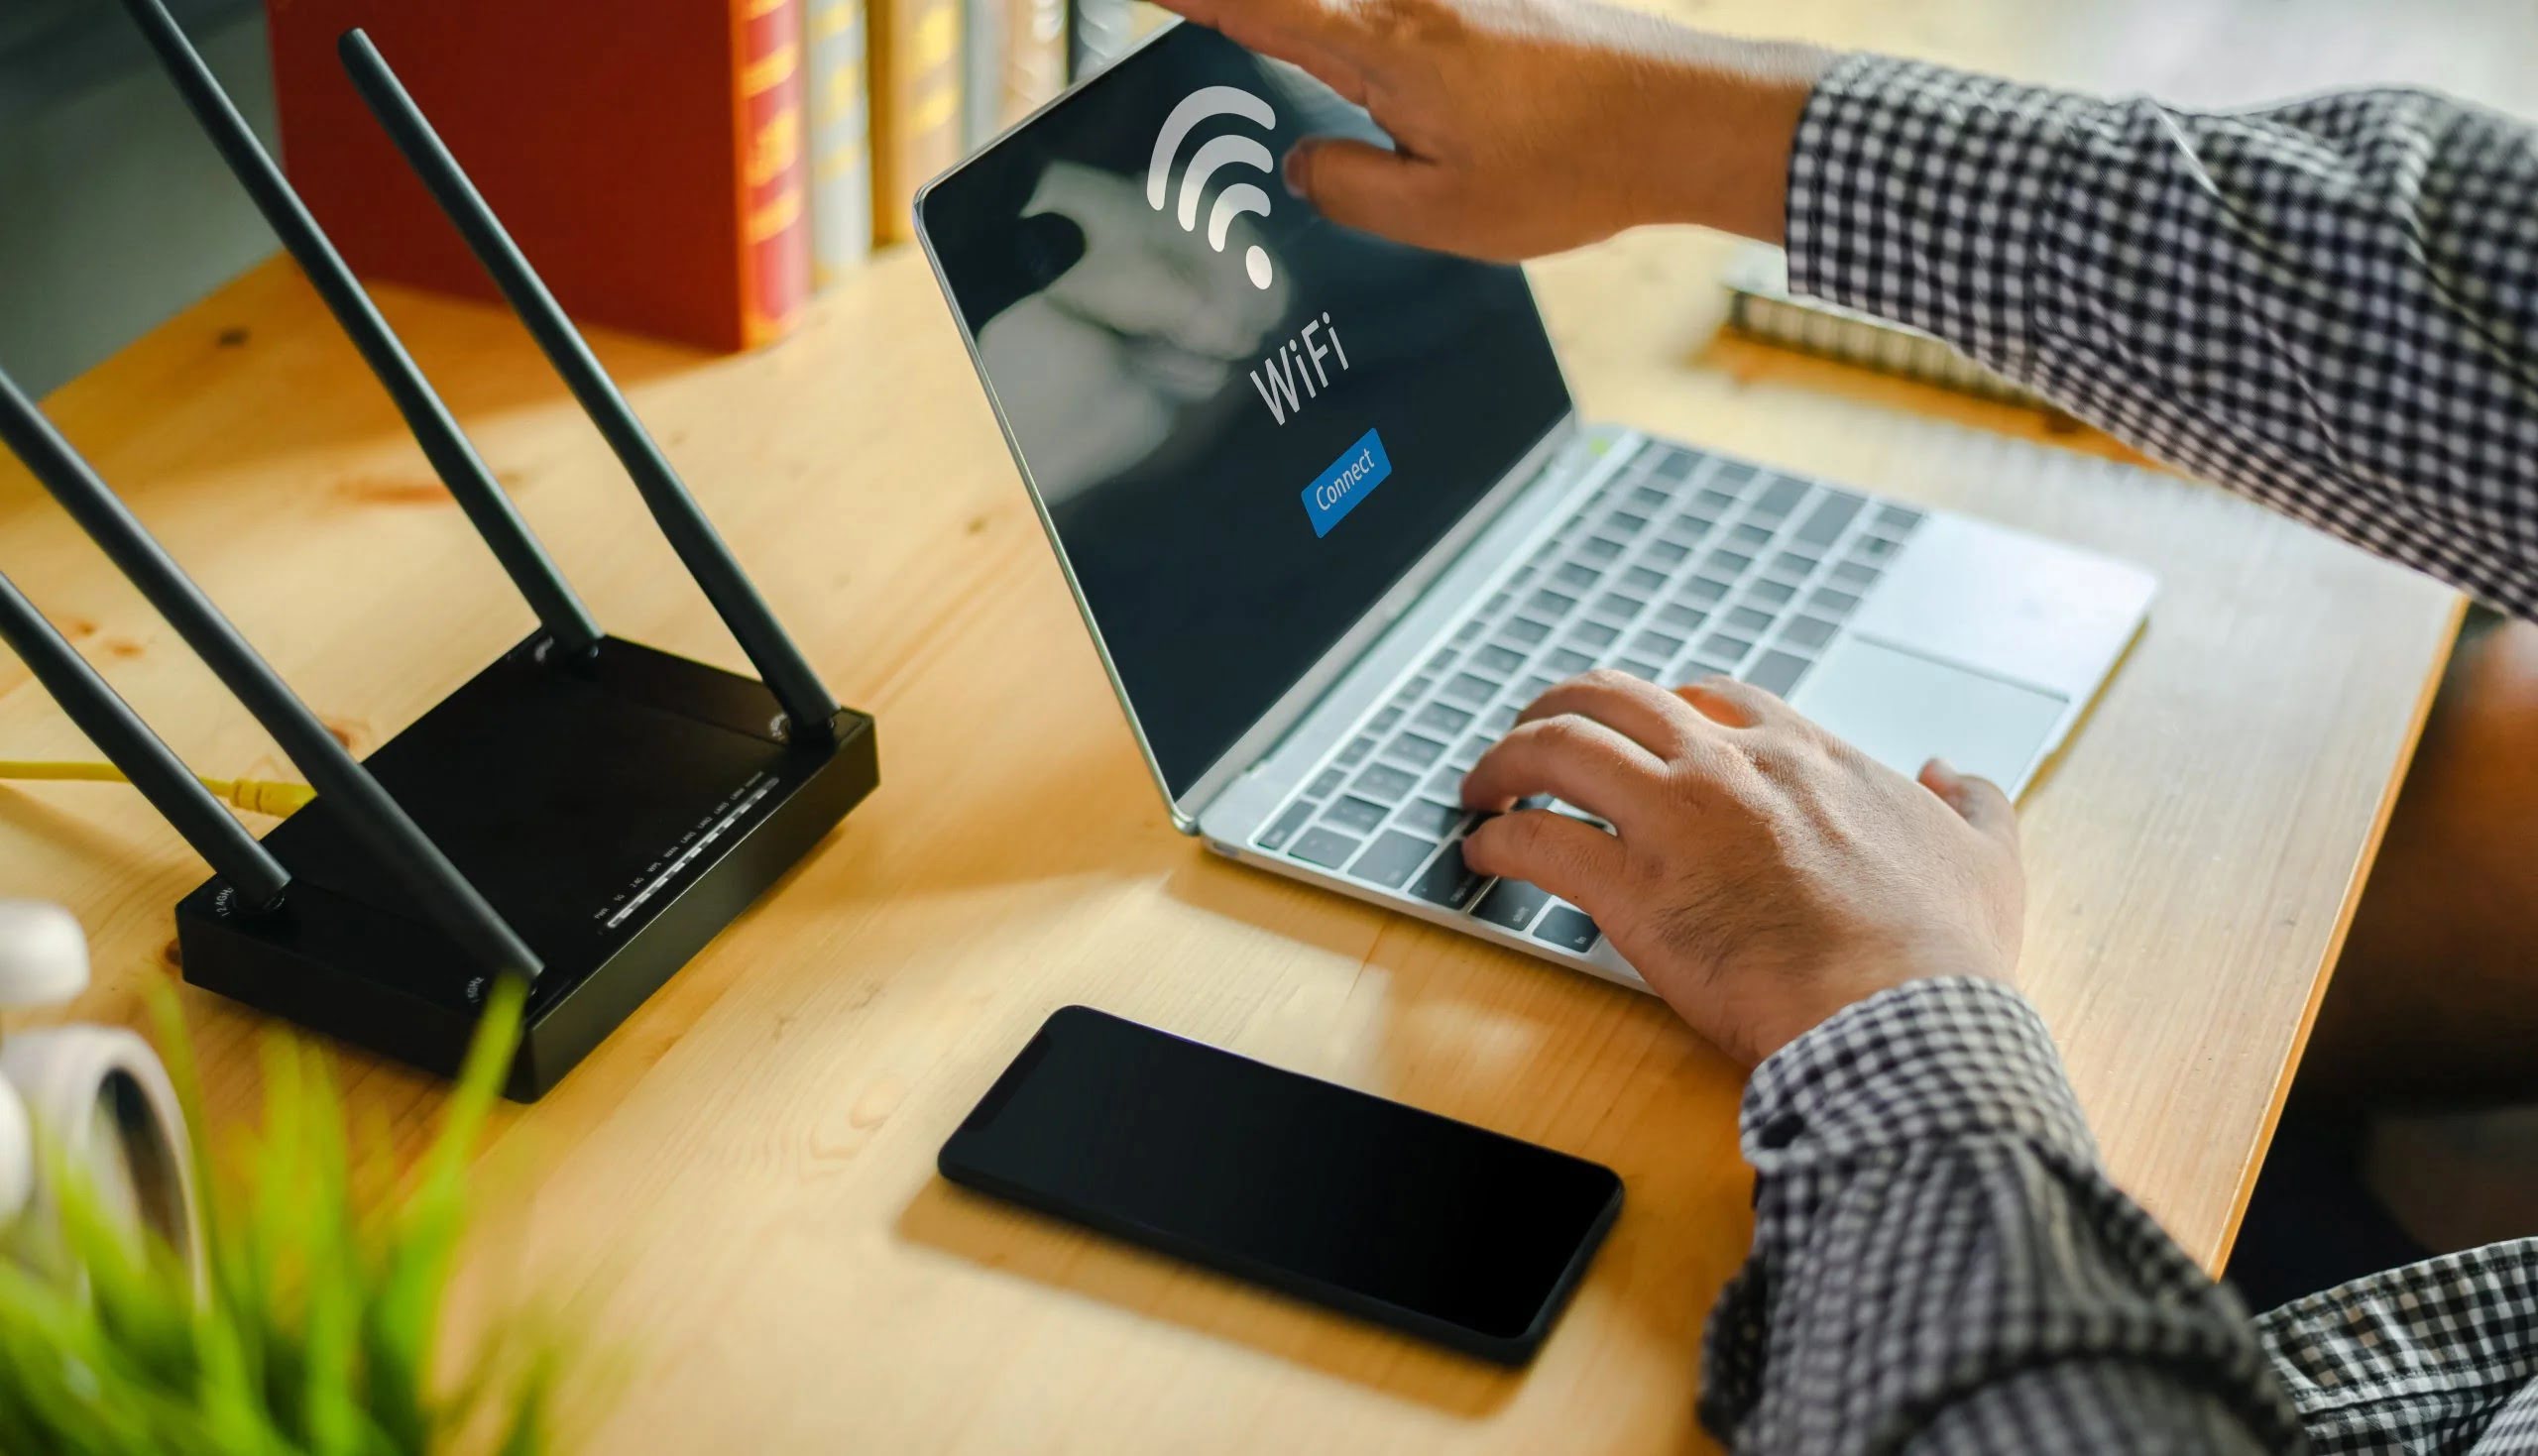
Connecting your PC to a Wi-Fi router opens up a world of possibilities, allowing you to access the internet and network with other devices wirelessly. Whether you're setting up a new PC or troubleshooting an existing connection, this guide will walk you through the process, ensuring a seamless and reliable connection.
In today's digital age, the importance of a stable and secure Wi-Fi connection cannot be overstated. From streaming your favorite shows to working from home, a dependable Wi-Fi connection is essential. By following the steps outlined in this article, you can establish a robust connection between your PC and Wi-Fi router, empowering you to harness the full potential of your devices.
So, let's dive into the step-by-step process of connecting your PC to a Wi-Fi router, ensuring that you can effortlessly browse the web, stream media, and engage in online activities with ease.
Key Takeaways:
- Make sure your Wi-Fi router and PC are in good shape before connecting. Position your PC close to the router for a strong signal and a smooth connection process.
- If you encounter issues, troubleshoot by checking for signal interference, entering the correct password, updating drivers, resetting the router, and managing network congestion. This will help optimize your Wi-Fi connection for a seamless experience.
Read more: How To Connect Verizon Wi-Fi Router
Step 1: Check your Wi-Fi router and PC
Before embarking on the process of connecting your PC to a Wi-Fi router, it’s crucial to ensure that both your Wi-Fi router and PC are in optimal condition. This preliminary assessment can help identify any potential issues and streamline the connection process.
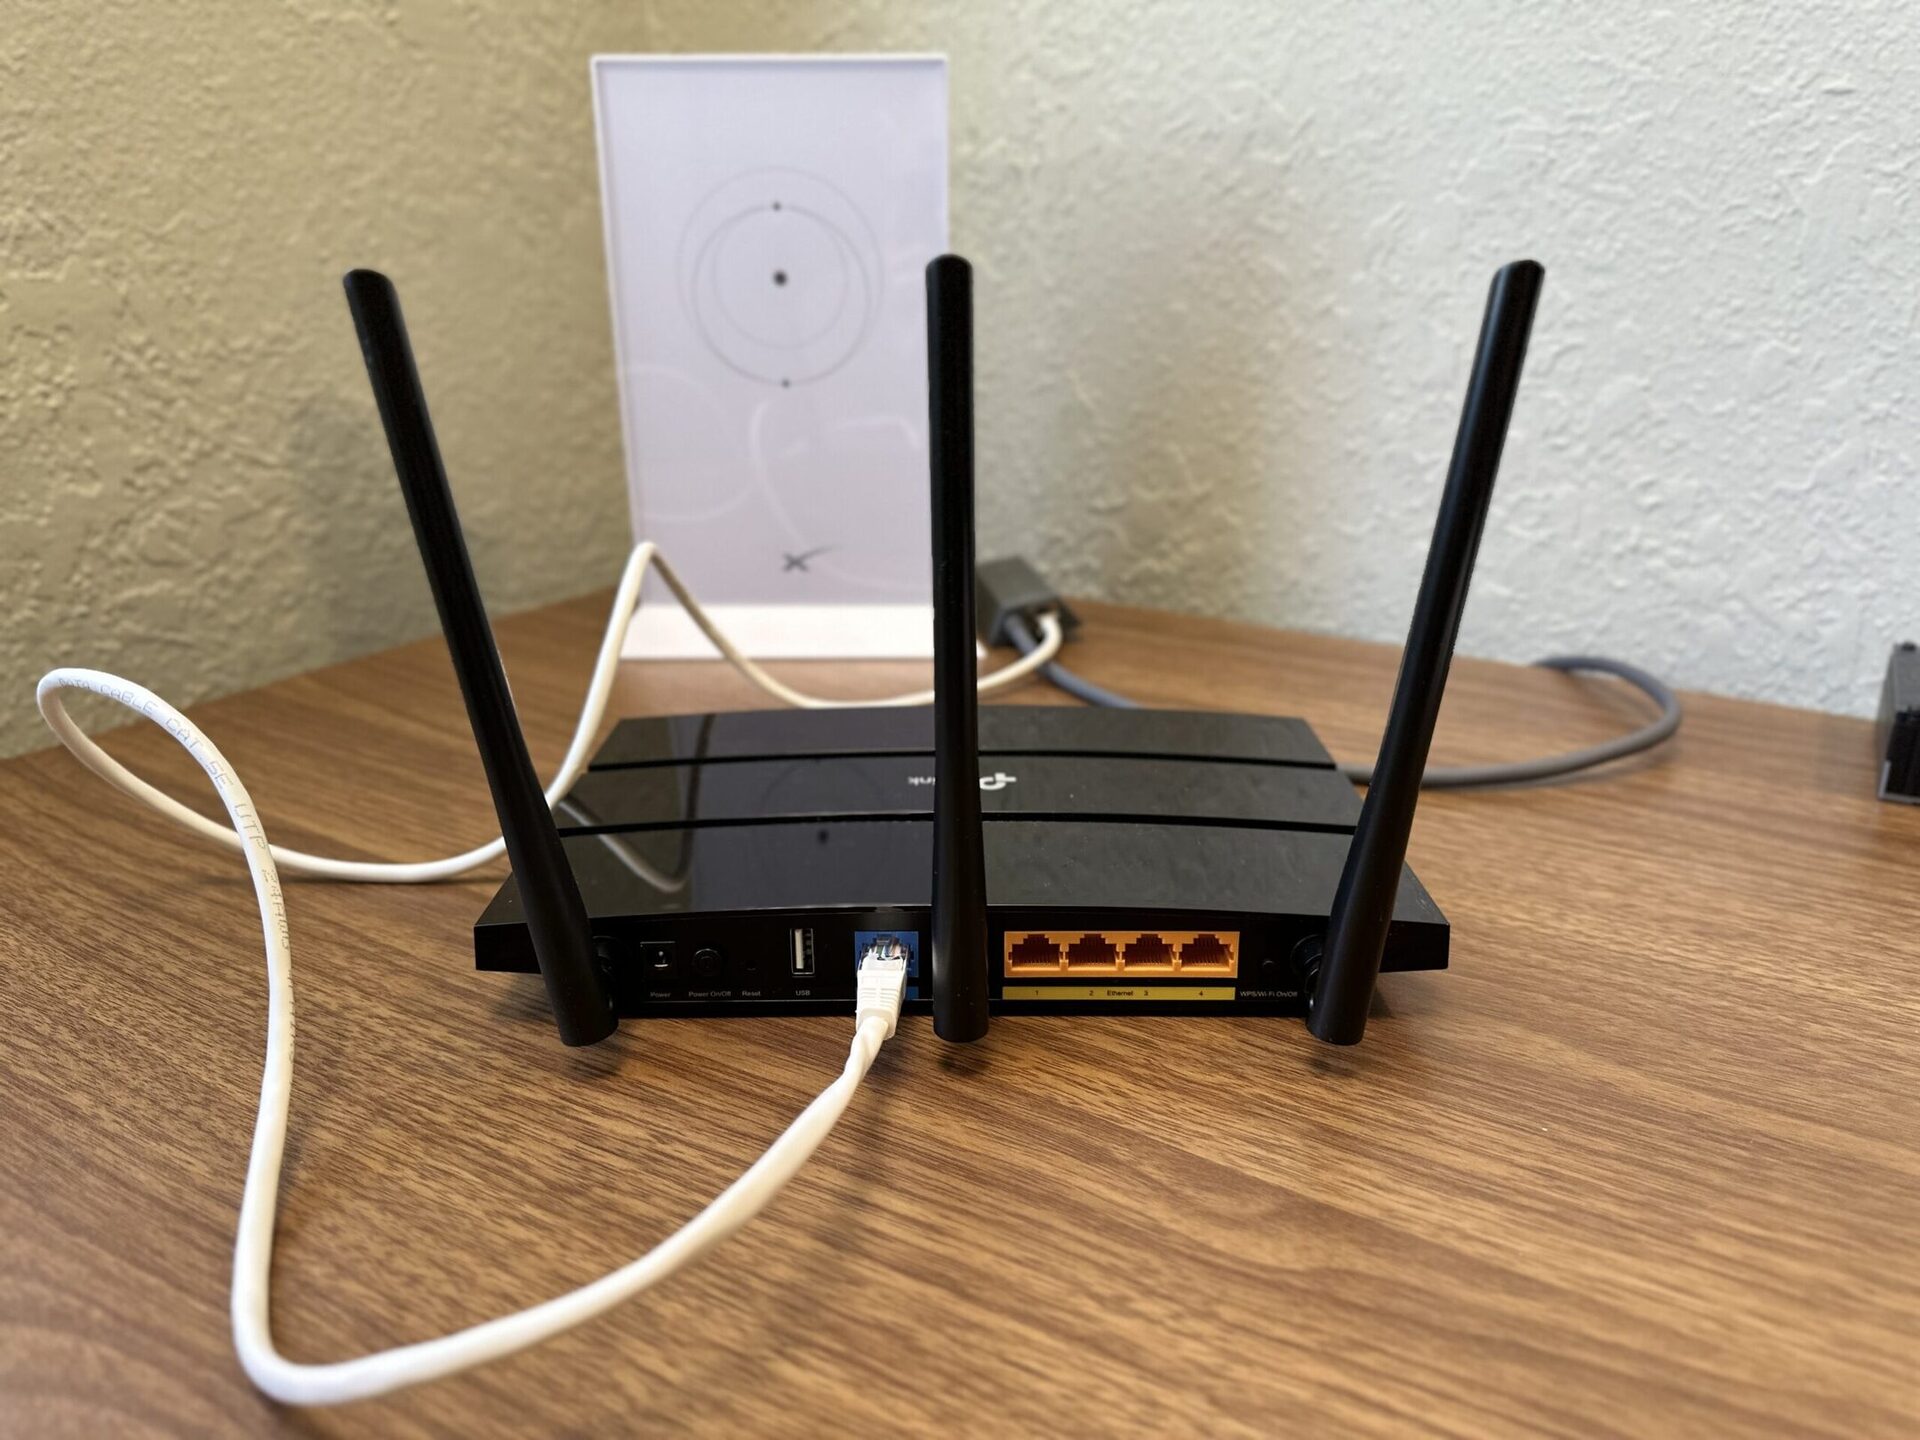
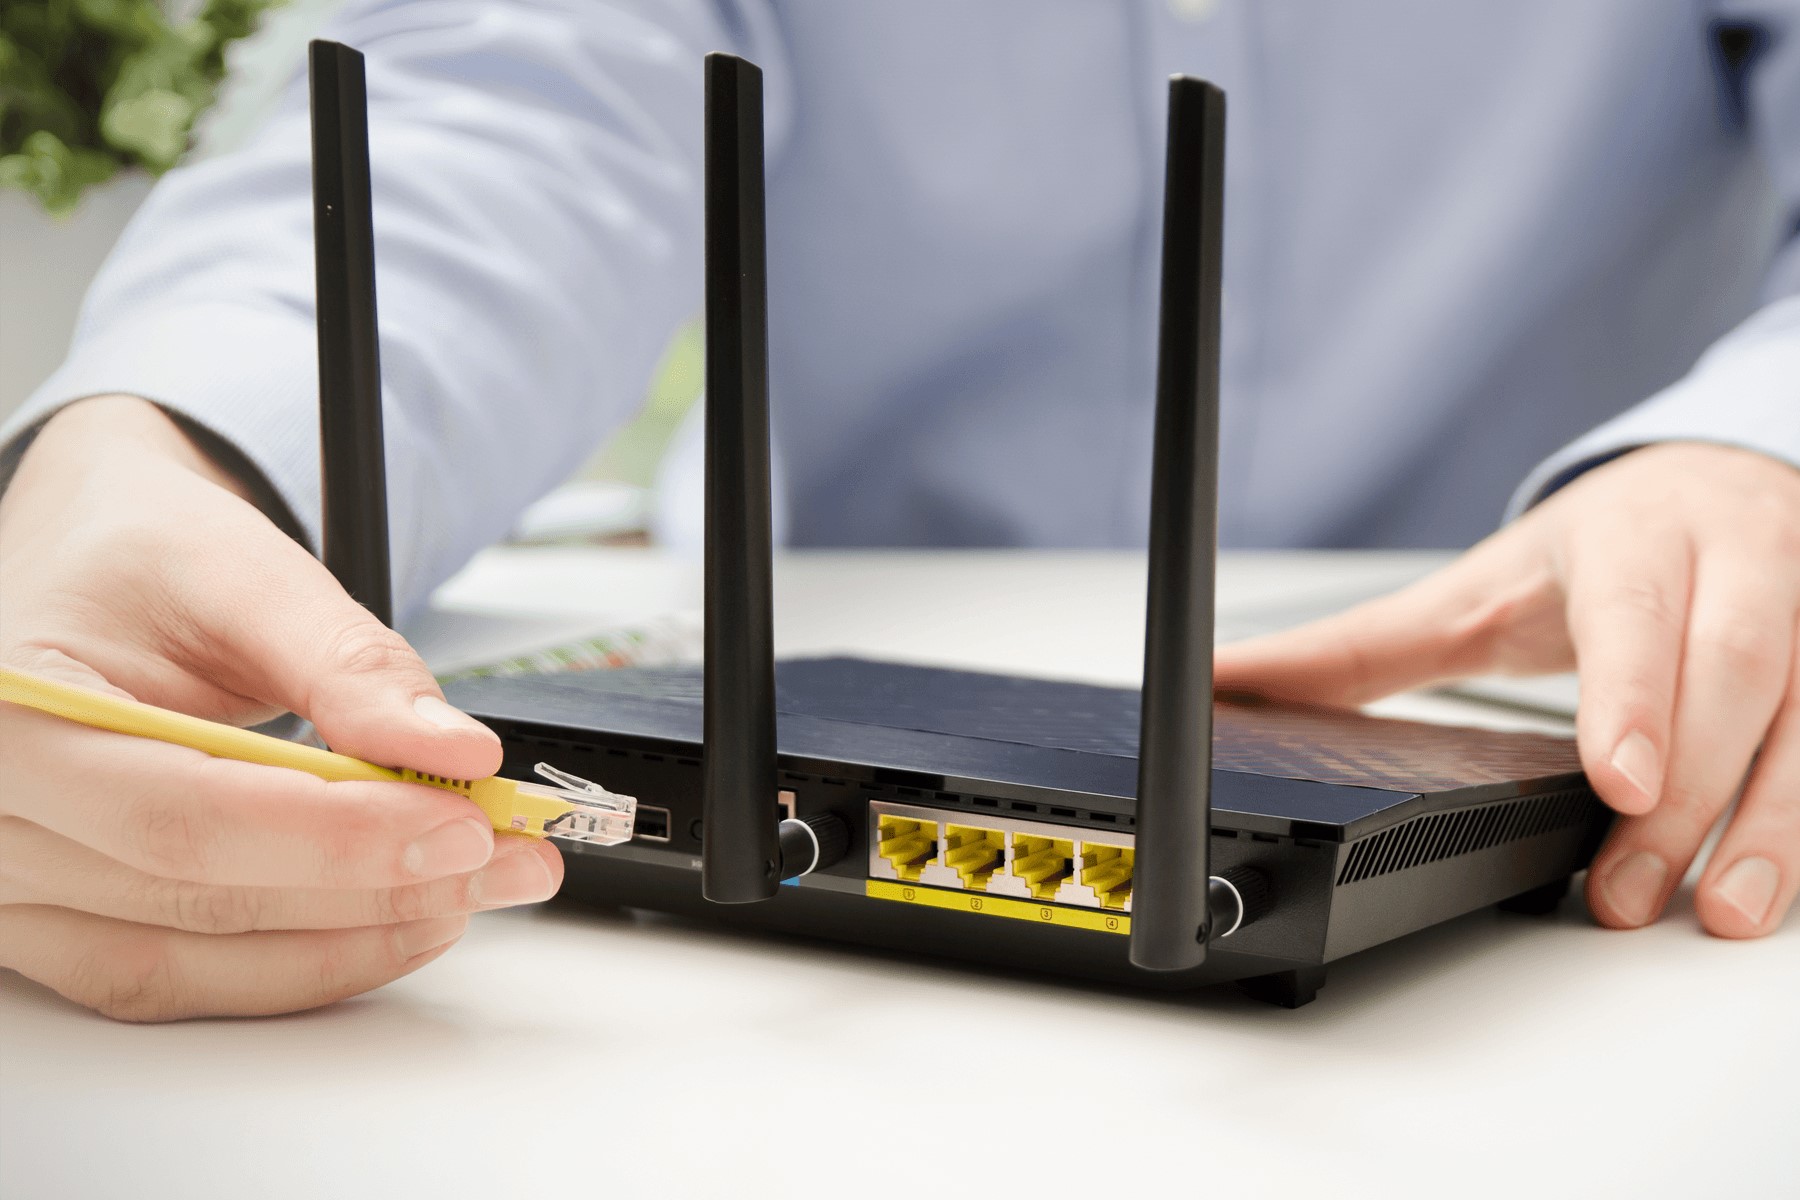
Start by examining your Wi-Fi router to verify that it is powered on and functioning correctly. Check for any visible indicators, such as LED lights, to confirm that the router is receiving power and transmitting signals. Additionally, ensure that the router is properly connected to a power source and that all cables are securely plugged in.
Next, turn your attention to your PC. Check that the device is powered on and operational. Inspect the Wi-Fi adapter or built-in Wi-Fi capabilities to confirm that they are enabled and ready to establish a wireless connection. If your PC does not have built-in Wi-Fi, ensure that an external Wi-Fi adapter is properly connected to an available USB port.
It’s also advisable to position your PC within a reasonable distance from the Wi-Fi router to optimize signal strength. By minimizing obstructions and reducing the distance between the devices, you can enhance the quality and stability of the wireless connection.
By conducting these initial checks, you can lay a solid foundation for the subsequent steps, setting the stage for a successful connection between your PC and Wi-Fi router.
Step 2: Turn on your Wi-Fi router
Once you have confirmed that your Wi-Fi router and PC are in good working order, the next step is to power on your Wi-Fi router. This pivotal device serves as the gateway to wireless connectivity, enabling your PC to access the internet and communicate with other networked devices.
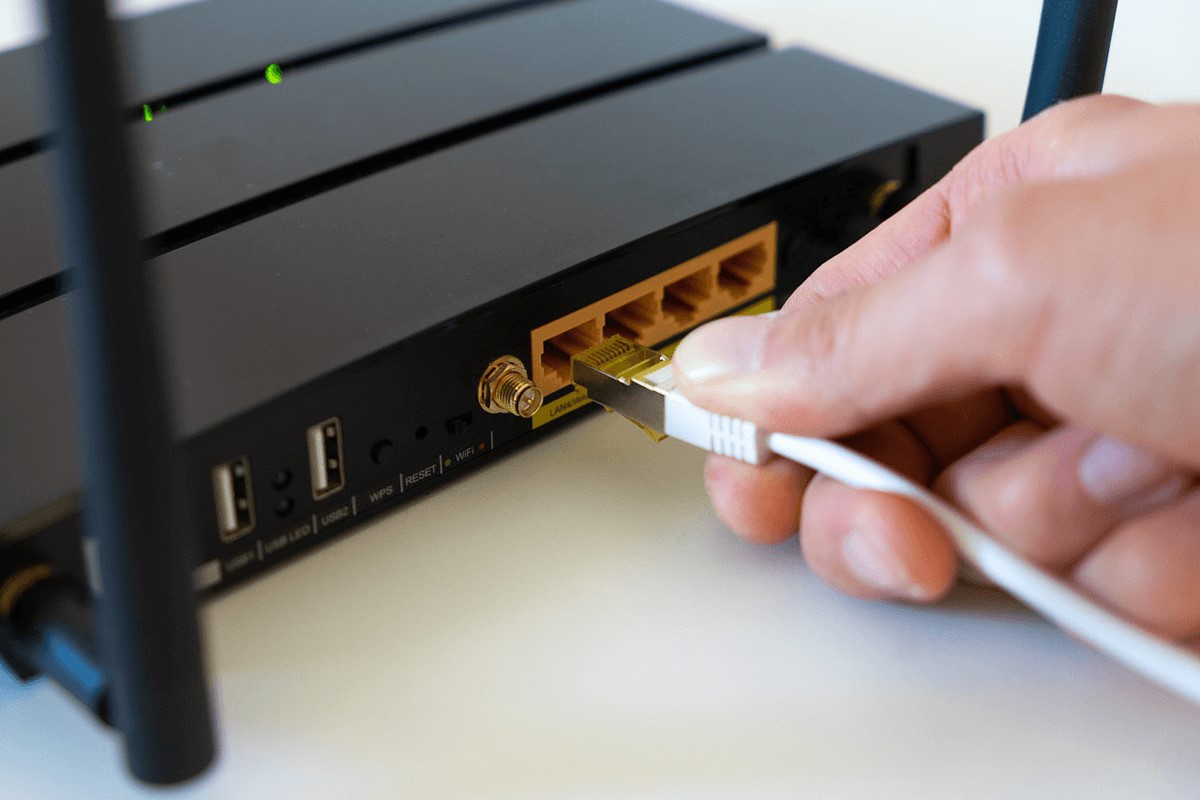
Locate the power button or switch on your Wi-Fi router and ensure that it is in the “on” position. Depending on the model, the power button may be located on the front, back, or side of the router. Once activated, the router will initiate its boot-up sequence, initializing the Wi-Fi network and preparing to establish connections with compatible devices.
As the router powers on, observe the LED indicators to monitor its status. These indicators often provide valuable insights into the router’s operational state, including power status, internet connectivity, and Wi-Fi signal strength. By familiarizing yourself with these indicators, you can quickly identify any potential issues and take appropriate action if necessary.
It’s important to allow the router sufficient time to complete its startup process. During this period, the device configures its network settings and establishes the Wi-Fi signal, laying the groundwork for seamless wireless connections. While the exact duration may vary, most routers typically complete the startup process within a few minutes.
By ensuring that your Wi-Fi router is powered on and functioning optimally, you pave the way for your PC to establish a robust and reliable wireless connection, unlocking a myriad of online possibilities and enhancing your digital experience.
Step 3: Turn on your PC’s Wi-Fi
With your Wi-Fi router powered on and ready to facilitate wireless connections, the next step is to activate the Wi-Fi functionality on your PC. Whether your PC is equipped with built-in Wi-Fi capabilities or requires an external Wi-Fi adapter, enabling the wireless connectivity feature is essential for establishing a seamless connection to your Wi-Fi network.
If your PC has a built-in Wi-Fi adapter, navigate to the network settings or system preferences to enable the Wi-Fi functionality. In most cases, you can accomplish this by accessing the network settings from the taskbar or system tray, where you’ll find the option to enable Wi-Fi connectivity. Once activated, your PC will scan for available Wi-Fi networks, including the one emitted by your router.
For PCs that do not have built-in Wi-Fi capabilities, it’s necessary to connect an external Wi-Fi adapter to an available USB port. Upon connecting the adapter, your PC should recognize the new hardware and prompt you to install any required drivers or software. Once the adapter is properly installed, you can proceed to enable the Wi-Fi functionality, allowing your PC to detect and connect to nearby Wi-Fi networks.
After activating the Wi-Fi feature on your PC, it will begin scanning for available Wi-Fi networks, including the one broadcast by your router. Once the network is detected, you can proceed to establish a connection by entering the network’s password, if applicable, and confirming the connection.
By turning on your PC’s Wi-Fi functionality, you set the stage for establishing a wireless connection to your Wi-Fi router, enabling seamless access to the internet and network resources, and empowering you to leverage the full potential of your PC in a wireless environment.
Make sure your PC has a Wi-Fi adapter. Go to your PC’s settings and select the Wi-Fi network you want to connect to. Enter the password if prompted. If the connection is successful, you should be able to access the internet.
Step 4: Connect to your Wi-Fi network
Once your PC’s Wi-Fi functionality is activated, it’s time to establish a connection to your Wi-Fi network, enabling seamless access to the internet and other networked resources. This step involves identifying your Wi-Fi network, entering the necessary credentials, and finalizing the connection to initiate wireless communication with your router.
Begin by accessing the list of available Wi-Fi networks on your PC. This can typically be done by clicking on the Wi-Fi icon in the taskbar or system tray, which will display a list of nearby networks, including your own. Select your Wi-Fi network from the list to initiate the connection process.
If your Wi-Fi network is secured with a password, you will be prompted to enter the network’s security key or passphrase. This essential security measure ensures that only authorized users can access the network, safeguarding your connection from unauthorized access. Enter the password carefully, ensuring that it is accurate and matches the security key set for your Wi-Fi network.
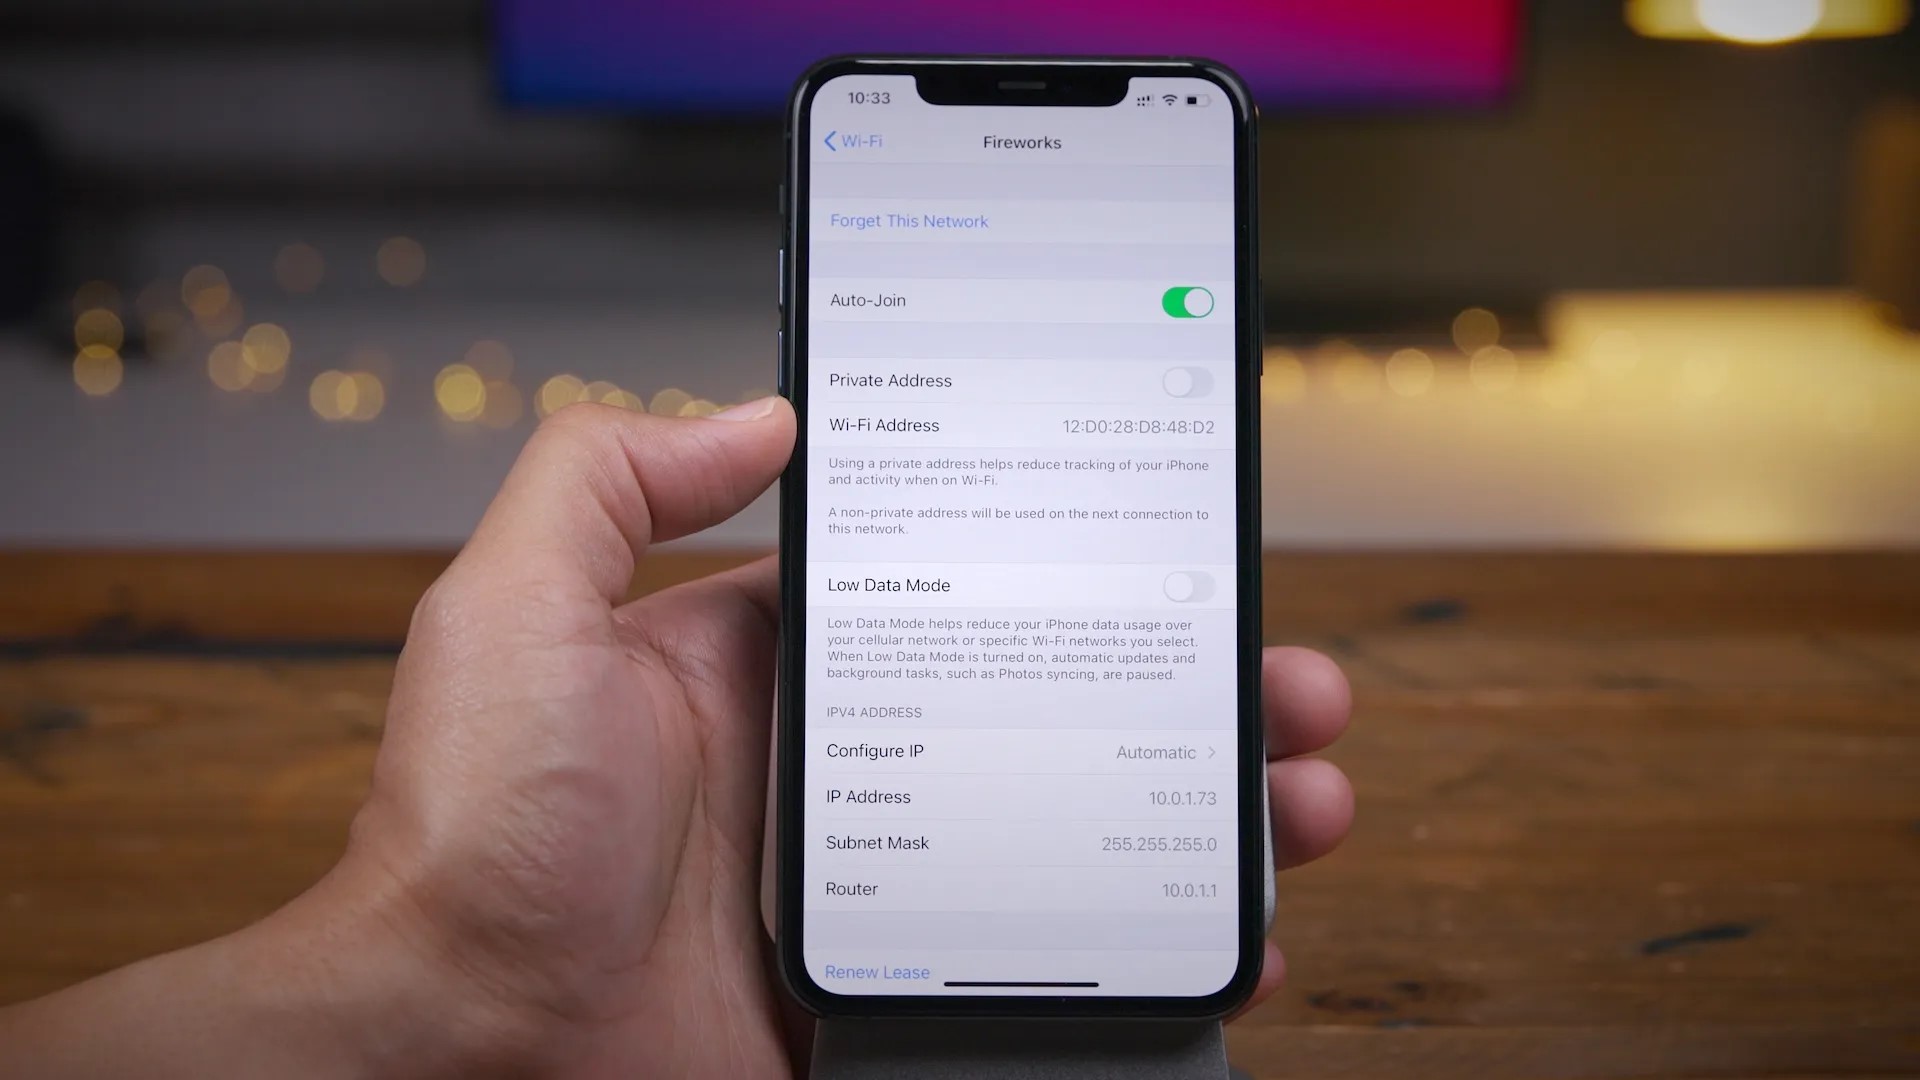
Once the correct password is entered, your PC will proceed to establish a connection to the Wi-Fi network. This process may take a few moments as the PC negotiates the connection with the router and obtains an IP address, enabling it to communicate over the network and access the internet.
Upon successfully connecting to your Wi-Fi network, your PC will display a confirmation message, indicating that you are now connected to the network. At this point, you can open a web browser or access online services to verify that your internet connection is active and functional, allowing you to enjoy seamless wireless connectivity.
By connecting your PC to your Wi-Fi network, you unlock the power of wireless communication, enabling convenient access to online resources and networked services, and empowering you to harness the full potential of your PC in a wireless environment.
Read more: How To Connect My Wi-Fi Router
Step 5: Troubleshooting common issues
While connecting your PC to a Wi-Fi router is generally straightforward, you may encounter common issues that can hinder the establishment of a seamless wireless connection. By familiarizing yourself with these potential challenges and their solutions, you can troubleshoot and resolve issues effectively, ensuring a stable and reliable Wi-Fi connection.
- Signal Interference: If you experience weak or intermittent Wi-Fi signals, consider repositioning your PC and Wi-Fi router to minimize obstructions and reduce interference from other electronic devices. Additionally, selecting a less congested Wi-Fi channel within your router’s settings can help mitigate signal interference.
- Incorrect Password: Double-check the password entered during the connection process to ensure its accuracy. If the password is incorrect, your PC will be unable to establish a connection to the Wi-Fi network. Verify the password and reattempt the connection to resolve this issue.
- Outdated Drivers: If you are using an external Wi-Fi adapter, ensure that you have the latest drivers installed. Outdated drivers can lead to connectivity issues and may require updating to ensure compatibility and optimal performance.
- Router Reset: In cases of persistent connectivity issues, consider resetting your Wi-Fi router. This can help resolve temporary glitches and restore the router to its default settings, potentially resolving connectivity issues.
- Network Congestion: In environments with numerous Wi-Fi networks, network congestion can impact signal quality. Consider configuring your router to operate on a less congested channel to minimize interference from neighboring networks.
By addressing these common issues and implementing the suggested solutions, you can troubleshoot connectivity challenges and optimize the performance of your Wi-Fi connection, ensuring a seamless and reliable wireless experience.
Conclusion
Connecting your PC to a Wi-Fi router is a fundamental step in harnessing the convenience and flexibility of wireless connectivity. By following the comprehensive steps outlined in this guide, you can establish a robust and reliable connection, enabling seamless access to the internet and network resources.
Throughout the process, you’ve learned the importance of ensuring that both your Wi-Fi router and PC are in optimal condition before initiating the connection. By powering on your Wi-Fi router and activating the Wi-Fi functionality on your PC, you’ve paved the way for establishing a seamless wireless connection, unlocking a world of digital possibilities.
Moreover, by troubleshooting common issues that may arise during the connection process, you’ve equipped yourself with the knowledge and strategies to address connectivity challenges effectively, ensuring a stable and uninterrupted Wi-Fi experience.
As you embark on your wireless journey, remember that a reliable Wi-Fi connection is essential for a wide range of activities, including browsing the web, streaming media, and engaging in online communication. By connecting your PC to a Wi-Fi router, you’ve empowered yourself to leverage the full potential of your devices in a wireless environment, enhancing your digital experience and productivity.
With a seamless Wi-Fi connection in place, you can embrace the freedom and convenience of wireless communication, allowing you to stay connected, informed, and entertained with ease.
So, go ahead and enjoy the benefits of your newly established Wi-Fi connection, and make the most of your wireless-enabled PC in the digital landscape.
Frequently Asked Questions about How To Connect A PC To A Wi-Fi Router
Was this page helpful?
At Storables.com, we guarantee accurate and reliable information. Our content, validated by Expert Board Contributors, is crafted following stringent Editorial Policies. We're committed to providing you with well-researched, expert-backed insights for all your informational needs.


0 thoughts on “How To Connect A PC To A Wi-Fi Router”