Home>Technology>Smart Home Devices>Why Is My Canon Printer Not Printing
Smart Home Devices
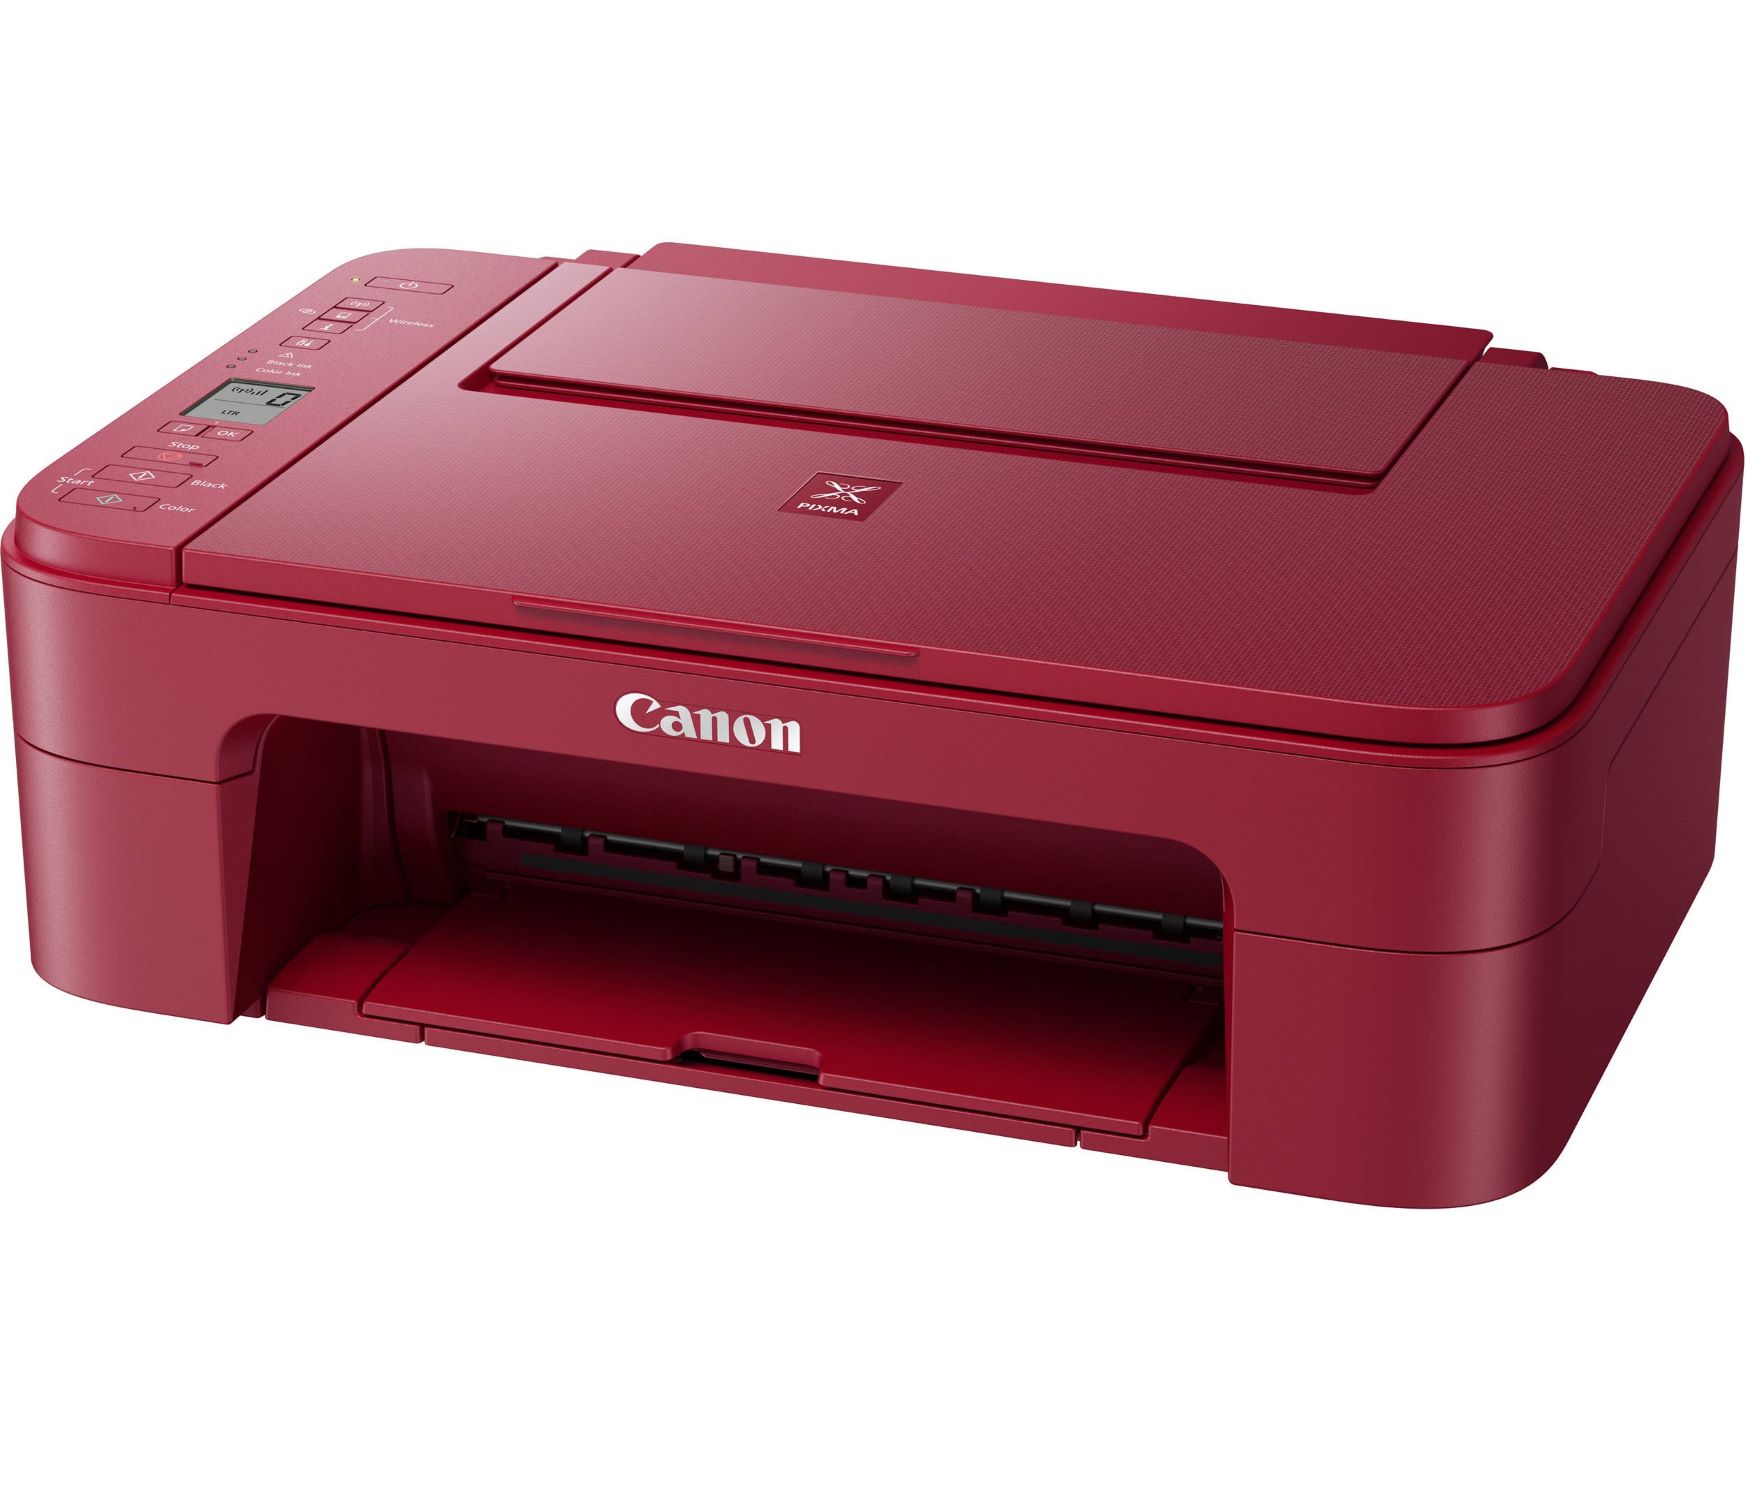
Why Is My Canon Printer Not Printing
Modified: August 16, 2024
If your Canon printer is not printing, troubleshoot the issue with these smart home devices tips. Learn how to fix common printing problems and get your printer back up and running.
(Many of the links in this article redirect to a specific reviewed product. Your purchase of these products through affiliate links helps to generate commission for Storables.com, at no extra cost. Learn more)
Introduction
Welcome to the troubleshooting guide for resolving the perplexing issue of a non-printing Canon printer. There's nothing more frustrating than queuing up a document for printing, only to discover that the printer is unresponsive. Before succumbing to exasperation, let's delve into the potential causes and solutions to rectify this inconvenience.
A Canon printer is a remarkable piece of technology designed to effortlessly transform digital documents into tangible, printed material. However, like any sophisticated device, it can encounter hiccups that impede its primary function. When faced with the disheartening dilemma of a non-printing Canon printer, it's essential to approach the situation with a methodical troubleshooting mindset.
In the subsequent sections, we will explore various factors that could be contributing to the printing predicament. From connectivity issues to depleted ink levels, we will leave no stone unturned in our quest to restore your Canon printer to its efficient, document-producing glory. By following the step-by-step guidance provided, you'll gain insights into diagnosing and resolving the root causes of the printing problem.
So, without further ado, let's embark on this troubleshooting journey to unveil the underlying reasons behind your Canon printer's reluctance to print, and ultimately, to restore its seamless functionality.
Key Takeaways:
- Troubleshooting your Canon printer’s connectivity, ink levels, and print spooler can restore its efficient document-producing capabilities.
- Regular maintenance, such as cleaning the print head, ensures consistent, high-quality print output from your Canon printer.
Read more: Why Is Canon Printer Printing Blank Pages
Check Printer Connection
One of the primary culprits behind a non-printing Canon printer is a disrupted or faulty connection. The intricate interplay between your computer and the printer relies heavily on a stable and functional connection. Here are the steps to verify and rectify any potential connectivity issues:
- Physical Connection: Ensure that the USB or Ethernet cable connecting the printer to your computer is securely plugged in at both ends. A loose connection can lead to communication breakdowns, impeding the printing process.
- Wireless Connection: If your Canon printer operates wirelessly, verify that it is connected to the same Wi-Fi network as your computer. Additionally, check for any signal interferences or network disruptions that could hinder the communication between devices.
- Restart Devices: Sometimes, a simple restart can work wonders. Turn off both your computer and the Canon printer, wait for a few moments, and then power them back on. This can help reset the connection and resolve temporary glitches.
- Driver Compatibility: Ensure that the printer driver installed on your computer is compatible with your operating system. Outdated or incompatible drivers can lead to connectivity issues, preventing the printer from receiving print commands.
By meticulously examining and addressing the printer's connection status, you can eliminate this potential obstacle and move closer to restoring its printing functionality. Once the connection is verified and stabilized, you can proceed to explore other factors that may be contributing to the printing dilemma.
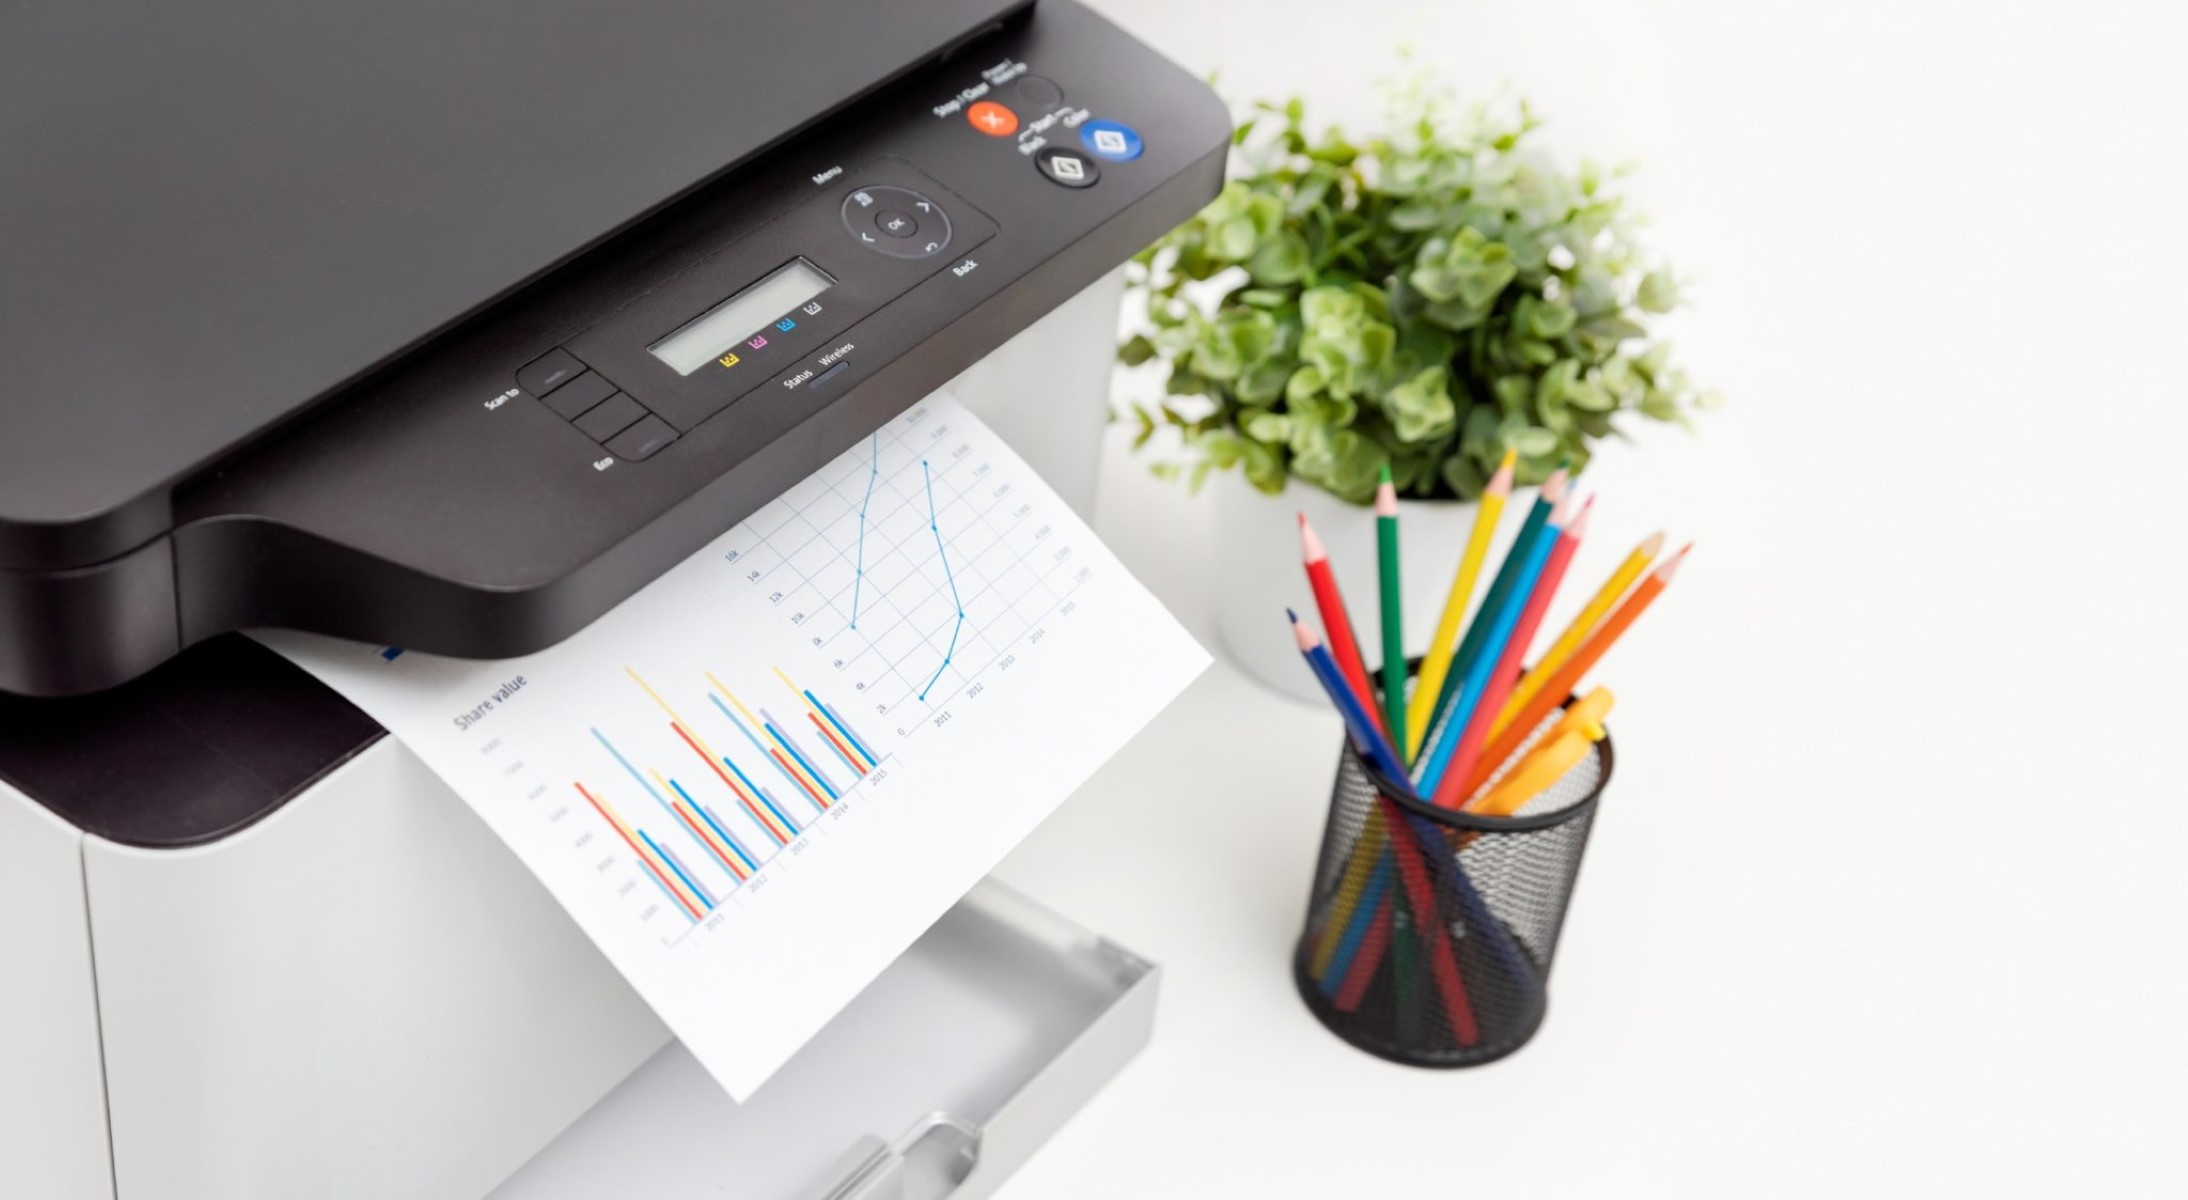
Check Ink Levels
Another common reason behind a Canon printer’s reluctance to produce documents is depleted or insufficient ink levels. Monitoring the ink levels is crucial to ensure uninterrupted printing operations. Here’s how you can check and address the ink level concerns:
- Printer Display: Many Canon printers feature a built-in display that provides ink level status. Navigate through the printer’s menu or display panel to access this information. If the display indicates low or empty ink cartridges, replacing them may resolve the printing issue.
- Software Interface: Utilize the Canon printer management software installed on your computer to check the ink levels remotely. This software often provides detailed insights into the ink status of each cartridge, allowing you to preemptively address any low-ink warnings.
- Physical Inspection: If your Canon printer utilizes transparent or translucent ink cartridges, visually inspect them to gauge the remaining ink levels. This method can serve as a quick visual indicator of whether the cartridges need replacement.
- Replace Cartridges: If the ink levels are critically low or depleted, replacing the ink cartridges with genuine Canon replacements is imperative. Using authentic Canon ink cartridges ensures optimal print quality and seamless functionality.
By diligently monitoring and managing the ink levels of your Canon printer, you can preemptively address potential printing disruptions caused by depleted ink. Once the ink levels are replenished, the printer will be primed to resume its document-producing duties, allowing you to proceed with your printing tasks without hindrance.
Run Printer Troubleshooter
When grappling with a non-printing Canon printer, utilizing the built-in printer troubleshooter can serve as a valuable diagnostic tool to identify and resolve underlying issues. The printer troubleshooter is designed to detect common printing problems and offer automated solutions. Here’s how you can run the printer troubleshooter on your Windows-based computer:
- Access Troubleshooter: Navigate to the Control Panel on your computer and locate the “Troubleshooting” option. Within the Troubleshooting menu, select “View all” to display the complete list of available troubleshooters.
- Select Printer: From the list of troubleshooters, locate and click on the “Printer” troubleshooter. This action will initiate the printer diagnostic tool, allowing it to scan for and address potential printing issues.
- Follow Prompts: The printer troubleshooter will prompt you to follow a series of on-screen instructions to initiate the diagnostic process. This may involve verifying printer connections, checking for driver issues, or resolving print queue conflicts.
- Review Results: After the troubleshooter completes its diagnostic scan, it will present a summary of the identified issues and the actions taken to resolve them. Review this summary to gain insights into any detected problems and their respective resolutions.
If you’re using a Mac computer, you can leverage the “Print & Scan” preferences to troubleshoot printing issues. Within the “Print & Scan” preferences, select the printer experiencing issues and click on the “Open Print Queue” button. From there, you can troubleshoot and clear any pending print jobs that may be obstructing the printing process.
By running the printer troubleshooter, you can leverage the diagnostic capabilities of your operating system to pinpoint and potentially resolve the factors contributing to your Canon printer’s printing woes. This proactive approach can expedite the troubleshooting process and pave the way for a swift restoration of printing functionality.
Update Printer Driver
Ensuring that your Canon printer has the latest and most compatible driver installed is crucial for optimal performance and seamless printing operations. Outdated or incompatible printer drivers can lead to a myriad of printing issues, including the inability to print. Here’s a step-by-step guide to updating the printer driver on your Windows-based computer:
- Access Device Manager: Right-click on the “Start” button and select “Device Manager” from the context menu. The Device Manager provides a comprehensive view of all hardware components, including printers, connected to your computer.
- Locate Printer: Within the Device Manager window, expand the “Print queues” category to reveal the list of installed printers. Right-click on your Canon printer and select “Update driver” from the dropdown menu.
- Automatic Driver Update: Opt for the automatic driver update option, allowing Windows to search for the latest driver software online. If an updated driver is found, Windows will proceed to download and install it seamlessly.
- Manual Driver Installation: If the automatic update fails to procure the latest driver, you can manually download the updated driver from the Canon official website. Navigate to the “Support” or “Downloads” section, locate your printer model, and download the latest driver compatible with your operating system.
- Install Updated Driver: Once the updated driver is downloaded, run the installation package and follow the on-screen instructions to install the new driver. Restart your computer after the installation process is complete to ensure the changes take effect.
For Mac users, updating the printer driver involves accessing the “System Preferences” and selecting “Printers & Scanners.” From there, you can add or update the printer driver by clicking the “+” button and selecting the updated driver from the list of available drivers.
By ensuring that your Canon printer is equipped with the latest driver software, you can mitigate potential compatibility issues and enhance its printing capabilities. An updated driver fosters seamless communication between your computer and the printer, laying the foundation for consistent and trouble-free printing experiences.
Check the printer connection and make sure it’s properly plugged in. Also, ensure there’s enough paper and ink. If the issue persists, try restarting the printer and your computer.
Read more: Why Is My Canon Printer Not Responding
Clear Printer Queue
The printer queue, a repository for pending print jobs, can sometimes become clogged with stalled or corrupted print tasks, leading to printing delays or the complete cessation of printing activities. Clearing the printer queue is a fundamental troubleshooting step to address these obstructions and restore the printer’s functionality. Here’s how you can clear the printer queue on a Windows-based computer:
- Access Print Queue: To access the printer queue, navigate to the Control Panel and select “Devices and Printers.” Locate your Canon printer, right-click on it, and choose “See what’s printing” from the context menu.
- Clear Pending Jobs: Within the print queue window, click on “Printer” in the top menu bar and select “Open as Administrator.” This action grants administrative privileges to clear the print queue. Subsequently, click on “Printer” again and choose “Cancel All Documents” to clear the pending print jobs.
- Restart Print Spooler: In some cases, the print spooler service, responsible for managing print jobs, may encounter issues that impede its functionality. To address this, you can restart the print spooler service by accessing the Services application, locating the “Print Spooler” service, and restarting it.
For Mac users, clearing the print queue involves accessing the “Print & Scan” preferences and selecting the Canon printer. From there, you can click on the “Open Print Queue” button and remove any stalled or unwanted print jobs from the queue.
By clearing the printer queue and ensuring its unobstructed functionality, you can eliminate potential bottlenecks that hinder the printing process. This proactive measure sets the stage for seamless print job management and empowers your Canon printer to efficiently process and produce your documents without impediments.
Restart Print Spooler Service
The print spooler service plays a pivotal role in managing print jobs and ensuring their orderly execution. However, disruptions or errors within the print spooler can impede the printing process, leading to unresponsive behavior from the Canon printer. Restarting the print spooler service can often resolve these issues and restore the printer’s functionality. Here’s a guide to restarting the print spooler service on a Windows-based computer:
- Access Services: Press the Windows key + R to open the Run dialog, then type “services.msc” and press Enter. This action will launch the Services application, which provides management capabilities for various system services, including the print spooler.
- Locate Print Spooler: In the Services window, scroll down or use the alphabetical order to locate the “Print Spooler” service. Right-click on the Print Spooler and select “Restart” from the context menu. This will initiate the restart process for the print spooler service.
- Alternative Method: If the restart option is unavailable or ineffective, you can stop the print spooler service, wait for a few moments, and then start it again. This process can help reset the print spooler and address any underlying issues.
By restarting the print spooler service, you can effectively refresh its functionality and address potential errors or disruptions that may be hindering the printing process. This proactive measure can swiftly rectify print spooler-related issues, allowing your Canon printer to resume its document-producing duties without impediments.
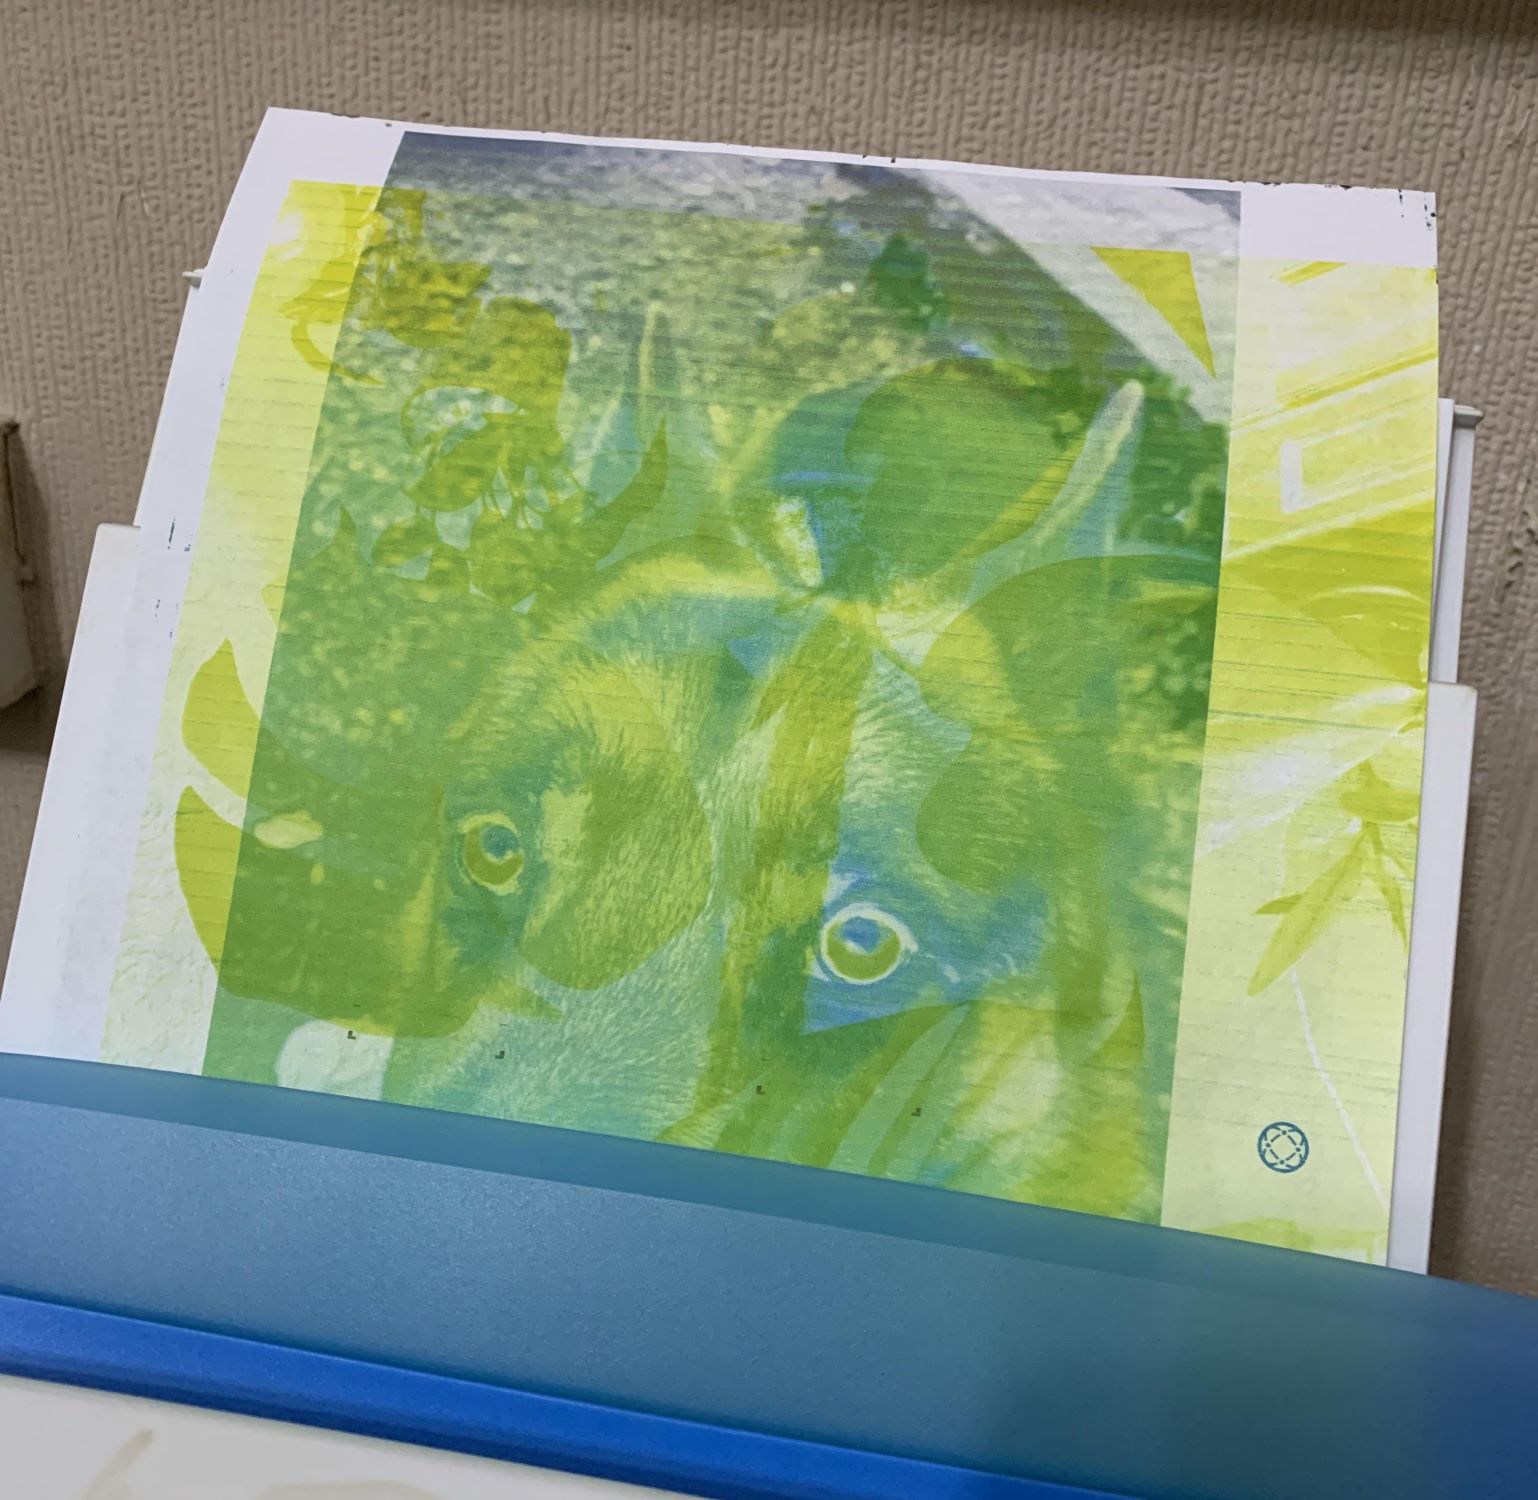
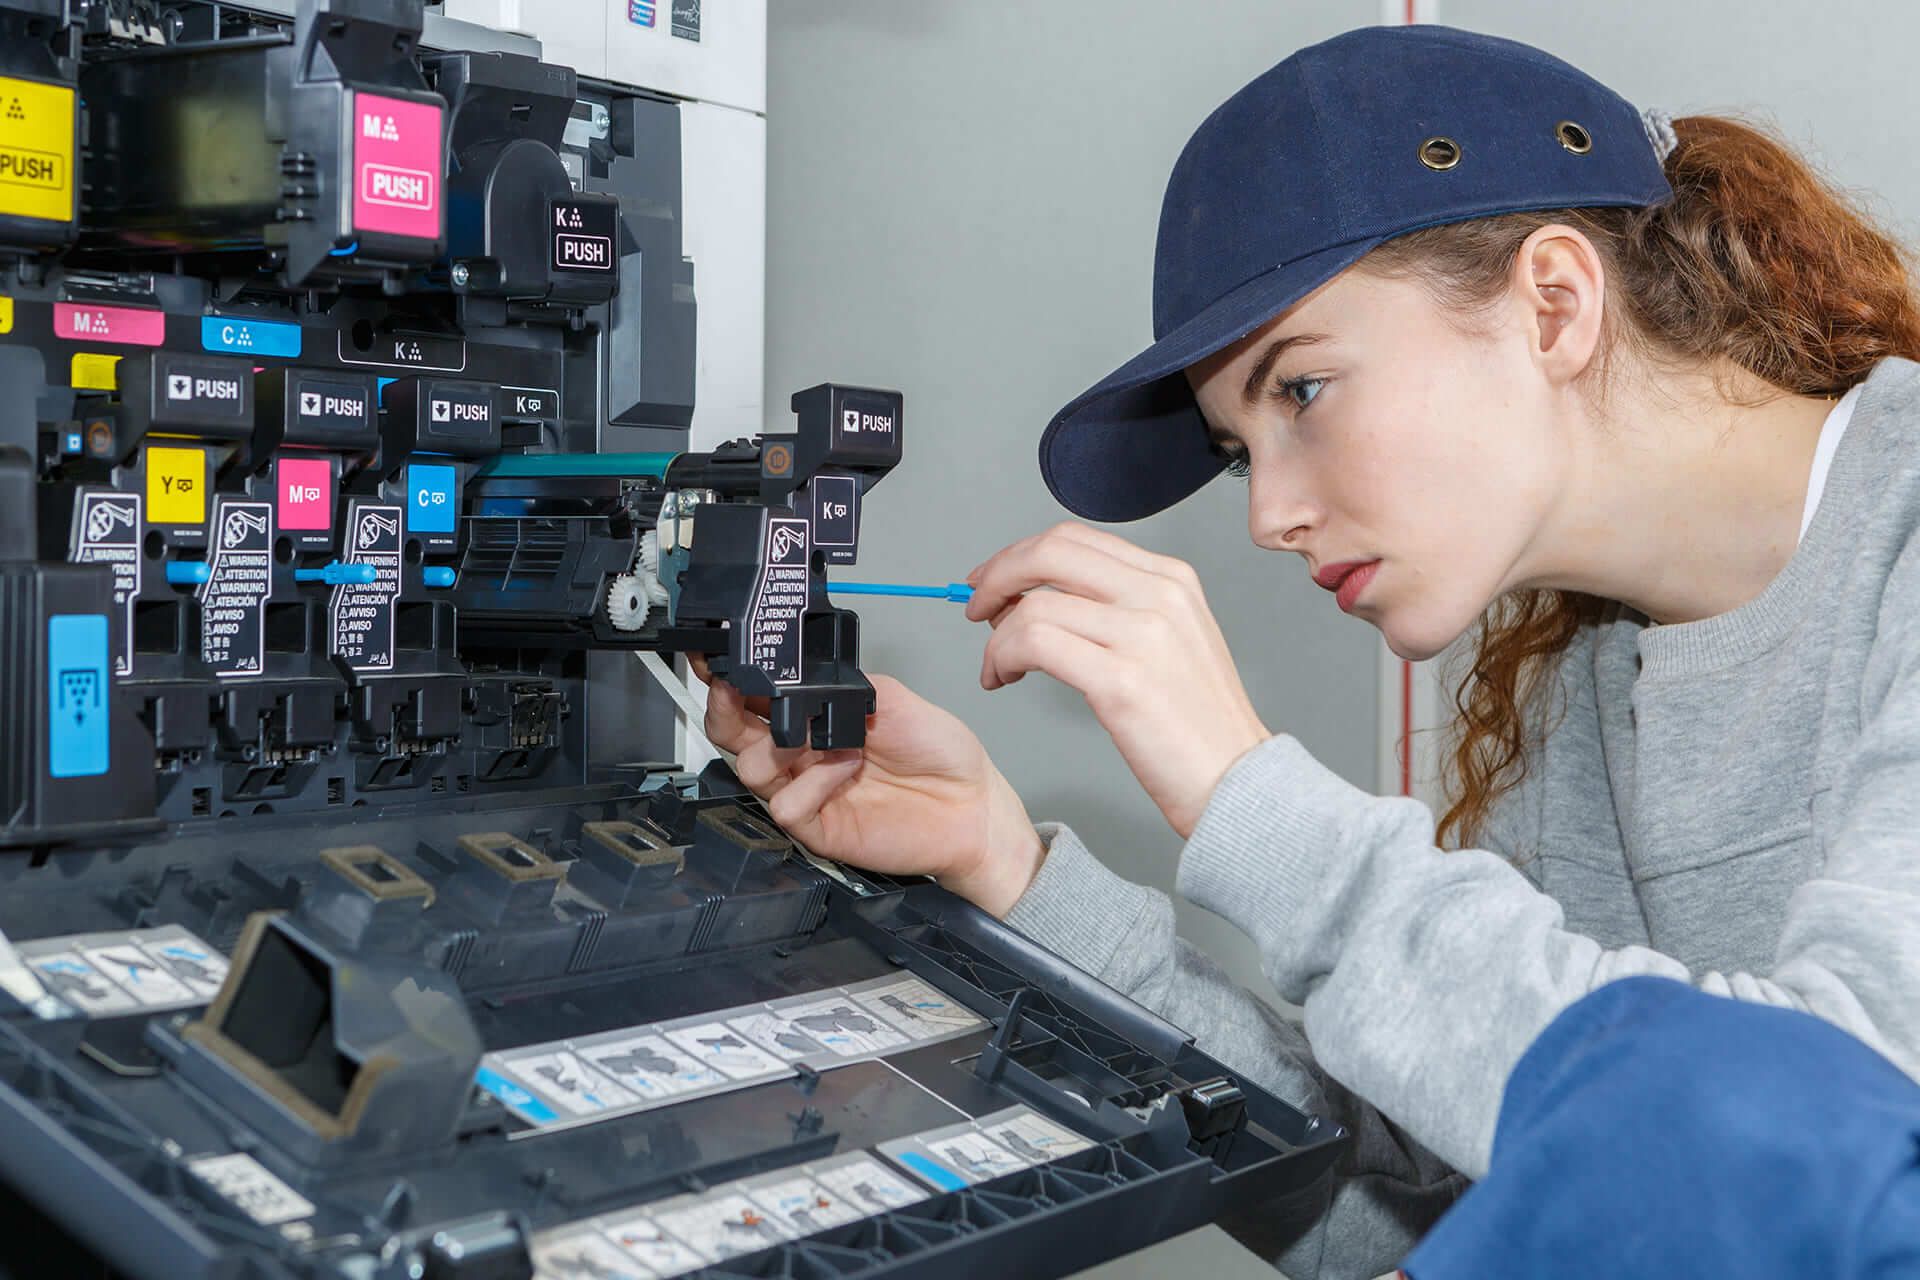
Clean Print Head
Over time, the print head of a Canon printer can become clogged or contaminated with dried ink, leading to diminished print quality or, in more severe cases, the complete cessation of printing. Cleaning the print head is a crucial maintenance task that can revitalize the printer’s performance and restore pristine print output. Here’s a comprehensive guide to cleaning the print head of your Canon printer:
- Access Maintenance Settings: Depending on your Canon printer model, access the printer’s maintenance or settings menu through the control panel or the printer management software installed on your computer.
- Initiate Print Head Cleaning: Within the maintenance settings, locate the option to clean the print head. This action will prompt the printer to perform a self-cleaning routine to dislodge any dried ink or debris obstructing the print head nozzles.
- Manual Cleaning: If the automatic print head cleaning proves insufficient, you can perform a manual cleaning using specialized cleaning cartridges or cleaning kits designed for Canon printers. These kits typically include cleaning solutions and tools to meticulously clean the print head nozzles.
- Follow Manufacturer Guidelines: Adhere to the specific cleaning instructions provided by Canon for your printer model. These guidelines may include the use of proprietary cleaning solutions, the duration of the cleaning process, and the recommended frequency of print head maintenance.
- Test Print: After the print head cleaning process is complete, perform a test print to assess the print quality and verify if the cleaning efforts have successfully rejuvenated the print head. This test print can serve as a tangible indicator of the effectiveness of the cleaning procedure.
By diligently cleaning the print head of your Canon printer, you can mitigate print quality issues and address potential obstructions that impede the printing process. This proactive maintenance task prolongs the longevity of your printer and ensures consistent, high-quality print output for your documents and images.
Conclusion
Embarking on the journey to troubleshoot and resolve a non-printing Canon printer requires patience, diligence, and a systematic approach. Throughout this comprehensive guide, we’ve navigated through various potential factors contributing to the printing predicament and elucidated practical solutions to reignite your Canon printer’s document-producing prowess.
From verifying the printer’s connection status to addressing ink level concerns, running diagnostic troubleshooters, updating the printer driver, clearing print queues, and rejuvenating the print head, we’ve delved into a myriad of troubleshooting avenues to restore seamless printing functionality.
By meticulously examining and addressing each potential obstacle, you’ve gained valuable insights into diagnosing and resolving the root causes of the printing issue. Whether it’s a connectivity hiccup, an ink-related concern, or a print spooler disruption, you’ve equipped yourself with the knowledge and tools to navigate these challenges with confidence.
As you apply the troubleshooting techniques outlined in this guide, remember that each step brings you closer to reclaiming the efficient and reliable printing capabilities of your Canon printer. Embrace the troubleshooting process as an opportunity to foster a deeper understanding of your printer’s functionality and to cultivate proactive maintenance habits that enhance its longevity and performance.
Armed with the insights and strategies garnered from this guide, you’re poised to conquer the non-printing conundrum and usher your Canon printer back into the realm of seamless document production. So, with determination and a touch of troubleshooting finesse, you’re well-equipped to triumph over the printing woes and restore your Canon printer to its document-producing glory.
Frequently Asked Questions about Why Is My Canon Printer Not Printing
Was this page helpful?
At Storables.com, we guarantee accurate and reliable information. Our content, validated by Expert Board Contributors, is crafted following stringent Editorial Policies. We're committed to providing you with well-researched, expert-backed insights for all your informational needs.


0 thoughts on “Why Is My Canon Printer Not Printing”