Home>Technology>Smart Home Devices>Why Is My Thermal Printer Not Printing
Smart Home Devices
Why Is My Thermal Printer Not Printing
Modified: October 19, 2024
Discover troubleshooting tips for smart home devices and learn why your thermal printer may not be printing. Find solutions to common issues now!
(Many of the links in this article redirect to a specific reviewed product. Your purchase of these products through affiliate links helps to generate commission for Storables.com, at no extra cost. Learn more)
**
Introduction
**
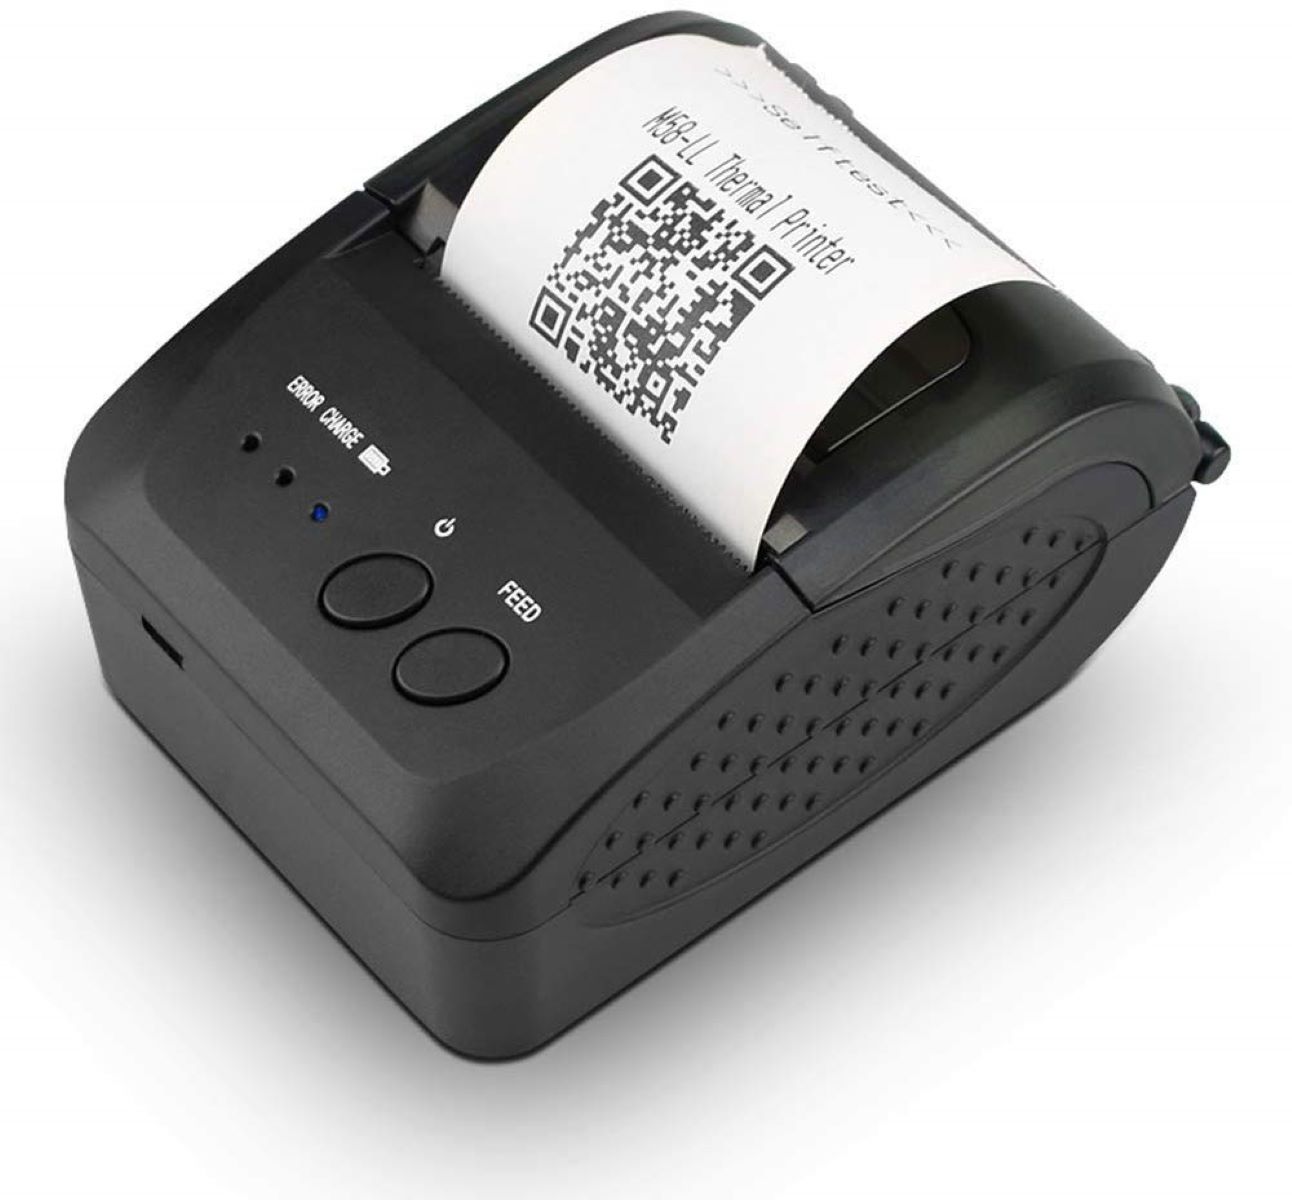
Welcome to the world of thermal printers, where efficiency and convenience meet modern printing needs. Thermal printers have become essential in various settings, from retail and hospitality to healthcare and logistics. These devices offer fast, high-quality printing without the need for ink cartridges, making them a popular choice for businesses and individuals alike.
However, encountering issues with your thermal printer, such as printing errors or malfunctions, can be frustrating and disruptive. If you're experiencing the frustration of your thermal printer not printing, fear not – this comprehensive guide will walk you through the troubleshooting steps to identify and resolve the issue. Whether you're a business owner relying on thermal printers for receipts and labels or an individual user seeking to address a printing problem, this guide is designed to assist you in getting your thermal printer back up and running smoothly.
In the following sections, we will delve into various factors that could contribute to your thermal printer's printing issues. From power and connection checks to inspecting paper and ribbon, cleaning the print head, updating printer drivers, and resetting printer settings, we will explore each step in detail to help you diagnose and resolve the problem.
By the end of this guide, you will have a clear understanding of the potential reasons behind your thermal printer's printing problems and the necessary steps to take in order to troubleshoot and resolve the issue. Let's embark on this journey to restore your thermal printer's functionality and ensure seamless printing operations.
**
Key Takeaways:
- Keep your thermal printer running smoothly by checking power, inspecting paper and ribbon, cleaning the print head, updating drivers, and resetting settings. Regular maintenance ensures high-quality prints for your needs.
- Troubleshoot thermal printer issues with patience and attention to detail. Follow the guide to diagnose and resolve printing problems, ensuring long-term reliability and performance for your printing tasks.
Read more: Why Is My Printer Printing Green
Check Power and Connection
**
When your thermal printer fails to produce the expected prints, the first step is to ensure that the power supply and connections are in proper working order. A lack of power or faulty connections can often be the culprit behind printing issues. Here are the key steps to take in troubleshooting the power and connection aspects:
-
Power Source: Verify that the printer is receiving power and that the power source is functional. Check the power cable for any signs of damage and ensure that it is securely connected to both the printer and the power outlet.
-
Indicator Lights: Many thermal printers feature indicator lights that provide valuable insights into their operational status. Take note of any error indicators or unusual light patterns, as these can offer clues about potential issues related to power or connectivity.
-
Cables and Ports: Inspect the cables connecting the printer to the power source and the computer or other devices. Ensure that the cables are not frayed or damaged, and that they are securely plugged into the appropriate ports.
-
Power Cycle: Sometimes, a simple power cycle can resolve minor issues. Turn off the printer, disconnect it from the power source, and wait for a few minutes before reconnecting and powering it back on. This can help reset the printer and address temporary glitches.
-
Network Connectivity: For network-connected thermal printers, check the network connections and settings. Ensure that the printer is properly connected to the network and that the network configuration aligns with the intended setup.
By systematically assessing the power supply and connections, you can rule out potential issues stemming from inadequate power or faulty connections. Once you have confirmed that the printer is receiving power and the connections are secure, you can proceed to the next steps in diagnosing and resolving the printing problem.
**
Inspect Paper and Ribbon
**
When your thermal printer experiences printing issues, it’s crucial to examine the paper and ribbon components, as they play a significant role in the printing process. Here are the essential steps to take when inspecting the paper and ribbon:
-
Paper Roll Installation: Ensure that the paper roll is correctly installed in the printer. Verify that the paper feeds smoothly and that there are no obstructions or jams within the paper path. Additionally, confirm that the paper roll is of the appropriate size and type for your thermal printer.
-
Paper Quality: The quality of the paper used in thermal printing can impact the output. Check for any wrinkles, tears, or irregularities in the paper, as these can hinder the printing process. Using high-quality, undamaged paper is essential for optimal printing results.
-
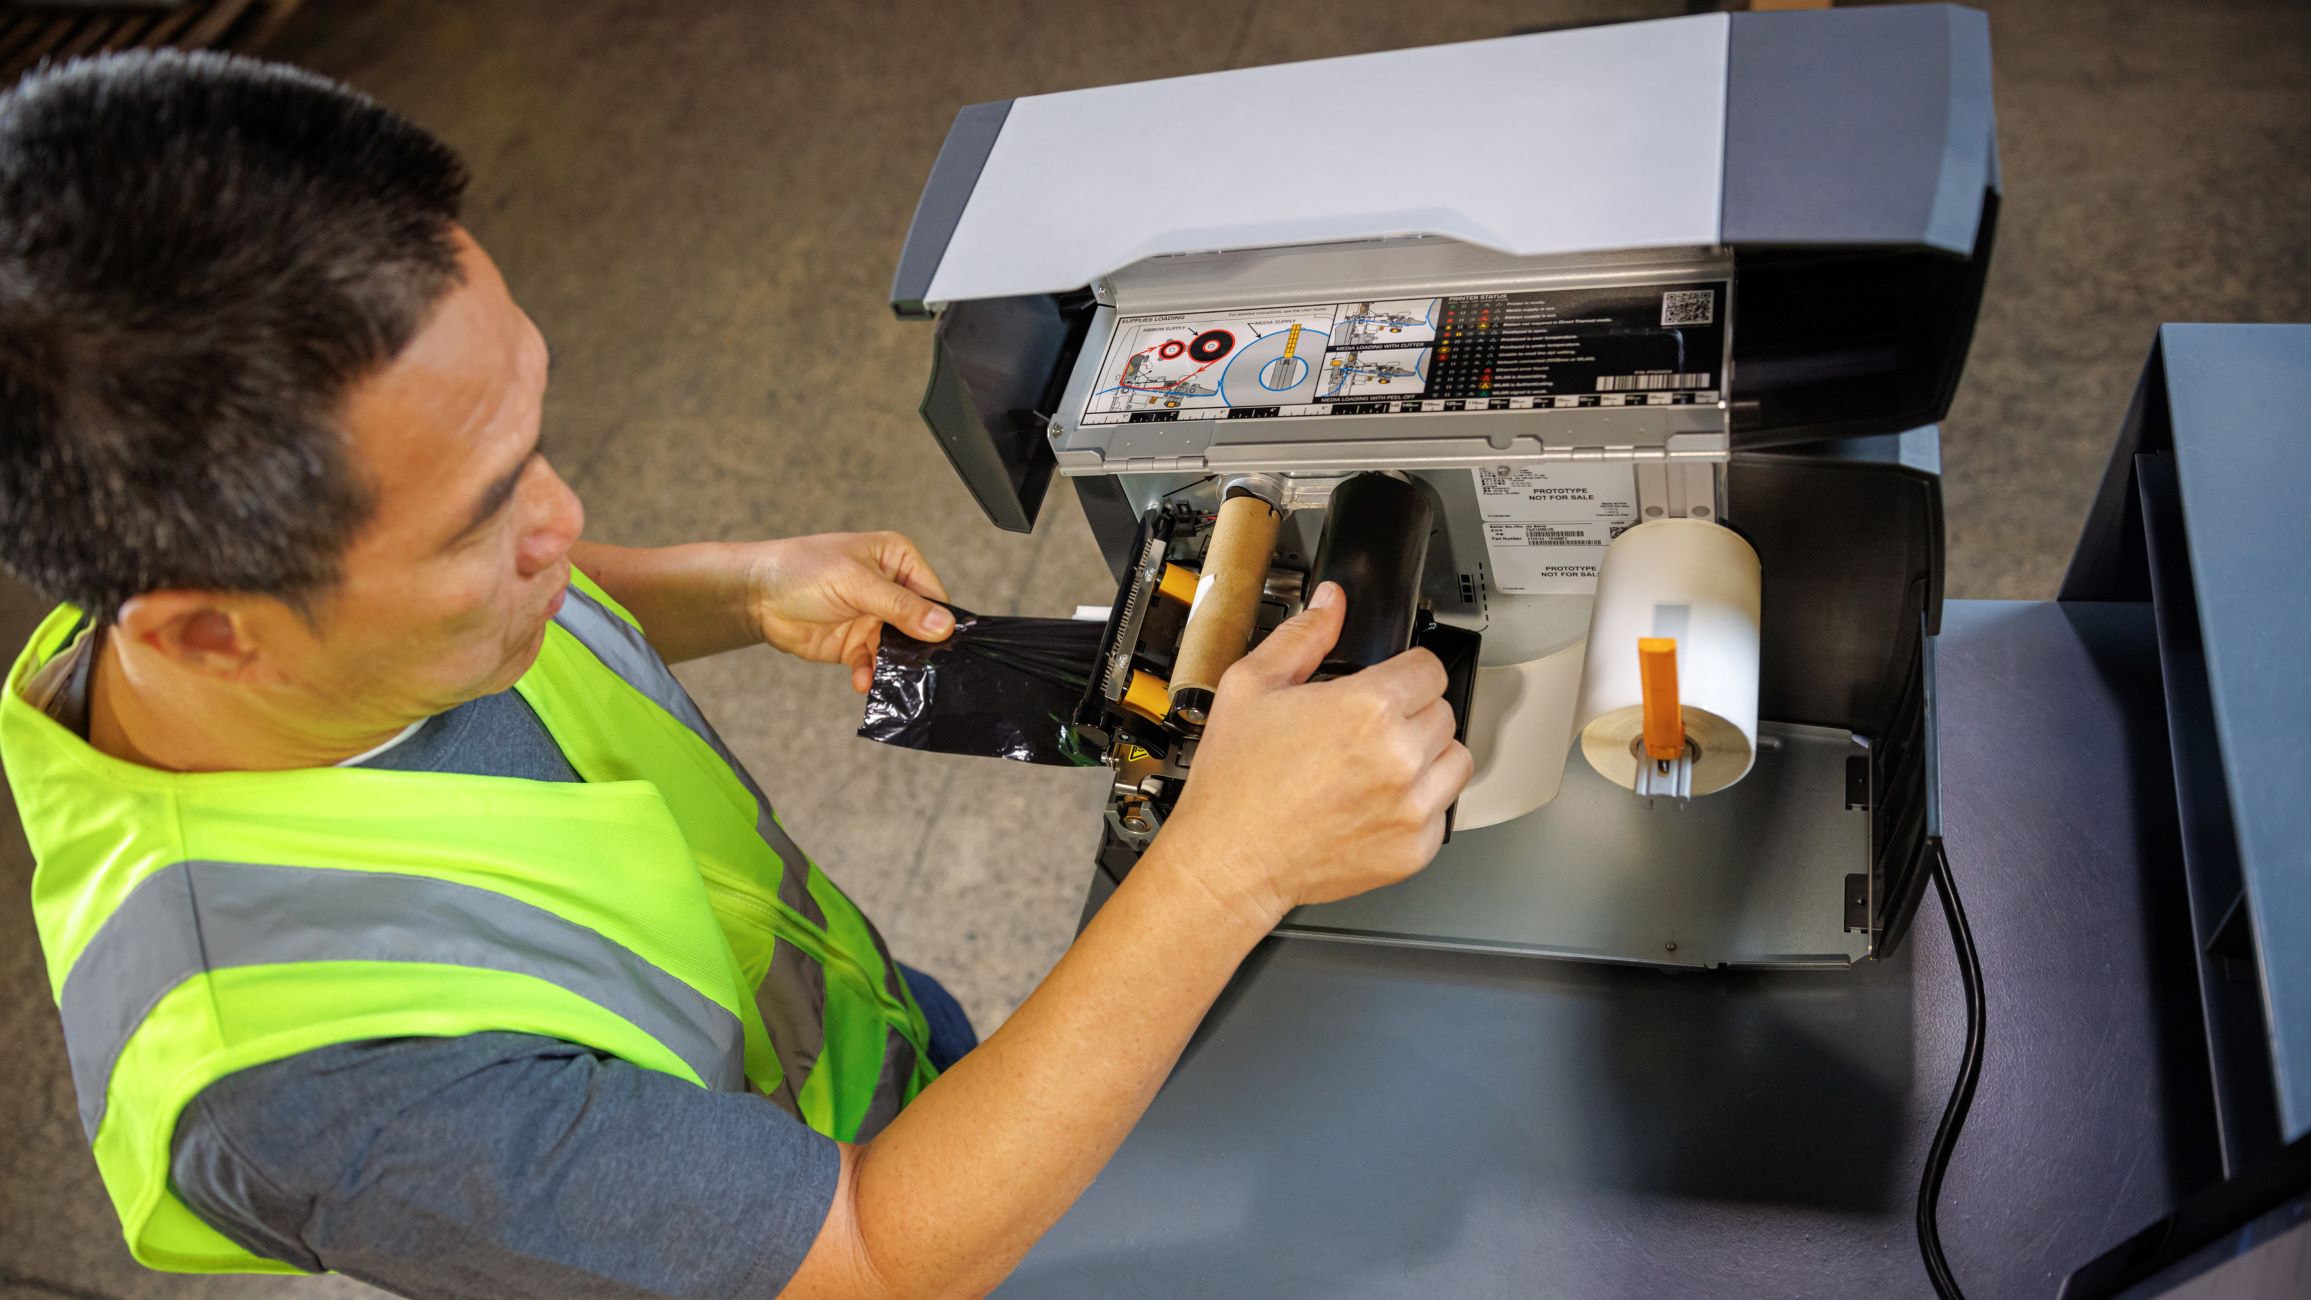
Ribbon Installation: For thermal transfer printers that utilize ribbons, inspect the ribbon installation to ensure it is properly aligned and threaded. Verify that the ribbon is not twisted or tangled, as this can lead to printing errors and poor print quality.
-
Ribbon Quality: If your thermal printer employs a ribbon for printing, assess the condition of the ribbon. A worn-out or damaged ribbon can impede the printing process, resulting in faded or incomplete prints. Consider replacing the ribbon if it shows signs of wear or damage.
-
Print Head Cleaning: Over time, debris and residue can accumulate on the print head, affecting print quality. Regularly clean the print head according to the manufacturer’s guidelines to ensure optimal performance and minimize printing issues related to paper and ribbon interactions.
By meticulously examining the paper and ribbon elements of your thermal printer, you can identify and address potential issues that may be hindering the printing process. Ensuring proper installation, quality, and maintenance of these components is essential for achieving consistent and high-quality prints.
**
Clean the Print Head
**
The print head of a thermal printer is a critical component responsible for transferring the thermal energy onto the paper, resulting in the desired prints. Over time, the print head can become contaminated or obstructed, leading to printing issues such as faded prints or incomplete characters. Here’s a step-by-step guide to effectively clean the print head of your thermal printer:
-
Power Off the Printer: Before initiating the cleaning process, ensure that the printer is powered off and unplugged from the electrical source to prevent any mishaps during the cleaning procedure.
-
Access the Print Head: Depending on the printer model, access the print head area by opening the printer cover or designated access panel. Refer to the printer’s user manual for specific instructions on locating and accessing the print head.
-
Use Cleaning Supplies: Utilize specialized print head cleaning supplies recommended by the printer manufacturer. These may include cleaning swabs, alcohol wipes, or cleaning pens designed for print head maintenance.
-
Gently Clean the Print Head: Carefully clean the print head surface using the designated cleaning supplies. Ensure gentle yet thorough contact with the print head to remove any accumulated debris, dust, or residue that may be hindering its functionality.
-
Allow for Drying Time: After cleaning the print head, allow sufficient time for any residual cleaning agents to evaporate and the print head to dry completely before closing the printer cover and powering it back on.
Regular maintenance and cleaning of the print head can significantly improve print quality and prevent printing issues associated with a dirty or obstructed print head. By following these steps, you can effectively maintain the print head of your thermal printer and ensure consistent, high-quality prints for your various printing needs.
**
Check the paper roll to ensure it’s loaded correctly and not jammed. Also, clean the print head and check for any error messages on the display.
Update Printer Drivers
**
Outdated or incompatible printer drivers can contribute to printing problems with thermal printers. Keeping the printer drivers up to date is essential for maintaining optimal performance and resolving potential software-related issues. Here’s a guide to updating the printer drivers for your thermal printer:
-
Identify the Printer Model: Determine the exact model of your thermal printer, as well as the operating system of the computer or device to which it is connected. This information is crucial for obtaining the correct printer drivers.
-
Visit the Manufacturer’s Website: Access the official website of the printer manufacturer to locate the support or downloads section. Look for the latest printer drivers compatible with your printer model and operating system.
-
Download and Install the Drivers: Once you have identified the appropriate printer drivers, download them onto your computer or device. Follow the installation instructions provided by the manufacturer to install the updated drivers.
-
Check for Updates Regularly: Set a reminder to periodically check for driver updates to ensure that your thermal printer remains compatible with the latest software and operating system enhancements.
By updating the printer drivers, you can address potential software-related issues and ensure seamless communication between your thermal printer and the connected devices. This proactive approach to driver maintenance can contribute to improved printing performance and overall reliability of your thermal printer.
**
Read more: Why Is My Printer Not Printing Black
Reset Printer Settings
**
When troubleshooting printing issues with your thermal printer, resetting the printer settings can serve as a valuable step to address various operational and configuration-related issues. Here’s a comprehensive guide to resetting the printer settings:
-
Access the Settings Menu: Depending on the specific model of your thermal printer, access the settings or configuration menu through the printer’s control panel or interface. Refer to the printer’s user manual for detailed instructions on navigating the settings menu.
-
Factory Reset Option: Look for the option to perform a factory reset or restore the printer to its default settings. This option is typically available within the settings menu and allows you to reset the printer to its original configuration.
-
Confirm the Reset: Before initiating the reset process, carefully review the implications of resetting the printer settings. Confirm the action and follow any on-screen prompts to proceed with the reset.
-
Reconfigure Settings: After the reset is complete, reconfigure the printer settings according to your specific requirements. This may include adjusting print quality settings, connectivity options, and other parameters tailored to your printing needs.
By resetting the printer settings, you can effectively address configuration-related issues and restore the printer to a known, stable state. This can help resolve a wide range of operational anomalies and ensure that the printer functions optimally for your printing tasks.
**
Conclusion
**
Addressing printing issues with your thermal printer requires a systematic approach to troubleshooting and problem resolution. By following the steps outlined in this guide, you can effectively diagnose and resolve the factors contributing to your thermal printer’s printing problems. From power and connection checks to inspecting paper and ribbon, cleaning the print head, updating printer drivers, and resetting printer settings, each step plays a crucial role in restoring your thermal printer’s functionality.
It’s important to approach troubleshooting with patience and attention to detail, as identifying the root cause of the printing issues is essential for implementing the appropriate solutions. Regular maintenance and proactive measures, such as updating printer drivers and cleaning the print head, can contribute to the long-term reliability and performance of your thermal printer.
By ensuring that the power supply and connections are secure, the paper and ribbon components are in optimal condition, and the print head is clean, you can mitigate potential printing obstacles and achieve consistent, high-quality prints for your business or personal requirements.
Remember to consult the printer’s user manual and the manufacturer’s guidelines for specific instructions tailored to your thermal printer model. Additionally, staying informed about software updates and periodically checking for driver updates can further enhance the compatibility and performance of your thermal printer.
With the insights and guidance provided in this comprehensive troubleshooting guide, you are well-equipped to overcome printing challenges and maintain the efficiency of your thermal printer. By implementing the recommended steps and best practices, you can ensure that your thermal printer continues to meet your printing needs with reliability and precision.
Embrace the journey of resolving printing issues with your thermal printer, and empower yourself with the knowledge and strategies to keep your printing operations running smoothly.
Frequently Asked Questions about Why Is My Thermal Printer Not Printing
Was this page helpful?
At Storables.com, we guarantee accurate and reliable information. Our content, validated by Expert Board Contributors, is crafted following stringent Editorial Policies. We're committed to providing you with well-researched, expert-backed insights for all your informational needs.


0 thoughts on “Why Is My Thermal Printer Not Printing”