Articles
Frost-Free Faucet Leaks When Turned On
Modified: August 31, 2024
Looking for articles on fixing frost-free faucet leaks when turned on? Browse our informative guides and expert tips to solve your plumbing issue quickly.
(Many of the links in this article redirect to a specific reviewed product. Your purchase of these products through affiliate links helps to generate commission for Storables.com, at no extra cost. Learn more)
Introduction
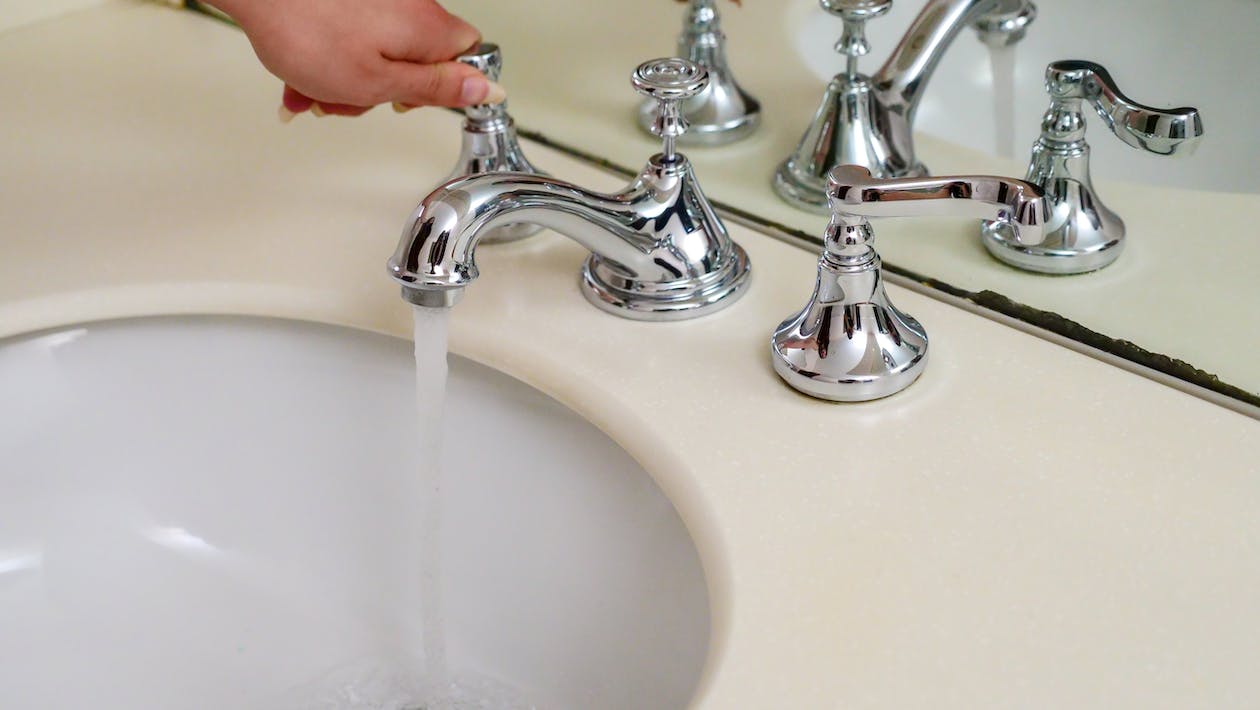
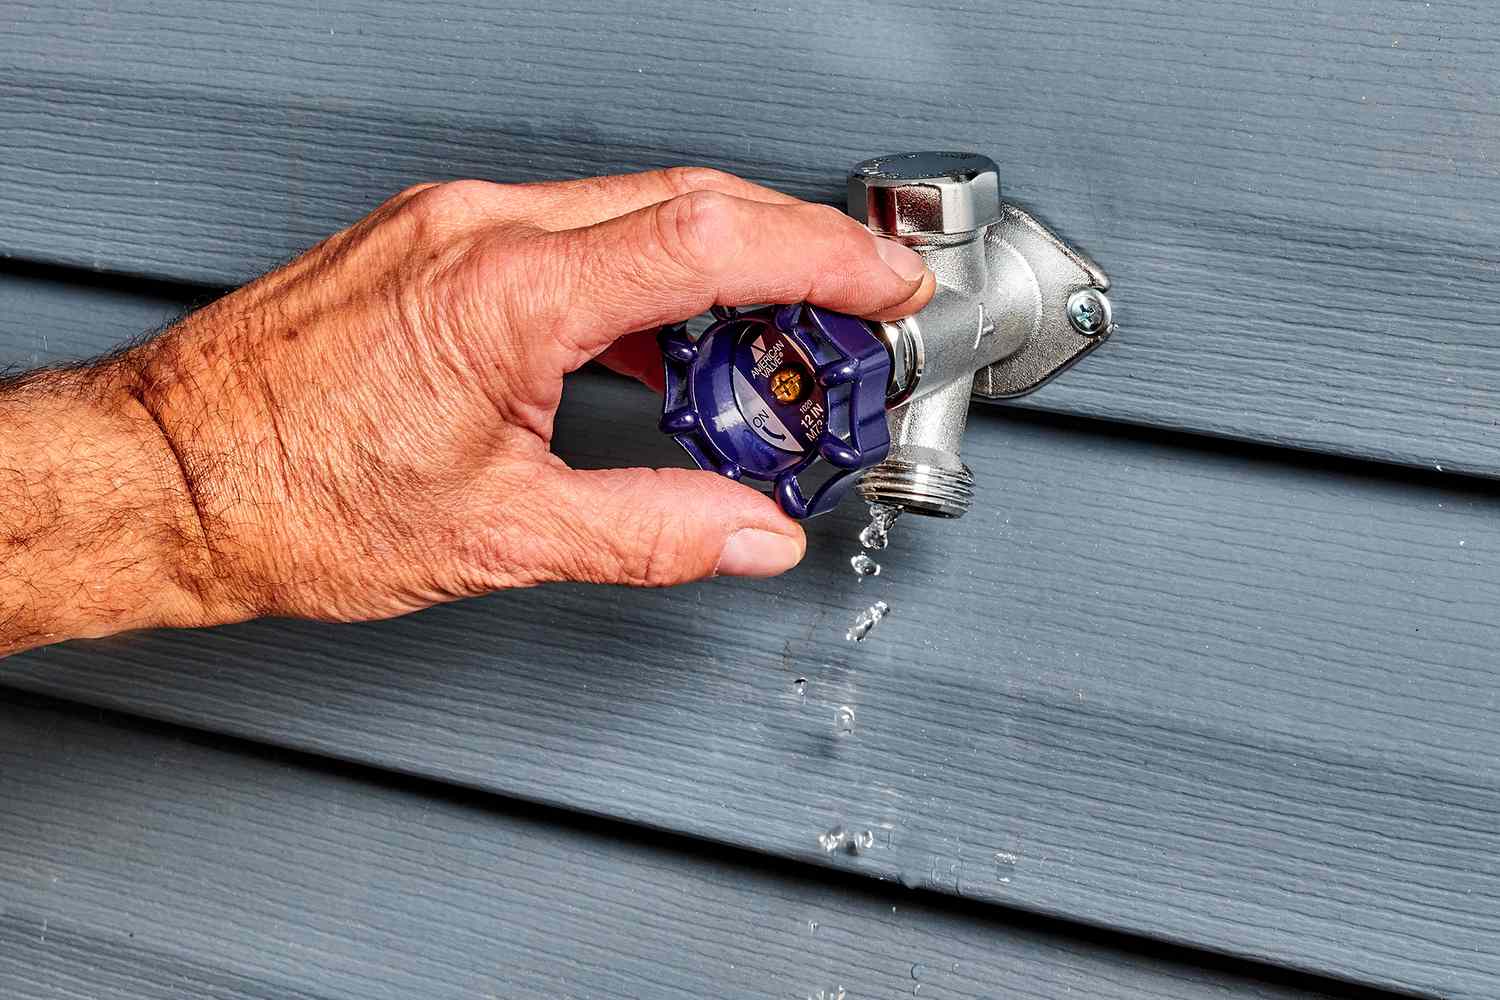
When it comes to outdoor faucets, a frost-free faucet is a popular choice for many homeowners. As the name suggests, a frost-free faucet is designed to prevent freezing during colder months, ensuring that water can flow freely even in low temperatures. However, despite their innovative design, it is not uncommon for a frost-free faucet to develop leaks when turned on.
Dealing with a leaking frost-free faucet can be frustrating, as it not only wastes water but also leads to increased water bills. Understanding the common causes of these leaks and knowing how to address them can help you resolve the issue and restore the functionality of your faucet.
In this article, we will explore the reasons why a frost-free faucet may leak when turned on and provide you with some practical steps to identify and fix the problem. Whether you are experiencing a small drip or a steady stream of water, read on to discover the common culprits behind these leaks and how to tackle them.
Key Takeaways:
- Don’t let a leaking frost-free faucet dampen your outdoor water supply. Regular inspection and addressing loose connections, valve assembly issues, and worn-out components can keep your faucet functioning efficiently.
- When dealing with a leaking frost-free faucet, don’t hesitate to seek professional assistance if needed. Addressing loose connections, valve assembly issues, and worn-out components promptly can prevent water wastage and potential damage.
Read more: How Does A Frost Free Faucet Work
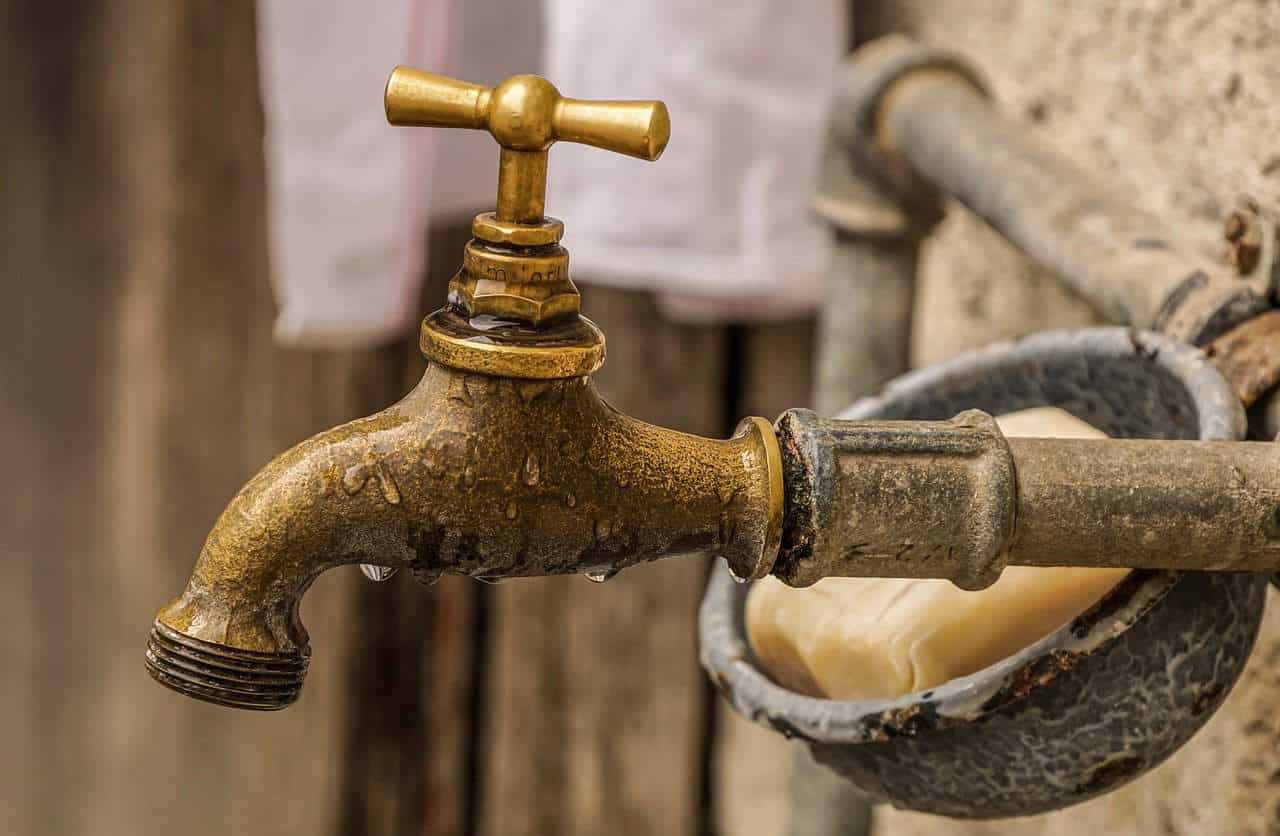
Understanding a Frost-Free Faucet
A frost-free faucet, also known as a freeze-proof faucet or a sillcock, is designed to protect against freezing in colder temperatures. Unlike traditional faucets, a frost-free faucet has a long extension pipe that goes deep into the wall, where it is insulated from the cold air. This design prevents freezing and allows water to flow freely, even during freezing weather.
The key component of a frost-free faucet is the valve assembly, which is located inside the house, where it remains protected from freezing temperatures. When the faucet is turned off, the water supply is shut off at the valve, and the remaining water in the pipe drains out through the spout. This drainage prevents water from freezing and causing damage to the faucet.
When the faucet is turned on, the valve opens, allowing water to flow through the spout to the outside. Once the water is shut off, the valve closes, preventing water from entering the faucet and freezing in the pipe.
It is important to note that a frost-free faucet is not completely immune to freezing. If the faucet is not properly insulated or if the valve assembly is damaged, it can still be susceptible to freezing. This is why it is essential to understand the potential causes of leaks and address them promptly to ensure the optimal functioning of your frost-free faucet.
Common Causes of Leaks in a Frost-Free Faucet When Turned On
There are several common causes that can lead to leaks in a frost-free faucet when it is turned on. Understanding these causes can help you identify the source of the problem and take the necessary steps to fix it. Here are some of the most frequent culprits:
- Loose or damaged connections: Over time, the connections between the faucet and the pipe can become loose or damaged, resulting in leaks. Inspect these connections for any signs of wear, corrosion, or looseness.
- Malfunctioning valve assembly: The valve assembly inside the house is responsible for controlling the flow of water. If there is a problem with the assembly, such as a broken or worn-out seal, it can cause leaks when the faucet is turned on.
- Handle or stem assembly issues: The handle or stem assembly can also contribute to leaks. If the handle or stem is damaged, worn, or improperly aligned, it may not properly shut off the water flow, resulting in leaks.
- Washer or cartridge problems: Inside the faucet, there may be a rubber washer or a cartridge that helps control the flow of water. If these components are worn, cracked, or damaged, they can cause leaks when the faucet is turned on.
- Leaking faucet handle: Sometimes, the leak may not be from the spout but from the handle itself. This can occur when the handle packing or O-ring is worn out or damaged, allowing water to seep through.
It is essential to carefully inspect these components to determine the root cause of the leak. Identifying the specific issue will guide you in the appropriate solution, whether it involves tightening connections, replacing parts, or seeking professional assistance.
In the following sections, we will explore each of these causes in more detail and provide instructions on how to address them effectively.
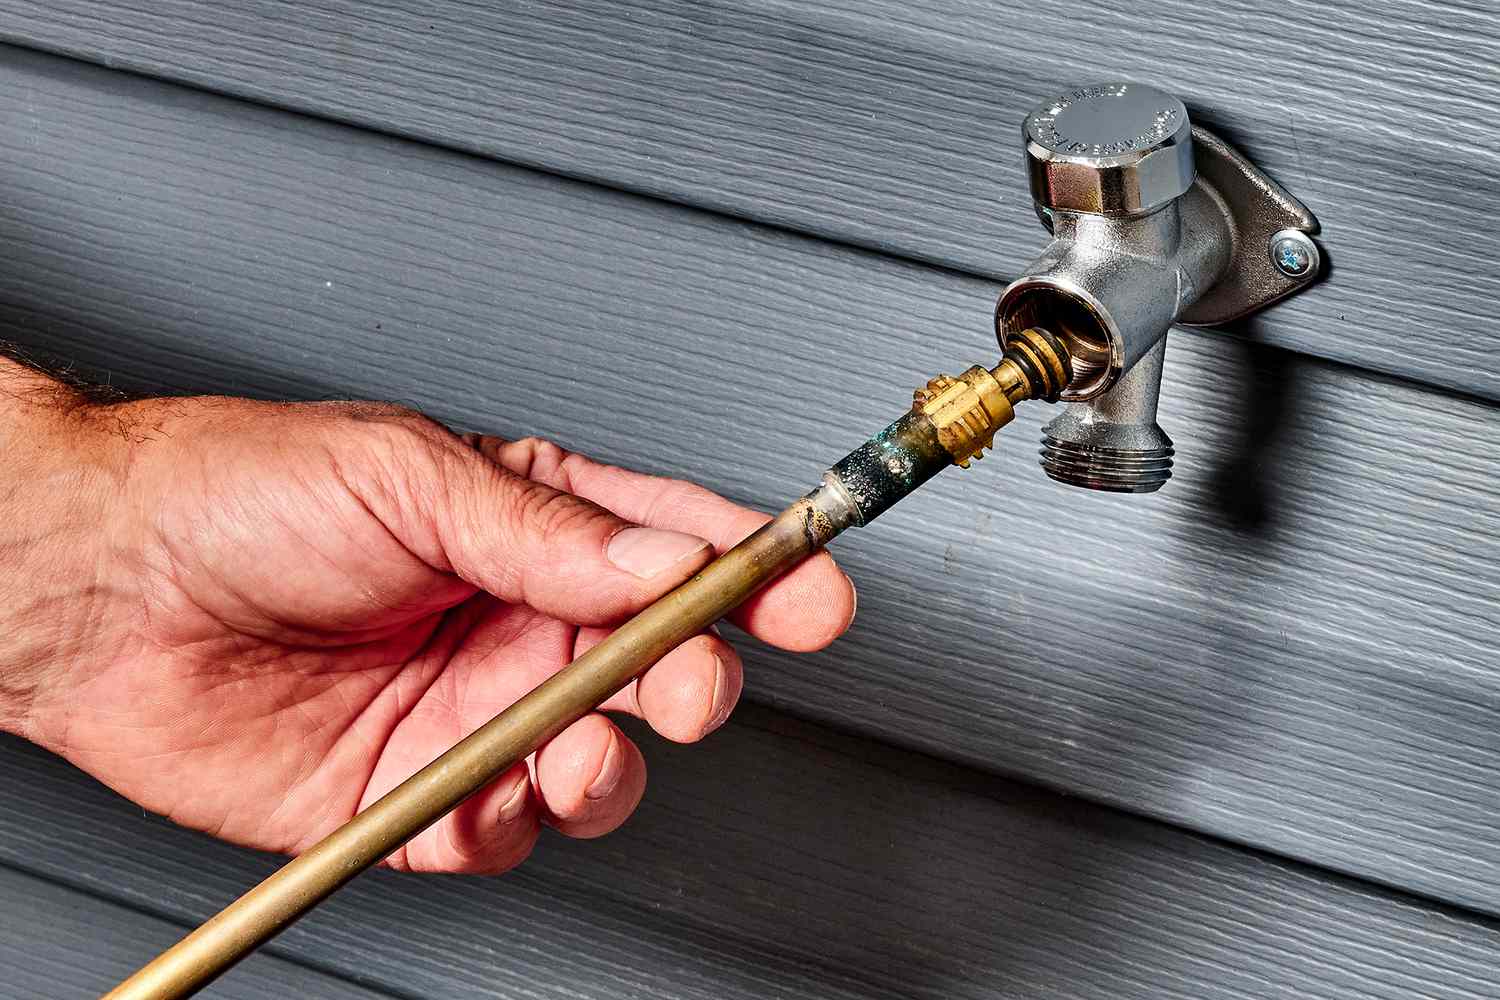
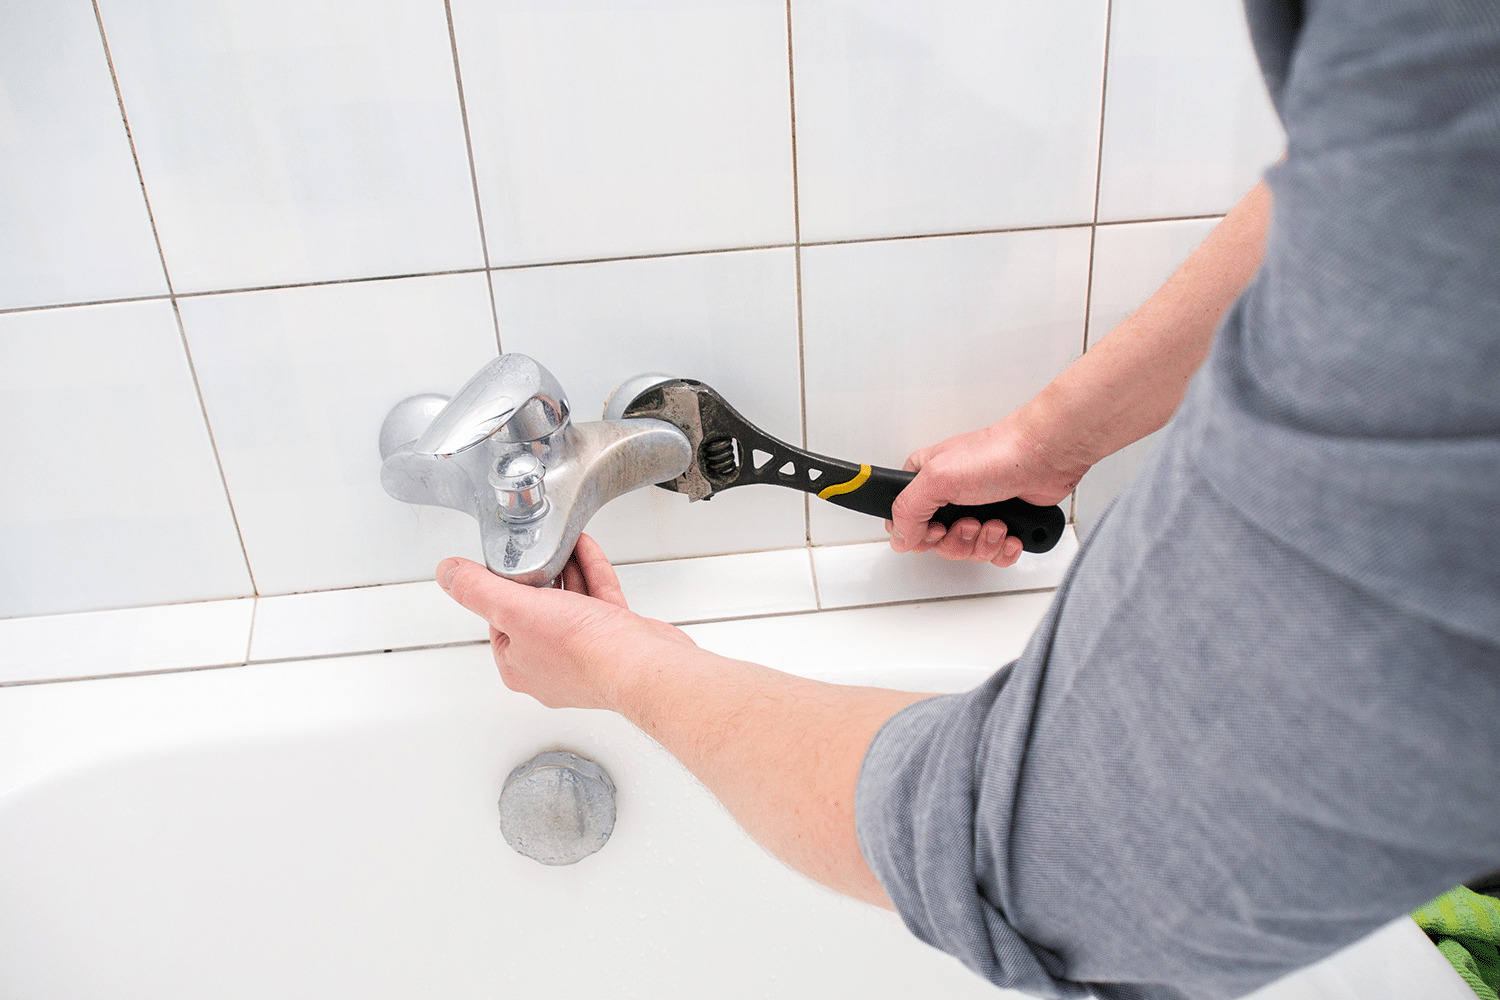
Checking for Loose or Damaged Connections
One of the most common causes of leaks in a frost-free faucet when turned on is loose or damaged connections. Over time, the connections between the faucet and the pipe can become loose or develop leaks, leading to water seepage. Follow the steps below to check for and address this issue:
- Turn off the water supply to the faucet. This is usually done by locating the shut-off valve inside the house.
- Open the faucet to release any remaining water pressure.
- Using a wrench, carefully unscrew the faucet from the pipe. Take caution not to apply excessive force to avoid damaging the pipe.
- Inspect the threads of the faucet and the pipe for any signs of wear, corrosion, or damage. If you notice any issues, consider replacing the damaged part.
- Clean the threads of the faucet and the pipe to remove any debris or residues that may cause leaks.
- Apply plumber’s tape around the threads of the faucet and the pipe. This tape helps create a watertight seal when the faucet is reattached.
- Reattach the faucet to the pipe, ensuring it is tightened securely. However, be cautious not to overtighten, as this can cause damage.
- Turn on the water supply and check for any leaks. If the connections are secure, the faucet should now function without any leakage.
By regularly checking the connections and addressing any issues promptly, you can prevent leaks and ensure the proper functioning of your frost-free faucet. However, if the leaks persist or if you are hesitant to handle the repairs yourself, it is advisable to consult a professional plumber for further assistance.
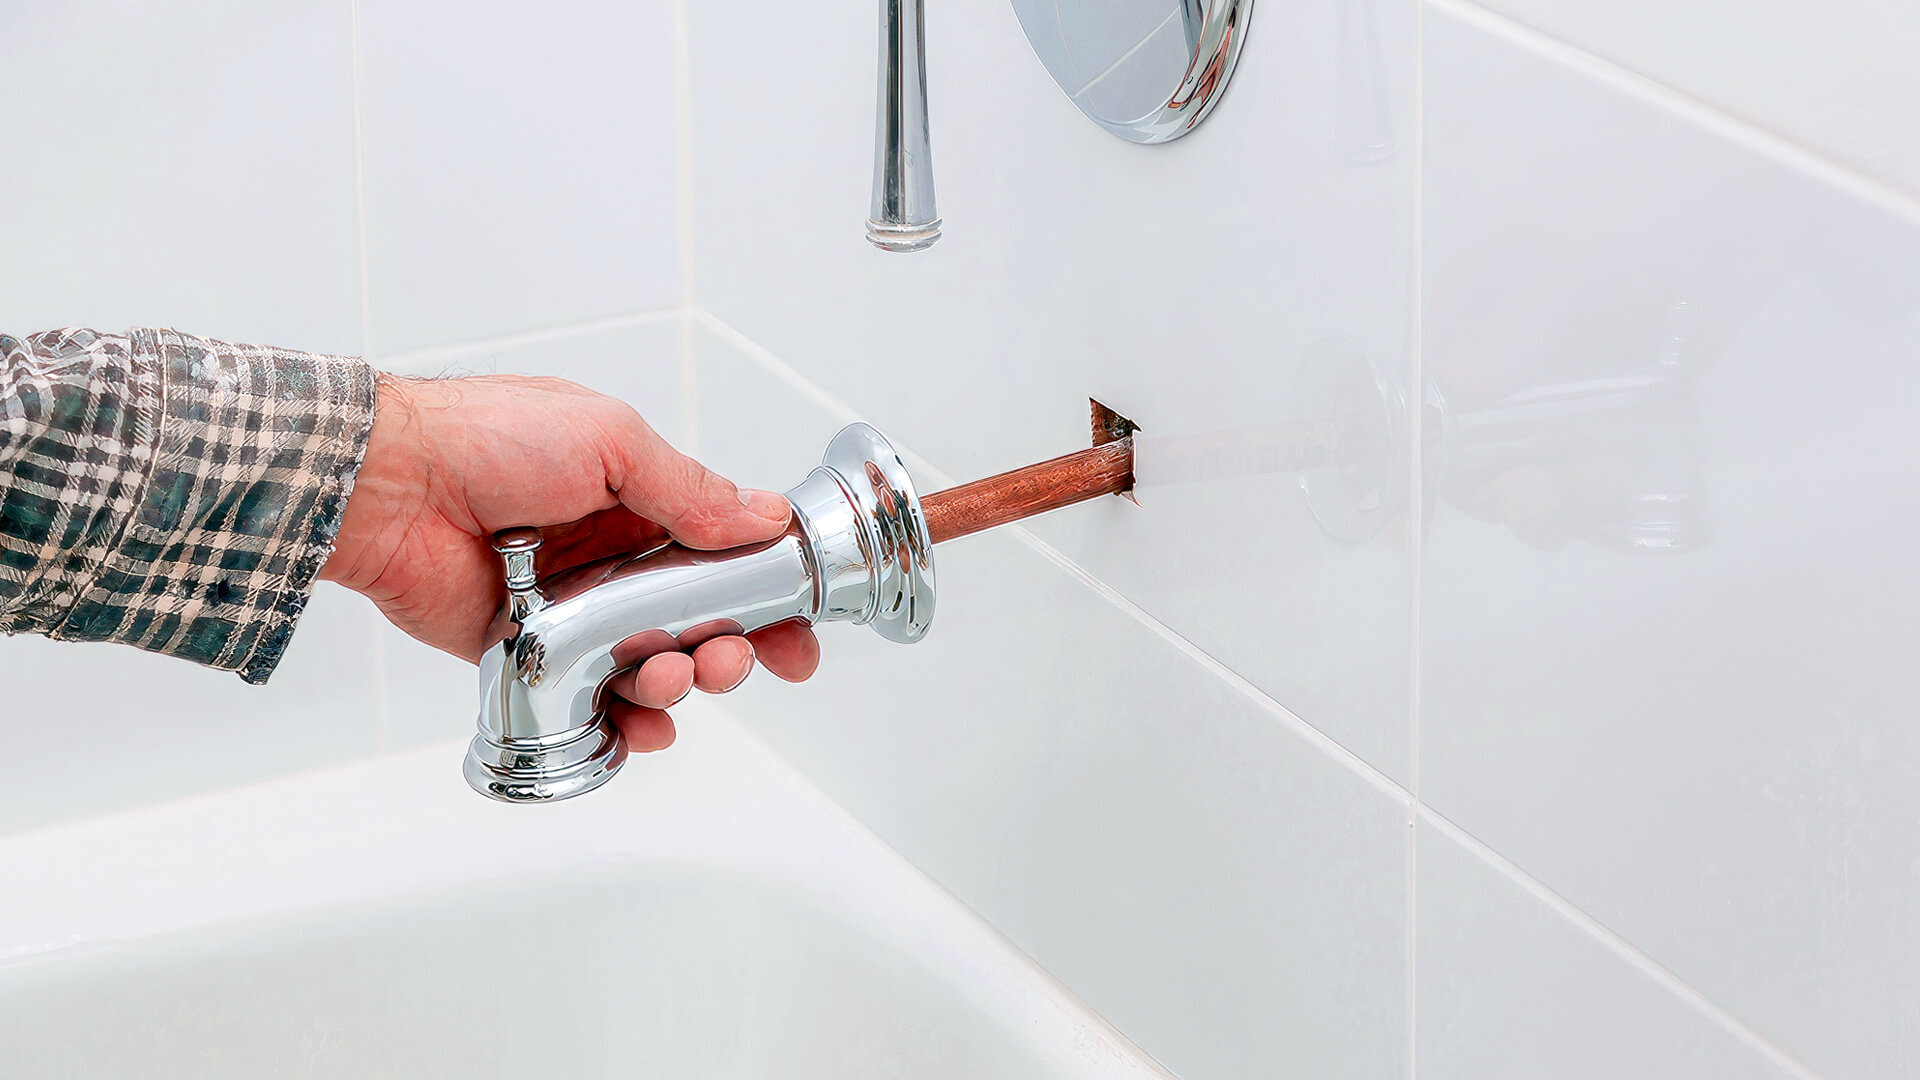
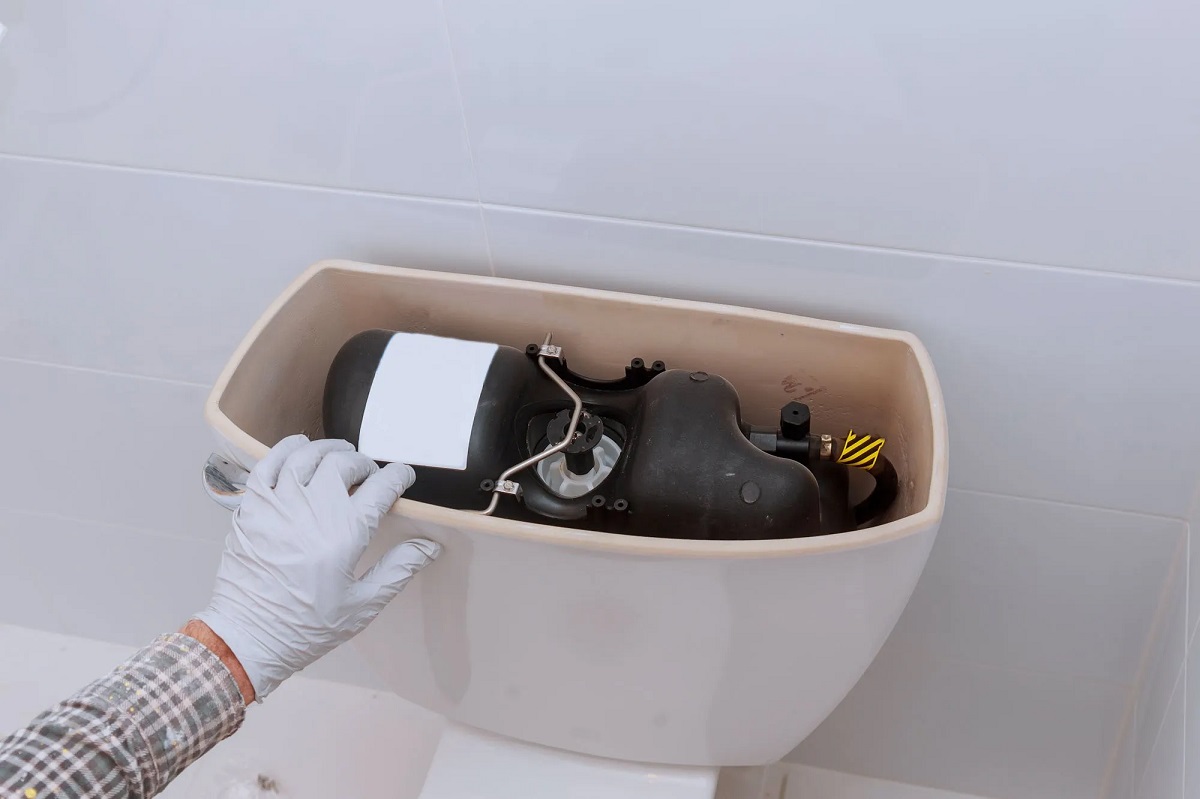
Repairing or Replacing the Frost-Free Faucet Valve
If you have checked for loose or damaged connections and determined that the issue lies with the valve assembly, it may be necessary to repair or replace the frost-free faucet valve. Follow these steps to address this problem:
- Start by turning off the water supply to the faucet. Locate the shut-off valve inside the house and close it to prevent any water flow.
- Next, open the faucet and allow any remaining water to drain out.
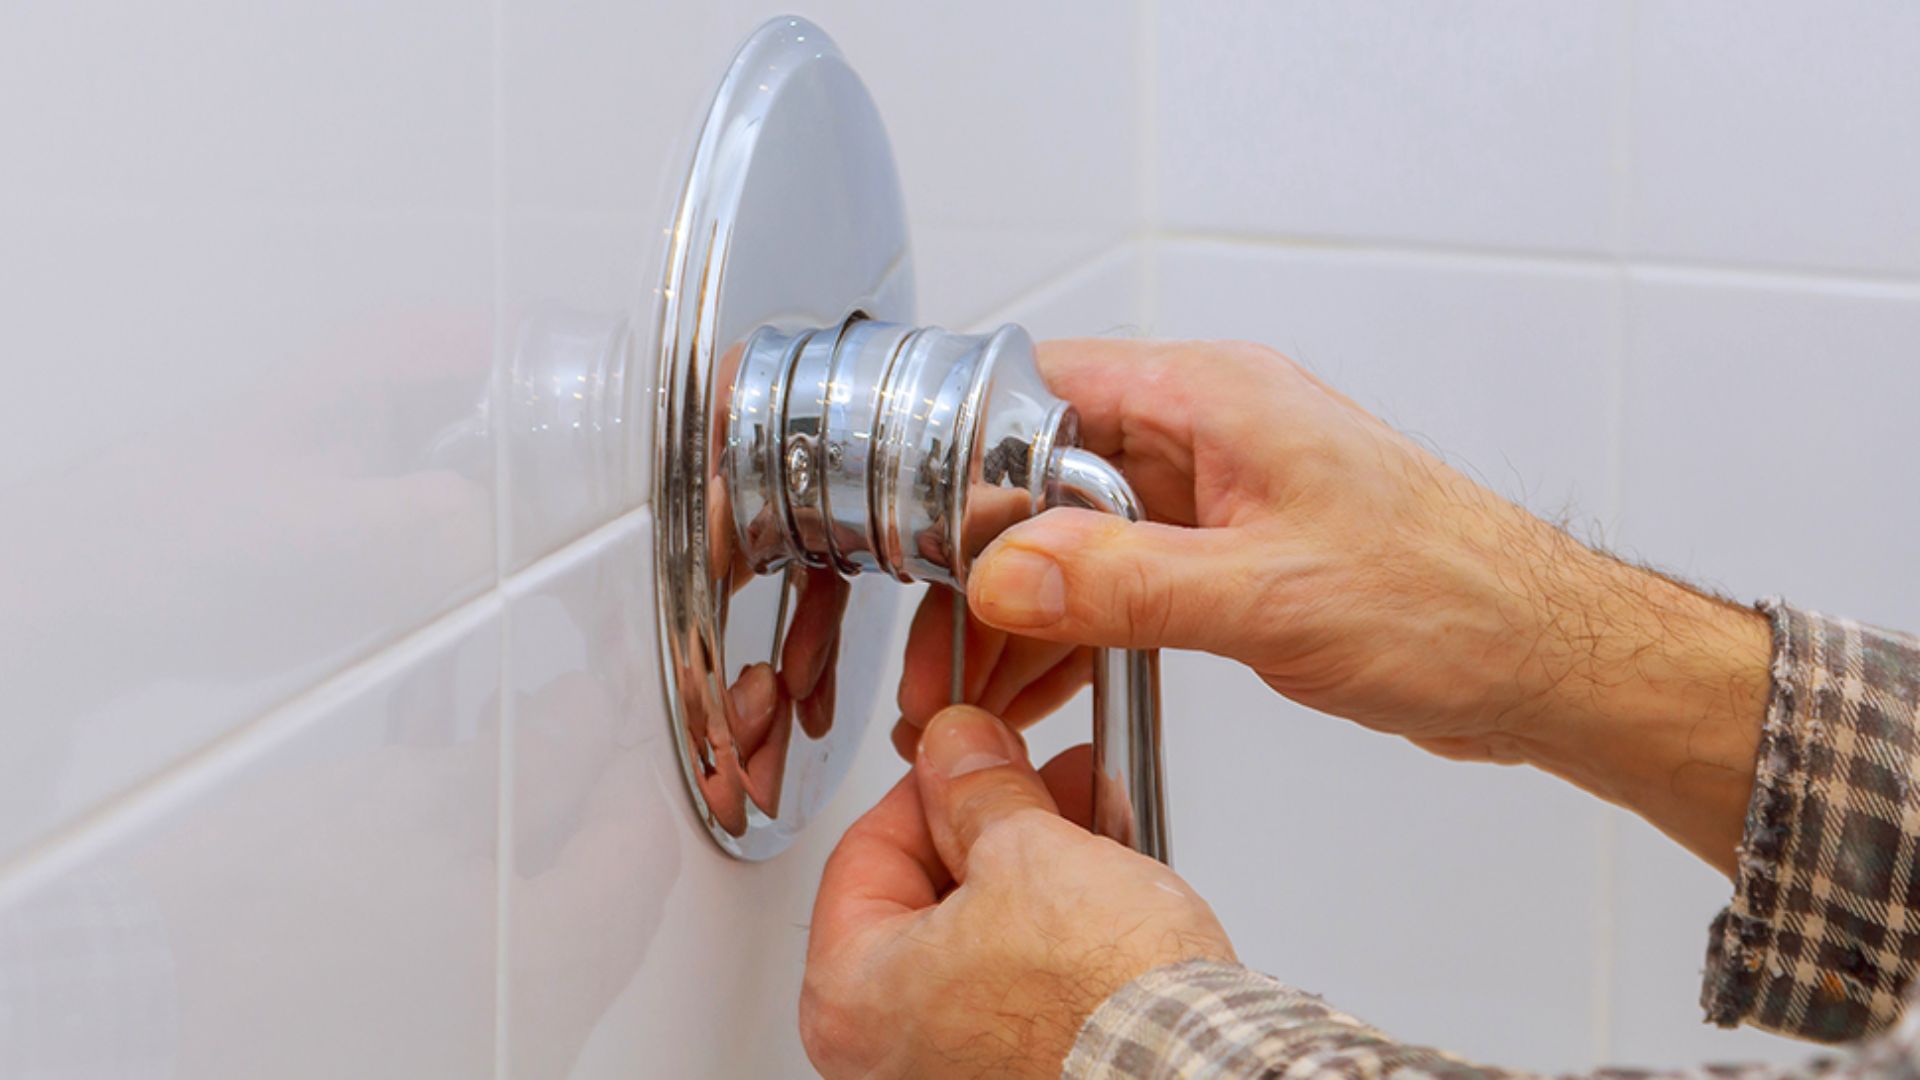
- Remove the handle of the faucet. This is typically done by unscrewing the screw at the base of the handle or by prying off a decorative cap to access the screw.
- Once the handle is removed, carefully unscrew the packing nut or collar that holds the valve assembly in place. Use a wrench or pliers for this step.
- Inspect the valve assembly for any signs of damage, such as a broken seal or worn-out components. If it is a replaceable cartridge, remove it and take it to a hardware store to find an exact match for replacement.
- Apply plumber’s grease or silicone lubricant to any rubber or O-ring seals on the valve assembly to ensure a proper seal.
- If the valve assembly is damaged beyond repair, you will need to replace it with a new one. Take note of the make and model of your faucet to ensure that you purchase the correct replacement valve.
- Install the new valve assembly by screwing it into place and tightening the packing nut or collar. Make sure it is secure, but avoid overtightening to prevent damage.
- Reattach the handle of the faucet and tighten the screw or replace the decorative cap, depending on the type of handle.
- Turn on the water supply and check for any leaks. If the process was done correctly, the faucet should now function without any leakage.
If you are uncertain about performing these repairs yourself, or if the leaks persist after replacing the valve assembly, it is recommended to contact a professional plumber for assistance. They have the expertise and knowledge to address more complex issues and ensure the proper functioning of your frost-free faucet.
Check the rubber washer inside the faucet for wear and tear. If it’s damaged, replace it with a new one to stop the leak.
Read also: 15 Best Frost Free Outdoor Faucet for 2025
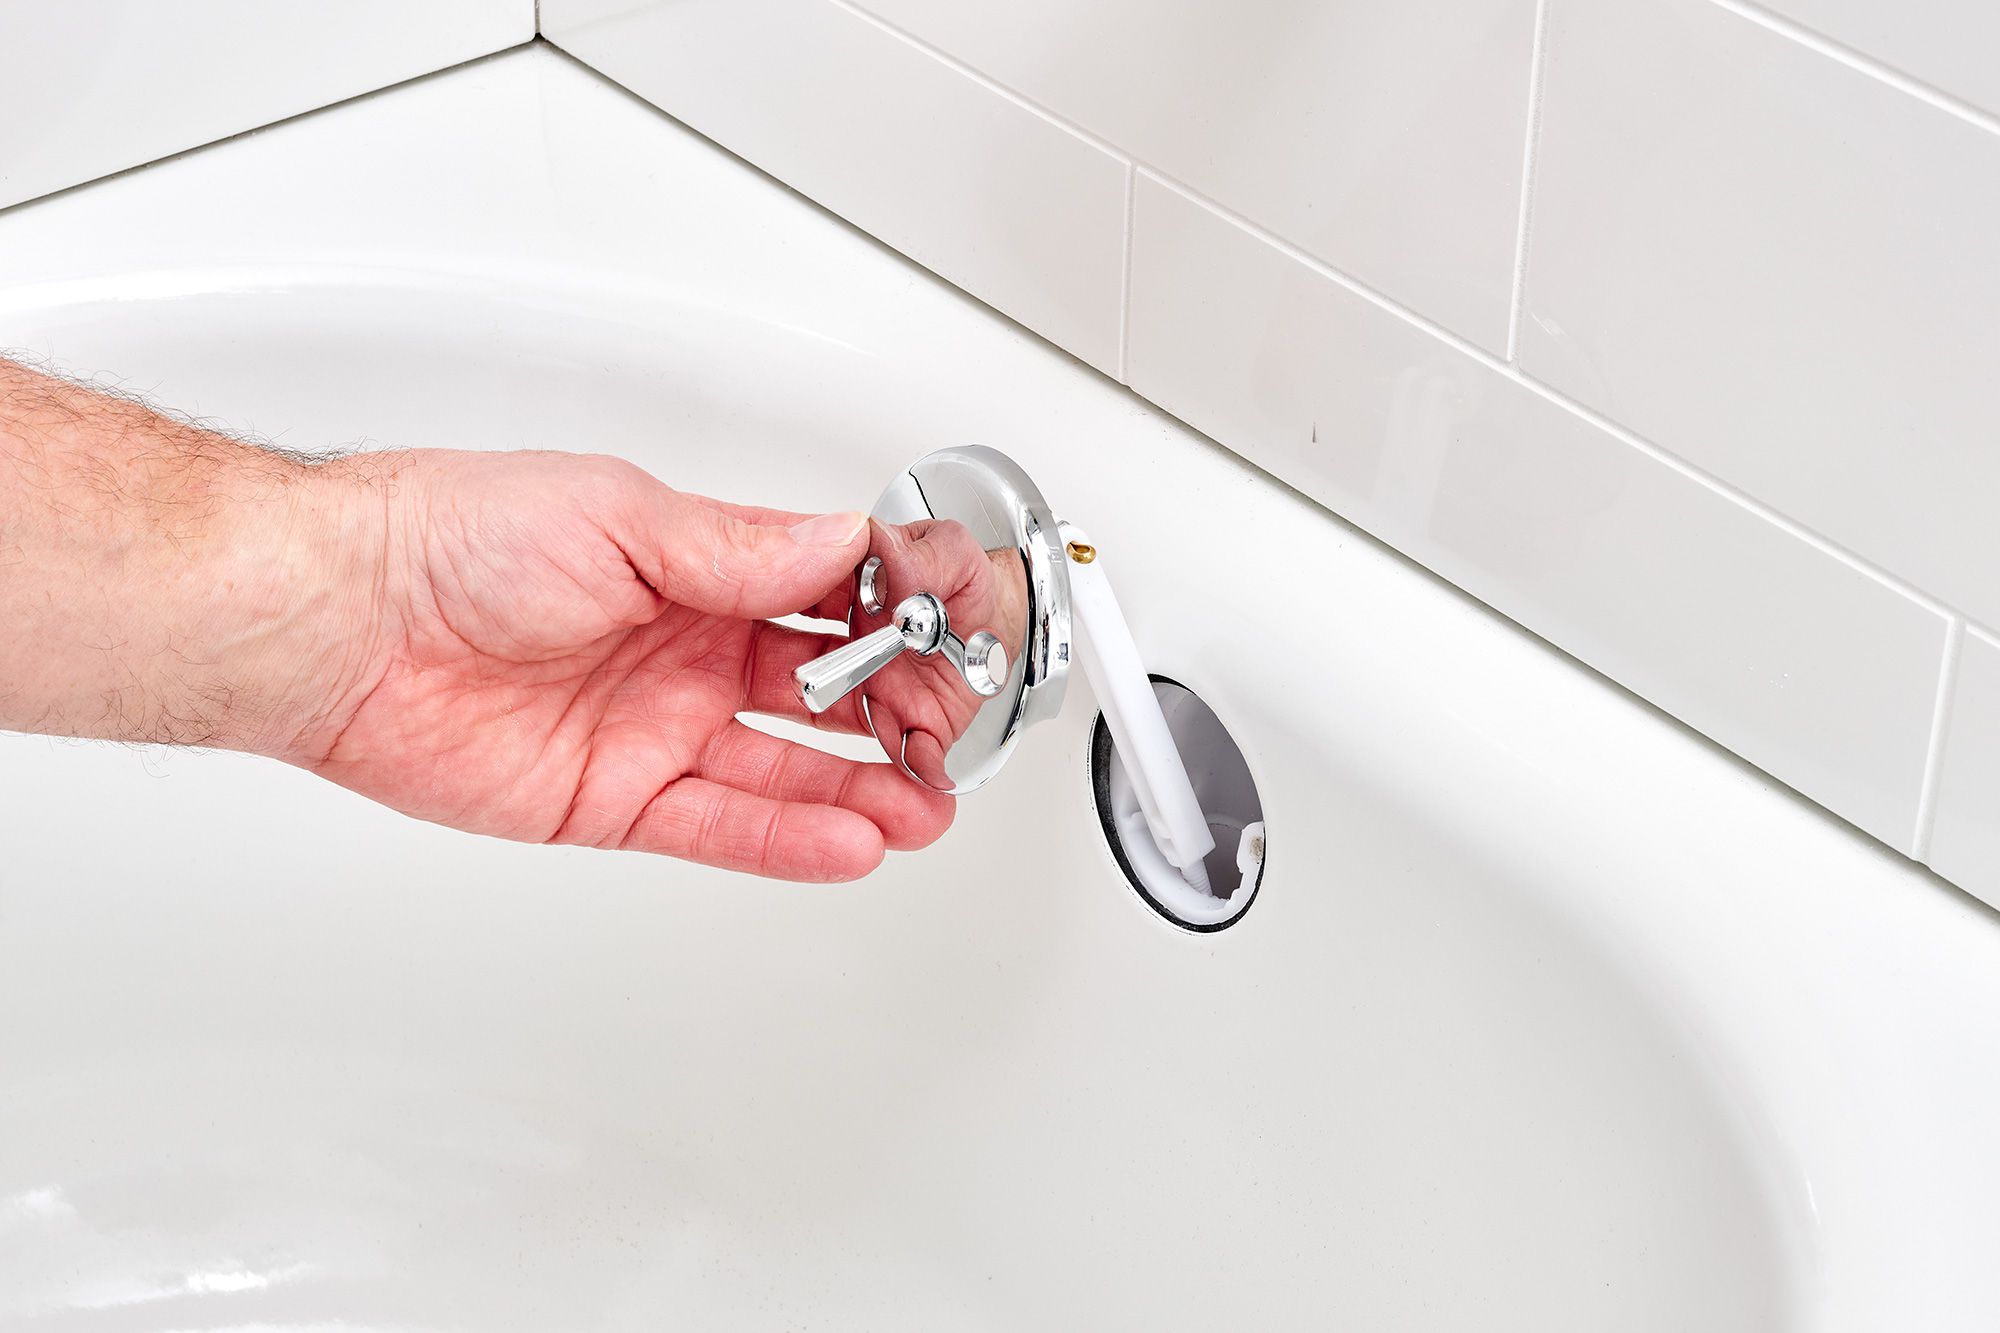
Adjusting the Handle or Stem Assembly
If you have identified that the handle or stem assembly is the cause of the leaks in your frost-free faucet when turned on, adjusting these components may resolve the issue. Follow these steps to make the necessary adjustments:
- Start by turning off the water supply to the faucet. Locate the shut-off valve inside the house and close it to prevent water flow.
- Open the faucet to release any remaining water pressure.
- Remove the handle of the faucet. This is typically done by unscrewing the screw at the base of the handle or by prying off a decorative cap to access the screw.
- Inspect the handle and the stem assembly for any signs of damage, wear, or misalignment. Pay attention to any loose or broken components.
- If the handle is loose, tighten the set screw or nut that holds it in place. This should help secure the handle and prevent any leaks.
- If the stem assembly is misaligned, you may need to adjust it to ensure a proper seal. Use an adjustable wrench or pliers to carefully realign the stem.
- If the stem assembly is damaged and cannot be fixed, you may need to replace it. Take note of the make and model of your faucet to ensure you purchase a compatible replacement.
- Clean the stem assembly and apply plumber’s grease or silicone lubricant to any rubber or O-ring seals to ensure a proper seal.
- Reattach the handle of the faucet and tighten the screw or replace the decorative cap, depending on the type of handle.
- Turn on the water supply and check for any leaks. If the adjustments were successful, the faucet should now function without any leakage.
If you are unsure about making these adjustments yourself, or if the leaks persist after the adjustments, it is recommended to seek the assistance of a professional plumber. They have the expertise and knowledge to handle these repairs and ensure the proper functioning of your frost-free faucet.
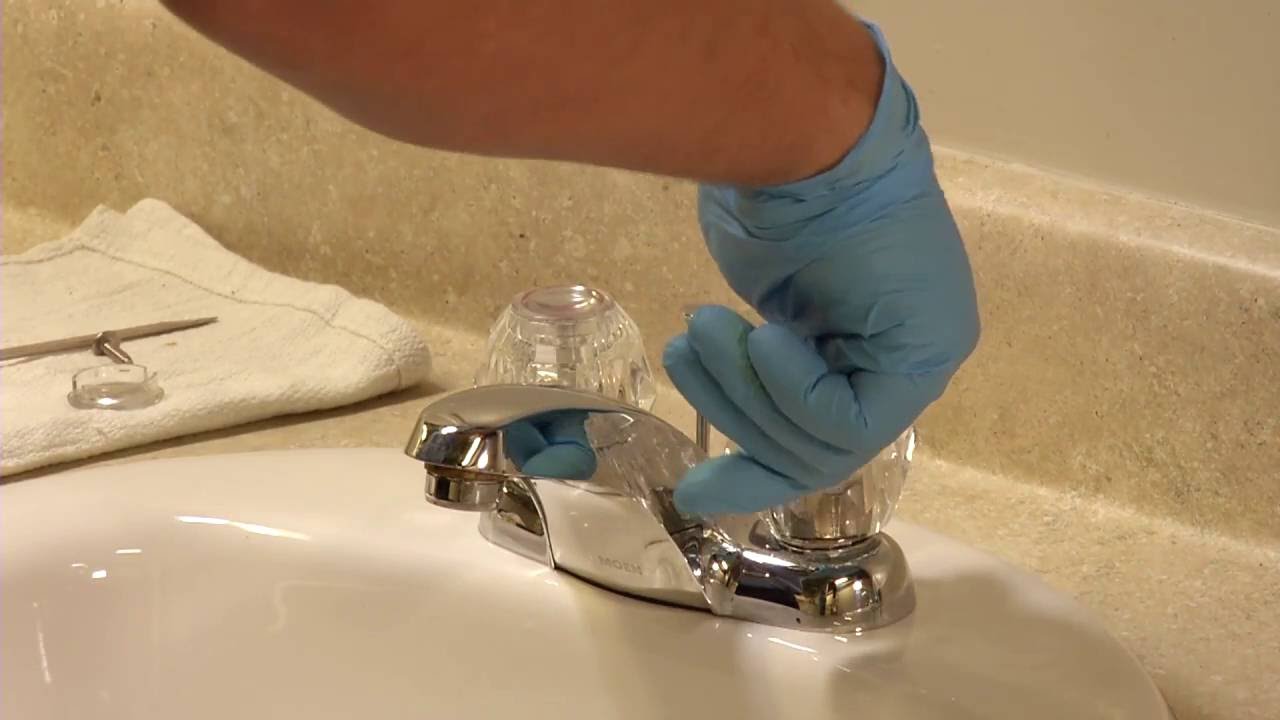
Inspecting the Washer or Cartridge
If you have checked for loose connections and adjusted the handle or stem assembly but are still experiencing leaks in your frost-free faucet when turned on, the issue may lie with the washer or cartridge. Follow these steps to inspect and address this potential cause:
- Before starting any work, turn off the water supply to the faucet by locating the shut-off valve inside the house and closing it.
- Open the faucet to release any remaining water pressure.
- Remove the handle of the faucet. This is typically done by unscrewing the screw at the base of the handle or by prying off a decorative cap to access the screw.
- Inspect the washer or cartridge, depending on the design of your faucet, for any signs of wear, damage, or debris accumulation. A worn-out washer or a damaged cartridge can result in leaks when the faucet is turned on.
- If you have a washer-based faucet, carefully remove the old washer and replace it with a new one of the same size and type. Make sure to clean the area before installing the new washer.
- If your faucet has a cartridge, detach the retaining clip or nut that secures the cartridge in place. Remove the old cartridge and replace it with a suitable replacement. Ensure that it is inserted correctly and aligns with the faucet body.
- Clean the area around the washer or cartridge seat to remove any debris or mineral buildup that may interfere with a proper seal.
- Reassemble the faucet by reattaching the handle and securing it with the screw or replacing the decorative cap.
- Turn on the water supply and check for any leaks. If the issue was with the washer or cartridge, the faucet should now operate without any leakage.
If you are unsure about inspecting or replacing the washer or cartridge yourself, or if the leaks persist after this inspection, it is advisable to consult a professional plumber for assistance. They have the necessary skills and experience to handle these repairs and ensure the proper functioning of your frost-free faucet.
Dealing with a Leaking Frost-Free Faucet Handle
In some cases, the leak in a frost-free faucet may not be from the spout but from the handle itself. This can occur when the handle packing or O-ring is worn out or damaged, allowing water to seep through. Follow these steps to address a leaking frost-free faucet handle:
- Initially, turn off the water supply to the faucet by locating the shut-off valve inside the house and closing it.
- Open the faucet to release any remaining water pressure.
- Remove the handle of the faucet. This is typically done by unscrewing the screw at the base of the handle or by prying off a decorative cap to access the screw.
- Inspect the handle packing or O-ring for any signs of wear, damage, or deterioration. These components are responsible for creating a tight seal and preventing leaks.
- If the handle packing is worn or damaged, carefully remove the old packing and replace it with a new one of the same size and type. Apply plumber’s grease or silicone lubricant to the new packing to ensure a proper seal.
- If your faucet uses an O-ring, inspect it for any cracks or damage. Replace the O-ring with a new one if necessary. Apply plumber’s grease or silicone lubricant to the new O-ring before installing it.
- Clean the area around the handle packing or O-ring to remove any debris or mineral buildup.
- Reinstall the handle by tightening the screw or replacing the decorative cap, depending on the type of handle.
- Turn on the water supply and check for any leaks. If the issue was with the handle packing or O-ring, the faucet should now be free from any handle-related leakage.
If you are unsure about dealing with a leaking frost-free faucet handle or if the leaks persist after this attempt, it is recommended to seek the assistance of a professional plumber. They can accurately diagnose the problem and provide the necessary repairs to ensure the optimal functioning of your frost-free faucet.
Conclusion
A frost-free faucet is a convenient and reliable option for outdoor water supply, but like any plumbing fixture, it can develop leaks over time. Understanding the common causes of leaks in a frost-free faucet when turned on is crucial to effectively address and resolve the issue.
In this article, we discussed some of the most common causes of leaks in a frost-free faucet, such as loose or damaged connections, problems with the valve assembly, issues with the handle or stem assembly, problems with the washer or cartridge, and leaking faucet handles.
By carefully inspecting the faucet and following the appropriate steps, you can identify the specific cause of the leaks and take the necessary actions to repair or replace the affected components. Whether it involves tightening connections, adjusting the handle or stem assembly, inspecting and replacing the washer or cartridge, or dealing with a leaking handle, addressing the problem promptly is essential to prevent water wastage and potential damage.
However, if you are uncomfortable performing the repairs yourself or if the leaks persist after your efforts, it is highly recommended to consult a professional plumber. They have the knowledge, experience, and tools to handle more complex issues and ensure the optimal functionality of your frost-free faucet.
Remember, regular maintenance and inspection of your frost-free faucet can help prevent leaks and extend its lifespan. By being proactive and attentive to any signs of leakage, you can ensure a steady and reliable outdoor water supply for all your needs.
Once you've tackled your frost-free faucet issues, why not dive deeper into home maintenance and repair? If you're keen on enhancing your DIY skills, our guide on the best Delta faucet repair kits is a must-read. For those dealing with drips in other parts of the house, our comprehensive tutorial on fixing leaky faucets will prove invaluable. And to keep your home in top shape year-round, don't miss our essential home maintenance checklist. Each article is packed with practical tips to help you keep your home running smoothly without a hitch.
Frequently Asked Questions about Frost-Free Faucet Leaks When Turned On
Was this page helpful?
At Storables.com, we guarantee accurate and reliable information. Our content, validated by Expert Board Contributors, is crafted following stringent Editorial Policies. We're committed to providing you with well-researched, expert-backed insights for all your informational needs.


0 thoughts on “Frost-Free Faucet Leaks When Turned On”