Articles
How To Fix A Leaking Sink Faucet
Modified: February 23, 2024
Learn valuable tips and tricks on fixing a leaking sink faucet with our informative articles. Fix the problem and save money on costly repairs.
(Many of the links in this article redirect to a specific reviewed product. Your purchase of these products through affiliate links helps to generate commission for Storables.com, at no extra cost. Learn more)
Introduction
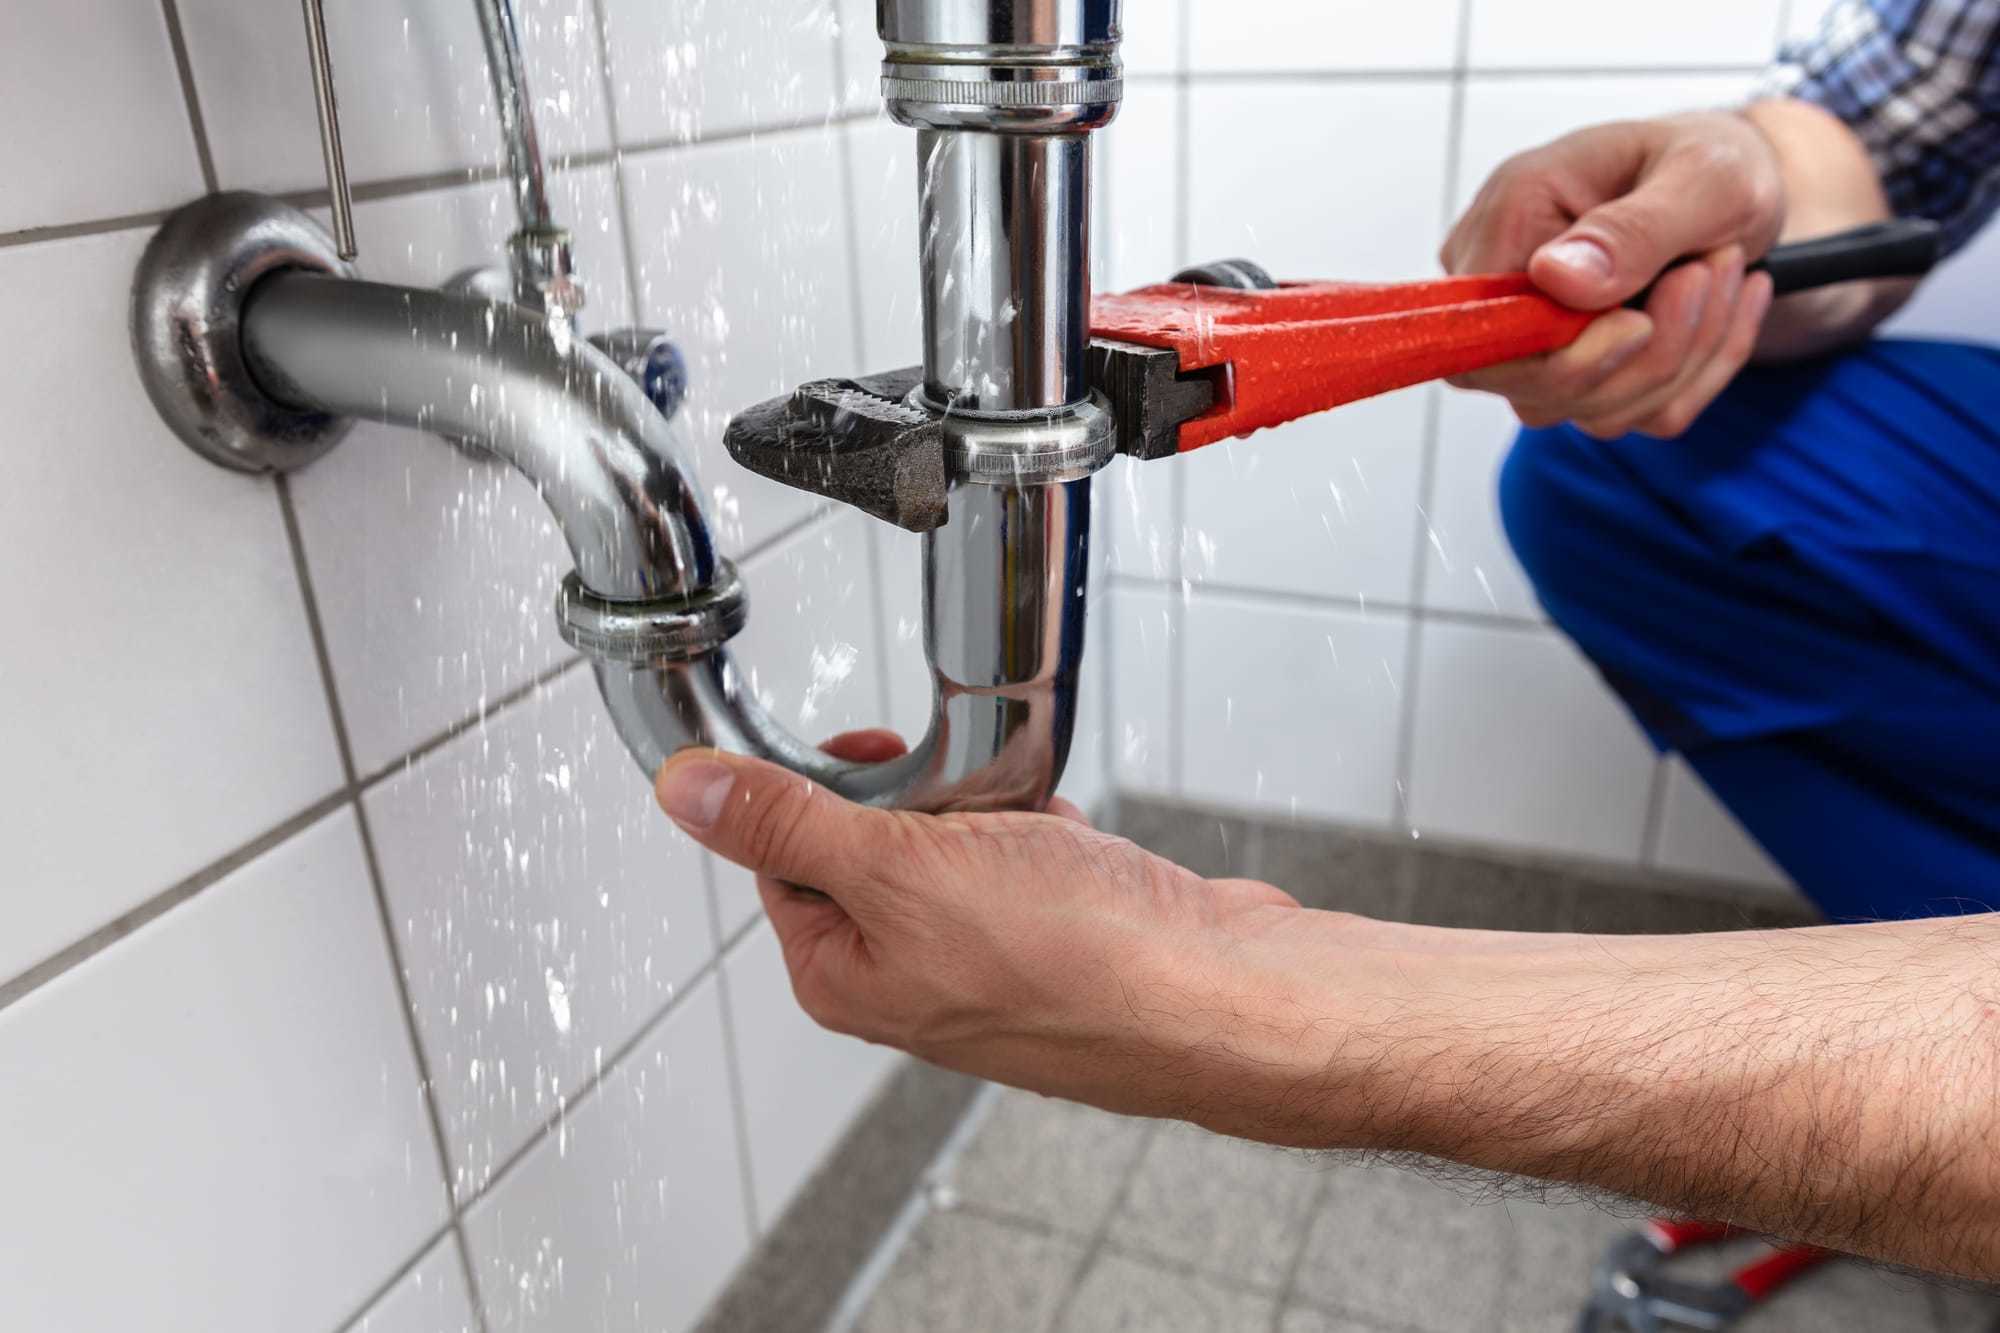
Dealing with a leaking sink faucet can be a frustrating experience. Not only does it waste water and increase your water bill, but it can also cause damage to your sink and surrounding areas if left unaddressed. However, fixing a leaking sink faucet doesn’t have to be a daunting task. With a few simple steps and the right tools, you can resolve the issue and restore the functionality of your faucet.
In this article, we will guide you through the process of fixing a leaking sink faucet. Whether you have a cartridge-based faucet or a washer-based faucet, the steps outlined here will help you identify the problem and take the necessary measures to fix it. So, let’s get started!
Key Takeaways:
- Don’t let a leaking sink faucet stress you out! With the right tools and steps, you can easily identify and fix the issue, saving water and preventing further damage to your sink and surrounding areas.
- By following the simple process of inspecting, replacing, and testing, you can successfully repair a leaking sink faucet, restoring its functionality and saving on your water bill.
Read more: How To Fix A Leaking Bathroom Sink Faucet
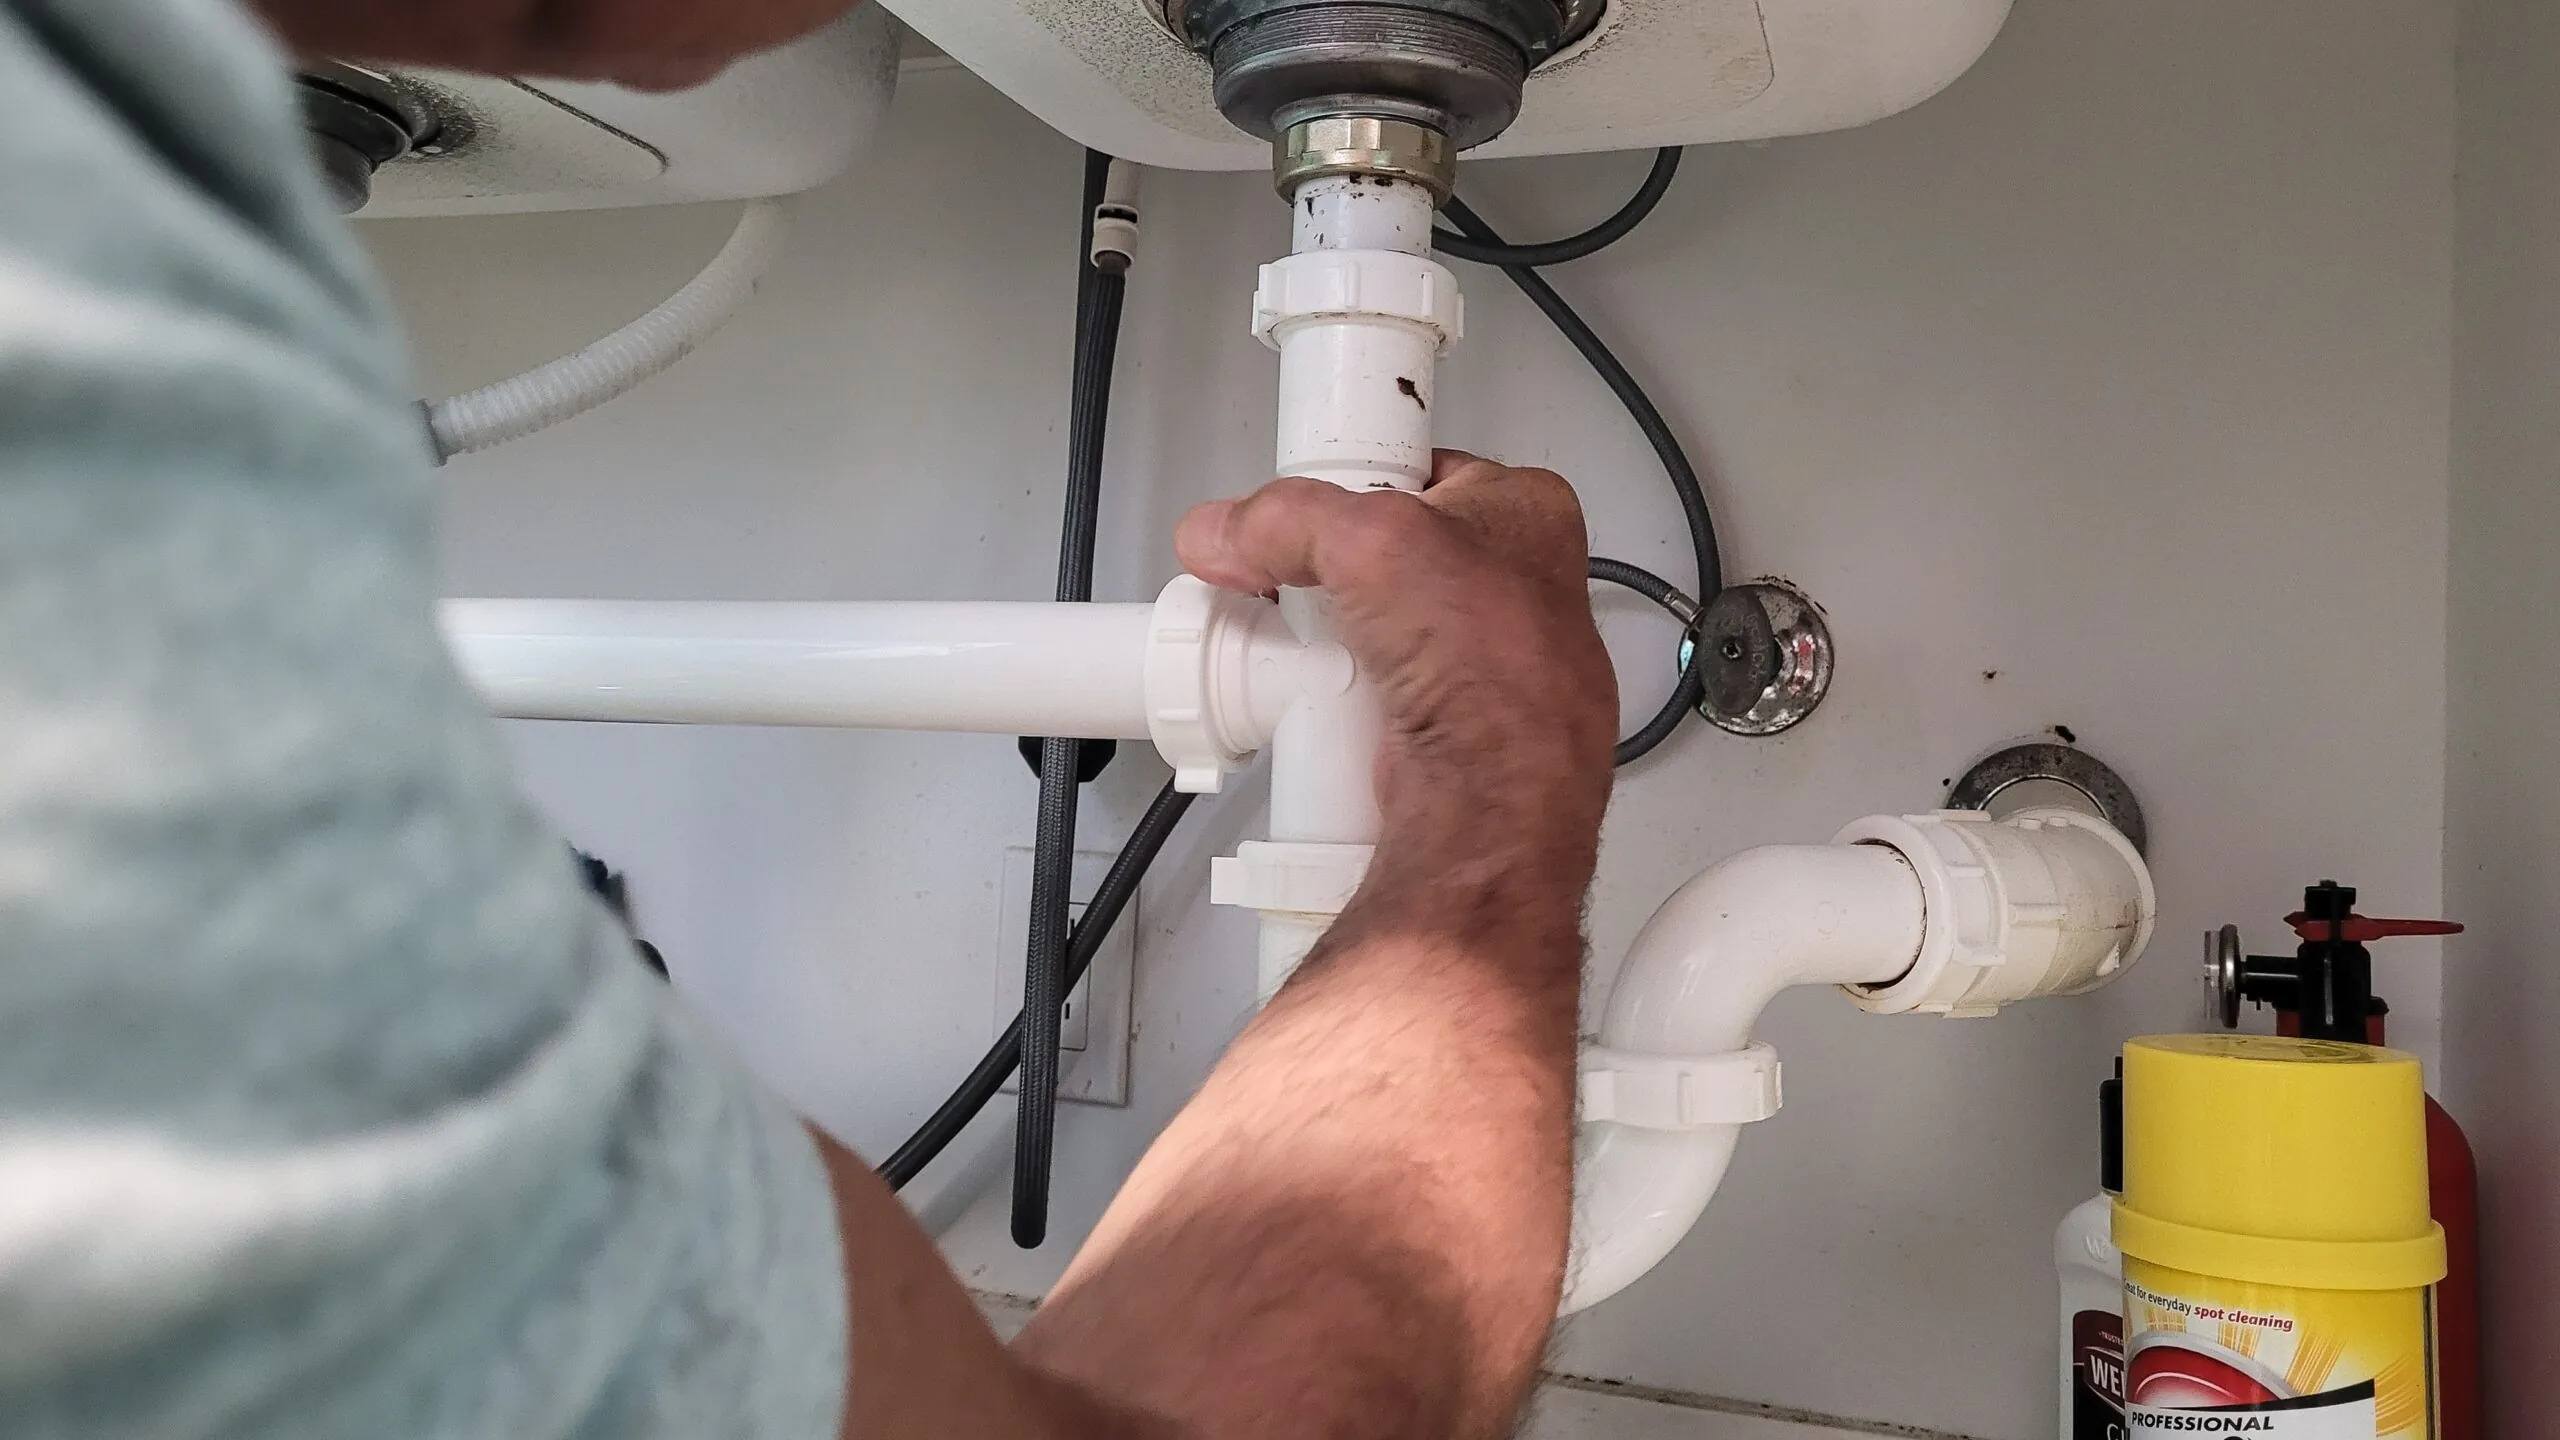
Step 1: Turn Off the Water Supply
Before you begin any work on your sink faucet, it is crucial to turn off the water supply. This step is essential to prevent any further leakage and avoid accidental water damage. Here’s how you can turn off the water supply:
- Locate the shut-off valve: The shut-off valve is typically located underneath the sink. It may be a small knob or lever-like handle. Turn it clockwise to shut off the water supply.
- Check for secondary shut-off valves: In some cases, there may be secondary shut-off valves specifically for the faucet. These are usually located on the hot and cold water supply lines. Turn these valves clockwise to fully shut off the water supply to the faucet.
- Test the water flow: After turning off the main water supply, turn on the faucet to check if any water is still flowing. If there is still water flow, you may need to locate and turn off the main water valve for your entire house.
It is essential to make sure the water supply is completely shut off before proceeding with the next steps. This will prevent any accidental water leakage and make the repair process much smoother.
Step 2: Gather the Required Tools
Before you start fixing a leaking sink faucet, it’s important to gather all the necessary tools. Having the right tools on hand will make the process easier and more efficient. Here are the tools you will need:
- Adjustable wrench or pliers: These will be used to loosen and tighten various components of the faucet.
- Screwdriver: You’ll need a screwdriver to remove screws and handle components.
- Replacement parts: Depending on the type and brand of your faucet, you may need to replace certain components such as cartridges, washers, or O-rings.
- Tape measure: This will help you accurately measure any replacement parts you need to purchase.
- Teflon tape: Teflon tape is a thin tape used to create a watertight seal on threaded connections.
- Cloth or towel: Having a cloth or towel handy will help you clean up any water or debris that may be present during the repair.
Ensure that you have all of these tools readily available before you begin the repair process. This will prevent any unnecessary interruptions or delays and allow you to complete the repair smoothly.
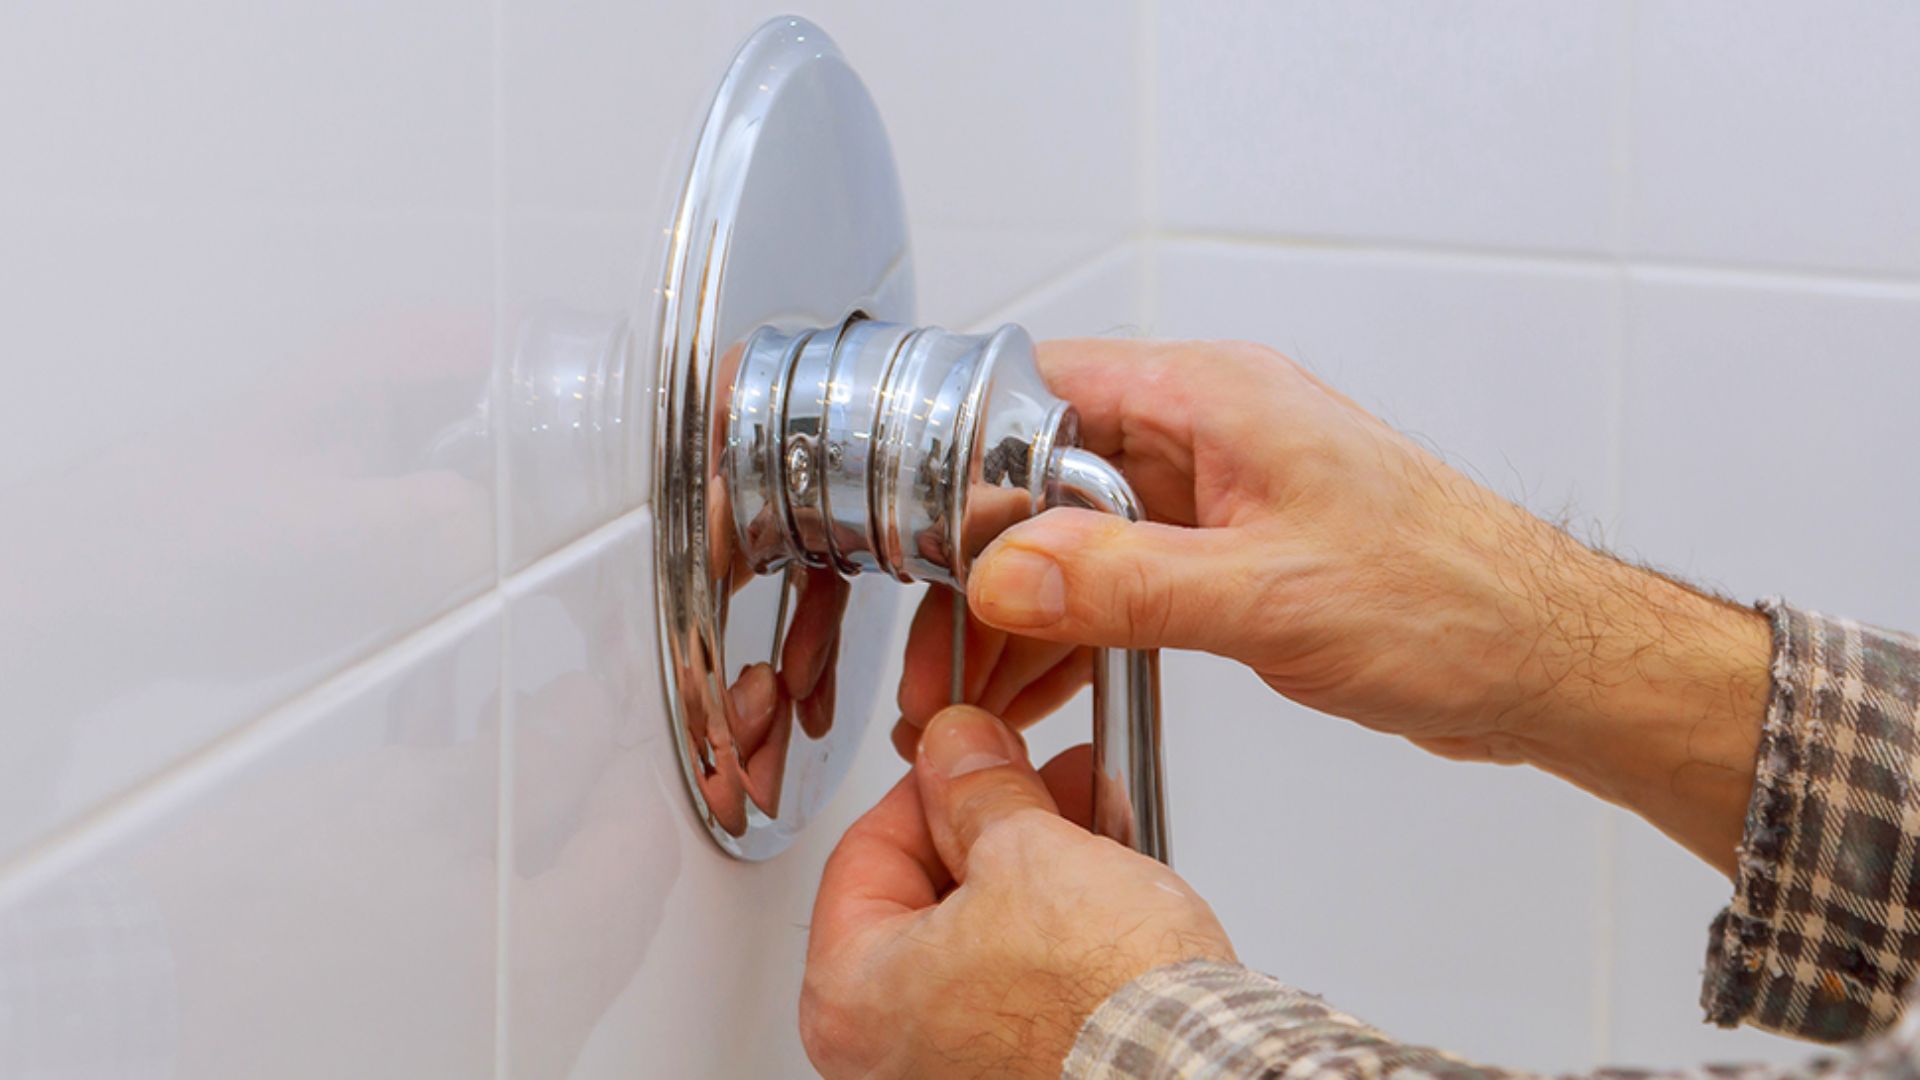
Step 3: Remove the Faucet Handle
Once you have gathered all the necessary tools, it’s time to remove the faucet handle. This step will allow you to access the internal components of the faucet and identify the source of the leakage. Follow these steps to remove the faucet handle:
- Locate the screw: Most faucet handles have a small screw hidden beneath a decorative cap or cover. This cap is usually located at the base of the handle or on the top. Use a flathead screwdriver or Allen wrench (depending on the type of screw) to remove the cap and reveal the screw.
- Remove the screw: Using the appropriate tool, loosen and remove the screw holding the handle in place. Keep the screw in a safe place, as you’ll need it for reassembly later.
- Take off the handle: Gently pull or wiggle the handle to remove it from the faucet body. If the handle feels stuck, try applying some lubricant or gently tapping it to loosen any residue or buildup that may be causing resistance.
Once the faucet handle is removed, you will have better access to the internal components and can proceed with inspecting and fixing the source of the leakage.
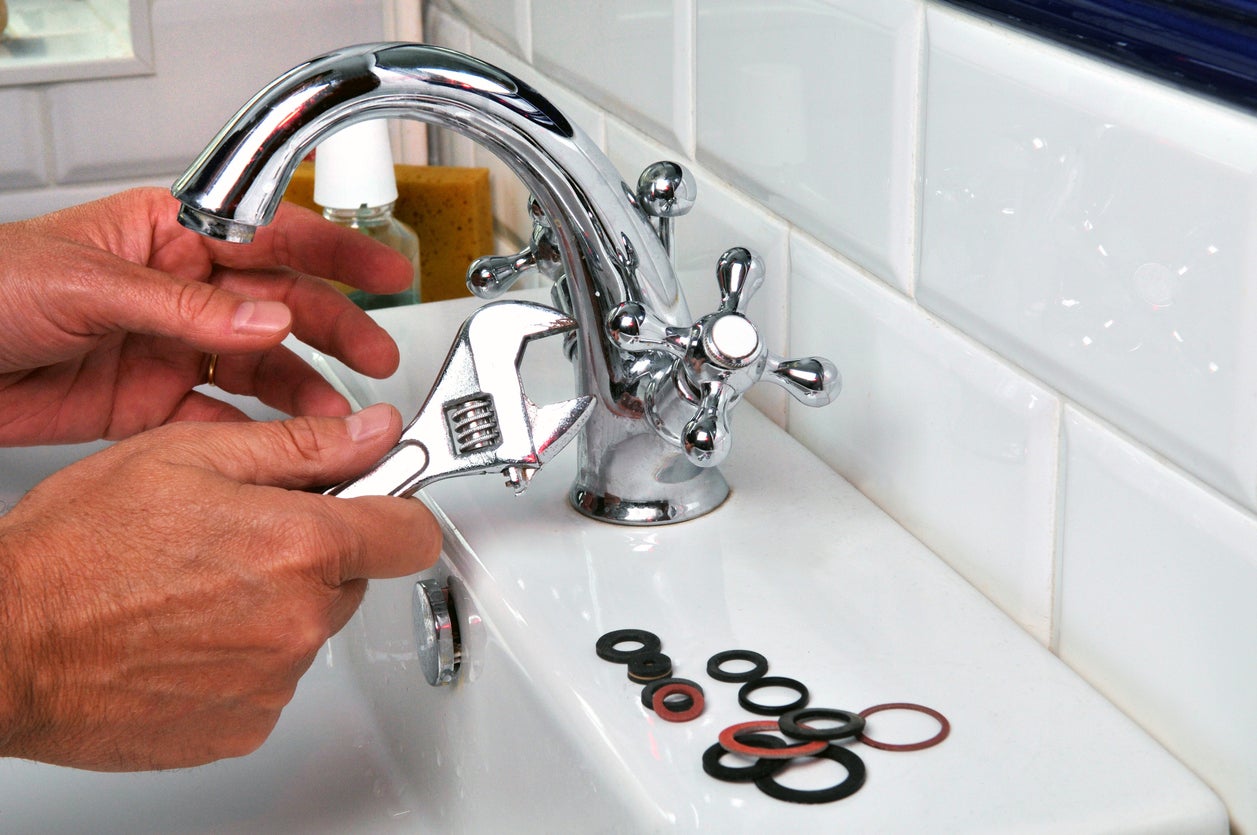
Step 4: Inspect the Cartridge or Washer
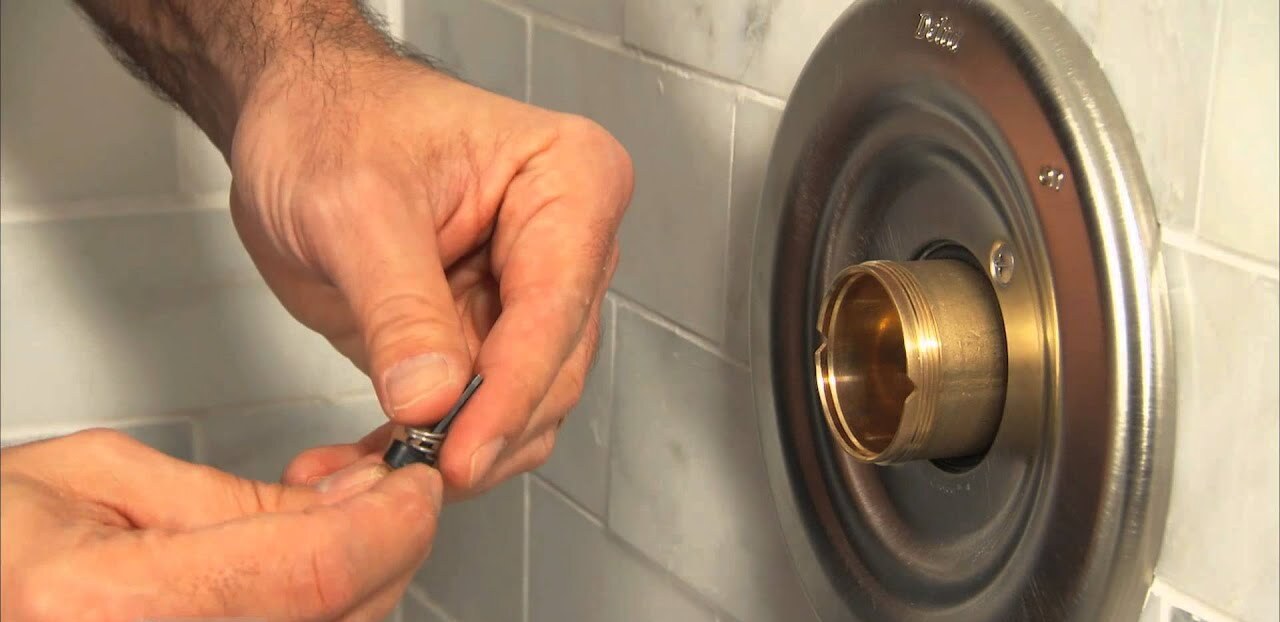
With the faucet handle removed, you can now inspect the cartridge or washer, which are common culprits for causing leaks in sink faucets. Depending on the type of faucet you have, you may find a cartridge, a washer, or both. Follow these steps to inspect the cartridge or washer:
- Identify the cartridge or washer: Look for a cylindrical or disc-shaped component located inside the faucet body. This is the cartridge or washer that controls the water flow.
- Check for signs of damage or wear: Inspect the cartridge or washer for any cracks, tears, or signs of wear. Pay attention to the rubber O-rings, which can also deteriorate over time and cause leaks.
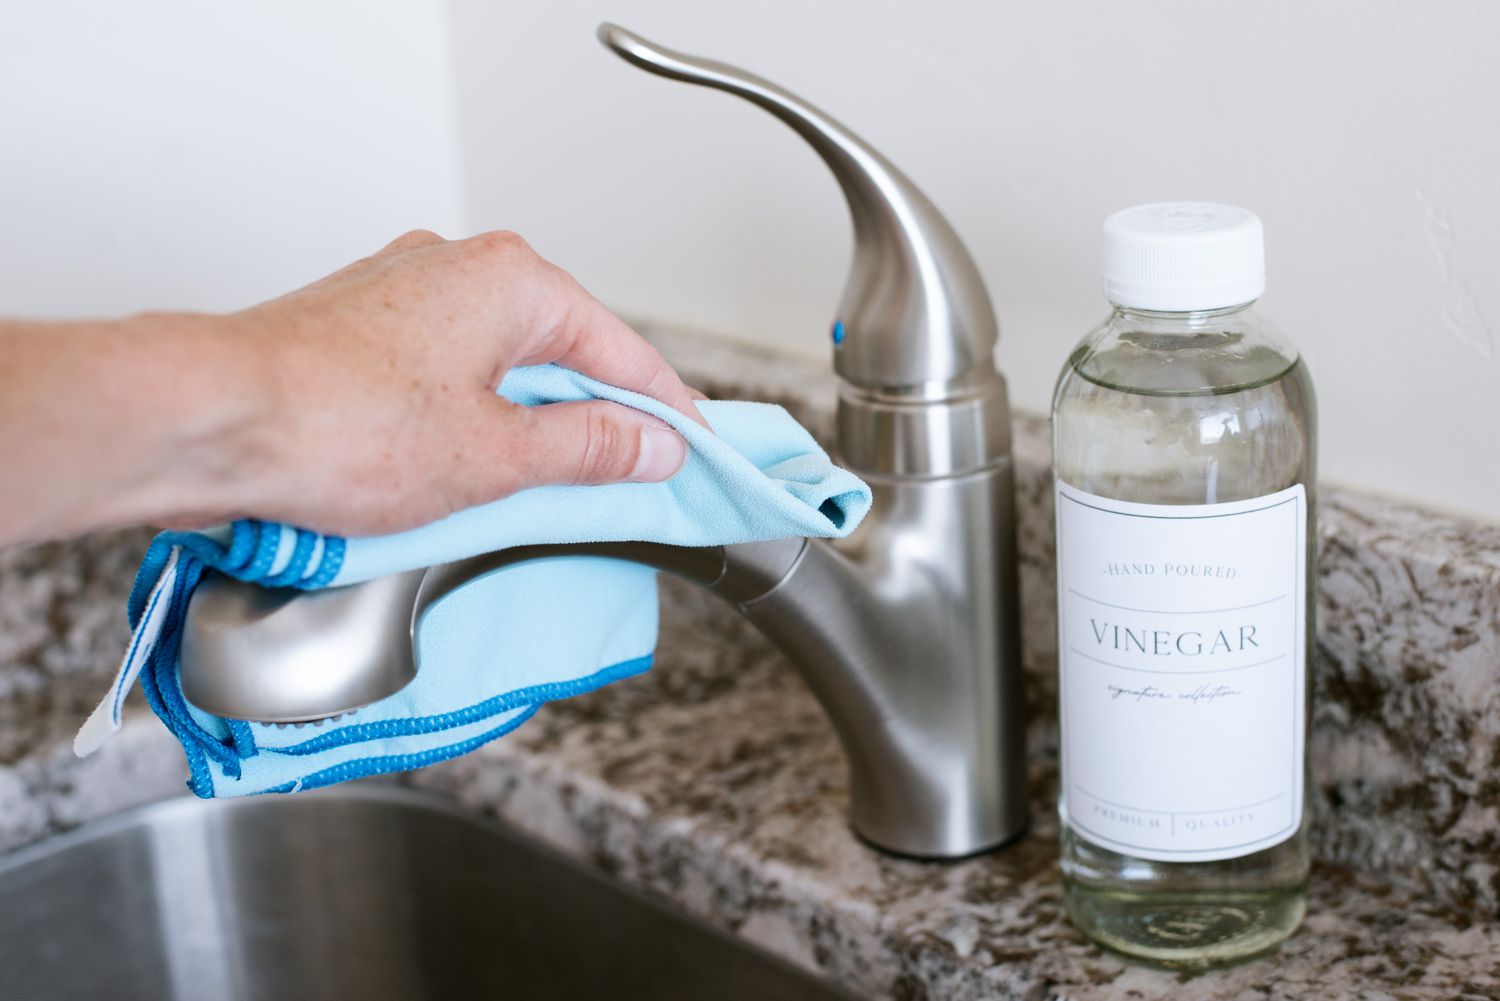
- Clean the cartridge or washer: If you notice any debris or mineral buildup on the cartridge or washer, clean it with a soft brush and vinegar or a mild detergent. This will help restore its functionality and may resolve the leak.
It’s worth noting that if you have a cartridge-based faucet, you may need to remove the cartridge for a more thorough inspection. Refer to your faucet’s user manual or manufacturer’s instructions for guidance on cartridge removal if needed.
By inspecting the cartridge or washer, you can determine if it needs to be replaced or if a simple cleaning will solve the issue. Identifying the problem will guide you in the next steps of repairing your leaking sink faucet.
Check the faucet’s O-ring and replace it if it’s worn out. This can often fix a leaking sink faucet.
Read more: How To Fix Leaking Faucet In Bathroom Sink
Step 5: Replace the Cartridge or Washer
If your inspection reveals that the cartridge or washer is damaged beyond repair, it’s time to replace it. Replacing the faulty component is an effective way to fix the leaking sink faucet. Follow these steps to replace the cartridge or washer:
- Find a compatible replacement: Take note of the make and model of your faucet or the specific type of cartridge or washer that needs to be replaced. Visit a hardware store or search online to find a compatible replacement part.
- Turn off the water supply: Before proceeding with the replacement, ensure that the water supply to the faucet is turned off. Refer to Step 1 for instructions on how to do this.
- Remove the old cartridge or washer: Depending on your faucet type, you may need to unscrew or twist the cartridge/ washer to remove it. Use pliers or an adjustable wrench, if necessary. Be gentle to avoid damaging the faucet body.
- Install the new cartridge or washer: Take the new cartridge or washer and carefully insert it into the faucet body. Follow the manufacturer’s instructions for proper placement and alignment.
- Tighten the cartridge or washer: Using pliers or an adjustable wrench, tighten the new cartridge or washer to ensure a secure fit. Be careful not to overtighten, as it can cause damage.
Once the new cartridge or washer is securely installed, you have successfully replaced the faulty component. This step will help eliminate the leak and restore the functionality of your sink faucet.
Step 6: Reassemble the Faucet Handle
With the cartridge or washer replaced, it’s time to reassemble the faucet handle. Follow these steps to complete the reassembly:
- Retrieve the handle components: Gather the handle, screw, and any other components that were removed earlier.
- Position the handle: Align the handle with the faucet body and carefully slide it back into place. Make sure it fits snugly and is aligned properly.
- Replace the screw: Insert the screw into the hole where it was removed from and tighten it securely. Use the appropriate tool, such as a screwdriver or Allen wrench.
- Secure any additional components: If there were any decorative caps, covers, or trim pieces that were removed, reattach them to the handle for a finished look.
Ensure that all components are tightly secured and properly aligned during the reassembly process. This will prevent any wobbling or looseness in the faucet handle and ensure its smooth operation.
With the faucet handle reassembled, you’re one step closer to resolving the leak and enjoying a fully functional sink faucet once again.
Step 7: Turn On the Water Supply
After successfully reassembling the faucet handle, it’s time to turn on the water supply. Follow these steps to restore the flow of water:
- Locate the shut-off valve: If you haven’t already done so, locate the shut-off valve under the sink. Turn it counterclockwise to gradually open the water supply.
- Check for leaks: As you open the shut-off valve, closely observe the faucet for any signs of leaks. Keep an eye on the base of the faucet, the connections, and any joint areas. If you notice any leaks, tighten the relevant components or seek further assistance if needed.
- Gradually increase the water flow: Once you have confirmed that there are no leaks, gradually turn the shut-off valve counterclockwise to increase the water flow. Test the hot and cold water separately to ensure both are functioning properly.
It’s important to be cautious and observant while turning on the water supply. Slow and careful adjustments will help prevent any sudden bursts of water or unexpected leaks. Take your time and make sure everything is functioning as it should.
If you don’t notice any leaks and the water flow is restored without any issues, you’re ready to move on to the final step.
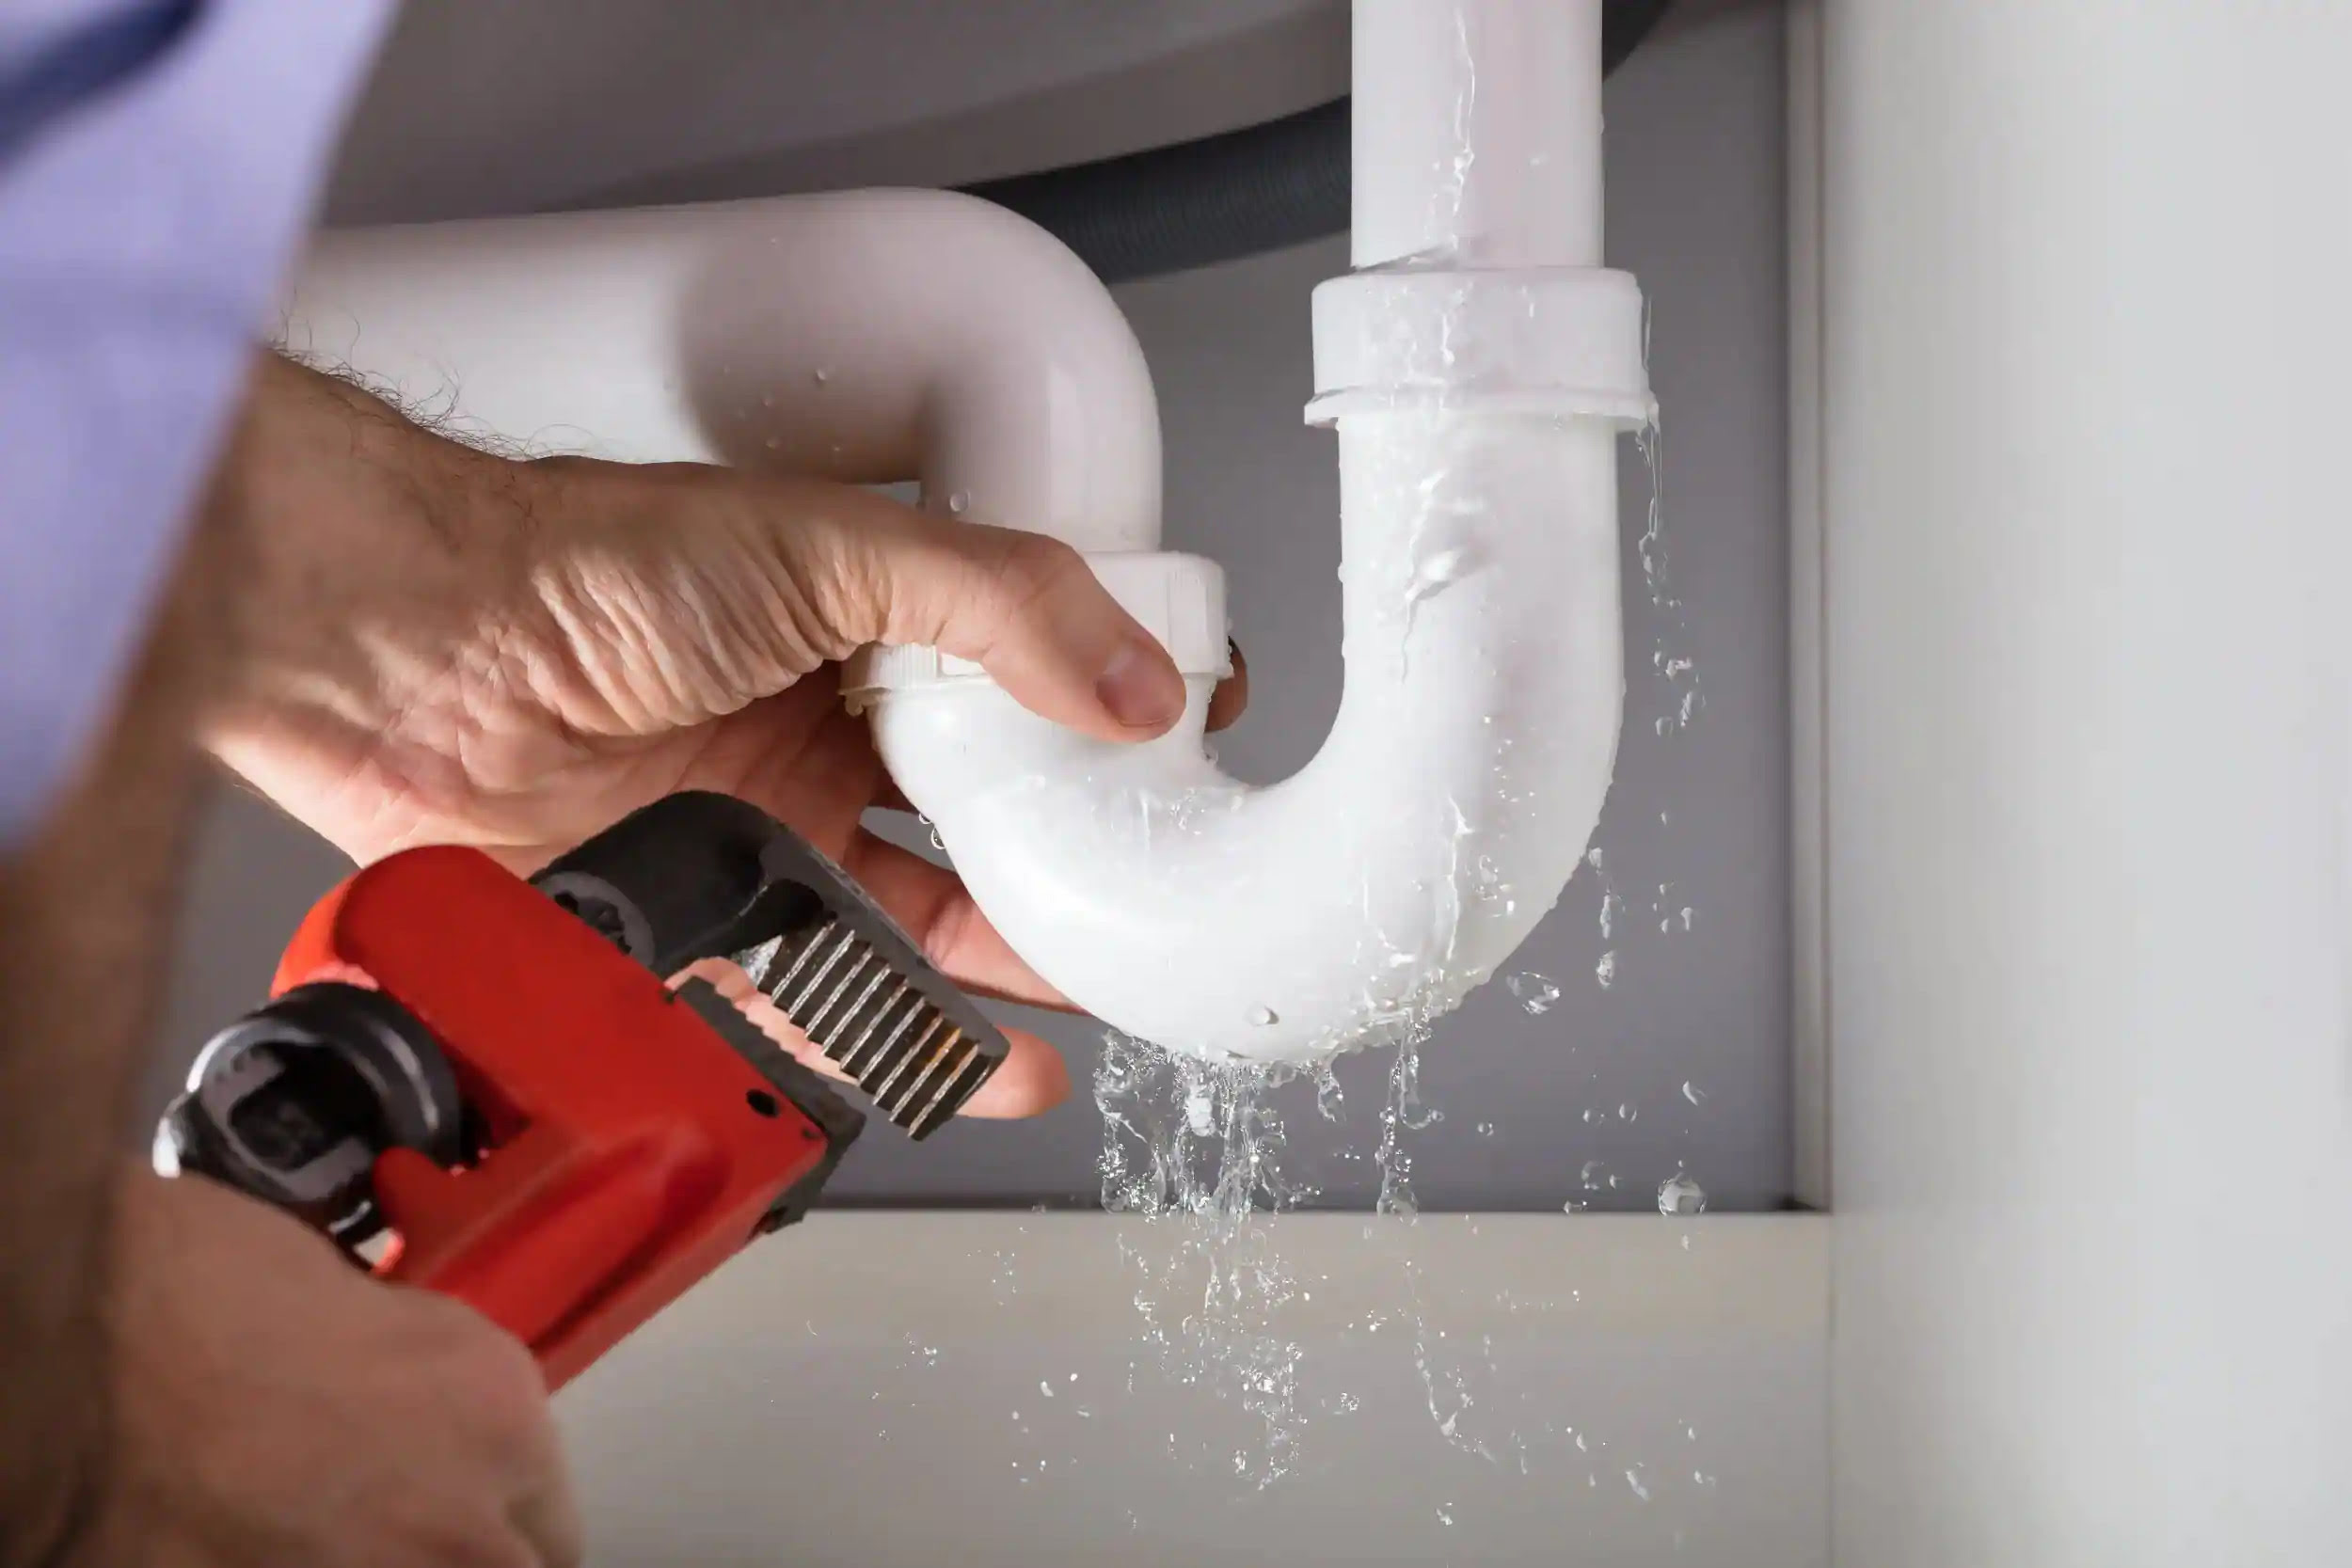
Step 8: Test the Faucet for Leaks
Now that you’ve completed the necessary repairs and turned on the water supply, it’s time to test the faucet for any remaining leaks. Testing the faucet will ensure that all the components are properly installed and functioning correctly. Follow these steps to test the faucet for leaks:
- Run the water: Turn on the faucet and let the water flow at a moderate rate. Make sure both the hot and cold water handles are functioning properly.
- Check for leaks: Observe the entire faucet, including the base, the handle, and the spout, closely for any signs of leaks. Look for dripping water, pooling water, or any moisture around the faucet area.
- Inspect the connections: Pay close attention to the connections between the faucet and the water supply lines. Check for any signs of leaks or loose connections. If you notice any leaks, tighten the connections or replace the faulty components.
- Let the water run: Keep the faucet running for a few minutes to ensure that there are no intermittent leaks. Sometimes, leaks may only occur when the water is running or at certain water flow rates.
If you notice any leaks during the testing process, it may indicate that further adjustments or repairs are required. Double-check the connections, tighten any loose components, or consider consulting a professional if necessary.
Once you’ve thoroughly tested the faucet and confirmed that there are no leaks, congratulations! You have successfully fixed your leaking sink faucet and can now enjoy its uninterrupted functionality.
Read more: How To Fix Leaking Sink
Conclusion
Fixing a leaking sink faucet may seem like a challenging task, but with the right steps and tools, it can be a manageable DIY project. By following the steps outlined in this article, you can identify and address the source of the leakage, whether it’s a faulty cartridge, washer, or other component.
Remember to always start by turning off the water supply to prevent any further leakage and potential water damage. Gathering the required tools beforehand will make the repair process smoother and more efficient. Inspecting and replacing the damaged cartridge or washer is often the key to resolving the leak and restoring the functionality of your faucet.
Once you’ve completed the repair, reassembling the faucet handle and turning on the water supply will allow you to test for any remaining leaks. Pay close attention to the faucet and connections during the testing phase to ensure everything is functioning properly.
By taking the time to fix a leaking sink faucet, you can save water, reduce your water bill, and prevent further damage to your sink and surrounding areas. If you encounter any difficulties or if the problem persists, don’t hesitate to seek professional assistance.
Now that you have the knowledge and tools necessary to fix a leaking sink faucet, you can confidently tackle this common household issue and enjoy the benefits of a well-functioning faucet once again.
Frequently Asked Questions about How To Fix A Leaking Sink Faucet
Was this page helpful?
At Storables.com, we guarantee accurate and reliable information. Our content, validated by Expert Board Contributors, is crafted following stringent Editorial Policies. We're committed to providing you with well-researched, expert-backed insights for all your informational needs.


0 thoughts on “How To Fix A Leaking Sink Faucet”