Articles
Outside Faucet Leaks When Turned On
Modified: January 7, 2024
"Read our informative articles on how to fix an outside faucet that leaks when turned on. Learn effective solutions to stop the leak and prevent water wastage."
(Many of the links in this article redirect to a specific reviewed product. Your purchase of these products through affiliate links helps to generate commission for Storables.com, at no extra cost. Learn more)
Introduction
When it comes to maintaining a functional and efficient outdoor space, having a reliable outside faucet is crucial. Whether you need to water your garden, clean your car, or carry out any other outdoor tasks, a leaking outside faucet can be a significant inconvenience. Not only does it waste water and contribute to increased utility bills, but it can also lead to damage to your property and surrounding areas.
In this article, we will explore the common causes of outside faucet leaks, how to diagnose the issue, and provide solutions to fix the problem. By understanding the underlying causes and taking the necessary steps to repair a leaky outside faucet, you can save money, conserve water, and maintain a functional outdoor space.
Key Takeaways:
- Regularly inspect your outside faucet for leaks, worn-out washers, and damaged connections to prevent water waste and property damage. Promptly address issues to maintain a functional outdoor space.
- Diagnose and fix outside faucet leaks by replacing washers, tightening connections, addressing freezing damage, and adjusting water pressure. Seek professional help for complex issues and ensure proper maintenance for sustainability.
Read more: Shower Faucet Leaking When Turned Off
Common Causes of Outside Faucet Leaks
Outside faucet leaks can stem from various factors. Understanding the common causes can help you identify the issue and take appropriate measures to fix it. Here are some of the most frequent culprits:
- Worn-out washers: Over time, the washers inside the faucet handle can deteriorate, causing leaks. Constant use and exposure to the elements can contribute to the wear and tear of these washers.
- Loose or damaged connections: The connections between the faucet and the water supply line can become loose or damaged, resulting in leaks. This can occur due to excessive force, extreme temperature changes, or improper installation.
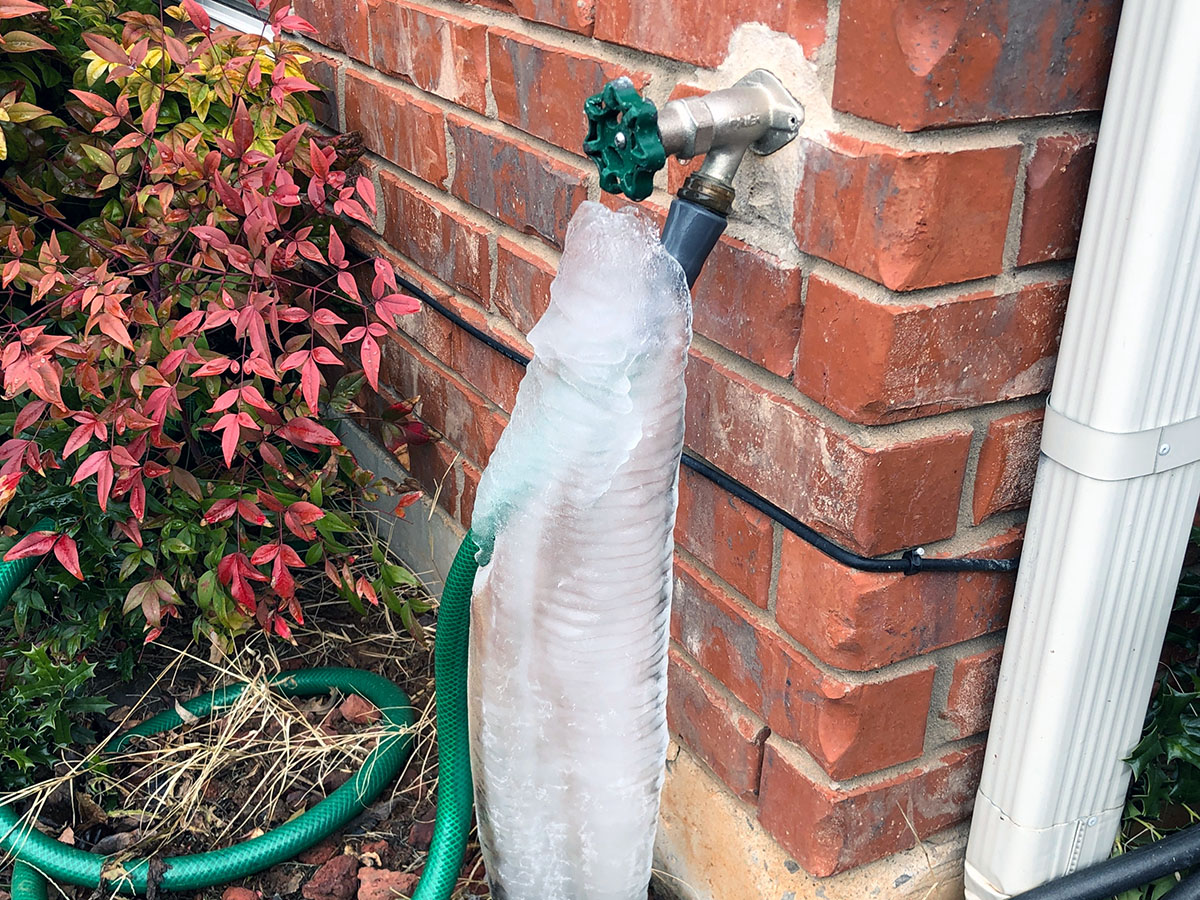
- Freezing and expansion: During colder months, water trapped inside the faucet can freeze and expand, leading to cracks or ruptures. When the ice melts, it can cause leaks. This is a common issue in regions with frigid winters.
- Corroded pipes: Corrosion can occur in the pipes connecting the faucet to the water supply, especially if they are made of older or low-quality materials. Rust and other corrosive substances can weaken the pipes, resulting in leaks.
- Excessive water pressure: High water pressure can put excessive strain on the faucet, causing leaks to develop over time. This can happen if the water pressure regulator is not functioning correctly or if there are issues with the municipal water supply infrastructure.
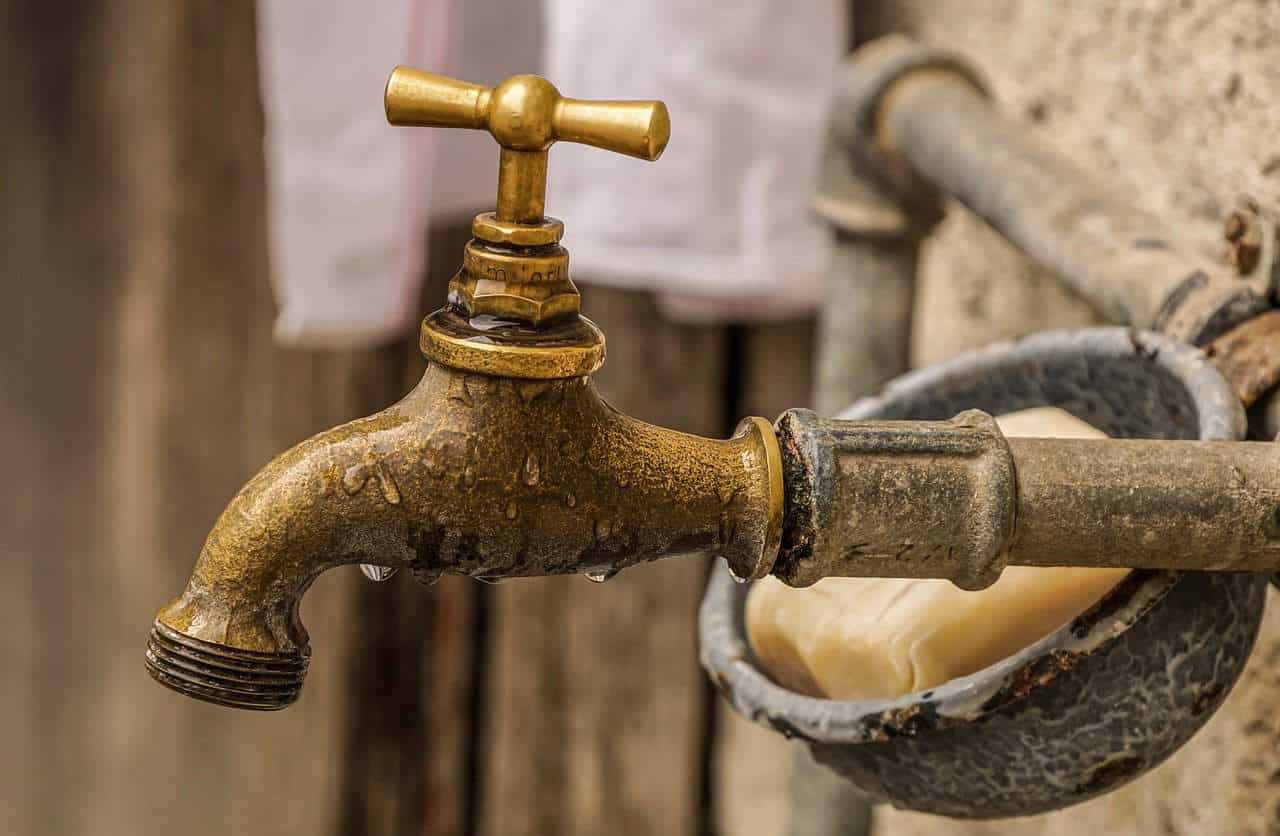
- Cracked or damaged faucet: Accidental damage, unintentional force, or exposure to harsh weather conditions can cause the faucet itself to crack or become damaged, leading to leaks.
These are just a few examples of the common causes of outside faucet leaks. It’s essential to identify the specific cause in order to effectively repair the issue. The next section will guide you through the process of diagnosing a leaky outside faucet.
How to Diagnose an Outside Faucet Leak
Diagnosing a leaky outside faucet requires a systematic approach to identify the source of the problem. Follow these steps to determine the cause of the leak:
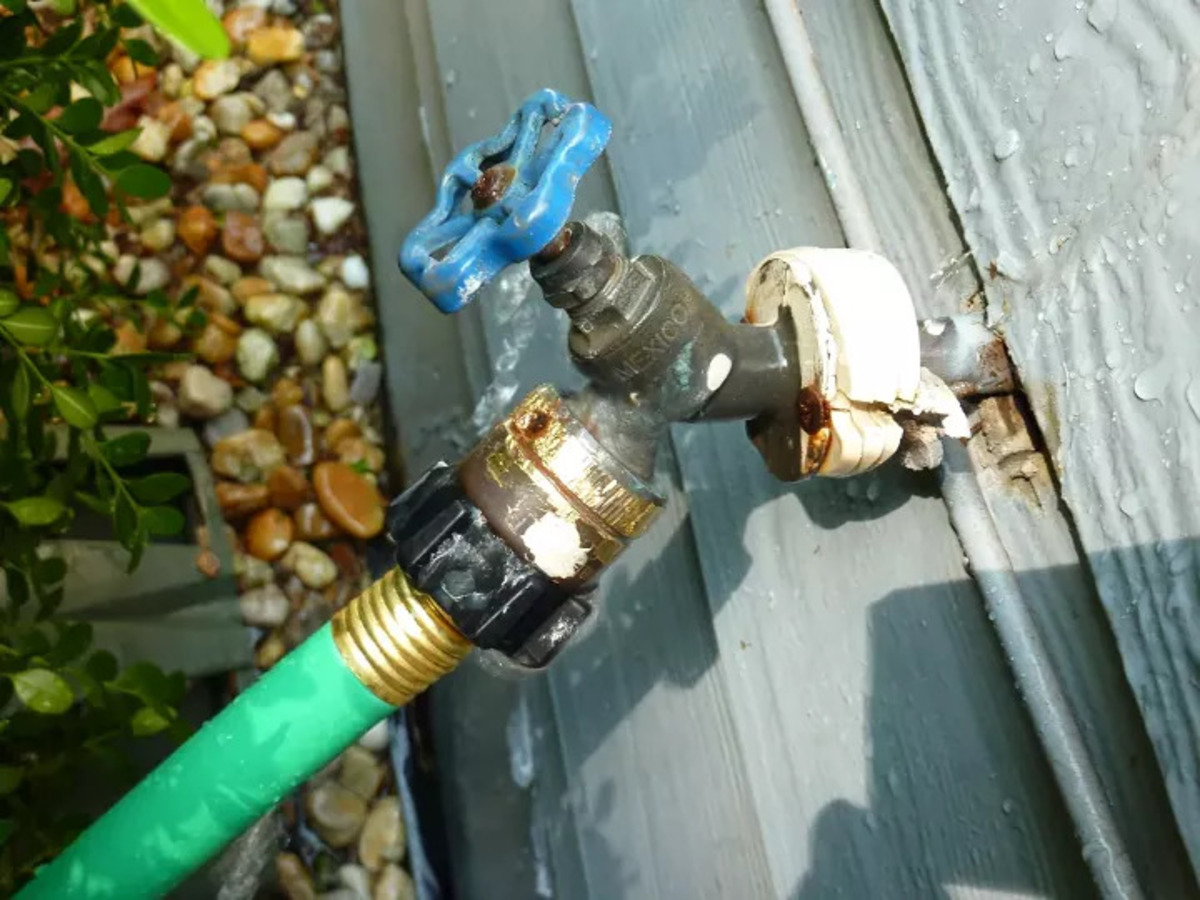
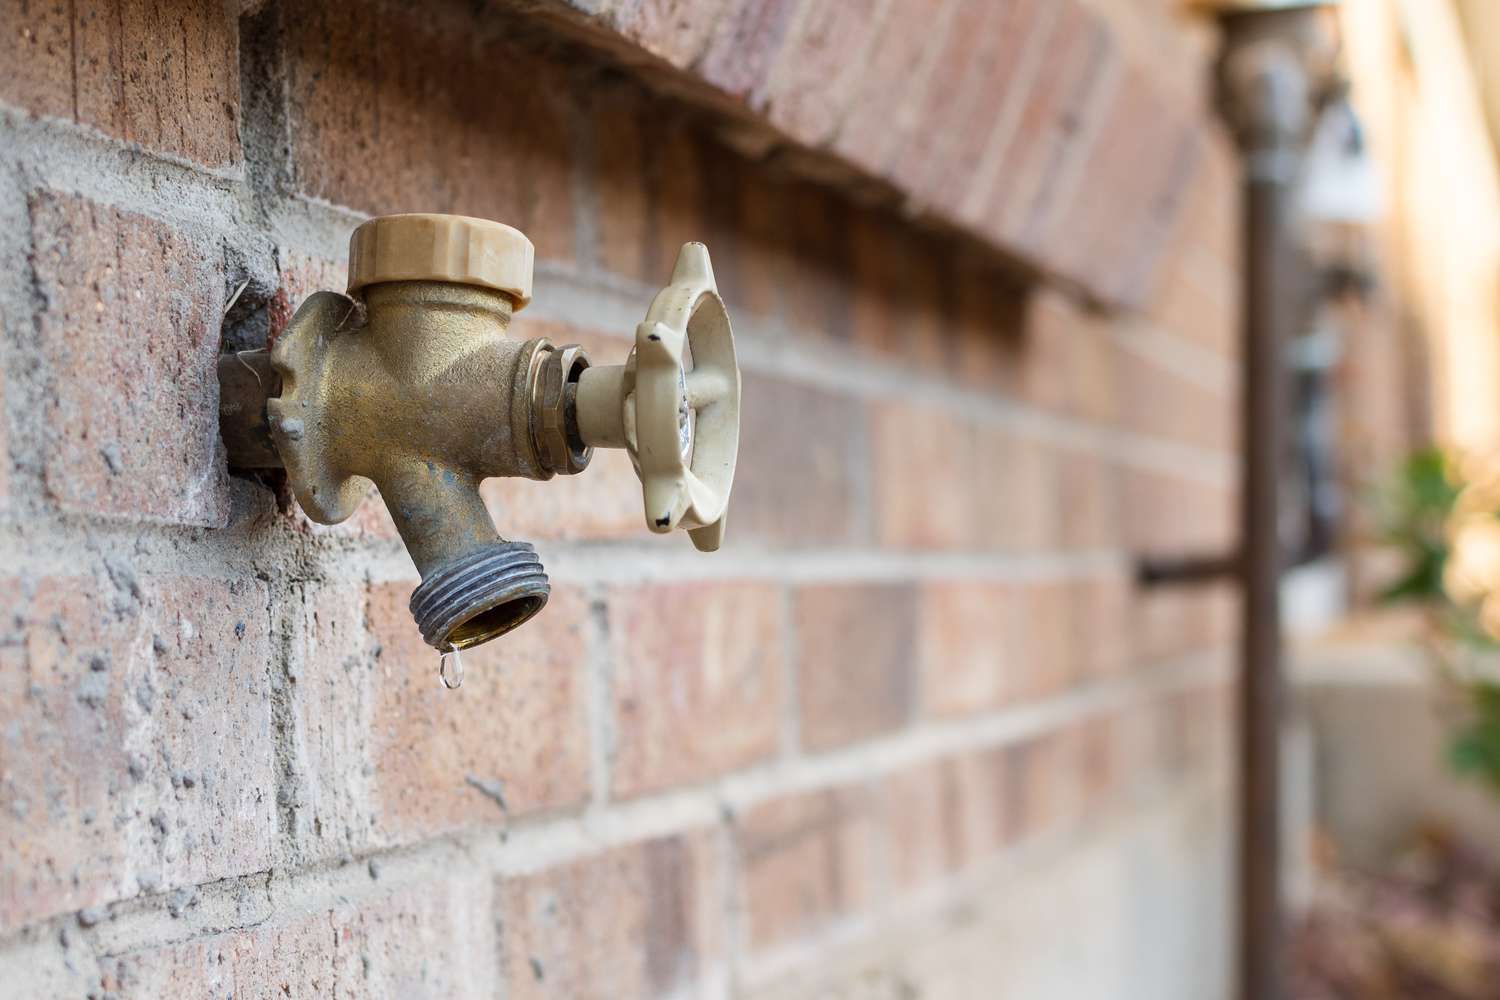
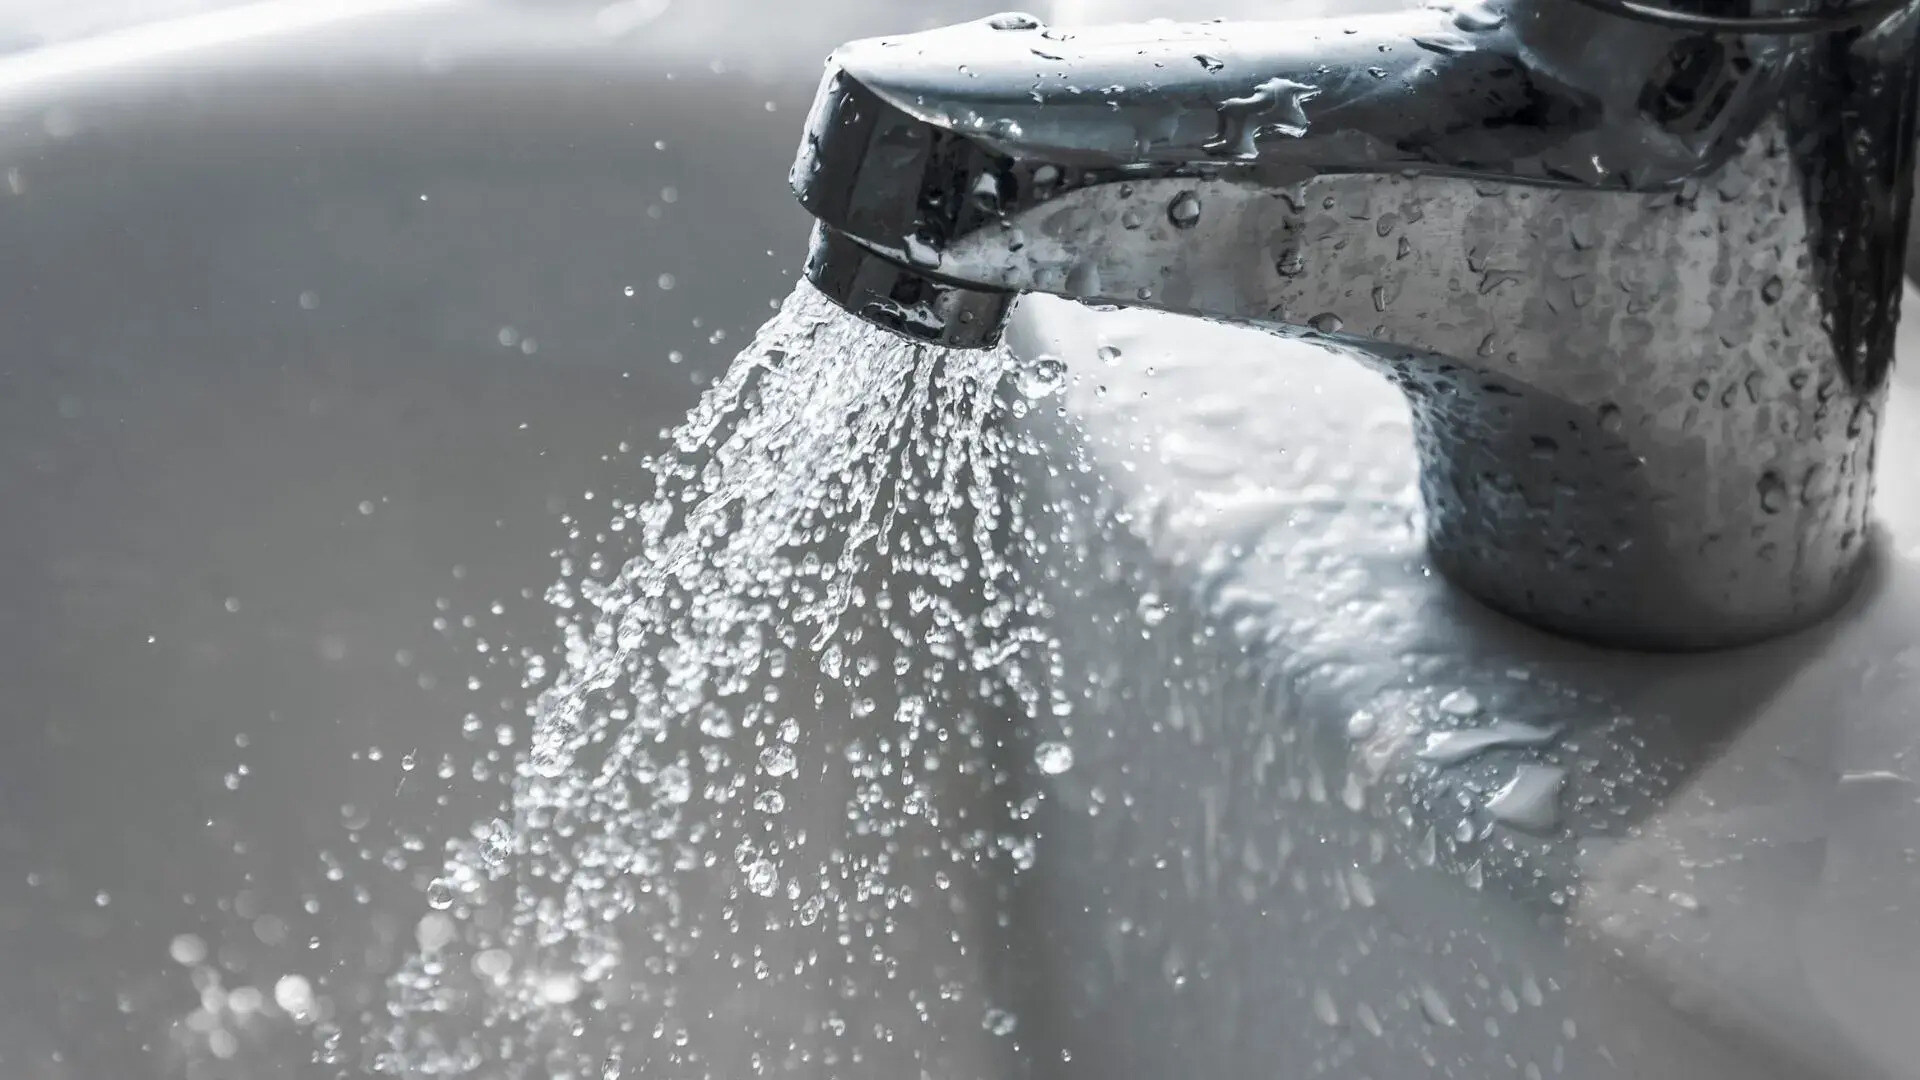
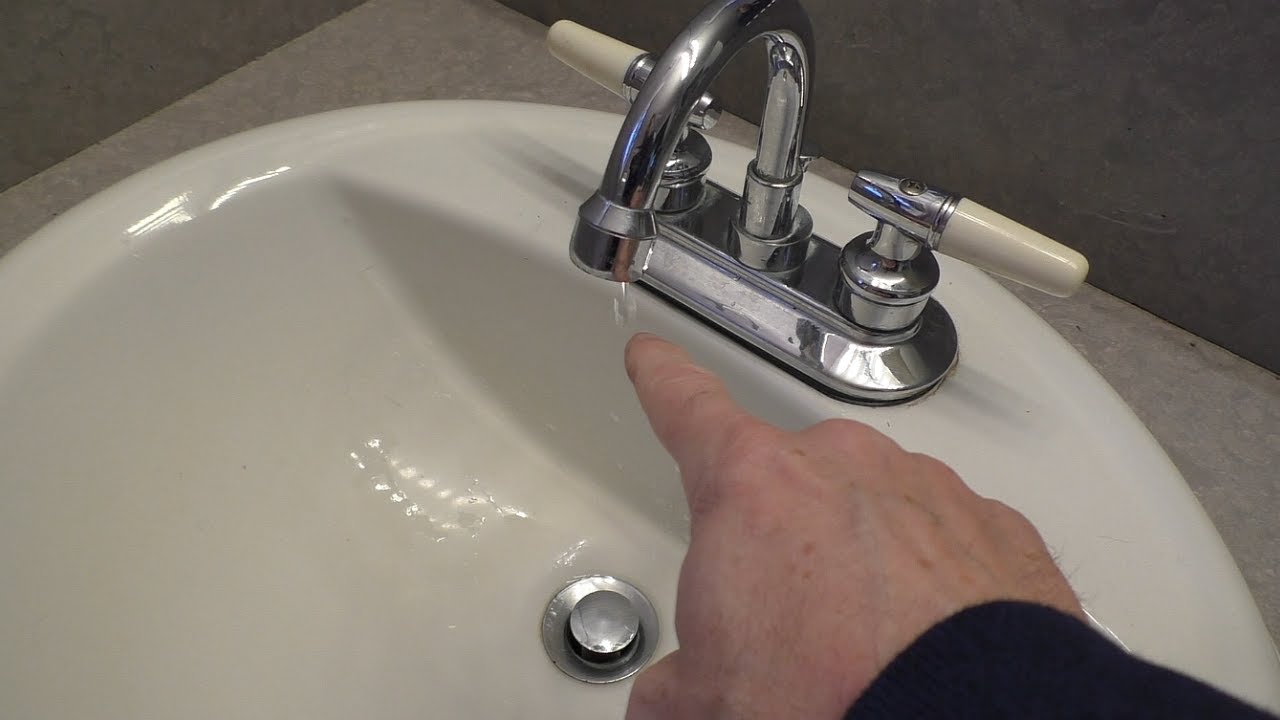
- Check for visible leaks: Begin by inspecting the faucet for any visible signs of leaks. Look for drips, puddles, or wet areas around the faucet, as well as any water spraying or trickling from the handle, spout, or connections.
- Examine the faucet handle: Turn the faucet on and off while observing the handle. If you notice water dripping from the handle or if it feels loose or wobbly, the issue may lie in the washers or the handle mechanism.
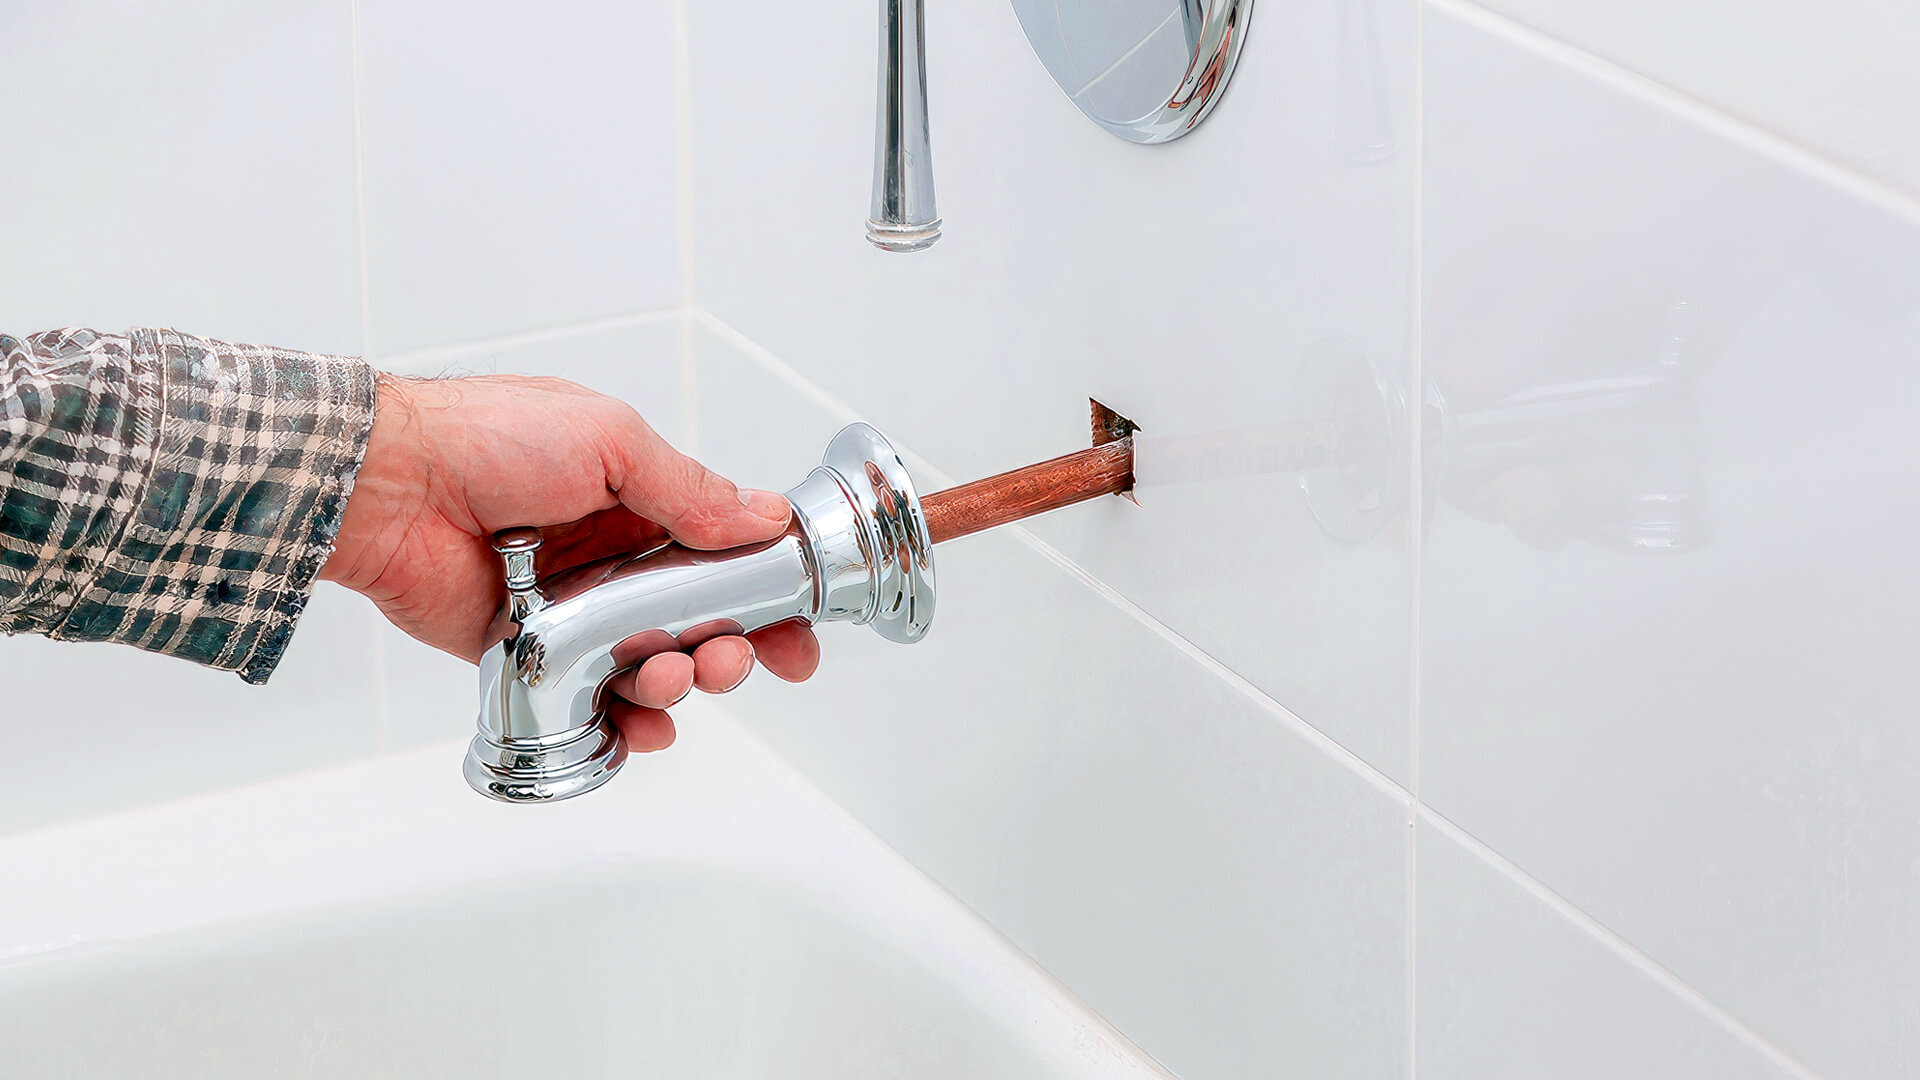
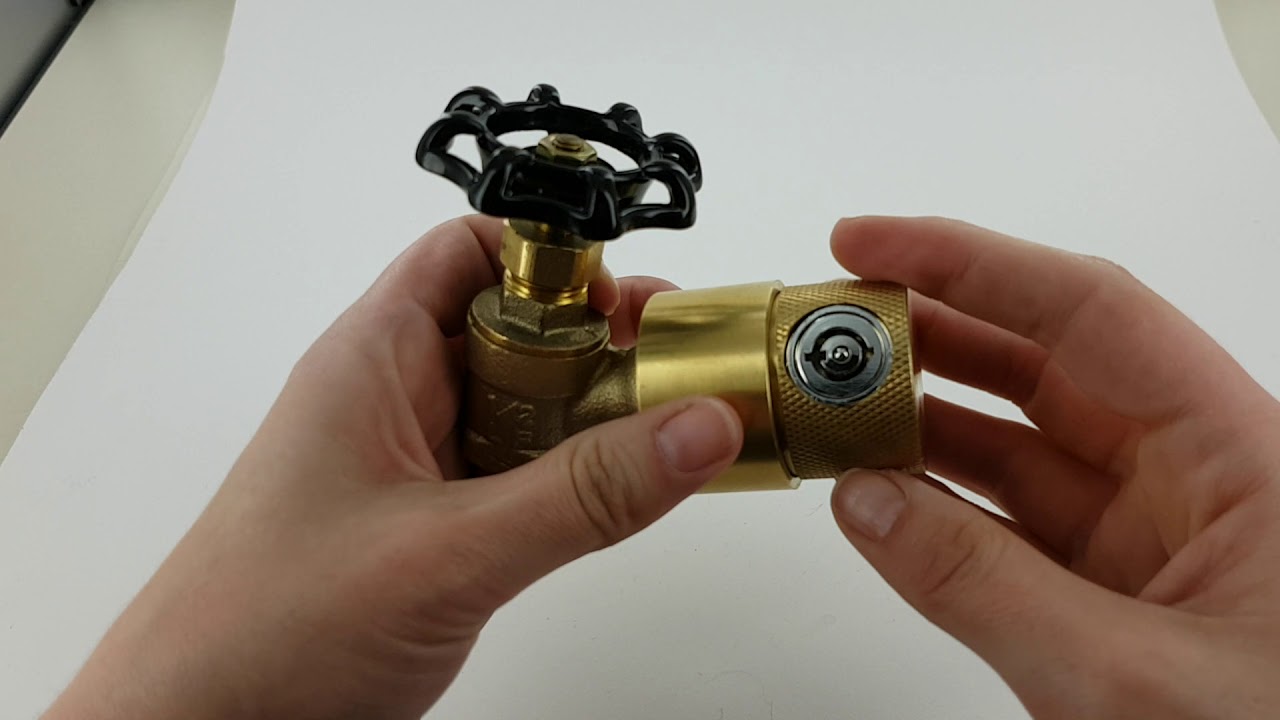
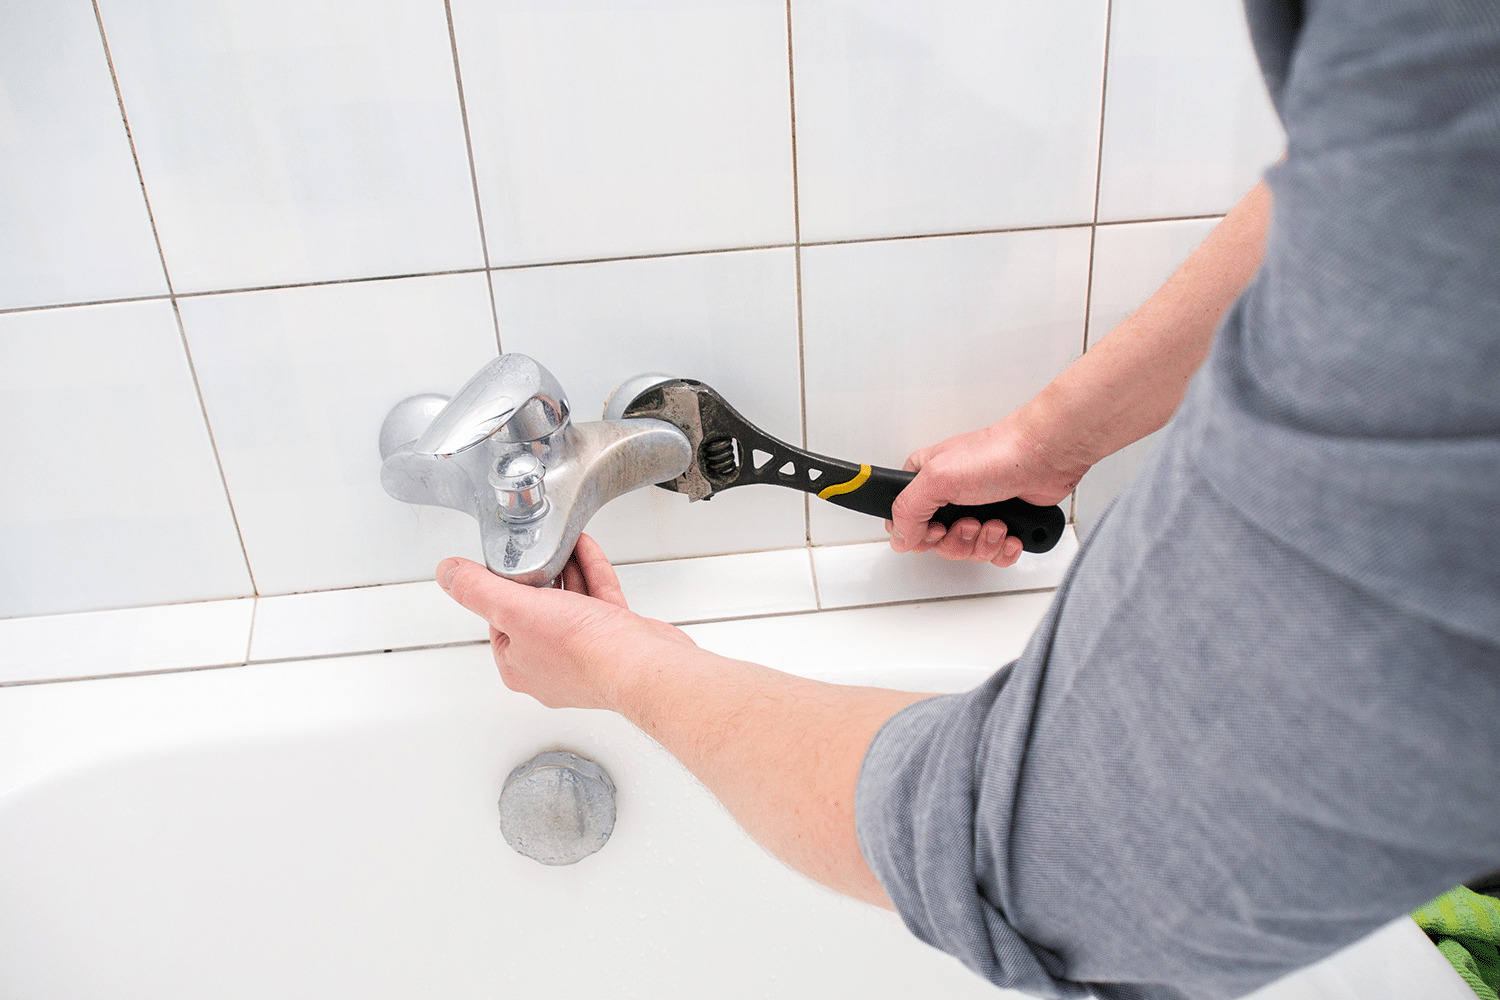
- Inspect the connections: Carefully examine the connections between the faucet and the water supply line. Check for any visible cracks, loose fittings, or signs of corrosion. Use a wrench to tighten any loose connections but avoid over-tightening.
- Inspect the spout or nozzle: Look closely at the spout or nozzle of the faucet. Cracks or damage to these components can result in leaks. If you spot any such damage, the faucet may need to be replaced.
- Check for frost damage: If you suspect freezing as the cause of the leak, inspect the faucet for signs of cracks or splits due to ice expansion. Look for any water stains, discoloration, or bulges on the faucet.
- Observe water pressure: Pay attention to the water pressure when the faucet is turned on. If you notice high water pressure causing water to spray or leak from the faucet, it could indicate an issue with the pressure regulator or municipal water supply.
By following these steps, you can narrow down the potential causes of the outside faucet leak. Once you have identified the source, you can proceed with the appropriate repairs.
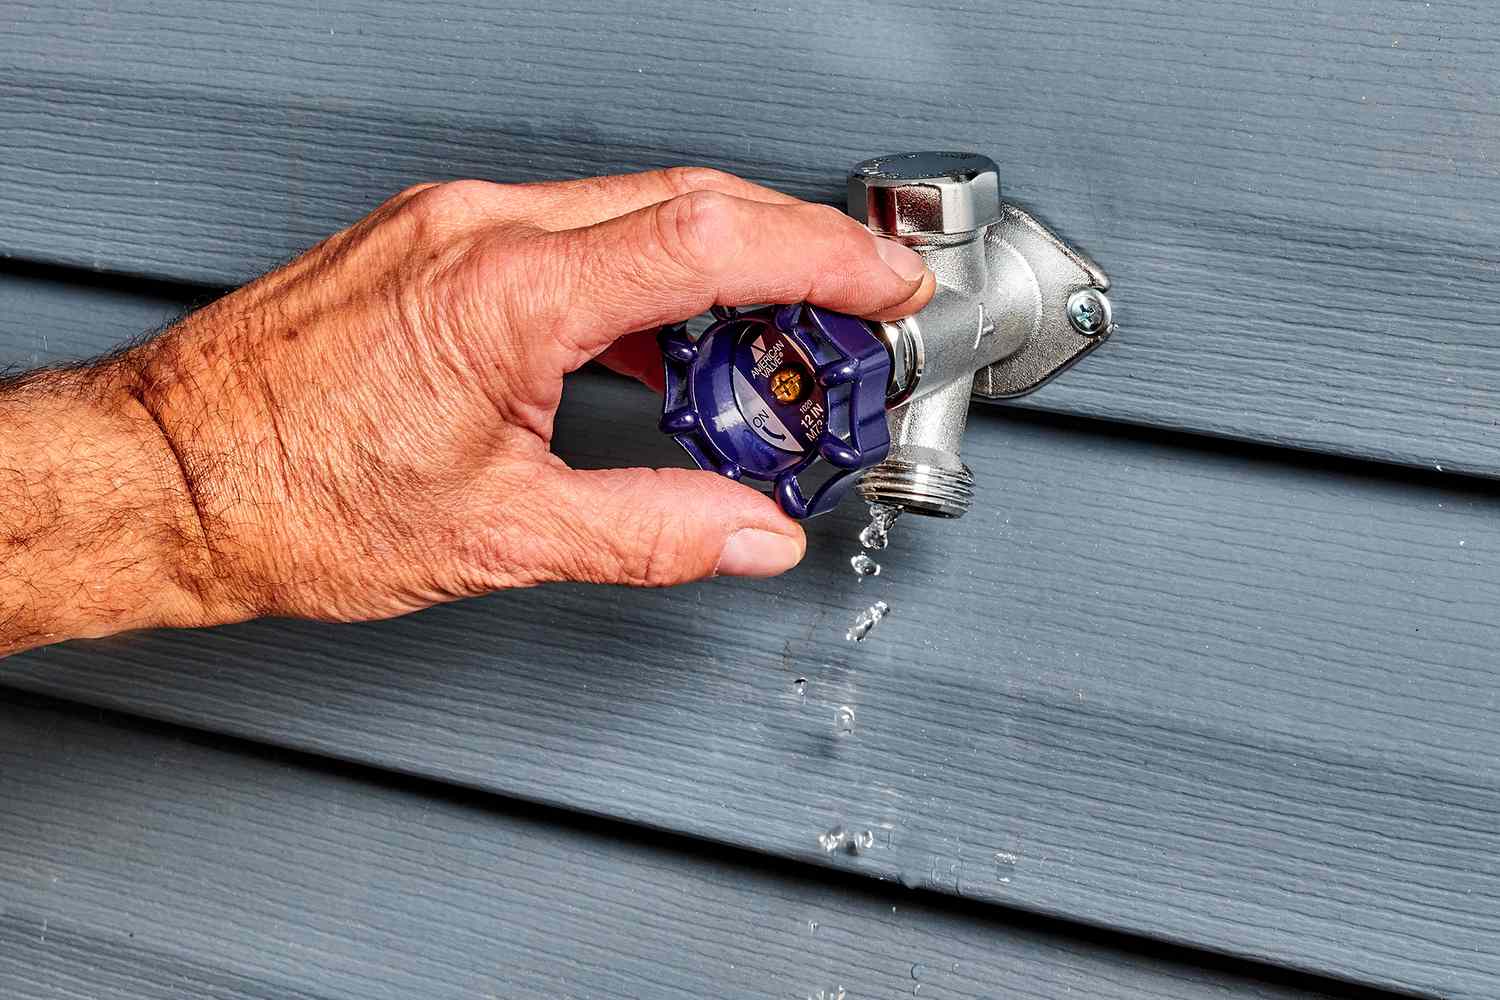
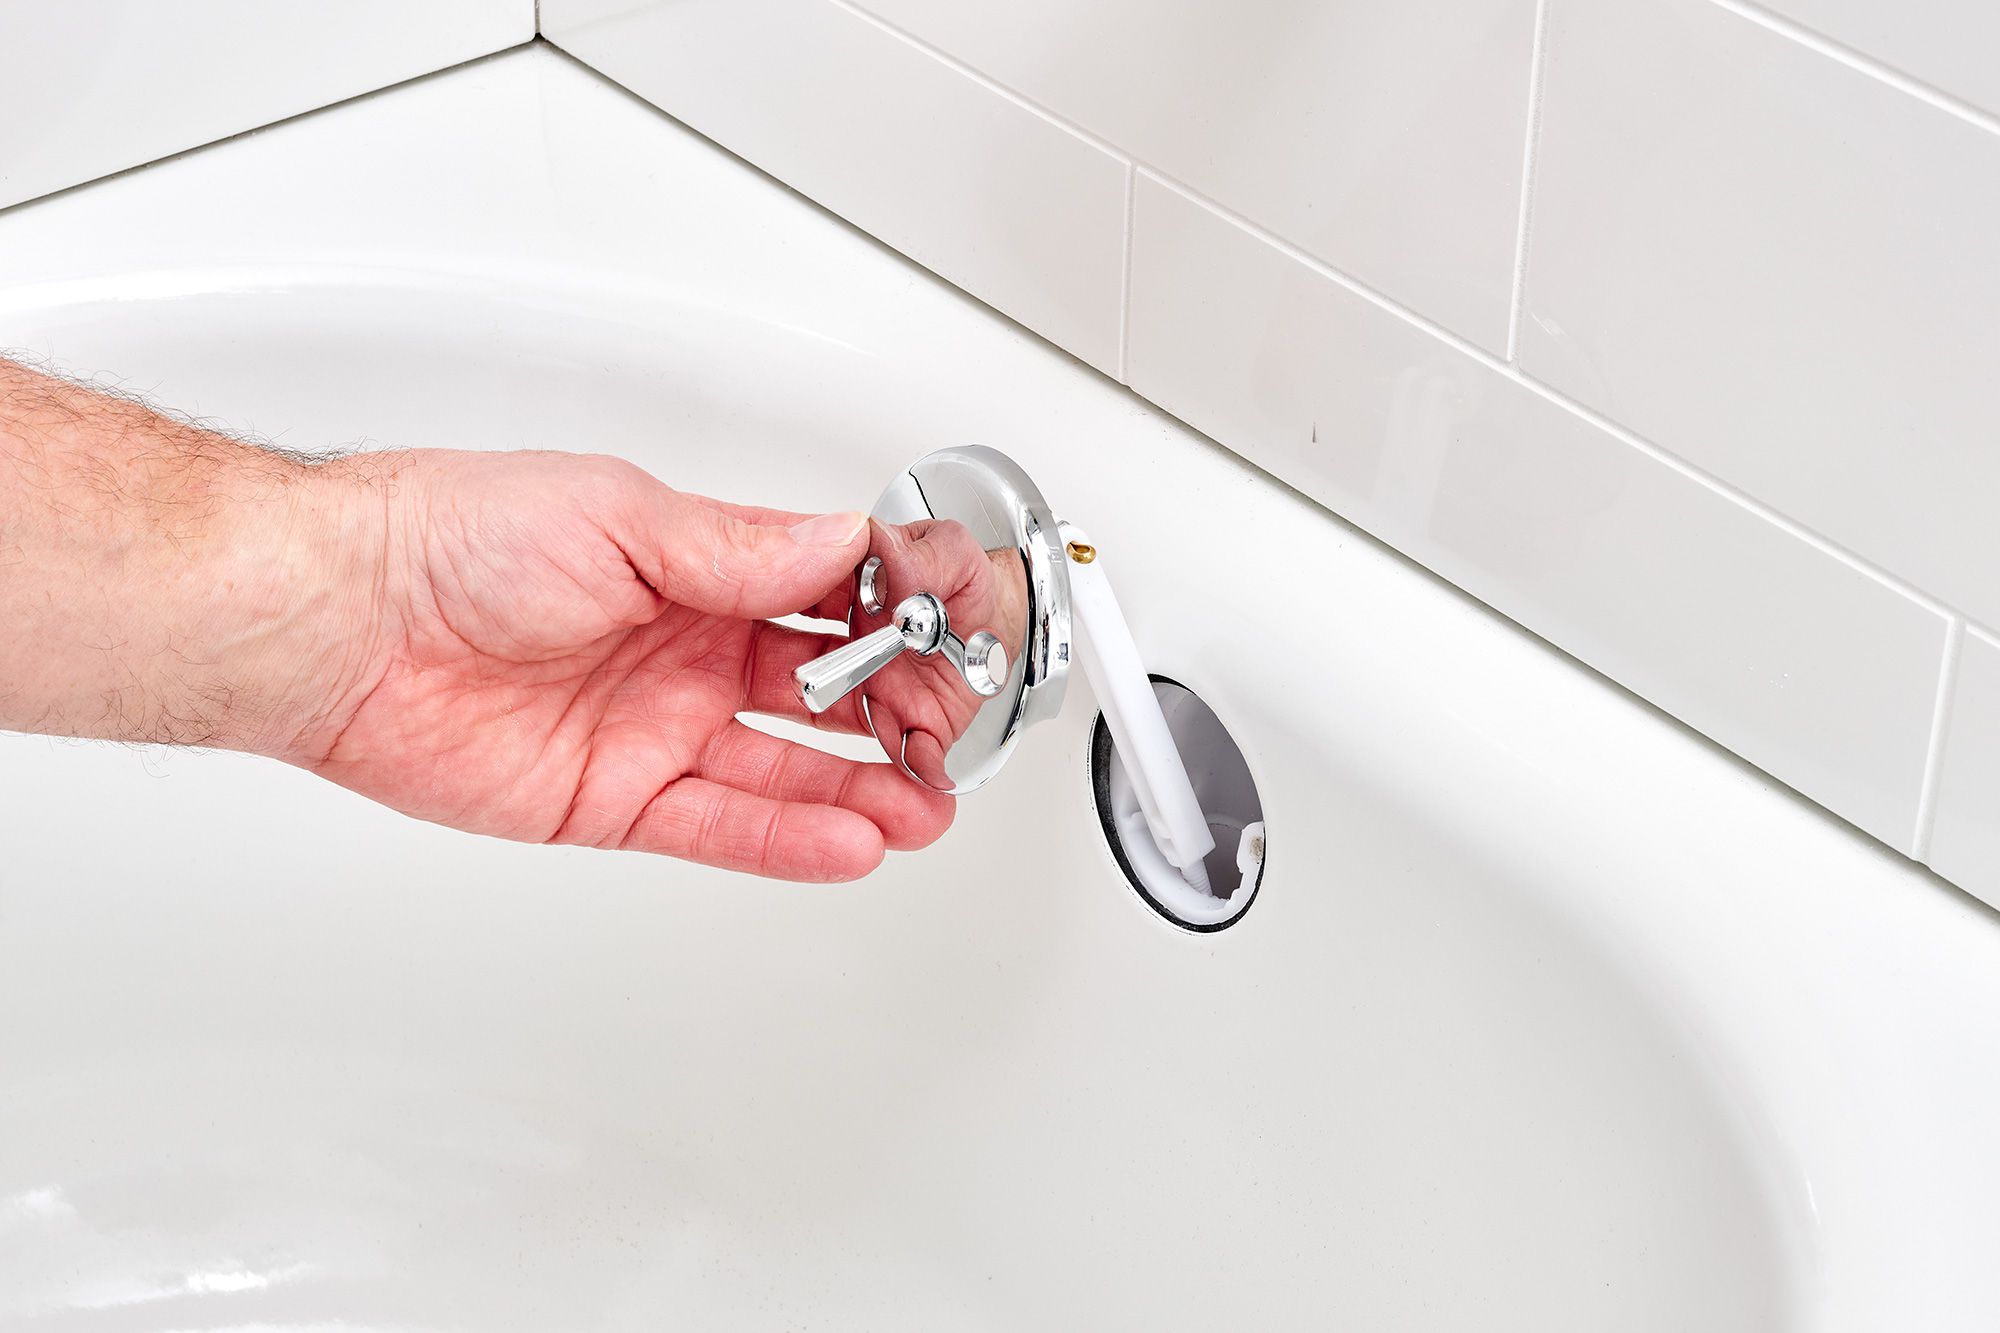
Check the washer and O-ring for wear and tear. If they are damaged, replace them to stop the leak. If the leak persists, consider calling a professional plumber to inspect the faucet for any other issues.
Fixing a Leaky Outside Faucet
Once you have diagnosed the cause of the leaky outside faucet, you can take the necessary steps to fix the issue. Here are some common solutions for different types of leaks:
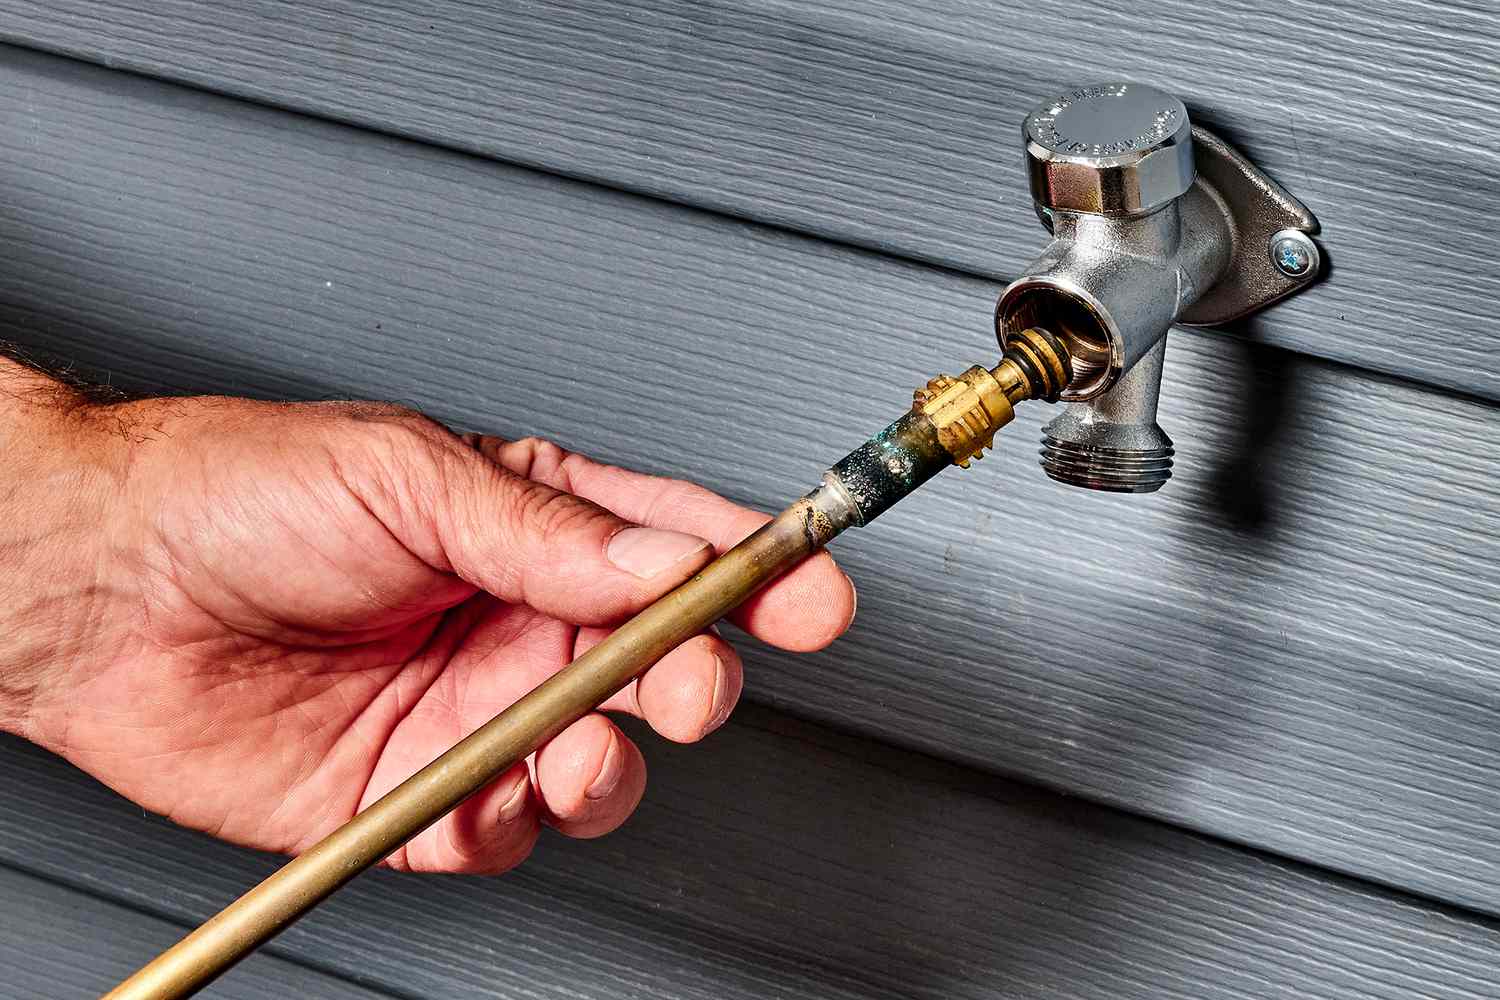
- Replace the washers: If the washers inside the faucet handle are worn-out or damaged, replacing them is often the simplest fix. Turn off the water supply, disassemble the faucet handle, and replace the washers with new ones. Make sure to choose the appropriate size and type of washer for your faucet.
- Tighten loose connections: If the leak is coming from a loose connection, use a wrench to carefully tighten the fittings. Be cautious not to overtighten, as it can cause more damage. If the connection is damaged, consider replacing the faulty parts.
- Repair cracks or damage: If the faucet itself is cracked or damaged, replacement may be necessary. Depending on the extent of the damage, you may need to replace the entire faucet or specific components like the spout or nozzle.
- Address freezing and expansion issues: If freezing temperatures caused the leak, take preventative measures for future instances. Insulate the faucet with a faucet cover or wrap it with insulation material to protect it from the cold. Additionally, ensure that the water supply to the outside faucet is properly drained before the onset of freezing weather.
- Adjust water pressure: If the leak is due to excessive water pressure, consider installing a pressure regulator to regulate the water flow. A professional plumber can help you determine the appropriate pressure for your specific needs.
- Call a professional: In some cases, especially if the issue is complex or requires specialized knowledge, it’s best to seek the help of a professional plumber. They have the expertise and tools to diagnose and repair outside faucet leaks effectively.
Remember to turn off the water supply before attempting any repairs, and follow the manufacturer’s instructions or seek professional guidance if you are unsure about the process.
By addressing the leaky outside faucet promptly and implementing the necessary repairs, you can save water, reduce utility costs, and maintain a well-functioning outdoor faucet.
Conclusion
A leaky outside faucet can be a frustrating problem that not only wastes water but also affects the functionality of your outdoor space. By understanding the common causes of outside faucet leaks, diagnosing the issue, and taking appropriate measures to fix it, you can save money, conserve water, and ensure the proper functioning of your outdoor faucet.
Remember to regularly inspect your outside faucet for any visible leaks or signs of damage. Promptly address any issues such as worn-out washers, loose connections, freezing and expansion damage, corroded pipes, excessive water pressure, or cracked faucet components. By being proactive, you can prevent larger problems from occurring and avoid costly repairs down the line.
If you’re not confident in your plumbing skills or the issue seems complex, it’s always a good idea to consult a professional plumber. They have the expertise and experience to diagnose and fix the problem effectively, ensuring a long-lasting solution.
Maintaining a leak-free outside faucet not only benefits your property but also supports environmental sustainability. By conserving water through proper faucet maintenance, you’re contributing to the global effort to reduce water waste and promote a more sustainable future.
So, don’t let a leaky outside faucet dampen your outdoor experience. Take action, diagnose the issue, and fix the leak to enjoy a fully functional and efficient outdoor space.
Frequently Asked Questions about Outside Faucet Leaks When Turned On
Was this page helpful?
At Storables.com, we guarantee accurate and reliable information. Our content, validated by Expert Board Contributors, is crafted following stringent Editorial Policies. We're committed to providing you with well-researched, expert-backed insights for all your informational needs.


0 thoughts on “Outside Faucet Leaks When Turned On”