Home>Storage Ideas>Kitchen Storage>How To Fix A Leaky Faucet – From Bathtubs To Kitchen Mixers
Kitchen Storage
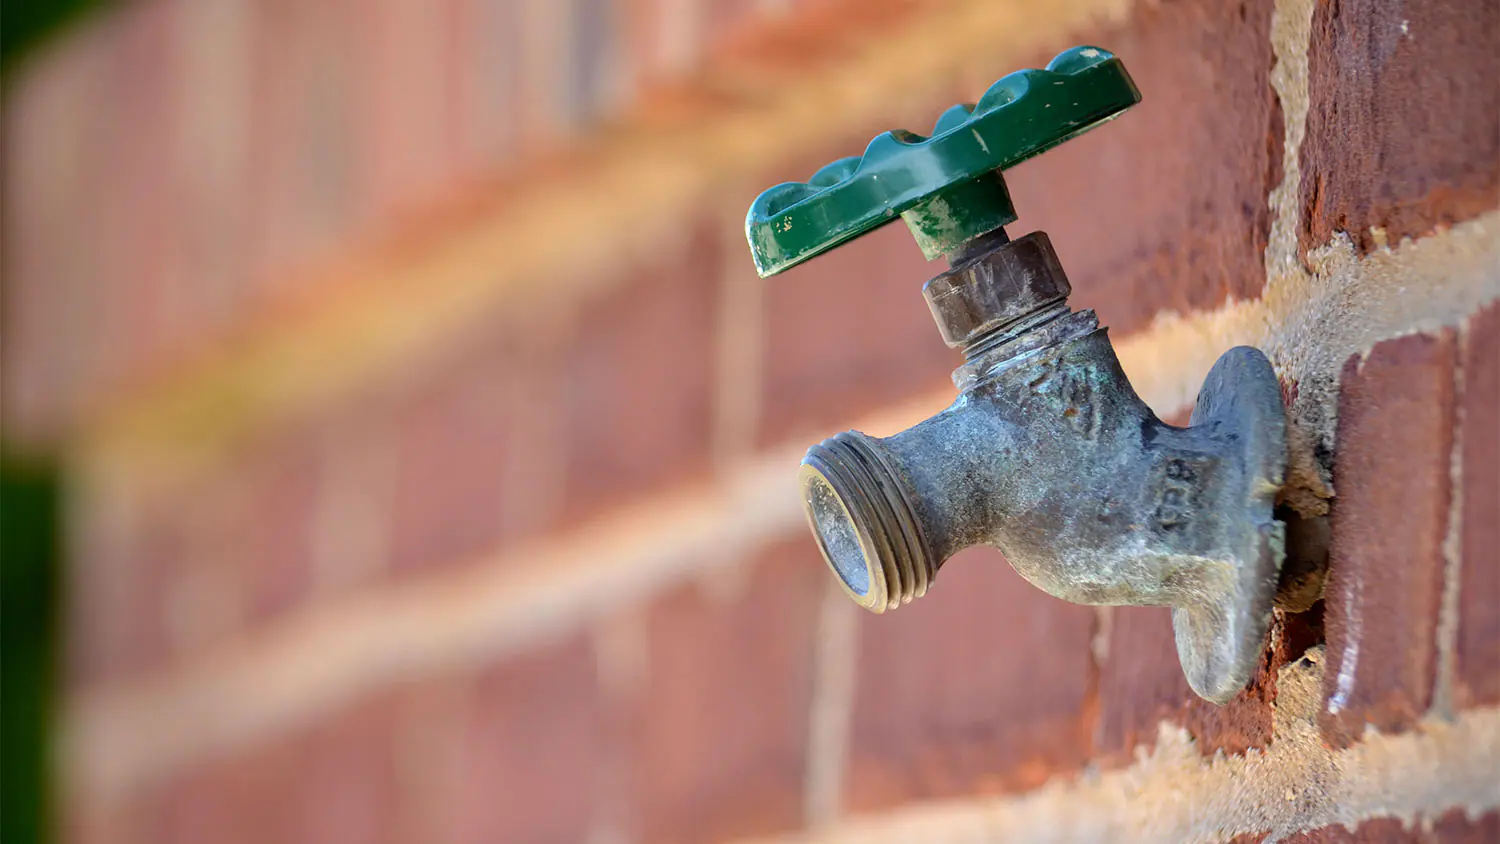
How To Fix A Leaky Faucet – From Bathtubs To Kitchen Mixers
Modified: October 20, 2024
Learn how to fix a leaky faucet in your kitchen with these helpful tips and tricks. From bathtubs to kitchen mixers, we provide the ultimate guide to solving your plumbing problems.
(Many of the links in this article redirect to a specific reviewed product. Your purchase of these products through affiliate links helps to generate commission for Storables.com, at no extra cost. Learn more)
Introduction
Welcome to our comprehensive guide on how to fix a leaky faucet! A leaky faucet can be a frustrating and wasteful problem, but fear not – with a little know-how and the right tools, you can easily tackle this common issue yourself. Whether you’re dealing with a leak in your bathtub or a kitchen mixer, we’ve got you covered.
Identifying and addressing a faucet leak as soon as possible is important, as it can save you money on your water bill and prevent further damage to your fixtures. In this article, we will walk you through the steps to fix a leaky faucet, providing detailed instructions and handy tips along the way.
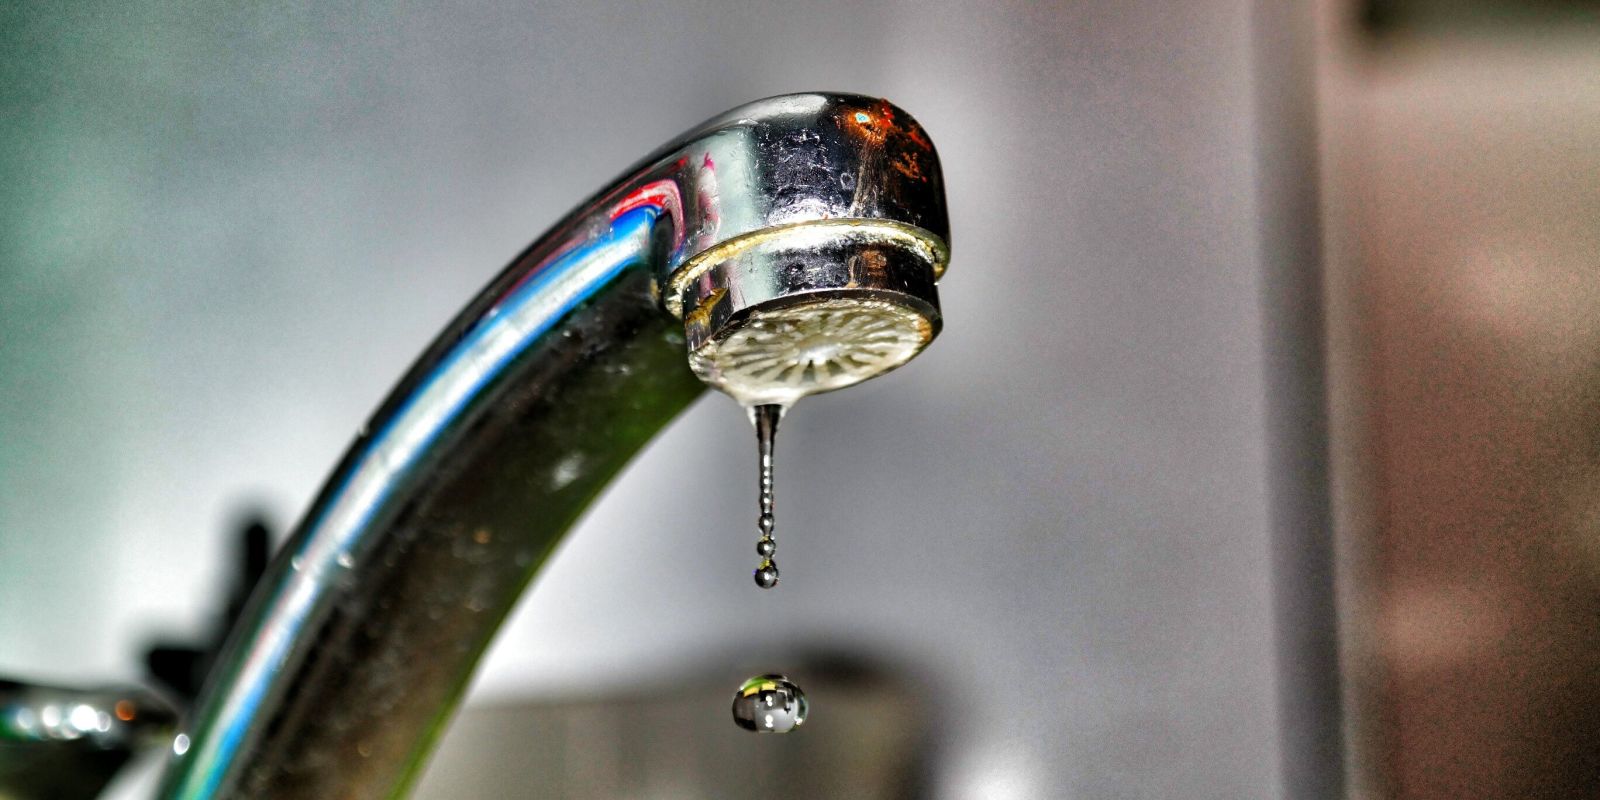
Before we jump into the specific steps, it’s important to determine the type of faucet leak you’re dealing with. There are generally two types: a drip from the spout and a leak from the base of the faucet. Identifying the type will help you understand the underlying cause and determine the necessary repairs.
To successfully fix a leaky faucet, you will need a few essential tools and materials. These include:
- Adjustable wrench
- Flathead screwdriver
- Phillips screwdriver
- Replacement parts (such as O-rings, washers, or cartridges)
- Plumber’s tape
- Replacement faucet handle (if necessary)
Now that you have your tools ready, let’s dive into the step-by-step instructions for fixing a leaky faucet in a bathtub.
Key Takeaways:
- Don’t let a leaky faucet dampen your day! With the right tools and know-how, you can easily tackle the issue in your bathtub or kitchen mixer, saving water and preventing further damage.
- From identifying the leak type to troubleshooting common problems, this guide empowers you to confidently fix your faucet. Take pride in your newfound DIY plumbing skills and help others do the same!
Identifying the Type of Faucet Leak
Before getting started with any repairs, it’s essential to identify the type of faucet leak you’re dealing with. This will help you determine the underlying cause and the appropriate steps to fix it.
The two most common types of faucet leaks are:
- Drip from the spout: If you notice water continuously dripping from the spout even when the faucet is turned off, you’re dealing with a spout leak. This type of leak is usually caused by worn-out internal parts, such as O-rings or washers.
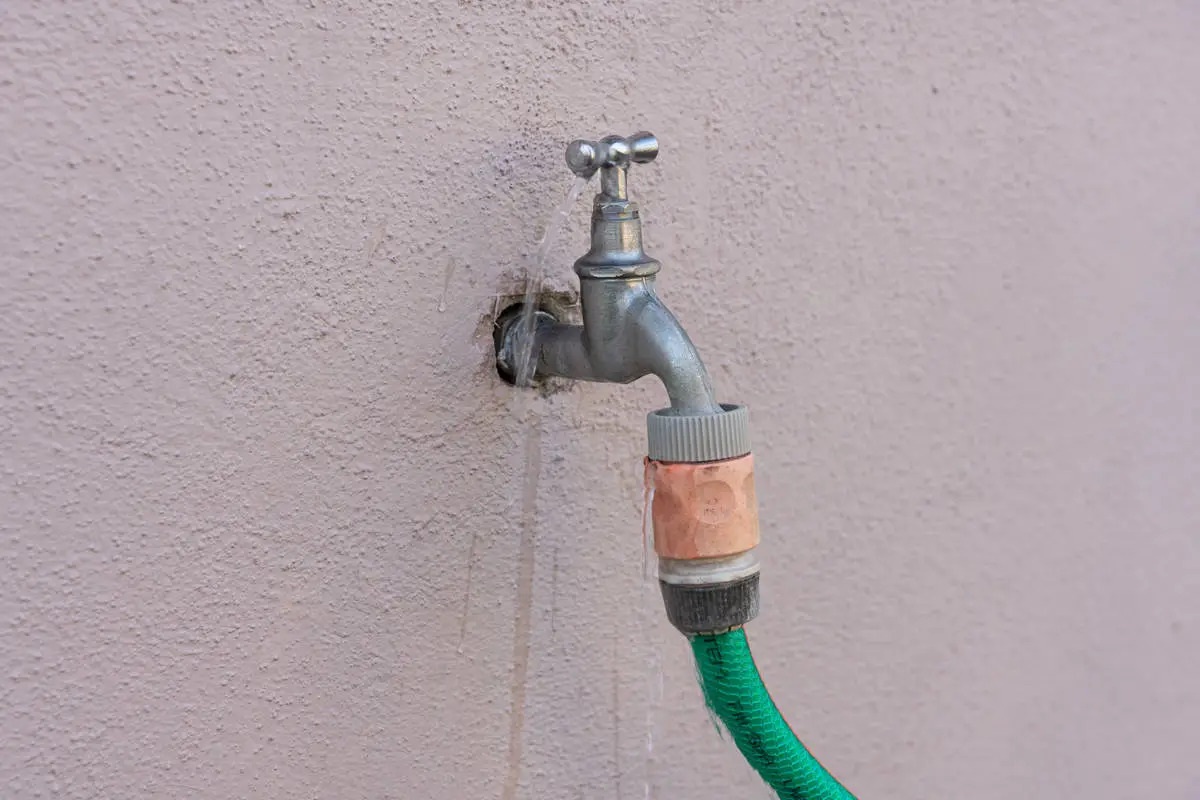
- Leak from the base of the faucet: If water is coming from the base of the faucet, it indicates a leak in the connections or seals. This type of leak can occur in both single-handle and double-handle faucets.
Once you’ve identified the type of leak, you can move on to gathering the necessary tools and replacement parts for the specific repair.
It’s worth noting that some faucets may require specific replacement parts or cartridges. It’s always a good idea to consult the manufacturer’s instructions or contact their customer support for guidance if you’re unsure about the exact replacement parts needed.
Now that you know how to identify the type of faucet leak, it’s time to gather your tools and delve into the steps for fixing a leaky faucet in a bathtub or a kitchen mixer.
Tools Required for Fixing a Leaky Faucet
Before getting started with fixing a leaky faucet, it’s important to have the right tools on hand. Here are the essential tools you’ll need:
- Adjustable wrench: This versatile tool is used to tighten or loosen nuts and bolts. It will come in handy for removing the faucet handle and accessing the internal components.
- Flathead screwdriver: A flathead screwdriver is useful for removing screws and prying open stubborn parts. It’s commonly required for disassembling the faucet handle assembly.
- Phillips screwdriver: Phillips screwdrivers are necessary for removing screws that have a cross-shaped head. You’ll typically need this tool to disassemble certain types of faucet handles or cartridges.
- Replacement parts: Depending on the type of faucet and the cause of the leak, you may need various replacement parts such as O-rings, washers, or cartridges. These parts can be found at your local hardware store or obtained from the faucet manufacturer.
- Plumber’s tape: Plumber’s tape, also known as Teflon tape, is used to create a watertight seal between threaded connections. It’s commonly applied to the threaded areas of the faucet to prevent leaks.
- Replacement faucet handle (if necessary): In some cases, a leaky faucet may require a replacement handle. It’s important to check the condition of the handle and determine if it needs to be replaced during the repair process.
Having these tools ready before you start the repair will save you time and ensure that you have everything you need to successfully fix the leaky faucet.
Now that you’re equipped with the necessary tools, it’s time to move on to the step-by-step instructions for fixing a leaky faucet in a bathtub or a kitchen mixer.
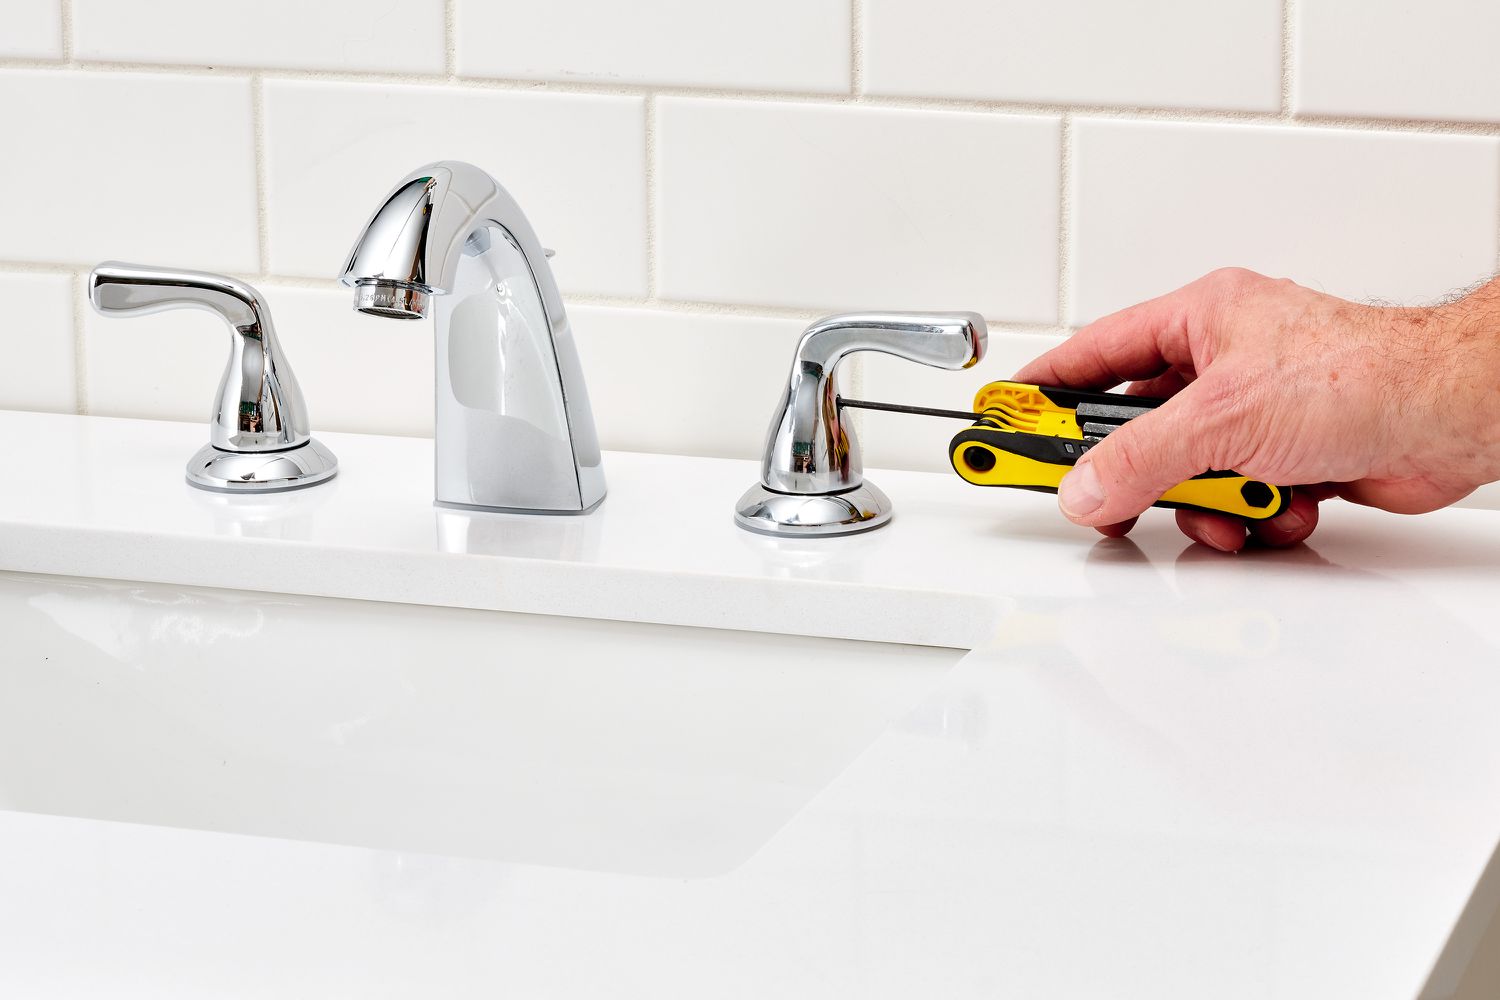
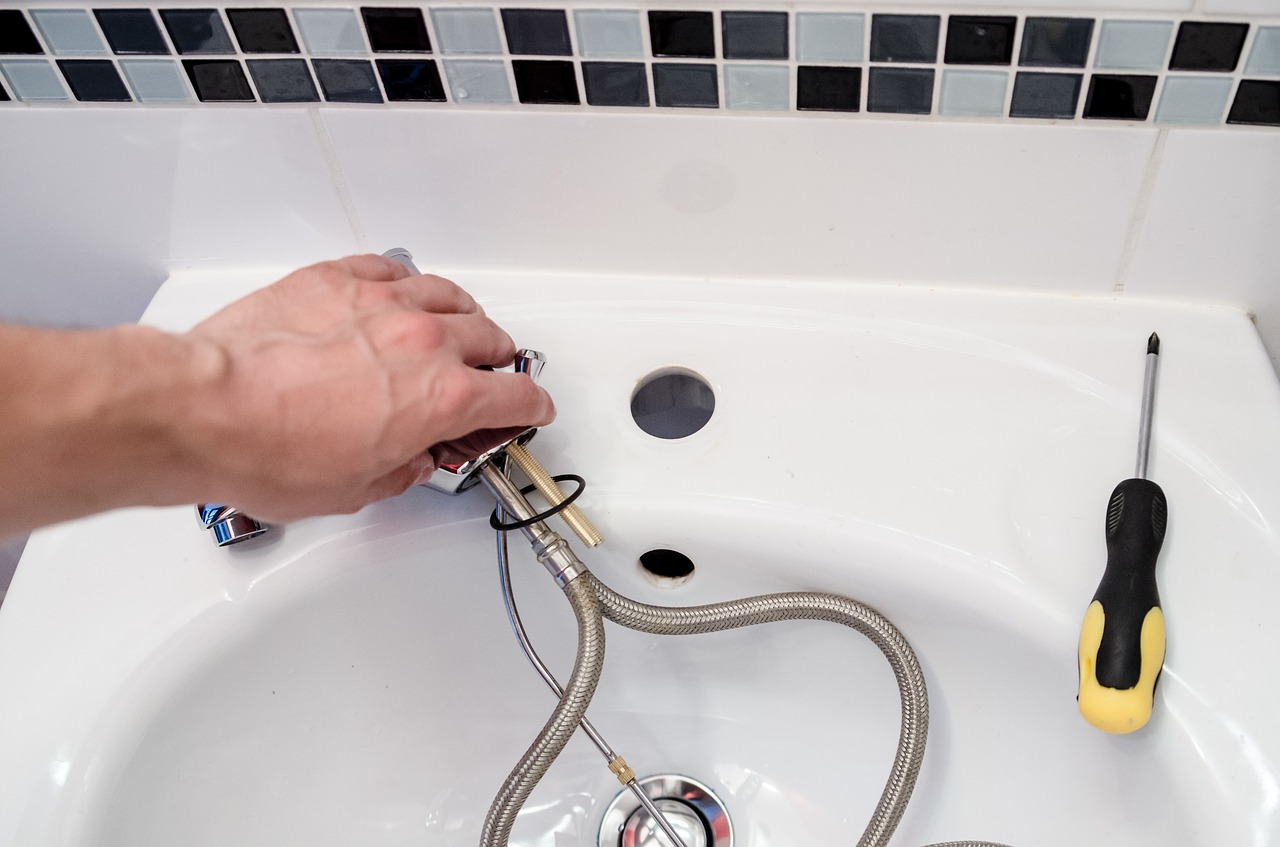
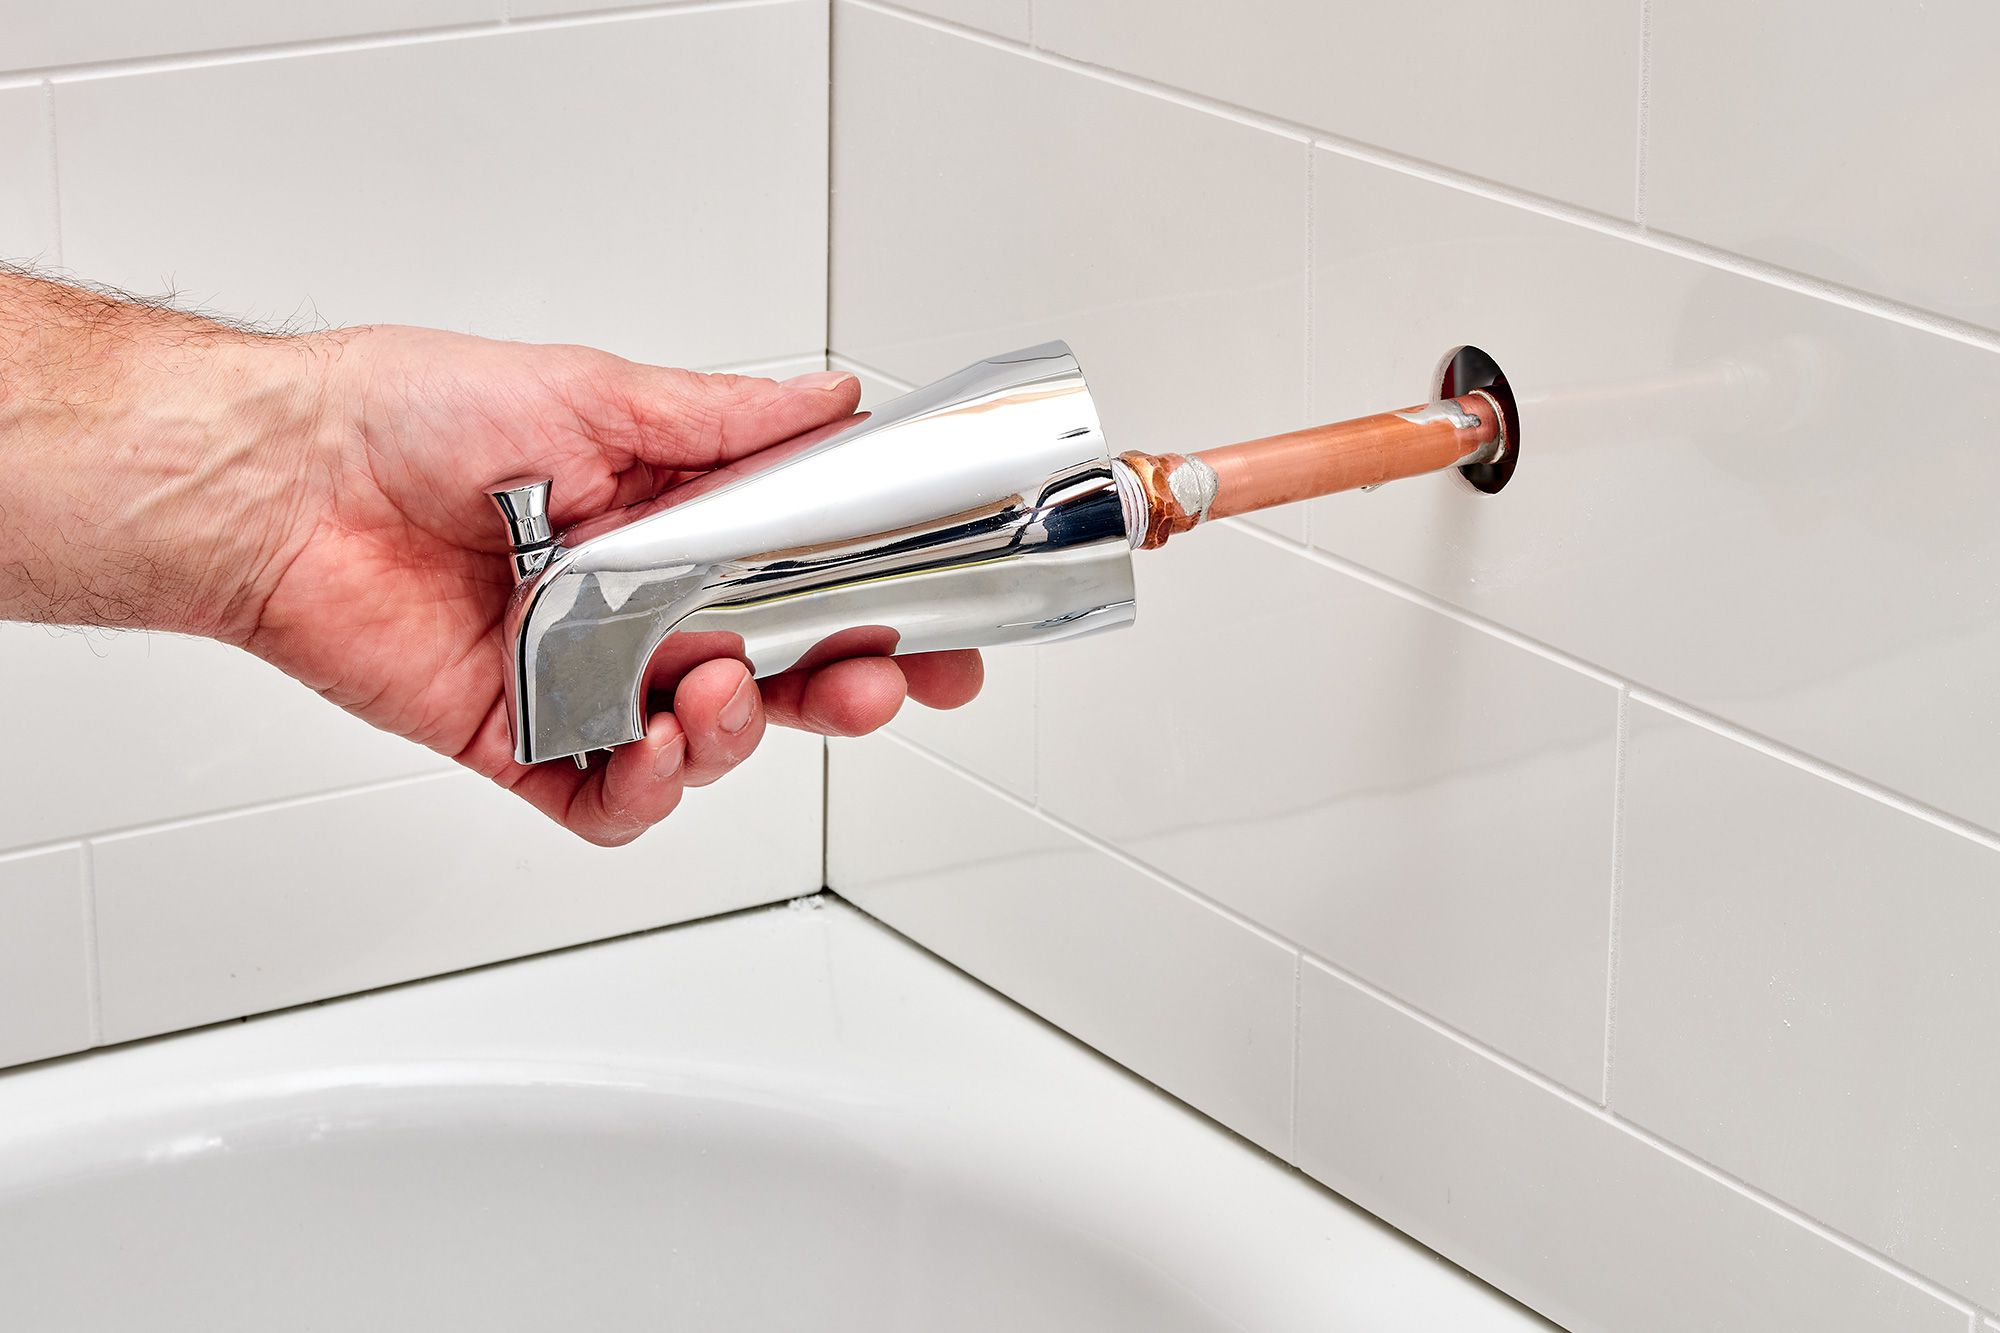
Steps to Fix a Leaky Faucet in a Bathtub
If you’re dealing with a leaky faucet in a bathtub, follow these step-by-step instructions to fix the issue:
- Turn off the water supply: Before you begin any repairs, locate the water shut-off valves for your bathtub. Turn them clockwise to shut off the water supply.
- Remove the faucet handle: Use an adjustable wrench to remove the decorative cap (if applicable) on the faucet handle. Then, unscrew the handle by turning it counterclockwise and carefully remove it from the stem.
- Inspect the handle: Examine the handle for any signs of damage or wear. If necessary, replace the handle with a new one that matches the model of your faucet.
- Remove the stem: Use a wrench or a pair of pliers to disconnect the stem from the faucet body. Turn it counterclockwise until it is loose enough to remove.
- Replace the O-rings or washers: Inspect the O-rings or washers located at the end of the stem. If they appear worn out or damaged, carefully remove them and replace them with new ones.
- Apply plumber’s tape: Wrap plumber’s tape around the threads on the stem to create a secure seal. Make sure to wrap it in a clockwise direction to prevent it from unraveling when you reassemble the faucet.
- Reassemble the faucet: Reattach the stem to the faucet body by turning it clockwise until it is snug. Place the faucet handle back onto the stem and secure it in place by tightening the screw.
- Turn on the water supply: Once you have reassembled the faucet, turn the water supply back on by reopening the shut-off valves. Check for any leaks and make sure the faucet is functioning properly.
After following these steps, your bathtub faucet should be leak-free and ready to use. If the leak persists or you encounter any difficulties during the repair process, it’s recommended to seek professional assistance to avoid causing further damage.
Now that you know how to fix a leaky faucet in a bathtub, let’s move on to the steps for fixing a leaky faucet in a kitchen mixer.
If you have a leaky faucet, start by turning off the water supply to the affected fixture. Then, disassemble the faucet and replace any worn out parts such as the O-rings or washers. Finally, reassemble the faucet and test for leaks.
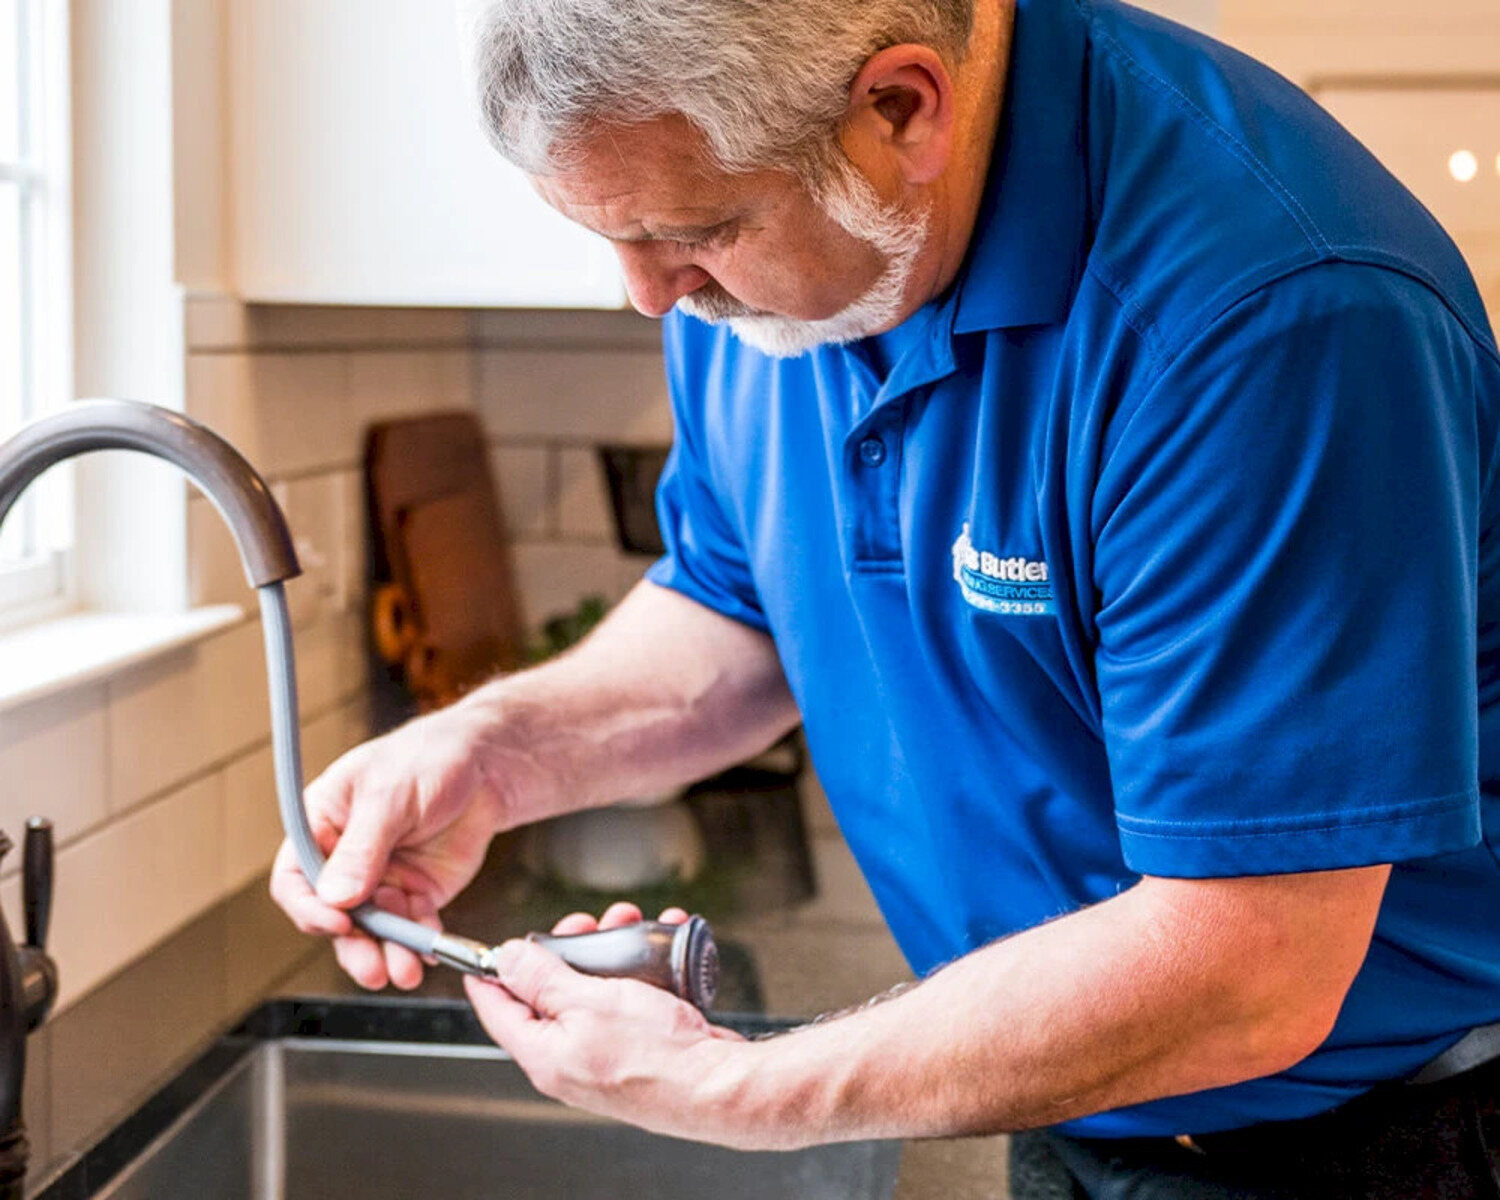
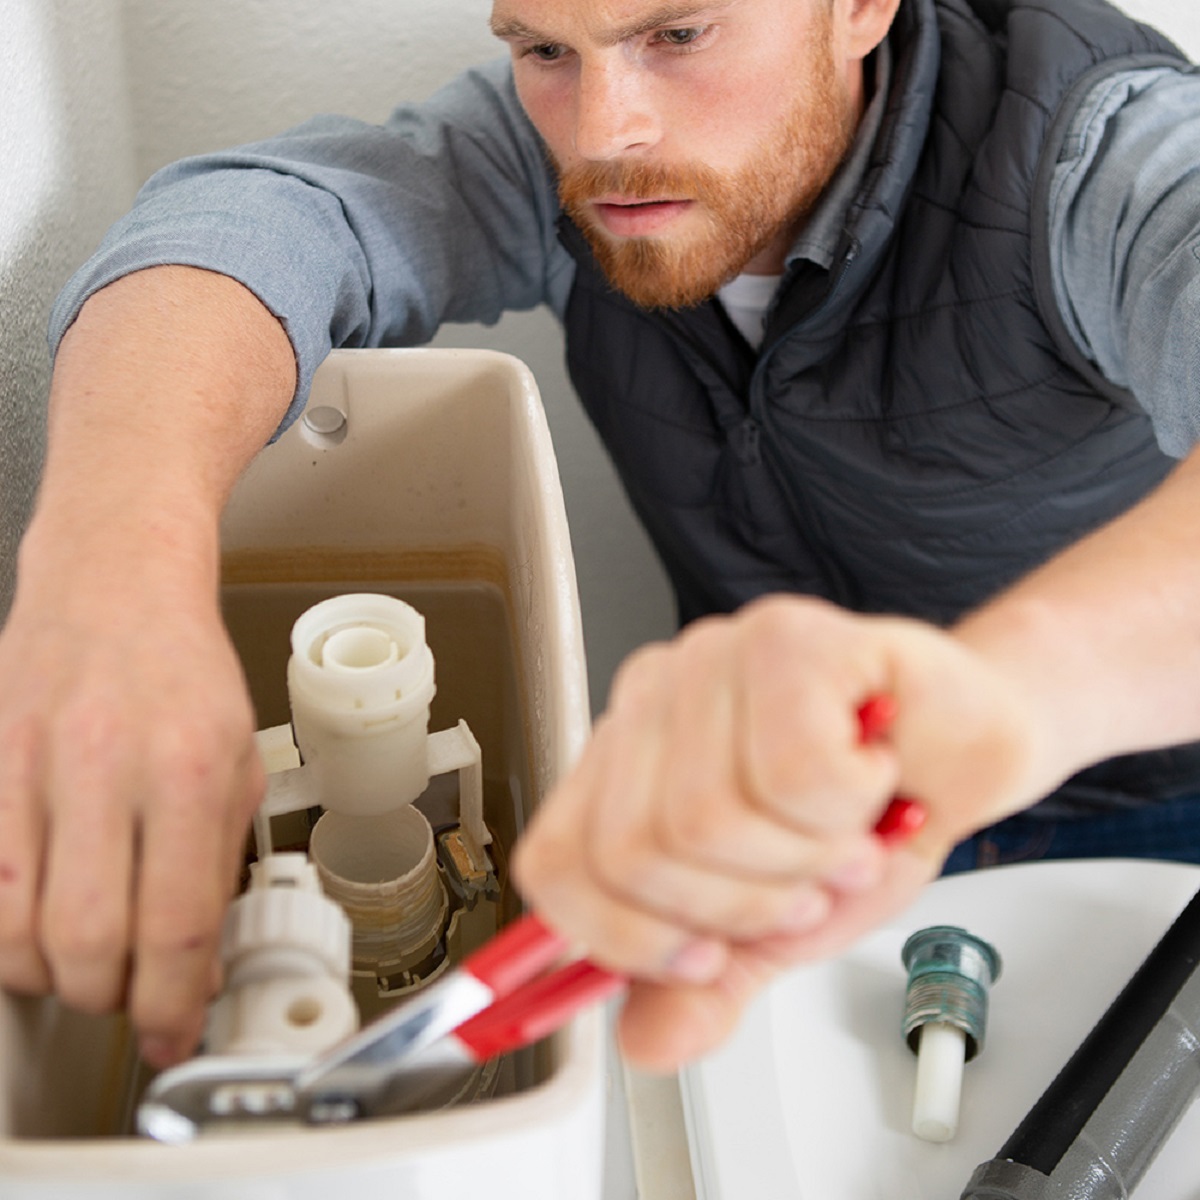
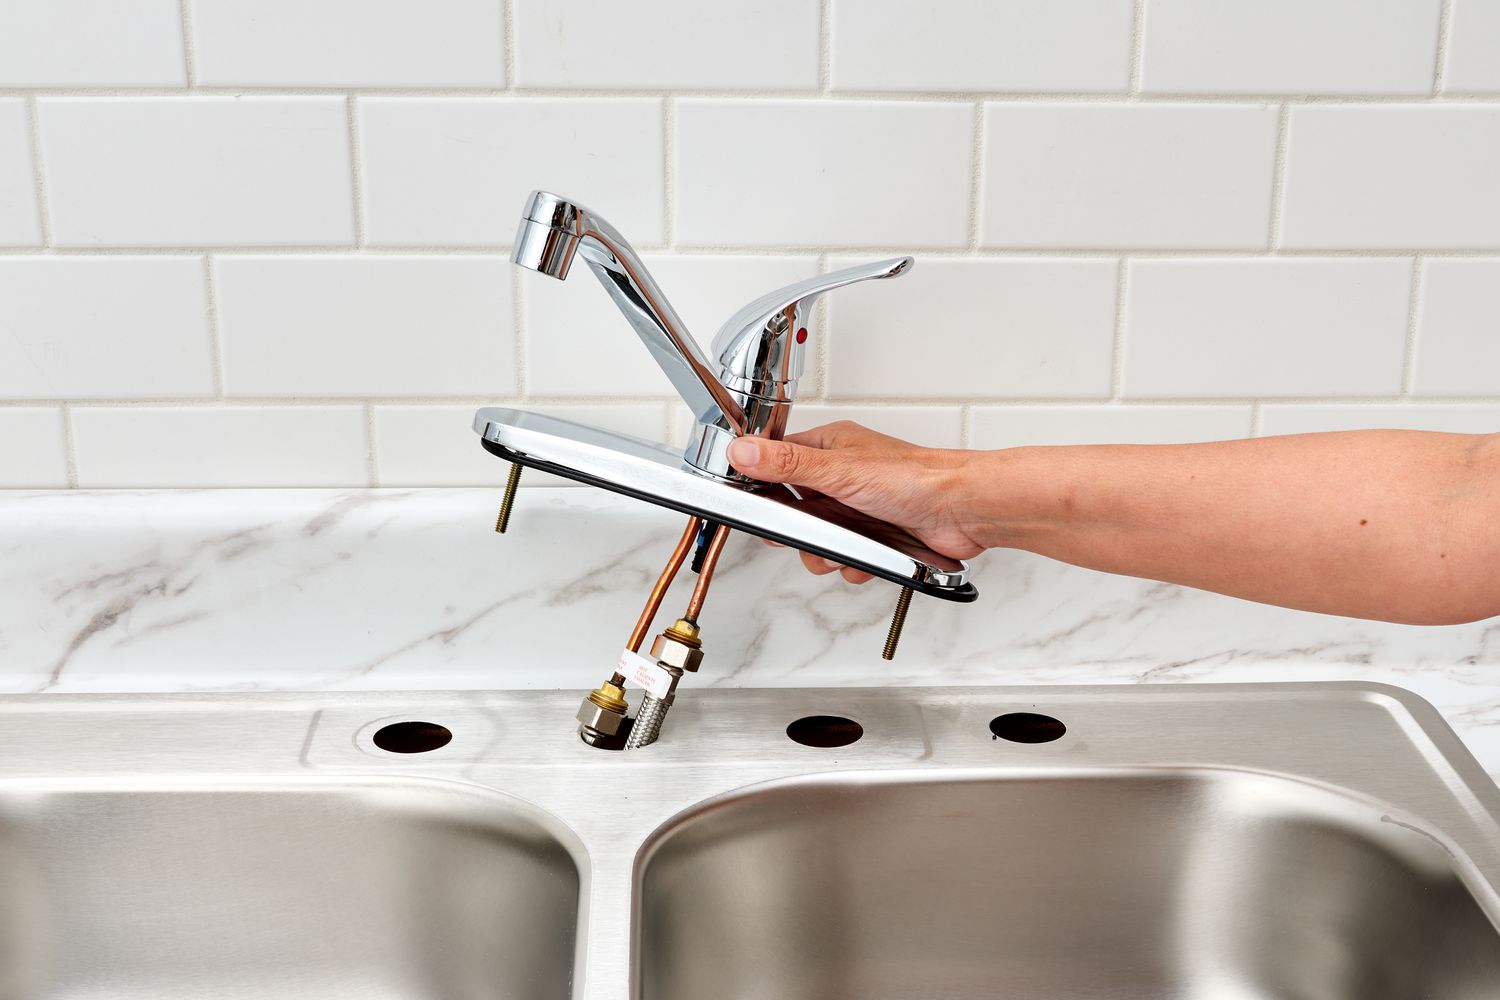
Steps to Fix a Leaky Faucet in a Kitchen Mixer
If you’re dealing with a leaky faucet in a kitchen mixer, follow these step-by-step instructions to resolve the issue:
- Turn off the water supply: Locate the shut-off valves for your kitchen sink and turn them clockwise to shut off the water supply.
- Remove the handle: Depending on the type of kitchen mixer, you may need to remove a decorative cap or a screw to access the handle. Use a flathead or Phillips screwdriver to remove any screws, and then carefully pull off the handle.
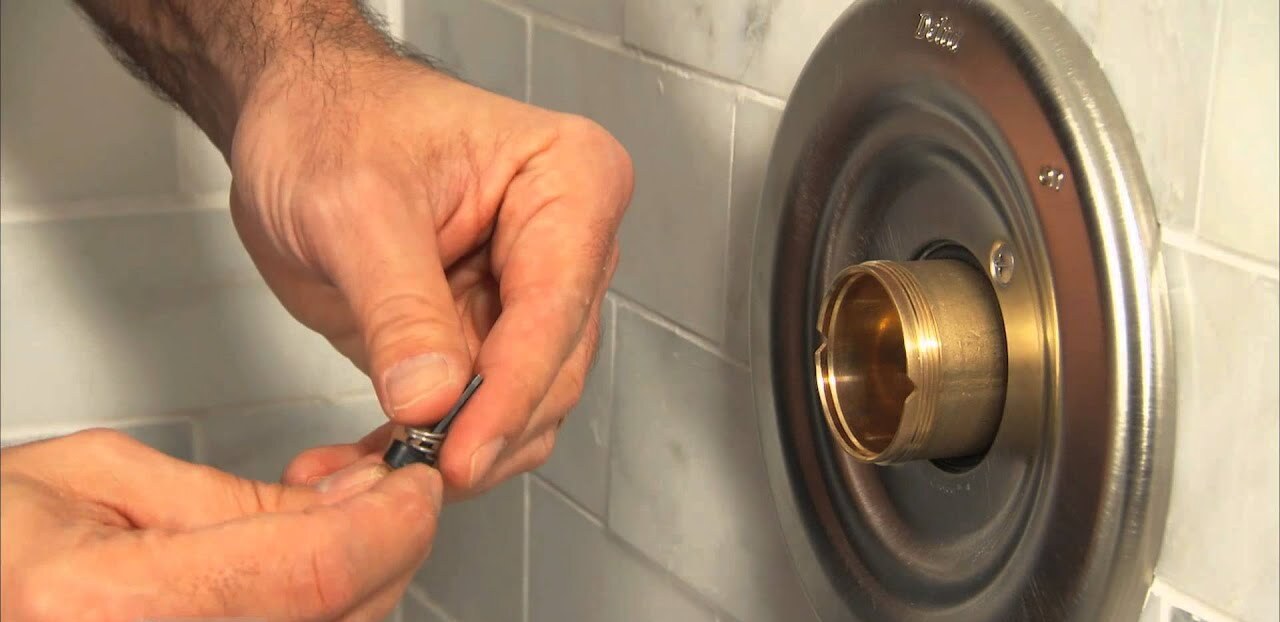
- Inspect the cartridge: The cartridge is located inside the handle and is responsible for controlling the flow of water. Examine the cartridge for any signs of damage, such as cracks or worn-out seals. If the cartridge is faulty, you will need to replace it.
- Replace the cartridge: Remove the old cartridge by loosening the retaining nut with an adjustable wrench. Take note of the cartridge orientation before removing it. Install the new cartridge in the same position and secure it by tightening the retaining nut.
- Check seals and gaskets: Inspect the seals and gaskets inside the faucet body for any signs of wear or damage. If necessary, replace them with new ones to ensure a watertight seal.
- Apply plumber’s tape: Wrap plumber’s tape around the threads on the faucet body to create a tight seal. This will help prevent leaks and ensure a secure connection.
- Reassemble the faucet: Place the handle back onto the faucet body and secure it in place with any screws or retaining mechanisms. Make sure the handle is aligned correctly and functions smoothly.
- Turn on the water supply: Once you have reassembled the faucet, turn on the water supply by reopening the shut-off valves. Allow the water to flow and check for any leaks.
Following these steps should resolve the issue and fix the leak in your kitchen mixer. However, if the problem persists or you encounter any complications during the repair process, it’s recommended to consult a professional plumber for assistance.
Now that you’ve learned how to fix a leaky faucet in a kitchen mixer, let’s move on to some common problems and troubleshooting tips.
Read more: How To Fix A Leaky Moen Faucet
Common Problems and Troubleshooting Tips
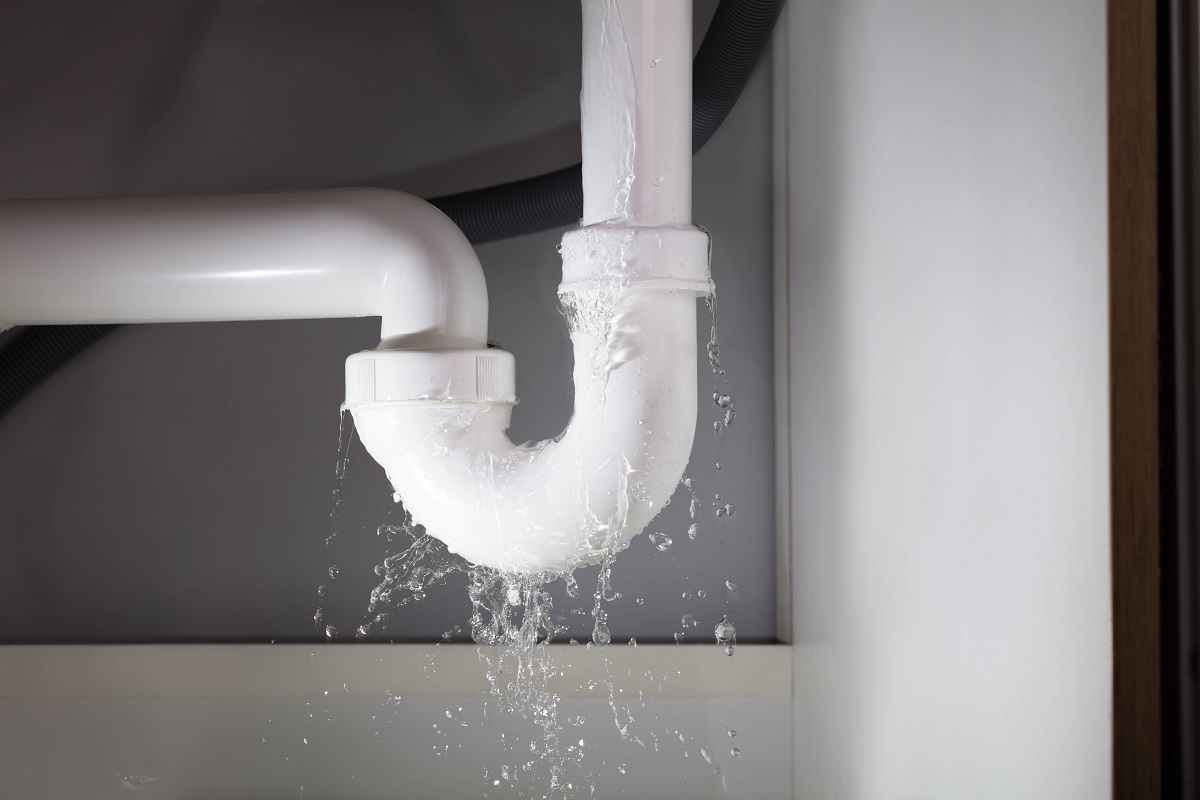
While fixing a leaky faucet, you may come across some common issues that require additional troubleshooting. Here are a few common problems and tips to help you overcome them:
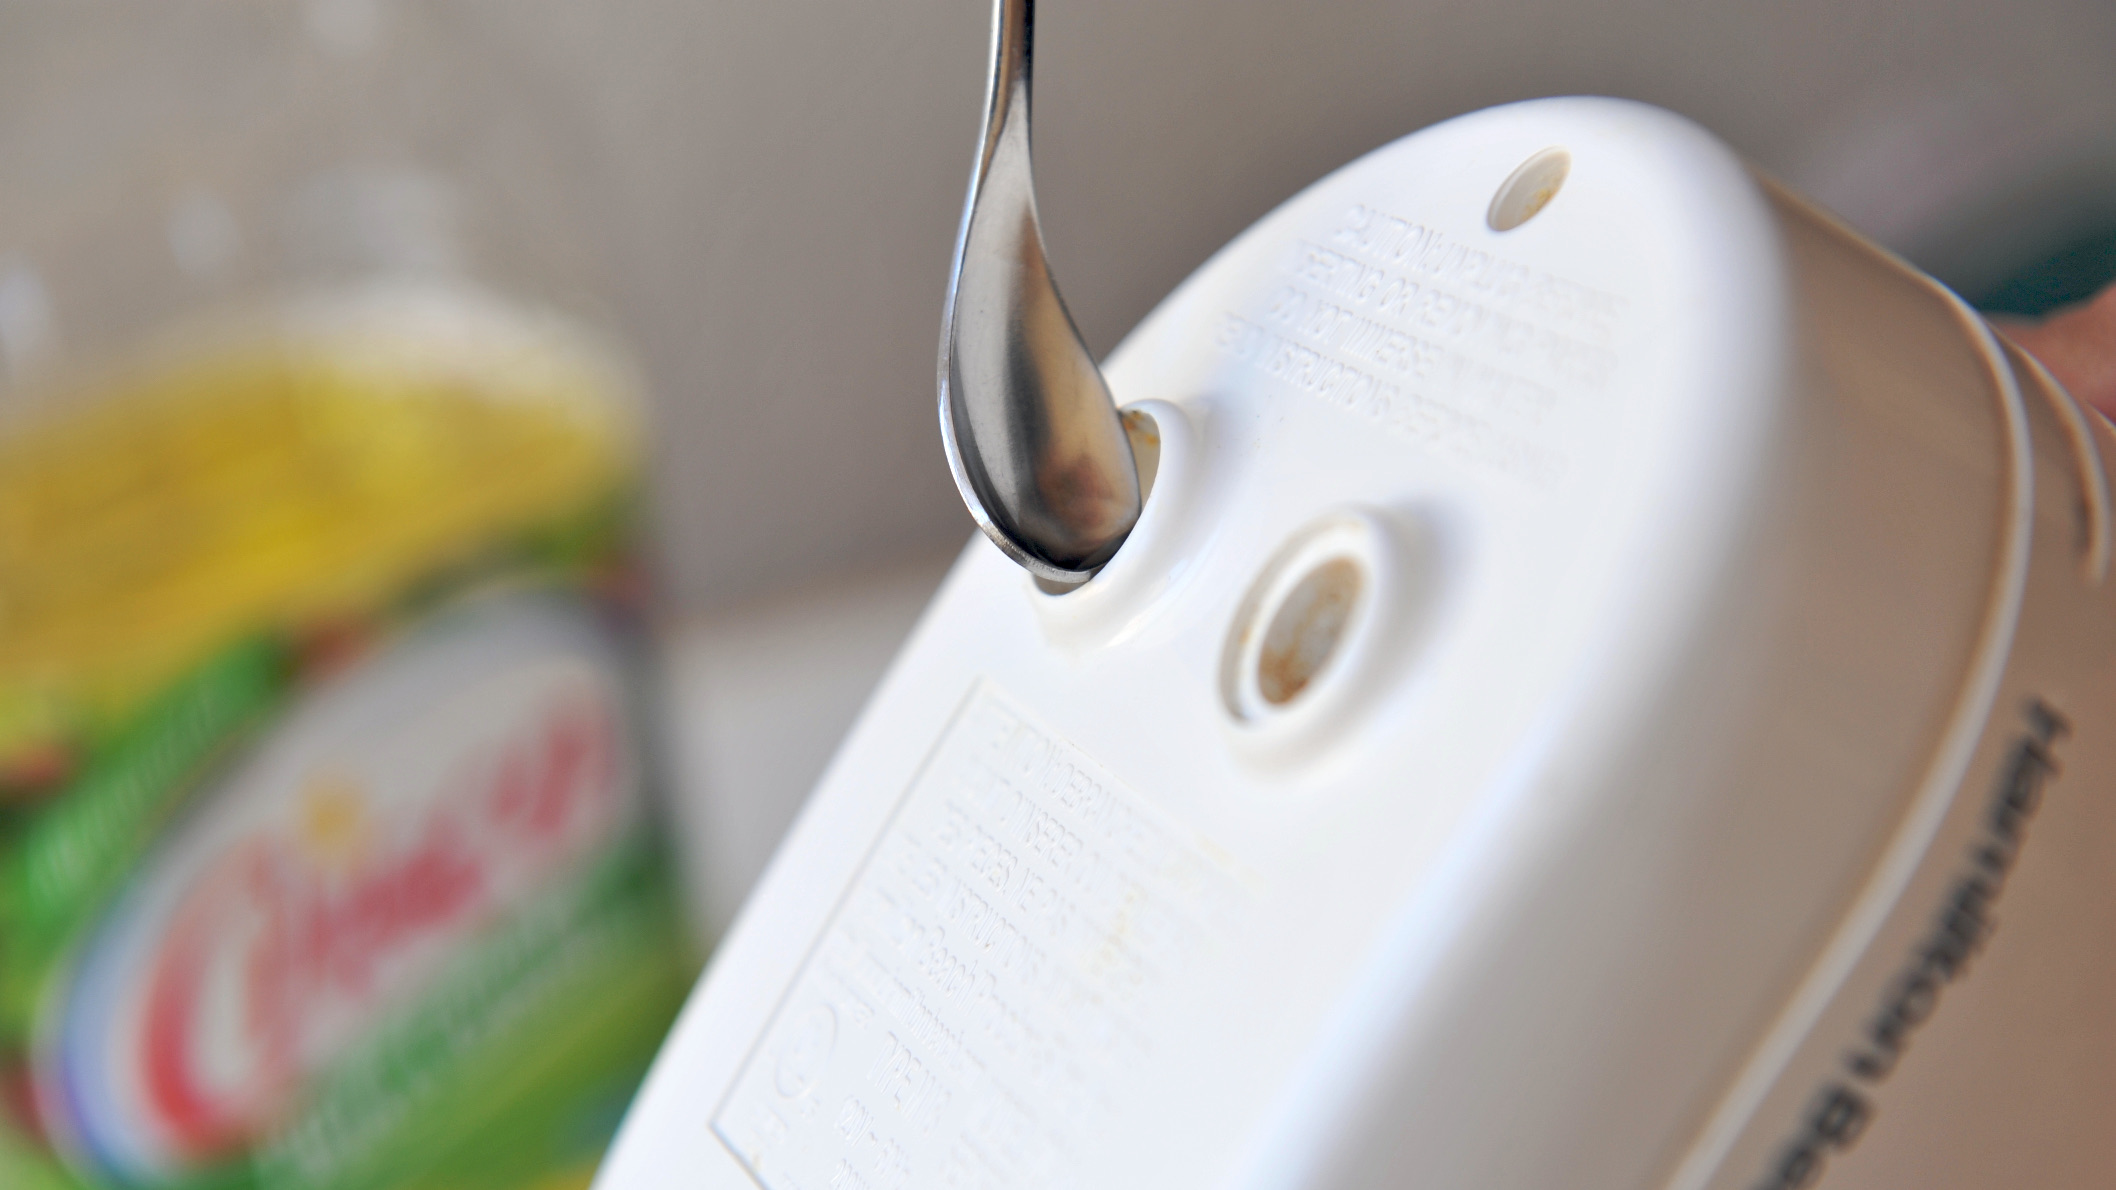
- Slow water flow: If you notice a decrease in water flow after fixing the leak, it could be due to mineral build-up in the aerator. Unscrew the aerator at the end of the faucet spout, clean it thoroughly, and reinstall it.
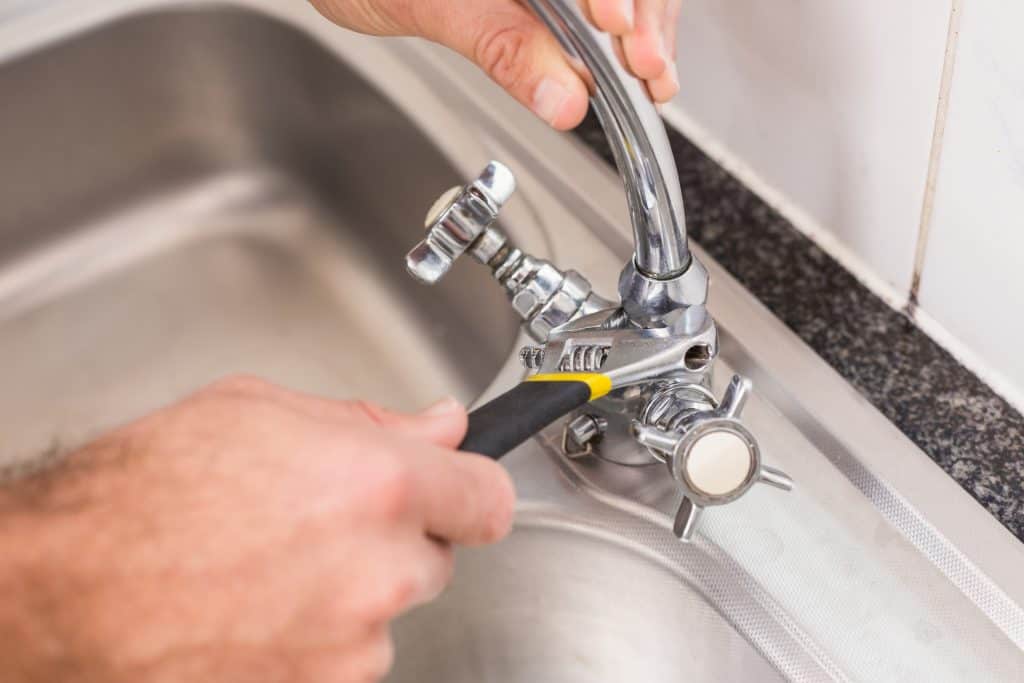
- Leaking connections: If you experience leaks from the connections after reassembling the faucet, chances are the connections aren’t tight enough. Use an adjustable wrench to tighten the connections carefully, but avoid overtightening, which can cause damage.
- Persistent drip: If the leak persists even after replacing the necessary parts, the issue might be related to the cartridge or valve assembly. Consider consulting a professional plumber for an in-depth assessment and repair.
- Uneven water temperature: In a kitchen mixer with separate hot and cold handles, if you encounter uneven water temperature after the repair, the issue could be a faulty mixing valve. Replacing the mixing valve may be necessary to achieve a balanced temperature.
- Unusual noises: If you hear unusual noises, such as squealing or rattling, from the faucet, it could indicate a loose or worn-out washer or cartridge. Inspect the internal components and replace any damaged parts to resolve the issue.
Remember, each faucet model may have specific nuances and considerations, so it’s essential to consult the manufacturer’s instructions or seek professional advice if you’re unsure about any aspect of the repair process.
By following these troubleshooting tips, you’ll be better equipped to address common problems that may arise when fixing a leaky faucet.
With this comprehensive guide, you now have the knowledge and confidence to undertake repairs for a leaky bathtub faucet or kitchen mixer. Remember to exercise caution, follow the steps correctly, and use the appropriate tools for a successful, leak-free outcome.
Good luck with your repairs, and may your faucets flow smoothly once again!
Conclusion
Fixing a leaky faucet doesn’t have to be a daunting task. With the right tools, a little bit of know-how, and the guidance provided in this article, you can tackle this common household issue on your own. By addressing a leaky faucet promptly, you can save water, prevent further damage, and potentially avoid expensive repairs in the future.
Throughout this guide, we discussed how to identify the type of faucet leak, the essential tools required for the repair, and the step-by-step instructions for fixing a leaky faucet in both a bathtub and a kitchen mixer. We also explored common problems and offered troubleshooting tips to help you overcome any challenges you may encounter during the repair process.
Remember to exercise caution and take your time when following the instructions. Make sure to gather all the necessary tools and replacement parts before starting the repair. If at any point you feel unsure or uncomfortable with the repair process, it’s always wise to consult a professional plumber who can provide expert guidance or handle the repair for you.
By successfully fixing a leaky faucet, you’ll not only save money on your water bill but also contribute to a more sustainable environment by conserving water resources. Additionally, you’ll regain the functionality and aesthetic appeal of your fixtures, improving the overall experience in your bathroom or kitchen.
We encourage you to take pride in your newfound DIY plumbing skills and share this knowledge with others. By spreading awareness about how to fix a leaky faucet, you can help more people become empowered to tackle this common household problem themselves.
Thank you for joining us on this journey to learn how to fix a leaky faucet. Now go forth and confidently fix those faucet leaks!
Frequently Asked Questions about How To Fix A Leaky Faucet - From Bathtubs To Kitchen Mixers
Was this page helpful?
At Storables.com, we guarantee accurate and reliable information. Our content, validated by Expert Board Contributors, is crafted following stringent Editorial Policies. We're committed to providing you with well-researched, expert-backed insights for all your informational needs.


0 thoughts on “How To Fix A Leaky Faucet – From Bathtubs To Kitchen Mixers”