Home>Articles>How Do I Replace The End Of An Electrical Cord

Articles
How Do I Replace The End Of An Electrical Cord
Modified: October 20, 2024
Looking for articles on how to replace the end of an electrical cord? Find step-by-step guides and expert tips to safely replace damaged cord ends.
(Many of the links in this article redirect to a specific reviewed product. Your purchase of these products through affiliate links helps to generate commission for Storables.com, at no extra cost. Learn more)
Introduction
Electrical cords are a common household item that we rely on for powering our electronic devices. However, over time, these cords can become damaged or frayed, posing a safety risk. When the end of an electrical cord is damaged, it is important to replace it to maintain safety and functionality.
In this article, we will guide you through the process of replacing the end of an electrical cord. Whether you are dealing with a frayed wire, a broken plug, or a damaged socket, we will provide step-by-step instructions to help you repair it. With the right tools and a little know-how, you can easily replace the end of an electrical cord and ensure the safety of your devices and your home.
Key Takeaways:
- Safety first! Always unplug the cord, gather safety gear, and assess damage before replacing the end of an electrical cord. Proper preparation and insulation are key to a safe and effective repair.
- With the right tools and know-how, replacing the end of an electrical cord is a manageable DIY task. Remember to test the repaired cord and ensure proper grounding for safety and functionality.
Read more: How Do I Replace An EdenPURE Electrical Cord
Tools and materials needed
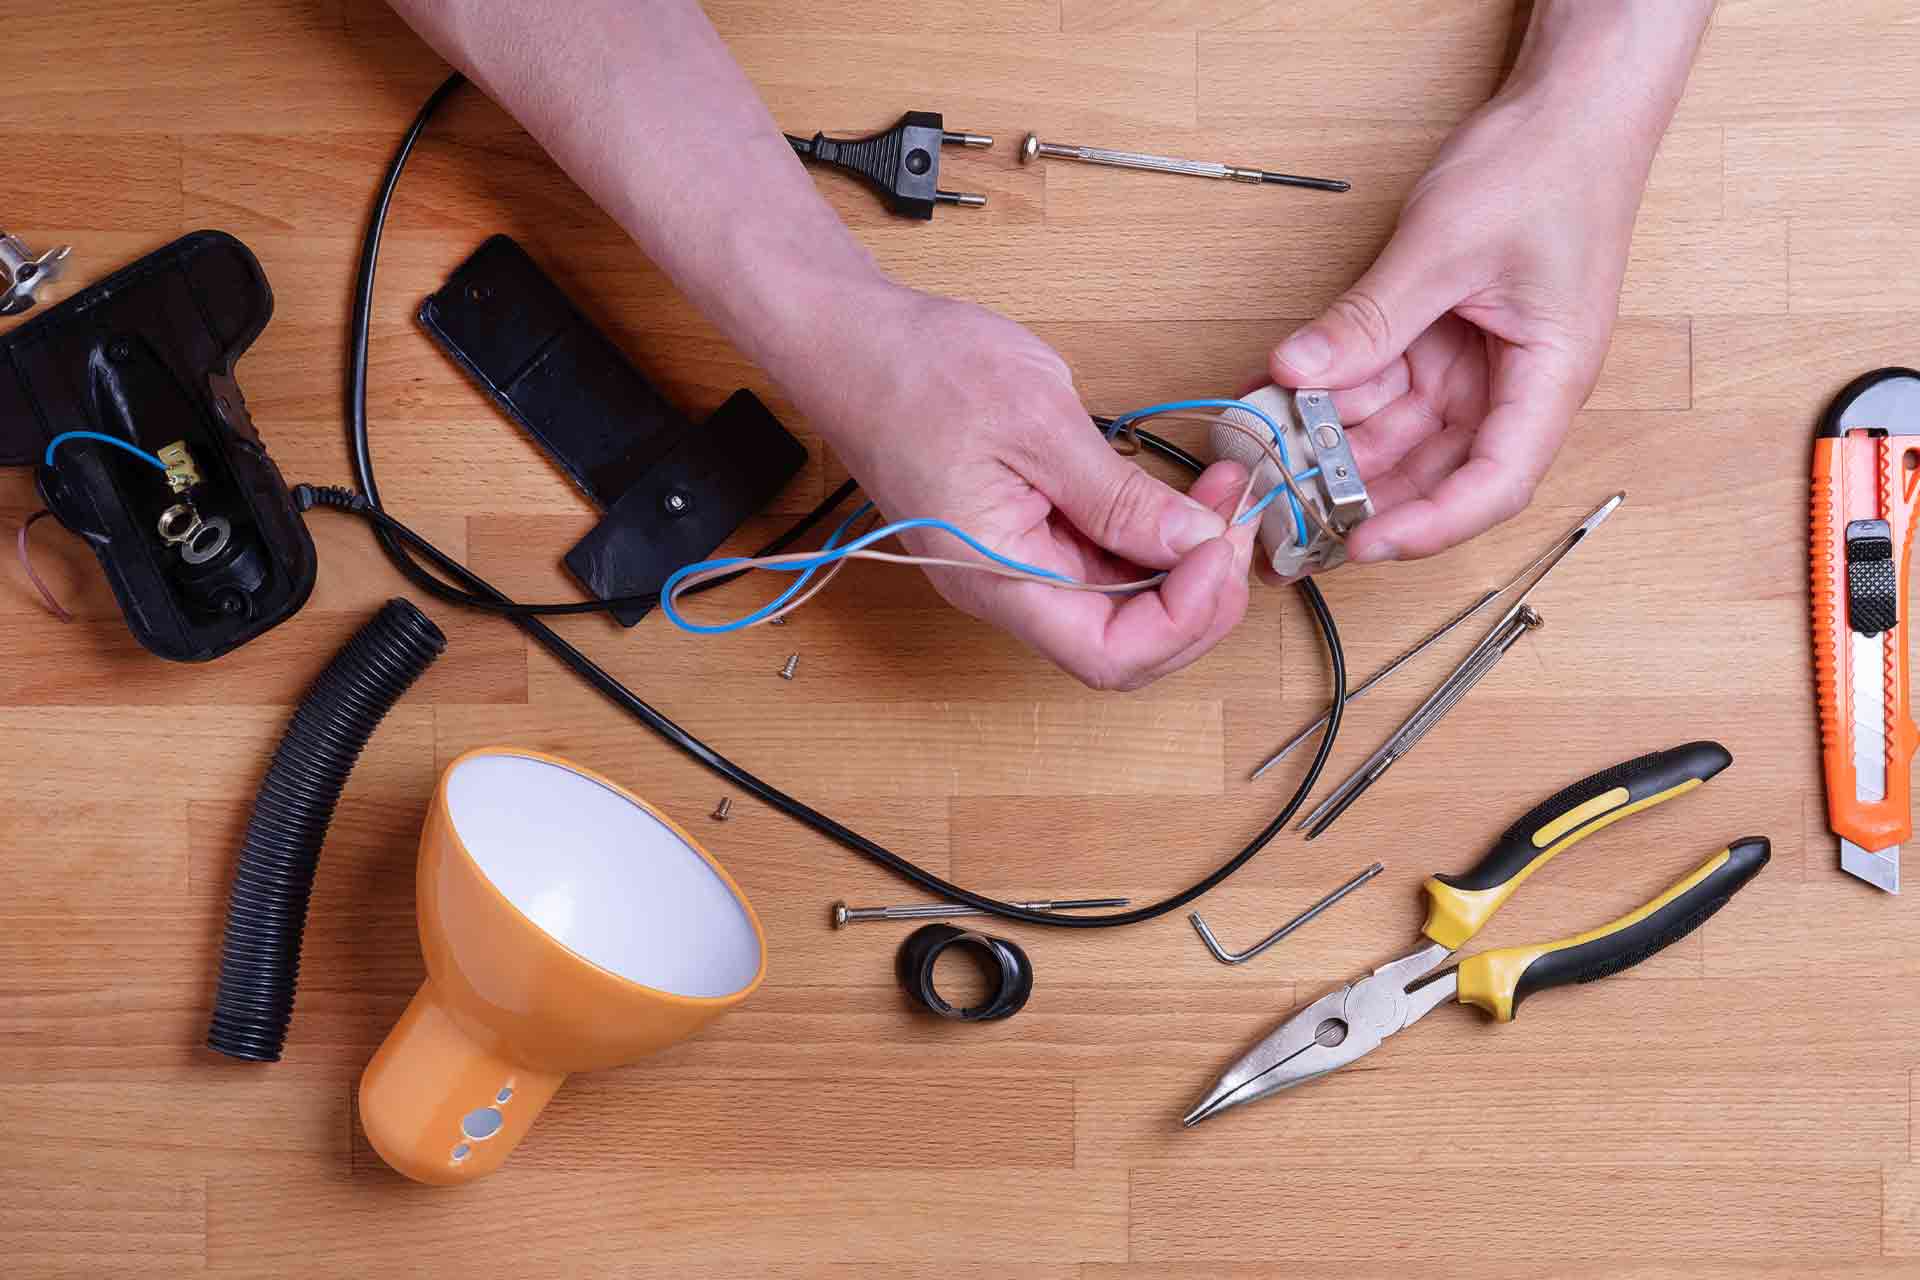
Before you begin replacing the end of an electrical cord, it is important to gather the necessary tools and materials. Here is a list of what you will need:
- Wire cutters
- Wire strippers
- Utility knife
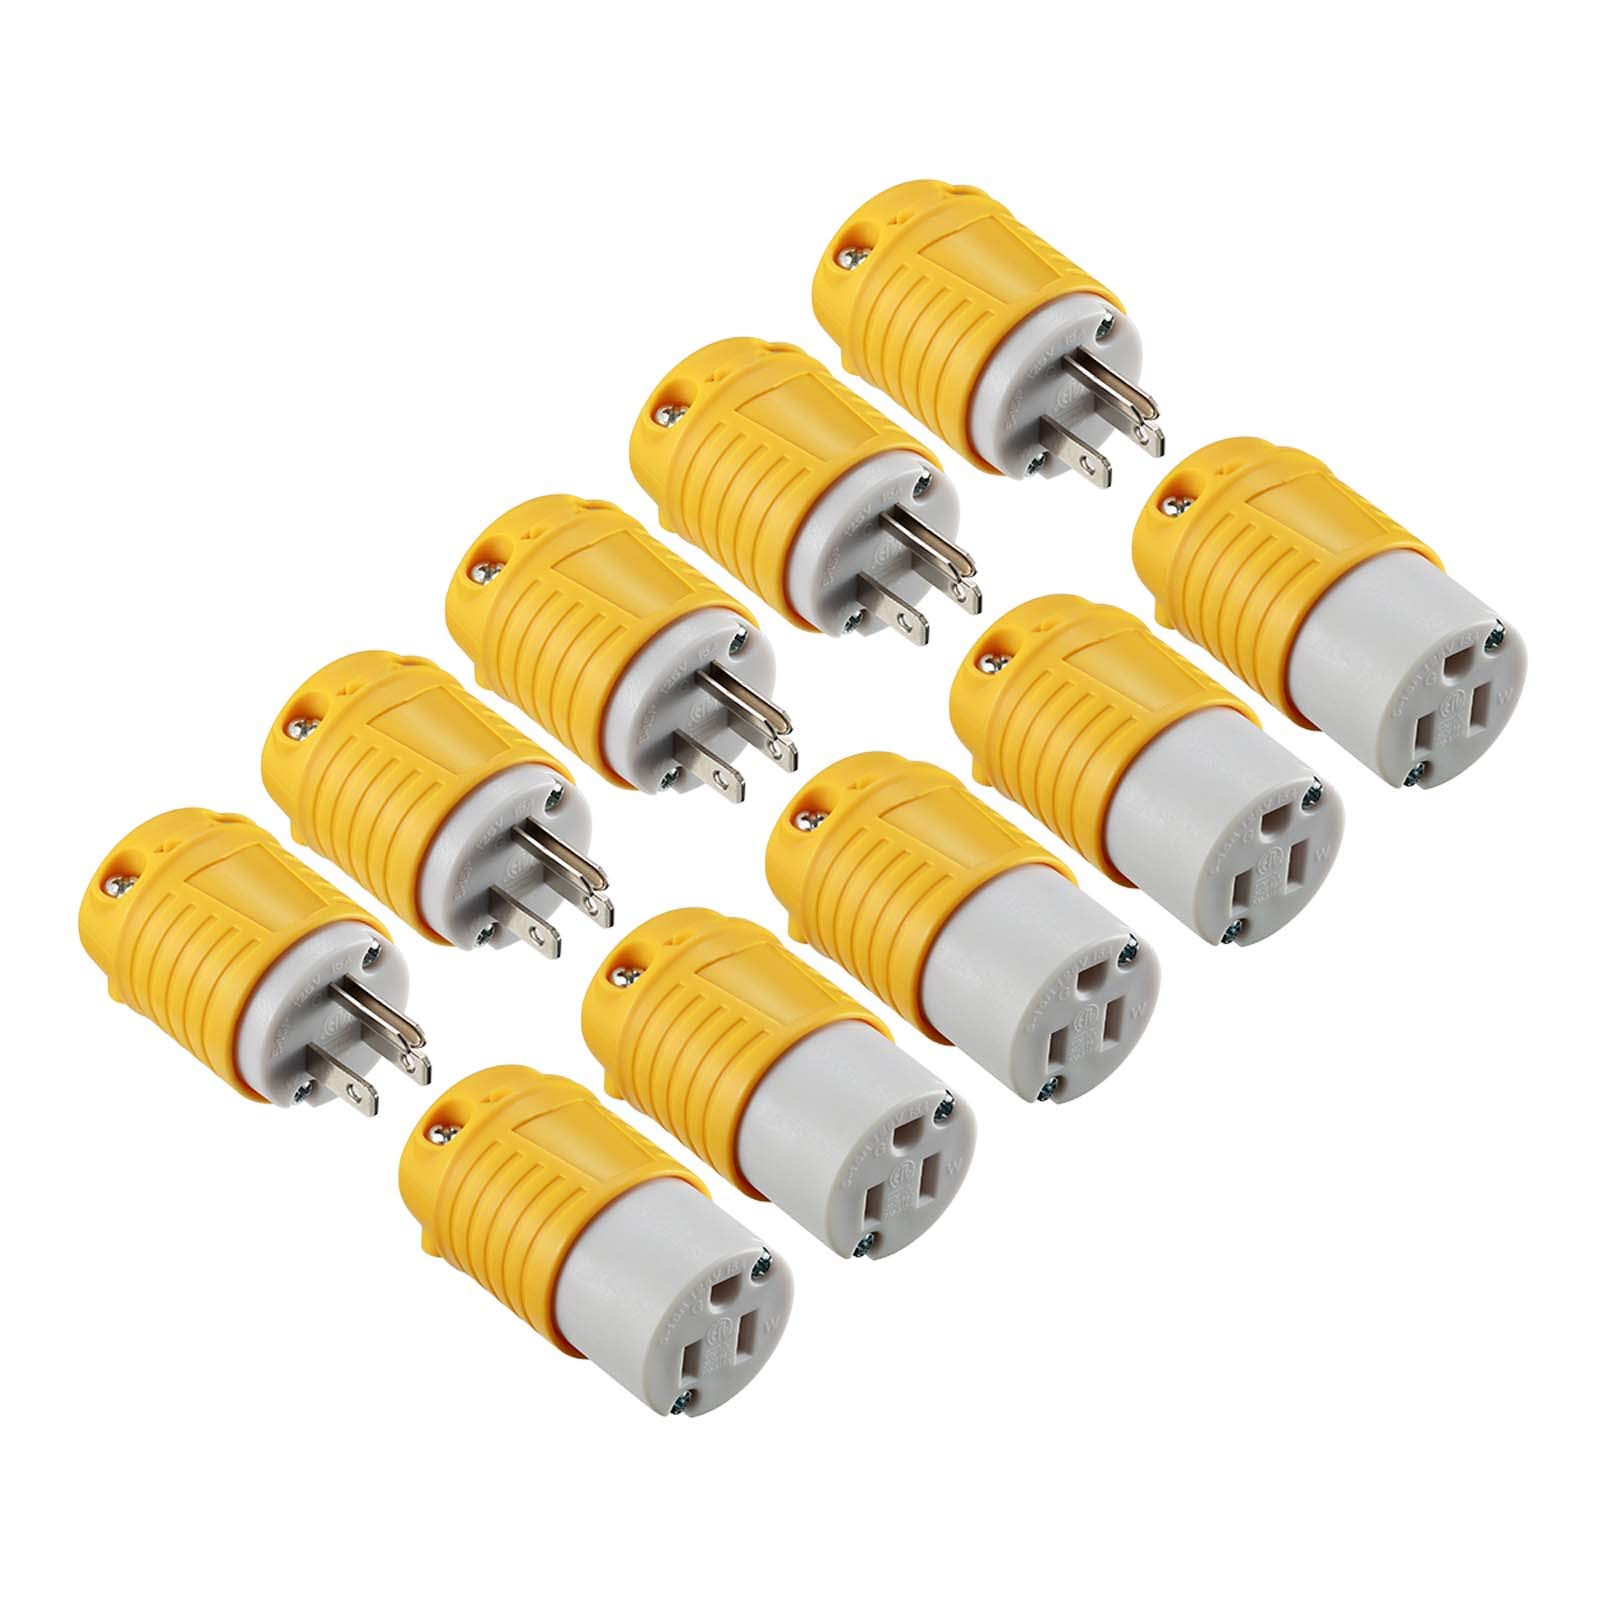
- New plug or socket
- Electrical tape
- Screwdriver (if applicable)
- Heat shrink tubing (optional)
Having these tools and materials ready beforehand will make the process smoother and more efficient. Additionally, it is important to ensure that you have the correct type of plug or socket that is compatible with your electrical cord.
Remember, safety should be your top priority when working with electrical cords. Make sure to wear protective gloves and goggles to prevent any accidents or injuries. It is also advisable to work on a stable and well-lit surface.
Now that you have gathered the necessary tools and materials, let’s move on to the step-by-step process of replacing the end of an electrical cord.
Step 1: Assess the damage
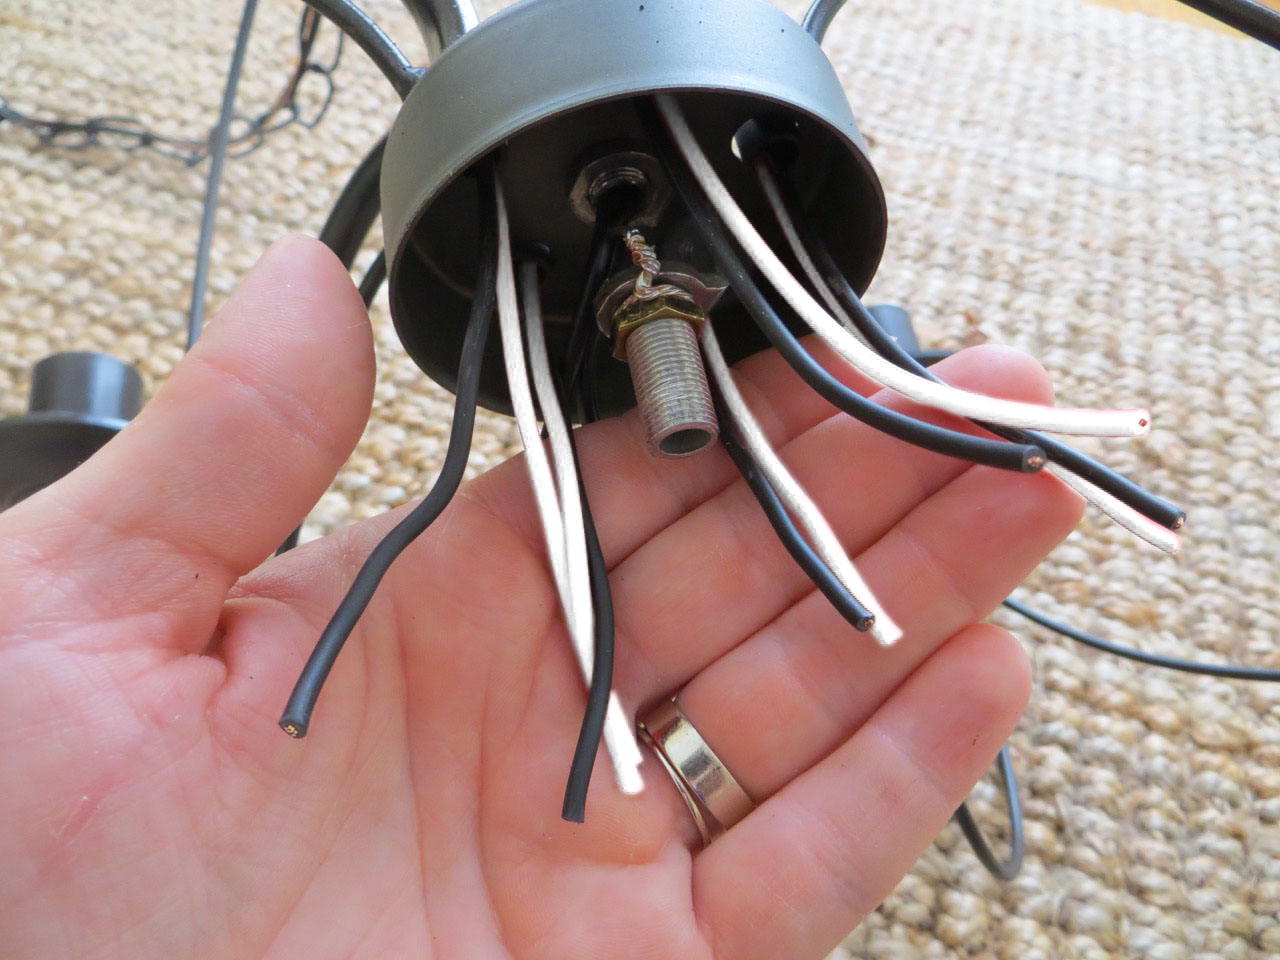
The first step in replacing the end of an electrical cord is to assess the damage. Carefully examine the cord to determine the extent of the problem. Look for any signs of fraying, cuts, or exposed wires.
If the damage is confined to just the plug or socket, it may be possible to replace only that part. However, if the damage extends further along the cord, it is recommended to replace the entire cord to ensure safety.
It is essential to address any damage promptly as it can pose a risk of electrical shock or fire hazards. Do not attempt to repair or use a damaged cord as a temporary solution.
Once you have assessed the damage and determined the appropriate course of action, proceed to the next step.
Step 2: Gather safety equipment
Before you begin working on replacing the end of an electrical cord, it is crucial to ensure your safety. Gather the necessary safety equipment to protect yourself from potential hazards.
Here are some safety items you should have on hand:
- Protective gloves: Wear insulated gloves to protect your hands from electrical shocks.
- Safety goggles: Guard your eyes against debris or sparks that could potentially cause injury.
- Fire extinguisher: Keep a fire extinguisher nearby in case of any accidental fires.
- Fire blanket: Have a fire blanket on hand to smother any small fires that may occur during the process.
Make sure you are also working in a well-ventilated area to prevent the buildup of fumes. If possible, work in an area with a fire-resistant surface, such as a concrete floor or a workbench.
By taking the necessary precautions and gathering the proper safety equipment, you can minimize the risks associated with working with electrical cords. Now that you have gathered your safety gear, you are ready to proceed to the next steps of replacing the end of the electrical cord.
Step 3: Unplug the cord
Before starting any work on the electrical cord, it is crucial to unplug it from the power source. This step is essential to prevent any electrical shocks or accidents while replacing the end.
Ensure that the cord is fully disconnected from any power outlets or devices it may be connected to. Double-check that the cord is not plugged in before proceeding.
If you are unable to unplug the cord, either due to its position or because the plug is damaged, you may need to turn off the power supply at the main circuit breaker or seek assistance from a qualified electrician.
Remember, working on a live electrical cord can be extremely hazardous, so always take the time to unplug it before proceeding.
Once the cord is safely disconnected, you can move on to the next step of replacing the end of the electrical cord.
Read more: What Is The End Of An Electrical Cord Called
Step 4: Cut off the damaged end
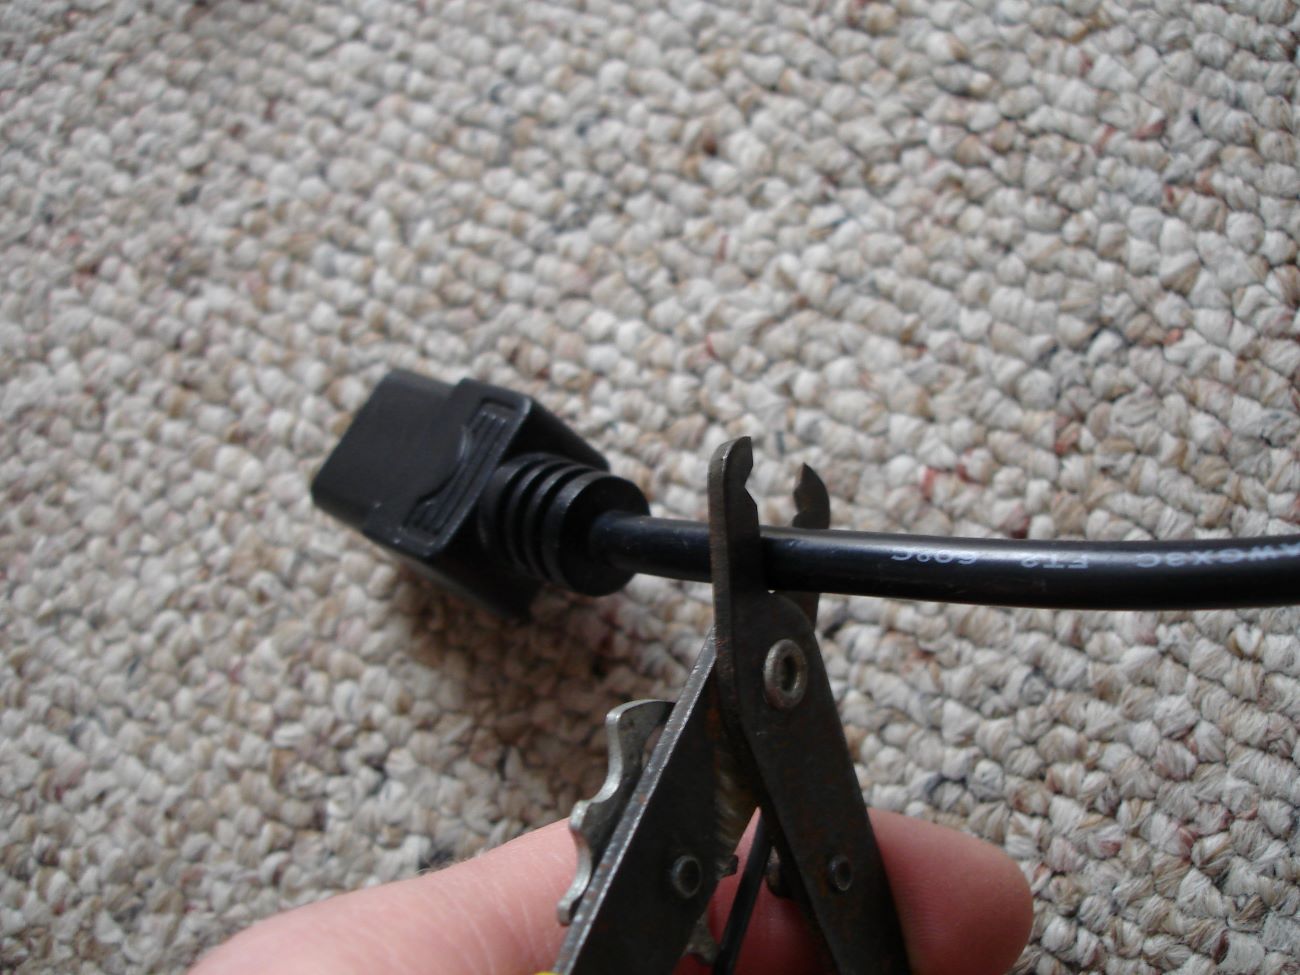
With the cord safely unplugged, you can now proceed to cut off the damaged or frayed end of the electrical cord. This step is crucial to remove any compromised sections that could pose a safety risk.
Here’s how you can cut off the damaged end:
- Use a wire cutter or utility knife to make a clean, straight cut across the cord, removing the damaged section.
- Ensure that the cut is perpendicular to the cord to ensure a proper connection in the later steps.
- If the cord is cut near the plug or socket, it is recommended to cut closer to the damaged section to have an adequate length for the repair.
- Double-check that the cut end of the cord is smooth and free from any strands or loose wires.
Once the damaged end has been carefully cut off, dispose of it properly to prevent any accidental use or disposal.
By removing the damaged portion of the cord, you are ensuring the safety and functionality of the electrical cord. Now that you have cut off the damaged end, you can proceed to the next step of replacing the end of the electrical cord.
Step 5: Strip the insulation
After cutting off the damaged end of the electrical cord, the next step is to strip the insulation from the wires. Stripping the insulation is necessary to expose the conductive wires for proper connection to the new plug or socket.
Follow these steps to strip the insulation:
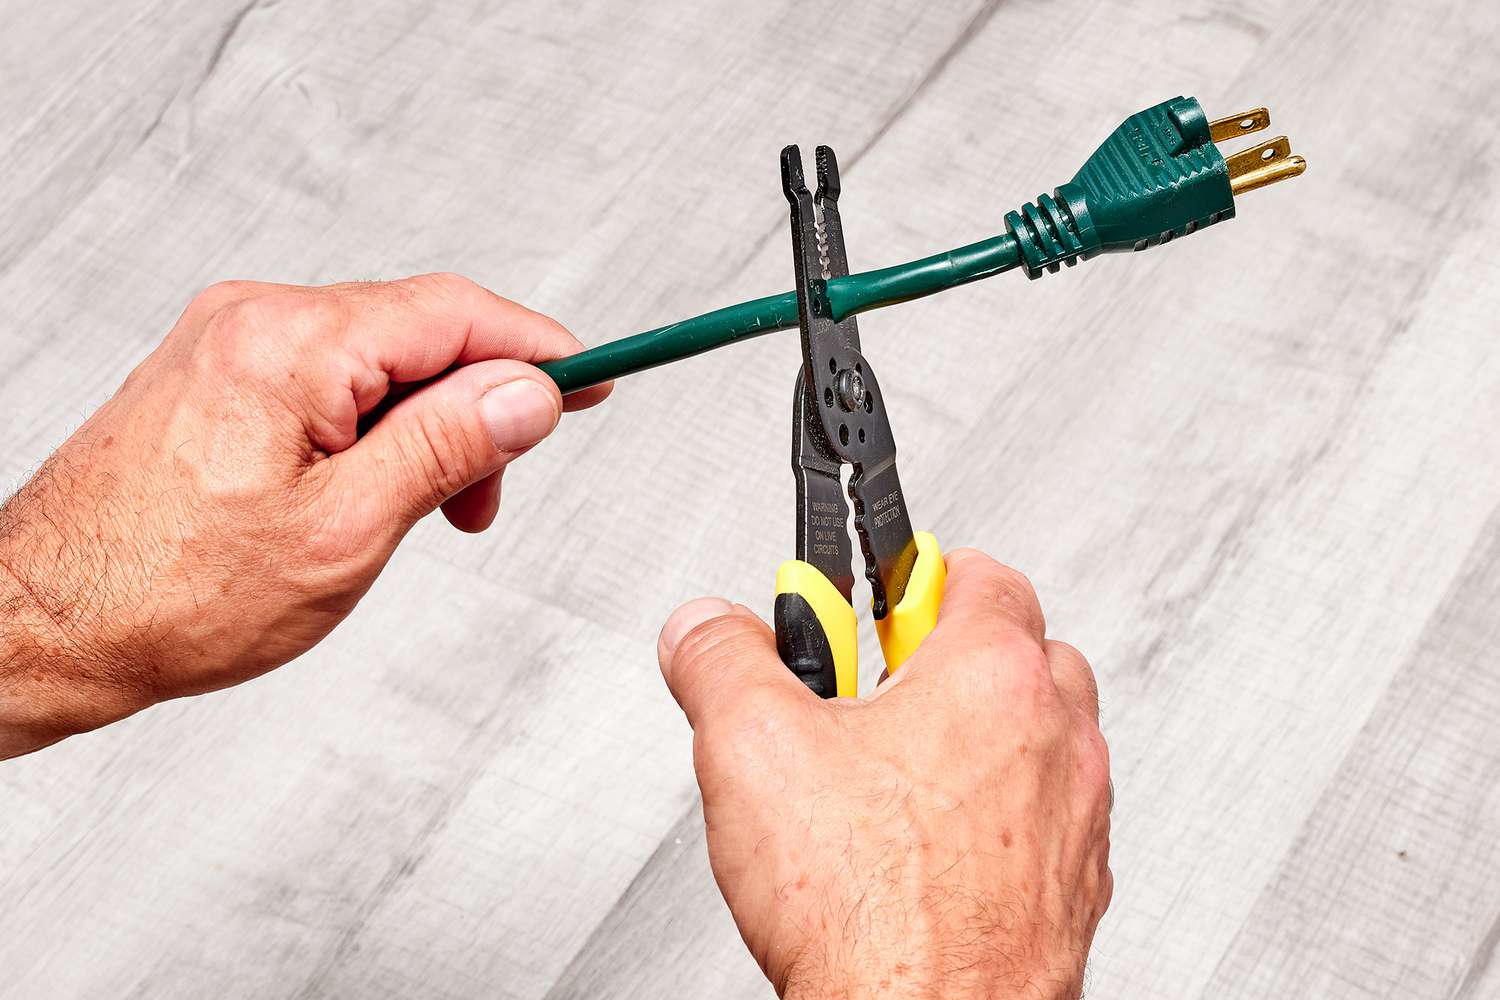
- Use wire strippers to remove the outer layer of insulation from the cut end of the cord.
- Be careful not to nick or damage the wires while stripping the insulation.
- Slide the wire stripper over the cord, aligning it with the marked gauge for the cord’s thickness.
- Gently squeeze the wire stripper’s handles to cut through the insulation without cutting into the wires.
- Rotate the wire stripper around the cord to remove the insulation completely.
- Once the insulation is stripped, visually inspect the wires to ensure they are clean and undamaged.
If you don’t have a wire stripper, you can also use a utility knife to carefully remove the insulation, making sure not to score or damage the conducting wires.
It is important to note that different cords may have different methods of insulation removal. Some cords may have multiple layers of insulation or additional shielding. Consult the manufacturer’s guidelines or seek professional advice if you are unsure about the stripping process for a specific cord type.
With the insulation properly stripped, the wires are now ready for the next step of connecting the new plug or socket. Proceed to the next step to learn how to prepare the new plug or socket for installation.
When replacing the end of an electrical cord, make sure to match the new plug with the amperage and voltage rating of the cord. Cut the old plug off, strip the wires, and attach them to the new plug following the manufacturer’s instructions. Always double-check your work before plugging in the cord.
Step 6: Prepare the new plug
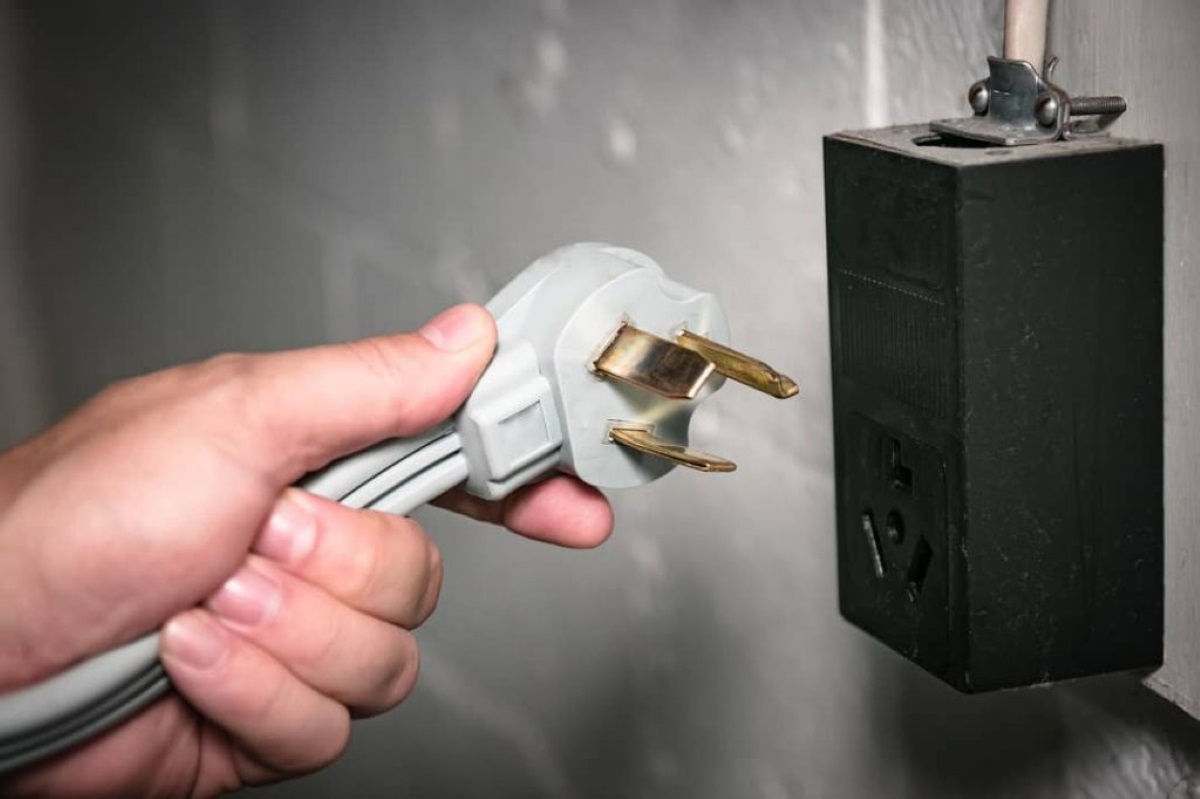
With the wires exposed and stripped, the next step is to prepare the new plug for installation. Whether you are replacing a damaged plug or upgrading to a different type, it is important to properly prepare the new plug to ensure a secure and reliable connection.
Follow these steps to prepare the new plug:
- Ensure that the new plug is compatible with the electrical cord and meets the necessary safety standards.
- If the new plug has screws, loosen them or remove them slightly without completely removing them.
- Identify the positive (hot) wire and the neutral wire. The hot wire is typically color-coded with black, red, or another dark color, while the neutral wire is usually white or gray.
- If necessary, trim the exposed wire ends down to a suitable length, leaving enough length for proper connection but not too much that it extends beyond the plug.
- If the new plug requires screw terminal connections, create a hook shape at the end of each wire to ensure a secure connection.
- Ensure that there is no frayed or loose strands of wire that could cause a poor connection or short circuit.
Always refer to the manufacturer’s instructions for the specific plug type you are working with to ensure proper preparation.
Preparing the new plug correctly guarantees a solid and safe connection to the electrical cord. Now that the new plug is ready, let’s move on to the next step of connecting the new plug to the stripped wires.
Step 7: Connect the new plug
With the new plug prepared and the wires stripped, it’s time to connect the new plug to the electrical cord. This step will ensure a secure and reliable electrical connection.
Follow these steps to connect the new plug:
- Position the new plug near the cut end of the electrical cord.
- Align the wires with their respective terminals on the plug.
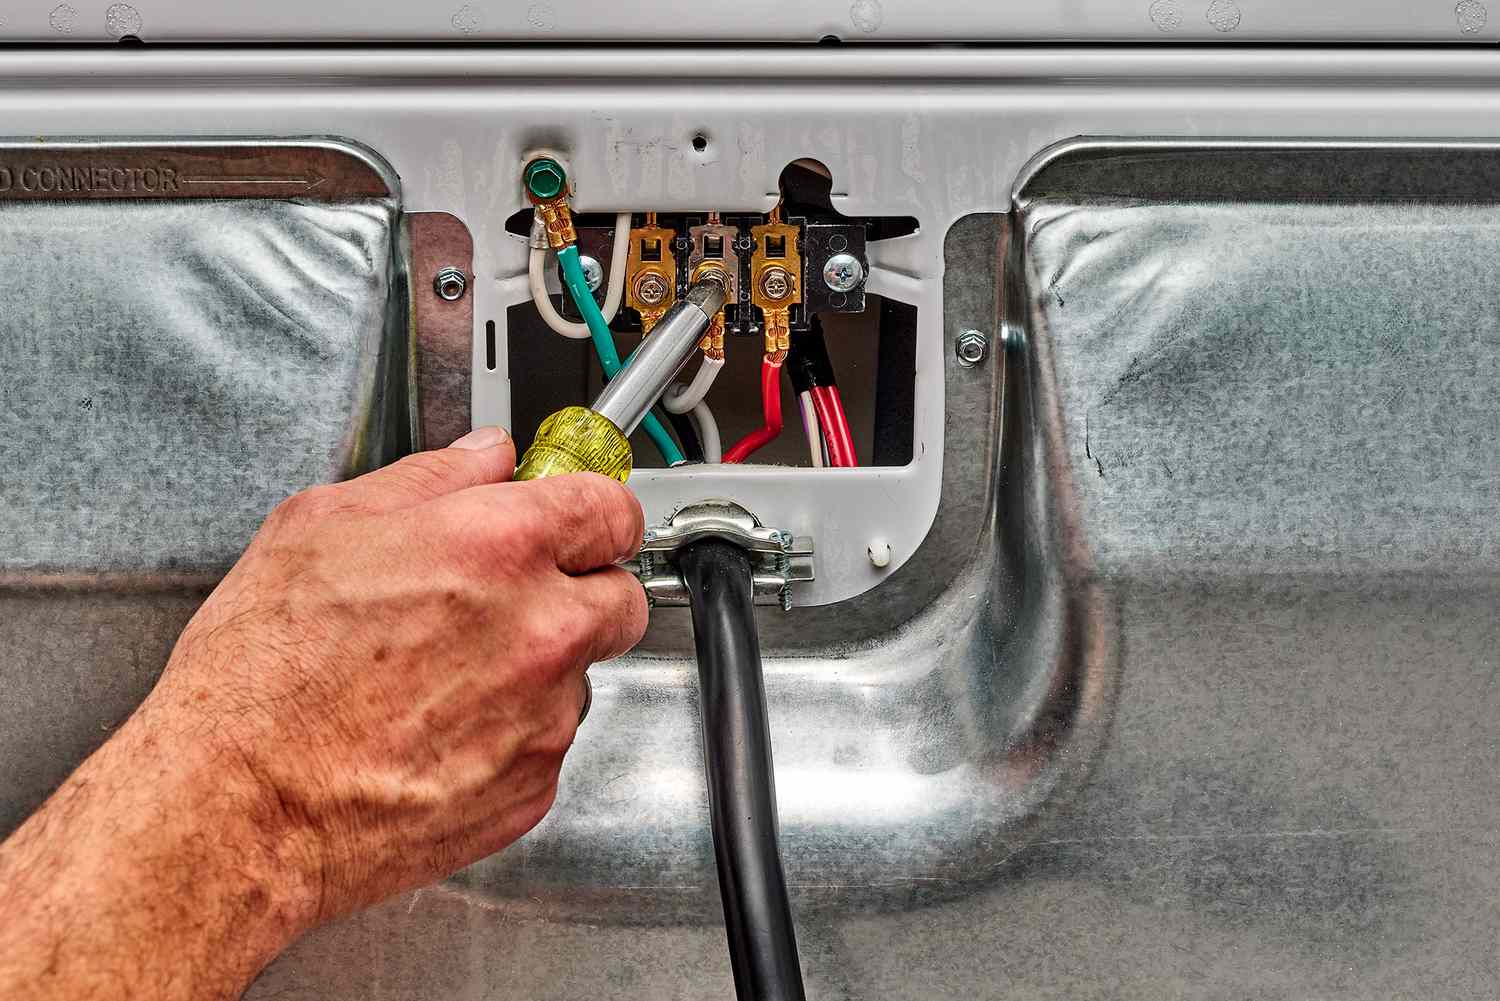
- For plugs with screw terminals, insert the stripped end of the hot wire into the brass or black terminal and tighten the screw securely. Repeat this process for the neutral wire, inserting it into the silver or white terminal.
- If the new plug uses a different connection method, such as insertion or crimping, follow the manufacturer’s instructions to properly connect the wires.
- Ensure that the wire is firmly secured, with no loose strands or exposed wire outside the terminal.
- If the new plug has screws, tighten them securely to ensure a snug and safe connection.
- Double-check that none of the wires are touching each other within the plug, which could cause a short circuit.
It’s essential to make sure that the wires are correctly connected to their respective terminals. This will ensure that the electrical current is properly transmitted and reduce the risk of electrical hazards.
Once the new plug is securely connected, we can move on to the next step of insulating the connections to provide protection and stability.
Read more: How To Replace Electrical Cord
Step 8: Insulate the connections
After connecting the new plug, it is crucial to insulate the connections to protect against electrical shocks and to provide stability to the cord. Insulating the connections will also help prevent any accidental contact with exposed wires.
Follow these steps to properly insulate the connections:
- Start by wrapping electrical tape around each individual wire connection. Begin a few inches away from the end of the wire and secure the tape tightly around the connection.
- Continue wrapping the tape, overlapping the previous layers to ensure a secure bond. Wrap the tape tightly but be careful not to stretch it too much, as it may lose its adhesive properties.
- Extend the tape a few inches beyond the connection to provide additional insulation and protection.
- If heat shrink tubing is available, it can be used as an alternative or in addition to electrical tape. Slide the heat shrink tubing over the wire connection and use a heat source, such as a heat gun or a lighter, to shrink the tubing securely around the connection.
- Inspect the connections to ensure that they are completely covered and protected by the insulation materials.
By adequately insulating the connections, you are adding an extra layer of safety to the repaired cord. This will minimize the risk of electrical hazards and provide durability to the connection.
With the connections properly insulated, we are ready to move on to the next step of testing the repaired cord.
Step 9: Test the repaired cord
After completing the necessary repairs and insulation, it is crucial to test the repaired cord to ensure that it is functioning properly. Testing the cord will help identify any potential issues or faults before putting it back into regular use.
Follow these steps to test the repaired cord:
- Ensure the cord is still unplugged from the power source.
- Visually inspect the cord and all connections to ensure they are secure and properly insulated.
- Plug the cord into a functioning power outlet.
- If you are repairing an extension cord or a cord with multiple outlets, connect a device or appliance to the repaired cord.
- Turn on the device or appliance to check if it is receiving power and functioning as expected.
- Observe the cord and connections during use to ensure there are no signs of overheating or abnormalities.
- If the device or appliance does not power on or if there are any issues, immediately unplug the cord and reassess the repair.
It is crucial to pay attention to any warning signs, such as sparks, smoke, or unusual sounds. If any of these occur, immediately unplug the cord and seek professional assistance or consider replacing the cord entirely.
Properly testing the repaired cord will give you peace of mind that it is safe to use and in working order. If the test is successful, you can proceed to the final step of ensuring proper grounding.
Step 10: Ensure proper grounding
Ensuring proper grounding is an essential step in maintaining the safety of electrical cords. Grounding helps protect against electrical shocks and provides a safe path for electrical currents.
Follow these steps to ensure proper grounding:
- Check that the plug or socket has a grounding prong or terminal.
- If the cord is intended to be grounded, ensure that the grounding wire is securely connected to the grounding prong or terminal.
- Verify that the grounding wire is not damaged, frayed, or loose.
- If the cord does not have a grounding wire or prong, consider using a GFCI (Ground Fault Circuit Interrupter) plug or socket.
- A GFCI provides an additional layer of protection against electrical shocks by monitoring the flow of electrical current and shutting off the power if it detects a fault.
- Remember that grounding requirements may vary depending on the location and electrical regulations in your area. Consult a professional or refer to local codes if you have any concerns or questions about grounding.
Proper grounding is essential for the safe operation of electrical cords and to protect against electrical hazards. By ensuring that the cord is properly grounded or using appropriate safety measures, you can have confidence in the functionality and safety of the repaired cord.
With the final step completed, you have successfully replaced the end of an electrical cord. Remember to regularly inspect your cords for any signs of damage and repair or replace them as needed to maintain safety.
Always prioritize safety when working with electricity. If you are unsure or uncomfortable with any part of the repair process, it is advisable to seek the assistance of a qualified electrician.
By following these steps and taking proper precautions during the repair process, you can effectively replace the end of an electrical cord and ensure the safety and functionality of your electronic devices.
Conclusion
Replacing the end of an electrical cord is a straightforward process that can be accomplished with a few basic tools and proper safety measures. By following the step-by-step instructions provided in this guide, you can safely and effectively repair a damaged or frayed cord.
Remember that safety should always be your top priority when working with electricity. Take the time to unplug the cord and gather the necessary safety equipment before starting any repairs. Inspect the cord to assess the extent of the damage and always err on the side of caution by replacing the entire cord if required.
Ensure that you have the right tools and materials for the job, including wire cutters, strippers, a utility knife, a new plug or socket, electrical tape, and any other recommended items. By properly preparing and connecting the new plug or socket, insulating the connections, and testing the repaired cord, you can have confidence in its safety and functionality.
It is important to remember that electrical codes and regulations may vary, so always consult local guidelines and seek professional assistance if needed. Regularly inspect your electrical cords for any signs of damage and address any issues promptly to maintain safety in your home or workplace.
By taking the necessary precautions and following the steps outlined in this guide, you can confidently replace the end of an electrical cord and ensure the safe operation of your devices and appliances. Stay mindful of safety practices, and never hesitate to seek professional help when in doubt. With proper care and maintenance, your electrical cords will continue to provide reliable power for years to come.
Frequently Asked Questions about How Do I Replace The End Of An Electrical Cord
Was this page helpful?
At Storables.com, we guarantee accurate and reliable information. Our content, validated by Expert Board Contributors, is crafted following stringent Editorial Policies. We're committed to providing you with well-researched, expert-backed insights for all your informational needs.

0 thoughts on “How Do I Replace The End Of An Electrical Cord”