Home>Articles>How To Replace An Electrical Cord On A Circular Saw
Articles
How To Replace An Electrical Cord On A Circular Saw
Modified: October 20, 2024
Learn how to replace the electrical cord on a circular saw with this informative article. Find step-by-step instructions and expert tips.
(Many of the links in this article redirect to a specific reviewed product. Your purchase of these products through affiliate links helps to generate commission for Storables.com, at no extra cost. Learn more)
Introduction
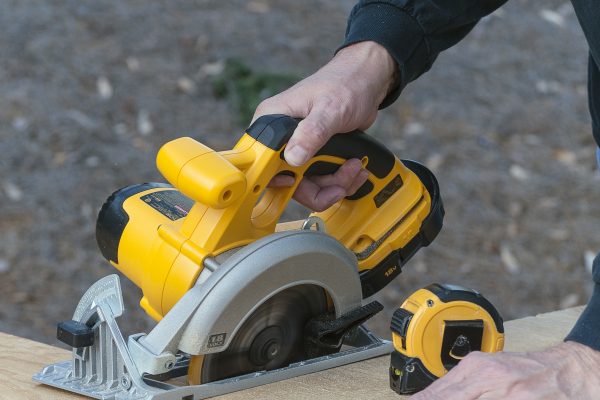
Welcome to our comprehensive guide on how to replace an electrical cord on a circular saw. Whether you are a seasoned DIY enthusiast or a novice, knowing how to replace a faulty or damaged electrical cord on your circular saw can save you time and money. A damaged cord can be a safety hazard and can greatly affect the performance of your tool. But fear not, with a few simple steps and the right tools, you can easily replace the electrical cord and get your circular saw back in working order.
In this article, we will walk you through the process of replacing an electrical cord on a circular saw in a safe and effective manner. We will provide detailed instructions, along with helpful tips and tricks, to ensure that you have all the information you need to successfully complete the task.
Before we dive into the step-by-step process, let’s take a moment to discuss the importance of safety. It is crucial to prioritize safety when working with power tools. Always wear protective gear, such as safety goggles and gloves, and make sure to work in a well-ventilated area. Additionally, remember to disconnect the saw from the power source before starting any repairs.
Now that we have covered the basics, let’s move on to the first step: gathering the necessary tools and materials.
Key Takeaways:
- Safely replacing a circular saw’s electrical cord requires proper tools, careful disconnection from power, meticulous wire handling, and thorough testing to ensure a secure and functional repair.
- Prioritizing safety, following step-by-step instructions, and seeking professional help when needed are essential for successfully replacing an electrical cord on a circular saw and maintaining its longevity.
Read more: How To Replace Blade On Ryobi Circular Saw
Step 1: Gather necessary tools and materials
Before you begin replacing the electrical cord on your circular saw, it is important to gather all the necessary tools and materials. Having everything prepared will streamline the process and prevent any unnecessary interruptions. Here’s a list of what you will need:
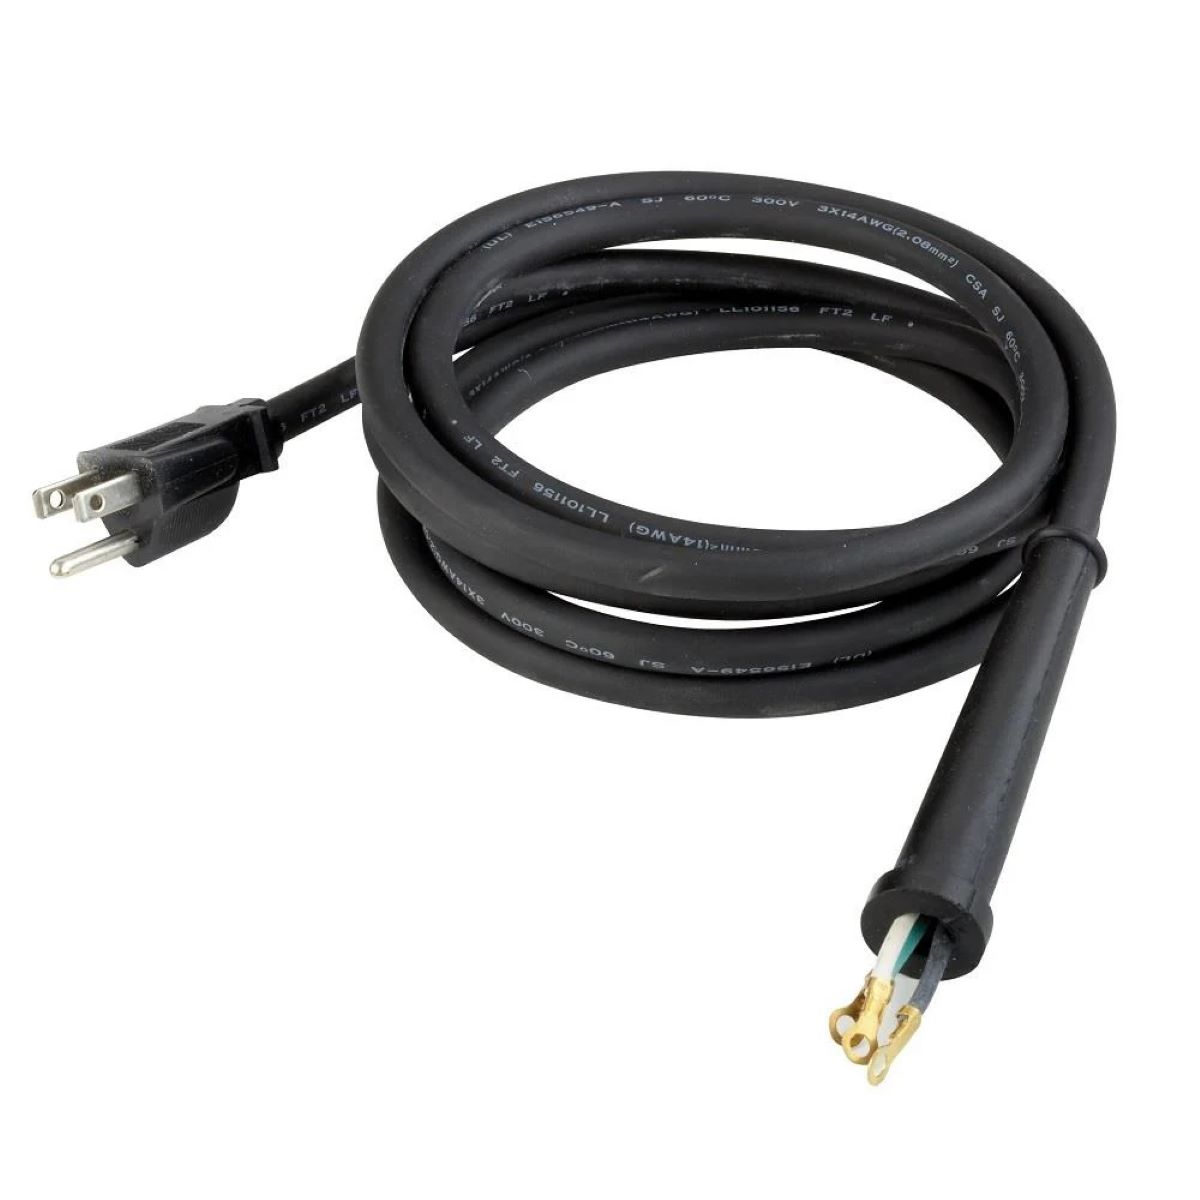
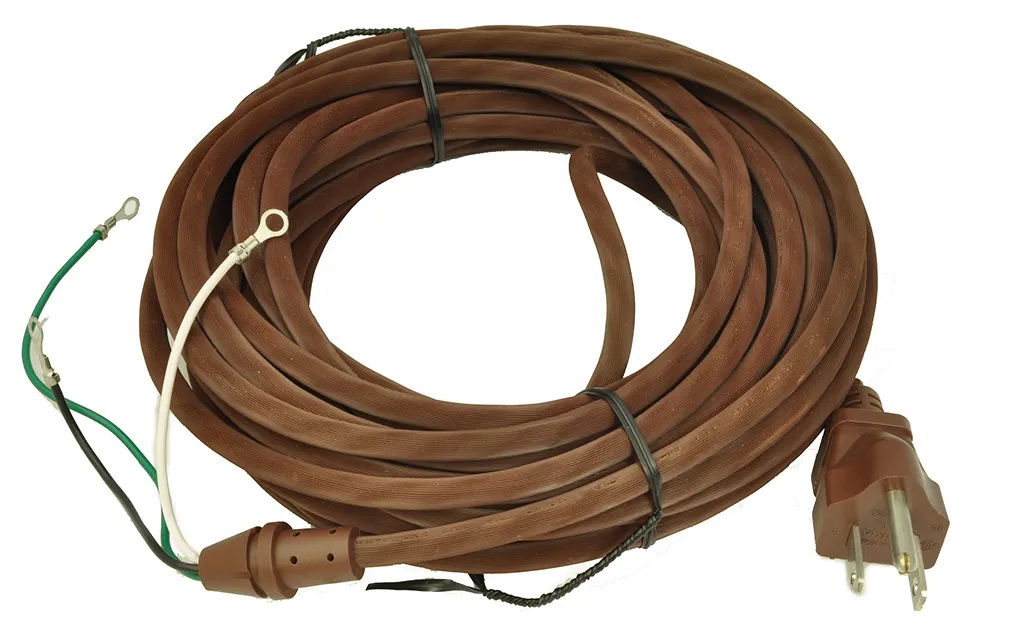
- New Electrical Cord: Make sure you have a replacement electrical cord that is compatible with your circular saw. Check the saw’s manual or consult with a professional at a hardware store to ensure you get the right cord.
- Screwdriver: You will need a screwdriver, preferably with multiple sizes of flathead and Phillips-head bits, to remove the screws holding the cord in place.
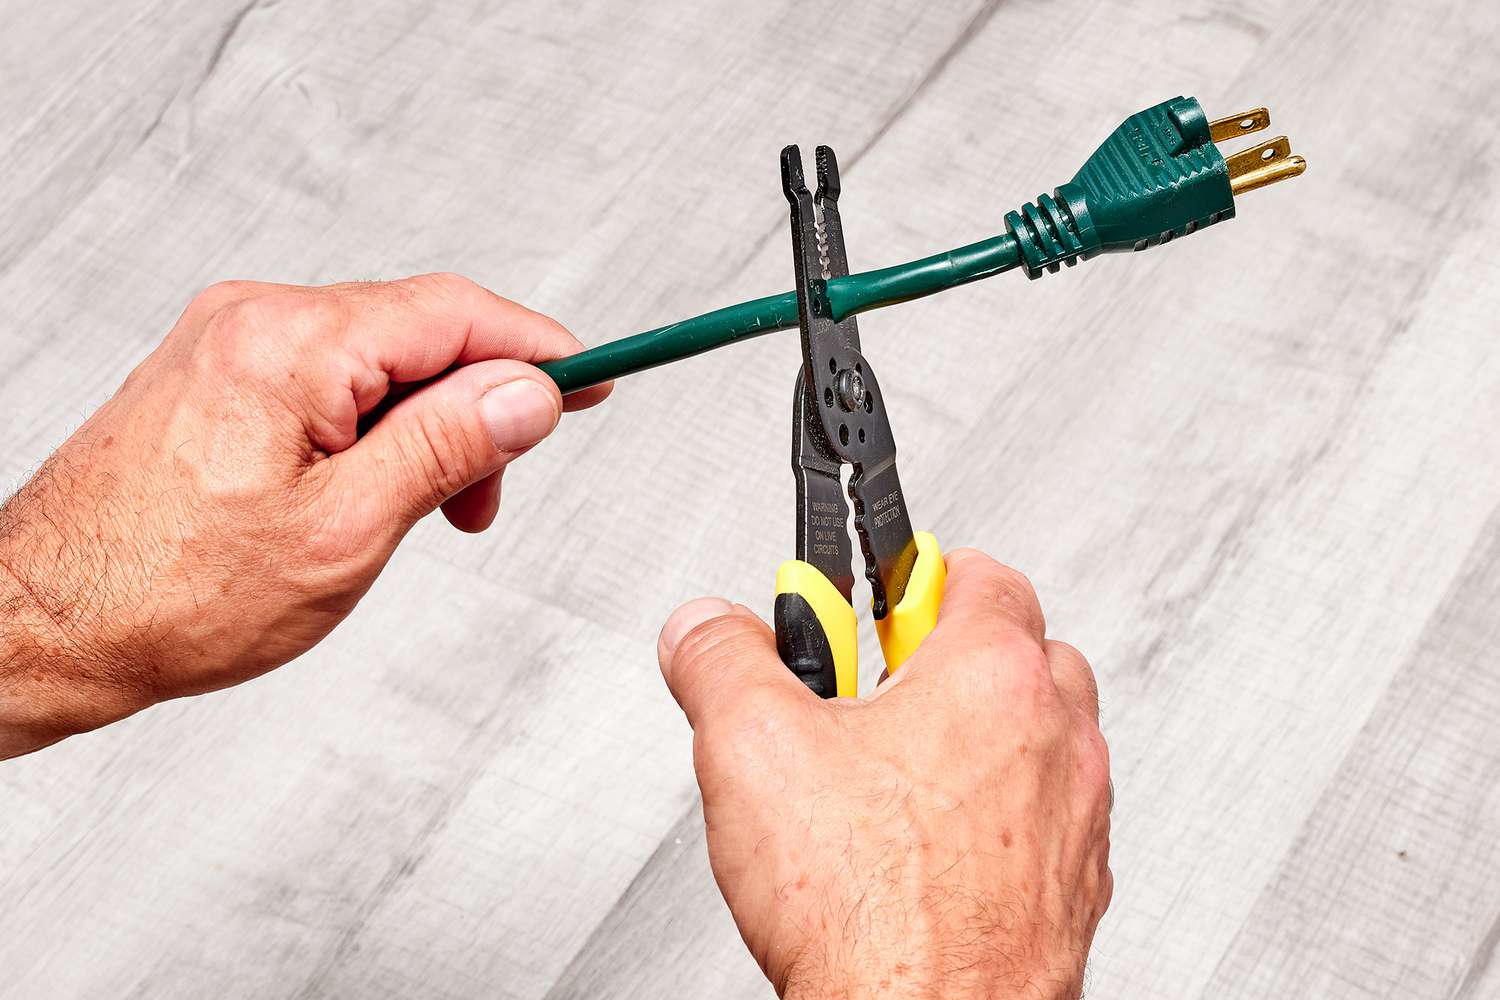
- Wire Strippers: Wire strippers are essential for removing the insulation from the wires. Make sure to choose a pair that is suitable for the gauge of your electrical cord’s wire.
- Electrical Tape: Electrical tape will be needed to secure the wires and provide insulation. Opt for high-quality electrical tape for a secure and long-lasting repair.
- Heat Shrink Tubing: Heat shrink tubing can be used to provide an extra layer of protection for the wires. It shrinks when heated, creating a tight seal around the connection.
- Wire Nuts: Wire nuts are used to connect the wires together securely. Make sure to choose the appropriate size for your wire gauge.
- Wire Connectors: Wire connectors, also known as butt connectors, can be used as an alternative to wire nuts. They provide a reliable and insulated connection.
- Wire Cutter: A wire cutter is necessary for trimming the wires to the correct length.
Once you have gathered all the necessary tools and materials, you’re ready to move on to the next step: disconnecting the saw from the power source.
Step 2: Disconnect the saw from the power source
Prior to replacing the electrical cord on your circular saw, it is crucial to ensure that the saw is completely disconnected from the power source. This not only protects you from potential electrical shocks but also prevents any accidental operation of the saw during the repair process. Follow these steps to disconnect the saw:
- Unplug the saw: If your circular saw is connected to a power outlet, simply unplug it from the socket. Double-check to ensure that the saw is no longer receiving power.
- Remove the battery: If your circular saw is cordless and powered by a battery, remove the battery pack from the saw to eliminate any chance of accidental power transmission.
Make sure you take these precautions before working on the saw to ensure your safety. Once you have safely disconnected the saw from the power source, you are ready to proceed with the next step: removing the old electrical cord.
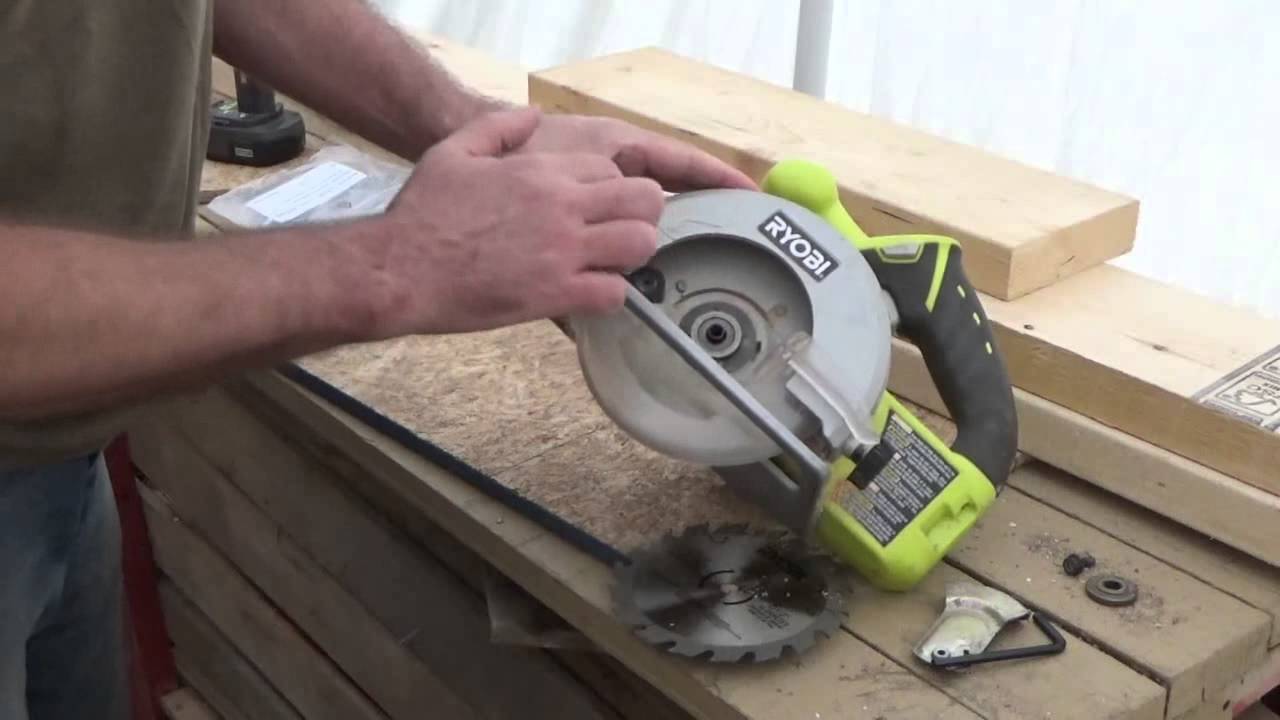
Step 3: Remove the old electrical cord
With the saw safely disconnected from the power source, it’s time to remove the old electrical cord. Follow these steps:
- Locate the cord connection point: Identify the area where the electrical cord is connected to the circular saw. This is usually located near the handle or motor housing.
- Inspect the cord: Take a close look at the cord to identify any signs of damage or wear. Look for frayed wires, exposed conductors, or any other issues that may have contributed to the cord malfunction.
- Remove the screws: Using a screwdriver, carefully remove the screws securing the cord to the saw body. Set the screws aside in a safe place to avoid misplacing them.
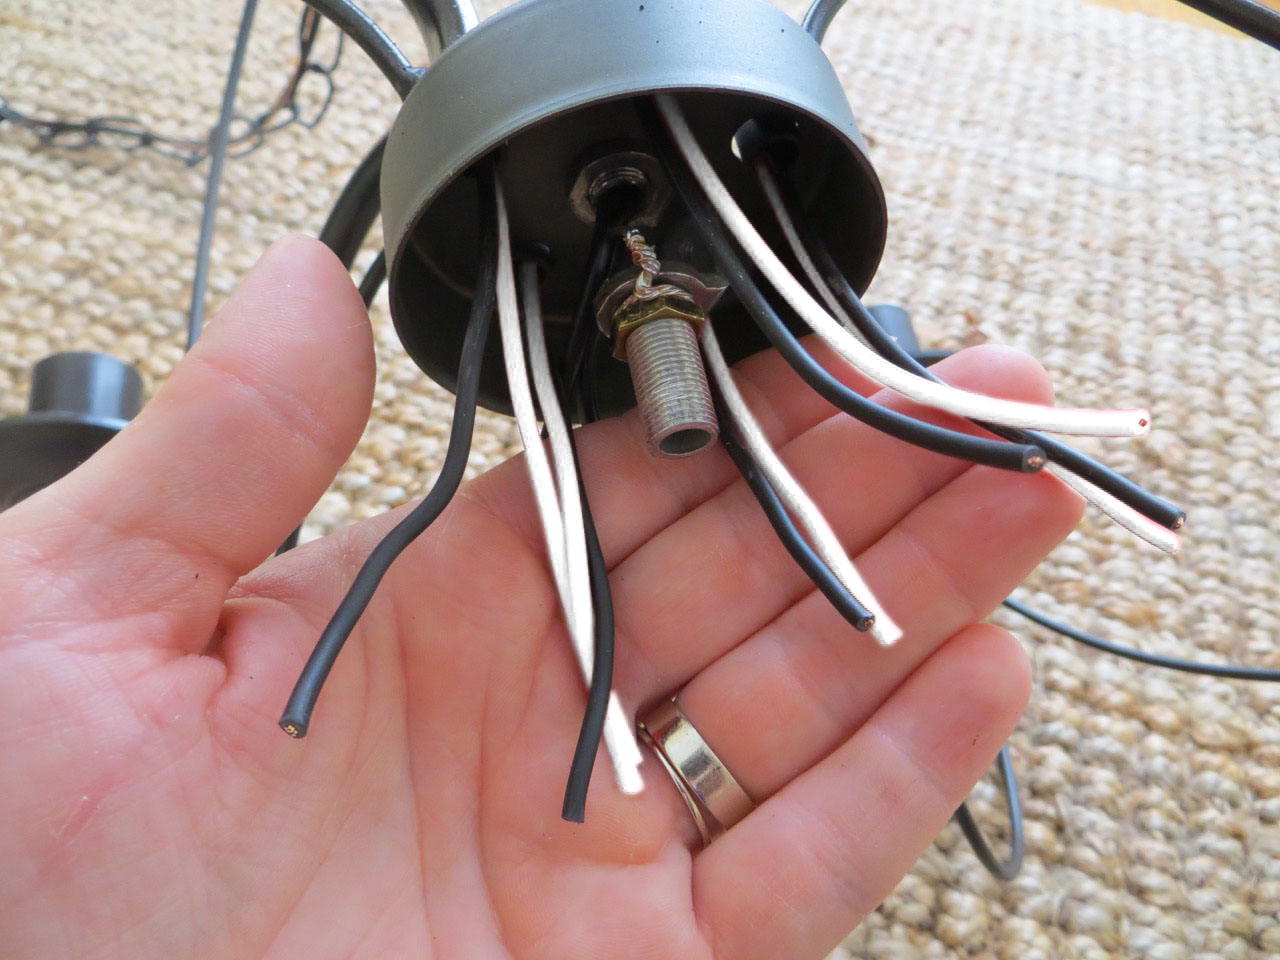
- Disconnect the wires: After removing the screws, you will have access to the wire connections. However, before disconnecting the wires, it’s important to note their order and arrangement. Take a clear photograph or make a diagram for reference later.
- Unscrew the wire connections: Use a screwdriver to loosen and remove the wire connections. Gently twist and pull the wires apart, making sure not to damage the terminal connections on the saw.
- Remove the old cord: With the wire connections detached, carefully pull the old cord out of the circular saw. Pay attention to any retaining clips or cable guides that may be holding the cord in place. If necessary, use a pair of pliers to help remove the cord from its housing.
By following these steps, you should be able to successfully remove the old electrical cord from your circular saw. Before moving on to the next step, ensure that the cord is completely detached and set aside in a safe location. Now it’s time to prepare the new electrical cord for installation.
Step 4: Prepare the new electrical cord
Now that you have removed the old electrical cord, it’s time to prepare the new one for installation. Follow these steps to ensure a smooth and proper setup:
- Inspect the new cord: Take a close look at the new electrical cord to ensure it is in good condition. Check for any frayed wires or visible damage. If you notice any issues, it’s best to replace the cord before proceeding.
- Measure and cut the cord: Measure the length of the old cord that you removed from the circular saw. Trim the new cord to match the same length using a wire cutter. It’s important to have the correct length of cord to ensure proper fitment and functionality.
- Strip the wire ends: Use wire strippers to carefully remove the insulation from the ends of the new cord. Be sure to strip off just enough insulation to expose the bare wire, without cutting into the wire itself.
- Separate and arrange the wires: If the new cord has multiple wires, make sure to separate and arrange them according to the diagram or photograph you took earlier. This will help you correctly connect the wires to the terminal connections.
Once you have prepared the new electrical cord by measuring, cutting, and stripping the wire ends, you are ready to move on to the next step: connecting the new cord to the circular saw.
When replacing the electrical cord on a circular saw, make sure to disconnect the saw from the power source and use a replacement cord that is rated for the same voltage and amperage as the original cord. Always follow the manufacturer’s instructions for proper installation.
Read more: How To Store Circular Saw
Step 5: Connect the new electrical cord to the circular saw
Now that you have prepared the new electrical cord, it’s time to connect it to the circular saw. Follow these steps to ensure a proper and secure connection:
- Refer to the diagram or photograph: Before connecting the wires, refer to the diagram or photograph you took earlier to ensure you are reconnecting the wires in the correct order. This will help prevent any potential electrical issues.
- Connect the wires: Take one of the wires from the new cord and match it to the corresponding terminal connection on the circular saw. Twist the exposed wire end around the terminal and tighten it securely. Repeat this step for the remaining wires.
- Use wire connectors or wire nuts: For added security and insulation, you can use wire connectors or wire nuts to secure the wire connections. Simply twist the wire ends together and place the wire connector or wire nut over the connection. Tighten it securely to ensure a reliable connection.
Make sure that all wire connections are tight and secure. Avoid leaving any loose or exposed wires as this can lead to electrical hazards. Take your time to double-check the connections and ensure everything is properly secured.
After connecting the new electrical cord to the circular saw, it’s important to test the connection before proceeding to the next step.
Step 6: Test the electrical cord connection
After connecting the new electrical cord to the circular saw, it’s crucial to test the connection before proceeding. This step ensures that the cord is properly installed and the saw is ready for use. Follow these steps to test the electrical cord connection:
- Reconnect the saw to the power source: Carefully reconnect the saw to the power source, either by plugging it back into an outlet or reinserting the battery pack.
- Turn on the saw: Toggle the power switch on the saw and listen for any unusual sounds or vibrations. Make sure the saw powers up without any issues.
- Test the functionality: With the saw turned on, test its functionality by engaging the blade or triggering any other features that may be present. Ensure that the saw operates smoothly and without any interruptions.
- Check the cord: During the test, closely monitor the new electrical cord for any signs of overheating, sparking, or unusual smells. If you notice any of these indicators, immediately turn off the saw and disconnect it from the power source.
If the test is successful and you don’t encounter any issues during the evaluation, congratulations! The new electrical cord is properly installed and the saw is ready for use. However, if you experience any problems or concerns during the test, it’s advisable to seek professional assistance to ensure a safe and reliable repair.
Once you have confirmed that the electrical cord connection is functioning correctly, you’re ready to proceed to the final step: safely securing the new electrical cord.
Step 7: Safely secure the new electrical cord
After successfully testing the electrical cord connection, the final step is to safely secure the new cord to ensure its longevity and safety. Follow these steps to properly secure the new electrical cord on your circular saw:
- Route the cord: Begin by carefully routing the new electrical cord along the designated path on the saw. Make sure the cord is away from any moving parts or sharp edges that could cause damage.
- Use cable clips or ties: Use cable clips or ties to secure the cord to the saw’s body. This will prevent the cord from getting tangled or caught during operation. Place the clips or ties at regular intervals to maintain a tidy and organized appearance.
- Prevent strain: To avoid strain on the cord and its connections, ensure that there is ample slack where the cord enters the handle or motor housing. This will help prevent any tension that could lead to damage or disconnection.
- Wrap with electrical tape: After securing the cord, wrap the exposed wire connections with electrical tape. This provides an additional layer of protection and prevents any accidental contact with the connections.
- Optional: Heat shrink tubing: For added protection and insulation, you can use heat shrink tubing on the wire connections. Slide the tubing over the exposed connections and use a heat gun or lighter to shrink it. This creates a tight seal around the connection, making it more resilient to moisture and other external factors.
By following these steps, you will ensure that the new electrical cord is safely and securely fastened to your circular saw. This will help prolong the lifespan of the cord and maintain its functionality. Once you have completed these steps, take a moment to double-check all the connections and verify that the cord is properly secured.
With the new electrical cord securely in place, you have successfully replaced the old cord on your circular saw. Congratulations! Your saw is now ready to be used for your next project.
Remember to always prioritize safety and refer to the manufacturer’s guidelines when working on power tools. If you encounter any difficulties during the process or have any concerns, it is recommended to consult with a professional for assistance.
We hope this guide has been helpful in guiding you through the process of replacing the electrical cord on your circular saw. Happy DIYing!
Conclusion
Replacing an electrical cord on a circular saw may seem like a challenging task, but with the right tools, knowledge, and a systematic approach, it can be accomplished by DIY enthusiasts of all levels. By following the steps outlined in this guide, you can safely and effectively replace a faulty or damaged electrical cord, ensuring the continued functionality and safety of your circular saw.
Throughout the process, it is essential to prioritize safety by disconnecting the saw from the power source and wearing protective gear. Taking the time to gather the necessary tools and materials is crucial for a smooth and uninterrupted repair. Carefully removing the old cord, preparing the new cord, and making secure wire connections are vital to the success of the replacement. Testing the electrical cord connection ensures that the saw operates properly before securing the new cord in place.
Remember, it is essential to consult your circular saw’s manual or seek professional advice if you have any doubts or concerns during the process. Additionally, always adhere to safety guidelines and exercise precaution when working with power tools.
We hope this comprehensive guide has provided you with the knowledge and confidence to tackle the task of replacing an electrical cord on your circular saw. By following these steps, you can maintain the functionality of your saw and continue to embark on your DIY projects with ease.
Happy repairing and best of luck with your future woodworking endeavors!
Frequently Asked Questions about How To Replace An Electrical Cord On A Circular Saw
Was this page helpful?
At Storables.com, we guarantee accurate and reliable information. Our content, validated by Expert Board Contributors, is crafted following stringent Editorial Policies. We're committed to providing you with well-researched, expert-backed insights for all your informational needs.


0 thoughts on “How To Replace An Electrical Cord On A Circular Saw”