Home>Articles>How To Replace The Electrical Cord On A New Rainbow Sweeper
Articles
How To Replace The Electrical Cord On A New Rainbow Sweeper
Modified: August 17, 2024
Learn how to easily replace the electrical cord on a new Rainbow sweeper with our step-by-step guide. Find more helpful articles on home maintenance and repairs.
(Many of the links in this article redirect to a specific reviewed product. Your purchase of these products through affiliate links helps to generate commission for Storables.com, at no extra cost. Learn more)
Introduction
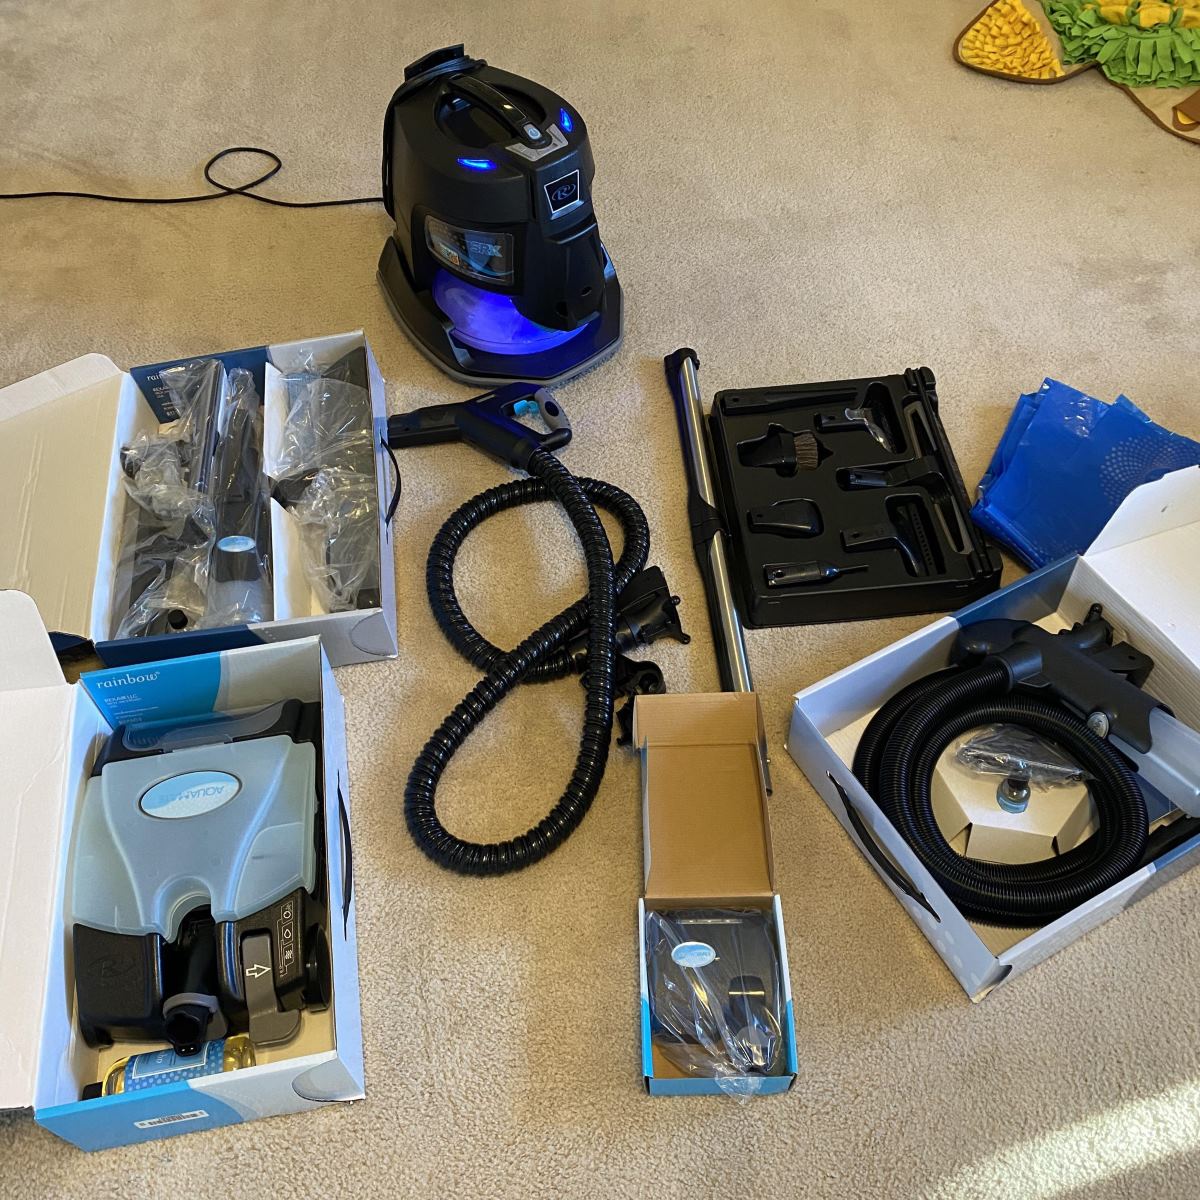
Welcome to our step-by-step guide on how to replace the electrical cord on a new Rainbow Sweeper. The electrical cord is a vital component of any vacuum cleaner, as it provides power and allows you to move freely around your home. Over time, cords can become frayed, damaged, or worn out, making it necessary to replace them for both safety and functionality reasons.
In this article, we will walk you through the process of replacing the electrical cord on your Rainbow Sweeper. We will provide you with a list of safety precautions, tools, and materials needed, as well as a detailed step-by-step guide. By following these instructions, you can ensure a safe and successful cord replacement, allowing you to continue enjoying the powerful cleaning capabilities of your Rainbow Sweeper.
Before we begin, please note that electrical work can be hazardous, and it is always recommended to consult a professional if you are unsure of what you are doing. However, if you are confident in your skills and follow the instructions carefully, you should be able to replace the electrical cord on your Rainbow Sweeper without any issues. Now, let’s get started!
Key Takeaways:
- Prioritize safety by following the step-by-step guide to replace the electrical cord on your Rainbow Sweeper, ensuring a smooth and successful process while protecting yourself from potential hazards.
- With the right tools and materials, you can confidently remove the old cord, prepare and connect the new one, and test your Rainbow Sweeper for optimal functionality, prolonging its lifespan and performance.
Read more: How To Replace Electrical Cord
Safety Precautions
Before diving into the process of replacing the electrical cord on your Rainbow Sweeper, it is crucial to prioritize your safety. By observing the following safety precautions, you can reduce the risk of accidents or injuries:
- Always unplug the Rainbow Sweeper from the power source before starting any electrical work. This will prevent the possibility of electric shock.
- Ensure that you are working in a well-lit area with good ventilation. This will allow you to see what you are doing clearly and prevent the buildup of fumes from cleaning products.
- Take the time to read and understand the manufacturer’s instructions for your particular Rainbow Sweeper model. Different models may have slightly different cord replacement procedures.
- Wear protective gloves and safety glasses to protect your hands and eyes from any potential hazards.
- If you encounter any complex or unfamiliar wiring, stop and seek assistance from a professional. Electrical work can be complicated, and it is better to be safe than sorry.
- Avoid working on the Rainbow Sweeper while it is still warm or recently used. Give it time to cool down to avoid burns or other injuries.
- Keep children and pets away from the work area to prevent accidents. They may accidentally trip over cords or interfere with your work.
- Double-check that all connections are properly secured before testing the Rainbow Sweeper.
Following these safety precautions will help ensure a smooth and safe cord replacement process. Remember, it is essential to prioritize your well-being and take the necessary precautions when working with electrical equipment.
Tools and Materials Needed
Before you begin replacing the electrical cord on your Rainbow Sweeper, it’s important to gather all the necessary tools and materials. Having everything ready will make the process much smoother. Here’s what you’ll need:
Tools:
- Phillips head screwdriver
- Flat head screwdriver
- Wire cutters
- Wire strippers
- Needle-nose pliers
- Electrical tape
Materials:
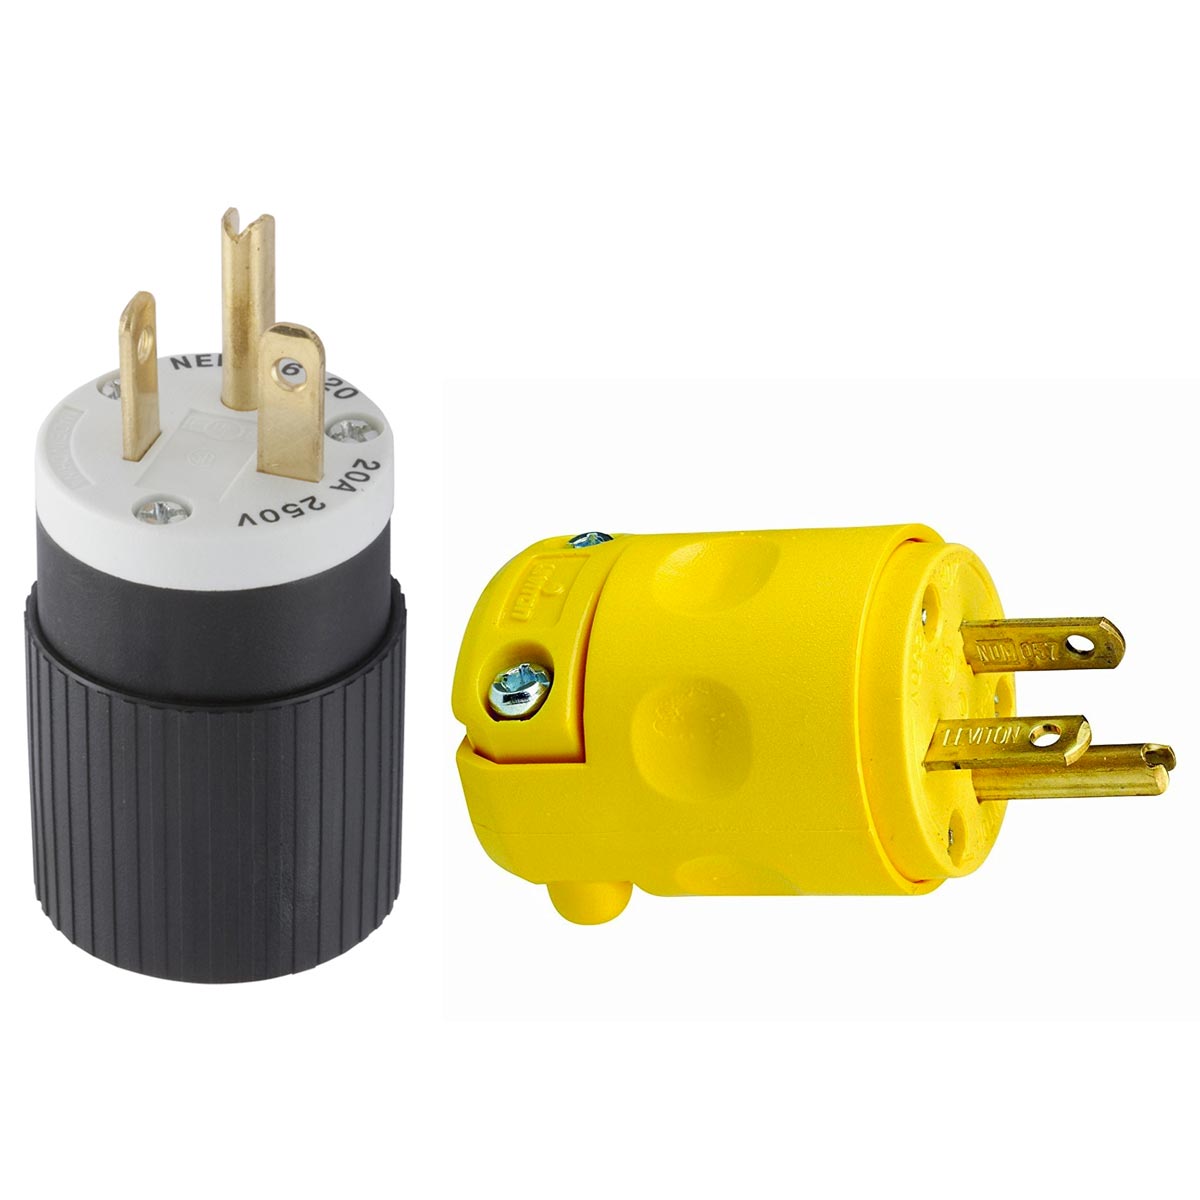
- Replacement electrical cord (make sure it is compatible with your Rainbow Sweeper model)
- Heat shrink tubing
- Wire connectors
These tools and materials will enable you to disconnect and remove the old cord, prepare the new cord, and connect it securely to the Rainbow Sweeper. If you don’t already have these items on hand, you can find them at your local hardware or home improvement store.
Additionally, it’s always beneficial to have a clean work surface and a well-lit area to ensure easy access and visibility during the replacement process. Now that you have gathered all the necessary tools and materials, let’s move on to the step-by-step guide on how to replace the electrical cord on your Rainbow Sweeper.
Read more: How To Replace Electrical Cord Insulation
Step 1: Unplug the Sweeper
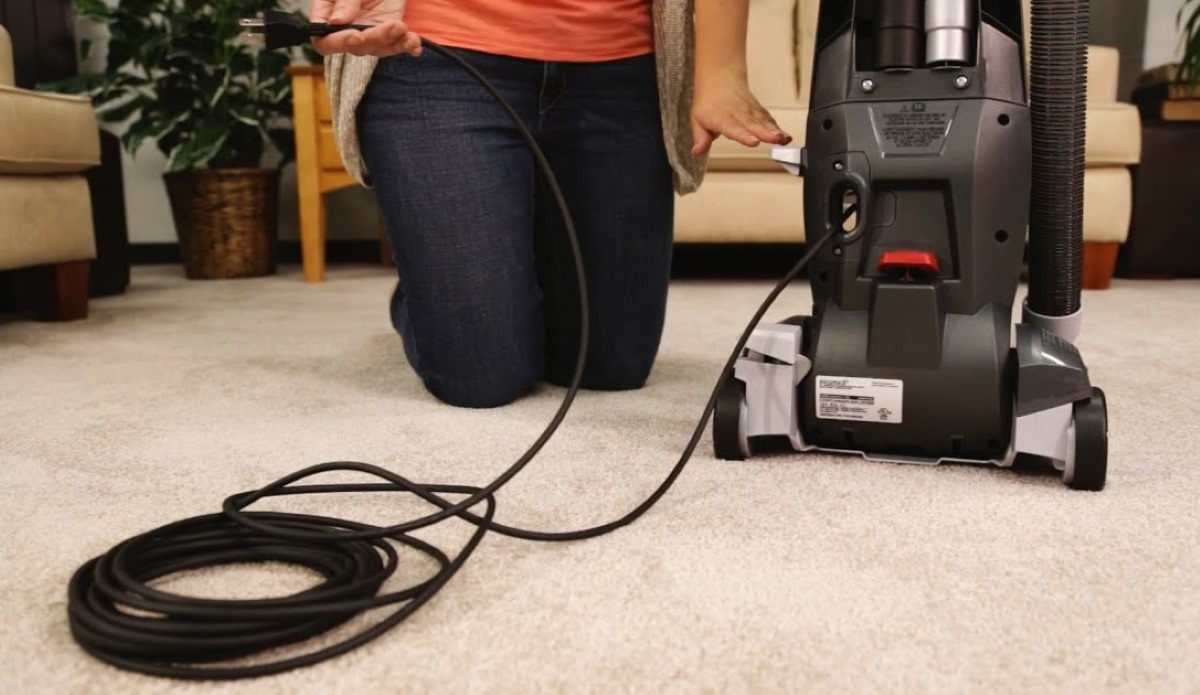
The first step in replacing the electrical cord on your Rainbow Sweeper is to ensure that it is completely disconnected from the power source. This is crucial to prevent any accidents or electric shock during the cord replacement process.
Follow these instructions to safely unplug the sweeper:
- Locate the power cord of your Rainbow Sweeper.
- Ensure that the sweeper is turned off.
- Reach down and firmly grasp the plug where it is connected to the electrical outlet.
- Gently but firmly pull the plug out of the outlet. You may need to wiggle it slightly to loosen it.
- Once the plug is completely disconnected, verify that the Rainbow Sweeper is no longer receiving power by checking that the lights or indicators are turned off.
It’s crucial to double-check that the sweeper is indeed unplugged before proceeding with the cord replacement. This will keep you safe and prevent any electrical mishaps during the process.
With the sweeper successfully unplugged, you’re now ready to move on to the next step: removing the old cord from your Rainbow Sweeper.
Step 2: Remove the Old Cord
Now that the Rainbow Sweeper is safely unplugged, it’s time to remove the old cord. Follow these steps to remove the old cord from your Rainbow Sweeper:
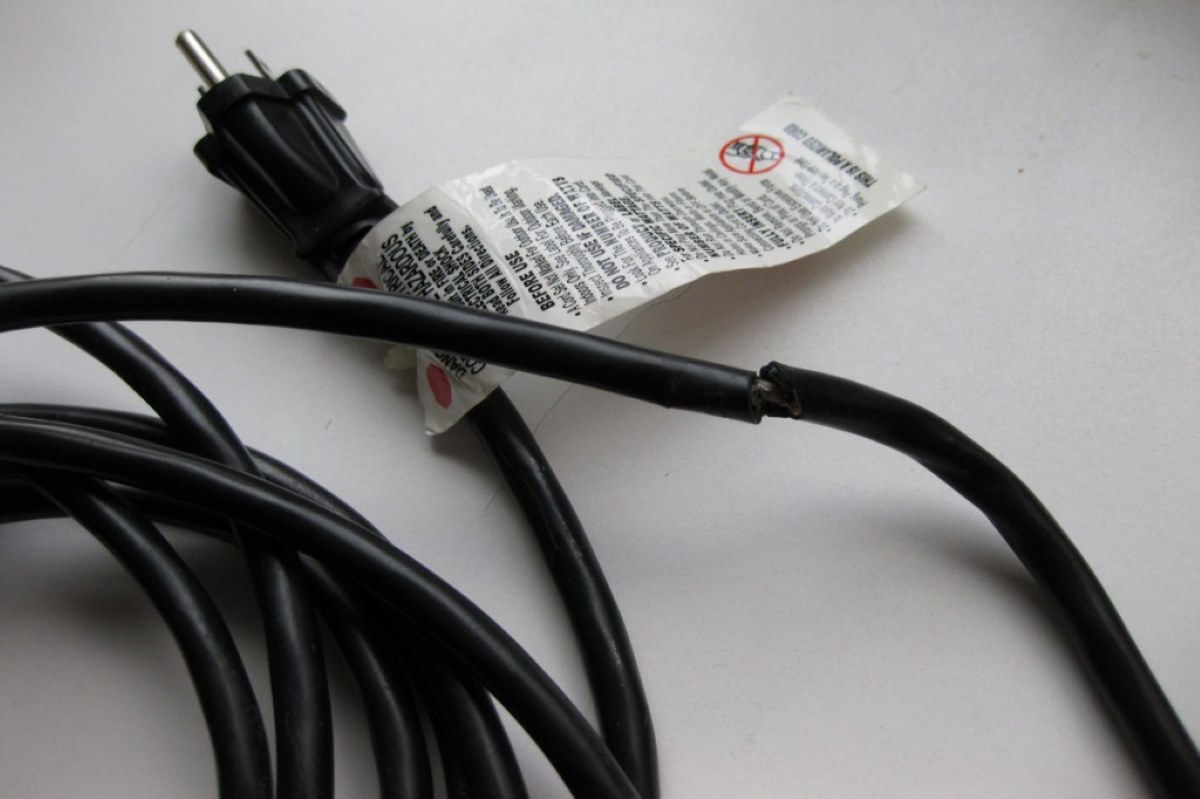
- Inspect the entire length of the cord for any damage or signs of wear. Note any areas that may need repair or replacement.
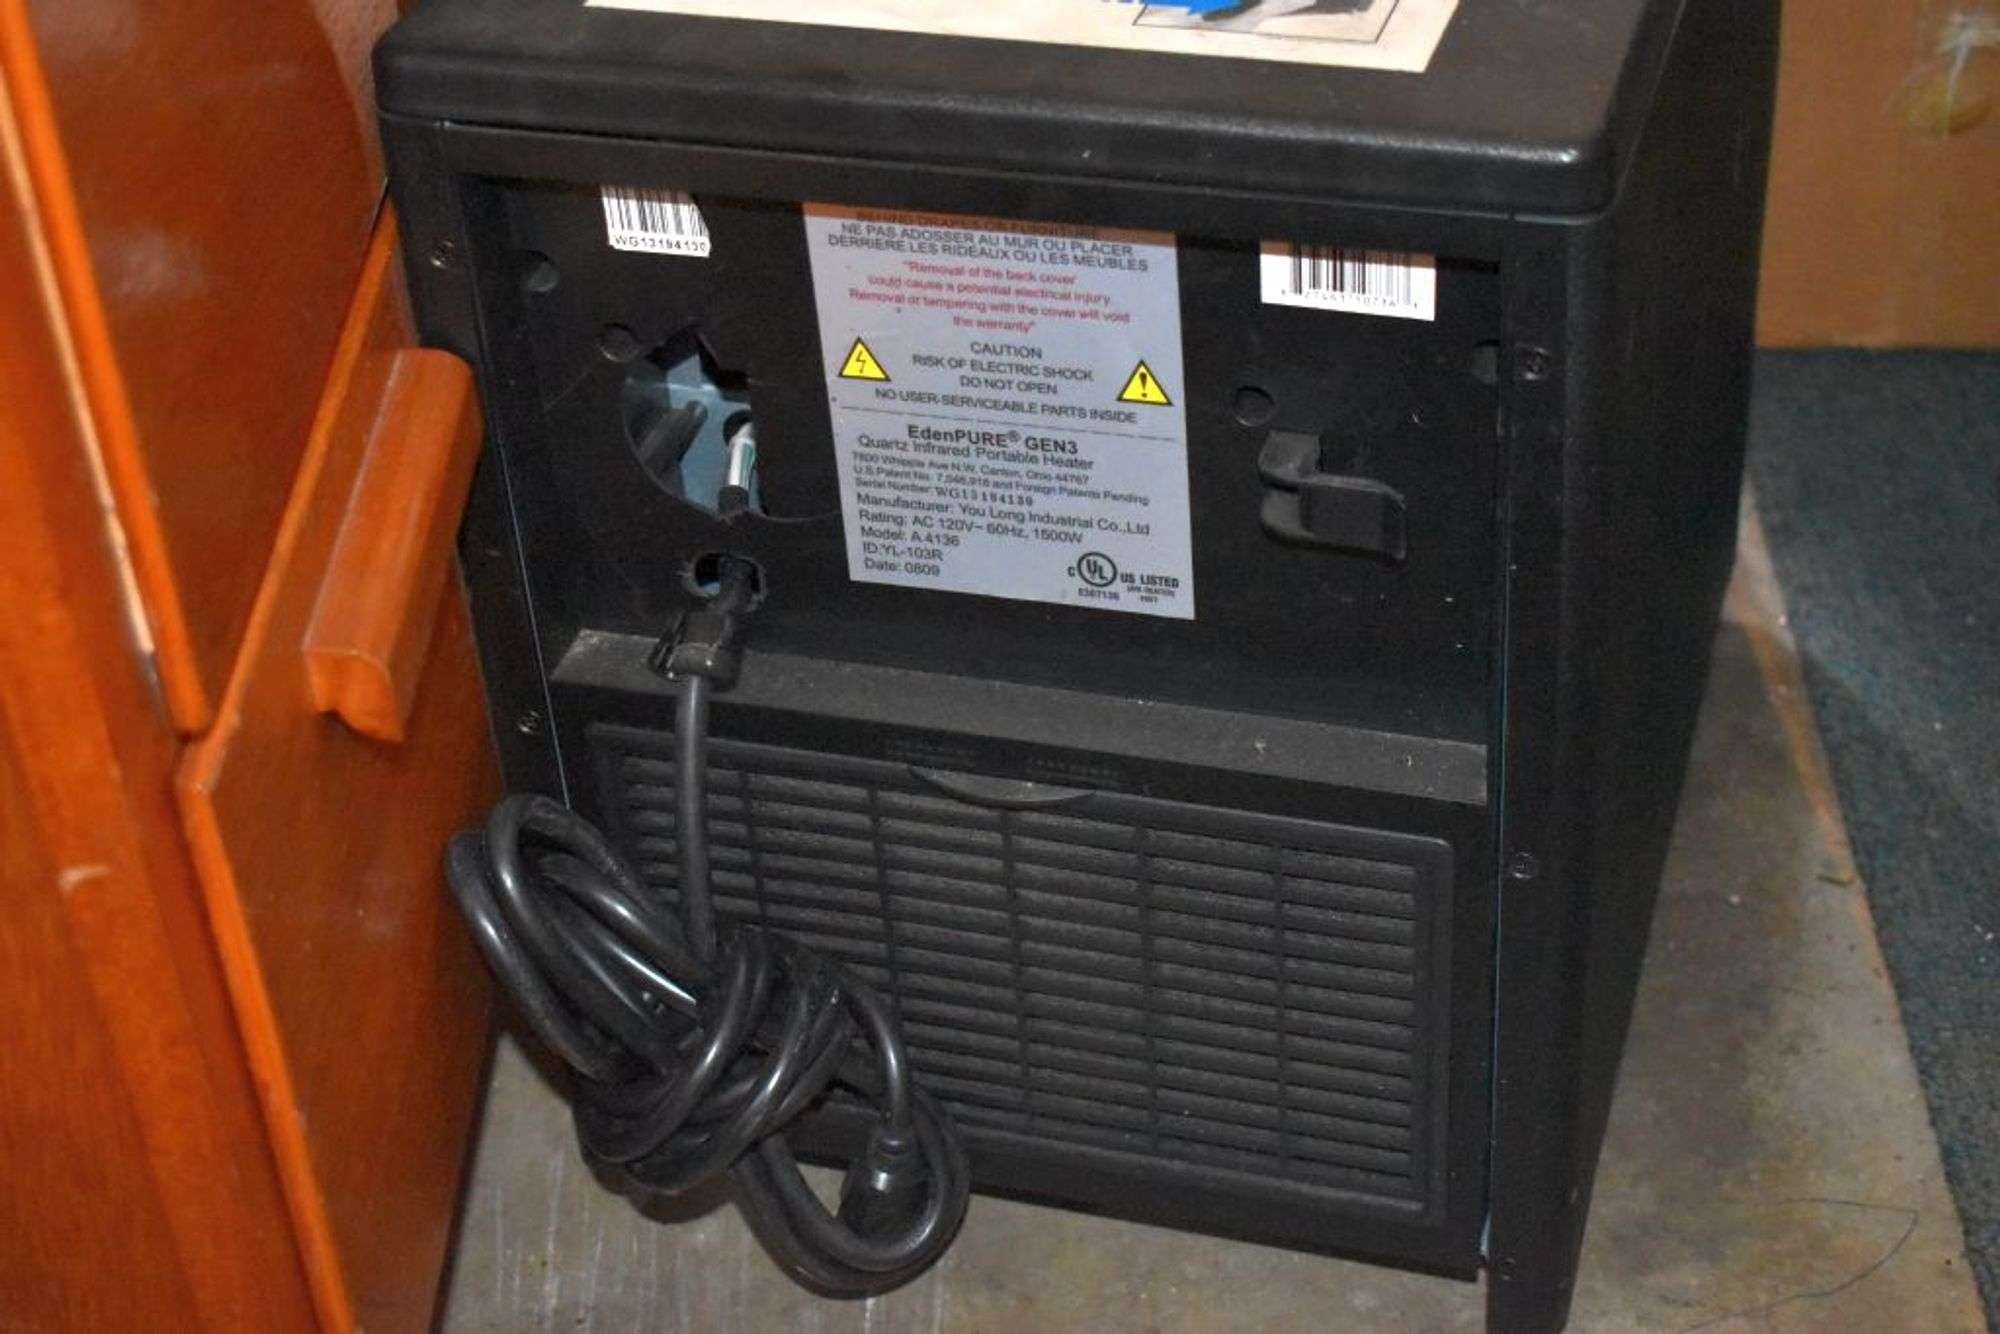
- Locate the access panel or cover where the cord is connected to the Rainbow Sweeper. This panel is usually located on the back or bottom of the sweeper.
- Use a Phillips head screwdriver or a flat head screwdriver to remove the screws securing the access panel or cover to the sweeper.
- Gently pry open the access panel or cover to reveal the internal wiring and cord connections.
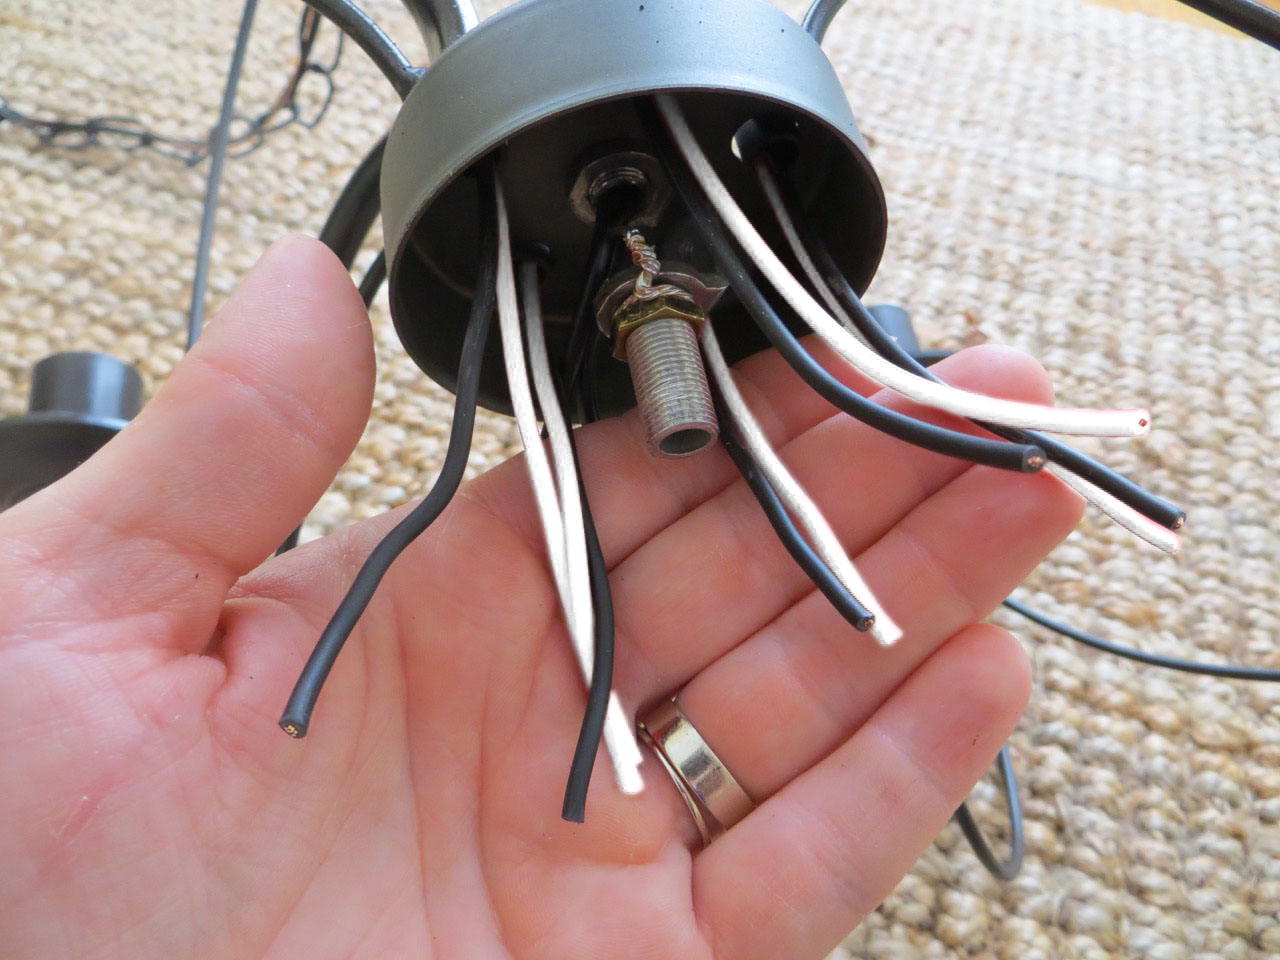
- Identify the cord’s connection points inside the Rainbow Sweeper. There may be multiple connections, such as at the motor or power switch.
- Make note of the colors or markings on the wires and where they are connected. This will be important when connecting the new cord.
- Use wire cutters to carefully cut the old cord away from the connections. Be cautious to avoid cutting any other wires or damaging the internal components of the sweeper.
- Once the old cord is completely cut and detached from the connections, remove it from the Rainbow Sweeper.
With the old cord removed, take a moment to inspect the connection points for any damage or loose wires. Clean any debris or dust that may have accumulated in the area. This will ensure a smooth installation of the new cord in the following steps.
Now that you’ve successfully removed the old cord, it’s time to prepare the new cord for installation on your Rainbow Sweeper.
Step 3: Prepare the New Cord
With the old cord removed from your Rainbow Sweeper, it’s time to prepare the new cord for installation. Follow these steps to ensure that the new cord is properly prepared:
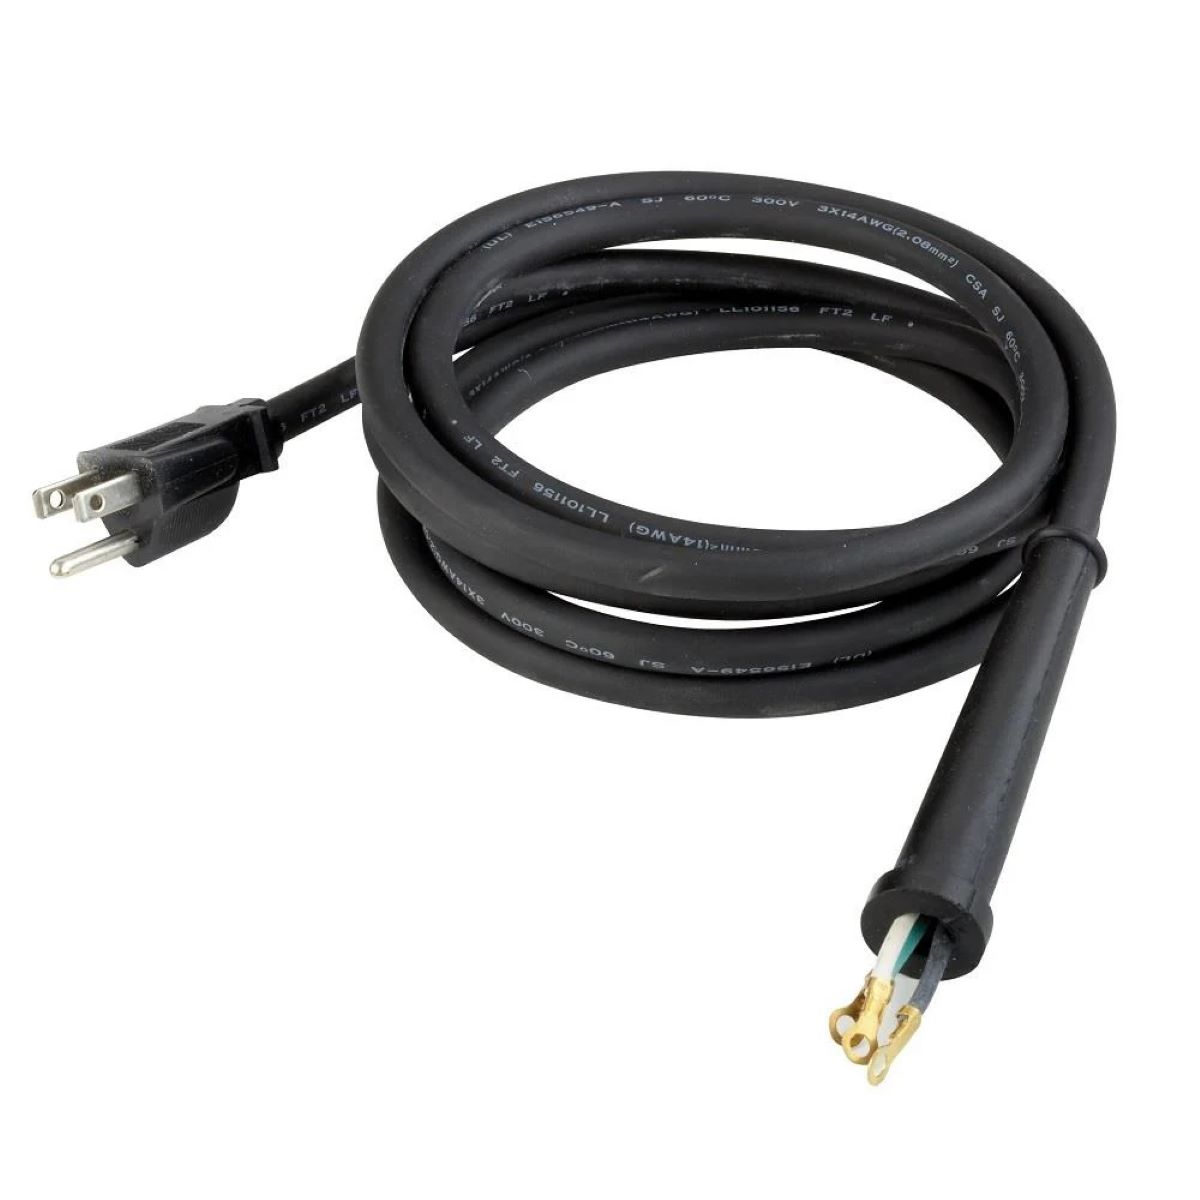
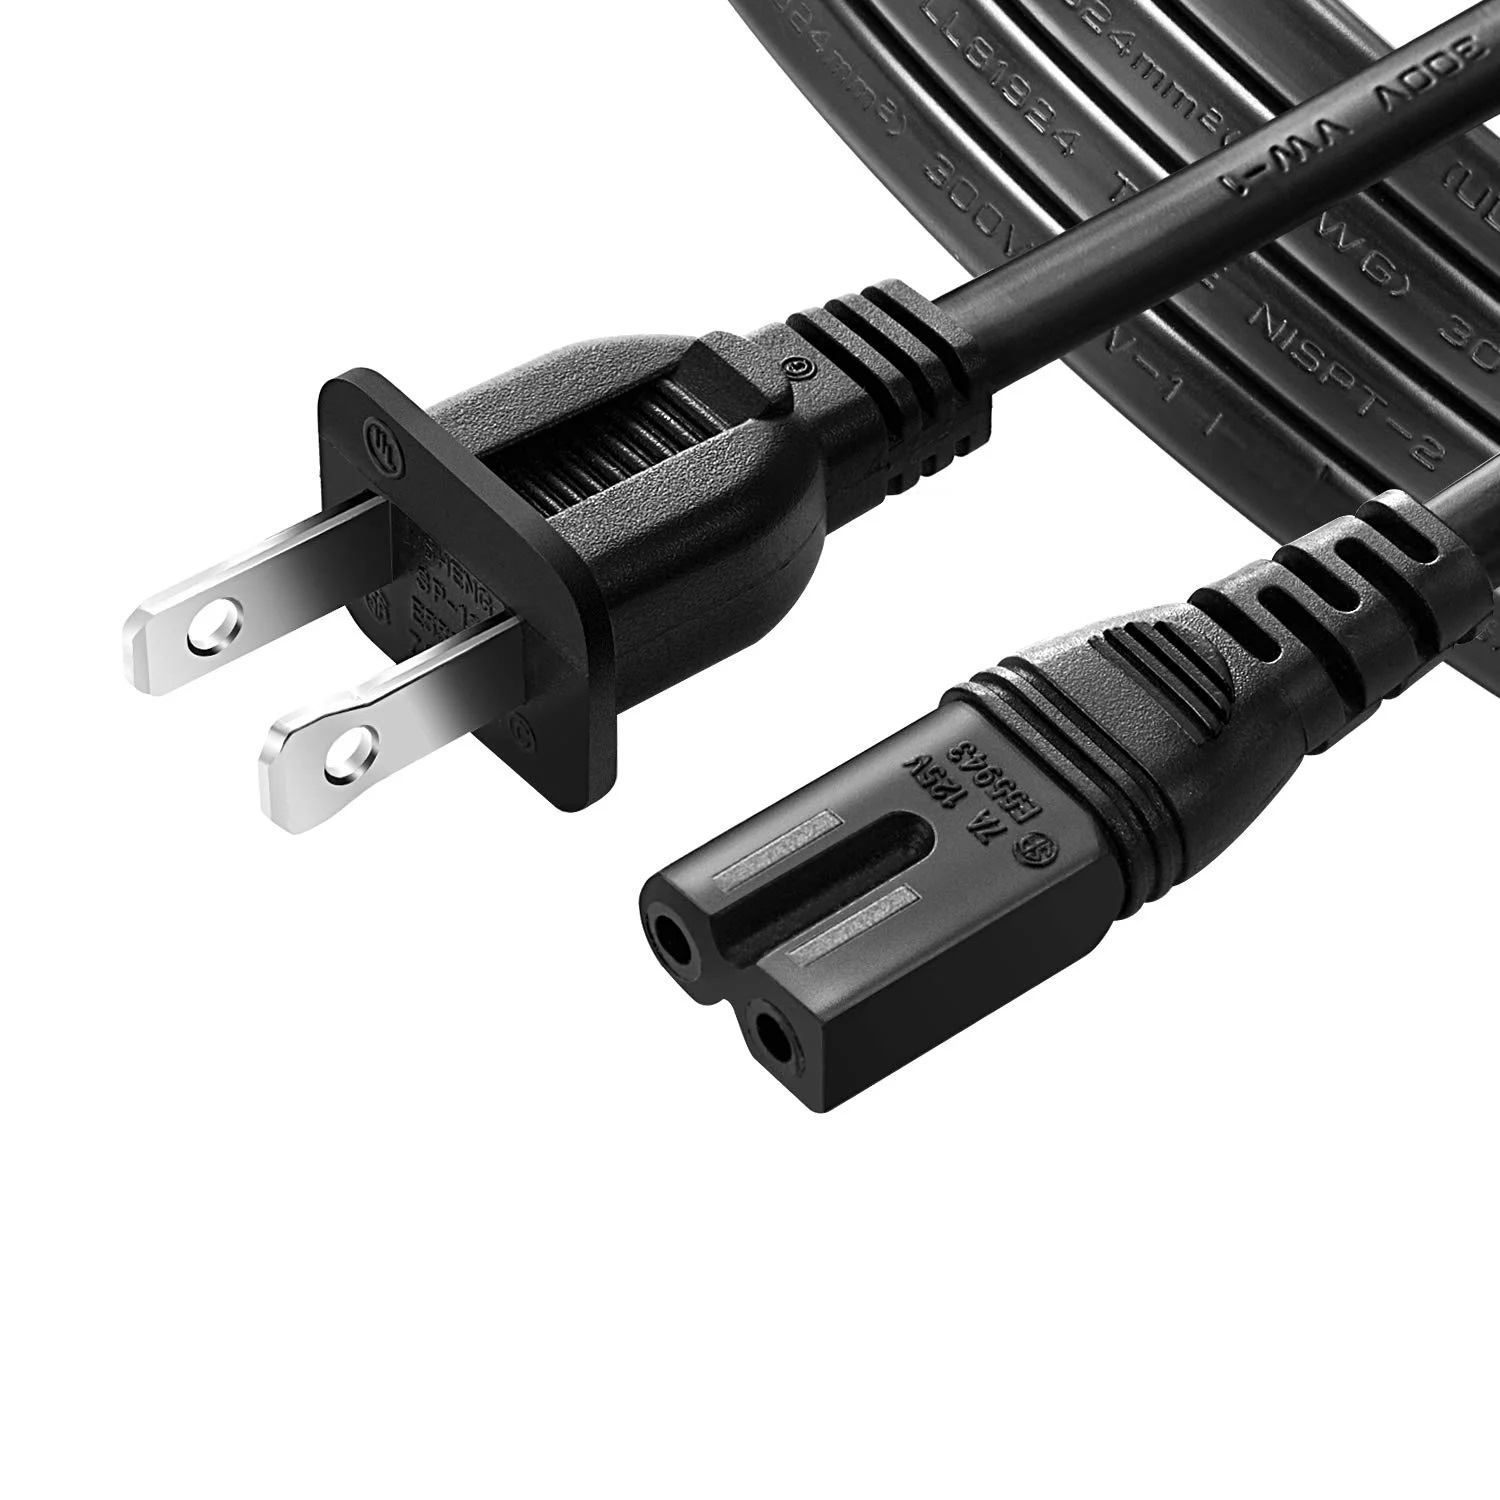
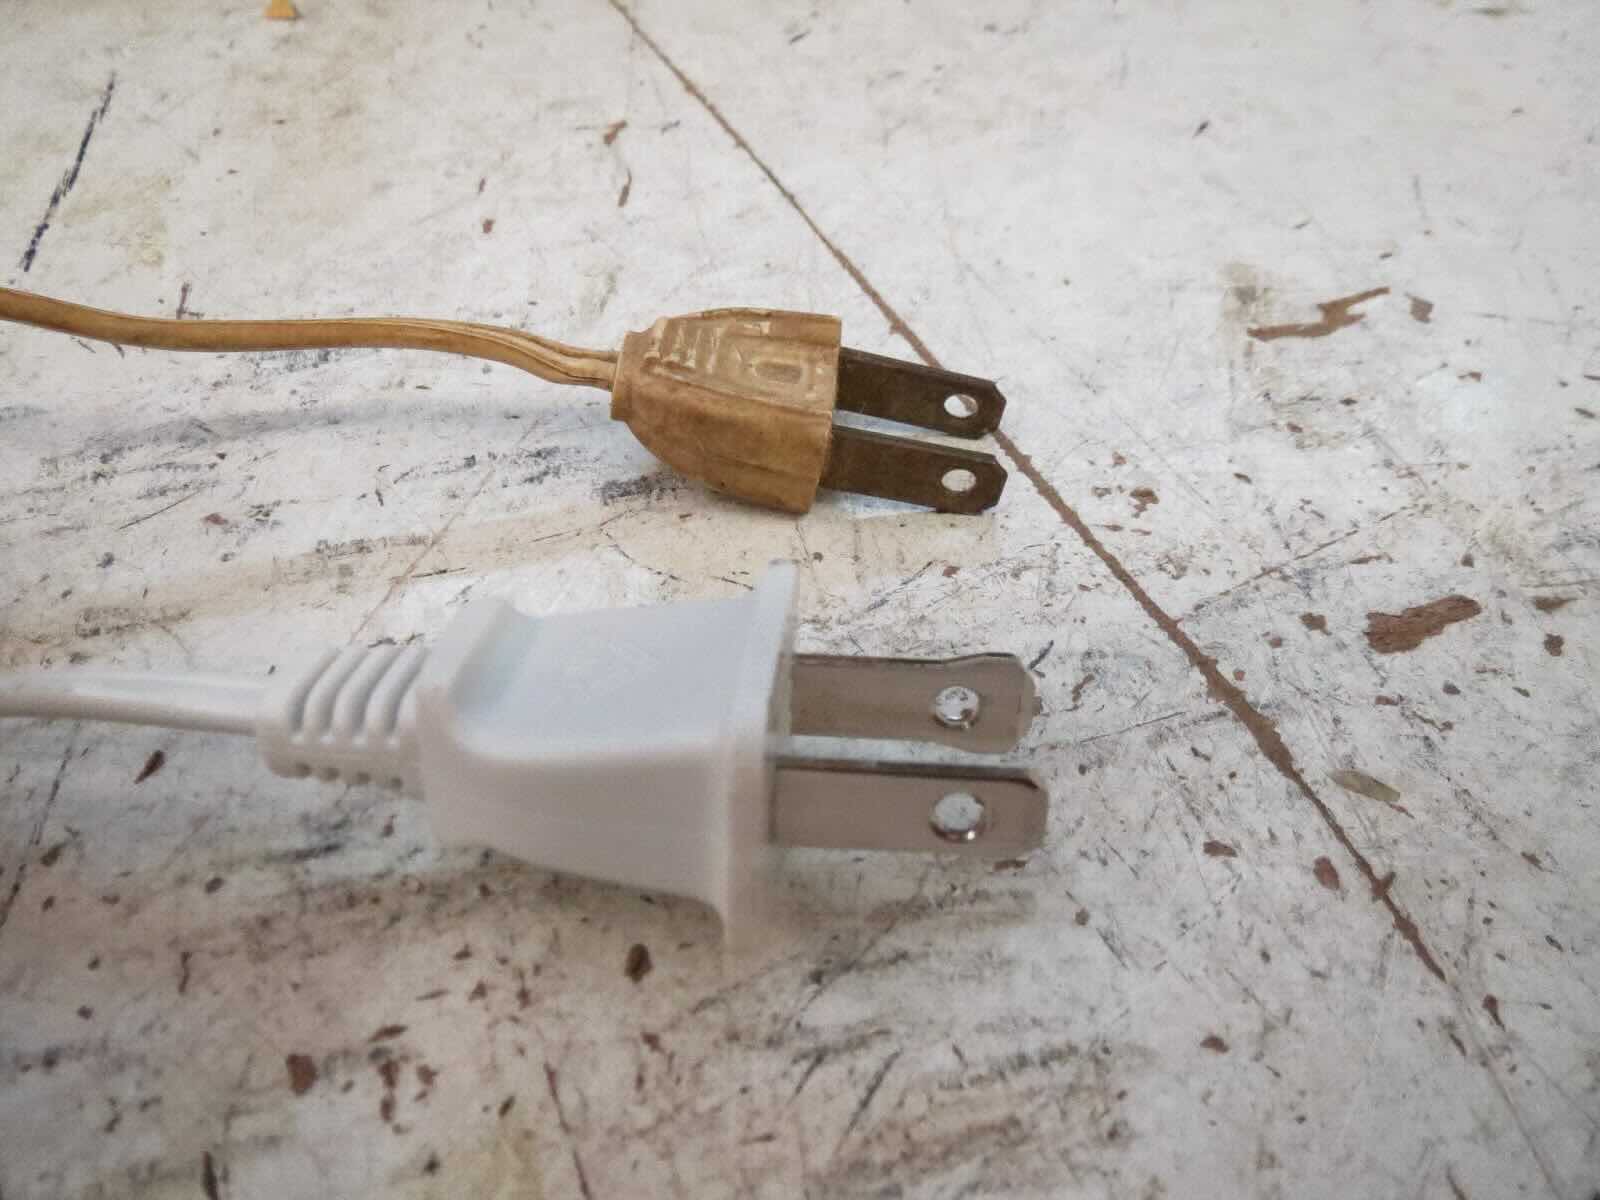
- Take out the replacement electrical cord that you’ve obtained. Ensure that it is compatible with your specific Rainbow Sweeper model.
- Inspect the new cord for any defects, such as cuts, fraying, or exposed wires. If you notice any issues, do not proceed with the installation and obtain a replacement cord.
- Check the length of the new cord to ensure it matches the length of the old cord. If necessary, trim the new cord to the appropriate length using wire cutters.
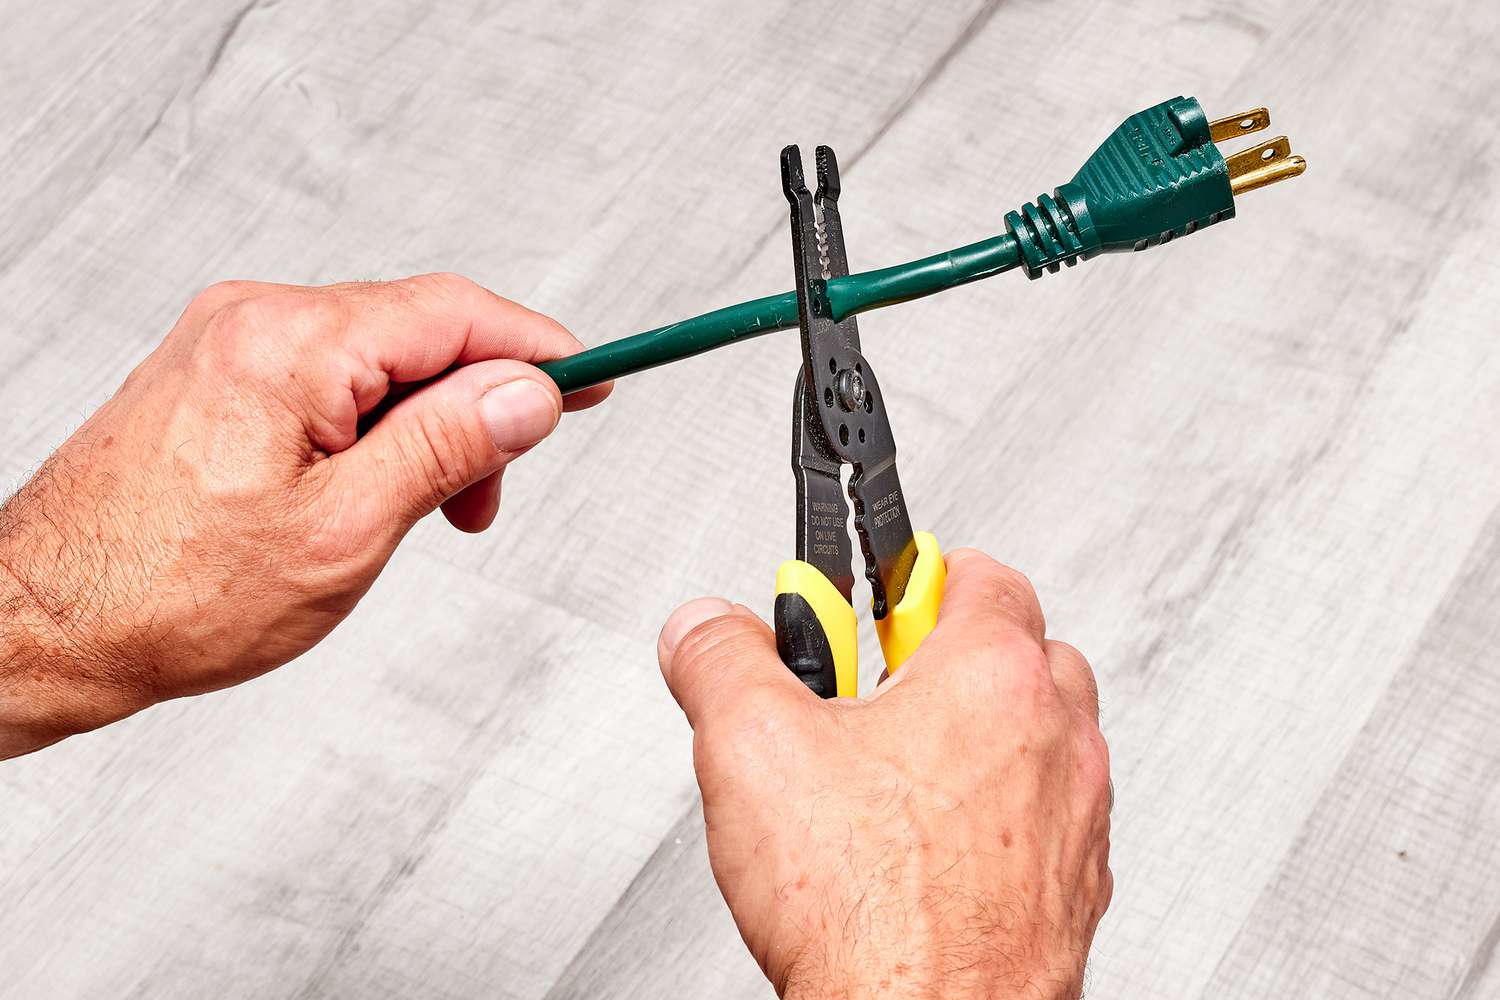
- Using wire strippers, carefully remove the outer insulation from both ends of the new cord. Strip away enough insulation to expose the individual wires inside.
- Inspect the individual wires for any fraying or damage. Trim any damaged sections and strip away a small amount of insulation from each wire end to ensure a clean connection.
- If your new cord comes with separate ground wire (usually green or bare copper), ensure that it is separated from the other wires.
- Slide a piece of heat shrink tubing onto each wire. This tubing will protect the connections and provide insulation.
By properly preparing the new cord, you ensure that it is in good condition and ready for installation. Take your time during this step to ensure the best outcome. Once the new cord is prepared, you’re ready to move on to connecting it to your Rainbow Sweeper in the next step.
When replacing the electrical cord on a New Rainbow Sweeper, make sure to unplug the machine and carefully follow the manufacturer’s instructions to ensure proper installation and safety.
Step 4: Connect the New Cord
Now that you have prepared the new cord, it’s time to connect it to your Rainbow Sweeper. Follow these steps to ensure a secure and proper connection:
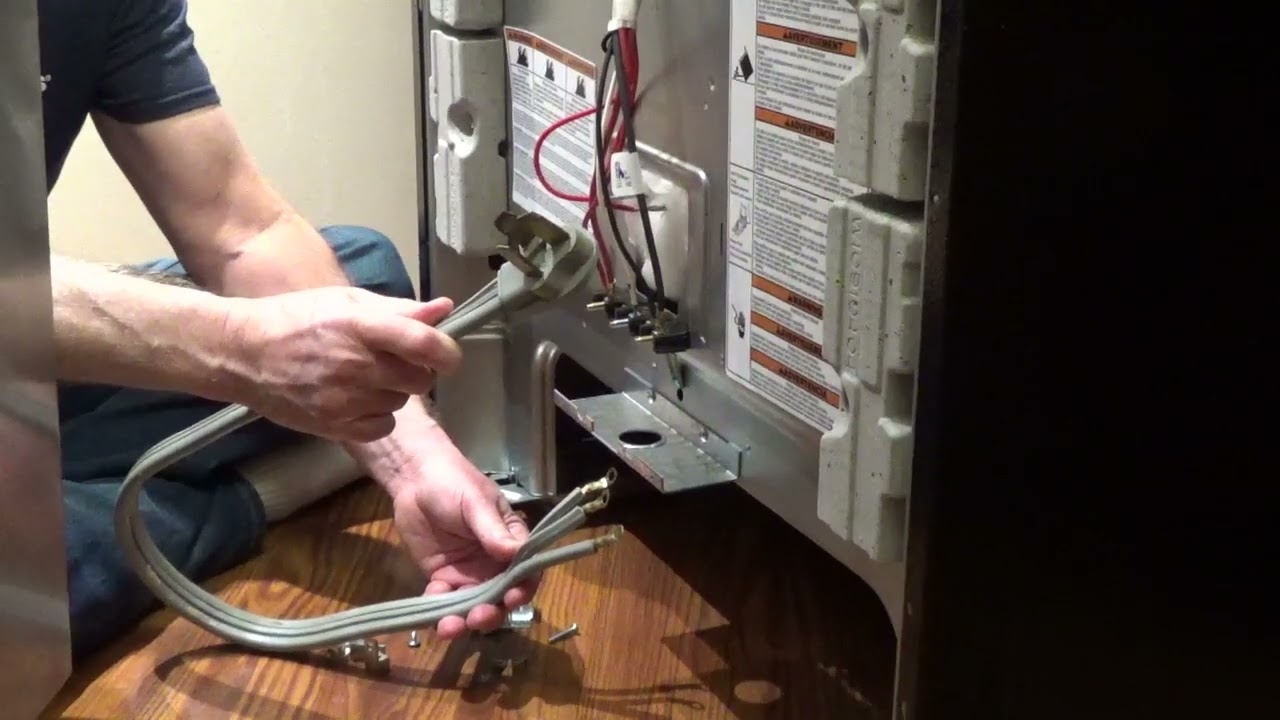
- Locate the connection points inside the Rainbow Sweeper where the old cord was previously attached. Refer to the notes you made during the removal process to identify the correct wires and their corresponding connections.
- Take the exposed end of the black wire from the new cord and connect it to the corresponding black wire connection point inside the Rainbow Sweeper. This is usually the “hot” wire and is responsible for carrying the electrical current.
- Slide the heat shrink tubing over the connection point and use a heat source, such as a heat gun or a hairdryer, to shrink the tubing and secure the connection.
- Repeat the same process for the other wires, connecting the exposed ends of the white wire (neutral wire) and, if applicable, the ground wire to their respective connection points.
- Ensure that all connections are secure and properly fastened. Use needle-nose pliers if needed to tighten any screws or clamps.
- Once all the connections are secure, double-check the accuracy of your wiring and connections. Ensure that the wires are not tangled or touching each other.
- If there were any wire connectors that you removed during the cord removal process, replace them with new connectors to ensure a proper connection.
When connecting the new cord, it’s important to ensure that the correct wires are paired with their corresponding connection points. Double-checking your work and following the Rainbow Sweeper’s wiring diagram, if available, can help prevent any mistakes.
With the new cord successfully connected, it’s time to test your Rainbow Sweeper’s functionality in the next step.
Read more: How To Replace A Vacuum Electrical Cord
Step 5: Test the Sweeper
After connecting the new cord to your Rainbow Sweeper, it’s crucial to test the functionality and safety of the machine before using it. Follow these steps to ensure that everything is working correctly:
- Ensure that all connection points are secure and that there are no loose wires or exposed connections.
- Replace the access panel or cover that you removed earlier, ensuring that it is properly aligned and securely fastened with the screws.
- Double-check that the power switch of the Rainbow Sweeper is in the “off” position.
- Plug the sweeper into a functioning electrical outlet. Ensure that the plug is firmly inserted and that there are no loose or unstable connections.
- Turn on the power switch and listen for any unusual noises or vibrations. The Rainbow Sweeper should start up smoothly without any issues.
- Give the machine a quick test run on a small area of flooring to ensure that it is suctioning properly and that all functions are working as expected.
- If you notice any anomalies or if the Rainbow Sweeper does not function as intended, immediately power it off and disconnect it from the electrical outlet. Recheck the connections and consult a professional if necessary.
- If everything is in proper working order, unplug the Rainbow Sweeper once again for safety.
By thoroughly testing your Rainbow Sweeper after replacing the electrical cord, you can ensure that it is safe to use and meet your cleaning needs effectively. Taking the time to verify the functionality of the machine will give you peace of mind and allow you to continue using your Rainbow Sweeper confidently.
Congratulations! You have successfully replaced the electrical cord on your Rainbow Sweeper. Let’s wrap things up.
Conclusion
Congratulations on successfully replacing the electrical cord on your Rainbow Sweeper! By following this step-by-step guide, you have taken an important step towards maintaining the functionality and safety of your cleaning appliance. With your new cord securely installed, you can continue enjoying the powerful cleaning capabilities that the Rainbow Sweeper provides.
Throughout the process, we emphasized the importance of safety precautions, ensuring that the machine is properly unplugged, and taking necessary measures to protect yourself from electrical hazards. Remember, if you ever feel unsure or uncomfortable working with electrical components, it’s always a good idea to seek the assistance of a professional.
By gathering the necessary tools and materials, you were able to remove the old cord and prepare the new one for installation. Taking your time to make secure connections, double-checking your work, and testing the functionality of the Rainbow Sweeper ensured a successful outcome.
We hope this guide has been helpful in walking you through the process of replacing the electrical cord on your Rainbow Sweeper. By following these steps, you can prolong the lifespan of your appliance and ensure its continued performance. Remember to always prioritize safety and refer back to the manufacturer’s instructions for your specific model when in doubt.
Thank you for choosing our guide, and happy cleaning with your newly replaced electrical cord on your Rainbow Sweeper!
Frequently Asked Questions about How To Replace The Electrical Cord On A New Rainbow Sweeper
Was this page helpful?
At Storables.com, we guarantee accurate and reliable information. Our content, validated by Expert Board Contributors, is crafted following stringent Editorial Policies. We're committed to providing you with well-researched, expert-backed insights for all your informational needs.


0 thoughts on “How To Replace The Electrical Cord On A New Rainbow Sweeper”