Home>Articles>How To Replace A Chandelier Chain And Electrical Cord
Articles
How To Replace A Chandelier Chain And Electrical Cord
Modified: August 28, 2024
Need to replace your chandelier's short chain and electrical cord? Read our expert articles for step-by-step guidance.
(Many of the links in this article redirect to a specific reviewed product. Your purchase of these products through affiliate links helps to generate commission for Storables.com, at no extra cost. Learn more)
Introduction
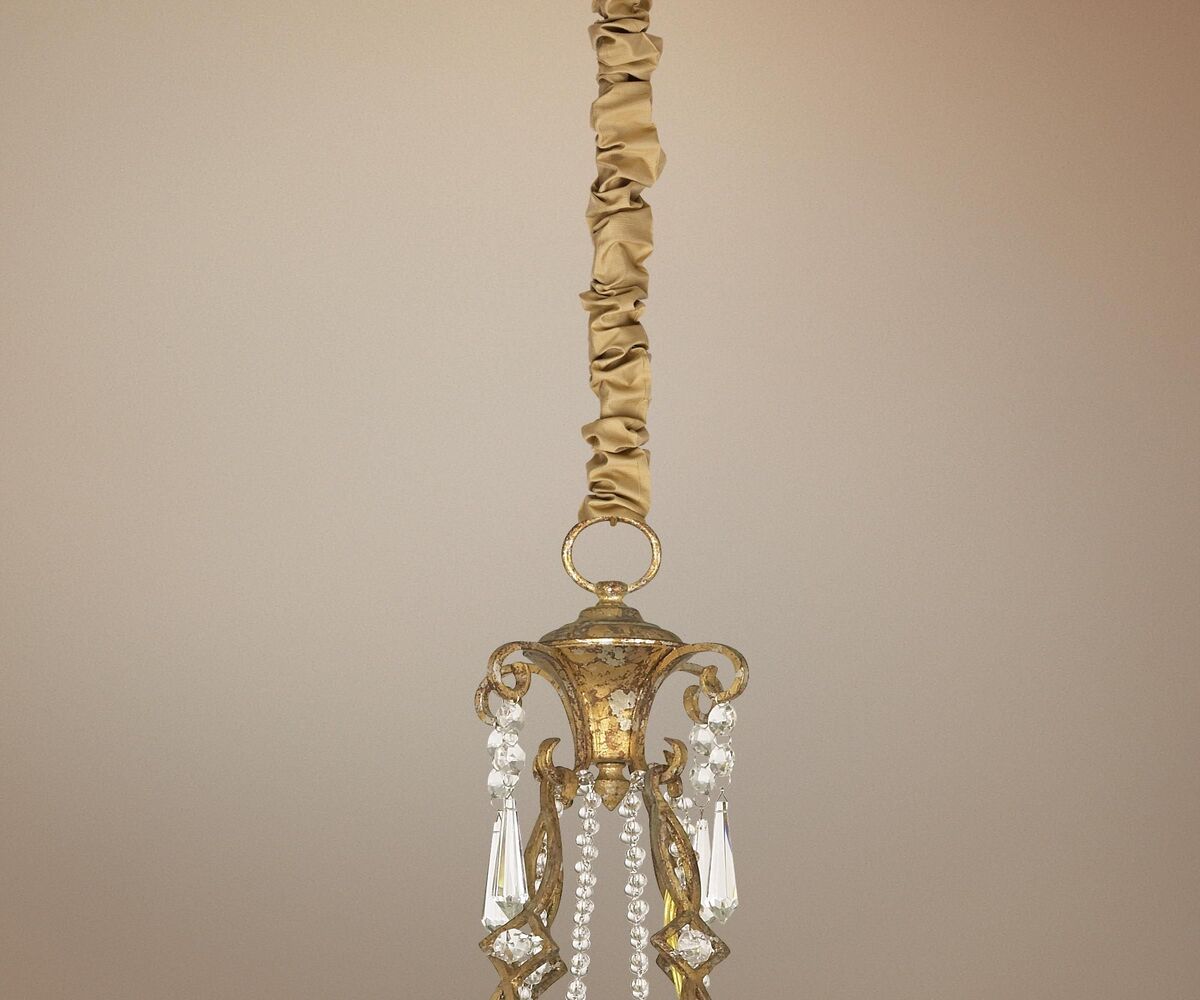
Having a chandelier adds a touch of elegance and sophistication to any space. However, sometimes the chain and electrical cord that come with the chandelier may be too short for your specific needs. Whether you have moved into a new home or are renovating your current space, replacing the chain and electrical cord is a relatively simple process that can provide a solution to your problem.
In this article, we will guide you through the steps to replace the chain and electrical cord of your chandelier. We will discuss how to assess the current chain and electrical cord length, determine the desired length, gather the necessary tools and materials, remove the existing chain and electrical cord, measure and cut the new chain and electrical cord, attach the new chain and electrical cord to the chandelier, and finally, test the new chain and electrical cord.
By following these steps, you will be able to replace the chain and electrical cord on your chandelier, allowing you to customize the length to suit your needs and ensure that it is aesthetically pleasing in your space.
Key Takeaways:
- Customize the length and functionality of your chandelier’s chain and electrical cord to suit your space and aesthetic preferences with simple steps and the right tools and materials.
- Prioritize safety and thorough testing to ensure a visually appealing and functional chandelier that provides the desired lighting and ambiance in your space.
Read more: How To Replace Electrical Cord
Assessing the Current Chain and Electrical Cord Length
Before you begin replacing the chain and electrical cord on your chandelier, it’s important to assess the current length and determine if it is indeed too short for your needs. This step will help you determine the length of the new chain and electrical cord you will need.
Start by examining the current chain and electrical cord. Measure its length from the end of the chain to where it connects to the chandelier. Similarly, measure the length of the electrical cord from the end where it enters the chandelier to the end where it plugs into the power source. Take note of these measurements as they will be useful later in determining the desired length.
Next, consider the height of the ceiling and the distance between the chandelier and the power source. If the chain and electrical cord are too short, the chandelier may not hang at an optimal height or may not reach the power source. Additionally, consider any specific requirements or preferences you may have regarding the length of the chain and electrical cord.
By assessing the current chain and electrical cord length and considering all relevant factors, you will have a clear understanding of how much longer the new chain and electrical cord should be to meet your needs. This information will guide you in determining the desired length and proceeding with the replacement process.
Determining the Desired Chain and Electrical Cord Length
Now that you have assessed the current length of the chain and electrical cord on your chandelier, it’s time to determine the desired length for the replacement. The desired length will depend on various factors, including the height of the ceiling, the distance between the chandelier and the power source, and any specific requirements or preferences you may have.
First, consider the height of the ceiling. Generally, chandeliers should hang around 30 to 36 inches above tables or countertops. If your ceiling is particularly tall, you may need a longer chain and cord to ensure the chandelier hangs at the desired height. Conversely, if your ceiling is low, you may opt for a shorter chain and cord to avoid the chandelier hanging too low.
Next, consider the distance between the chandelier and the power source. Ensure that the new chain and electrical cord are long enough to reach the power source without any tension or strain. Take into account any obstructions or obstacles along the path, such as furniture or walls, that may require extra length. It is always better to have a slightly longer chain and cord that can be adjusted, rather than one that is too short.
Additionally, consider any specific requirements or preferences you may have regarding the length of the chain and electrical cord. Think about the aesthetics and functionality of the chandelier in your space. Do you want the chain to be more visually prominent or discreet? Do you need the electrical cord to be hidden or easily accessible?
By carefully considering these factors and determining the desired length, you can ensure that the new chain and electrical cord will be the perfect fit for your chandelier. This will result in an aesthetically pleasing and functional lighting fixture that meets your specific needs and preferences.
Gathering the Necessary Tools and Materials
Before you begin the process of replacing the chain and electrical cord on your chandelier, it is important to gather all the necessary tools and materials. Having everything prepared in advance will ensure a smooth and efficient replacement process.
Here are the tools and materials you will need:
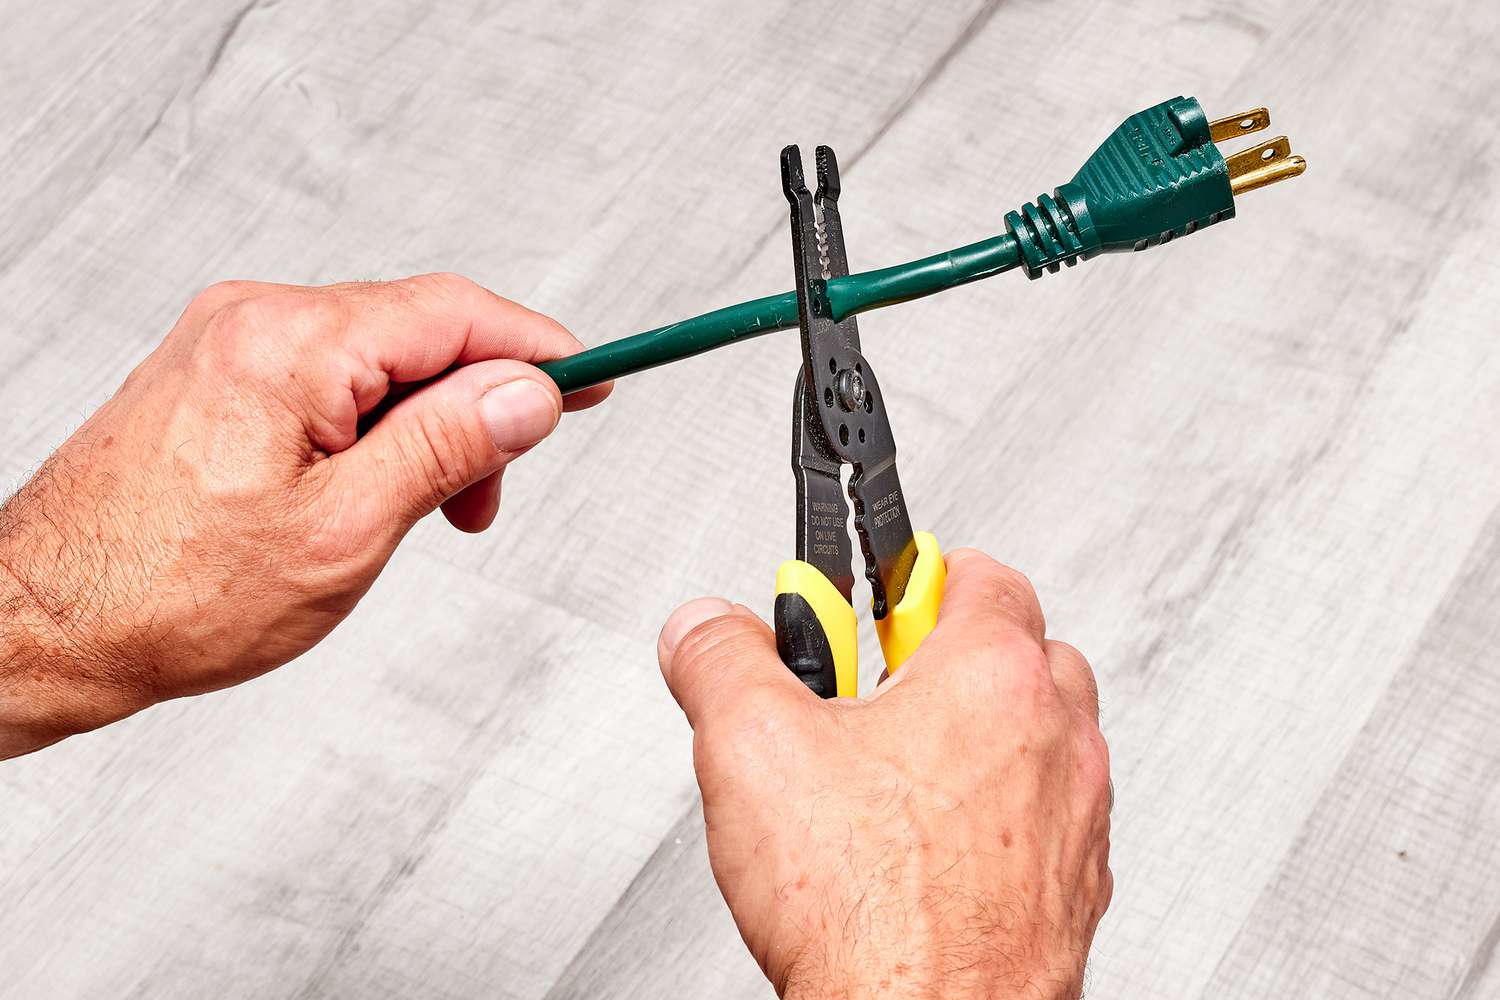
- Wire cutters
- Electrical tape
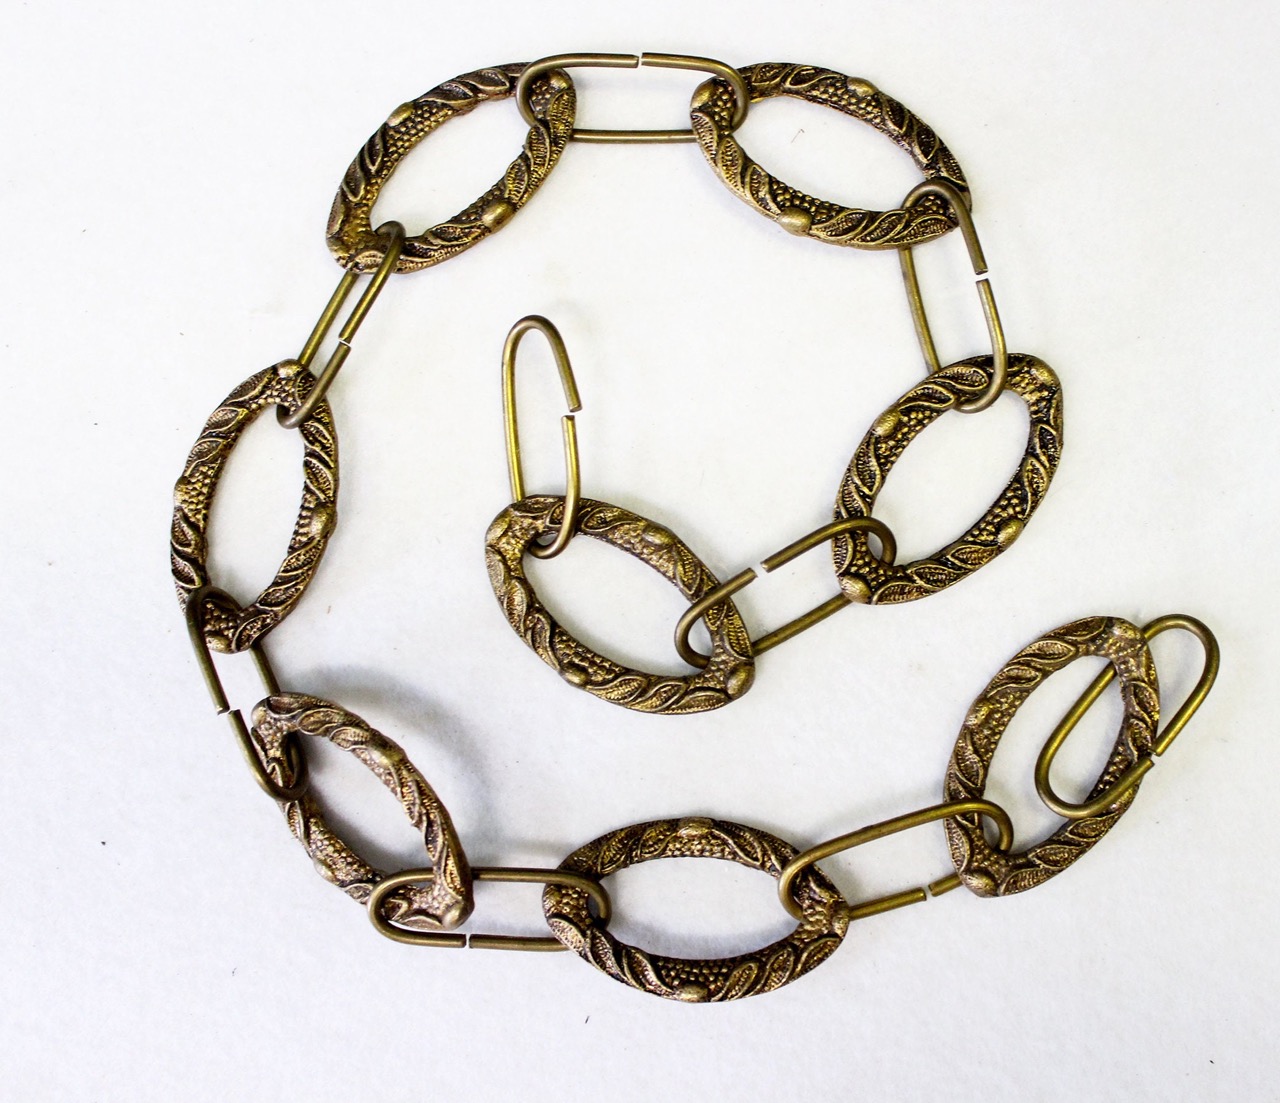
- Chandelier chain
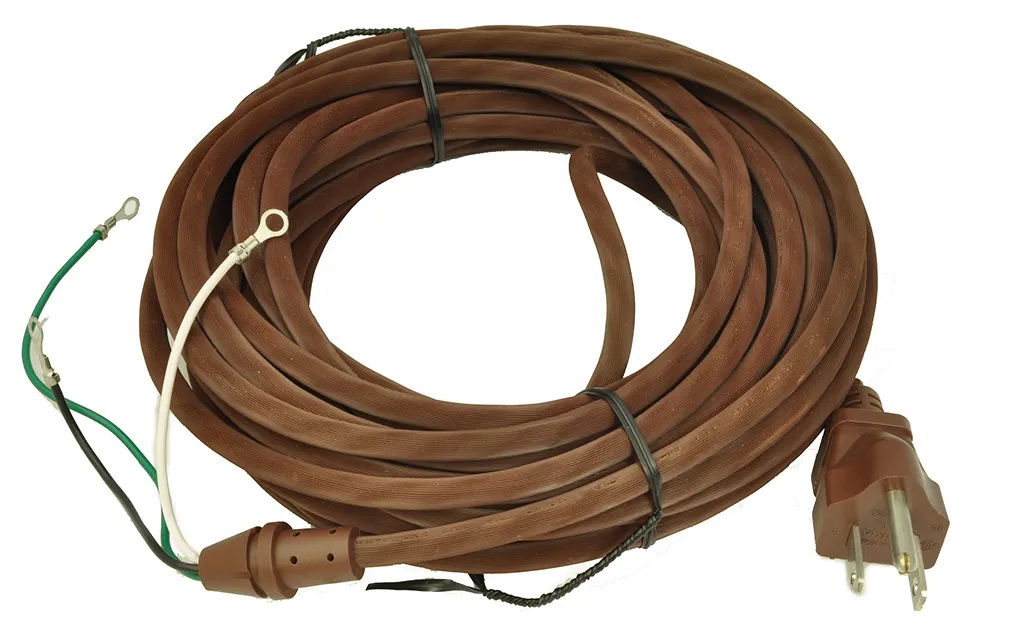
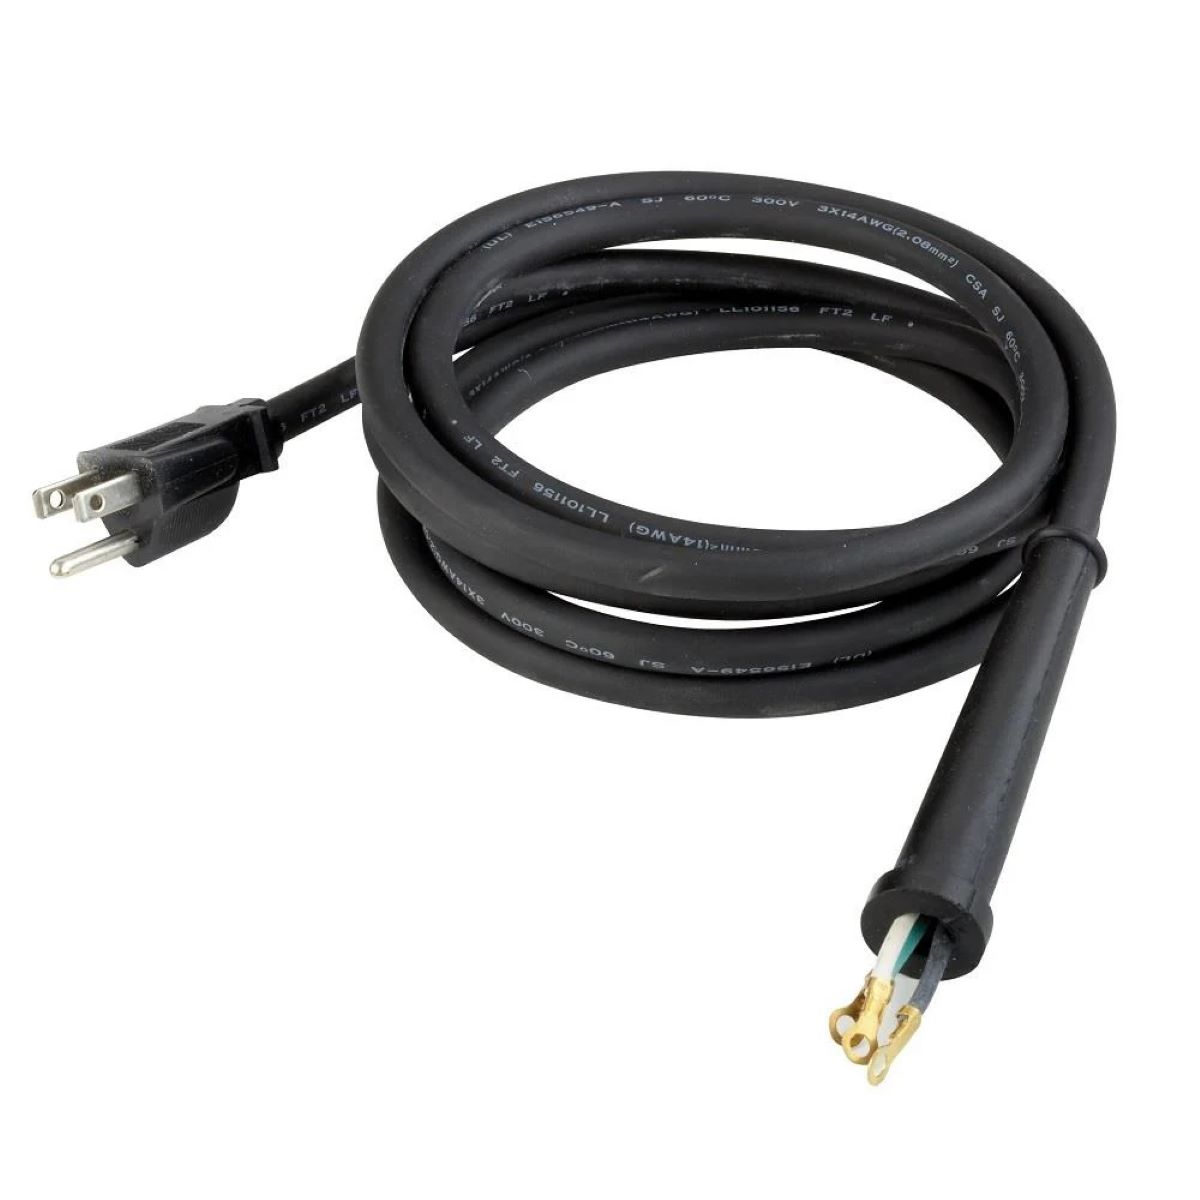
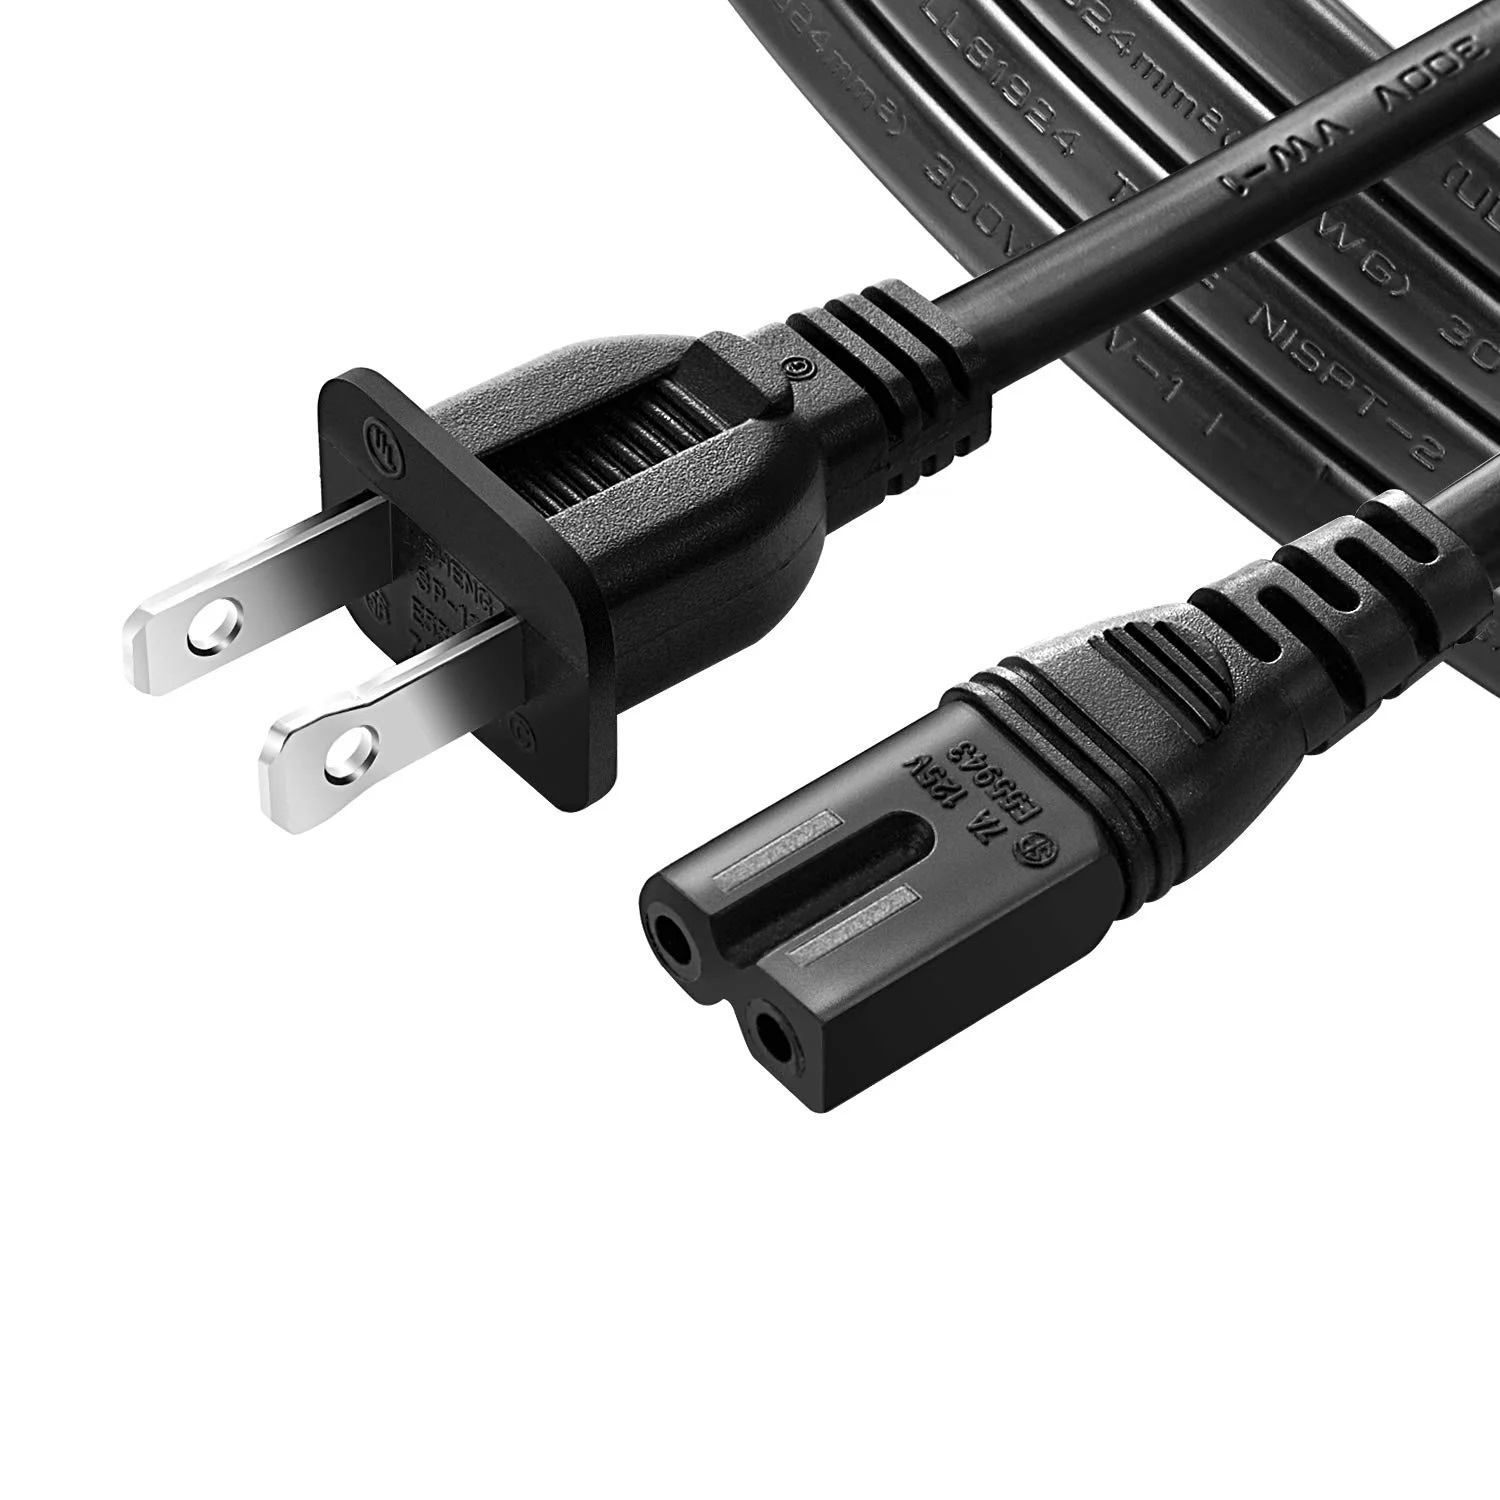
- Electrical cord (make sure it is rated for the wattage of your chandelier)
- Chain pliers or needle-nose pliers
- Wire connectors or wire nuts
- Step ladder or platform
- Marker or pencil
Wire cutters are essential for cutting the existing chain and electrical cord, as well as the new chain and cord to the desired length. Electrical tape will be used for securing and insulating the connections between wires.
The chandelier chain and electrical cord can be purchased from hardware stores or online suppliers. Make sure to choose chain and cord that match the style and weight requirements of your chandelier.
Chain pliers or needle-nose pliers will be helpful for opening and closing the links of the chain. Wire connectors or wire nuts will be used to join the wires of the new electrical cord to the existing wiring inside the chandelier. Step ladder or platform will assist you in reaching the height of the chandelier.
Lastly, a marker or pencil will be useful for marking the points where you will cut the chain and electrical cord.
By gathering all the necessary tools and materials beforehand, you will have everything you need to successfully replace the chain and electrical cord on your chandelier. This will streamline the process and ensure that you are well-prepared for each step along the way.
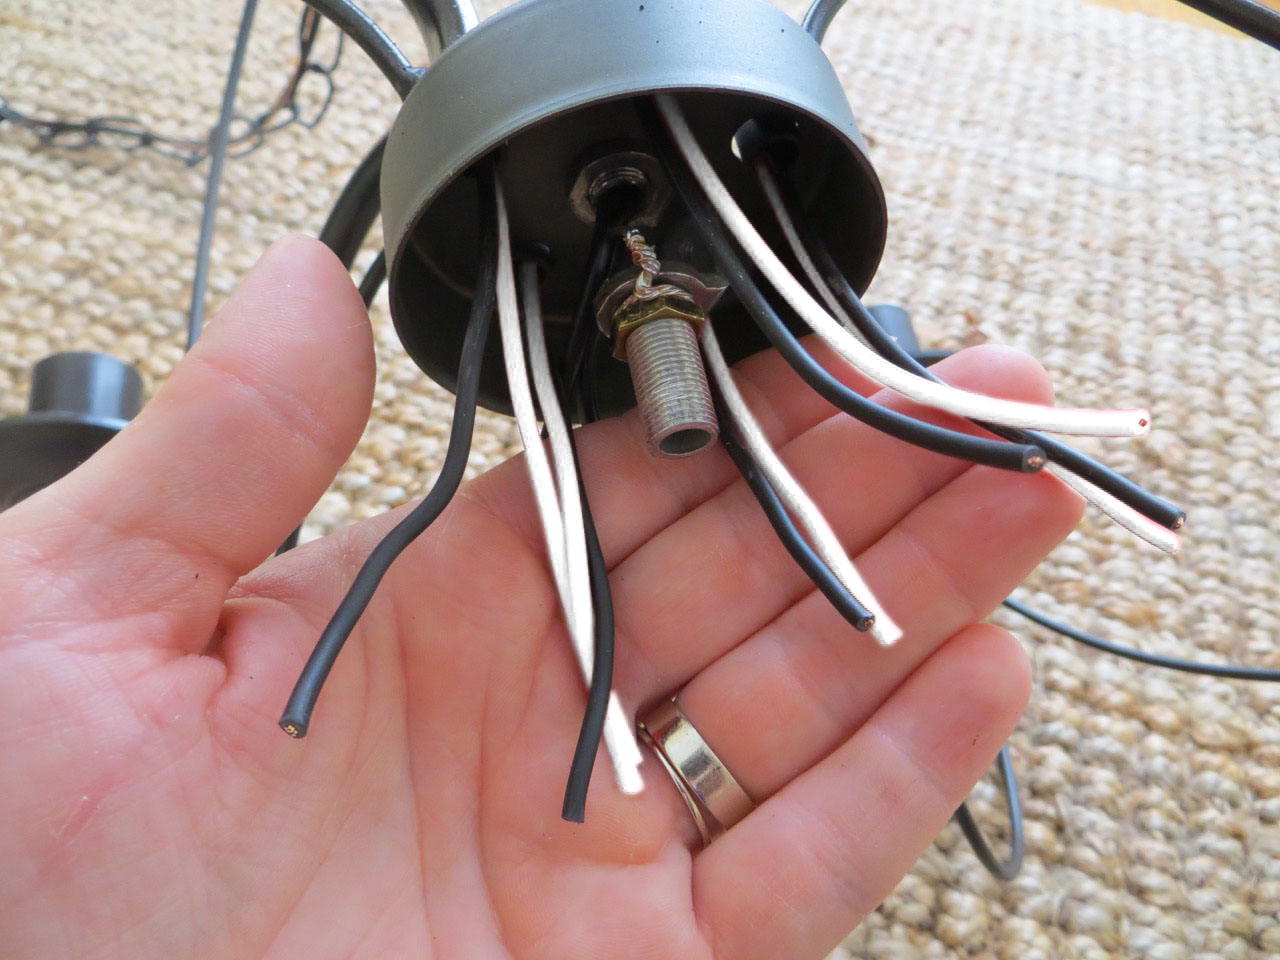
Removing the Existing Chain and Electrical Cord
With all the necessary tools and materials at hand, you are now ready to remove the existing chain and electrical cord from your chandelier. Removing the old components will prepare the chandelier for the installation of the new chain and cord.
Follow these steps to remove the existing chain and electrical cord:
- Switch off the power: Before working on the chandelier, ensure that the power to the fixture is turned off at the circuit breaker or fuse box. This will prevent any electrical accidents or injuries.
- Access the wiring: If necessary, use a step ladder or platform to safely access the chandelier. Depending on the design of your chandelier, you may need to remove a decorative cover or expose the wiring in a different way.
- Disconnect the electrical cord: Locate the point where the electrical cord connects to the chandelier. This is usually located near the top or center of the fixture. Use wire cutters to cut the electrical cord, ensuring to leave a sufficient length to work with.
- Remove the chain: The chain is typically attached to the chandelier with a small hook or connector. Use chain pliers or needle-nose pliers to open the link and detach the chain from the chandelier. Continue this process until the entire chain is removed.
- Inspect the wiring: Once the chain and electrical cord are removed, take a moment to inspect the wiring inside the chandelier. Look for any damage or wear that may need to be addressed before installing the new components.
By following these steps, you will be able to safely and effectively remove the existing chain and electrical cord from your chandelier. This step sets the stage for the installation of the new components, ensuring a seamless and successful replacement process.
Consider using a chandelier chain extension to add length to the chain and an electrical cord extension to lengthen the cord. Make sure to turn off the power before making any adjustments. If you’re not comfortable with electrical work, consult a professional.
Read more: How To Raise A Chandelier Chain
Measuring and Cutting the New Chain and Electrical Cord
With the old chain and electrical cord removed from your chandelier, it’s time to measure and cut the new components to the desired length. This step is crucial in ensuring that the new chain and cord fit perfectly and meet your specific needs.
Follow these steps to measure and cut the new chain and electrical cord:
- Measure the desired length: Use a tape measure to determine the length you want the chain to be. Consider the height of the ceiling, the distance between the chandelier and the power source, and any specific requirements or preferences you have. Ensure that you account for any obstructions along the path.
- Mark the cutting point: Once you have determined the desired length, use a marker or pencil to make a clear mark on the new chain where it needs to be cut. Double-check your measurements before proceeding.
- Cut the chain: Place the marked point of the chain between the jaws of the wire cutters. Apply pressure to the cutters and make a clean, straight cut through the chain. Be careful not to distort or damage the links during the cutting process.
- Measure the electrical cord: If the length of the new electrical cord needs to be adjusted, measure and mark the desired length using a tape measure and marker or pencil.
- Cut the electrical cord: Using the wire cutters, carefully cut through the electrical cord at the marked point. Make sure to leave a sufficient length for connecting it to the wiring inside the chandelier.
It is always better to cut the chain and electrical cord slightly longer than needed. You can always go back and trim off excess length if necessary, but you cannot add length once it has been cut.
By accurately measuring and cutting the new chain and electrical cord, you will ensure that the components fit perfectly and meet your desired length. This will result in a visually appealing and functional chandelier that is tailored to your specific needs and preferences.
Attaching the New Chain and Electrical Cord to the Chandelier
With the new chain and electrical cord measured and cut to the desired length, it’s time to attach them to your chandelier. Proper installation will ensure that the components are securely connected and that the chandelier hangs safely and functionally.
Follow these steps to attach the new chain and electrical cord:
- Thread the electrical cord: If necessary, thread the new electrical cord through any openings or channels in the chandelier designed for this purpose. This will ensure that the cord is secure and hidden from view.
- Make wire connections: Strip the ends of the electrical cord wires to expose the bare copper. Use wire connectors or wire nuts to join the wires of the new electrical cord to the existing wiring inside the chandelier. Follow the manufacturer’s instructions for proper and secure connections.
- Connect the chain: Attach one end of the new chain to the chandelier using the provided connector or hook. Ensure that the connection is secure and that the chain is aligned vertically.
- Hang the chandelier: With the chain connected, carefully lift the chandelier and hang it from a secure ceiling support or hook. Use caution and consider using assistance to safely lift and position the chandelier at the desired height.
- Adjust the chain length: If necessary, adjust the length of the chain by opening and closing the links using chain pliers or needle-nose pliers. This will allow you to fine-tune the hanging height of the chandelier.
Throughout the installation process, ensure that all connections are tight and secure. Double-check that the electrical cord is properly threaded and hidden, and that the chain is securely attached to the chandelier.
It is crucial to follow all safety precautions and, if necessary, consult a licensed electrician to ensure that the electrical connections are done correctly. Safety should always be a top priority when working with electrical components.
Once the new chain and electrical cord are securely attached to the chandelier, you can move on to the final step of testing the functionality of the components.
Testing the New Chain and Electrical Cord
After successfully attaching the new chain and electrical cord to your chandelier, it is important to test their functionality to ensure everything is working correctly. Testing will help confirm that the chandelier is securely hung, the electrical connections are functioning properly, and that the chain and cord are the right length for your needs.
Follow these steps to test the new chain and electrical cord:
- Switch on the power: At the circuit breaker or fuse box, switch on the power to the chandelier. The chandelier should be the only fixture connected to the circuit during this testing phase.
- Turn on the chandelier: Use the chandelier’s switch or control mechanism to turn it on. Ensure that all bulbs or light sources are properly installed and functioning.
- Check for stability: Observe the chandelier to ensure that it is stable and properly hung. It should not swing, sway, or exhibit any signs of instability. If necessary, adjust the length of the chain to achieve the desired hanging height.
- Test the electrical cord: Verify that the electrical cord is providing power to the chandelier. Check for any flickering lights, dimming, or other signs of poor electrical connectivity. If there are any issues, immediately switch off the power and consult a professional electrician to address the problem.
- Ensure proper functionality: Test the switches or controls for the chandelier, ensuring that they turn the lights on and off smoothly. If your chandelier has adjustable lighting settings, test each setting to ensure they are functioning correctly.
If the chandelier is stable, the electrical cord is providing power, and the lights are functioning as expected, congratulations! You have successfully replaced the chain and electrical cord on your chandelier.
However, if you encounter any issues during testing, it is important to troubleshoot and address them promptly and safely. Electrical issues should always be handled by a qualified professional to avoid any hazards or accidents.
By thoroughly testing the new chain and electrical cord, you can have peace of mind knowing that your chandelier is both visually appealing and functional, providing the desired lighting and ambiance in your space.
Conclusion
Replacing the chain and electrical cord on your chandelier can be a simple yet impactful project that allows you to customize the length and functionality to suit your specific needs and aesthetic preferences. With the right tools, materials, and steps, you can successfully replace these components, ensuring that your chandelier hangs securely and provides the desired lighting in your space.
Throughout the process, it is important to assess the current chain and electrical cord length, determine the desired length, and gather all the necessary tools and materials. Removing the existing chain and electrical cord should be done carefully, paying attention to safety precautions, and inspecting the wiring of the chandelier.
Measuring and cutting the new chain and electrical cord to the desired length is a crucial step that requires accuracy. Taking into account the height of the ceiling, the distance from the power source, and any specific requirements or preferences will result in a well-fitting replacement.
Attaching the new chain and electrical cord to the chandelier is the next step. Proper installation ensures that the components are securely connected and the chandelier hangs safely. Testing the functionality of the new chain and electrical cord is essential to confirm that everything is working correctly before completing the project.
It is important to prioritize safety throughout the entire process. If you are unsure about any electrical connections, it is recommended to consult a licensed electrician for assistance.
In conclusion, by following the steps outlined in this article, you can replace the chain and electrical cord on your chandelier, achieving a personalized and functional lighting fixture that enhances the beauty and ambiance of your space.
Frequently Asked Questions about How To Replace A Chandelier Chain And Electrical Cord
Was this page helpful?
At Storables.com, we guarantee accurate and reliable information. Our content, validated by Expert Board Contributors, is crafted following stringent Editorial Policies. We're committed to providing you with well-researched, expert-backed insights for all your informational needs.


0 thoughts on “How To Replace A Chandelier Chain And Electrical Cord”