Home>Articles>How Do I Get An Electrical Cord Out Of A Window For Christmas Lights?
Articles
How Do I Get An Electrical Cord Out Of A Window For Christmas Lights?
Modified: October 19, 2024
Learn how to safely and easily get an electrical cord out a window for Christmas lights with our informative articles.
(Many of the links in this article redirect to a specific reviewed product. Your purchase of these products through affiliate links helps to generate commission for Storables.com, at no extra cost. Learn more)
Introduction
Christmas is a time of joy, celebration, and beautiful decorations. One popular way to spread the holiday cheer is by decorating the exterior of our homes with dazzling Christmas lights. However, when it comes to connecting these lights to a power source indoors, many face the challenge of safely and aesthetically passing an electrical cord through a window. If you’re wondering how to get an electrical cord out a window for Christmas lights, you’ve come to the right place!
In this article, we will guide you through a step-by-step process to safely and effectively route your electrical cord out of a window, allowing you to beautifully illuminate your home during the festive season. So, put on your elf hat, grab your extension cord, and let’s get started!
Before we dive into the specifics, it’s essential to note that safety should always be your top priority. Make sure to follow all electrical safety guidelines, check for any local building codes or regulations, and use caution throughout the process.
Key Takeaways:
- Safely and effectively route your electrical cord out of a window for Christmas lights by assessing the window, preparing the cord, creating an opening, feeding the cord through, securing it in place, connecting the lights, and testing and adjusting for a visually appealing and festive display.
- Prioritize safety and follow the step-by-step process to bring holiday cheer to your home with beautiful Christmas lights. From assessing the window to testing and adjusting the lights, create a visually appealing and joyful lighting display.
Read more: How Do I Replace An EdenPURE Electrical Cord
Step 1: Assessing the Window
The first step in getting an electrical cord out a window for Christmas lights is to assess the window you’ll be using. Not all windows are suitable for this purpose, so it’s essential to choose one that will allow for a safe and convenient passage for the cord.
Here are a few factors to consider when assessing the window:
- Location: Start by identifying the window that will provide the best access to the power source. Ideally, choose a window closest to an electrical outlet to minimize the length of the cord needed.
- Size: Ensure that the window is large enough to accommodate the electrical cord without causing any damage to the window frame or the cord itself. It’s important to have enough space to pass the cord through without any obstructions.
- Type of Window: Different types of windows require different methods of routing the cord. For example, sliding windows may have a track that allows for easier cord placement, while casement windows may require a slightly different approach. Take note of the specific type of window and plan accordingly.
- Accessibility: Consider the accessibility of the window from both the inside and outside of your home. Ensure that you’ll be able to easily reach the window to connect and disconnect the lights as needed.
Once you have assessed the window and determined that it is suitable for routing the electrical cord, you can proceed to the next step. Remember to prioritize safety and ensure that you are confident in your ability to carry out the process without causing any damage or hazards.
Step 2: Preparing the Electrical Cord
Now that you have assessed the window, it’s time to prepare the electrical cord for installation. Proper preparation will ensure that the cord is ready to be passed through the window and securely connected to the Christmas lights.
Here’s what you need to do:
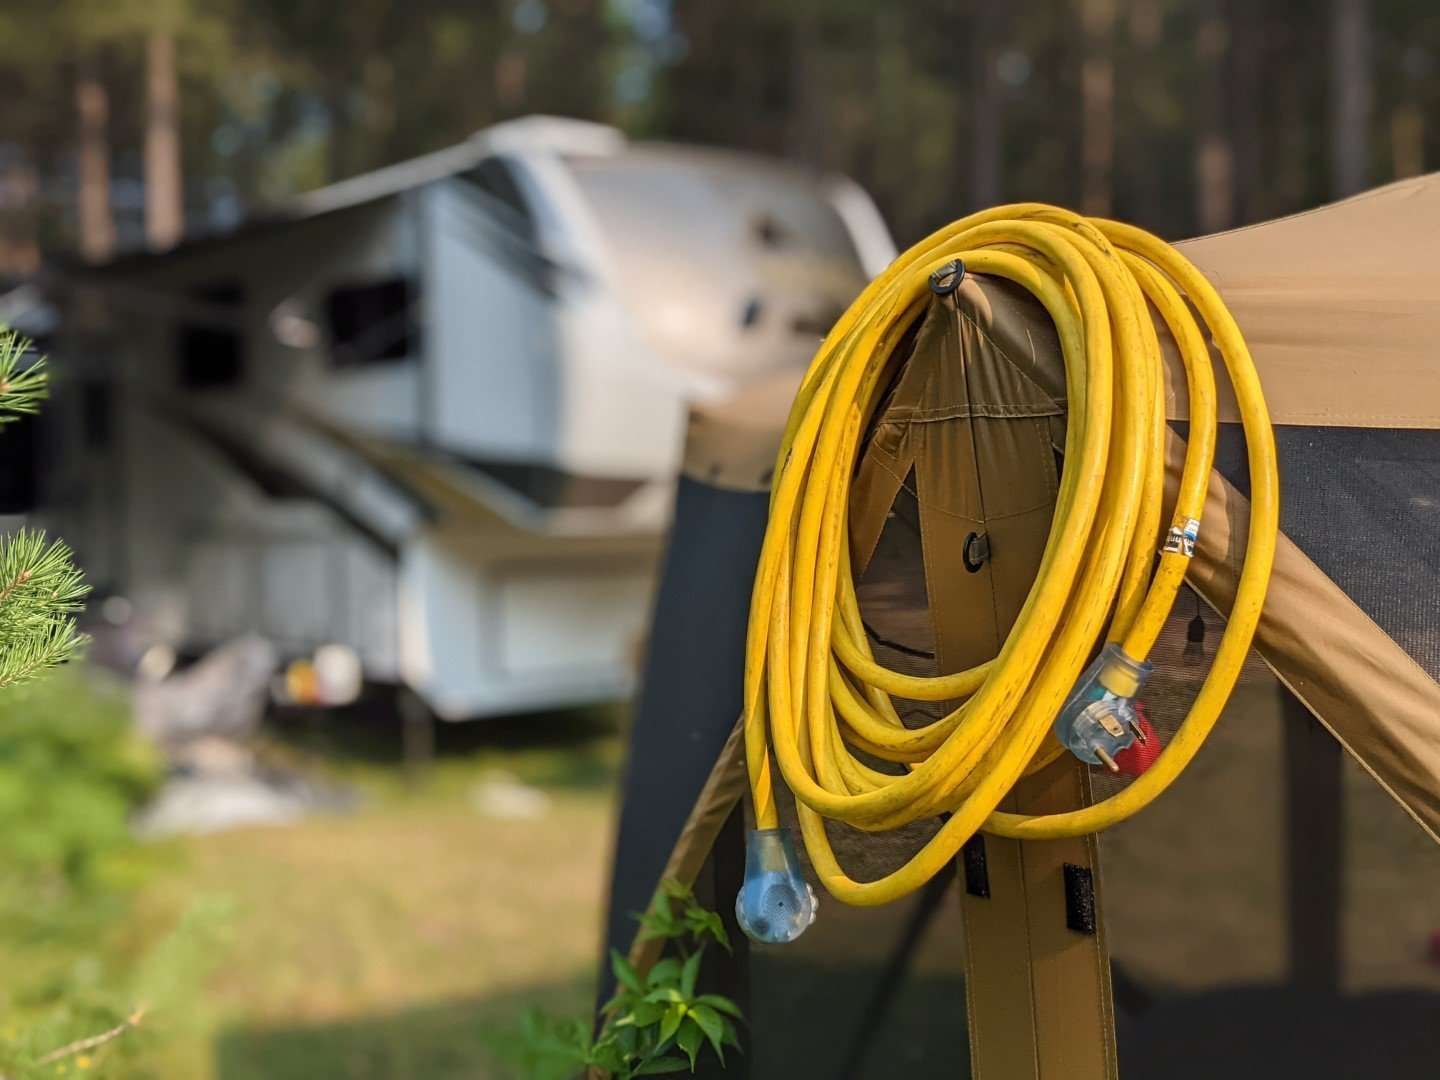
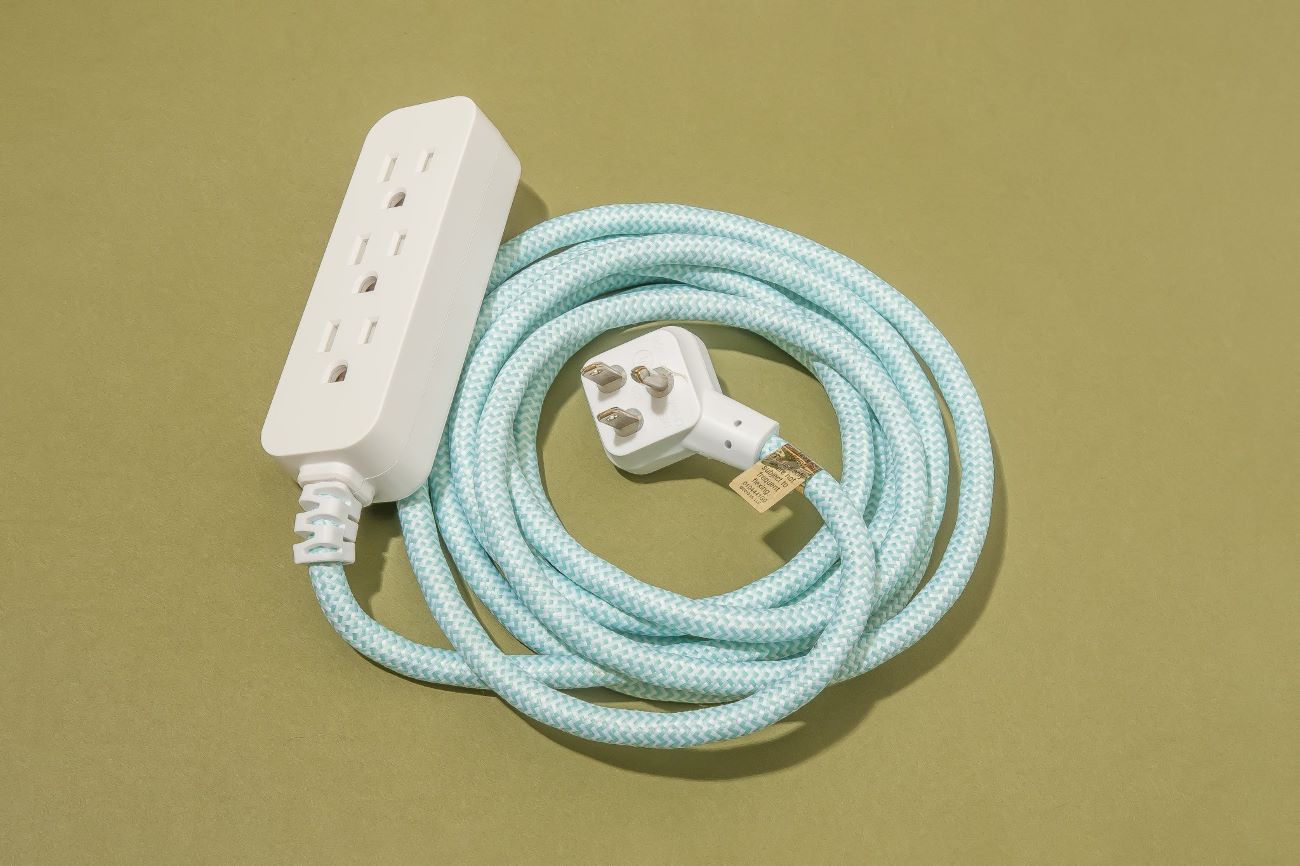
- Select the Right Cord Length: Measure the distance between the power source and the window where the lights will be installed. This will help you determine the appropriate length of the electrical cord needed. It’s always better to have a little extra cord length rather than not enough.
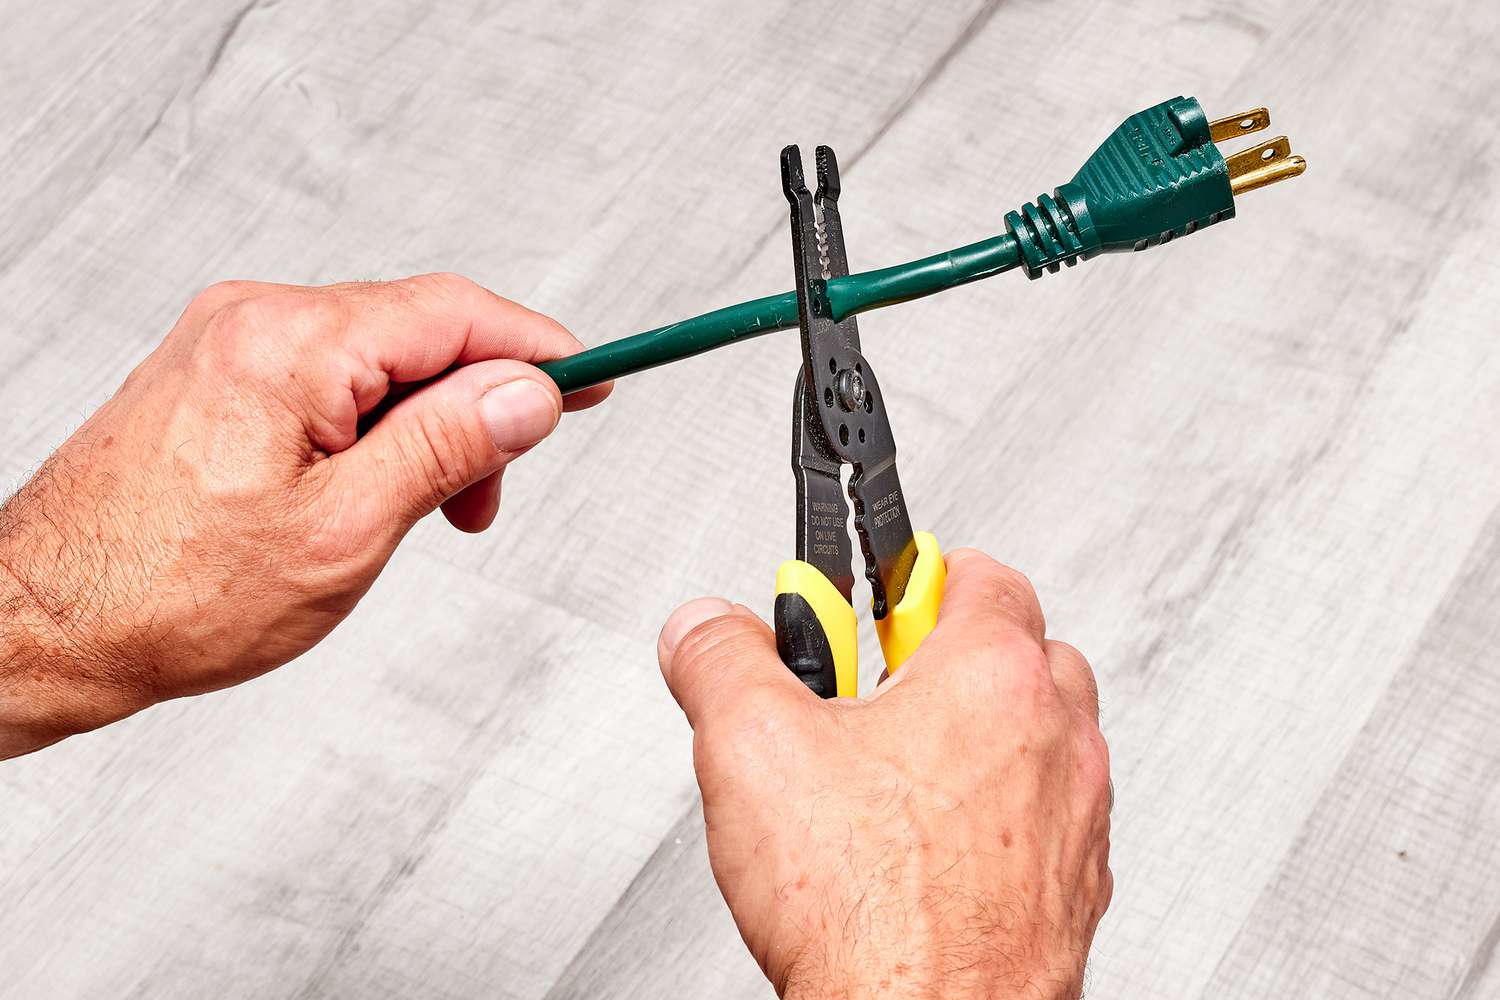
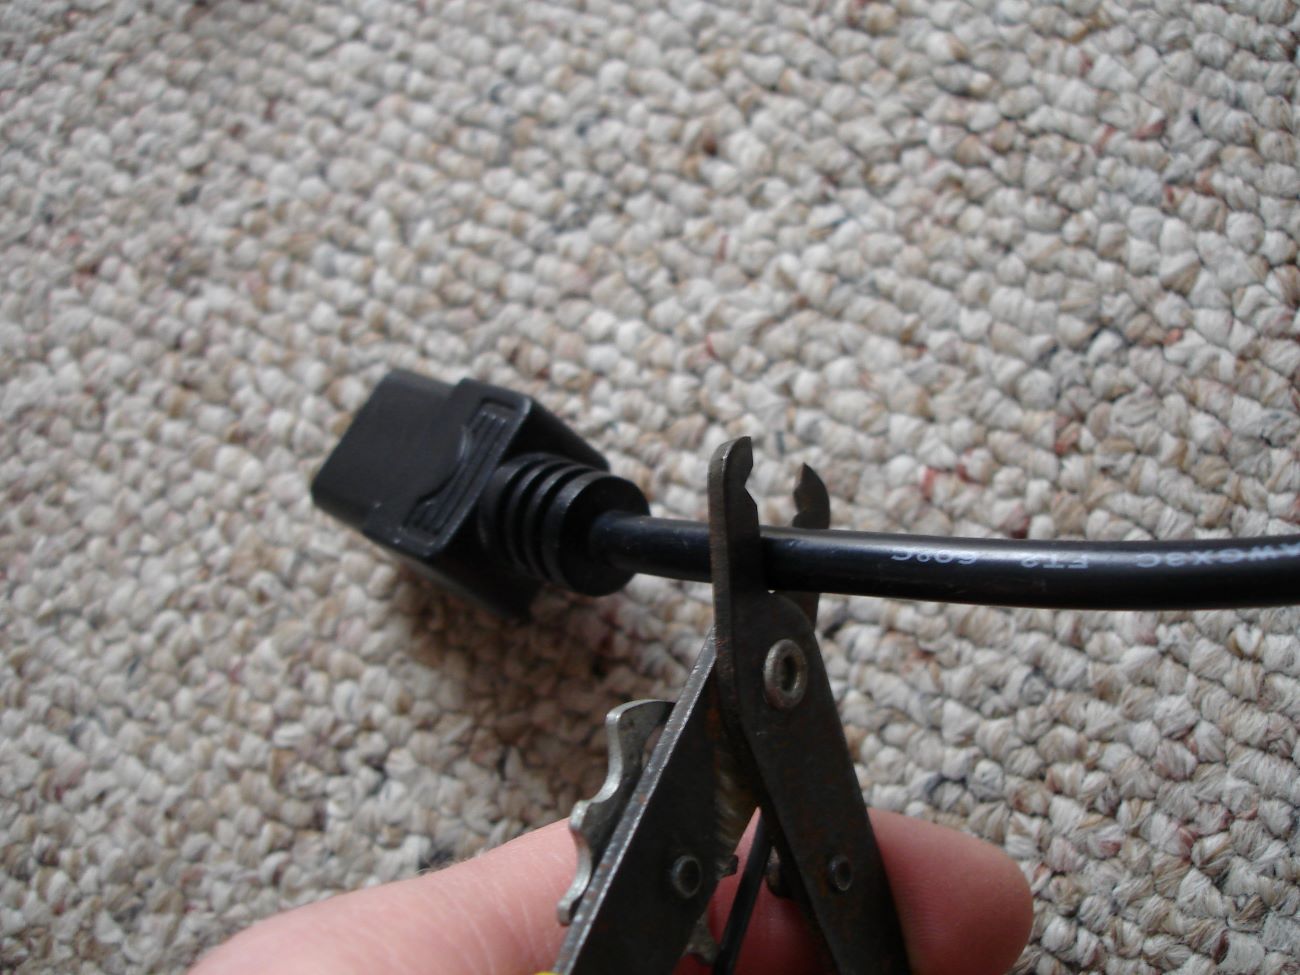
- Check for Damage: Inspect the electrical cord for any signs of wear, fraying, or damage. A damaged cord can be dangerous, so it’s crucial to replace it if necessary. Choose a cord that is specifically rated for outdoor use to ensure its durability and safety.
- Secure the Plug End: Attach a plug cover or weatherproof cap to the end of the cord that will be outside. This will protect it from the elements and prevent any water or debris from entering the plug. It’s an extra layer of precaution to keep your electrical connections safe.
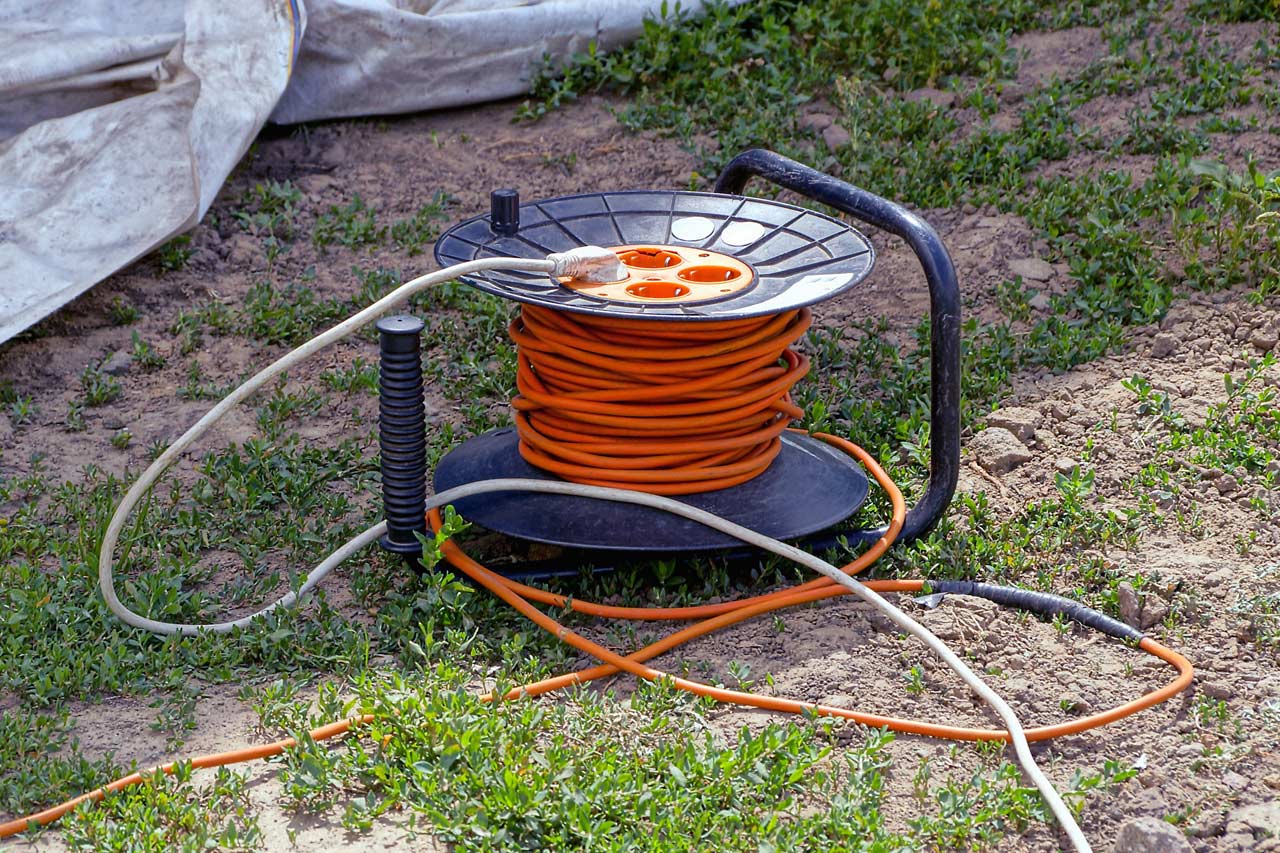
- Organize and Secure the Cord: Use twist ties or velcro straps to neatly organize and secure the cord. This will prevent it from tangling and tripping hazards as you pass it through the window.
By preparing your electrical cord properly, you’re ensuring its safety and making the installation process much smoother. Taking the time to check for damage and secure the cord will save you from potential accidents or interruptions in your festive lighting display.
Step 3: Creating an Opening in the Window
With the electrical cord prepared, it’s time to create an opening in the window that will allow for its passage. This step requires careful attention to detail to ensure that the window remains secure and properly sealed.
Follow these steps to create an opening in the window:
- Identify a Suitable Location: Determine the best location for the cord to go through the window. It’s important to choose a spot that is easily accessible and does not interfere with the window’s operation or compromise its integrity.
- Remove the Window Pane: Depending on the type of window, you may need to remove a pane of glass or open a specific section. Refer to the window’s instructions or consult a professional if you’re unsure of the proper method.
- Create an Opening: Use a window punch, glass cutter, or a suitable tool to carefully create a small hole or notch in the window pane or frame where the cord will pass through. Take caution not to apply excessive pressure that may cause the glass to shatter or the frame to crack.
- Smooth the Edges: Once the opening is created, use sandpaper or a file to smooth any rough edges or sharp points. This will help protect the electrical cord from damage and prevent any accidents when feeding it through the window.
Always exercise caution when working with glass or altering window structures. If you’re uncertain about the process, consider seeking assistance from a professional or someone with experience in window modifications.
Creating an opening in the window is a critical step in routing the electrical cord successfully. Take your time to complete this step safely and accurately to ensure a seamless transition for the cord.
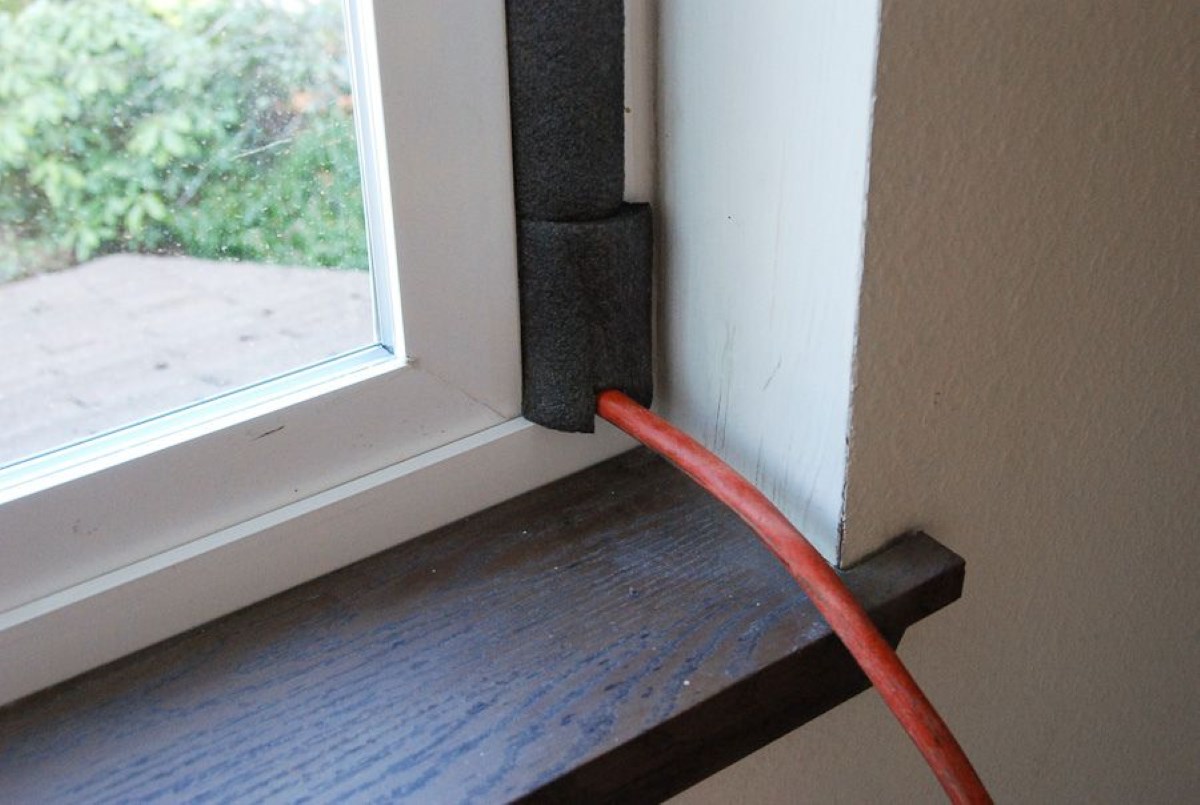
Step 4: Feeding the Cord through the Window
Now that you have created an opening in the window, it’s time to feed the electrical cord through. This step requires patience and precision to ensure that the cord passes through smoothly without getting tangled or causing any damage.
Follow these steps to feed the cord through the window:
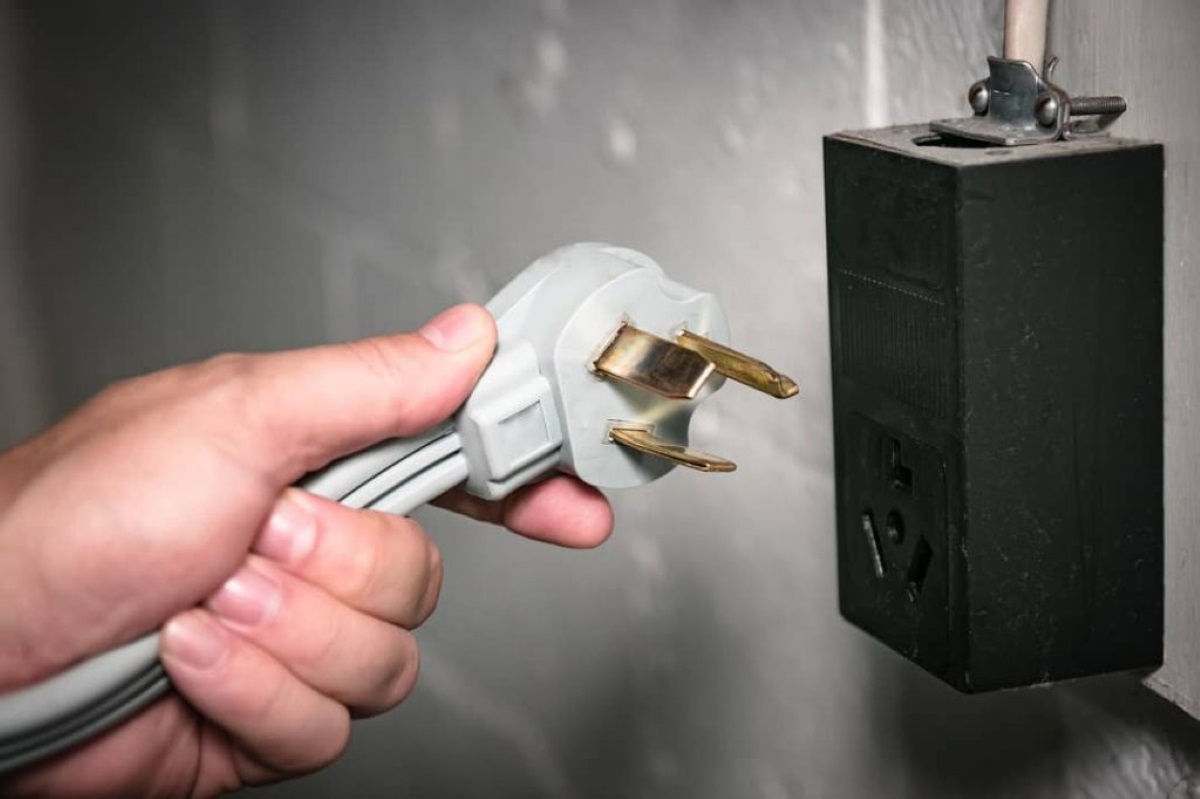
- Start from the Inside: Begin from the inside of your home, where the power source is located. Carefully insert the plug end of the electrical cord through the opening in the window.
- Guide the Cord: As you feed the cord through, gently guide and push it to ensure that it follows the desired path. If you encounter any resistance or tight spots, take your time to navigate the cord through the window safely.
- Avoid Excessive Stress: Avoid pulling or tugging on the cord too forcefully, as this can cause strain and damage. If necessary, use gentle wiggling motions to help ease the cord through the window.
- Protect the Cord: As the cord passes through the window, be mindful of any sharp edges or rough surfaces. Consider using a cord protector or covering any sharp edges with tape to prevent the cord from being scraped or cut.
Take your time during this step to ensure that the electrical cord is properly fed through the window without any complications. Keep the cord as straight and tangle-free as possible to make the next steps easier.
Once the cord is successfully fed through the window, you’re one step closer to illuminating your home with beautiful Christmas lights. Before moving on, double-check that the cord is securely in place and not at risk of coming loose or getting damaged.
Make sure to use a weatherproof outdoor extension cord and a window seal kit to safely run the cord through the window without damaging it. Be sure to secure the cord to prevent tripping hazards.
Read more: What To Do If An Electrical Cord Gets Wet
Step 5: Securing the Cord in Place
After successfully feeding the electrical cord through the window, it’s crucial to secure it in place to prevent it from becoming a trip hazard or getting damaged. Properly securing the cord will ensure a safer and more visually appealing installation of your Christmas lights.
Here are the steps to securely fasten the cord:
- Cord Clips: Use cord clips or adhesive hooks specifically designed for securing cables. Attach them to the window frame or nearby surfaces, ensuring that they are placed at regular intervals along the cord’s path. These clips will hold the cord in place and prevent it from sagging or getting tangled.
- Tape: Use weather-resistant electrical tape or cable management tape to secure the cord more discreetly. Ensure that the tape is firmly attached to the window frame or wall surface, making sure it doesn’t obstruct the window’s operation or damage the paint or finish.
- Rubber Grommets: If the window has sharp edges or rough surfaces, consider using rubber grommets to protect the cord from abrasion. These grommets can be placed around the edges of the window opening, creating a smoother and safer passage for the cord.
- Vertical Routing: If possible, route the electrical cord vertically alongside the window, rather than horizontally across the ground. This reduces the risk of tripping and minimizes the visual impact of the cord.
By securing the cord properly, you can avoid potential accidents, protect the cord from damage, and maintain a clean and organized appearance for your Christmas light display.
Before moving on to the next step, double-check that the cord is securely fastened in place and free from any potential hazards.
Step 6: Connecting the Christmas Lights
Now that the electrical cord is securely in place, it’s time to connect your Christmas lights and bring them to life! This step involves safely and properly connecting the lights to the electrical cord.
Follow these steps to connect the Christmas lights:
- Ensure Lights are Suitable: Make sure that the Christmas lights you’re using are suitable for outdoor use and are in good working condition. Check for any damaged bulbs or frayed wires and replace them if necessary.
- Plug into the Cord: Locate the female end of the Christmas light set and plug it into the male end of the electrical cord that is coming through the window. Ensure that the connection is secure and snug to prevent any power interruptions.
- Secure the Connection: Use waterproof electrical tape or specially designed electrical connectors to secure the connection and protect it from moisture. This will help ensure a safe and reliable connection throughout the holiday season.
- Spread out the Lights: Carefully unravel and distribute the Christmas lights evenly along the designated area. Avoid placing excessive strain on the cord or creating tangles that may cause damage or affect the lights’ illumination.
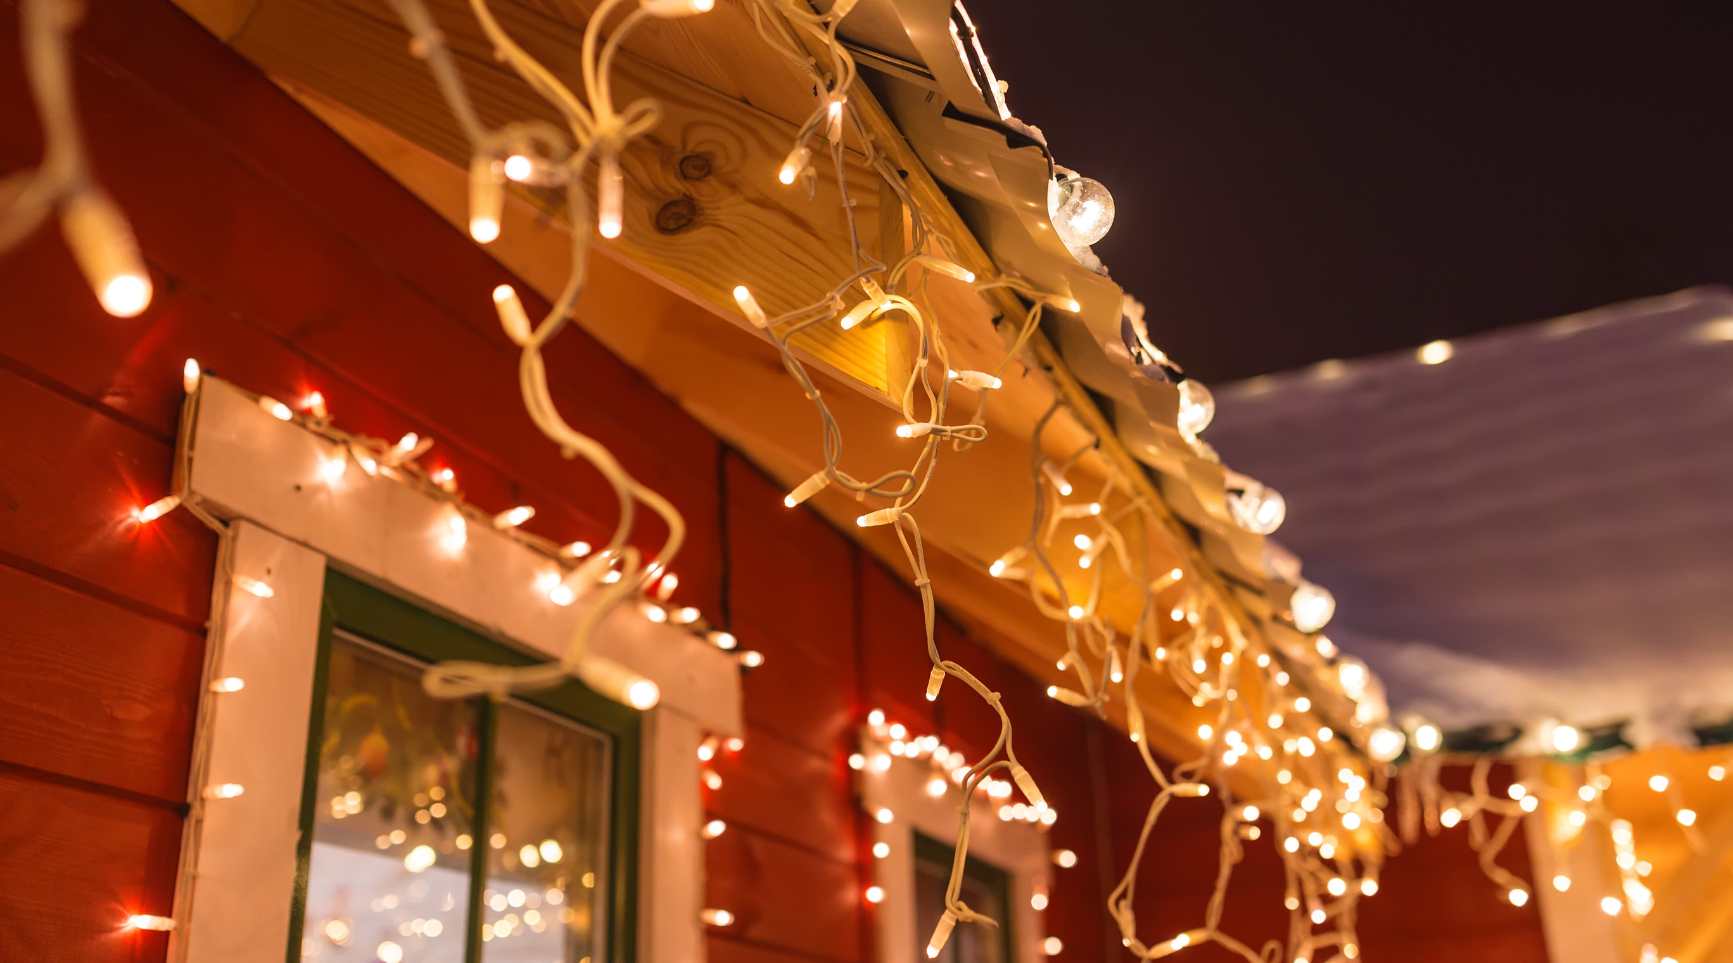
- Position the Lights: Arrange the lights according to your desired display, whether it’s outlining the windows, wrapping them around trees, or creating a festive pattern. Take your time to arrange the lights in a visually appealing manner.
Remember to exercise caution when handling both the electrical cord and the Christmas lights. Avoid overloading the electrical circuit and be mindful of any instructions or specifications provided by the light manufacturer.
Once the lights are connected and positioned, take a moment to step back and admire your handiwork. Your home is now ready to shine with festive holiday lights!
Step 7: Testing and Adjusting the Lights
After connecting and positioning your Christmas lights, it’s important to test them to ensure they are functioning properly and adjust them as needed to achieve the desired effect. This final step will help you fine-tune your lighting display for maximum visual impact.
Here’s what you should do to test and adjust your lights:
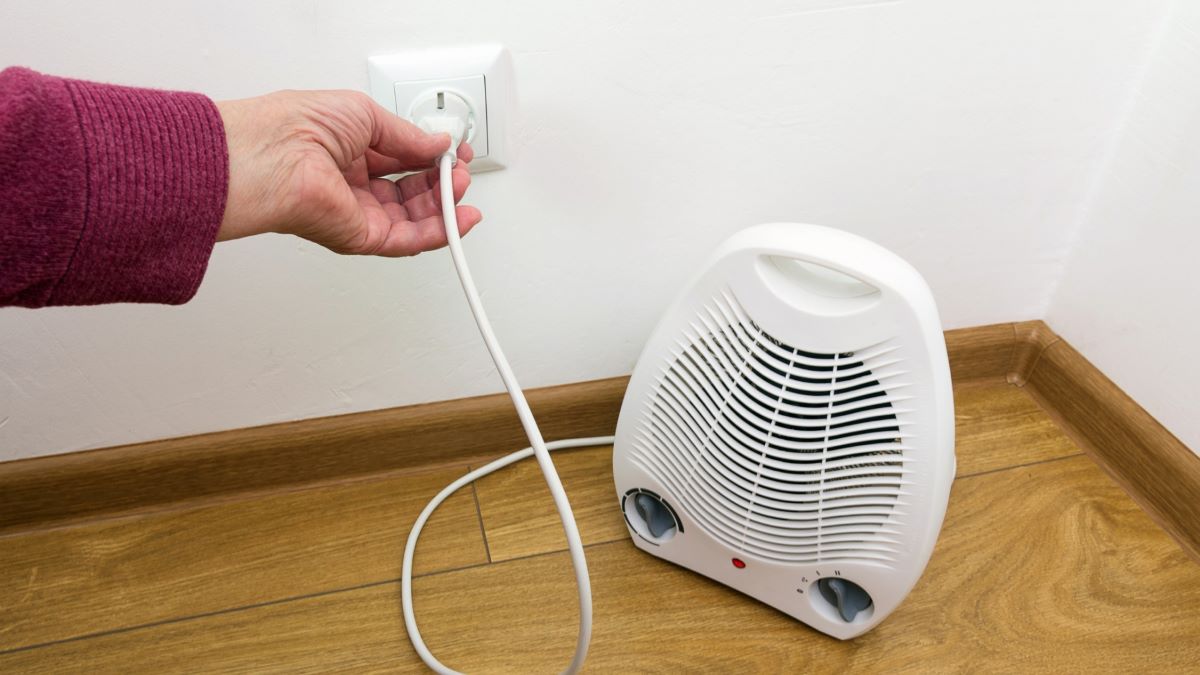
- Power On: Plug in the electrical cord and turn on the power to test the lights. Ensure that they illuminate as expected and that all bulbs are working. If any bulbs are not lighting up, check for loose connections or faulty bulbs and replace them accordingly.
- Check for Balance: Step back and assess the overall balance of the lights. Make any necessary adjustments to ensure that they are evenly distributed and create a visually appealing display. Consider adding or removing lights in certain areas if needed.
- Inspect from Different Angles: Walk around your property and view the lights from various angles. This will help you identify any areas that may need additional lights or adjustments to enhance the overall appearance.
- Consider Timers: If you want your lights to turn on and off automatically, consider using timers. This way, you can set specific times for the lights to illuminate, saving energy and ensuring a consistent display each night.
Take some time to experiment with different lighting effects, such as twinkling or color-changing settings, to add extra flair to your display. Remember to be mindful of your neighbors and any local regulations regarding holiday lighting displays.
Finally, enjoy the fruits of your labor! Sit back, relax, and revel in the warm and cheerful ambiance your Christmas lights bring to your home and neighborhood.
Conclusion
Congratulations! You’ve successfully learned how to get an electrical cord out a window for Christmas lights. By following the step-by-step process outlined in this article, you can now safely and effectively bring the holiday cheer to your home with beautiful and festive lighting.
Remember, safety should always be the top priority when working with electrical cords and window modifications. Take caution throughout the process and adhere to electrical safety guidelines to prevent any accidents or hazards.
Assessing the window, preparing the electrical cord, creating an opening, feeding the cord through, securing it in place, connecting the Christmas lights, and testing and adjusting the lights are all important steps to ensure a well-executed and visually appealing lighting display.
As you admire your beautifully illuminated home, take a moment to appreciate the joy and warmth that these lights bring to your family and your community. Your efforts have created a festive atmosphere and a visual symbol of the holiday spirit.
Lastly, don’t forget to spread the joy by sharing your lighting display with others. It’s a wonderful way to bring happiness and brighten the holiday season for everyone who passes by.
We hope this guide has been helpful in guiding you through the process of getting an electrical cord out a window for Christmas lights. May your holiday season be filled with happiness, love, and the mesmerizing glow of festive lights!
Ready to jazz up your outdoor area even more? Check out our creative ideas for outdoor lighting that can transform your patio into a captivating space. If you're feeling handy, our guide on window installation for a new window box might just be your next project. And for those who love a good challenge, our tips on DIY home projects are perfect for anyone wanting to tackle improvements themselves.
Frequently Asked Questions about How Do I Get An Electrical Cord Out Of A Window For Christmas Lights?
Was this page helpful?
At Storables.com, we guarantee accurate and reliable information. Our content, validated by Expert Board Contributors, is crafted following stringent Editorial Policies. We're committed to providing you with well-researched, expert-backed insights for all your informational needs.


0 thoughts on “How Do I Get An Electrical Cord Out Of A Window For Christmas Lights?”