Articles
How To Make Drapes With Lining
Modified: January 18, 2024
Discover step-by-step articles on how to make drapes with lining. Expert tips and techniques for creating beautifully crafted window treatments.
(Many of the links in this article redirect to a specific reviewed product. Your purchase of these products through affiliate links helps to generate commission for Storables.com, at no extra cost. Learn more)
Introduction
Welcome to our step-by-step guide on how to make drapes with lining. Drapes with lining not only add a touch of elegance to any room but also provide additional insulation and light control. In this article, we will walk you through the process of measuring, cutting, and sewing the fabric to create beautiful drapes with lining.
Making drapes with lining is a project that requires some sewing skills, but it is definitely achievable for beginners with a little patience and practice. With the right materials and tools, you can create custom drapes that perfectly fit your windows and complement your home decor.
Before we dive in, let’s take a look at the materials you will need for this project.
Key Takeaways:
- Create custom drapes with lining to enhance your space’s beauty, functionality, and insulation. Master measuring, cutting, sewing, and adding pleats or grommets for one-of-a-kind window treatments.
- Enjoy the cozy ambiance and practical benefits of custom drapes with lining. Follow the step-by-step guide to make elegant, functional window treatments that perfectly fit your style and space.
Read also: 13 Superior Lined Drapes for 2025
Materials Needed
Before you start making drapes with lining, gather the following materials:
- Fabric: Choose a fabric that suits your style and the look you want to achieve. Consider the weight and opacity of the fabric based on your light and privacy preferences. Measure and purchase enough fabric to cover the width and length of your window, with extra allowance for hems and pleats.
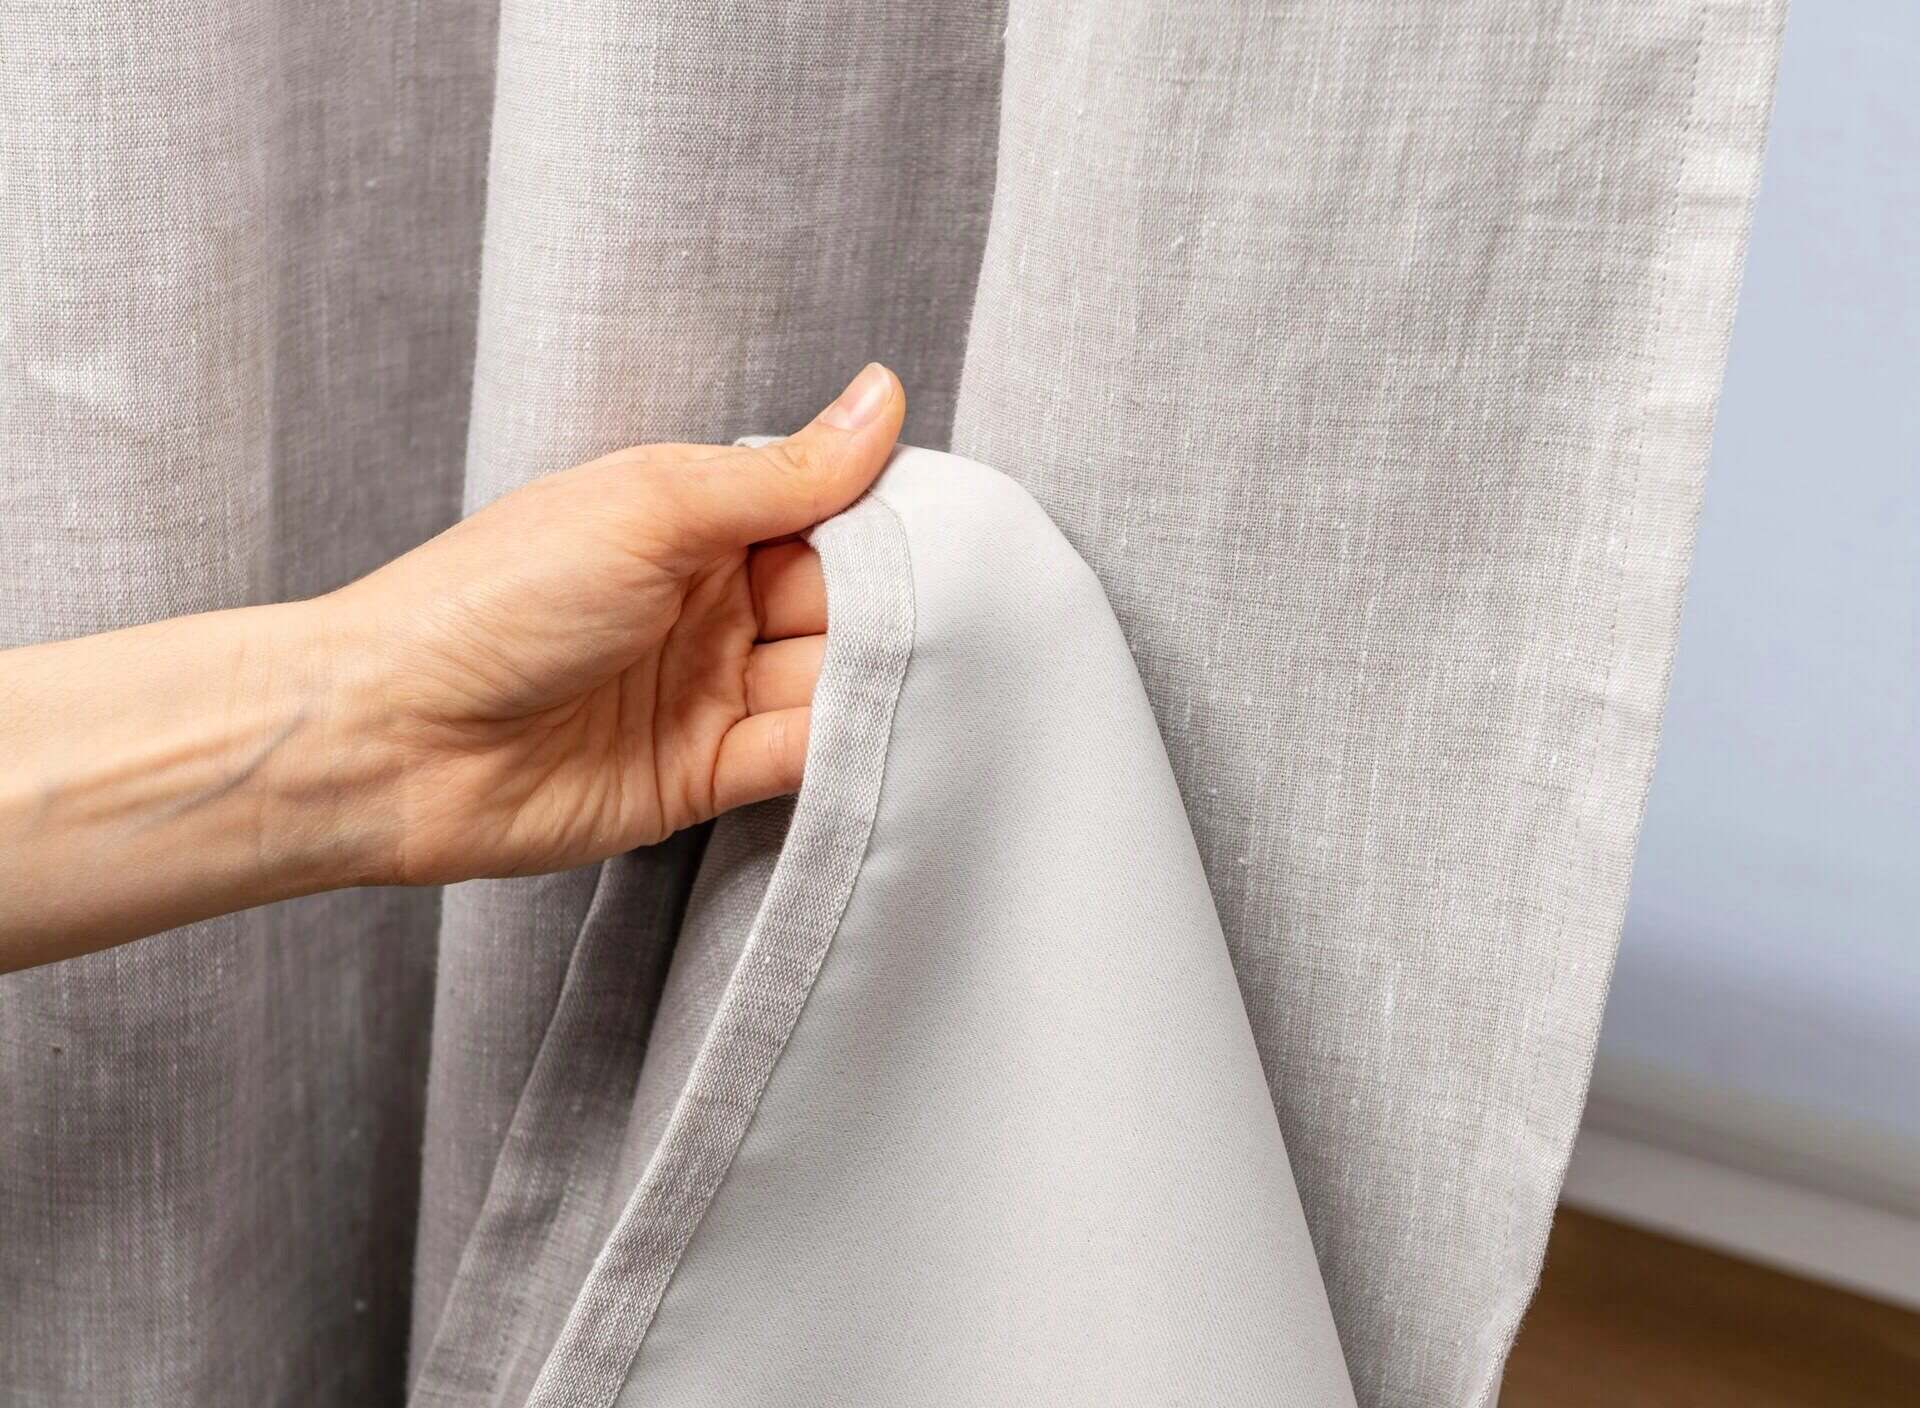
- Lining Fabric: Opt for a lining fabric that is similar in weight to your main fabric, but preferably lighter in color. The lining fabric adds body to the drapes and enhances their functionality.
- Thread: Use a high-quality thread that matches the color of your fabric. The thread should be strong enough to withstand the weight of the drapes.
- Pins and Needles: Have a set of sharp, straight pins and hand-sewing needles on hand for pinning and sewing your fabric.
- Measuring Tape: A flexible measuring tape is essential for accurately measuring your windows and fabric.
- Scissors: Invest in a good pair of fabric scissors to easily cut through both the main fabric and the lining fabric.
- Iron and Ironing Board: Pressing your fabric is crucial for achieving neat seams and hems.
- Sewing Machine: If you have access to a sewing machine, it will make the sewing process faster and more efficient, but hand-sewing is also possible if you don’t have a machine.
- Curtain Rod or Track: Ensure you have the appropriate curtain rod or track to hang your finished drapes.
Once you have gathered all the necessary materials, it’s time to move on to the next step: measuring and cutting the fabric.
Step 1: Measuring and Cutting the Fabric
The first step in making drapes with lining is to accurately measure and cut the fabric. Follow these steps:
- Measure the window: Use a measuring tape to measure the width and length of your window. Note down the measurements for reference.
- Add allowances: Add a few inches to both the width and length measurements to account for hems, seam allowances, and fullness. The exact amount will depend on your personal preferences and the style of drapes you want to create.
- Calculate the fabric length: Determine how long you want your drapes to be. Measure from the top of the curtain rod or track to the desired length, and add extra inches for hems and headers.
- Layout the fabric: Lay your main fabric flat on a large work surface, such as a table or the floor. Ensure the fabric is smooth and free from any wrinkles or creases.
- Mark and cut the fabric: Use a measuring tape and a fabric pencil or chalk to mark the dimensions of the drapes on the fabric. Double-check your measurements to ensure accuracy. Carefully cut along the marked lines using fabric scissors.
Remember to double-check your measurements and cut the fabric with precision. Once you have cut the main fabric, repeat the same steps for the lining fabric, ensuring that it is slightly shorter than the main fabric to create a desirable drape.
Now that your fabric is cut, it’s time to move on to the next step: sewing the side seams.
Step 2: Sewing the Side Seams
Now that you have cut your fabric, it’s time to sew the side seams. Follow these steps:
- Lay out the main fabric: Lay the main fabric flat on your work surface, with the right side facing down.
- Pin the sides: Align the edges of the fabric on both sides and pin them together. Make sure to match the raw edges evenly.
- Sew the side seams: Using a sewing machine or hand-sewing needle, sew a straight stitch along each side, removing the pins as you go. Use a seam allowance of about 1/2 inch, but feel free to adjust it based on your preferences.
- Finish the raw edges: To prevent fraying, it’s a good idea to finish the raw edges of the side seams. You can use a serger, a zigzag stitch, or an overcast stitch to secure the edges.
- Press the seams open: After sewing the side seams, press them open with an iron. This will ensure a clean and professional finish.
Once you have sewn and pressed the side seams of the main fabric, repeat the same steps for the lining fabric.
With the side seams complete, it’s time to move on to the next step: attaching the lining.
Step 3: Attaching the Lining
In this step, you will learn how to attach the lining to your drapes. Follow these steps:
- Lay out the main fabric: Lay the main fabric flat on your work surface, with the right side facing up.
- Place the lining fabric: Place the lining fabric on top of the main fabric, with the wrong side facing up. Ensure that the raw edges are aligned.
- Pin the fabrics together: Pin the main fabric and lining fabric together along the top edge. This will hold them in place for sewing.
- Sew the top edge: Using a sewing machine or hand-sewing needle, sew a straight stitch along the top edge, securing the main fabric and lining fabric together. You can use a seam allowance of about 1/2 inch.
- Finish the raw edges: Just like before, finish the raw edges of the top seam to prevent fraying.
- Press the seam: After sewing and finishing the top seam, press it with an iron to create a crisp and neat finish.
Attaching the lining to the drapes not only adds a professional touch but also helps to ensure that the two fabrics hang together nicely. With the lining attached, you’re ready to move on to the next step: sewing the bottom hem.
When making drapes with lining, be sure to prewash and preshrink both the fabric and lining to avoid any future shrinkage issues. This will ensure that your drapes maintain their shape and size over time.
Read more: How To Make Grommet Drapes
Step 4: Sewing the Bottom Hem
The next step in making drapes with lining is sewing the bottom hem. Follow these steps:
- Lay out the fabric: Lay your drapes flat on your work surface, with the lining facing up.
- Measure the hem allowance: Determine the desired length of your drapes from the bottom to the hem. Add an extra inch or so for the hem allowance.
- Mark the hemline: Use a fabric pencil or chalk to mark the hemline on both the main fabric and the lining fabric. Make sure to mark it evenly across the entire width of the drapes.
- Fold the hem: Fold the bottom edge of the drapes up to the marked hemline, with the wrong sides together. Align the raw edges neatly.
- Pin the hem: Secure the folded hem in place with straight pins, making sure to keep the line of the hem even.
- Sew the hem: Using a sewing machine or hand-sewing needle, sew a straight stitch along the edge of the hem, removing the pins as you go. For a professional finish, you can also opt for a blind hem stitch.
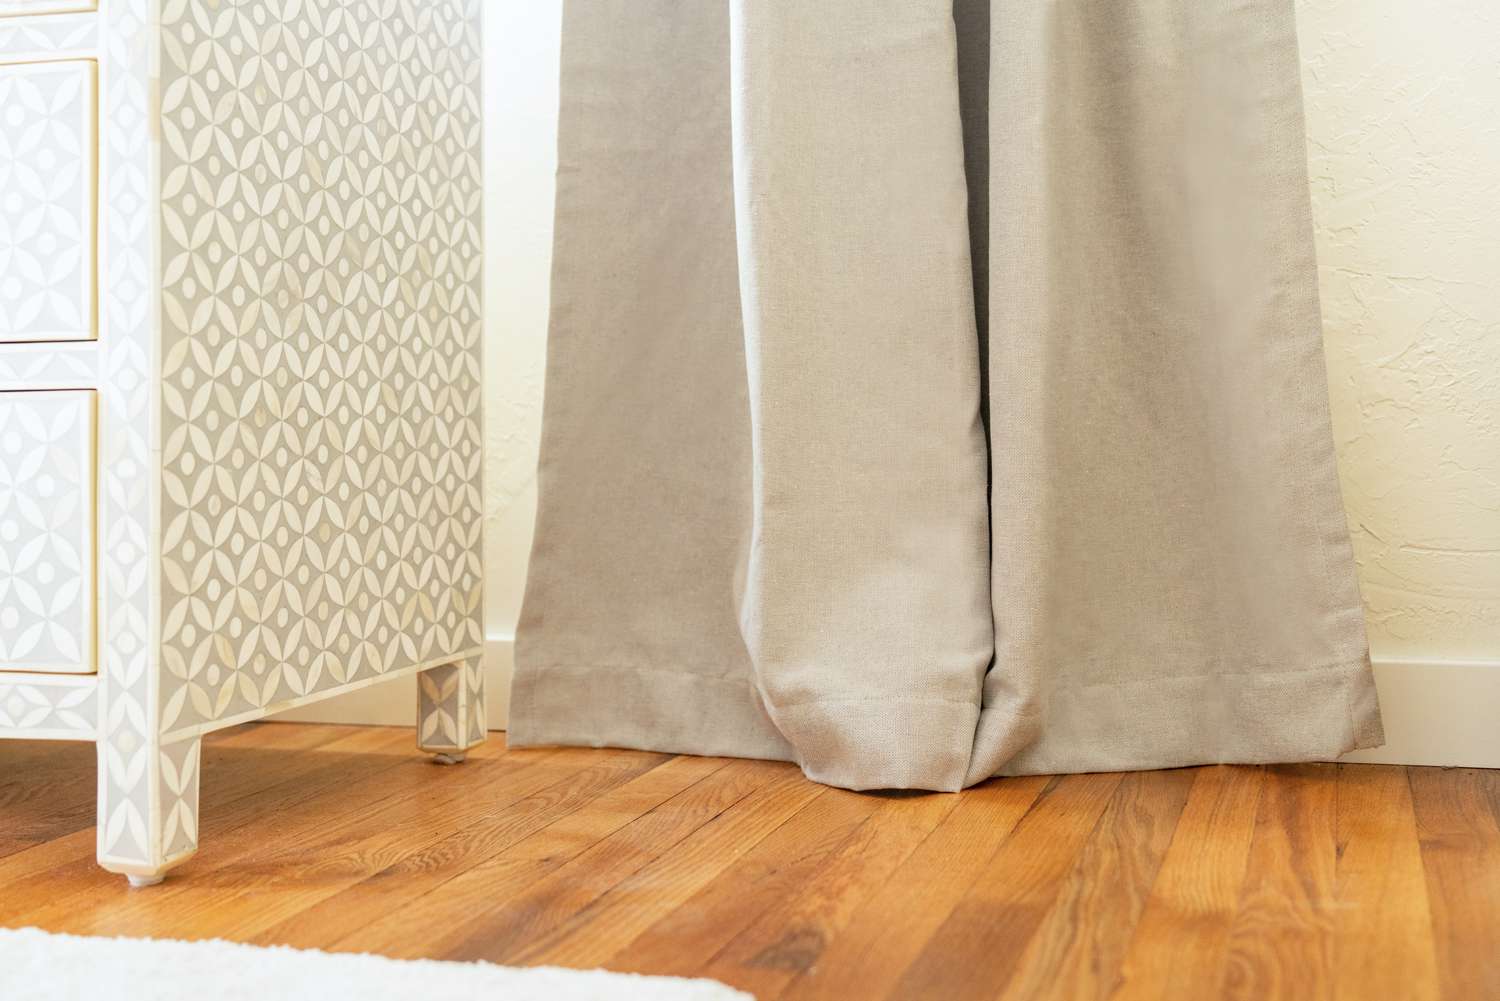
- Press the hem: Once you have sewn the hem, press it with an iron to create a crisp finish.
Sewing the bottom hem will give your drapes a clean and polished look. With the hem sewn, you’re ready to move on to the next step: creating the heading.
Step 5: Creating the Heading
The heading of the drapes refers to the top portion where the curtain rod or track will be inserted. Follow these steps to create the heading:
- Lay out the fabric: Lay your drapes flat on your work surface, with the lining facing up.
- Measure the heading: Measure the width of your curtain rod or track to determine the size of the heading.
- Add allowances: Add a few inches to the measurement to allow for fullness and ease of installation.
- Mark the heading line: Use a fabric pencil or chalk to mark a straight line across the top of the drapes, at the desired heading measurement.
- Fold and pin the heading: Fold the fabric along the marked line, with the wrong sides together. Pin the folded fabric in place to secure it.
- Sew the heading: Using a sewing machine or hand-sewing needle, sew a straight stitch along the bottom edge of the folded fabric, creating a neat and secure heading.
- Press the heading: After sewing the heading, press it with an iron to create a clean and crisp finish. This will help the heading hold its shape when the drapes are hung.
Creating the heading is an important step as it determines how the drapes will be hung and the overall look of your finished project. With the heading in place, you’re almost ready to hang your drapes. But first, let’s move on to the next step: adding pleats or grommets.
Step 6: Adding Pleats or Grommets
In this step, you will learn how to add pleats or grommets to your drapes. This will not only add a decorative touch but also help the drapes hang beautifully and evenly. Follow these steps:
If you choose pleats:
- Decide on the type of pleats: There are various types of pleats, such as pinch pleats, box pleats, or pencil pleats. Research and choose the style that best suits your drapes and desired look.
- Measure and mark the pleats: Depending on the style of pleats you have chosen, measure and mark the spacing and size of each pleat along the top edge of the drapes.
- Create the pleats: Fold the fabric at each marked point to create the pleats. Pin or baste the pleats in place to secure them.
- Sew the pleats: Sew a few stitches at the top of each pleat to keep them in place.
If you choose grommets:
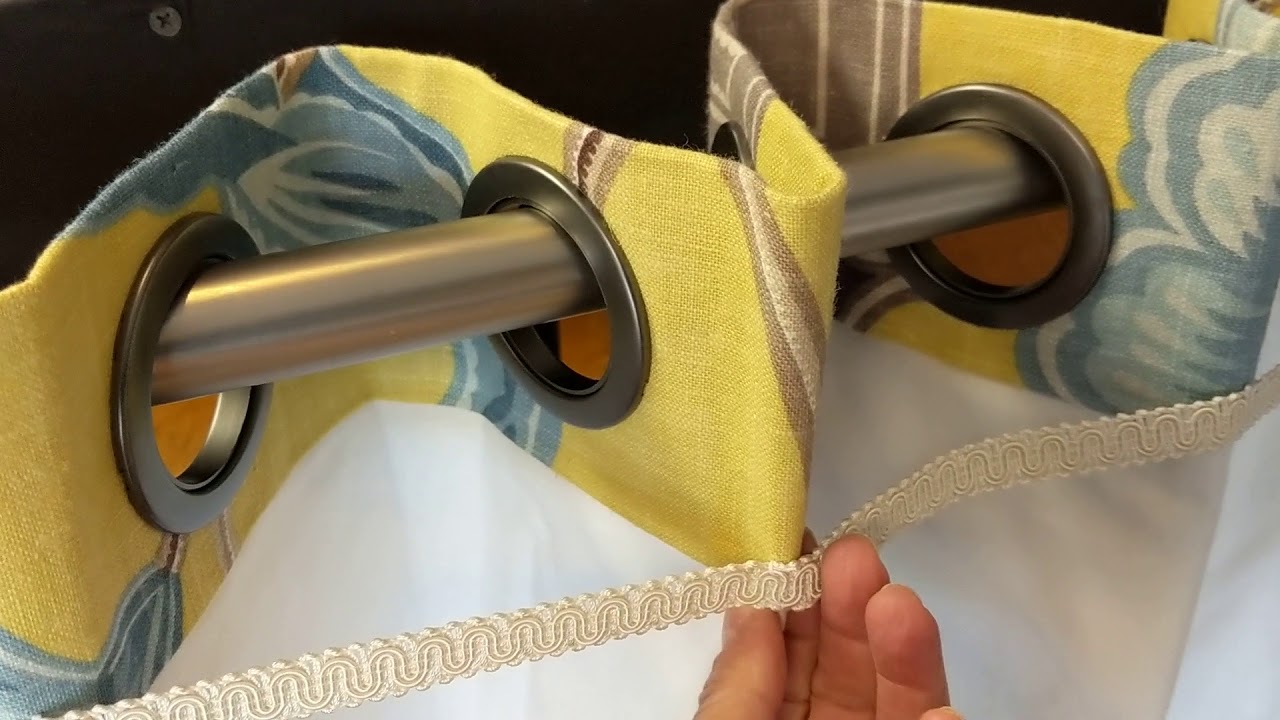
- Decide on the size and spacing: Choose the size and spacing of the grommets based on the diameter of your curtain rod or track. Typically, grommets are spaced evenly across the top edge of the drapes.
- Mark the grommet placement: Use a fabric pencil or chalk to mark the center of each grommet position along the top edge of the drapes.
- Make a hole: Use a grommet punch or a sharp blade to cut a hole at each marked position on the fabric.
- Insert the grommets: Insert the grommets into the holes, following the manufacturer’s instructions. This usually involves placing a grommet on each side of the fabric and securing them together.
Adding pleats or grommets will give your drapes a tailored and finished look. Choose the option that best suits your style and preference. With the pleats or grommets in place, we’re almost done! Let’s move on to the final step: hanging the drapes.
Step 7: Hanging the Drapes
Now that your drapes are complete, it’s time to hang them and enjoy the finished product. Follow these steps to properly hang your drapes:
- Prepare the curtain rod or track: Install the curtain rod or track according to the manufacturer’s instructions. Make sure it is securely fastened to the wall or window frame. If using a rod, attach any finials or decorative elements.
- Insert the drapes onto the rod or track: Slide the rod or hooks through the pleats or grommets at the top of the drapes. Ensure that the drapes are evenly spaced along the rod or track.
- Arrange and adjust the drapes: Once the drapes are hung, step back and assess their appearance. Adjust the folds and pleats, if necessary, to achieve the desired look.
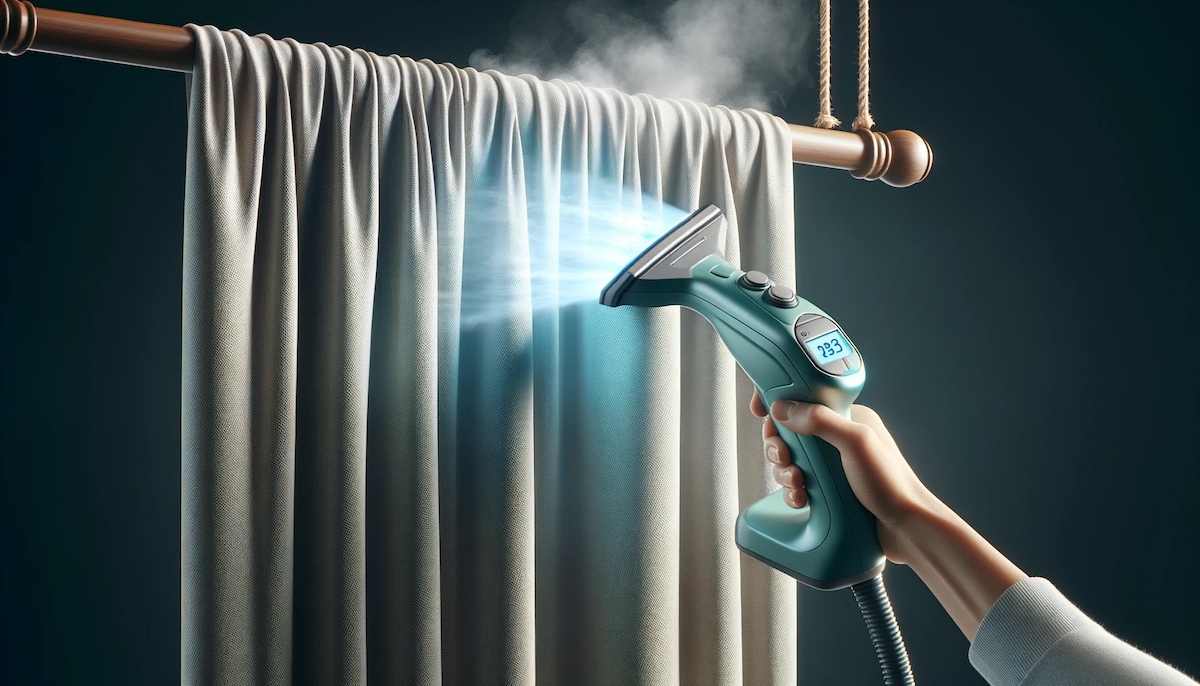
- Final touches: Give the drapes a final press with an iron, if needed, to eliminate any wrinkles or creases. Check that the hem is even and the drapes are hanging at the desired length.
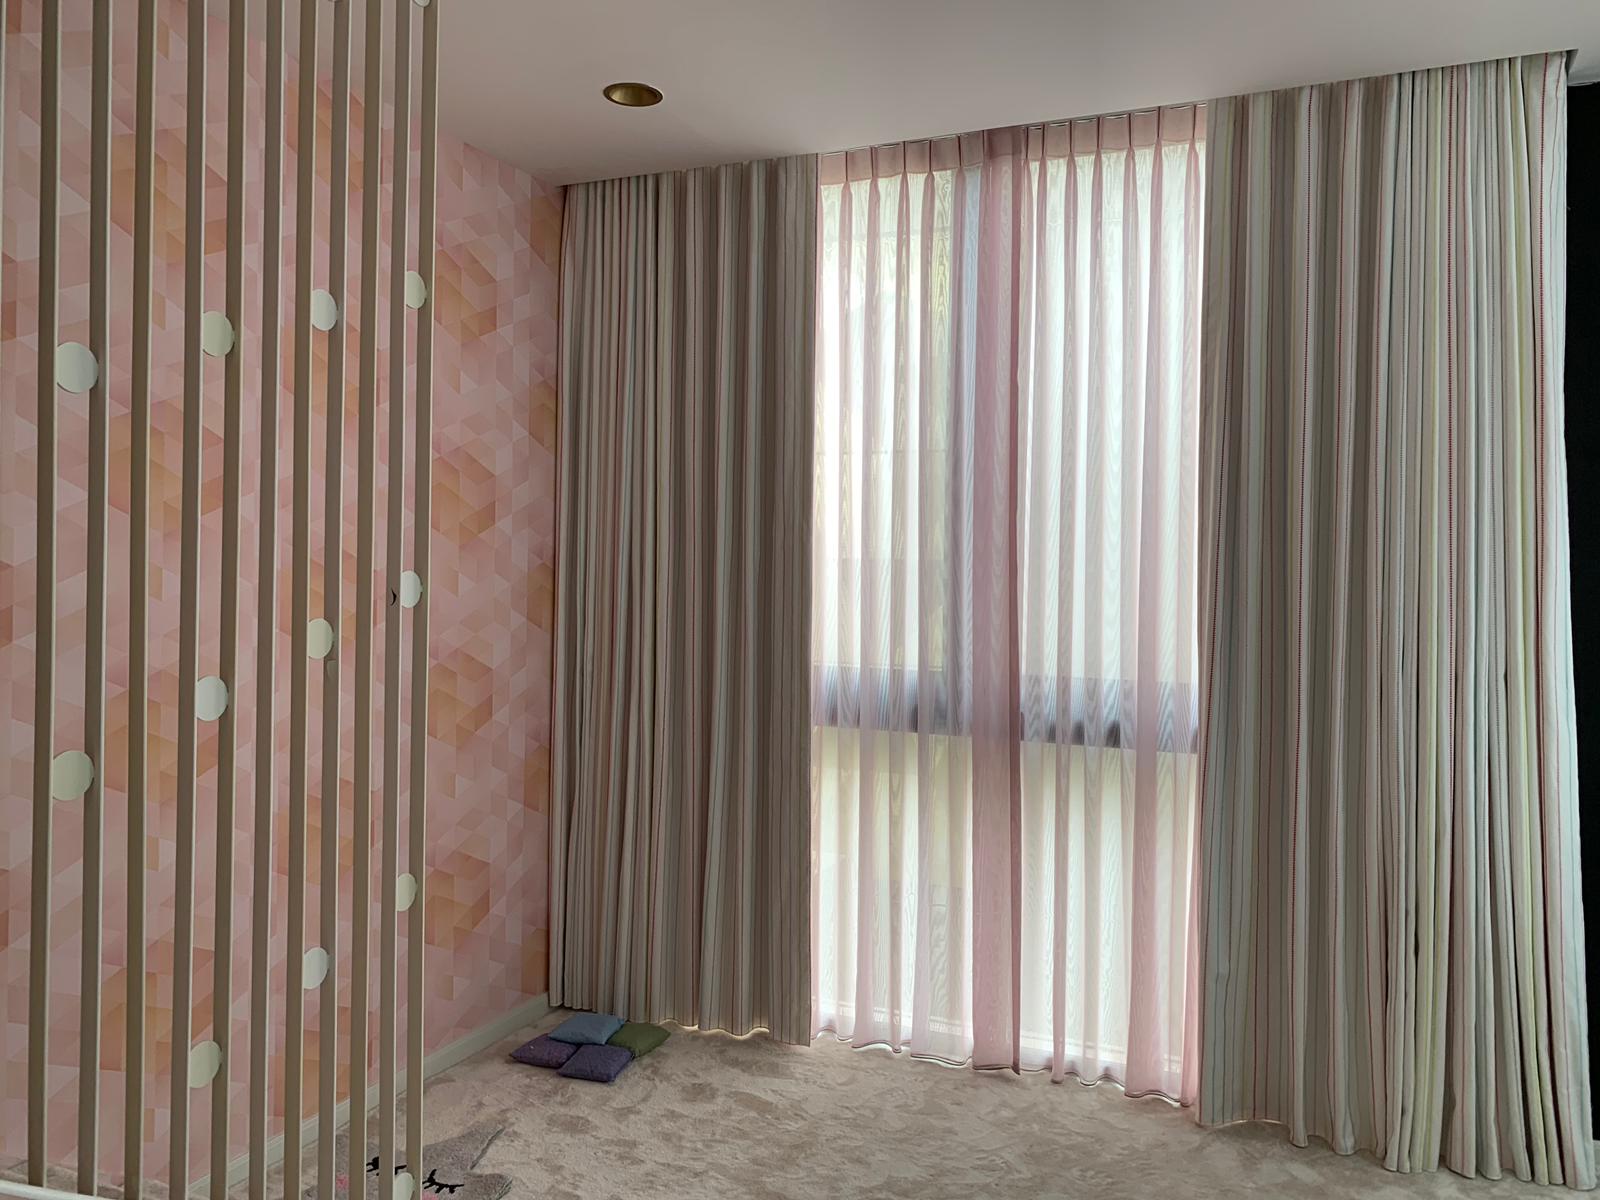
With the drapes properly hung, take a step back and admire your handiwork. Your beautifully crafted drapes with lining will not only enhance the aesthetics of your space but also provide privacy, control light, and insulate the room.
Remember to periodically clean and maintain your drapes to ensure their longevity. Follow the care instructions for your specific fabrics and keep them looking fresh and beautiful.
That’s it! You have successfully learned how to make drapes with lining. Enjoy your newly transformed windows and the cozy ambiance they create.
Thank you for following this step-by-step guide. Happy decorating!
Read more: How To Make Swag Drapes
Conclusion
Congratulations on completing your journey to make drapes with lining! By following this comprehensive guide, you have learned valuable techniques to create custom drapes that add beauty and functionality to your space. You’ve mastered the art of measuring, cutting, and sewing fabric, attaching the lining, creating the heading, and adding pleats or grommets. The final result is a set of drapes that not only enhances the aesthetics of your room but also provides privacy, light control, and insulation.
Making drapes with lining is a project that requires patience, attention to detail, and a bit of sewing skill. However, the effort is well worth it, as you now have one-of-a-kind window treatments that perfectly fit your style and space.
Remember to care for your drapes to maintain their beauty and functionality. Regularly vacuum or dust them to remove any accumulated dirt or debris. If necessary, follow the fabric’s care instructions for cleaning or consider professional cleaning for delicate fabrics.
Now, step back and admire your handiwork. Your drapes with lining not only serve a practical purpose but also add a touch of elegance to your home. Enjoy the cozy ambiance and the compliments you receive from guests!
Thank you for joining us on this drapery-making adventure. We hope this guide has been helpful, inspiring, and enjoyable. Happy decorating!
Frequently Asked Questions about How To Make Drapes With Lining
Was this page helpful?
At Storables.com, we guarantee accurate and reliable information. Our content, validated by Expert Board Contributors, is crafted following stringent Editorial Policies. We're committed to providing you with well-researched, expert-backed insights for all your informational needs.


0 thoughts on “How To Make Drapes With Lining”