
Articles
How To Reset An ADT Smoke Detector
Modified: May 6, 2024
Learn how to reset an ADT smoke detector with our informative articles. Discover step-by-step instructions to ensure the safety of your home.
(Many of the links in this article redirect to a specific reviewed product. Your purchase of these products through affiliate links helps to generate commission for Storables.com, at no extra cost. Learn more)
Introduction
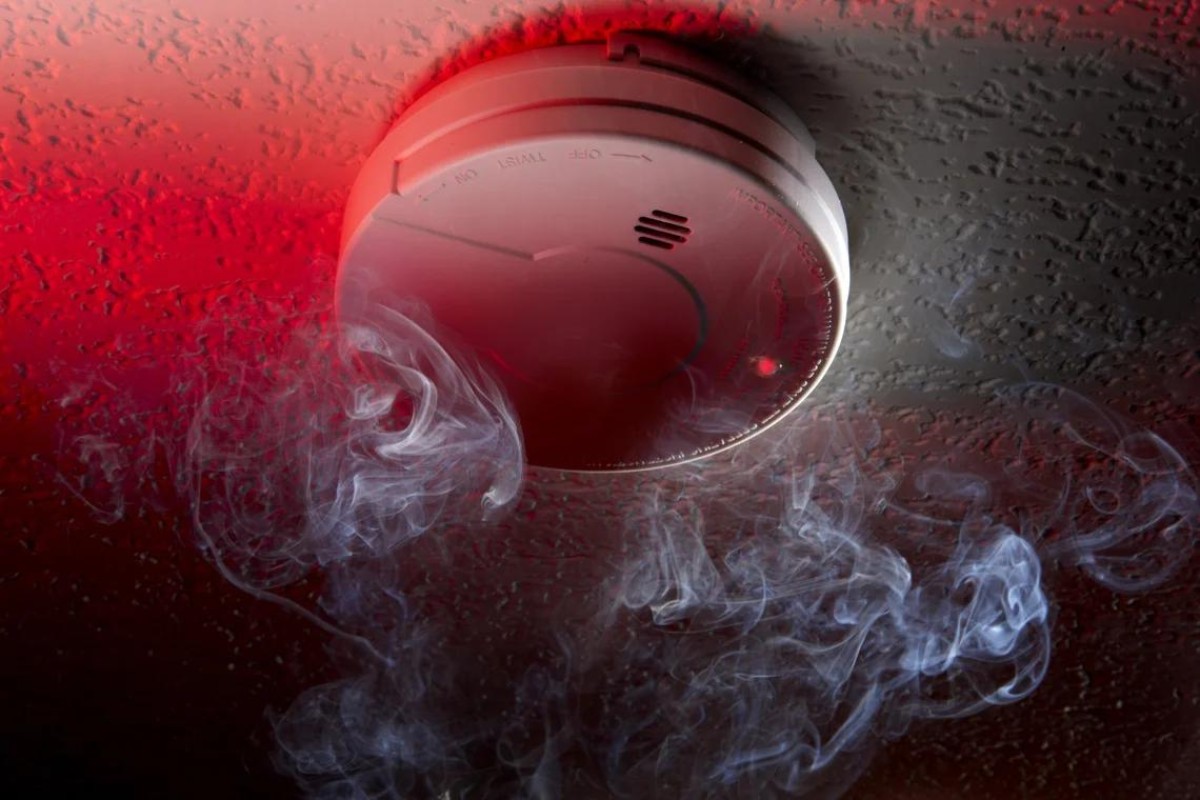
Welcome to this guide on how to reset an ADT smoke detector. Smoke detectors are an essential safety feature in any home or business, as they provide early warning in the event of a fire. However, sometimes smoke detectors can malfunction or go off accidentally, causing inconvenience and confusion. In these situations, it’s important to know how to reset the smoke detector to ensure it functions properly again.
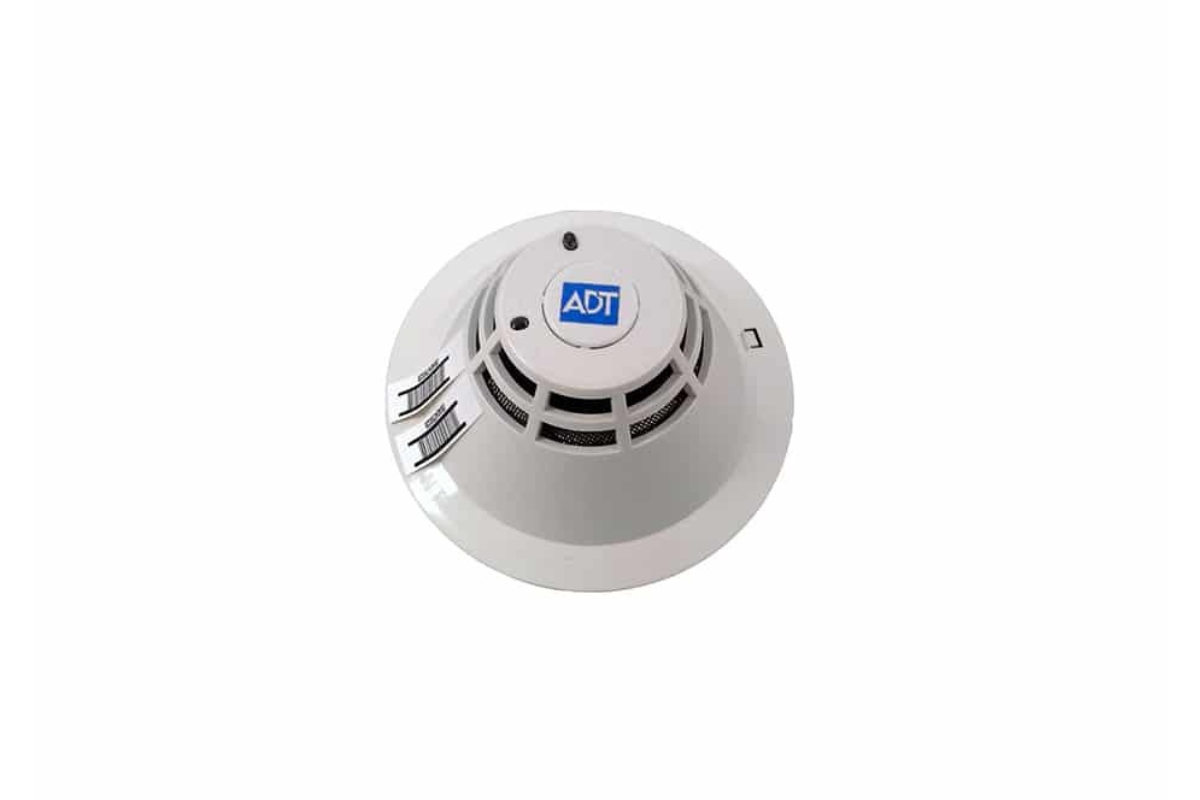
An ADT smoke detector is a popular choice for many homeowners and businesses due to its reliability and advanced features. These detectors are designed to detect smoke and fire and are connected to a central monitoring system, providing an added layer of security. However, like any electronic device, ADT smoke detectors may encounter issues that require resetting.
In this article, we will guide you through the process of resetting an ADT smoke detector step by step. Whether you are experiencing a false alarm or need to reset the detector after a battery change, this guide will help you regain control and peace of mind.
Before we begin, it’s important to note that if your smoke detector is consistently going off without any obvious reasons or if you suspect a real fire, it’s crucial to evacuate the premises immediately and contact emergency services. This guide is intended for resetting the smoke detector in situations where there is no immediate danger.
Now, let’s dive into the steps involved in resetting an ADT smoke detector, starting with checking the battery.
Key Takeaways:
- Regularly test and maintain your ADT smoke detector by checking the battery, connection, and resetting as needed. This ensures reliable functionality and early fire detection for your safety and peace of mind.
- In case of persistent issues, reset your ADT smoke detector and test its functionality to ensure proper operation. Proactive maintenance and testing are essential for a safe and secure home or business.
Checking the Battery
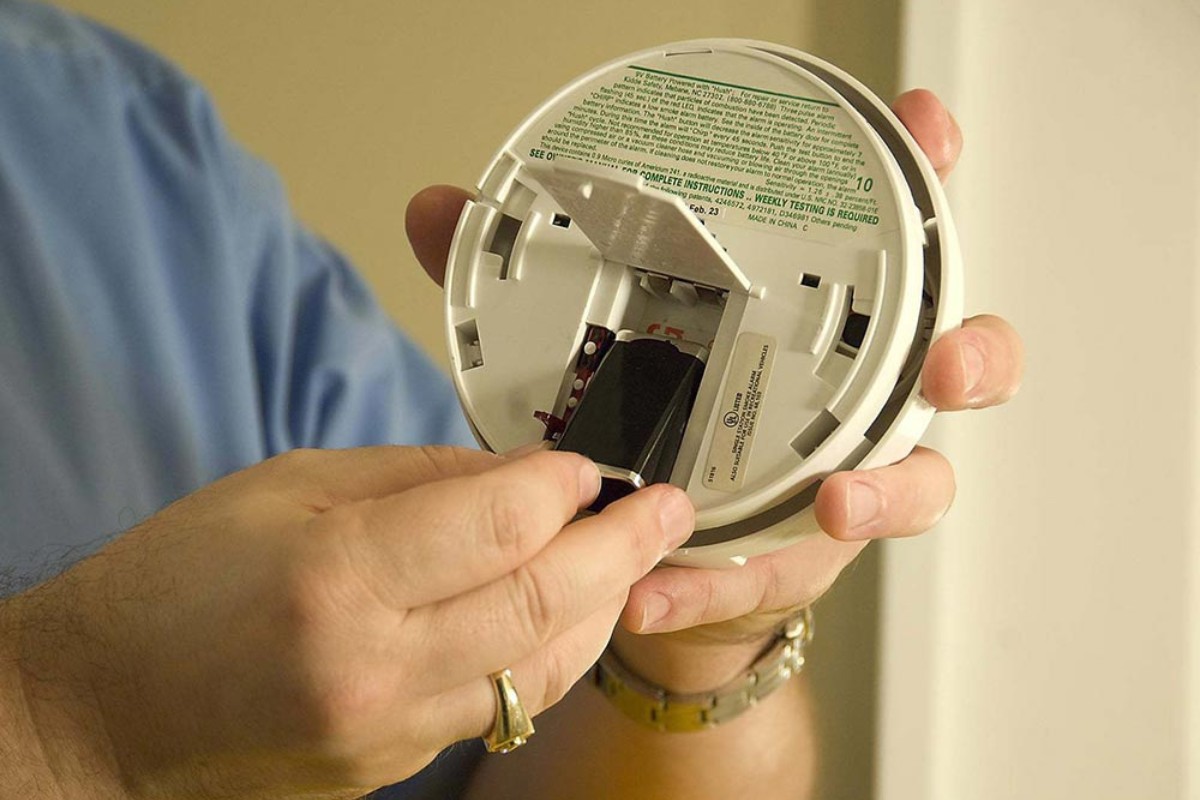
One of the first things to check when resetting an ADT smoke detector is the battery. A weak or dying battery can cause the detector to malfunction or produce false alarms. Follow these steps to check and replace the battery if necessary:
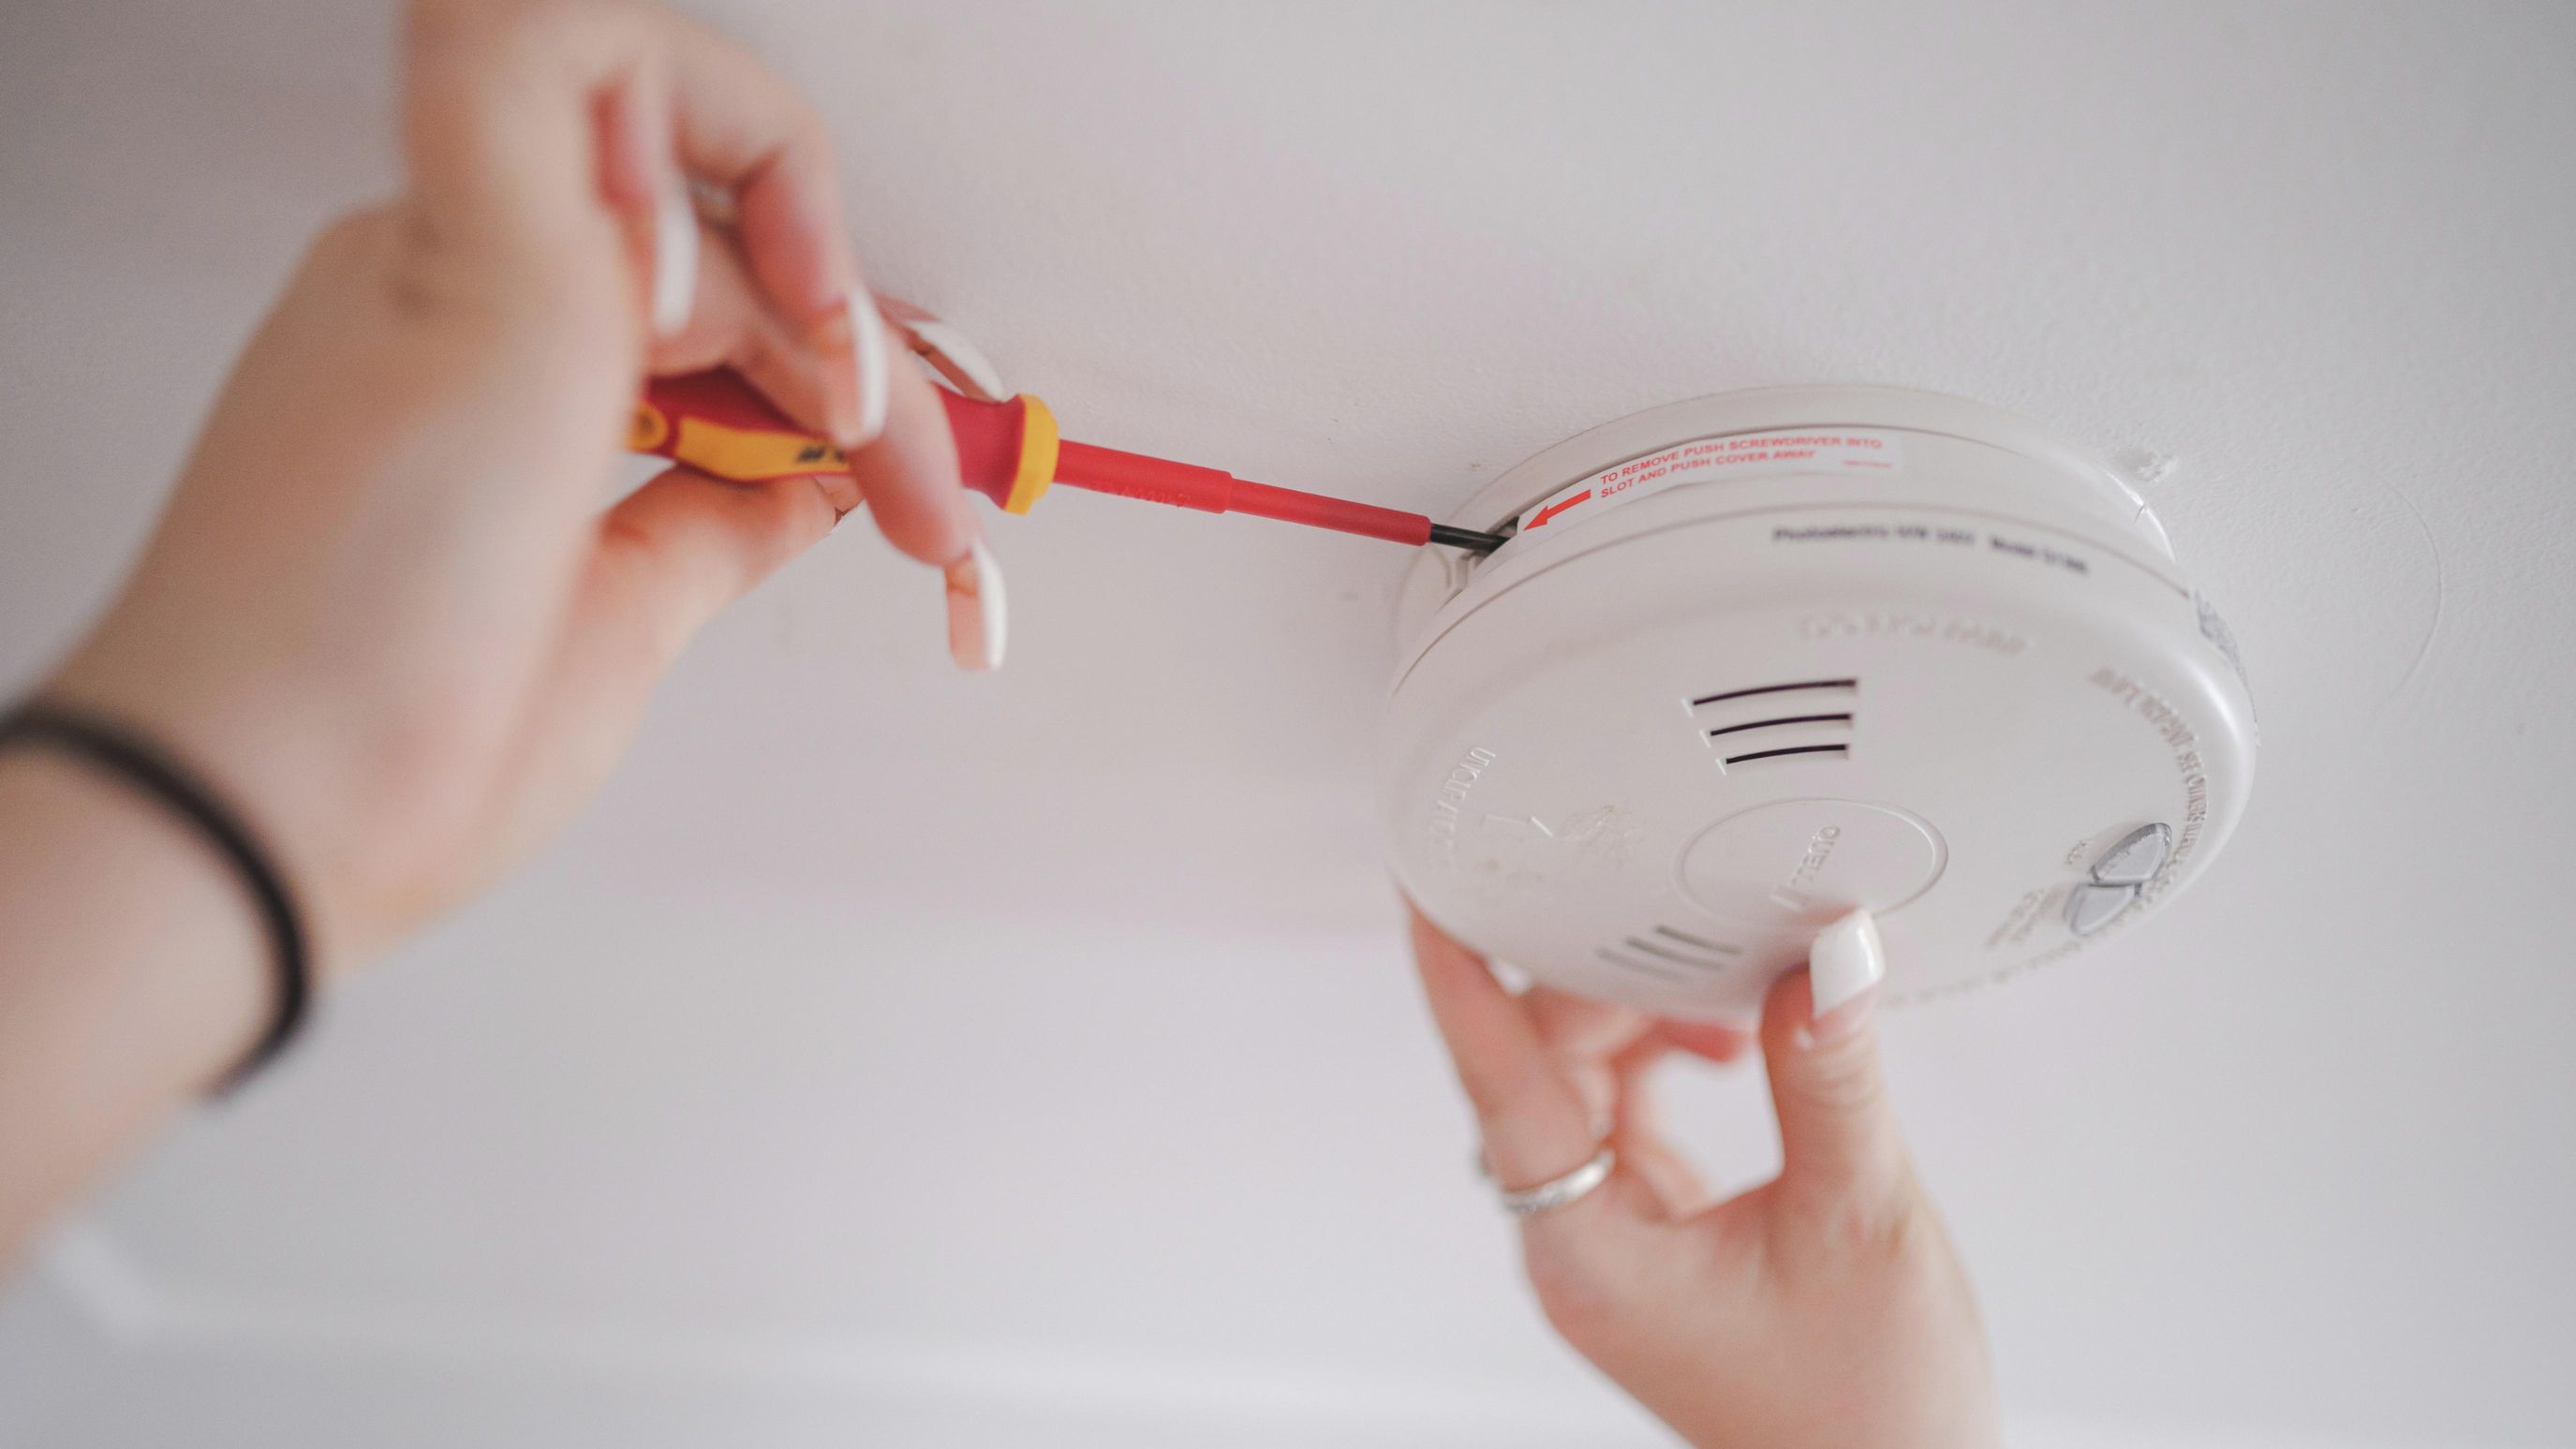
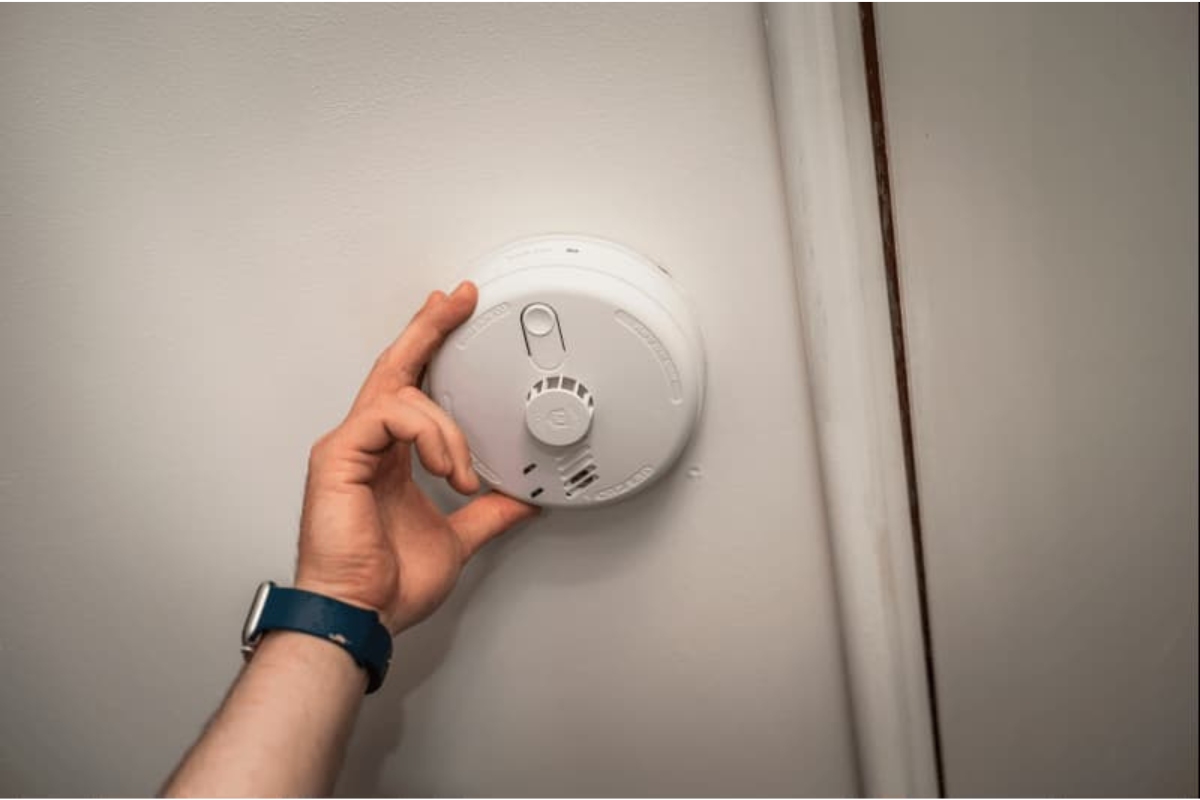
- Locate the smoke detector on the ceiling or wall. Most ADT smoke detectors have a removable cover that allows easy access to the battery compartment.
- Gently remove the cover by sliding it or pressing the release button, depending on the model of your smoke detector.
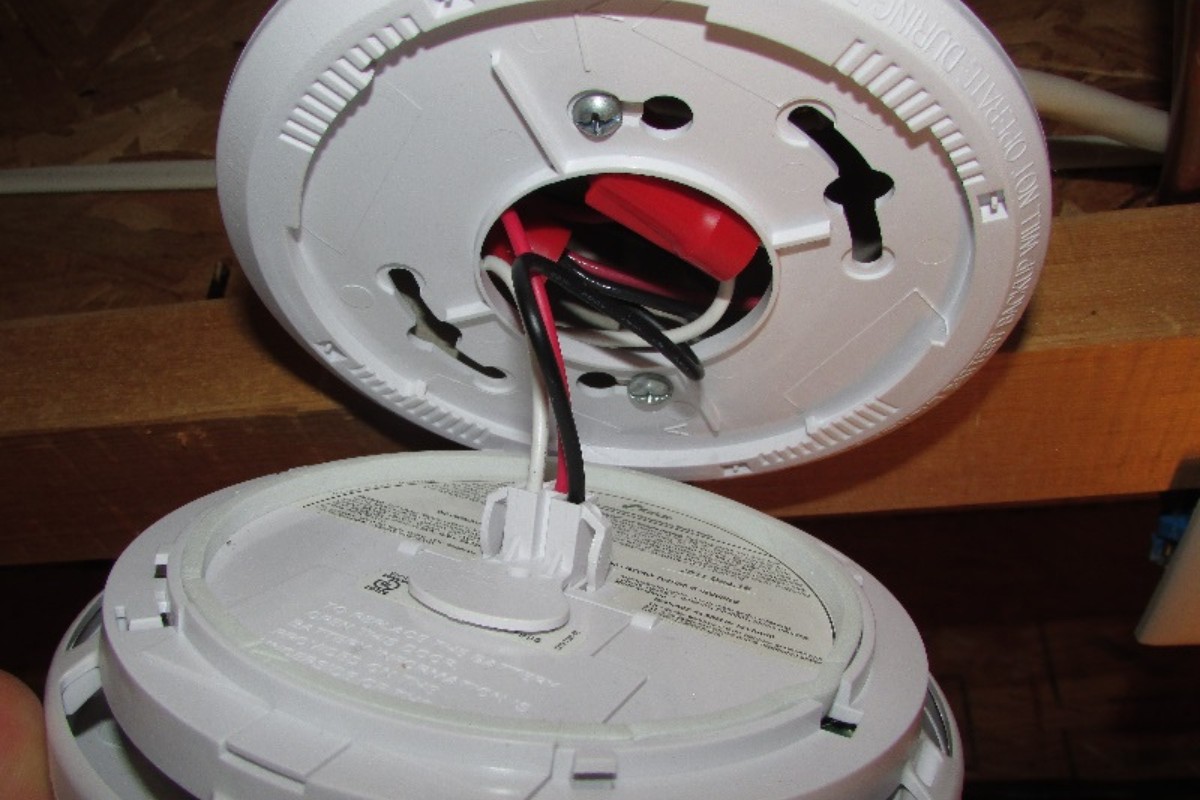
- Inspect the battery to ensure it is properly connected and not corroded. If you notice any signs of corrosion, carefully clean the battery contacts with a soft cloth or a small brush.
- If the battery is low or has been in use for a long time, it’s recommended to replace it with a fresh one. Make sure to use the correct type of battery as specified by the smoke detector manufacturer.
- Insert the new battery into the battery compartment, paying attention to the correct polarity (+ and -) as indicated on the detector.
- Close the battery compartment cover securely.
Once you have replaced the battery or confirmed that it is in good condition, it’s time to move on to the next step: checking the connection of the smoke detector.
Checking the Connection
Ensuring the proper connection of your ADT smoke detector is crucial for its functionality. A loose or faulty connection can lead to false alarms or the detector not working at all. Here are the steps to check the connection:
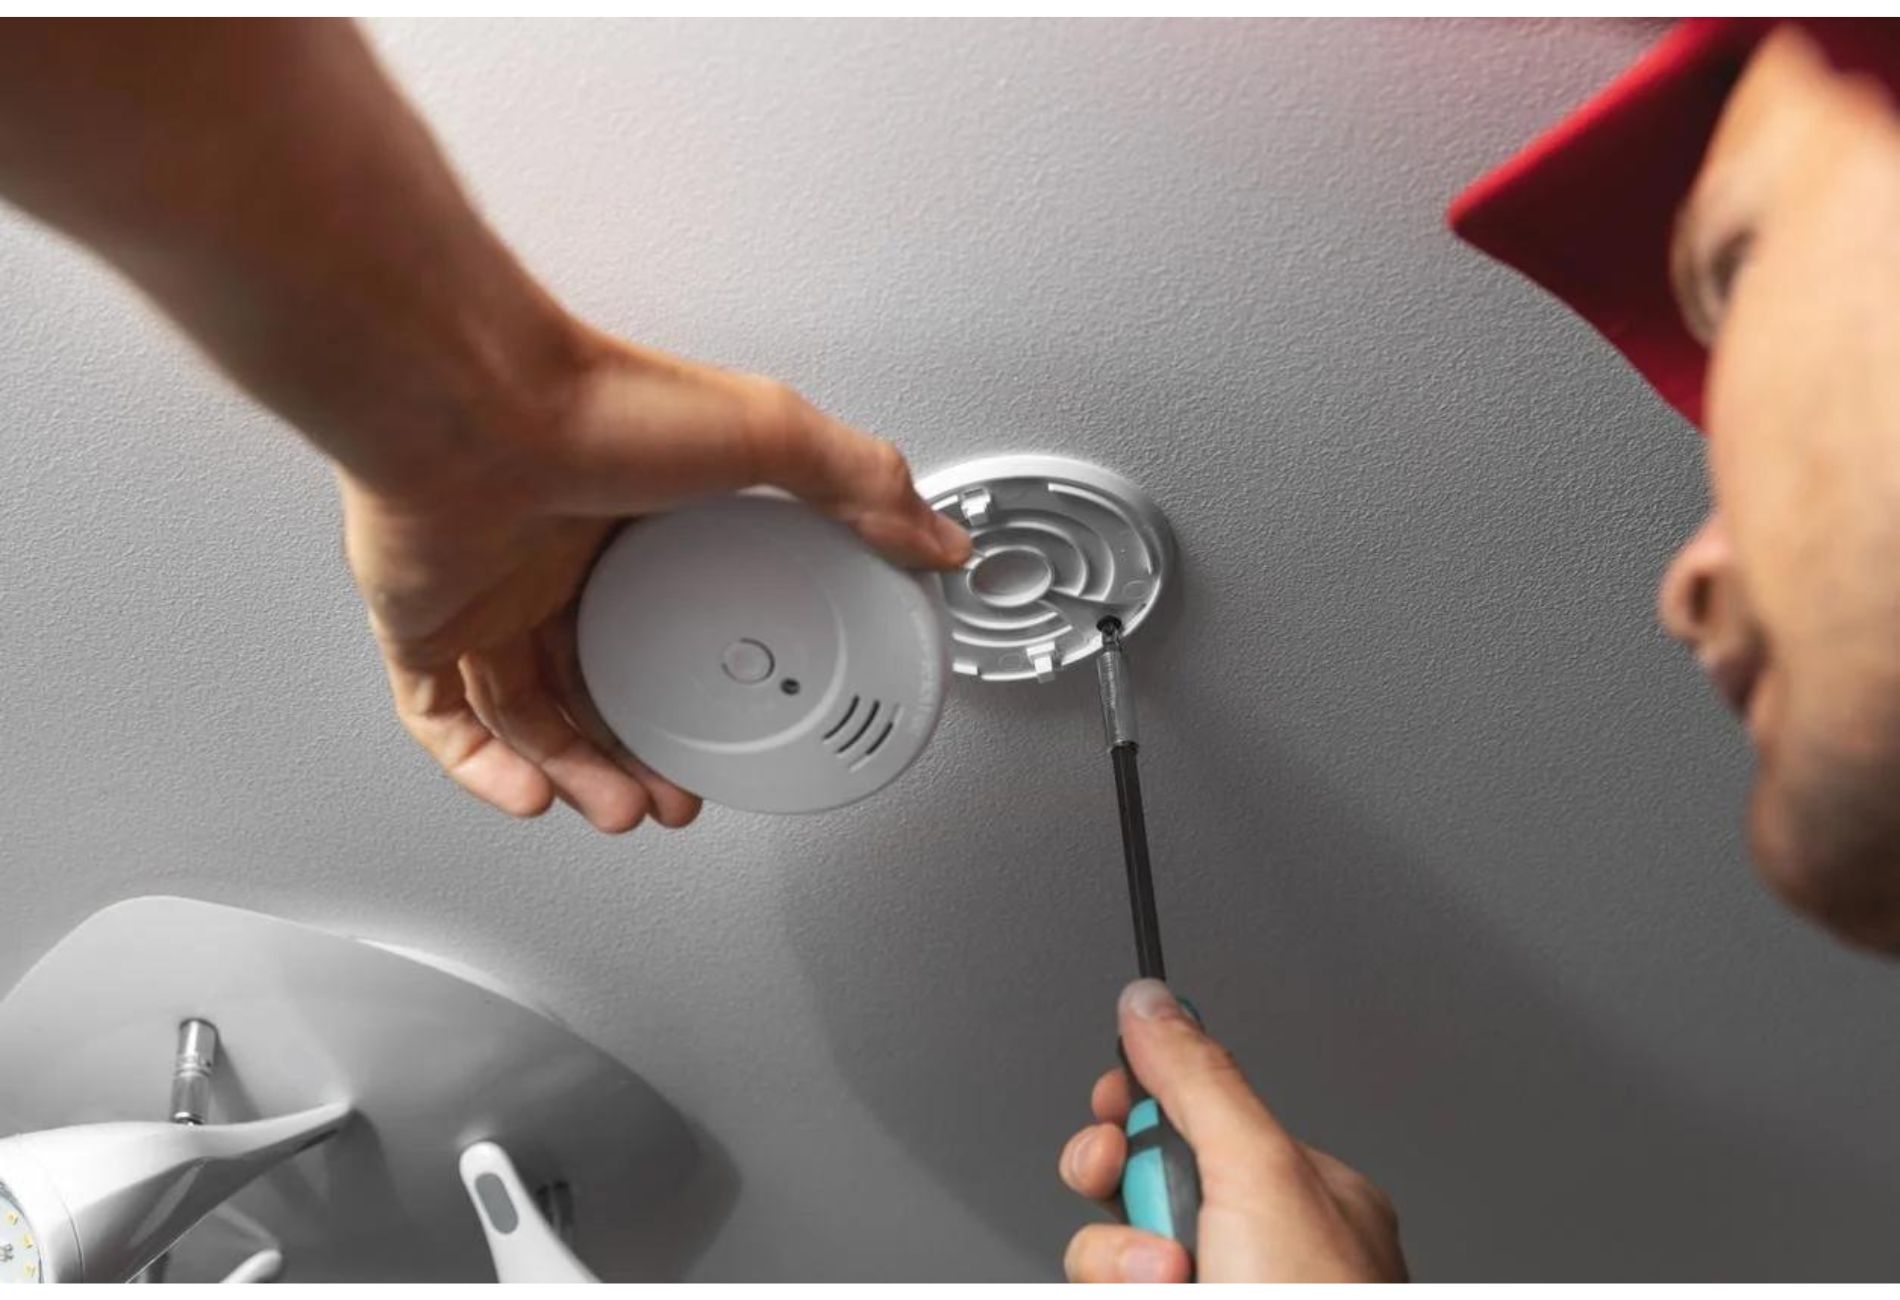
- Check if the smoke detector is securely mounted on the ceiling or wall. Make sure it is properly attached and there are no loose screws or fittings.
- Inspect the wiring connecting the smoke detector to the power source. Ensure that the wires are not damaged, frayed, or exposed. If you find any issues with the wiring, it may be necessary to call a professional electrician to repair or replace it.
- If your ADT smoke detector is wireless, check if it is properly paired with the central monitoring system. Follow the manufacturer’s instructions to verify the connection between the detector and the system.
If you find any issues with the battery or connection during the above steps, fixing them may resolve the problem and reset the smoke detector. However, if the detector continues to malfunction or go off unexpectedly, the next step is to try resetting the smoke detector itself.
To reset an ADT smoke detector, locate the reset button on the device and hold it down for 15-20 seconds until the alarm stops beeping. If the alarm continues to beep, replace the batteries and try again.
Resetting the Smoke Detector
If your ADT smoke detector is still malfunctioning or producing false alarms after checking the battery and connection, the next step is to reset the smoke detector. Resetting the detector can help recalibrate its sensors and settings. Here’s how to do it:
- Locate the reset button on your ADT smoke detector. The position of the reset button may vary depending on the model, so refer to the user manual if you are unsure.
- Press and hold the reset button for about 10-15 seconds. You may need to use a small tool, such as a paperclip or a pen, to reach the button.
- While holding the reset button, you may notice the smoke detector emitting a beeping sound or flashing lights. This is an indication that the reset process has started.
- Continue to hold the reset button until the smoke detector emits another beep sound or the lights stop flashing. This usually takes a few seconds.
- Release the reset button, and the smoke detector should now be reset to its default settings.
After resetting the smoke detector, it’s essential to test its functionality to ensure that the issue has been resolved.
Testing the Smoke Detector
Once you have reset your ADT smoke detector, it’s crucial to test its functionality to ensure that it is working correctly and will provide accurate alerts in case of a fire. Here are the steps to test the smoke detector:
- Before starting the test, ensure that the area around the smoke detector is clear of any obstructions that could interfere with the smoke detection.
- Refer to the user manual of your ADT smoke detector to determine the recommended method for testing. Some detectors have a dedicated test button, while others may require simulating smoke or pressing a combination of buttons.
- If your smoke detector has a test button, press and hold it for a few seconds until you hear a beep or see the lights flashing. This will activate the detector’s test mode.
- If your smoke detector requires simulating smoke, carefully follow the instructions provided by the manufacturer. This may involve using a test aerosol can or blowing smoke from a safe source, such as a candle, near the detector.
- Observe the smoke detector’s response during the test. It should produce a loud alarm sound, and the indicator lights on the detector may flash or remain steady to indicate that it has detected smoke.
- If the smoke detector does not respond or the alarm sound is weak, it may indicate a persistent issue that requires further troubleshooting or professional assistance.
Remember, regular testing and maintenance of your ADT smoke detector is essential to ensure its proper functioning. It is recommended to test the detector at least once a month and replace the batteries as needed.
With proper testing and maintenance, your ADT smoke detector will provide reliable smoke detection and help keep you and your loved ones safe in case of a fire.
Read more: How To Reset An ADT Carbon Monoxide Detector
Conclusion
Resetting an ADT smoke detector is a simple yet crucial process that ensures its proper functionality and reliability in detecting smoke and fire. By following the steps outlined in this guide, you can effectively reset your smoke detector and address any issues or false alarms.
Start by checking the battery and ensuring it is properly connected. If necessary, replace the battery with a fresh one. Next, inspect the connection of the smoke detector to the power source and make sure there are no loose or damaged wires.
If the smoke detector continues to malfunction or produce false alarms, the next step is to reset the detector itself. Locate the reset button and hold it for a few seconds until the detector emits a beep or the lights stop flashing. This will reset the smoke detector to its default settings.
After resetting, it’s important to test the smoke detector to ensure it is functioning properly. Follow the manufacturer’s instructions for testing, whether it’s using a test button or simulating smoke near the detector. Pay attention to the detector’s response and make sure the alarm sound is loud and clear.
Regular testing and maintenance of your ADT smoke detector are recommended to ensure it remains in good working condition. Test the detector at least once a month and replace the batteries as needed.
By following these steps and taking proactive measures, you can rely on your ADT smoke detector to provide early warning in the event of a fire, keeping you and your loved ones safe.
Remember, if you encounter persistent issues with your ADT smoke detector or suspect a real fire, it’s important to take immediate action by evacuating the premises and contacting emergency services.
Stay diligent in keeping your smoke detector properly maintained and reset when needed, ensuring the safety and well-being of your home or business.
Just mastered resetting your ADT smoke detector? Keep up the momentum with our guide on how to reset smoke detectors of various brands. Ensuring your detectors function correctly is vital for home safety, but don't stop there. Dive deeper into why robust home security systems are a must for every household. These resources empower homeowners to maintain safety and security efficiently.
Frequently Asked Questions about How To Reset An ADT Smoke Detector
Was this page helpful?
At Storables.com, we guarantee accurate and reliable information. Our content, validated by Expert Board Contributors, is crafted following stringent Editorial Policies. We're committed to providing you with well-researched, expert-backed insights for all your informational needs.


0 thoughts on “How To Reset An ADT Smoke Detector”