Articles
How Do You Replace A Smoke Detector
Modified: October 20, 2024
Find helpful articles and step-by-step guides on how to replace a smoke detector. Ensure the safety of your home with our expert tips and advice.
(Many of the links in this article redirect to a specific reviewed product. Your purchase of these products through affiliate links helps to generate commission for Storables.com, at no extra cost. Learn more)
Introduction
Smoke detectors are an essential component of any home’s safety system. They alert you to the presence of smoke, allowing you to quickly respond and prevent potential fire hazards. Over time, smoke detectors may become outdated or malfunction, necessitating their replacement. In this article, we will guide you through the steps involved in replacing a smoke detector, ensuring the safety and security of your home and loved ones.
Before proceeding with the replacement, it’s crucial to note that smoke detectors typically have a lifespan of 10 years. After this period, they may no longer function optimally. Moreover, if your smoke detector is frequently going off without any apparent cause, it’s a sign that it might be malfunctioning and needs to be replaced.
In this article, we will cover the necessary tools and materials, the steps to follow, and precautions to take when replacing a smoke detector. Remember, safety should always be the primary concern, and if you are unsure about the process, it’s best to consult a professional electrician or seek assistance from a qualified individual.
Now, let’s dive into the step-by-step process of replacing a smoke detector.
Key Takeaways:
- Regularly testing and replacing smoke detectors is crucial for home safety. Follow the step-by-step guide to ensure a reliable and effective safety system, protecting against potential fire hazards.
- Prioritize safety at every stage of the smoke detector replacement process. Turn off power, handle wiring with care, and seek professional assistance if needed for a safer installation.
Step 1: Gather necessary tools and materials
Before you begin replacing a smoke detector, it’s important to gather all the necessary tools and materials. Having everything prepared beforehand will make the process smoother and more efficient. Here is a list of the items you will need:
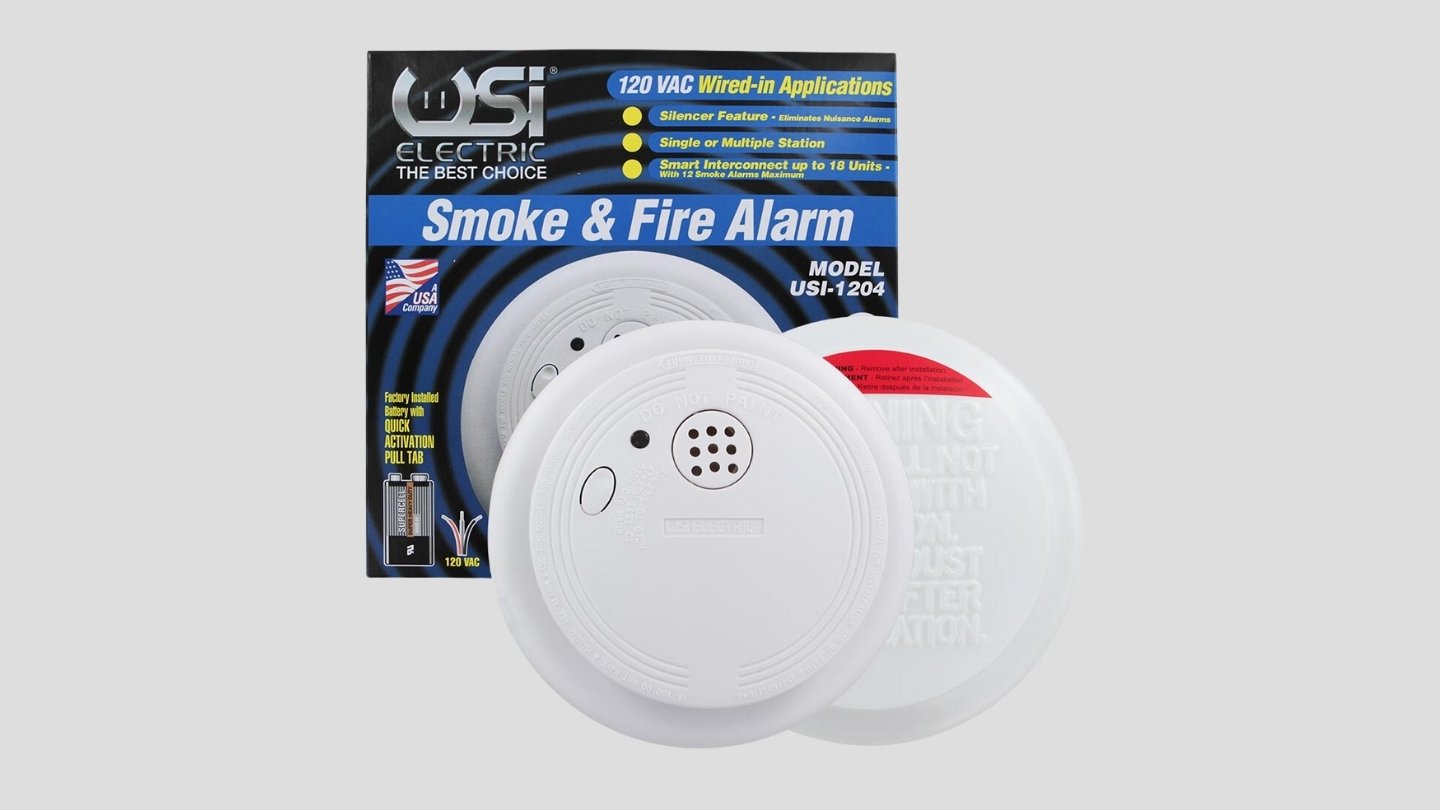
- New smoke detector: Make sure to purchase a smoke detector that is compatible with your existing system. Check the packaging or consult the manufacturer’s instructions for compatibility information.
- Screwdriver: A screwdriver will be needed to remove the old smoke detector from its mounting bracket.
- Wire cutters/strippers: These tools will be necessary for disconnecting the wiring from the old smoke detector.
- Wire nuts: Wire nuts are used to secure the connections between the wiring and the new smoke detector.
- Mounting hardware: Depending on the type of mounting bracket you have, you may need screws or other hardware to secure the new smoke detector in place.
- Batteries: If your smoke detector requires batteries, make sure you have fresh ones on hand. It’s always a good idea to change the batteries in your smoke detector when replacing it.
Once you have gathered all the necessary tools and materials, you will be ready to proceed to the next step.
It’s worth mentioning that some smoke detectors come with built-in batteries that last the duration of the unit’s lifespan. In such cases, you won’t need to change the batteries unless notified by the manufacturer.
Additionally, before you start working on the smoke detector, ensure that you have turned off the power to the smoke detector circuit. This can usually be done by flipping the corresponding circuit breaker in your electrical panel. This step is crucial to prevent electric shock or damage to the new smoke detector.
Now that you have everything you need and have taken the necessary safety precautions, you are ready to proceed to the next step: turning off power to the smoke detector.
Step 2: Turn off power to the smoke detector
Before you begin replacing the smoke detector, it’s essential to ensure that the power to the smoke detector circuit is turned off. This step is crucial for your safety and to prevent any electrical mishaps during the replacement process.
Here’s how you can turn off the power to the smoke detector:
- Locate the electrical panel in your home. It is usually located in the basement, garage, or utility room. Open the panel door.
- Inside the electrical panel, you will find a series of switches or circuit breakers. These switches control the power supply to different areas of your home.
- Locate the circuit breaker that corresponds to the smoke detector circuit. It is often labeled as “Smoke Detector” or something similar. If it is not labeled, you may need to switch off each circuit breaker one at a time until you find the right one.
- Once you have identified the correct circuit breaker, switch it to the “Off” position. This will cut off the power supply to the smoke detector.
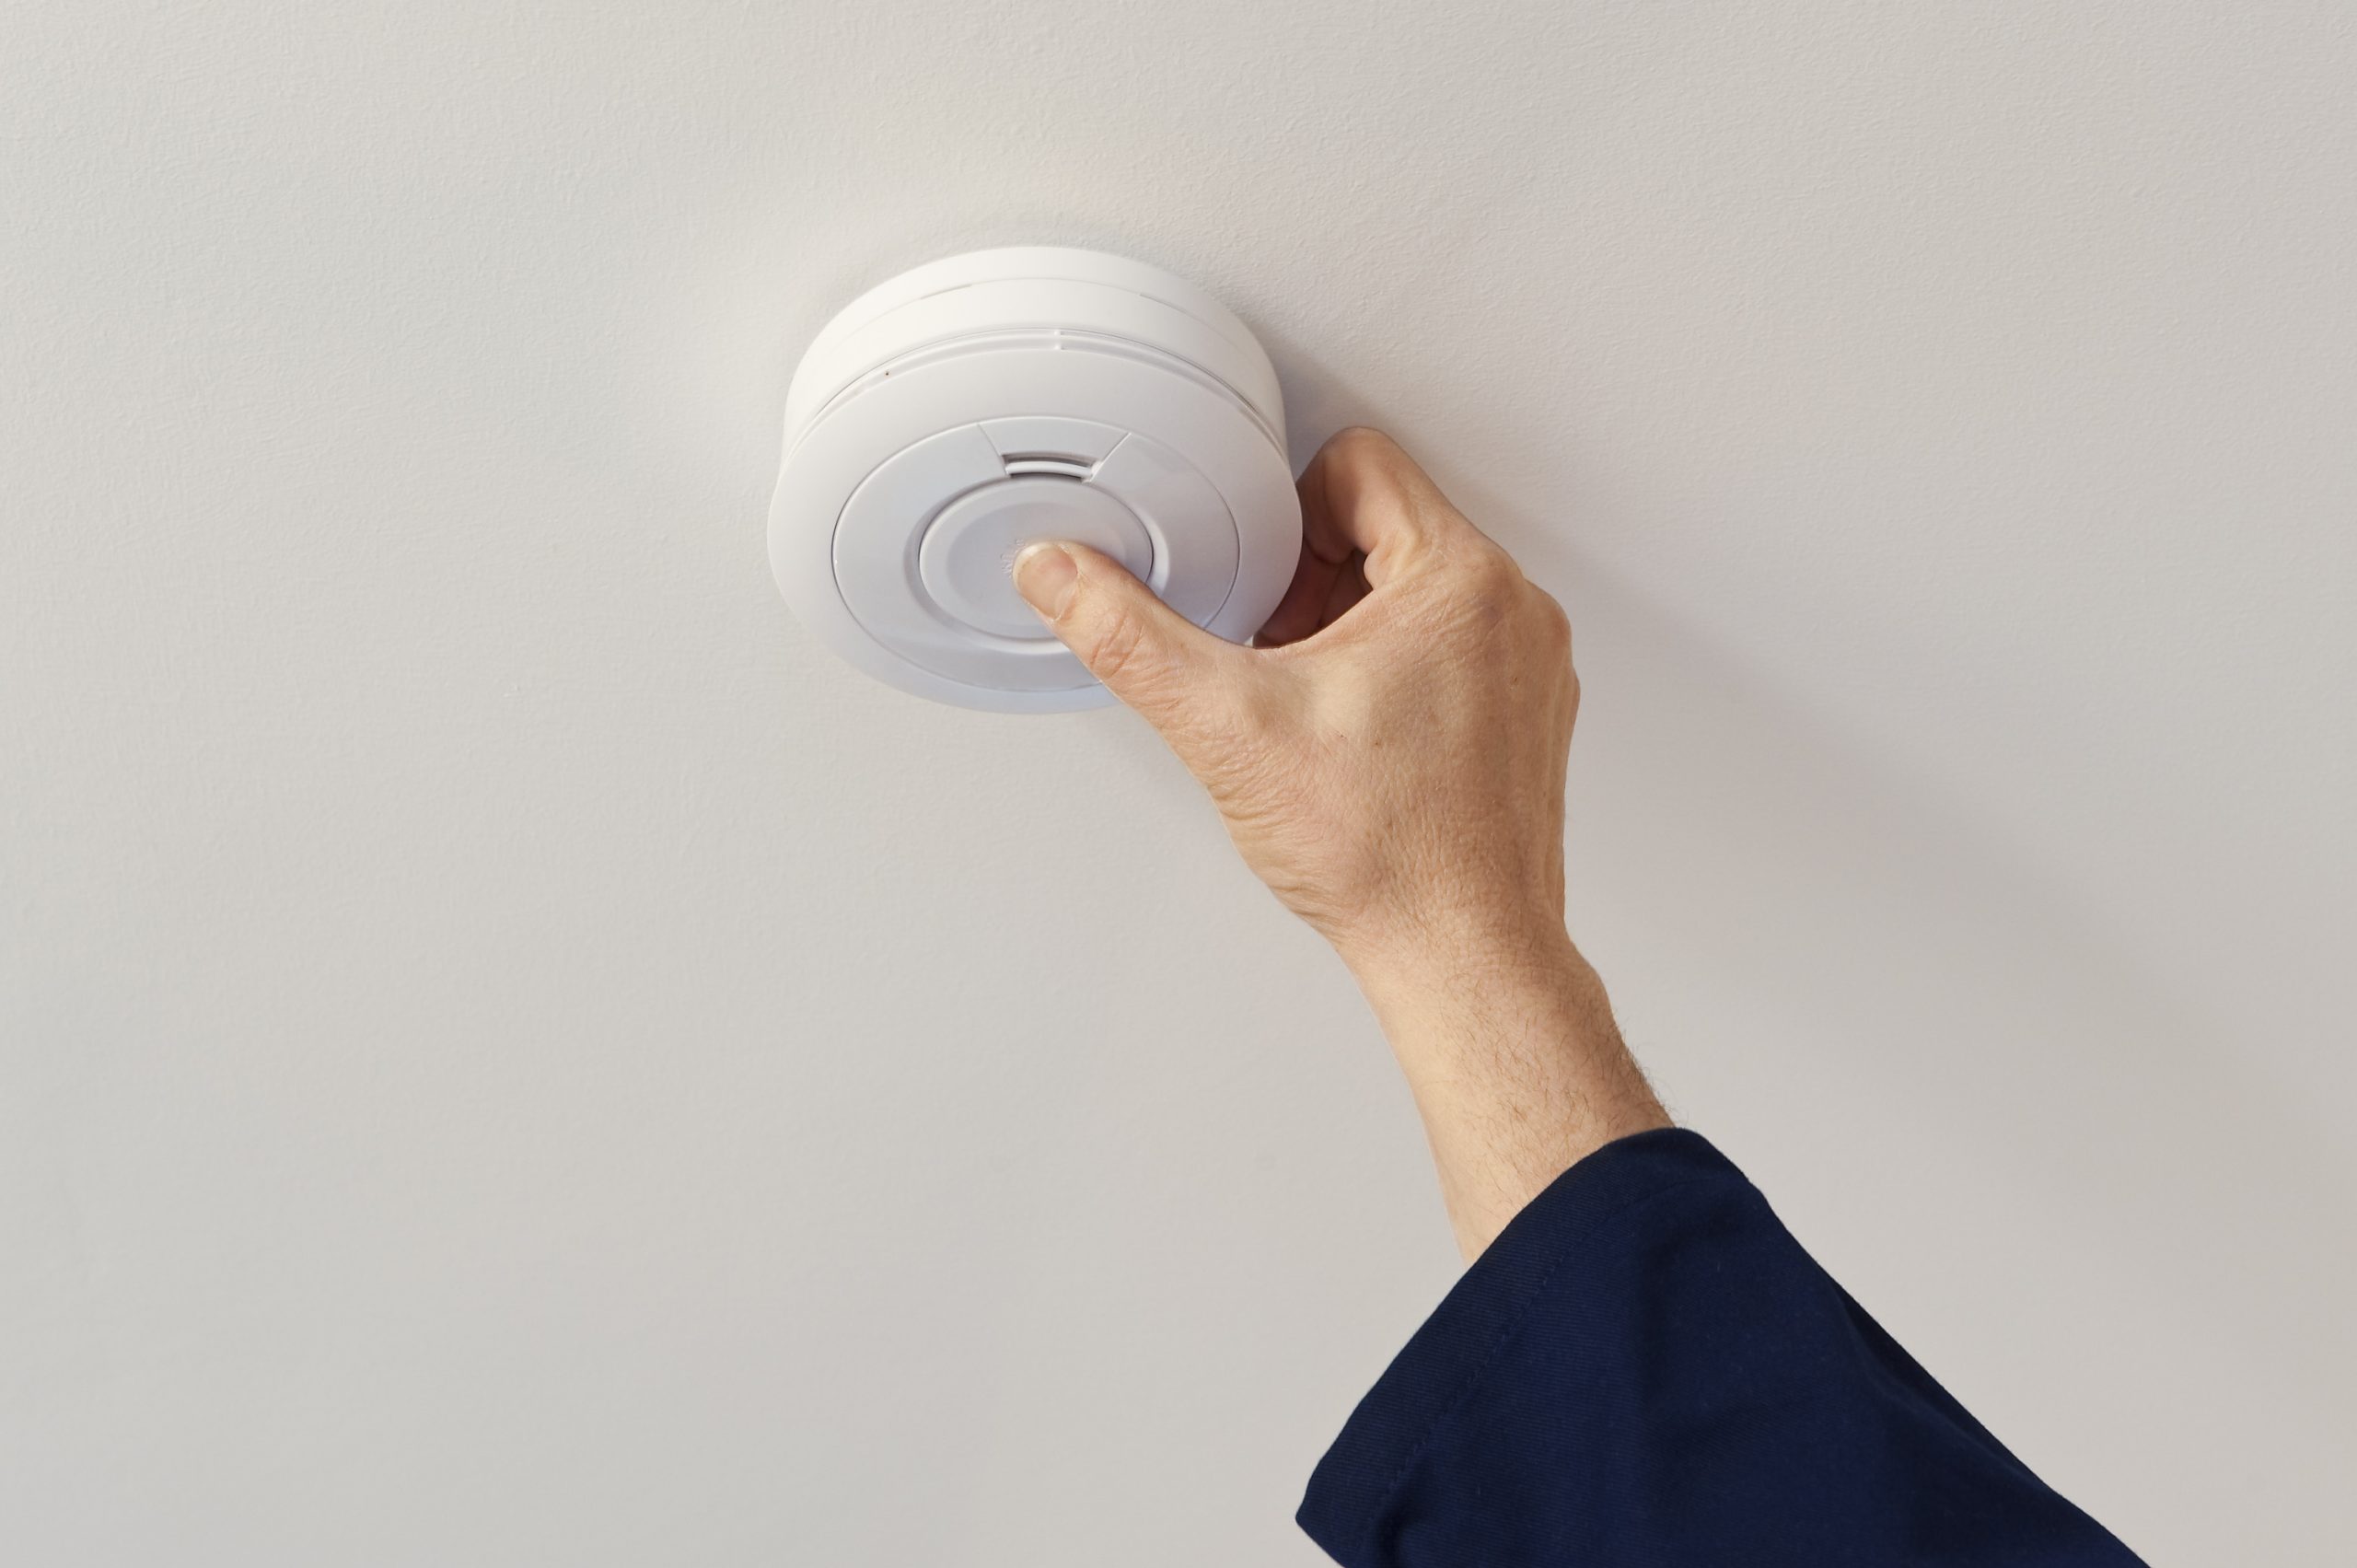
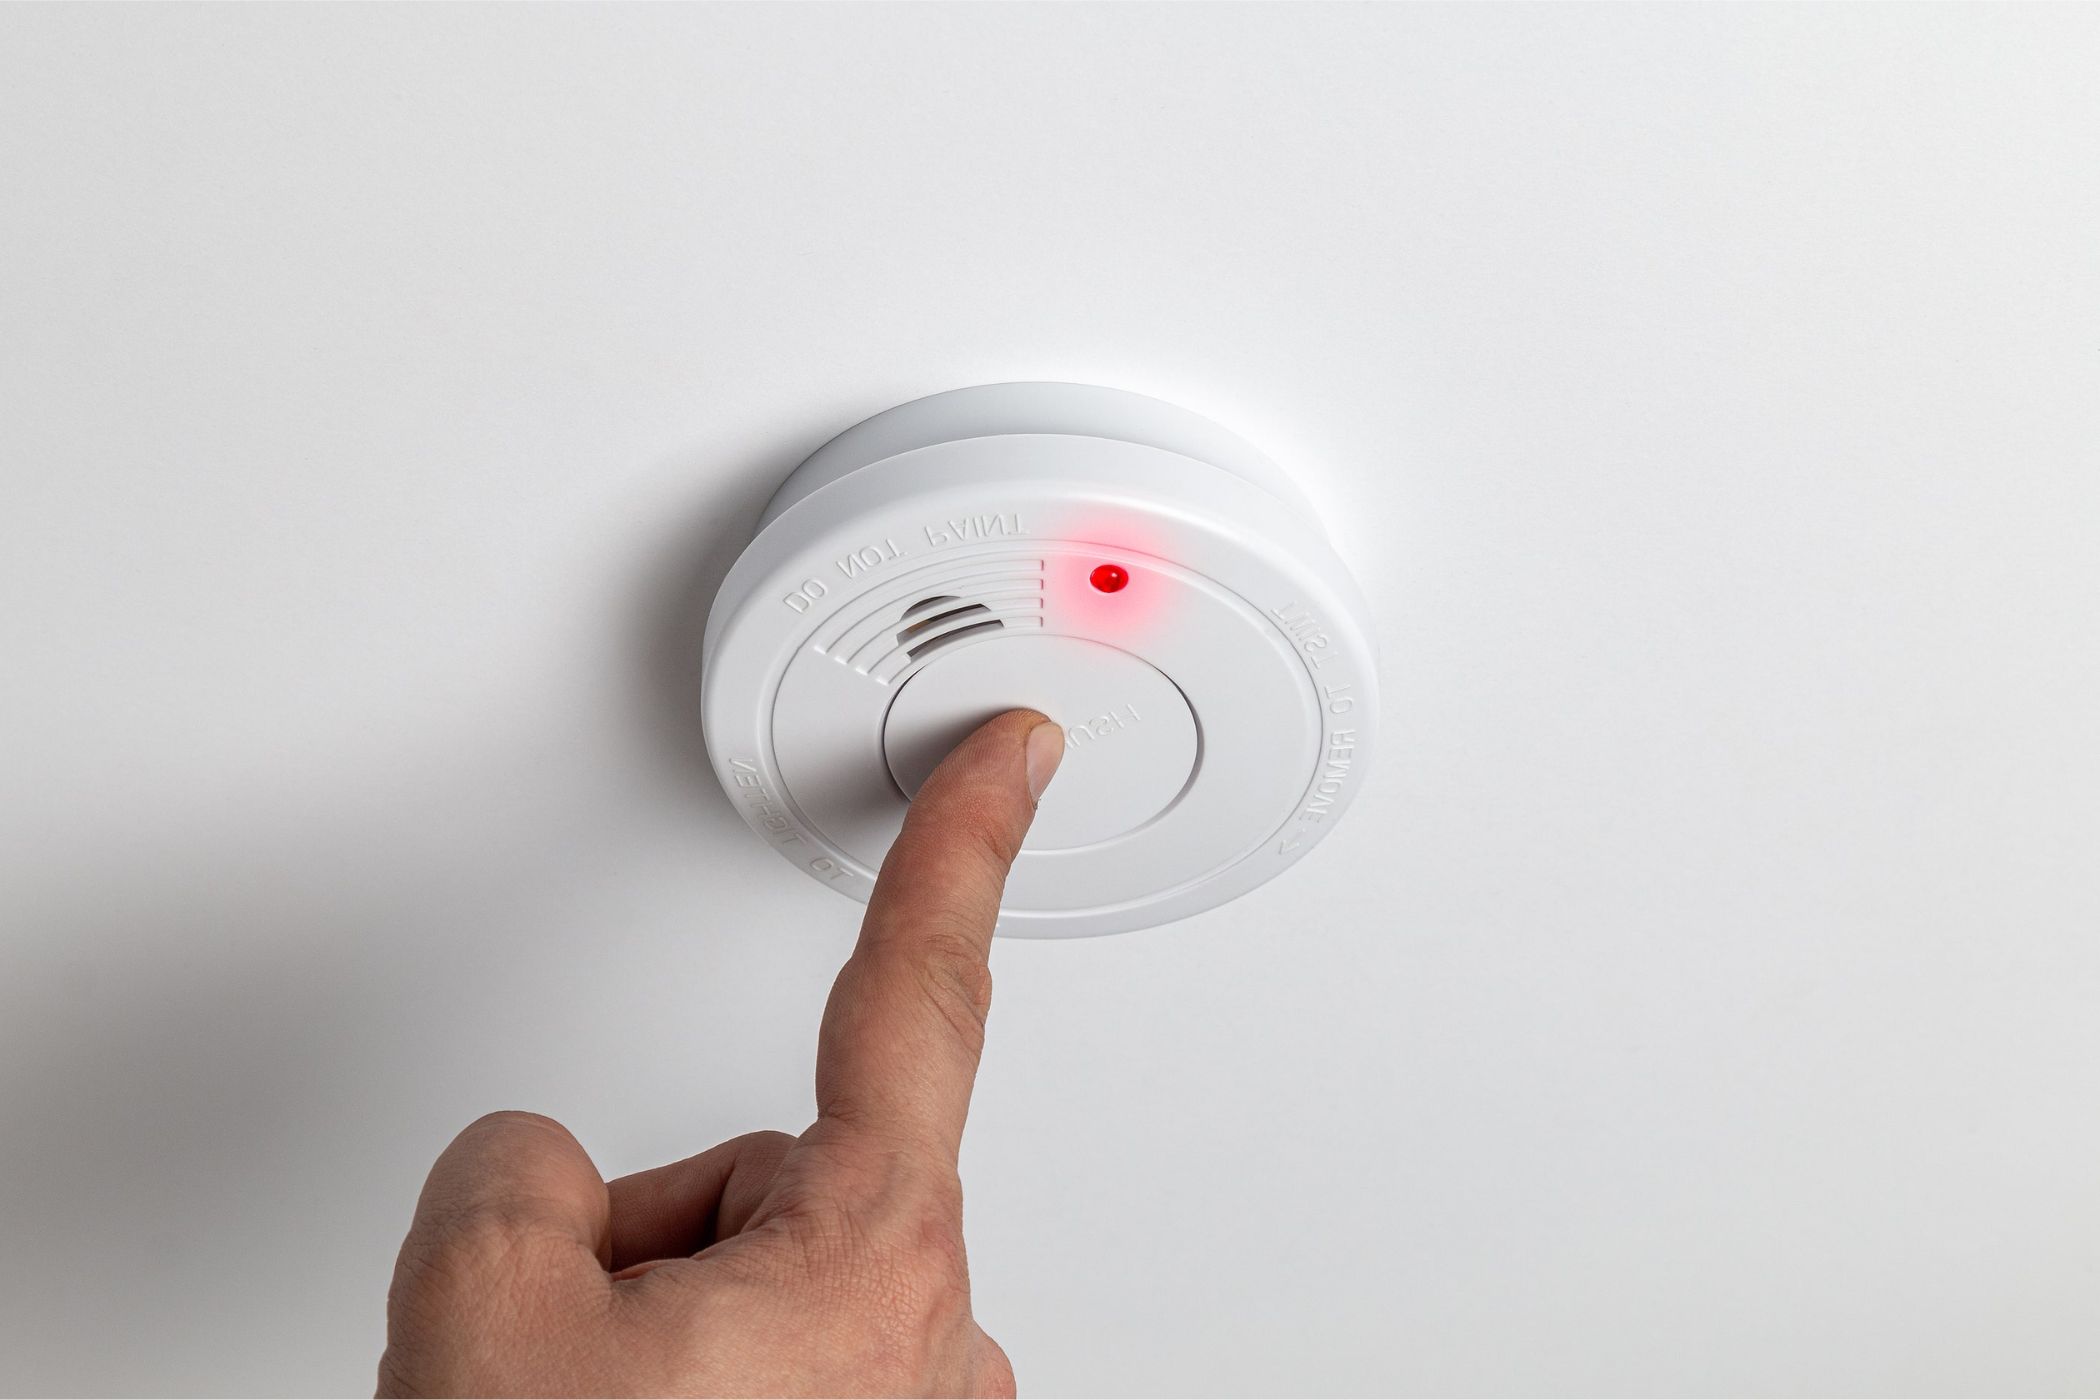
Double-check that the power is indeed turned off by pressing the test button on the smoke detector. If it doesn’t beep or make any noise, you can be confident that the power has been successfully disconnected.
It is important to note that smoke detectors are often interconnected, meaning that if one detector goes off, it triggers the others as well. To ensure the safety of your home, it’s recommended to switch off the main circuit breaker or the one that controls all the smoke detectors in your house.
Once you have confirmed that the power is off, you can move on to the next step of removing the old smoke detector.
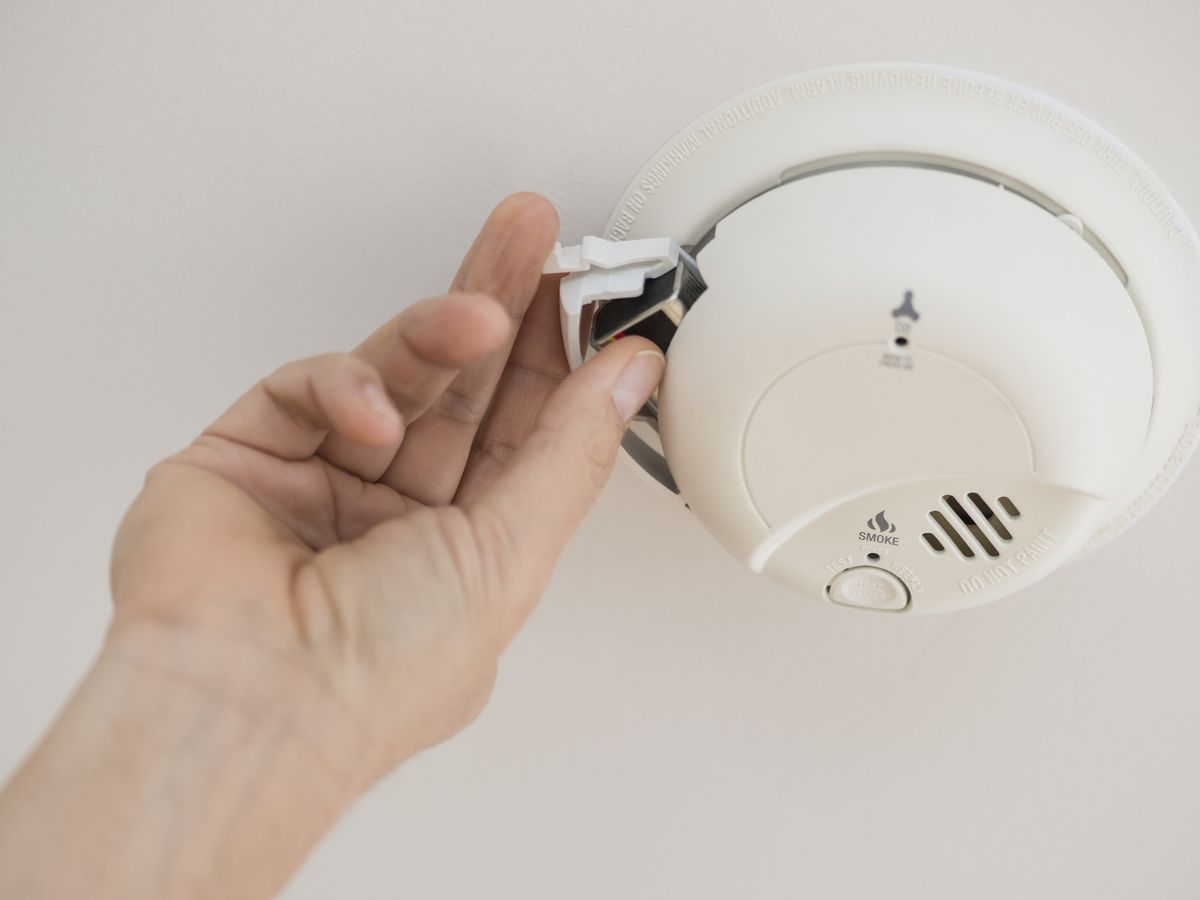
Step 3: Remove the old smoke detector
Now that you have turned off the power to the smoke detector, it’s time to remove the old smoke detector from its mounting bracket. Follow these steps:
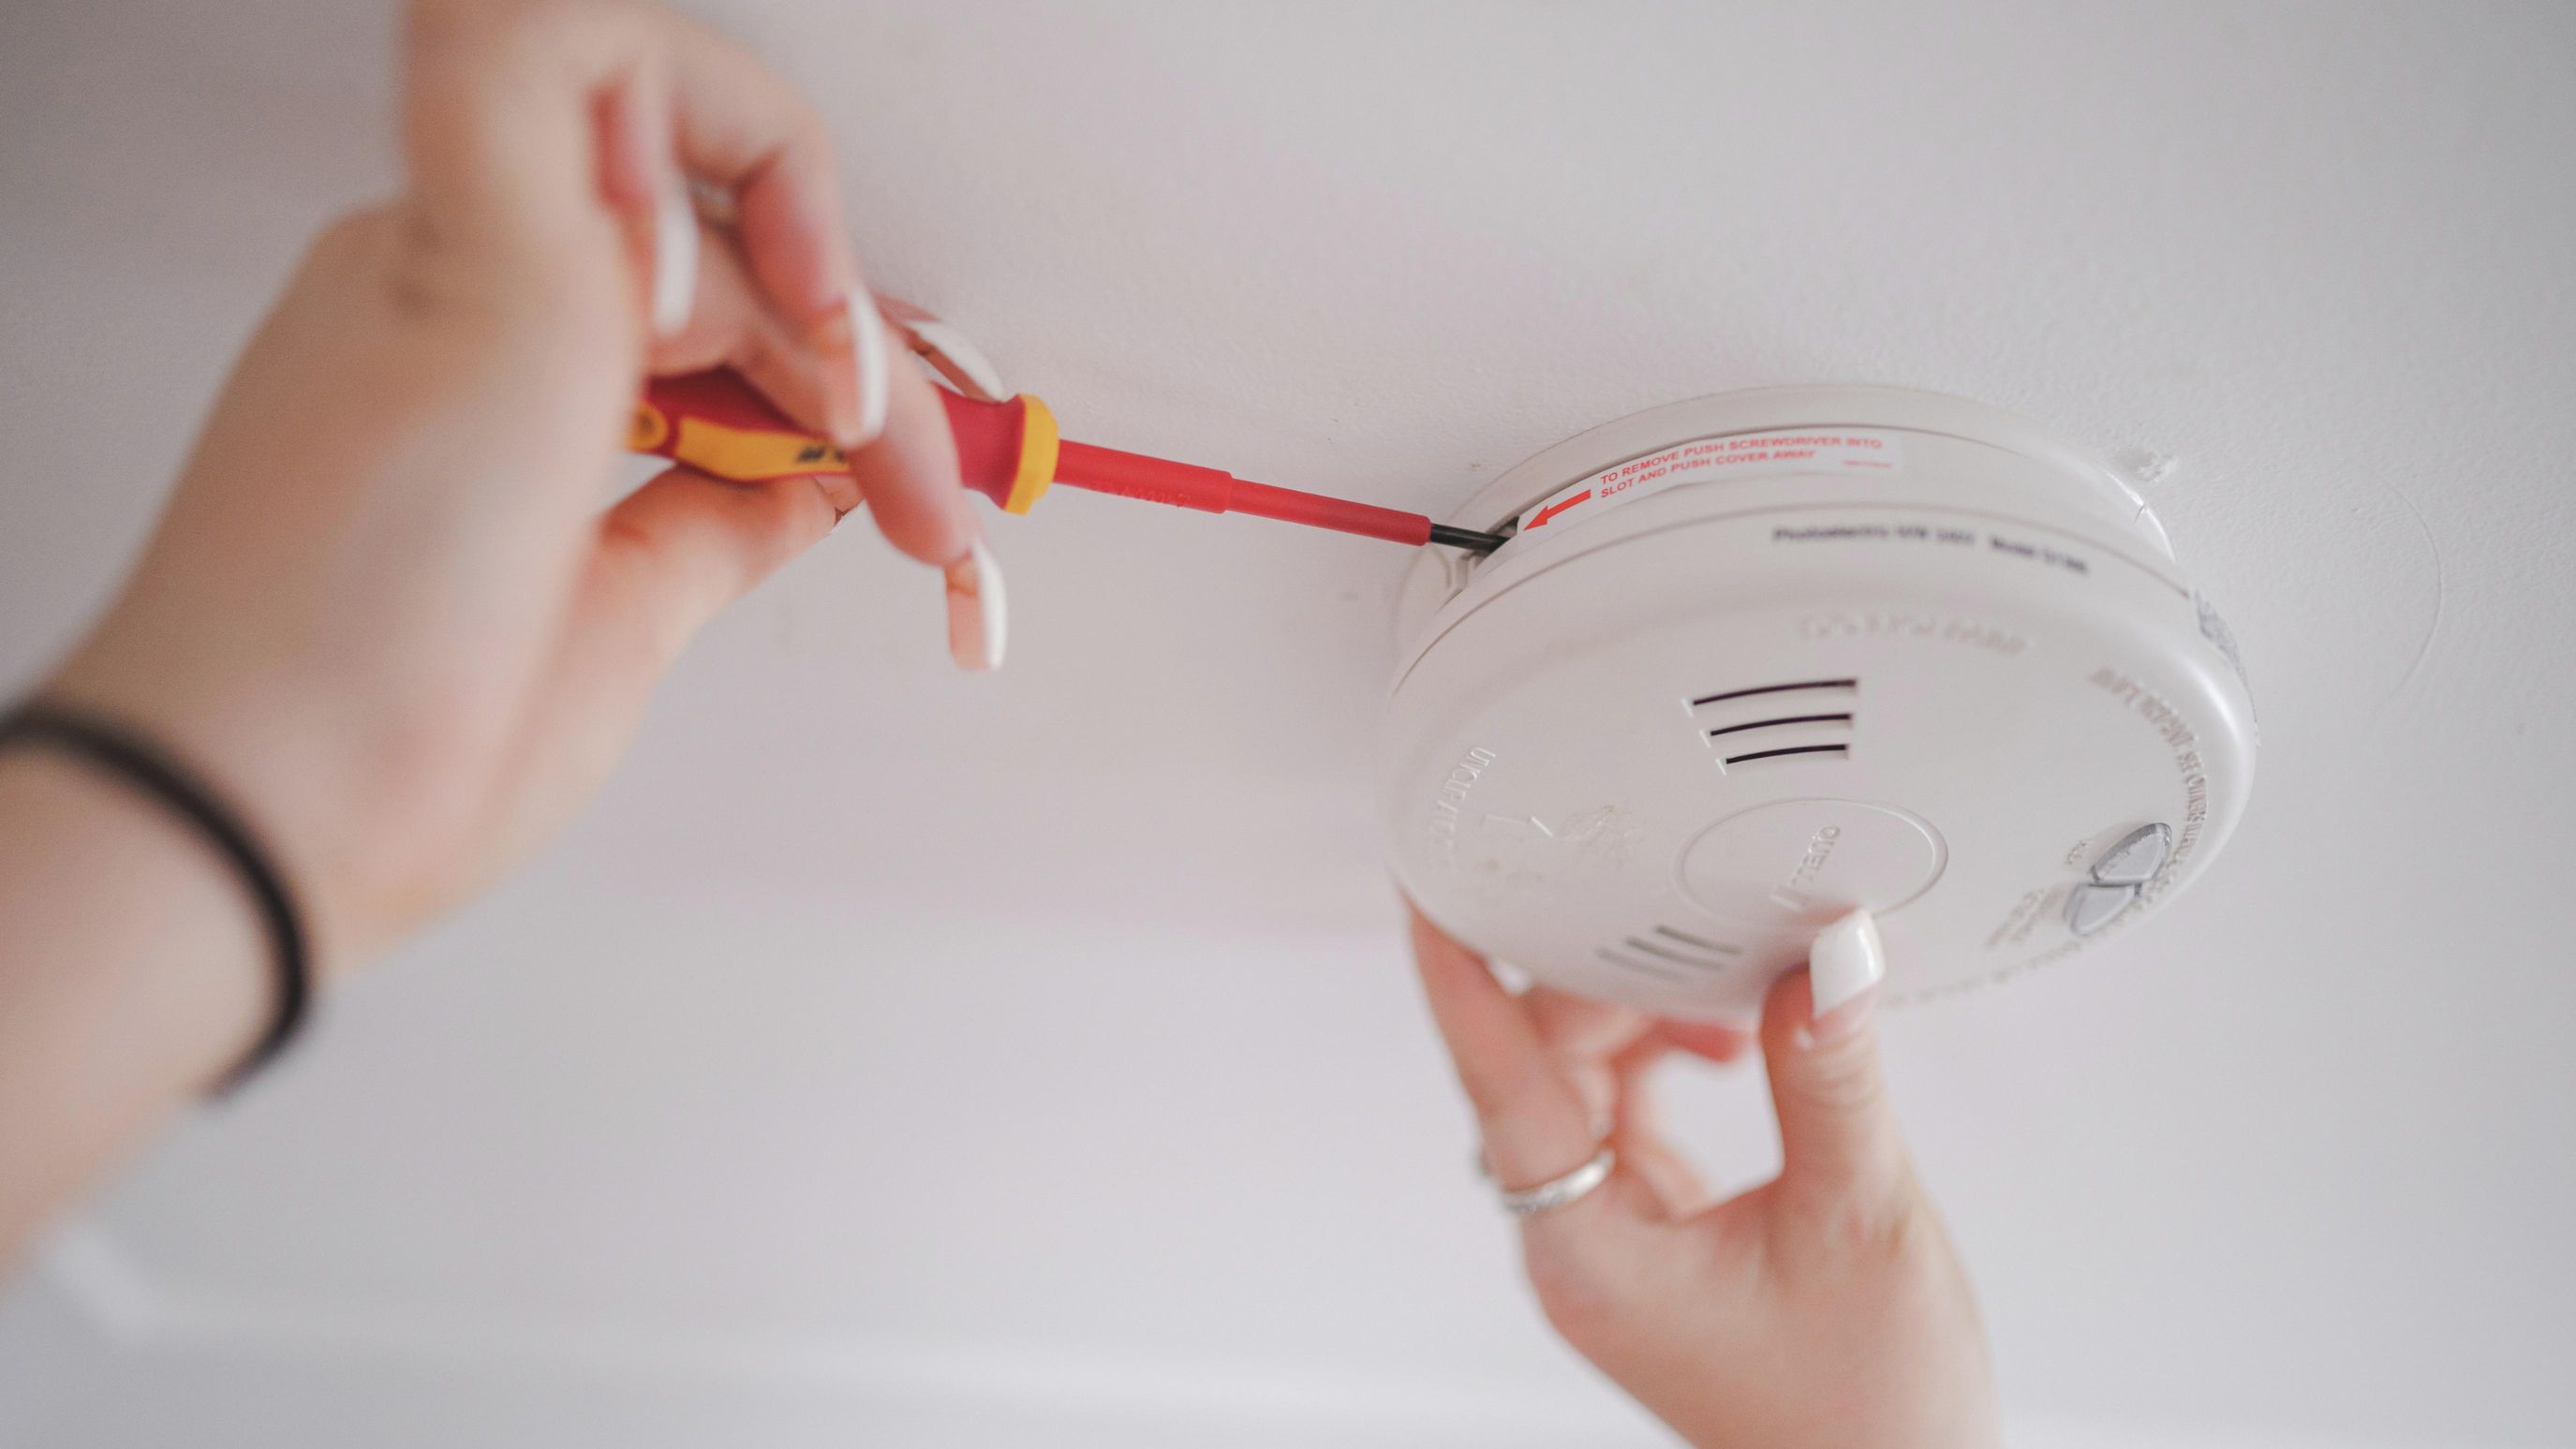
- Locate the smoke detector on the ceiling or wall. Most smoke detectors are attached to a mounting bracket and can be easily removed.
- Using a screwdriver, carefully remove the screws or fasteners that secure the smoke detector to the mounting bracket. Keep these screws in a safe place as you will need them later.
- Gently pull the smoke detector away from the mounting bracket. It should come off easily, but be careful not to damage any wires or cables connected to the detector.
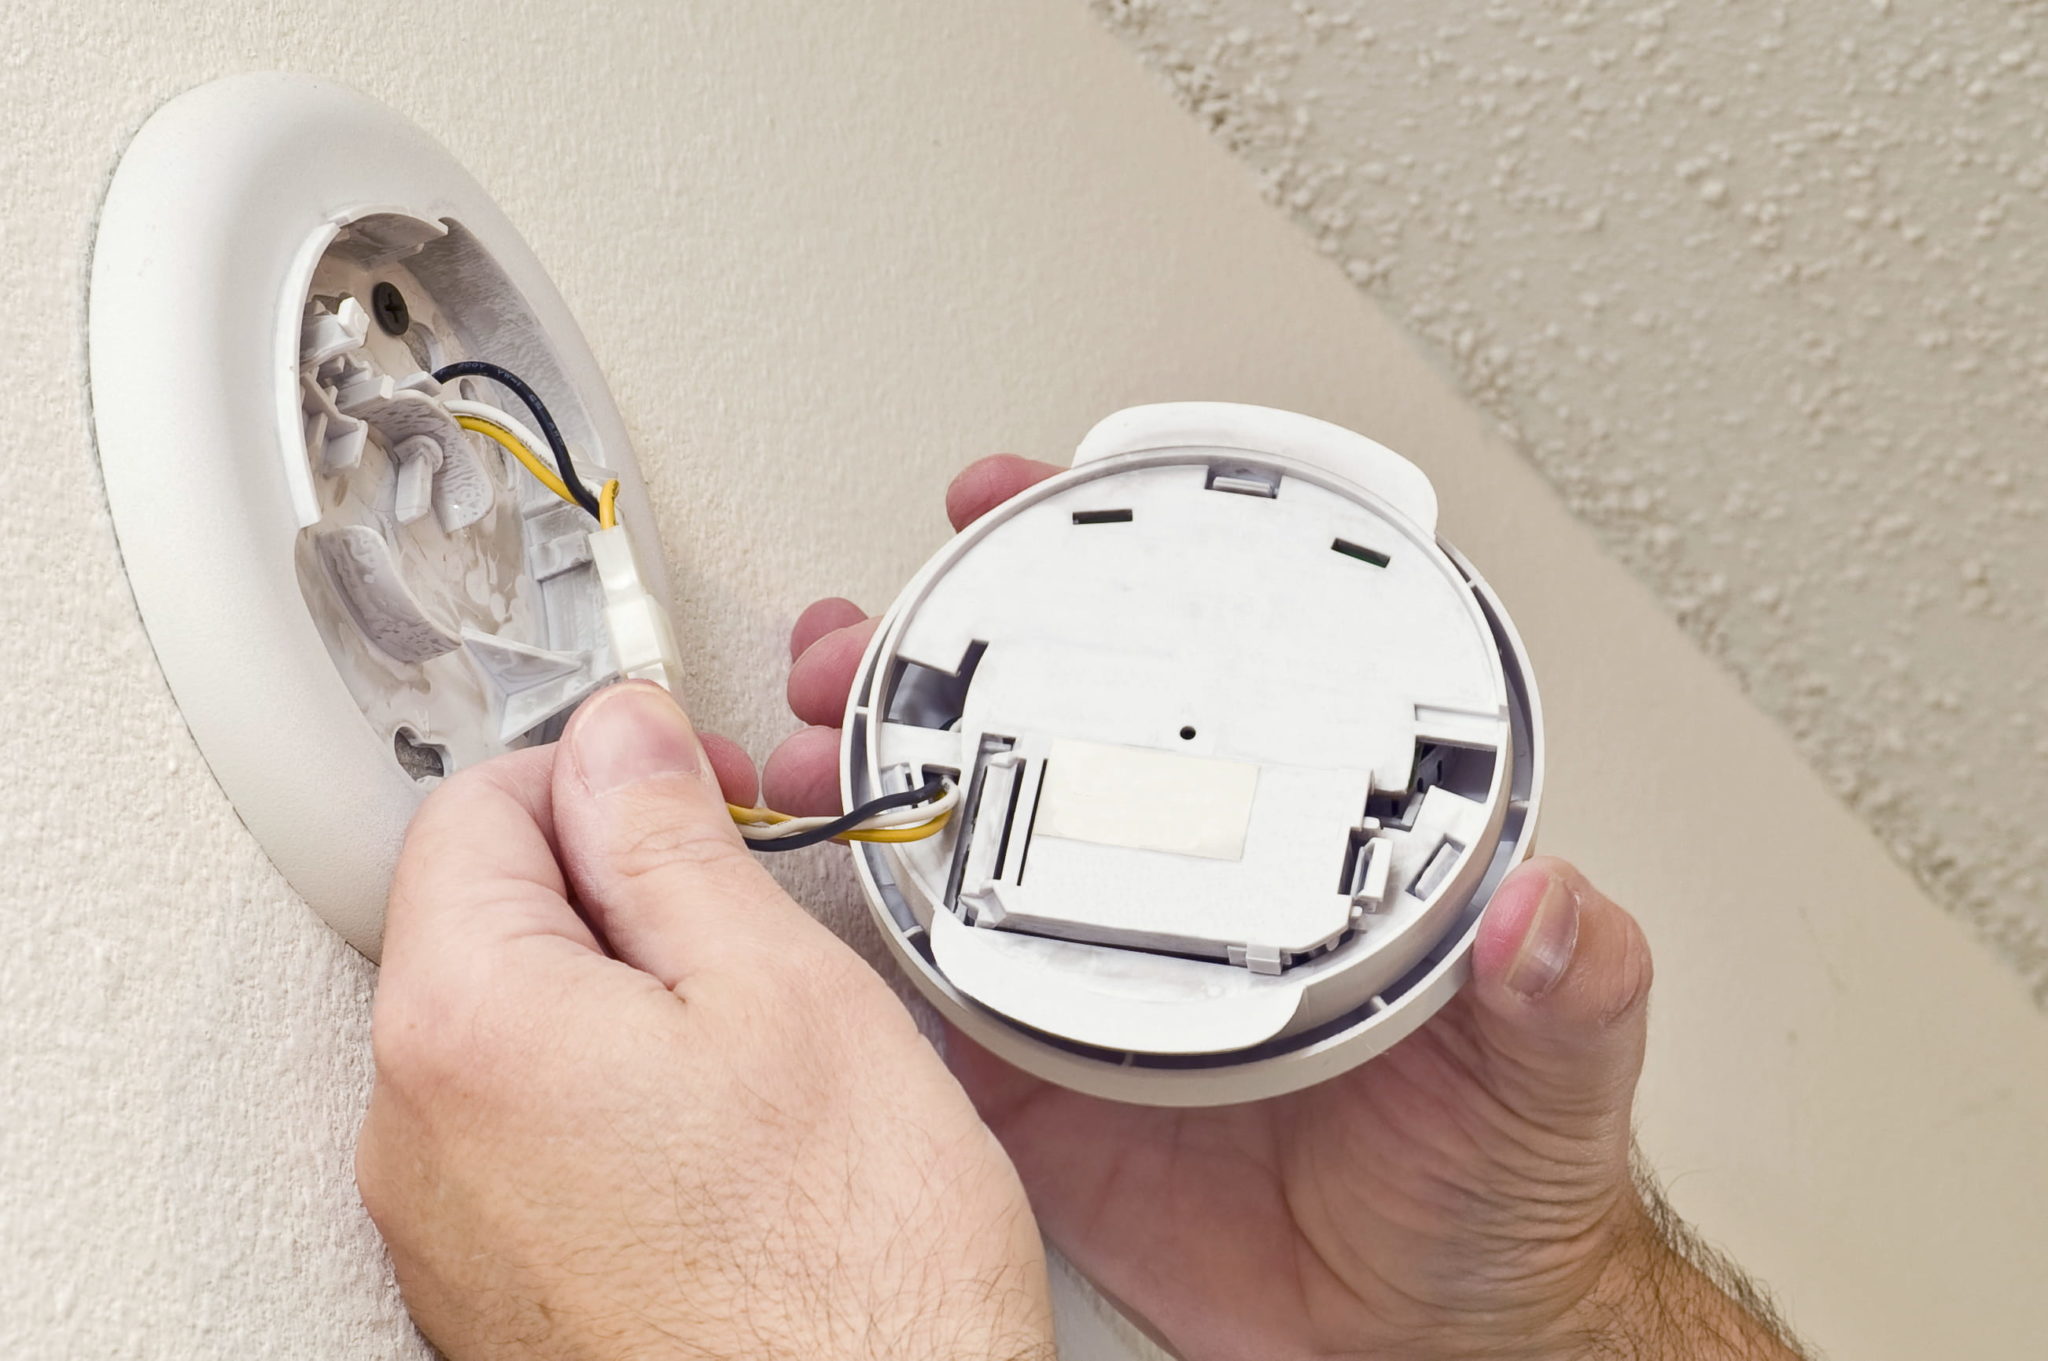
- If the smoke detector is hardwired, you will see electrical wiring connected to the back of the detector. Take note of how the wires are connected or take a photo for reference. This will help you during the installation of the new smoke detector.
Once you have successfully removed the old smoke detector, set it aside and proceed to the next step of disconnecting the wirings.
Remember, it’s essential to handle the old smoke detector with care and avoid touching any exposed wiring. If you are unsure about disconnecting the wirings or encounter any difficulties, consult a professional electrician for assistance.
Now that the old smoke detector is removed, you are ready to disconnect the wirings in the next step.
Step 4: Disconnect the wirings
With the old smoke detector removed, the next step is to disconnect the existing wirings. This step is crucial for ensuring a safe and seamless installation of the new smoke detector. Follow these steps:
- Examine the wires connected to the back of the old smoke detector. Note the color coding of each wire and their corresponding terminals.
- Using wire cutters or wire strippers, carefully remove the wire nuts or connectors securing the wires to the smoke detector. Gently twist the wire nut counterclockwise and pull it away from the connector to free the wires.
- Once the wires are disconnected, carefully set them aside and ensure they do not come into contact with any other objects or exposed ends.
- Inspect the wiring and the insulation for any signs of damage or wear. If you notice any frayed wires or deteriorated insulation, it’s important to replace or repair them before proceeding.
During this step, it is crucial to exercise caution and avoid tugging or pulling on the wires excessively. Treat the wiring with care to prevent any damage or accidental disconnection.
Now that the wirings are safely disconnected, you are ready to prepare the new smoke detector for installation in the next step.
When replacing a smoke detector, make sure to turn off the power to the existing unit before removing it. Test the new detector after installation to ensure it is functioning properly.
Read more: How To Replace A Hard-Wired Smoke Detector
Step 5: Prepare the new smoke detector
Now that you have disconnected the wirings from the old smoke detector, it’s time to prepare the new smoke detector for installation. Follow these steps:
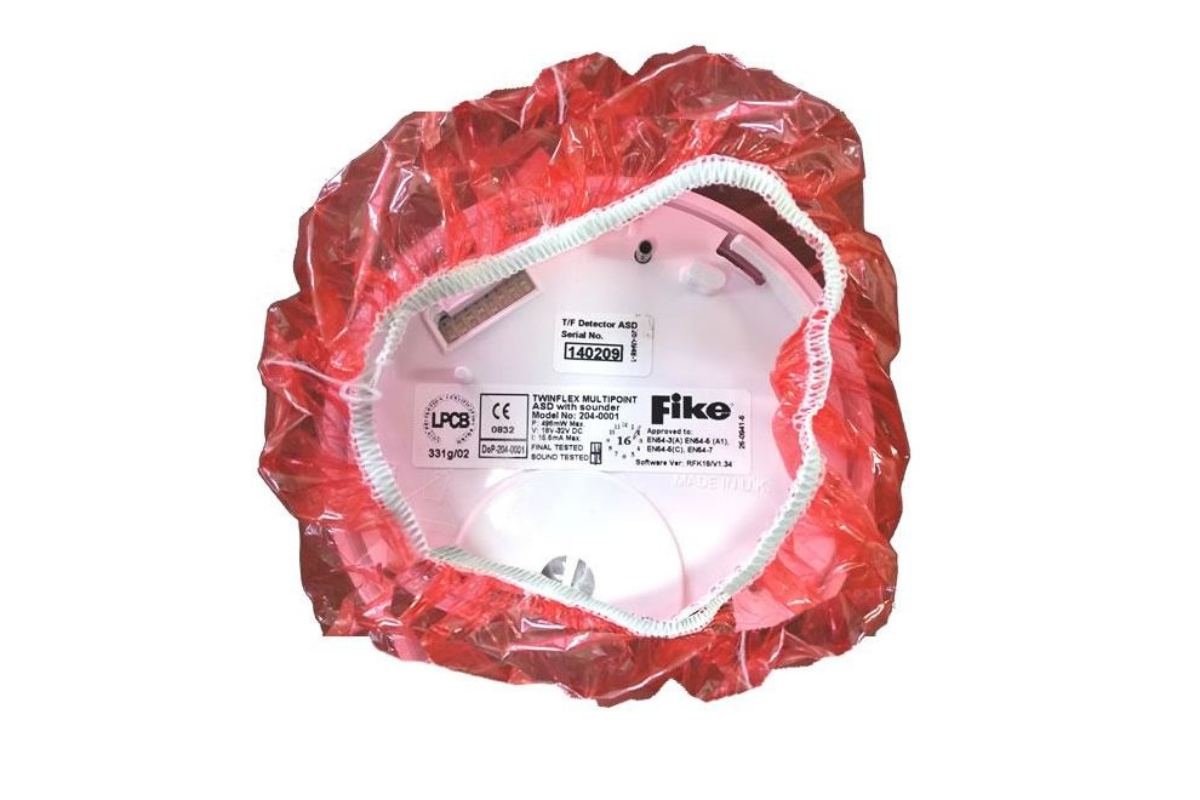
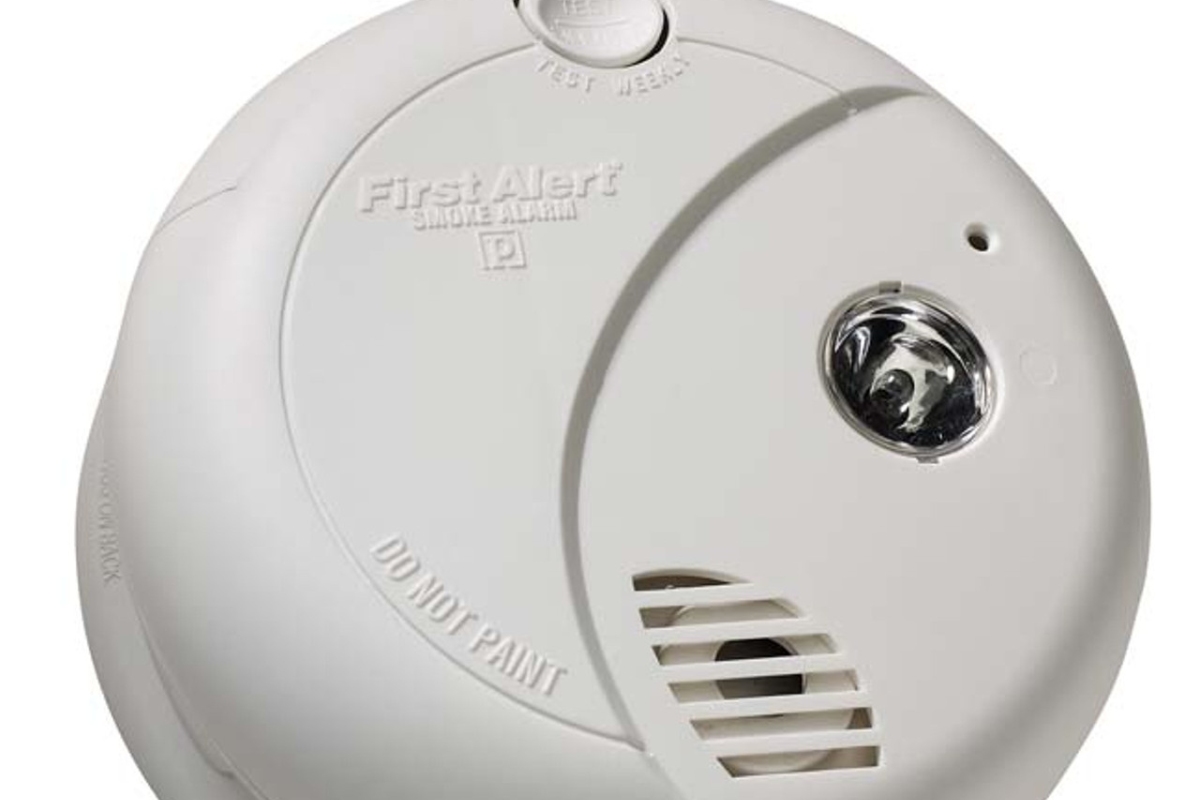
- Inspect the new smoke detector for any visible damage or defects. Ensure that all the components, such as the battery compartment or wiring terminals, are intact and in good condition.
- If your new smoke detector requires batteries, insert fresh batteries into the battery compartment following the manufacturer’s instructions. Make sure to use the correct type and size of batteries as specified by the manufacturer.
- Read the manufacturer’s instructions carefully. Familiarize yourself with the wiring diagram and any specific guidelines or precautions provided.
- If the new smoke detector has wires attached, strip the ends of the wires to expose approximately 1/2 inch of bare wire. Use wire strippers or carefully use wire cutters to remove the insulation.
- Some smoke detectors may come with a wiring harness that needs to be connected to the existing wires. If this is the case, follow the manufacturer’s instructions to connect the harness to the appropriate terminals on the new smoke detector.
It’s important to follow the manufacturer’s instructions and guidelines during this step to ensure proper installation and functionality of the new smoke detector. If you have any doubts or questions, refer to the instructions or consult a professional electrician.
Once you have prepared the new smoke detector, with fresh batteries inserted if required, and the wiring ready for connection, you are now ready to proceed to the next step: connecting the wirings.
Step 6: Connect the wirings
With the new smoke detector prepared, it’s time to connect the wirings and ensure a secure and reliable installation. Follow these steps:
- Refer to the wiring diagram provided by the manufacturer or the notes you took during the removal of the old smoke detector.
- Take one wire from the existing wiring and one wire from the new smoke detector. Twist the exposed ends of the wires together in a clockwise manner.
- Secure the connection by placing a wire nut over the twisted wires and twisting it clockwise until it is tightly secured. Repeat this process for all the remaining wires, ensuring each connection is secure.
- Double-check that each wire is connected to the correct terminal according to the wiring diagram or manufacturer’s instructions. Improperly connected wires can result in a malfunctioning smoke detector.
- Carefully tuck the wired connections back into the junction box or mounting bracket, ensuring they are not pinched or strained.
During this step, it’s important to handle the wiring with care and ensure that the connections are tight and secure. Loose connections can lead to electrical issues or a malfunctioning smoke detector.
If your new smoke detector uses a wiring harness, refer to the manufacturer’s instructions for connecting the harness to the appropriate terminals on the new detector. Follow the instructions provided carefully to ensure a proper and reliable connection.
Once all the wirings are securely connected, you are ready to proceed to the next step of mounting the new smoke detector.
Step 7: Mount the new smoke detector
Now that the wirings are securely connected, it’s time to mount the new smoke detector in its designated location. Follow these steps:
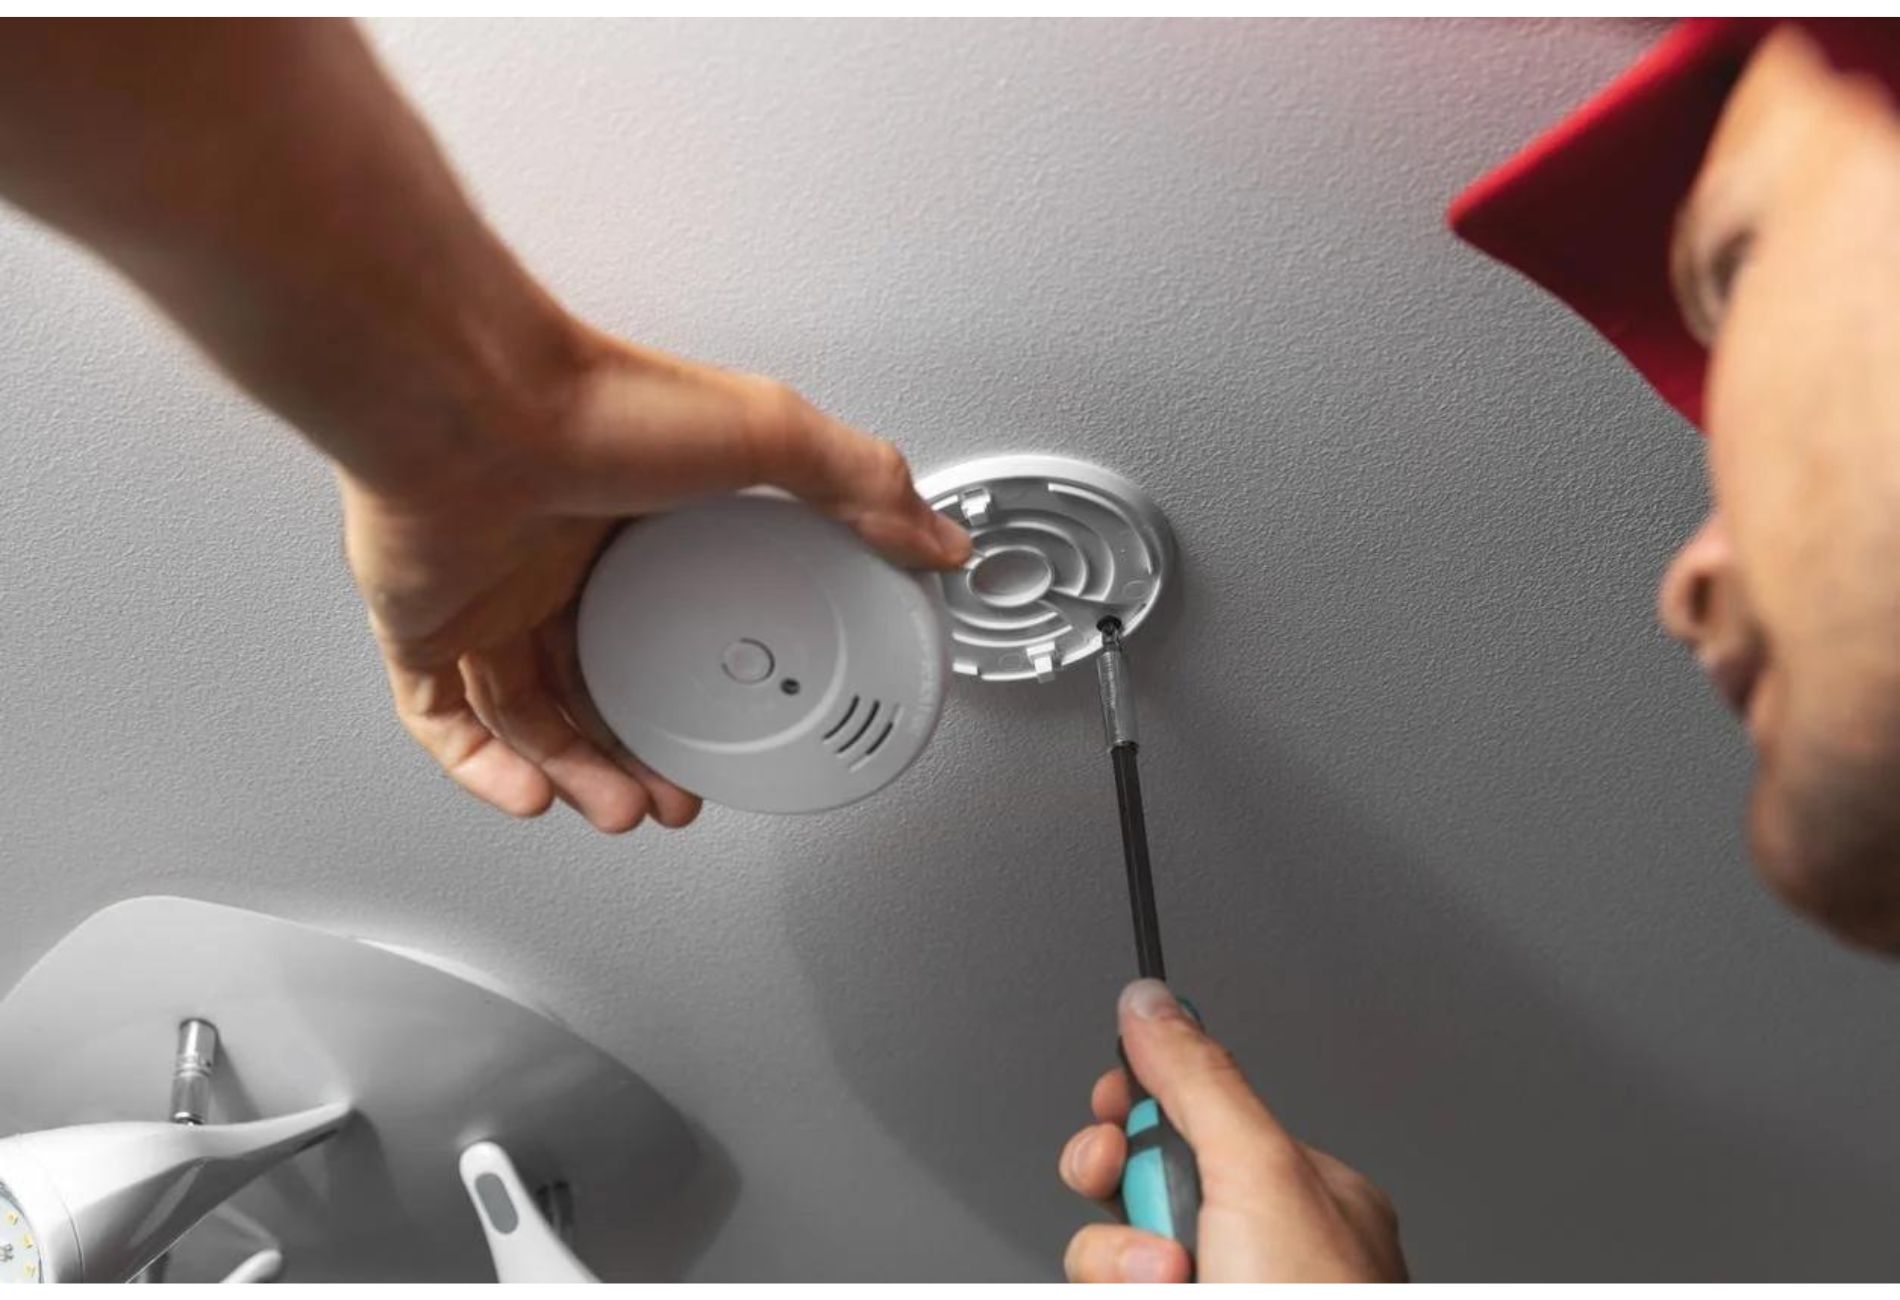
- Position the new smoke detector over the mounting bracket on the ceiling or wall. Align the screw holes on the detector with the holes on the bracket.
- Using the screws that were removed from the old smoke detector or any provided by the manufacturer, secure the new smoke detector to the mounting bracket. Tighten the screws until the detector feels secure and stable.
- If your smoke detector has a twist-on mounting mechanism, carefully twist the detector clockwise until it locks securely onto the bracket.
- Ensure that the new smoke detector is level and flush with the ceiling or wall. This will ensure proper functionality and aesthetic appeal.
- Double-check that the wiring connections are not pinched or strained and that they are tucked neatly inside the junction box or mounting bracket.
During this step, it’s important to handle the new smoke detector with care and ensure that it is securely mounted. A loose or improperly installed smoke detector may not function properly during an emergency.
If you encounter any difficulties during the mounting process or if the new smoke detector does not fit securely onto the mounting bracket, consult the manufacturer’s instructions or seek assistance from a professional electrician.
Once the new smoke detector is securely mounted, you are ready to proceed to the final step: testing the new smoke detector.
Step 8: Test the new smoke detector
After installing the new smoke detector, it’s crucial to test its functionality to ensure it is working correctly and providing the necessary protection for your home. Follow these steps to test the new smoke detector:
- Ensure that the power to the smoke detector circuit is turned on. You can do this by switching the corresponding circuit breaker back to the “On” position.
- Press and hold the test button on the new smoke detector. This button is usually located on the front or side of the detector and is labeled as “Test” or a similar designation.
- Continue holding the test button for a few seconds until you hear a loud, distinctive alarm sound. The new smoke detector should respond by emitting a loud beeping noise.
- Observe the smoke detector for any malfunction or irregularities during the test. Ensure that the alarm sound is clear and loud enough to be heard throughout your home.
- If the new smoke detector does not emit a beep or if the alarm sound is weak or distorted, there may be an issue with the installation or the device itself. In such cases, refer to the manufacturer’s instructions or consult a professional to diagnose and resolve the problem.
- Once you have confirmed that the new smoke detector is functioning properly, reset the detector by releasing the test button. The alarm sound should stop, indicating that the test was successful.
Testing the new smoke detector is an important step in ensuring the safety of your home and loved ones. Regularly test your smoke detectors as recommended by the manufacturer, typically once a month, and replace batteries as needed.
By following these steps and regularly maintaining your smoke detectors, you can have peace of mind knowing that you have a reliable and effective safety measure in place to protect against potential fires.
With the new smoke detector successfully installed and tested, you have completed the process of replacing a smoke detector.
Conclusion
Replacing a smoke detector is a crucial task that ensures the safety and protection of your home and loved ones. By following the step-by-step guide outlined in this article, you can successfully replace your smoke detector and maintain a reliable and effective safety system.
Throughout the process, we covered essential steps, including gathering the necessary tools and materials, turning off power to the smoke detector, removing the old smoke detector, disconnecting the wirings, preparing the new smoke detector, connecting the wirings, mounting the new smoke detector, and testing its functionality.
Remember to prioritize safety at every stage of the process. Always turn off the power to the smoke detector circuit before starting any work, handle the wiring with care, and consult a professional if you encounter any difficulties or uncertainties.
Regularly testing your smoke detectors is crucial for ensuring their proper functioning. Be sure to follow the manufacturer’s recommendations for testing and maintenance. Additionally, replace the batteries in battery-operated smoke detectors as needed or as recommended by the manufacturer.
By implementing these steps and maintaining your smoke detectors, you can rest assured knowing that you have taken proactive measures to protect your home and loved ones from potential fire hazards.
Remember, if you are unsure about any aspect of replacing a smoke detector, don’t hesitate to seek assistance from a professional electrician or a qualified individual who can provide guidance and ensure a safe installation.
With a new smoke detector in place, you can have peace of mind knowing that you have taken an important step towards creating a safer living environment.
Frequently Asked Questions about How Do You Replace A Smoke Detector
Was this page helpful?
At Storables.com, we guarantee accurate and reliable information. Our content, validated by Expert Board Contributors, is crafted following stringent Editorial Policies. We're committed to providing you with well-researched, expert-backed insights for all your informational needs.

0 thoughts on “How Do You Replace A Smoke Detector”