
Articles
How Do You Reset A Nest Doorbell
Modified: August 26, 2024
Learn how to reset a Nest doorbell with these informative articles. Get step-by-step instructions and troubleshooting tips to solve any issues.
(Many of the links in this article redirect to a specific reviewed product. Your purchase of these products through affiliate links helps to generate commission for Storables.com, at no extra cost. Learn more)
Introduction
Welcome to the world of smart home technology, where devices are designed to make our lives easier and provide added convenience and security. One such device that has gained popularity in recent years is the Nest Doorbell. With its advanced features and seamless integration with other Nest products, the Nest Doorbell has become a favorite among homeowners.
However, just like any electronic device, there may come a time when you need to reset your Nest Doorbell. Whether you are experiencing technical issues, changing ownership, or simply want to start fresh, performing a reset can help resolve various problems and ensure optimal performance.
In this article, we will guide you through the process of resetting your Nest Doorbell. We will explore the reasons why a reset might be necessary, the steps involved in performing a factory reset, and the subsequent setup process. So, let’s dive in and learn how to reset a Nest Doorbell!
Key Takeaways:
- Resetting a Nest Doorbell is essential for resolving technical issues, changing ownership, addressing privacy concerns, and optimizing performance. It’s a straightforward process that ensures the device functions optimally and meets your specific needs.
- After performing a factory reset, setting up the Nest Doorbell involves scanning the QR code, following on-screen instructions, and customizing settings. Troubleshooting tips are also provided to address common setup issues, ensuring a seamless experience.
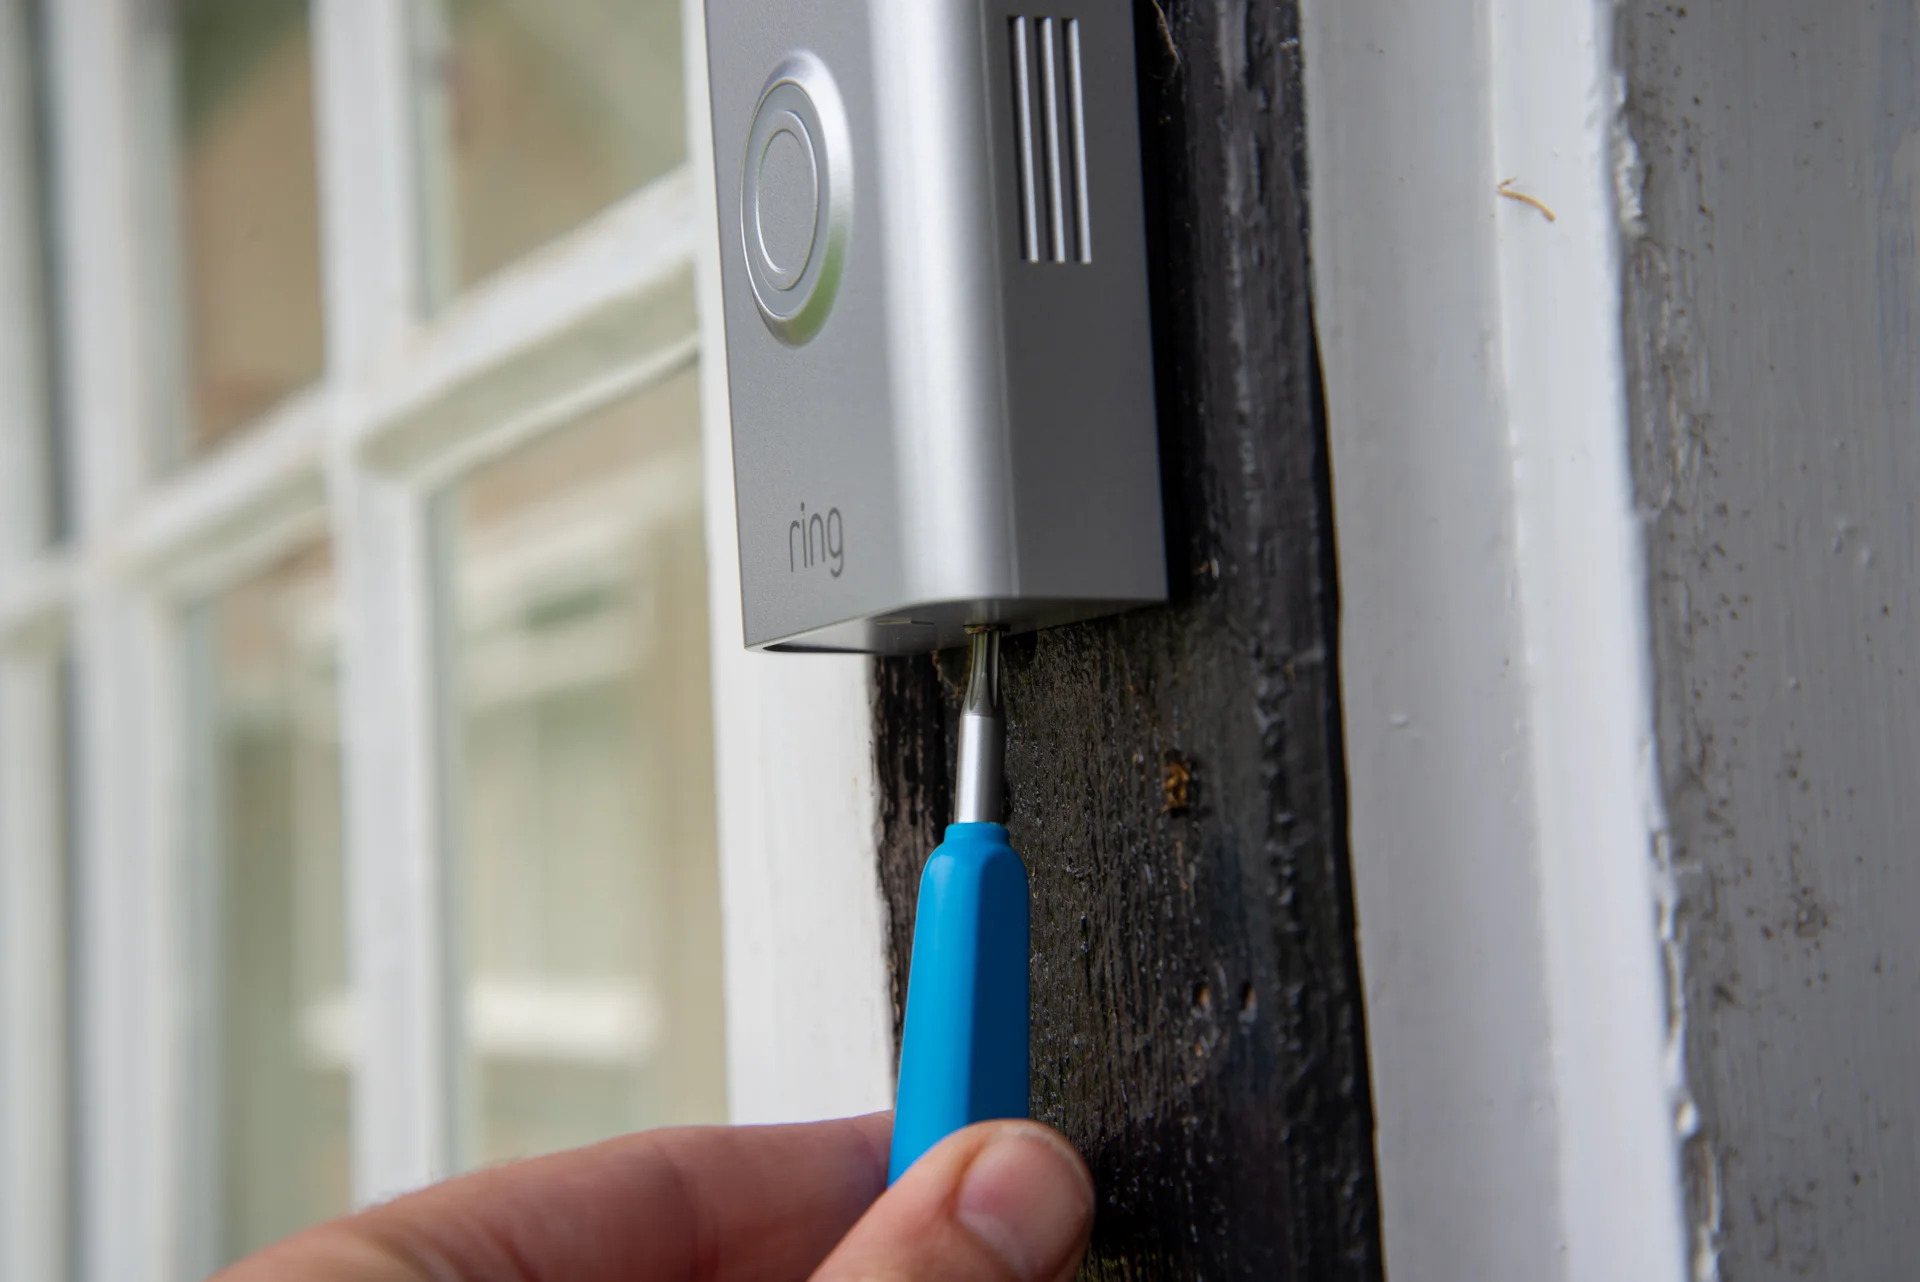
Read more: How Do You Reset A Ring Doorbell
Understanding the Nest Doorbell
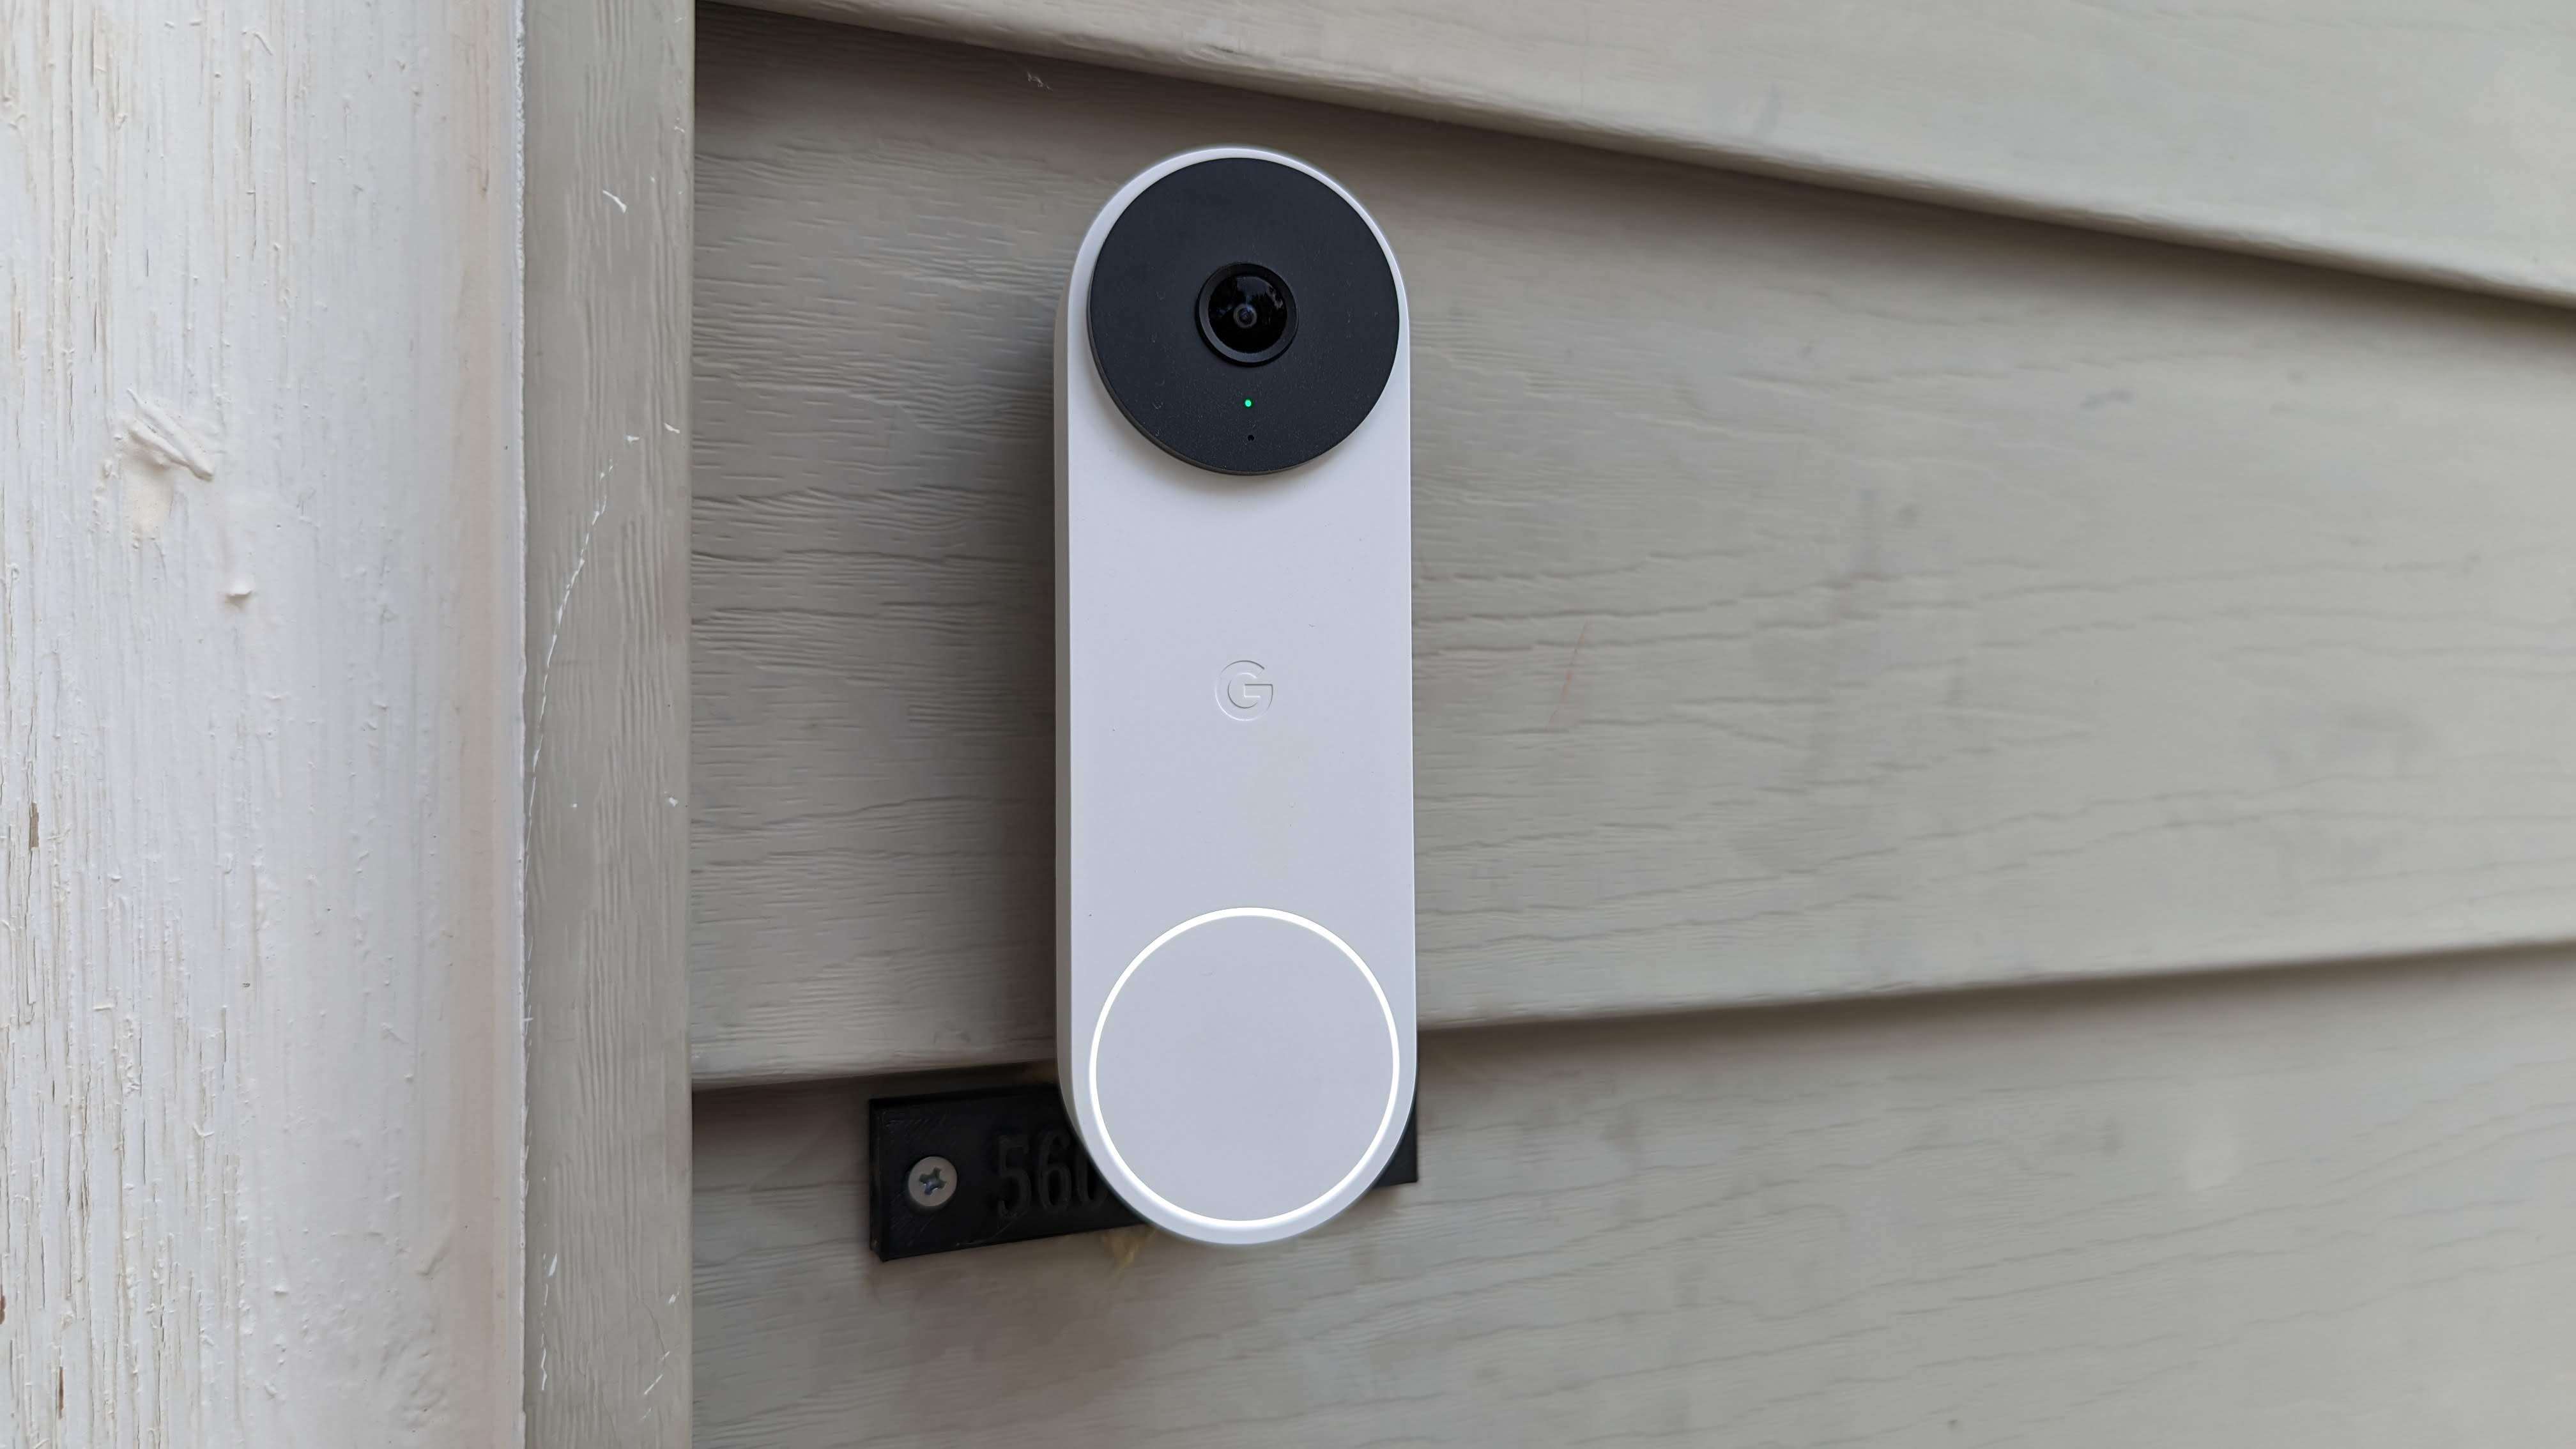
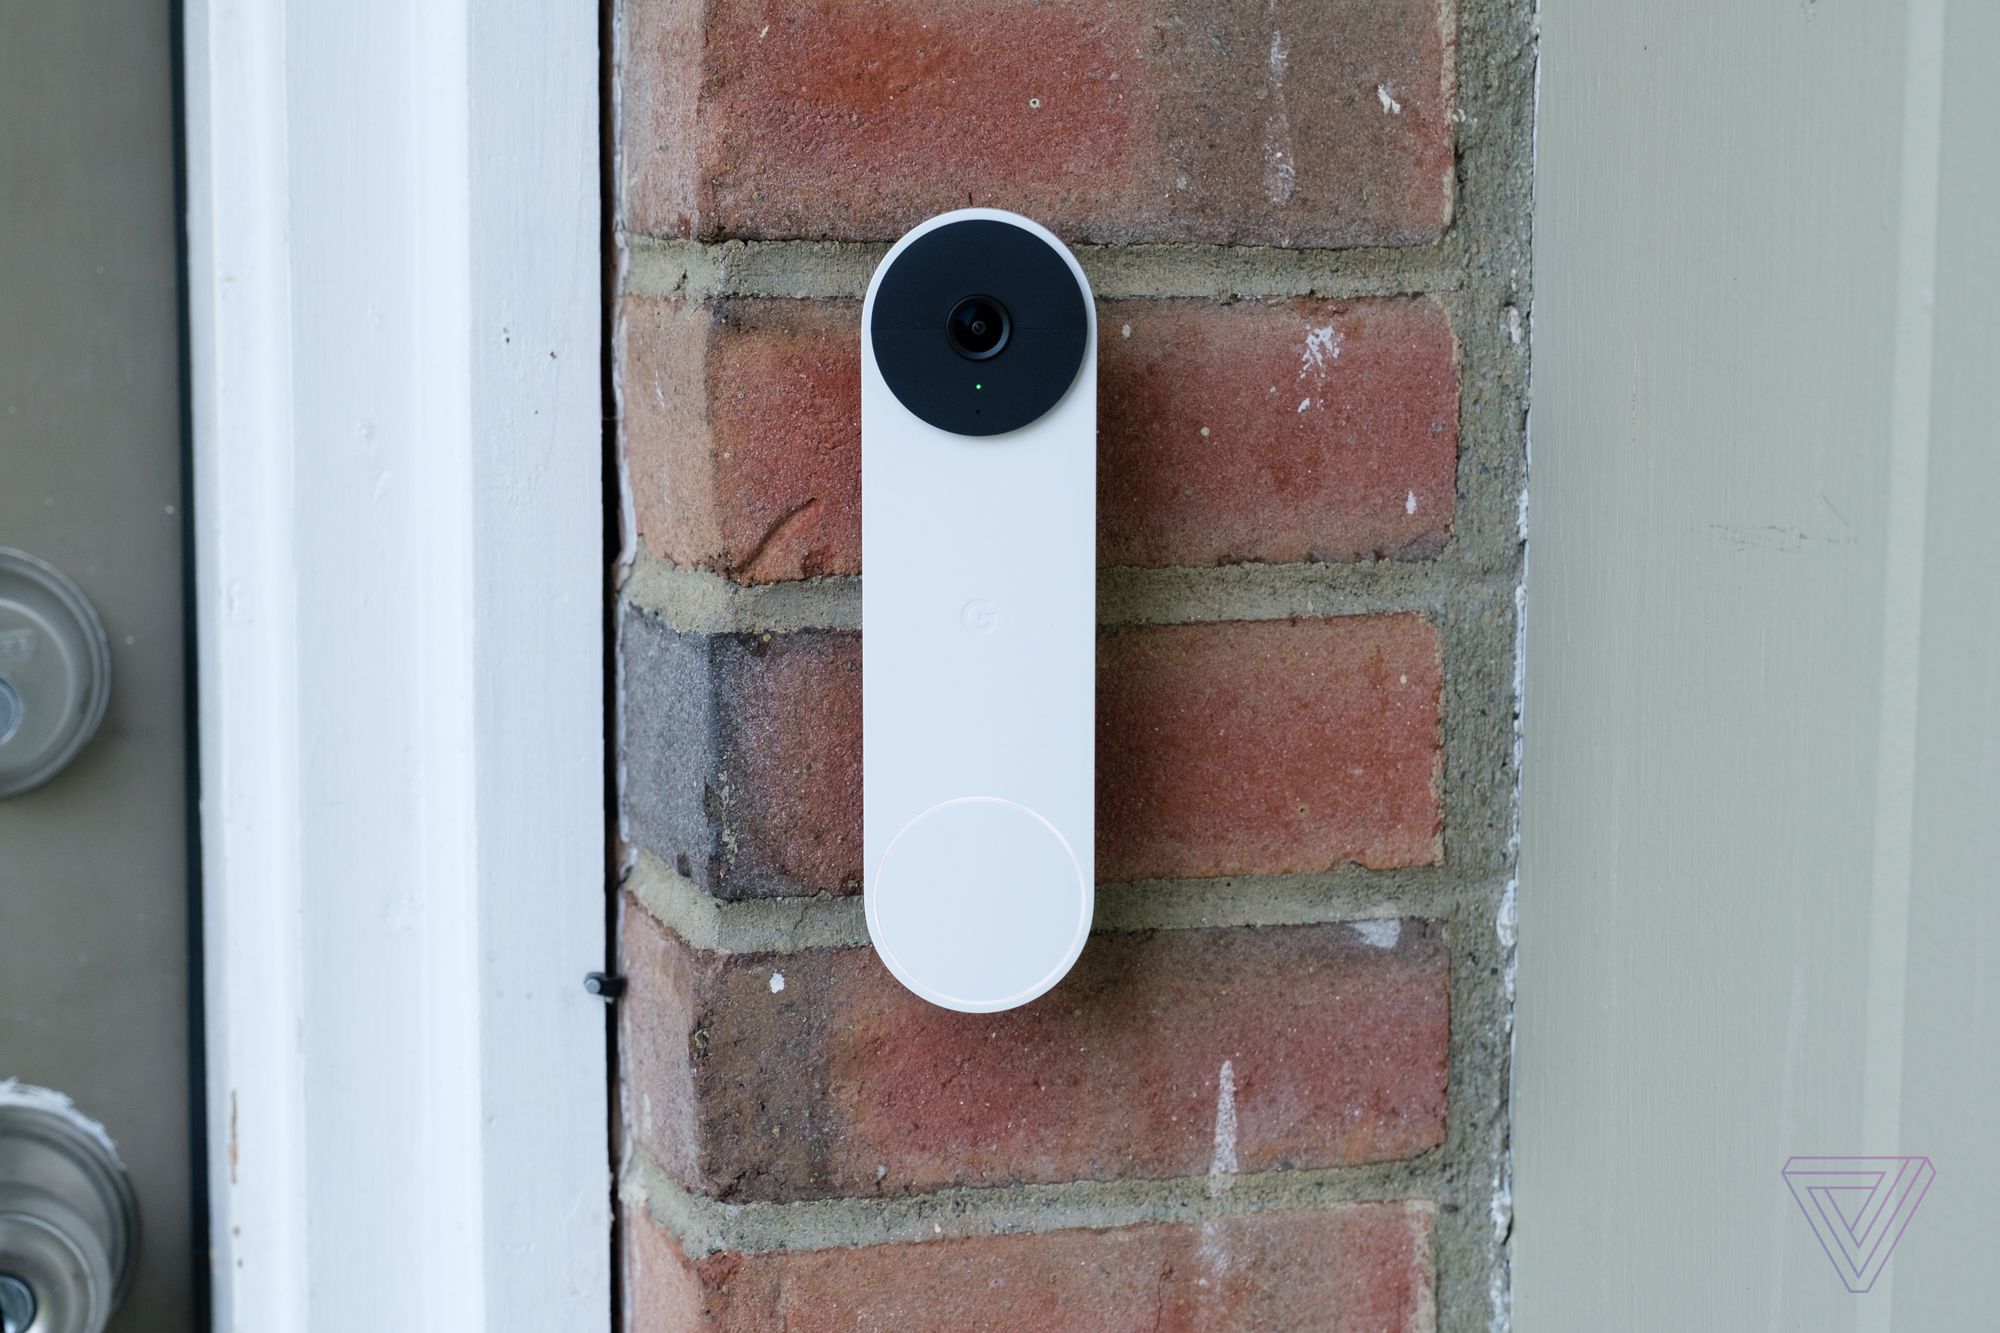
The Nest Doorbell is a smart doorbell device that allows you to monitor and control your front door from anywhere using your smartphone or other compatible devices. It is equipped with a high-definition camera, two-way audio, and motion detection capabilities, providing you with real-time notifications and the ability to interact with visitors remotely.
One of the key features of the Nest Doorbell is its integration with the Nest ecosystem. If you have other Nest products like Nest Thermostat or Nest Cam, you can manage them all from the same Nest app, creating a comprehensive smart home experience.
With the Nest Doorbell, you can see who’s at your door, have a conversation with your visitors, and even record video footage for future reference. It offers features like night vision for clear visibility in low-light conditions, facial recognition to differentiate between familiar and unfamiliar faces, and the ability to customize motion detection zones to focus on specific areas.
Setting up the Nest Doorbell is a straightforward process. You’ll need a stable internet connection and a compatible smartphone or tablet. Once connected, you can access the features and settings of your doorbell through the Nest app, giving you complete control over your home’s security.
Now that we have a basic understanding of the Nest Doorbell, let’s explore the reasons why you might need to reset it.
Reasons to Reset a Nest Doorbell
There are several reasons why you might need to reset your Nest Doorbell. Let’s take a look at a few common scenarios:
1. Technical Issues: Sometimes, the Nest Doorbell may encounter technical glitches or errors that affect its performance. These issues can include connectivity problems, firmware updates gone wrong, or software conflicts. Resetting the device can help resolve these issues and restore it to its default settings.
2. Change of Ownership: If you’re moving to a new home or selling your current one, you may want to reset the Nest Doorbell to remove your personal information and ensure a clean setup for the new owner. This is especially crucial if the doorbell is linked to your Nest account, as a reset will unlink it and allow the new owner to set it up with their own account.
3. Privacy Concerns: Resetting the Nest Doorbell is also a good practice if you have privacy concerns. By performing a reset, you can ensure that all video footage and personal data associated with your account are completely erased from the device, giving you peace of mind.
4. Optimization and Performance: If you’ve been using your Nest Doorbell for a long time and notice a decline in performance or experience frequent issues, a reset can help optimize its functionality. It resets all settings, clears any accumulated data, and provides a fresh start for the device.
5. Upgrading or Reinstalling: In some cases, you might want to reset your Nest Doorbell to prepare for an upgrade or reinstall it for troubleshooting purposes. Resetting ensures that the device is ready for a new installation, preventing any potential conflicts or compatibility issues.
Remember, resetting your Nest Doorbell should be approached with caution, as it will erase all existing settings and data. Be sure to consider these reasons before proceeding with a reset and make a backup of any important data if necessary. Now that we understand why a reset might be necessary, let’s move on to the steps involved in performing a factory reset of your Nest Doorbell.
Resetting the Nest Doorbell
Resetting your Nest Doorbell involves performing a factory reset, which will restore the device to its original settings. Before you proceed, it’s important to note that this process will erase all current settings, video footage, and personal data associated with your Nest Doorbell. Make sure you have a backup of any important data before proceeding with the reset.
To reset your Nest Doorbell, follow these steps:
1. Open the Nest App: Launch the Nest app on your smartphone or tablet. Make sure you are logged in to your Nest account.
2. Select the Doorbell: Tap on the Nest Doorbell device from the list of connected devices in the app. This will open the settings menu for the doorbell.
3. Access Device Settings: Look for the gear icon or the “Settings” option within the Nest Doorbell menu. Tap on it to access the device settings.
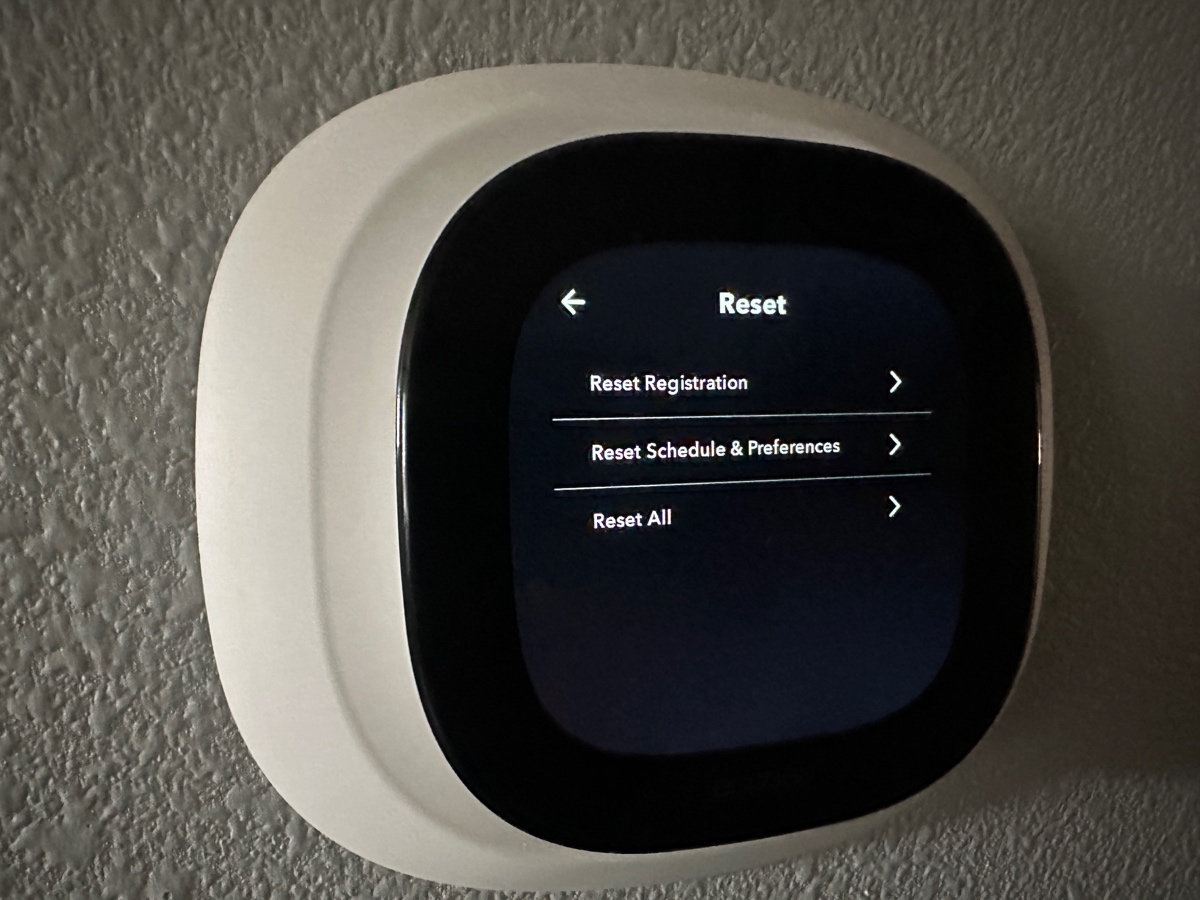
4. Find the Reset Option: Scroll through the settings menu until you find the “Reset” or “Factory Reset” option. The exact location of this option may vary slightly depending on the version of the Nest app you are using.
5. Perform the Factory Reset: Once you locate the reset option, tap on it to initiate the factory reset process. You may be prompted with a confirmation message, verifying that you want to proceed with the reset. Confirm your selection and proceed.
6. Wait for the Reset: The Nest Doorbell will now begin the reset process. It may take a few minutes for the device to completely reset and restart. During this time, avoid interrupting the process or turning off the device.
7. Confirmation and Setup: Once the reset is complete, you will be prompted to set up your Nest Doorbell as if it were a new device. Follow the on-screen instructions to complete the setup process, including connecting to your Wi-Fi network and configuring any desired settings.
That’s it! You have successfully reset your Nest Doorbell to its factory settings. Now, let’s move on to the next step of setting up the device after the reset.
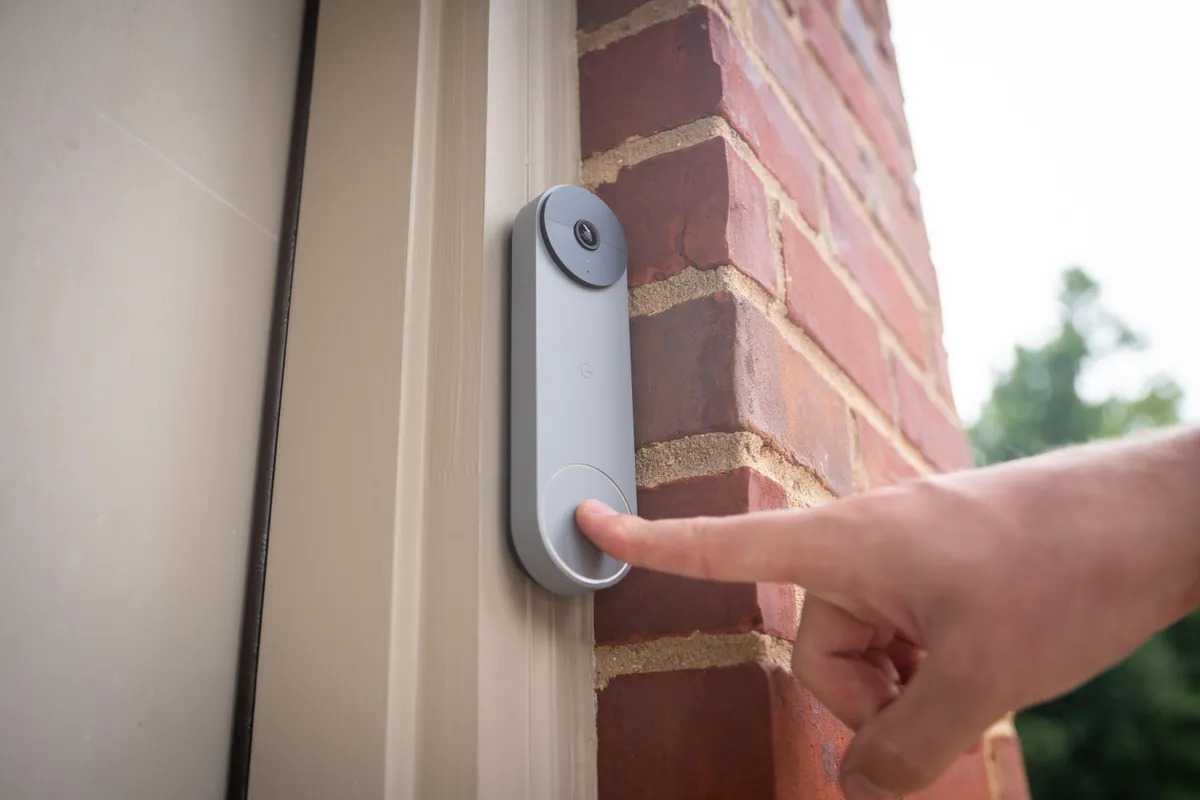
To reset a Nest doorbell, press and hold the button on the doorbell for 10 seconds until the light turns blue. Then release the button and wait for the doorbell to restart.
Steps to Perform a Factory Reset
To perform a factory reset on your Nest Doorbell, follow these steps:
1. Open the Nest App: Launch the Nest app on your smartphone or tablet. Ensure that you are logged in to your Nest account.
2. Select Your Doorbell: From the list of devices connected to your Nest app, tap on the Nest Doorbell to access its settings.
3. Access Device Settings: Look for the gear icon or the “Settings” option within the Nest Doorbell menu and tap on it.
4. Find the Reset Option: Scroll through the settings menu until you find the “Reset” or “Factory Reset” option. It is usually located towards the bottom of the menu.
5. Initiate the Reset: Tap on the reset option to initiate the factory reset process. A confirmation message will likely appear to confirm your decision. Proceed with the reset.
6. Wait for the Reset: The Nest Doorbell will now begin the reset process. This can take a few minutes. During this time, it is important to avoid interrupting the process or turning off the device.
7. Confirmation and Setup: Once the factory reset is complete, you will be prompted to set up your Nest Doorbell as if it were a new device. Follow the on-screen instructions to complete the setup process, which includes connecting to your Wi-Fi network and configuring any desired settings.
It’s important to note that performing a factory reset will erase all settings, video footage, and personal data associated with your Nest Doorbell. Make sure to create a backup of any important data before proceeding with the reset.
By following these steps, you will be able to perform a factory reset on your Nest Doorbell and start afresh. Now, let’s move on to the next step of setting up the device after the reset.
Setting Up the Nest Doorbell After Reset
After performing a factory reset on your Nest Doorbell, you will need to set it up again to start using it. Here are the steps to follow:
1. Open the Nest App: Launch the Nest app on your smartphone or tablet and log in to your Nest account.
2. Add a Device: Tap on the “+” icon or the “Add” button within the app to add a new device.
3. Select the Doorbell: From the list of available devices, choose the “Nest Doorbell” option.
4. Scan the QR Code: Use your phone’s camera to scan the QR code on the back of your Nest Doorbell. This will help the app identify the specific device you are setting up.
5. Follow the On-Screen Instructions: The Nest app will guide you through the setup process step by step. This includes connecting the doorbell to your Wi-Fi network and configuring any desired settings.
6. Test the Doorbell: Once the setup is complete, you can test the doorbell to ensure that it is working properly. You can do this by pressing the doorbell button or triggering the motion detection.
7. Customize Settings: After the initial setup, you can further customize the settings for your Nest Doorbell to suit your preferences. This includes adjusting motion detection sensitivity, setting up activity zones, enabling facial recognition, and more.
By following these steps, you will be able to set up your Nest Doorbell after performing a factory reset. Remember to ensure a stable internet connection during the setup process for optimal performance.
If you encounter any difficulties during the setup or have any additional questions, referring to the Nest Doorbell’s user manual or contacting Nest customer support can provide further assistance.
Now that you’ve successfully set up your Nest Doorbell after the reset, let’s move on to some troubleshooting tips in case you encounter any issues along the way.
Troubleshooting Tips
While setting up your Nest Doorbell after a factory reset, you may encounter some common issues. Here are a few troubleshooting tips to help you address them:
1. Check Wi-Fi Connection: Make sure that your Nest Doorbell is within range of your Wi-Fi router and that the connection is stable. Weak or intermittent Wi-Fi signals can cause setup and connectivity problems. Consider moving your Wi-Fi router closer to the doorbell or using a Wi-Fi extender to improve coverage.
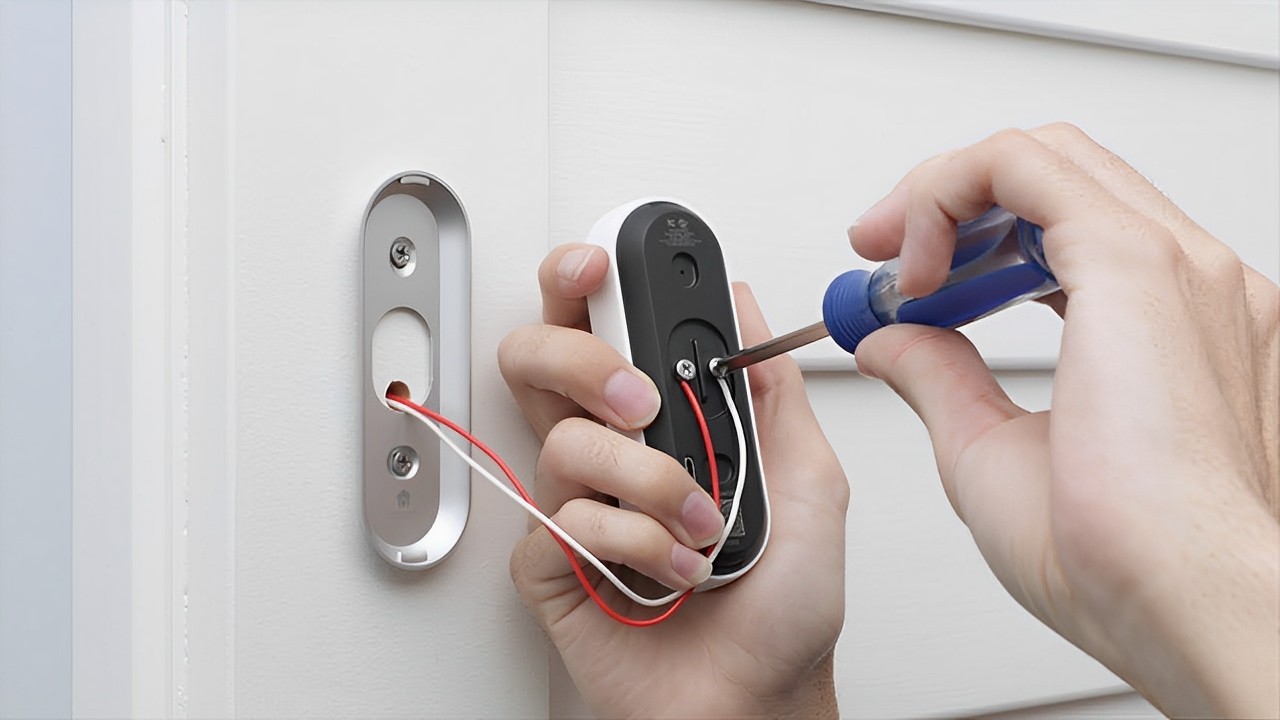
2. Restart the Doorbell: If you are experiencing issues during setup, try restarting the Nest Doorbell. This can be done by detaching the doorbell from its mount and then reattaching it after a few seconds. Restarting can help resolve minor glitches or connectivity problems.
3. Verify Power Supply: Ensure that your Nest Doorbell is receiving adequate power. Check that the doorbell wires are properly connected and that the power source is functioning correctly. If the doorbell is battery-powered, make sure the battery is charged or replace it with a new one if necessary.
4. Check Nest App Permissions: If you’re experiencing connectivity issues, verify that the Nest app has the necessary permissions to access your device location and connect to your Wi-Fi network. Adjust the app settings and permissions if needed.
5. Reset Network Settings: If your Nest Doorbell is still not connecting to your Wi-Fi network, try resetting the network settings on the doorbell. This can be done by going to the doorbell settings in the Nest app and selecting the “Reset Wi-Fi” or similar option. Follow the on-screen instructions to reconnect to your Wi-Fi network.
6. Update Firmware: Ensure that your Nest Doorbell has the latest firmware installed. Outdated firmware can cause compatibility issues and performance problems. Check for firmware updates in the Nest app and install them if available.
7. Reset and Reinstall: If none of the above troubleshooting steps resolve the issue, you may need to perform a factory reset and reinstall the Nest Doorbell. This will erase all settings and data, so be sure to back up any important information beforehand.
If you are still encountering persistent issues with your Nest Doorbell after trying these troubleshooting tips, it may be helpful to consult the official Nest support documentation or contact their customer support for further assistance.
With these troubleshooting tips in mind, you should be able to resolve common issues that may arise during the setup and use of your Nest Doorbell. Enjoy the enhanced security and convenience that your Nest Doorbell brings to your smart home setup!
Conclusion
Resetting a Nest Doorbell can be a useful process to resolve technical issues, change ownership, address privacy concerns, or optimize performance. Performing a factory reset allows you to start fresh with your device, ensuring that it is functioning optimally and tailored to your needs.
In this article, we have explored the process of resetting a Nest Doorbell. We discussed the reasons why a reset might be necessary, the steps involved in performing a factory reset, and the subsequent setup process. We also provided troubleshooting tips to address common issues that may arise during the setup or use of the doorbell.
Remember that a factory reset erases all settings, video footage, and personal data associated with your Nest Doorbell. It is important to consider the reasons for resetting and back up any important data before proceeding with the reset.
By following the steps outlined in this article and taking advantage of the troubleshooting tips provided, you can reset and set up your Nest Doorbell with ease. Enjoy the enhanced security and convenience that this smart home device brings to your front door!
Hopefully, this guide has been helpful in assisting you with resetting your Nest Doorbell. If you have any further questions or need additional support, don’t hesitate to consult the official Nest documentation or reach out to their customer support for assistance.
Thank you for reading, and best of luck with your Nest Doorbell setup!
Frequently Asked Questions about How Do You Reset A Nest Doorbell
Was this page helpful?
At Storables.com, we guarantee accurate and reliable information. Our content, validated by Expert Board Contributors, is crafted following stringent Editorial Policies. We're committed to providing you with well-researched, expert-backed insights for all your informational needs.


0 thoughts on “How Do You Reset A Nest Doorbell”