Home>Articles>How Long Does It Take For A Water Heater To Drain

Articles
How Long Does It Take For A Water Heater To Drain
Modified: October 22, 2024
Discover how long it takes for a water heater to drain, along with helpful articles on the topic.
(Many of the links in this article redirect to a specific reviewed product. Your purchase of these products through affiliate links helps to generate commission for Storables.com, at no extra cost. Learn more)
Introduction
When it comes to maintaining your water heater, one important task is draining it periodically. Draining your water heater removes sediment and mineral deposits that can accumulate over time, ensuring its optimal performance and extending its lifespan. But how long does it actually take for a water heater to drain?
In this article, we will dive into the draining process of a water heater and explore the factors that can affect the drain time. We will also provide you with step-by-step instructions on how to drain your water heater properly, along with some helpful tips to avoid common mistakes. So, let’s get started!
Key Takeaways:
- Regularly draining your water heater, at least once a year, is crucial for preventing sediment buildup, improving energy efficiency, and extending the lifespan of your unit.
- Avoid common mistakes like neglecting to turn off the power, draining while the water is still hot, and forgetting to flush out sediment to ensure a successful draining process and maintain optimal performance.
Understanding the Draining Process
Before we delve into the specifics of how long it takes to drain a water heater, it’s important to have a basic understanding of the draining process itself.
When you drain a water heater, you are essentially removing the water from the tank. This process allows you to flush out any sediment and mineral deposits that have settled at the bottom of the tank. These deposits can impair the efficiency and performance of your water heater, leading to decreased heating capacity and potentially even damaging the unit.
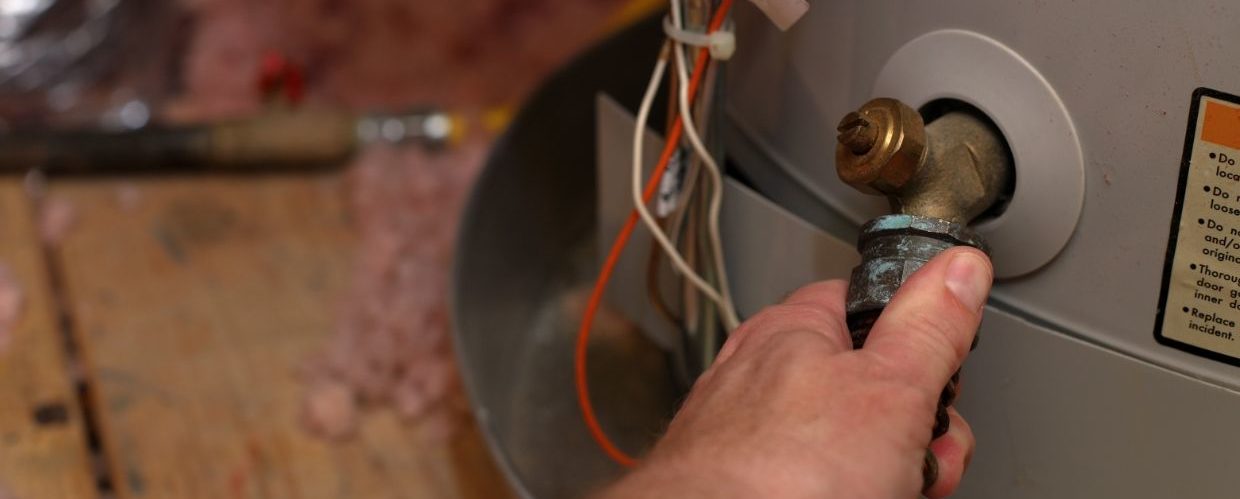
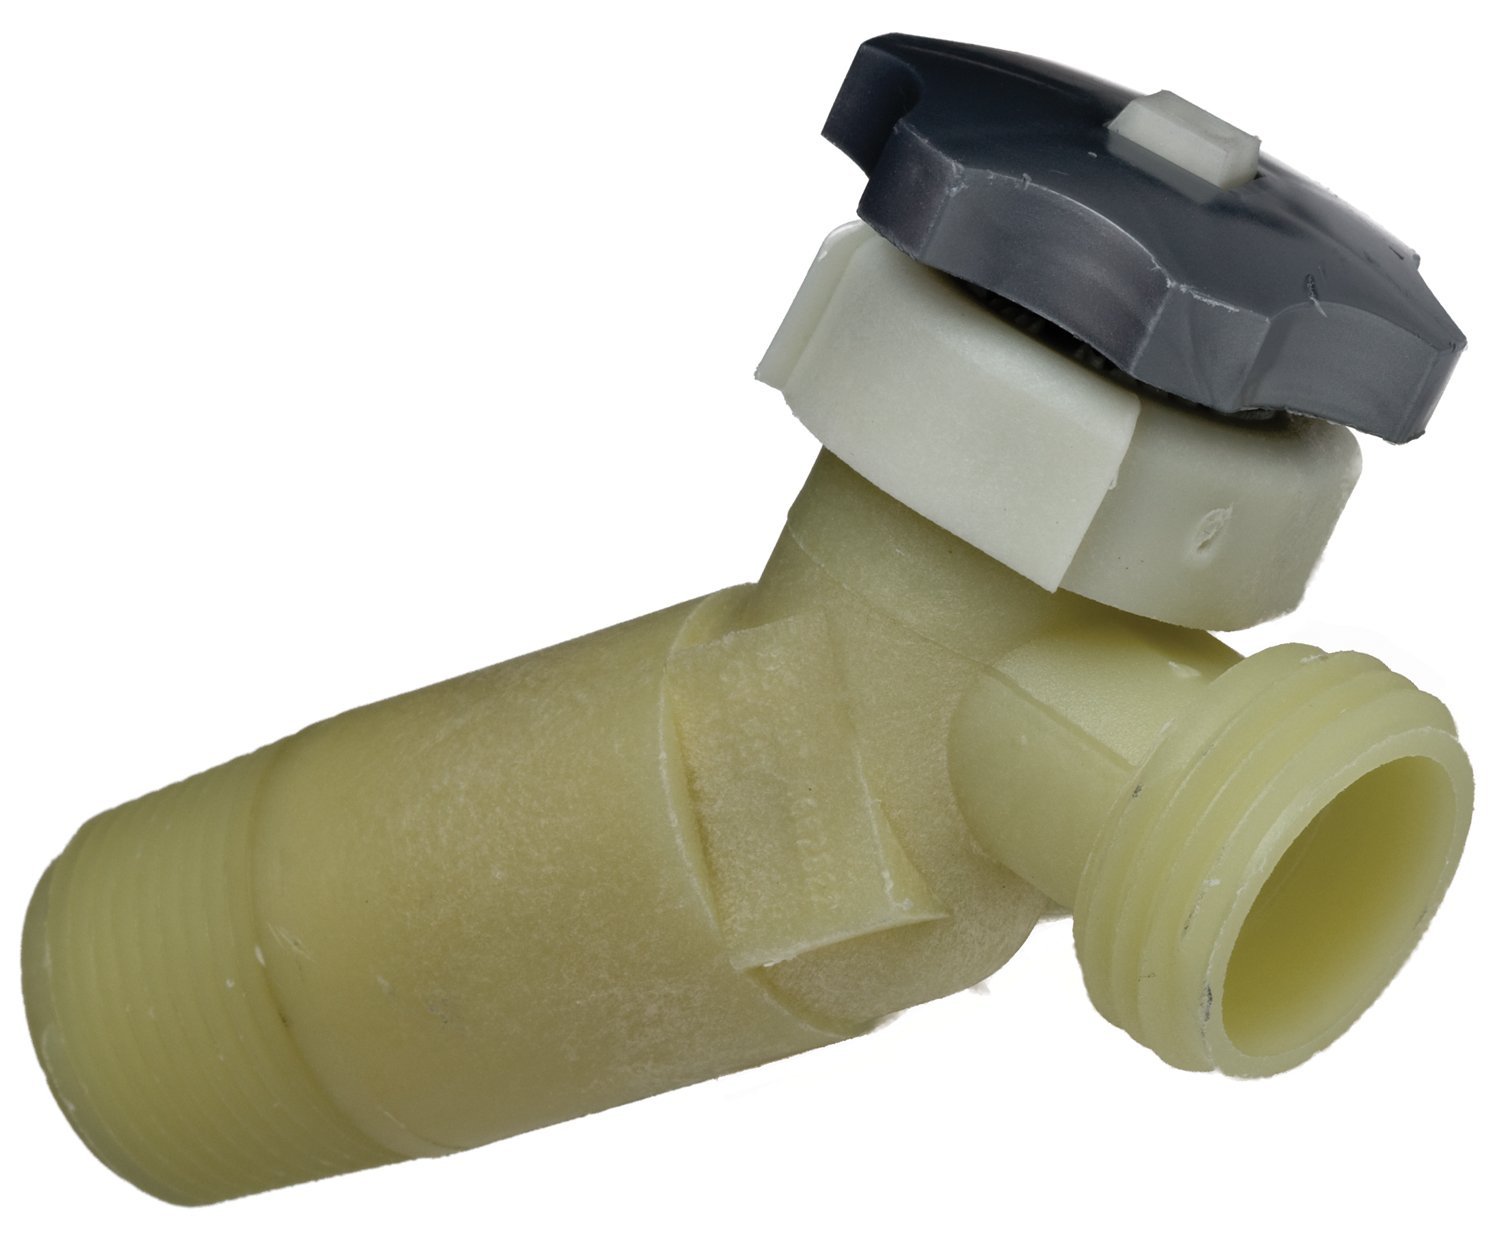
To drain the water heater, you will typically need to locate the drain valve. This valve is usually located near the bottom of the tank and can be opened to release the water. It’s important to note that draining a water heater can be a messy task, so make sure you have a drain or a bucket to collect the water.
The drain time of a water heater can vary depending on several factors, which we will discuss in the next section.
One thing to keep in mind is that draining a water heater is not a one-time fix. It is a maintenance task that should be performed on a regular basis to ensure optimal performance. The recommended frequency for draining a water heater is typically once a year, although this may vary depending on the specific manufacturer’s instructions. Regular maintenance will help prevent sediment buildup and prolong the life of your water heater.
Factors Affecting Drain Time
Several factors can influence the drain time of a water heater. Understanding these factors will give you a better idea of how long it might take to complete the draining process.
1. Tank Size
The size of your water heater tank plays a significant role in determining the drain time. Larger tanks will naturally take longer to drain compared to smaller ones. If you have a 40-gallon tank, for example, it will take more time to empty than a 20-gallon tank.
2. Sediment Accumulation
The amount of sediment present in your water heater tank can also affect drain time. If your tank has accumulated a significant amount of sediment over time, it may take longer to flush out during the draining process. Regular maintenance and flushing can help prevent excessive sediment buildup and reduce drain time.
Read more: How To Drain Whirlpool Water Heater
3. Water Pressure
The pressure of the water supply in your home can impact the drain time. If you have high water pressure, the water will flow out of the tank faster, resulting in a quicker draining process. On the other hand, low water pressure can prolong the drain time as the water exits the tank at a slower rate.
4. Plumbing System
The condition of your plumbing system can also play a role in drain time. If your plumbing system has clogs or restrictions, it can impede the flow of water during the draining process, leading to a longer drain time. Regular maintenance of your plumbing system can help ensure smooth drainage.
5. Drain Valve Condition
The condition of the drain valve itself can affect the drain time. If the valve is worn out or corroded, it may not open as easily or fully, resulting in a slower drain time. It’s important to inspect and maintain the drain valve regularly to ensure it functions properly.
Keep in mind that these factors can vary from home to home. The drain time of your water heater may be different depending on the specific circumstances. However, understanding these factors can give you a general idea of what to expect when draining your water heater.
Steps to Drain a Water Heater
Now that you have a better understanding of the draining process and the factors that can affect drain time, let’s go through the step-by-step process of draining a water heater:
Read more: How To Drain An Electric Water Heater
Step 1: Turn off the Power
Before you begin the draining process, make sure to turn off the power supply to the water heater. This will prevent the heating elements from operating while the tank is empty, which can cause damage.
Step 2: Allow the Water to Cool
Wait for the water inside the tank to cool down before proceeding. Hot water can cause burns, so it’s important to exercise caution. You can either wait for a few hours for the water to cool naturally or use the hot water faucet in your home to drain some hot water from the tank, which will help accelerate the cooling process.
Step 3: Locate the Drain Valve
Locate the drain valve at the bottom of the water heater tank. You may need a hose adapter to attach a hose to the valve and direct the water flow to a suitable drain or bucket.
Step 4: Attach a Hose and Open the Valve
Attach a hose to the drain valve and make sure it is securely fastened. Place the other end of the hose in your chosen drain location or a bucket to collect the water. Open the drain valve to begin the draining process.
Read more: How To Drain Water Heater In The Attic
Step 5: Flush Out the Sediment
As the tank drains, monitor the water flow for any sediment or debris. If you notice significant sediment, you can turn on the cold water supply to the tank for a few seconds while the drain valve is still open. This brief surge of water can help flush out any remaining sediment.
Step 6: Close the Valve and Refill the Tank
Once the tank is completely drained, close the drain valve securely. Remove the hose and ensure that the valve is tightly closed. Turn on the cold water supply to the tank and allow it to fill up. It’s important to turn on a hot water faucet in your home to release any trapped air in the tank while it refills.
Step 7: Turn on the Power
After the tank is refilled, make sure to turn on the power supply to the water heater. This will allow the heating elements to function properly and heat the water.
It is important to note that these steps provide a general guideline for draining a water heater. The specific instructions may vary depending on the type and model of your water heater, so always refer to the manufacturer’s guidelines for the most accurate instructions.
Recommended Draining Frequency
Draining your water heater at regular intervals is crucial for maintaining its efficiency and prolonging its lifespan. While the recommended draining frequency can vary depending on factors such as water quality and usage, a general guideline is to drain your water heater once a year.
Annual draining helps remove sediment and mineral deposits that naturally accumulate over time. These deposits can settle at the bottom of the tank, reducing the efficiency of the heating elements and potentially causing damage. Regular maintenance through draining ensures that your water heater operates optimally and provides consistent hot water.
However, there are certain scenarios where more frequent draining may be necessary:
Hard Water Areas
If you live in an area with hard water, which contains high levels of minerals like calcium and magnesium, the accumulation of sediment can be more rapid. In such cases, you may need to drain your water heater every six months to prevent excessive buildup.
High Sediment Content
If you notice a significant amount of sediment or unusual water discoloration when draining your water heater, it may be an indicator of high sediment content. In these cases, more frequent draining may be necessary to maintain optimal performance and prevent clogs or damage.
Older Water Heaters
Older water heaters, especially those that have not been regularly maintained or flushed, may require more frequent draining. Over time, sediment can accumulate more rapidly, affecting the efficiency and performance of the unit. If you have an older water heater, it’s recommended to consult with a professional or refer to the manufacturer’s guidelines for the appropriate draining frequency.
Remember, regular draining is an essential part of water heater maintenance. By following the recommended draining frequency, you can prevent sediment buildup, improve energy efficiency, and extend the lifespan of your water heater.
Common Mistakes to Avoid
While draining a water heater may seem like a straightforward task, there are some common mistakes that you should be aware of and avoid:
Read more: How To Drain Water Heater In Basement
1. Neglecting to Turn off the Power
Before you start the draining process, it’s crucial to turn off the power supply to your water heater. Neglecting to do so can lead to the heating elements operating in an empty tank, potentially causing damage. Always remember to cut off the power source before starting any maintenance tasks.
2. Draining while the Water is Still Hot
Attempting to drain a water heater while the water is still hot can lead to burns and injuries. Allow the water to cool down before starting the draining process to ensure your safety. You can speed up the cooling process by using hot water from the tank at a nearby faucet before draining.
3. Forgetting to Flush Out Sediment
Flushing out sediment is an important part of the draining process. Some people make the mistake of simply draining the water without taking the necessary steps to flush out sediment. This can lead to sediment buildup and reduced efficiency over time. Remember to briefly turn on the cold water supply while the drain valve is open to help flush out any remaining sediment.
4. Improperly Sealing the Drain Valve
After draining the water heater, ensure that the drain valve is tightly closed to prevent leaks. Improper sealing can result in water leakage and potential damage to your property. Take the time to double-check the closure of the valve and verify that it is tightly secured.
Read more: How To Drain A Rheem Water Heater
5. Neglecting Regular Maintenance
Regular maintenance of your water heater is crucial for its long-term performance and durability. Draining the water heater is just one aspect of maintenance, but it should be done at the recommended frequency. Neglecting regular maintenance can result in sediment buildup, decreased efficiency, and potential damage to the tank and heating elements.
By avoiding these common mistakes, you can ensure a successful draining process and maintain the optimal performance of your water heater.
Troubleshooting Drainage Issues
While draining a water heater is generally a straightforward process, there may be instances where you encounter drainage issues. Here are some troubleshooting tips to help you resolve common drainage problems:
1. Slow or Partial Drainage
If you notice that the water heater is draining slowly or only partially, the first thing to check is if the drain valve is fully open. Sometimes, the valve may be partially closed, restricting the water flow. Make sure the valve is fully open to allow for proper drainage.
If the valve is fully open and the drainage is still slow, there may be a clog or blockage in the drain valve or the connected hose. Detach the hose and inspect it for any debris or obstructions. You can flush the hose with water or use a plumbing snake to clear any blockages. Similarly, you can try using a small brush or wire to clean out the drain valve if there is sediment buildup.
2. Leaking Drain Valve
If you notice water leaking from the drain valve when you attempt to drain the water heater, it could indicate a faulty valve or improper sealing. Ensure that the valve is tightly closed. If the leakage persists, you may need to replace the drain valve. It’s recommended to consult with a professional plumber if you are unsure about the replacement process.
Read more: Where Is Drain Valve On Water Heater
3. No Water Flow
In some cases, you may encounter issues where there is no water flow when you open the drain valve. This could be due to a clogged or blocked drain valve or a malfunctioning valve. Inspect the drain valve for any debris or sediment that may be obstructing the water flow. Clear out any blockages if necessary. If the problem persists, you may need to replace the valve.
4. Excessive Noise or Gurgling Sounds
If you hear unusual noises or gurgling sounds when draining your water heater, it could be a sign of air trapped in the tank. To release the trapped air, open a hot water faucet in your home while draining the water heater. This will allow the air to escape and improve the drainage process.
If you encounter persistent drainage issues or are unsure about how to troubleshoot the problem, it’s always recommended to seek the assistance of a licensed plumber. They have the expertise and tools necessary to diagnose and resolve complex drainage issues.
Conclusion
Regularly draining your water heater is an essential maintenance task that can help ensure its optimal performance and prolong its lifespan. While the exact drain time can vary depending on factors such as tank size, sediment accumulation, water pressure, plumbing system condition, and drain valve condition, understanding the draining process and factors that affect drain time can give you a better idea of what to expect.
By following the recommended draining frequency of once a year, or more frequently in areas with hard water or high sediment content, you can prevent sediment buildup, improve energy efficiency, and avoid potential damage to your water heater.
When draining your water heater, it’s important to avoid common mistakes such as neglecting to turn off the power, draining while the water is still hot, forgetting to flush out sediment, improperly sealing the drain valve, and neglecting regular maintenance. By avoiding these mistakes, you can ensure a successful draining process and maintain the optimal performance of your water heater.
If you encounter any drainage issues, such as slow or partial drainage, leaking drain valve, no water flow, or excessive noise, it’s important to troubleshoot the problem and address it promptly. This may involve checking the valve, clearing out blockages, or seeking the assistance of a professional plumber if needed.
In conclusion, by understanding the importance of draining your water heater, following the recommended frequency, and taking the necessary steps to properly drain and maintain your water heater, you can ensure a reliable and efficient supply of hot water for years to come.
Frequently Asked Questions about How Long Does It Take For A Water Heater To Drain
Was this page helpful?
At Storables.com, we guarantee accurate and reliable information. Our content, validated by Expert Board Contributors, is crafted following stringent Editorial Policies. We're committed to providing you with well-researched, expert-backed insights for all your informational needs.


0 thoughts on “How Long Does It Take For A Water Heater To Drain”