Articles
How To Drain Water Heater In The Attic
Modified: October 22, 2024
Learn how to drain your water heater located in the attic with our helpful articles. Proper maintenance and regular draining is essential for optimal performance and longevity.
(Many of the links in this article redirect to a specific reviewed product. Your purchase of these products through affiliate links helps to generate commission for Storables.com, at no extra cost. Learn more)
Introduction
Having a water heater in the attic can be convenient, as it saves space and allows for easy access. However, when it comes time to perform maintenance tasks like draining the water heater, it can pose some challenges. Draining a water heater in the attic requires careful planning and safety precautions to prevent any potential damage or accidents.
In this article, we will guide you through the step-by-step process of draining a water heater in the attic. We’ll also provide some essential safety precautions to keep in mind during the procedure. So, let’s dive in!
Key Takeaways:
- Prioritize safety by turning off the power and water supply, wearing protective gear, and following manufacturer’s instructions. Proper draining and maintenance ensure a safe and efficient water heater in the attic.
- Gather necessary tools, locate the drain valve, and attach a hose for a smooth draining process. Closing the drain valve securely and refilling the water heater are crucial for its optimal performance and longevity.
Read more: How To Drain Whirlpool Water Heater
Safety Precautions
Before you begin draining your water heater in the attic, it’s important to prioritize safety. Here are some essential precautions to follow:
- Turn off the power supply: Before starting the draining process, make sure to turn off the power supply to the water heater. This will prevent any electrical mishaps while handling the unit.
- Shut off the water supply: Locate the main water shut-off valve connected to the water heater and close it. This will ensure that no additional water flows into the heater while you’re draining it.
- Protective gear: Wear gloves, safety goggles, and protective clothing to shield yourself from hot water and any potential splashes or spills.
- Mind the temperature: The water inside the water heater can be scalding hot. Take precautions to avoid burns by allowing the water to cool down before starting the draining process.
- Use a suitable container: Prepare a large, sturdy container or a hose to collect the drained water. Make sure it can handle the volume and temperature of the water being released.
- Clear the area: Ensure the area around the water heater is clear of any obstacles or tripping hazards. This will prevent accidents while you’re working on the draining process.
- Follow manufacturer’s instructions: Read the instruction manual provided by the manufacturer for any specific safety precautions or recommendations for your water heater model.
By adhering to these safety precautions, you can minimize the risk of accidents and ensure a smooth and safe draining process for your water heater in the attic.
Step 1: Gather the Necessary Tools and Materials
Before you begin draining your water heater in the attic, it’s important to gather all the required tools and materials. This will ensure a smooth and efficient process. Here’s what you’ll need:
- Bucket or hose: You will need a container or a hose to collect the drained water.
- Adjustable wrench or pliers: These tools will be used to open and close the drain valve.
- Teflon tape: If necessary, you may need Teflon tape to seal any connections or fittings.
- Garden hose adapter: Depending on your water heater model, you may require a garden hose adapter to connect the hose securely.
- Safety gear: Safety goggles, gloves, and protective clothing should be worn to protect yourself from hot water and any potential splashes.
- Flashlight: In case the attic is poorly lit, a flashlight will come in handy to locate the drain valve and see what you’re doing.
- Towels or rags: Keep some towels or rags nearby to clean up any spills or drips that may occur during the draining process.
Ensure that you have all these tools and materials readily available before you begin. It will save you time and prevent any interruptions during the draining process.
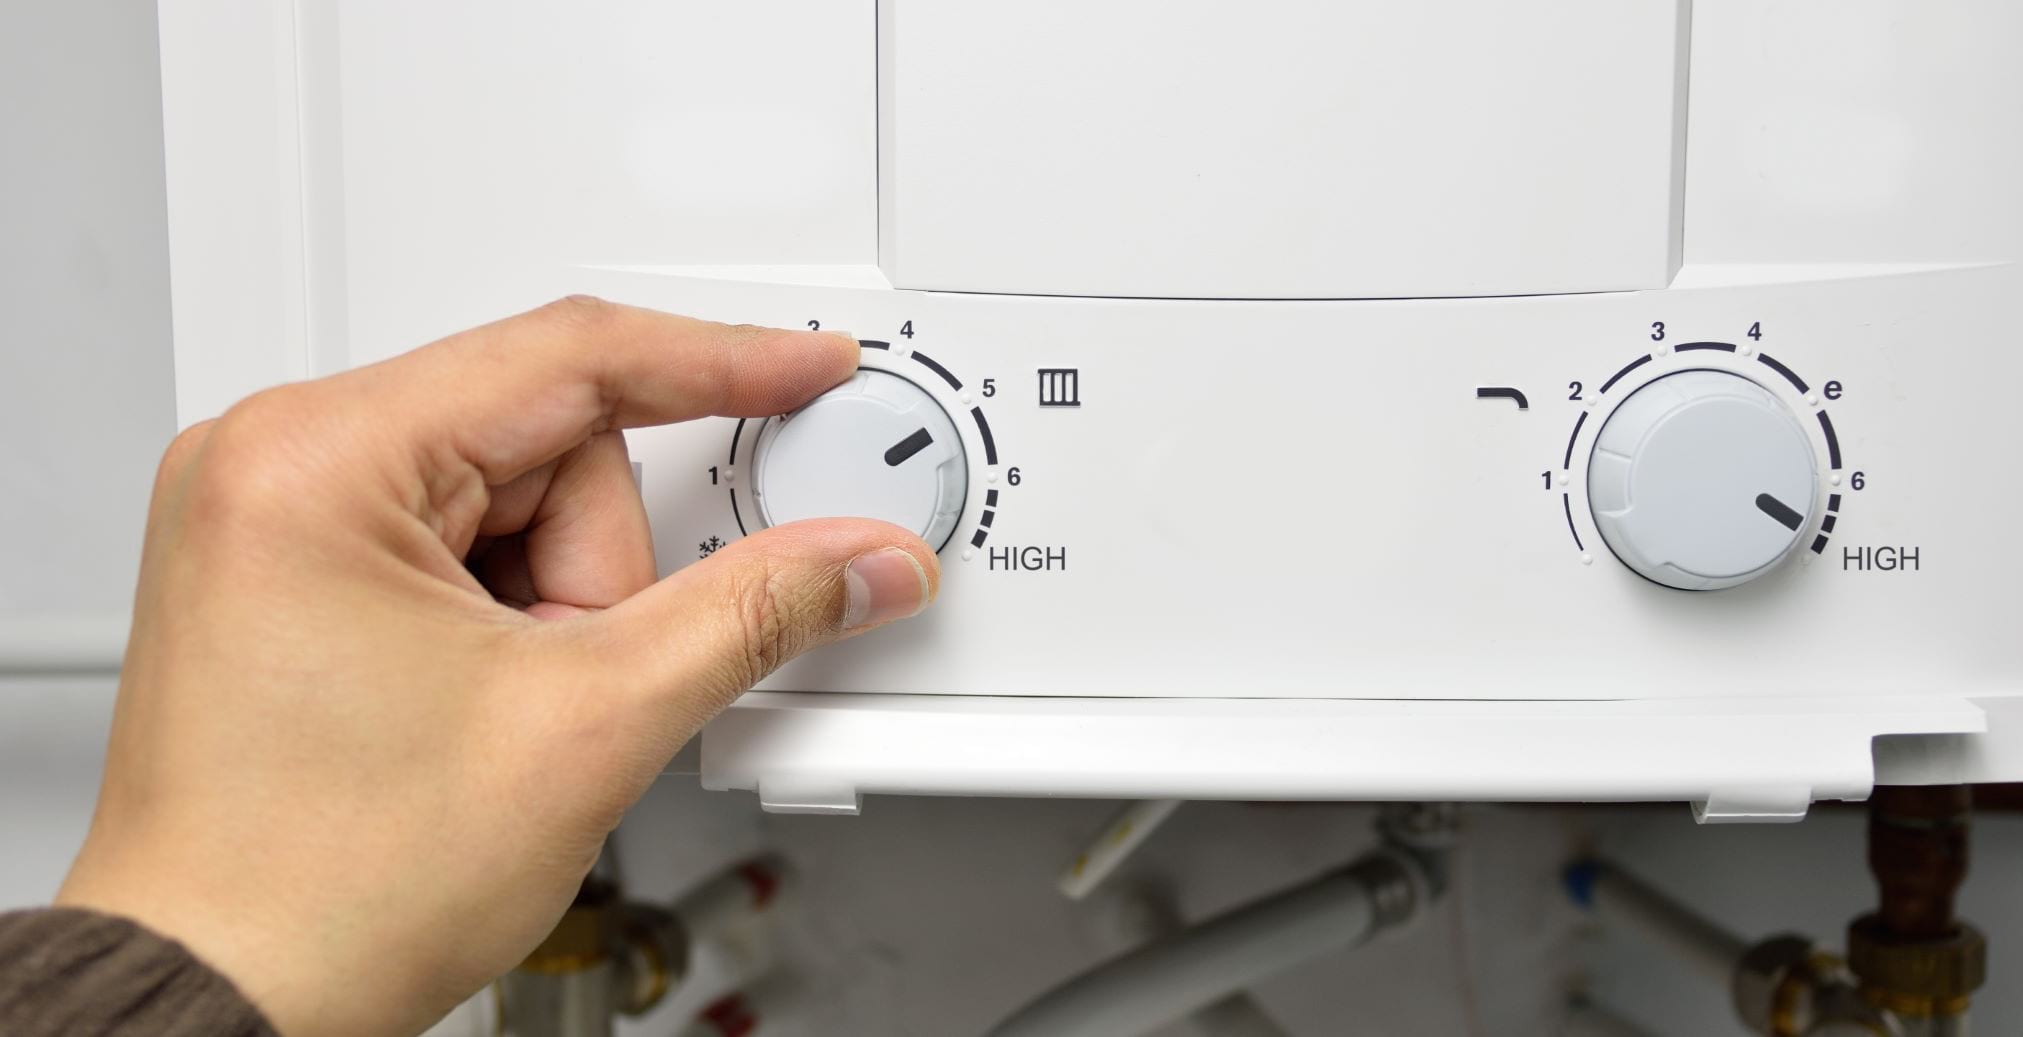
Step 2: Shut Off the Power Supply
Before you start draining the water heater in the attic, it’s crucial to turn off the power supply to ensure your safety. Follow these steps:
- Locate the circuit breaker or fuse box connected to the water heater.
- Turn off the power supply by flipping the circuit breaker switch or removing the fuse.
- Double-check that the power is indeed shut off by testing the heater’s controls or turning on a hot water faucet. If no hot water comes out, it indicates that the power supply is successfully turned off.
By shutting off the power supply, you prevent any potential electrical accidents while working on the water heater. Remember not to proceed to the next steps until the power is switched off completely.
Step 3: Turn Off the Water Supply
After ensuring that the power supply is turned off, the next step is to shut off the water supply to the water heater. Follow these steps:
- Locate the main water shut-off valve connected to the water heater. This valve is typically located near the heater itself or in the vicinity of the water inlet pipe.
- Close the main shut-off valve by turning it clockwise until it is fully closed.
- Once the valve is closed, open a hot water faucet in your house to relieve any built-up pressure inside the water heater.
- Wait for a few minutes to allow the hot water to cool down before proceeding with the draining process.
By turning off the water supply, you prevent any new water from entering the heater while you’re draining it. This step is essential for an effective and efficient draining process.
Read more: How To Drain An Electric Water Heater
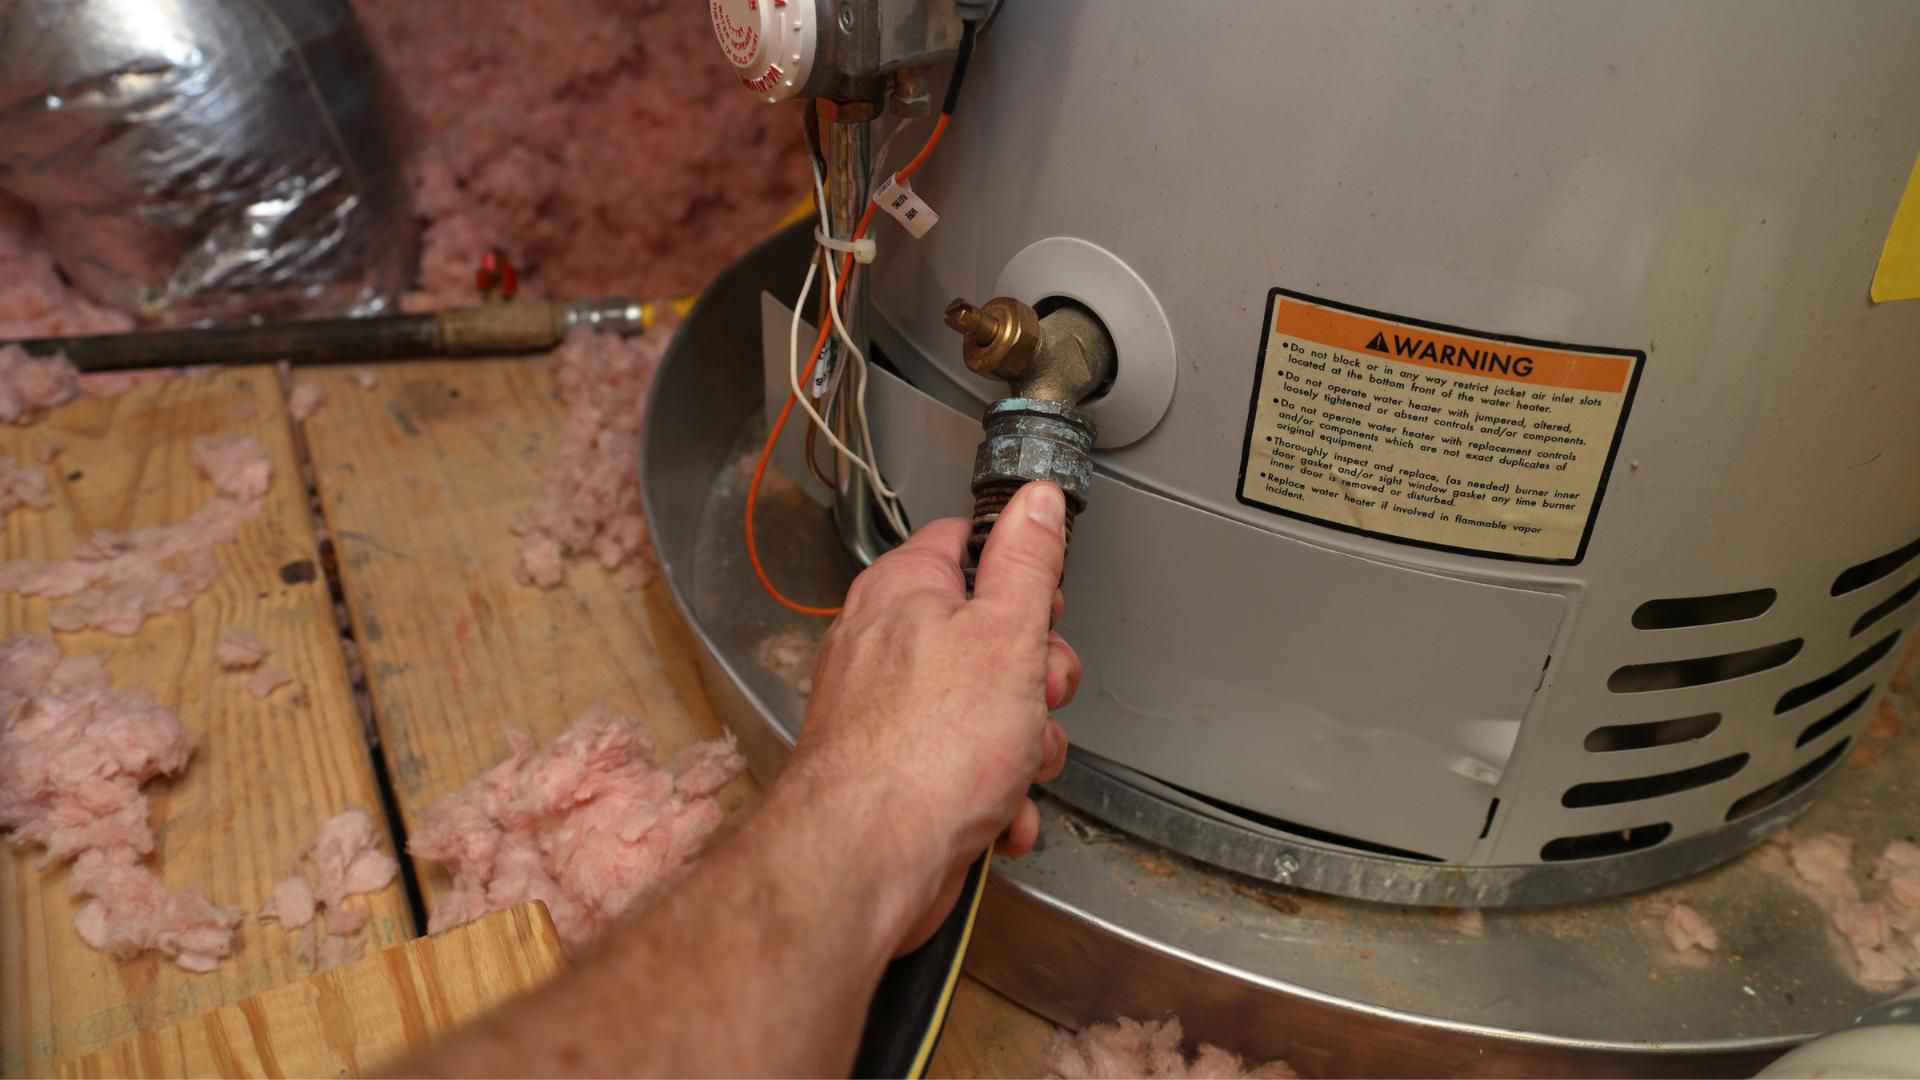
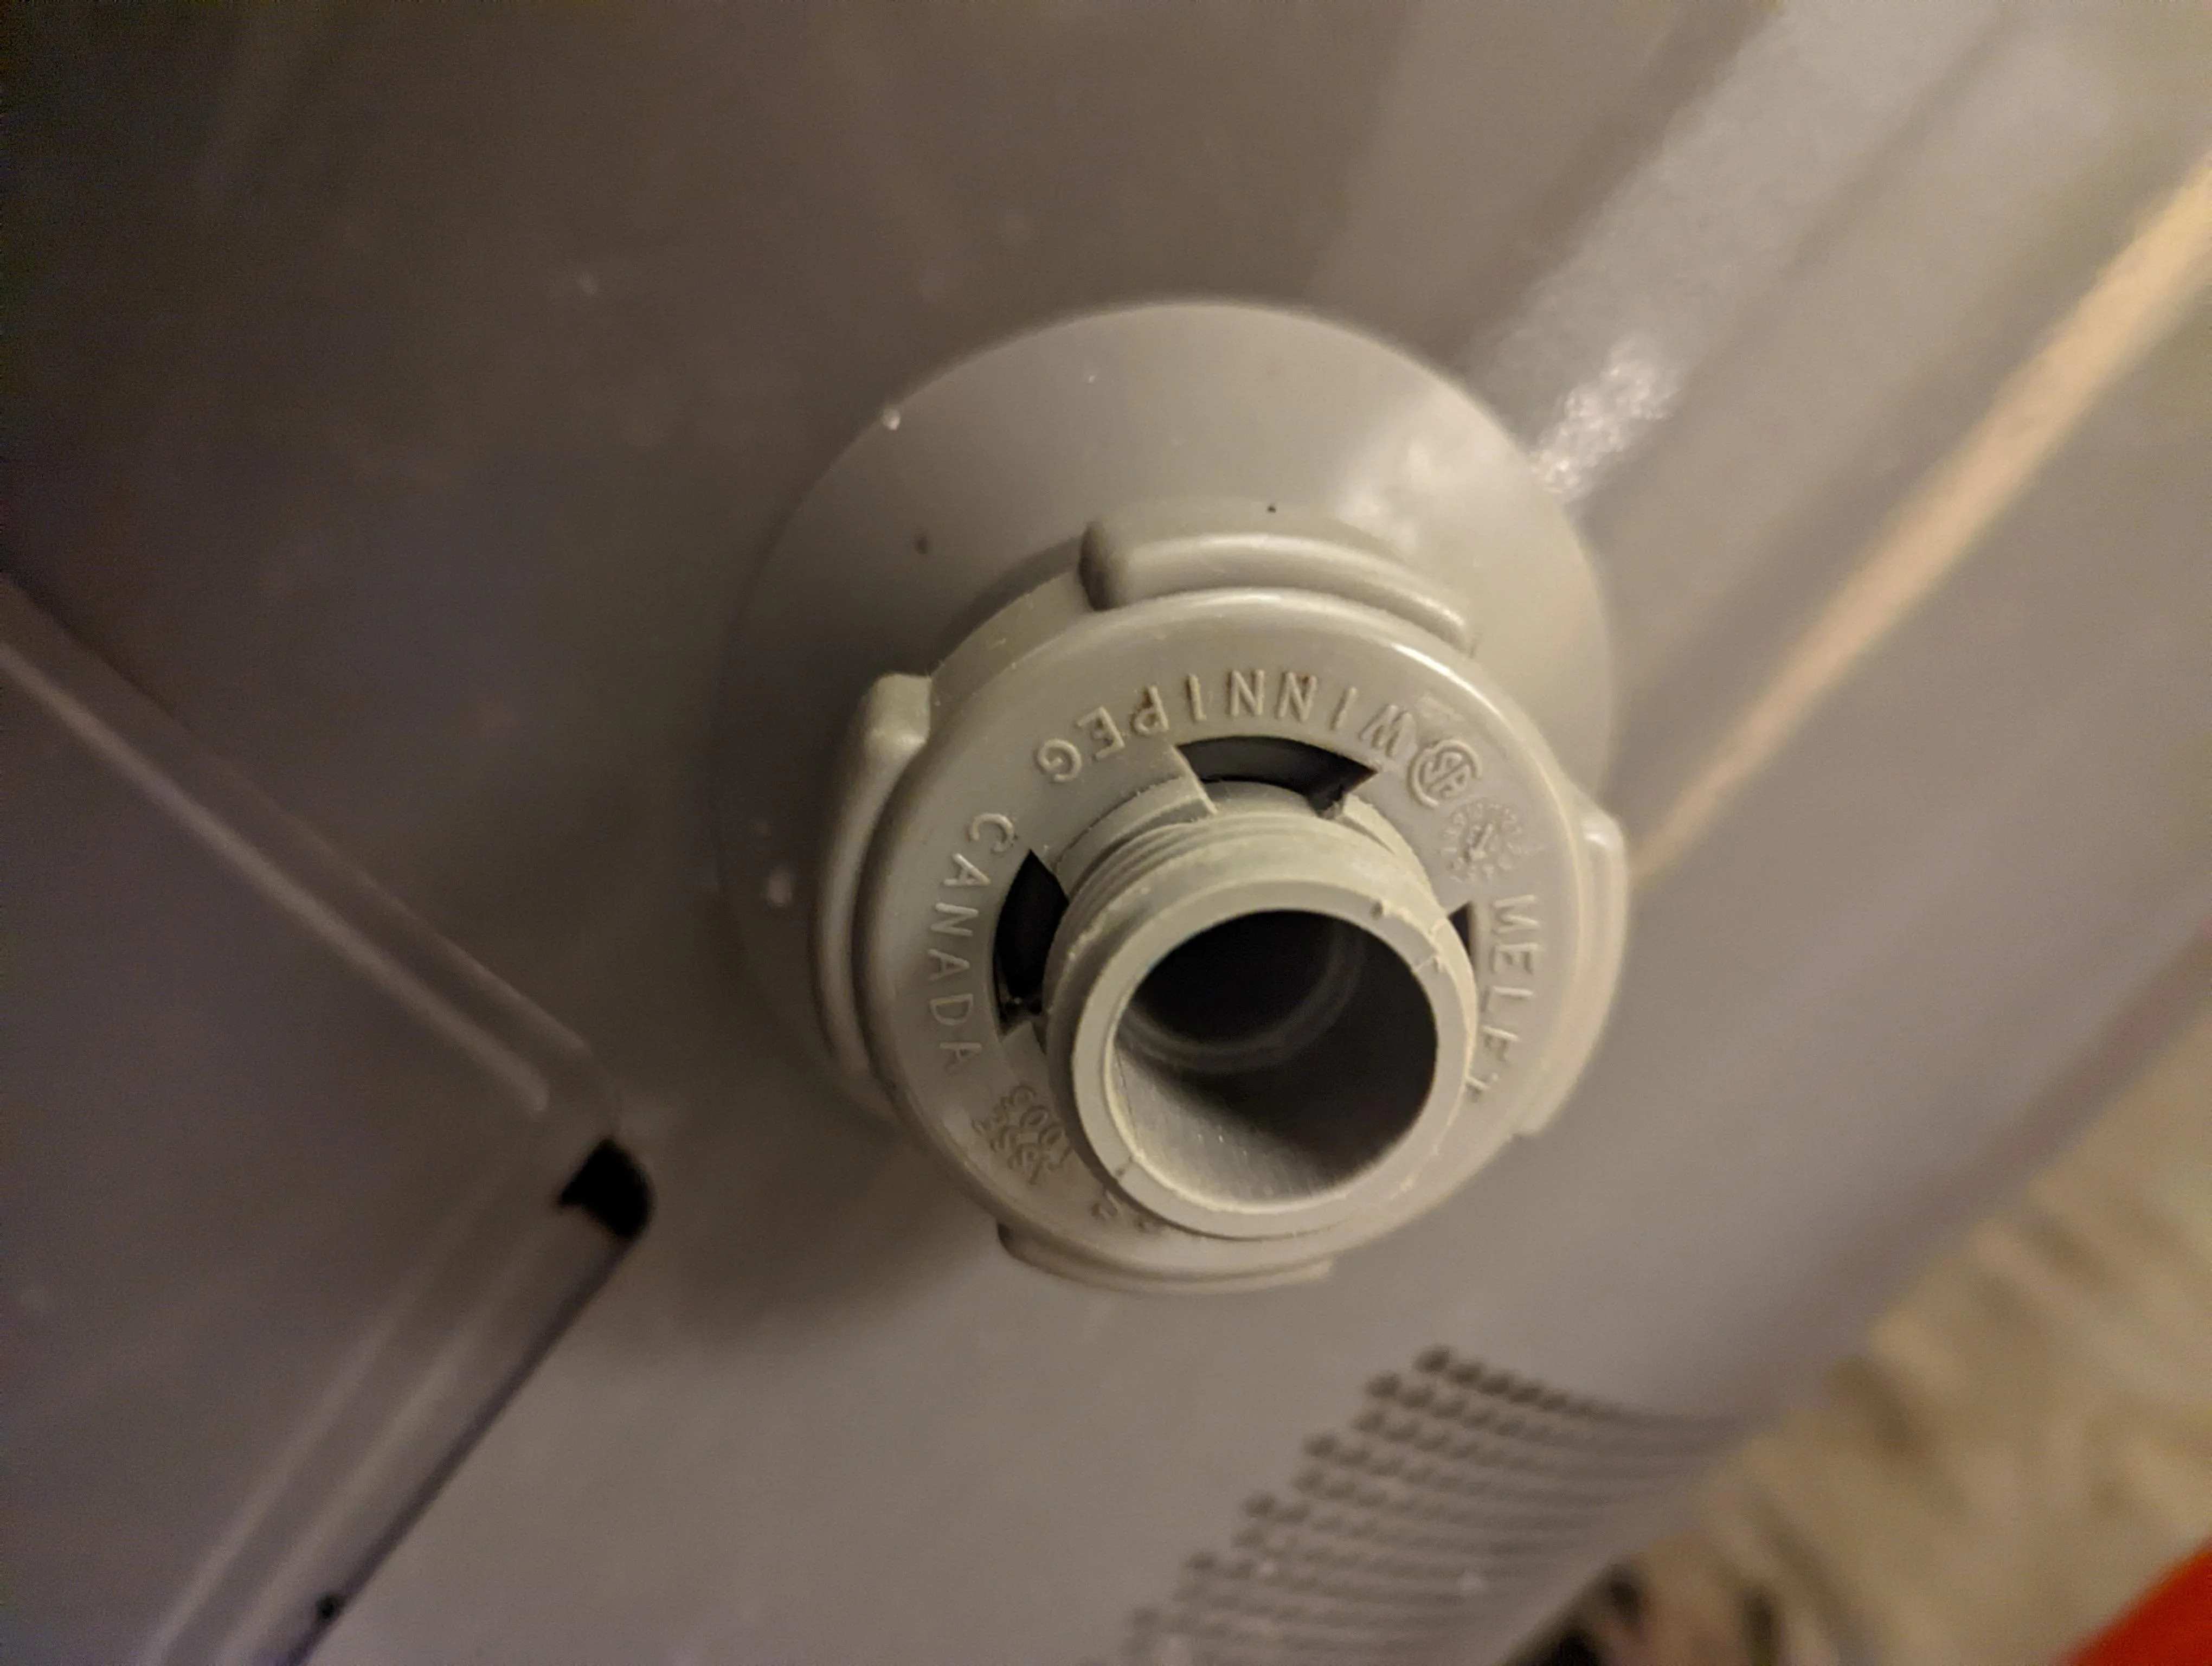
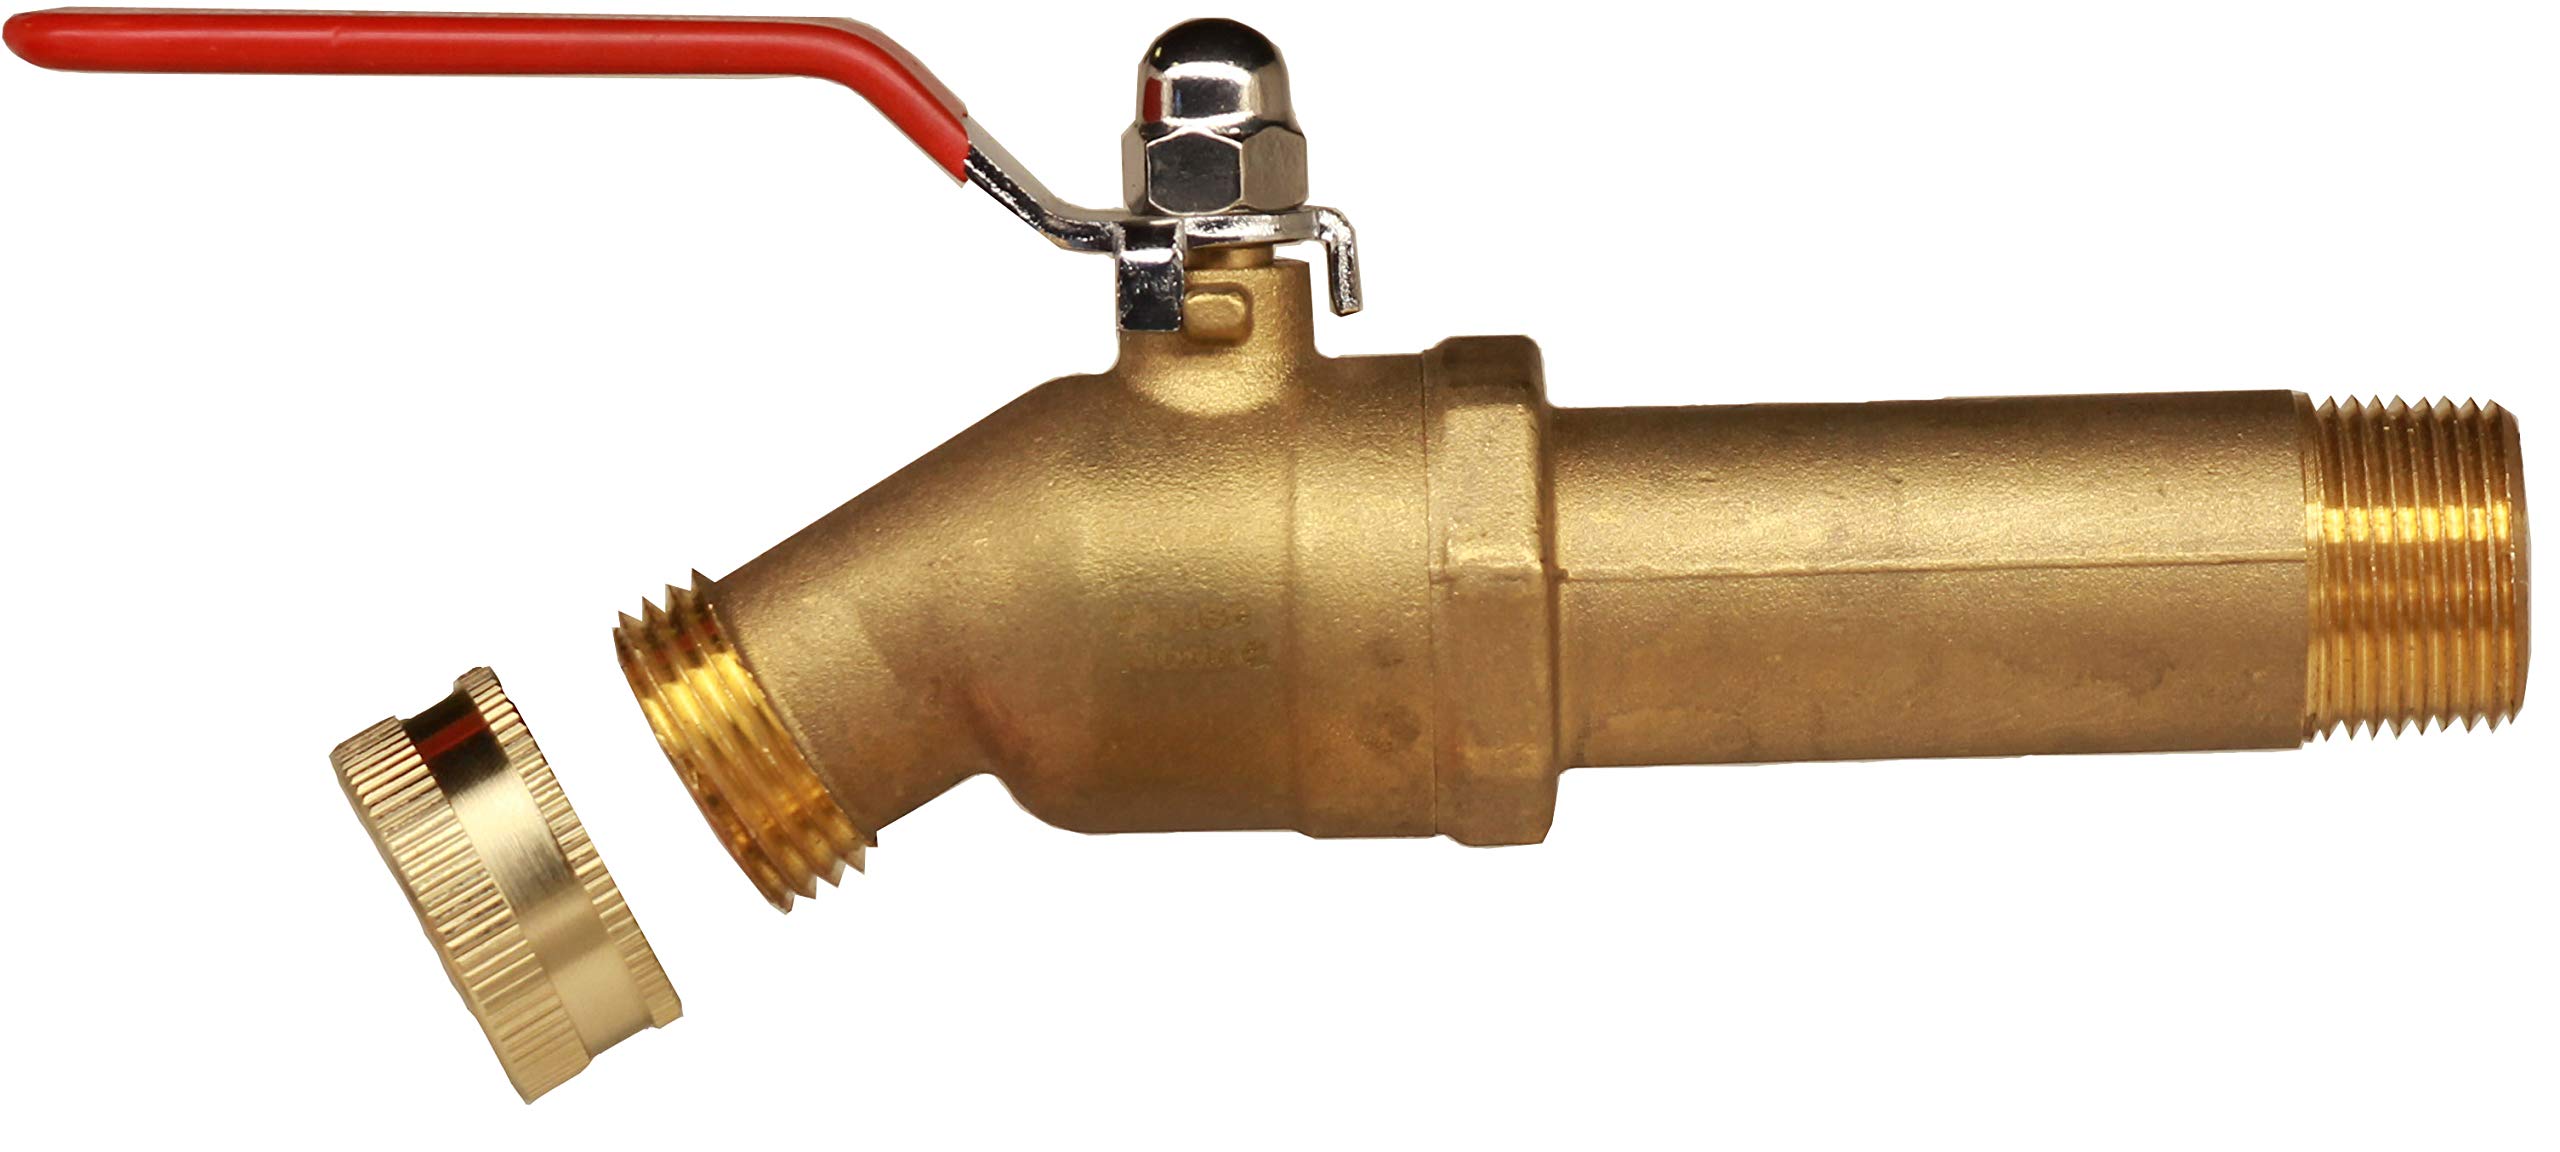
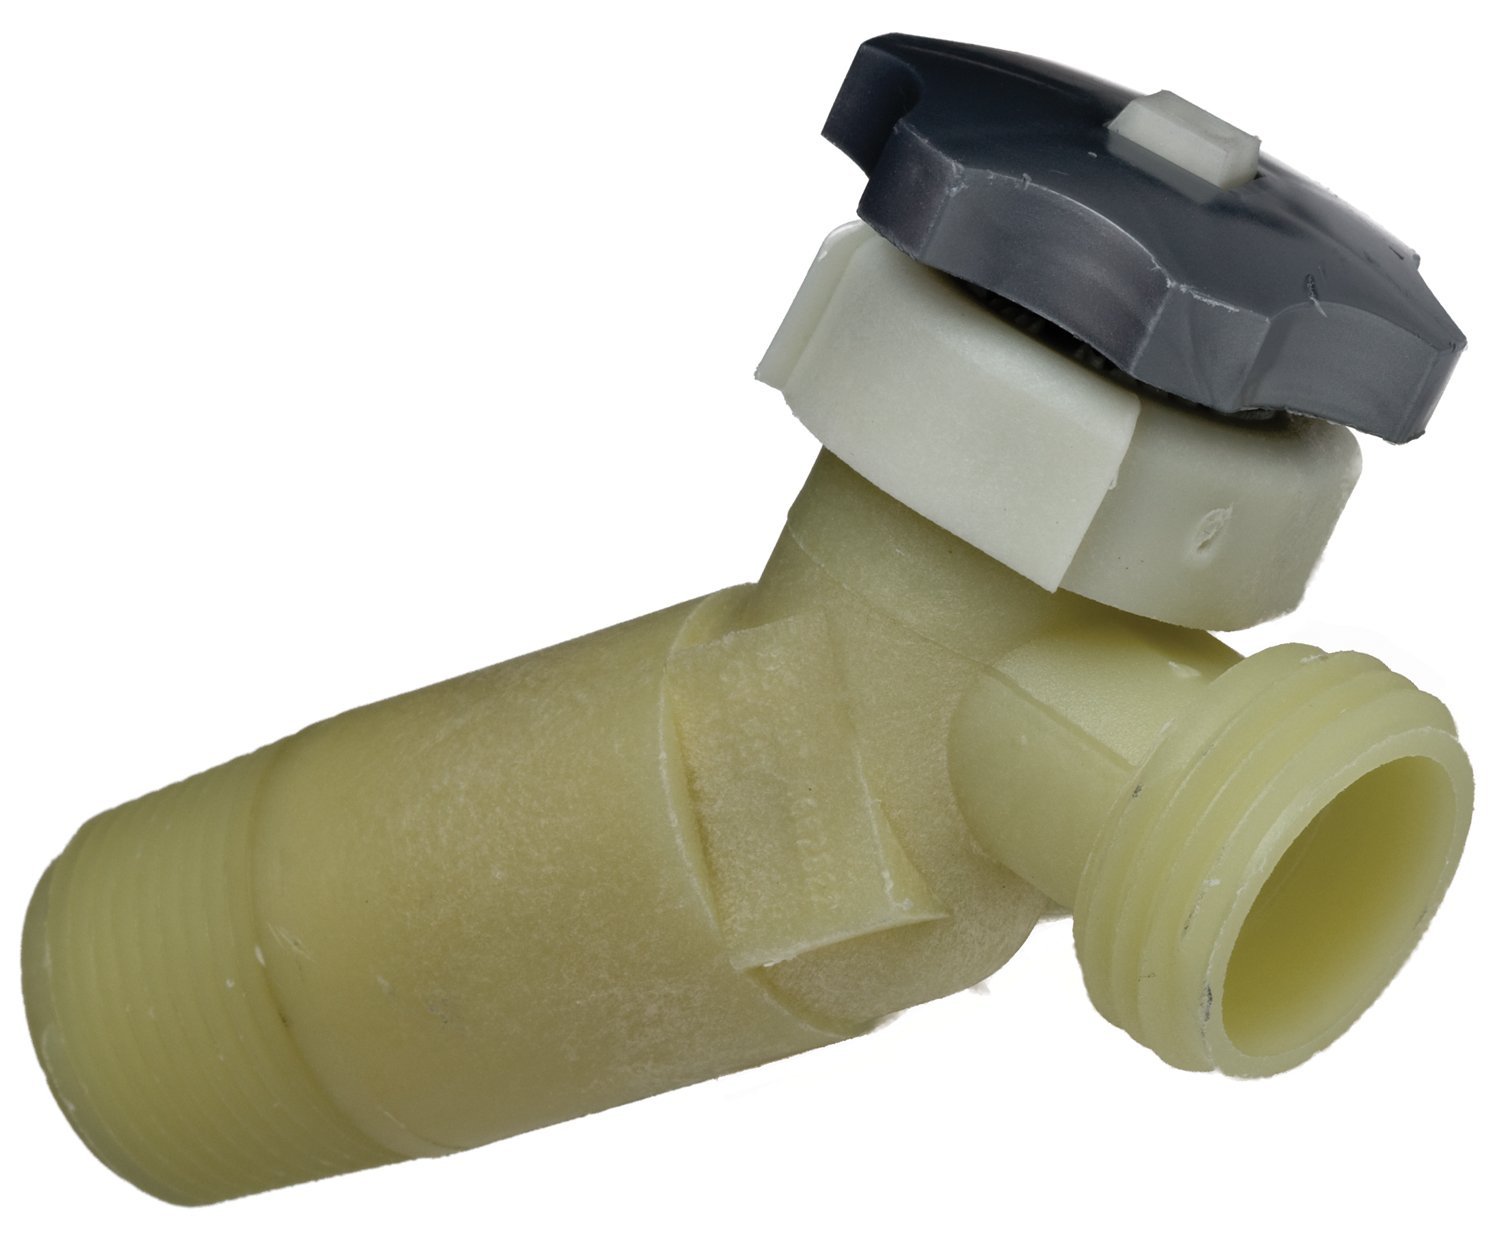
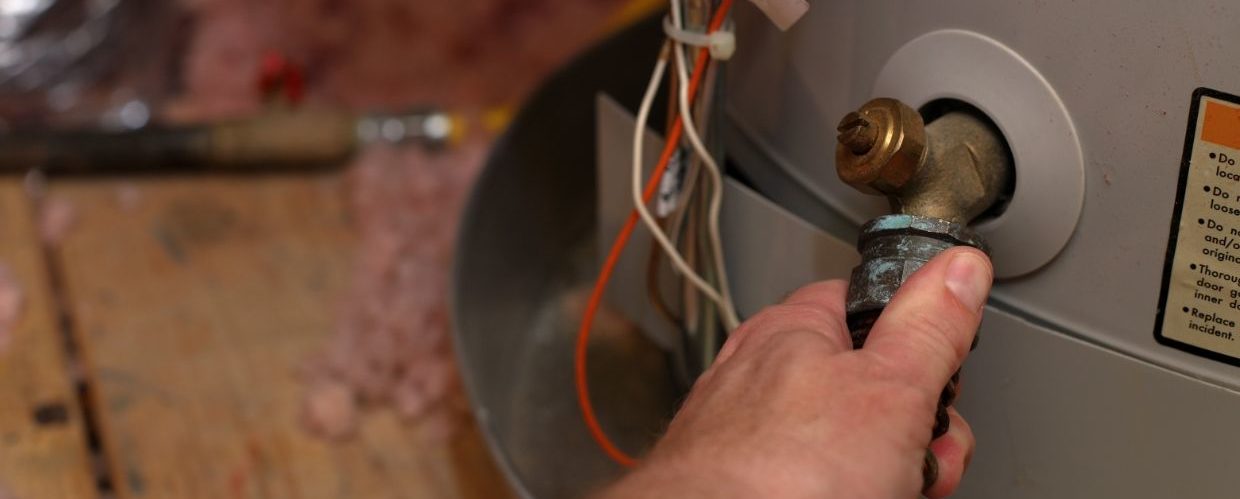
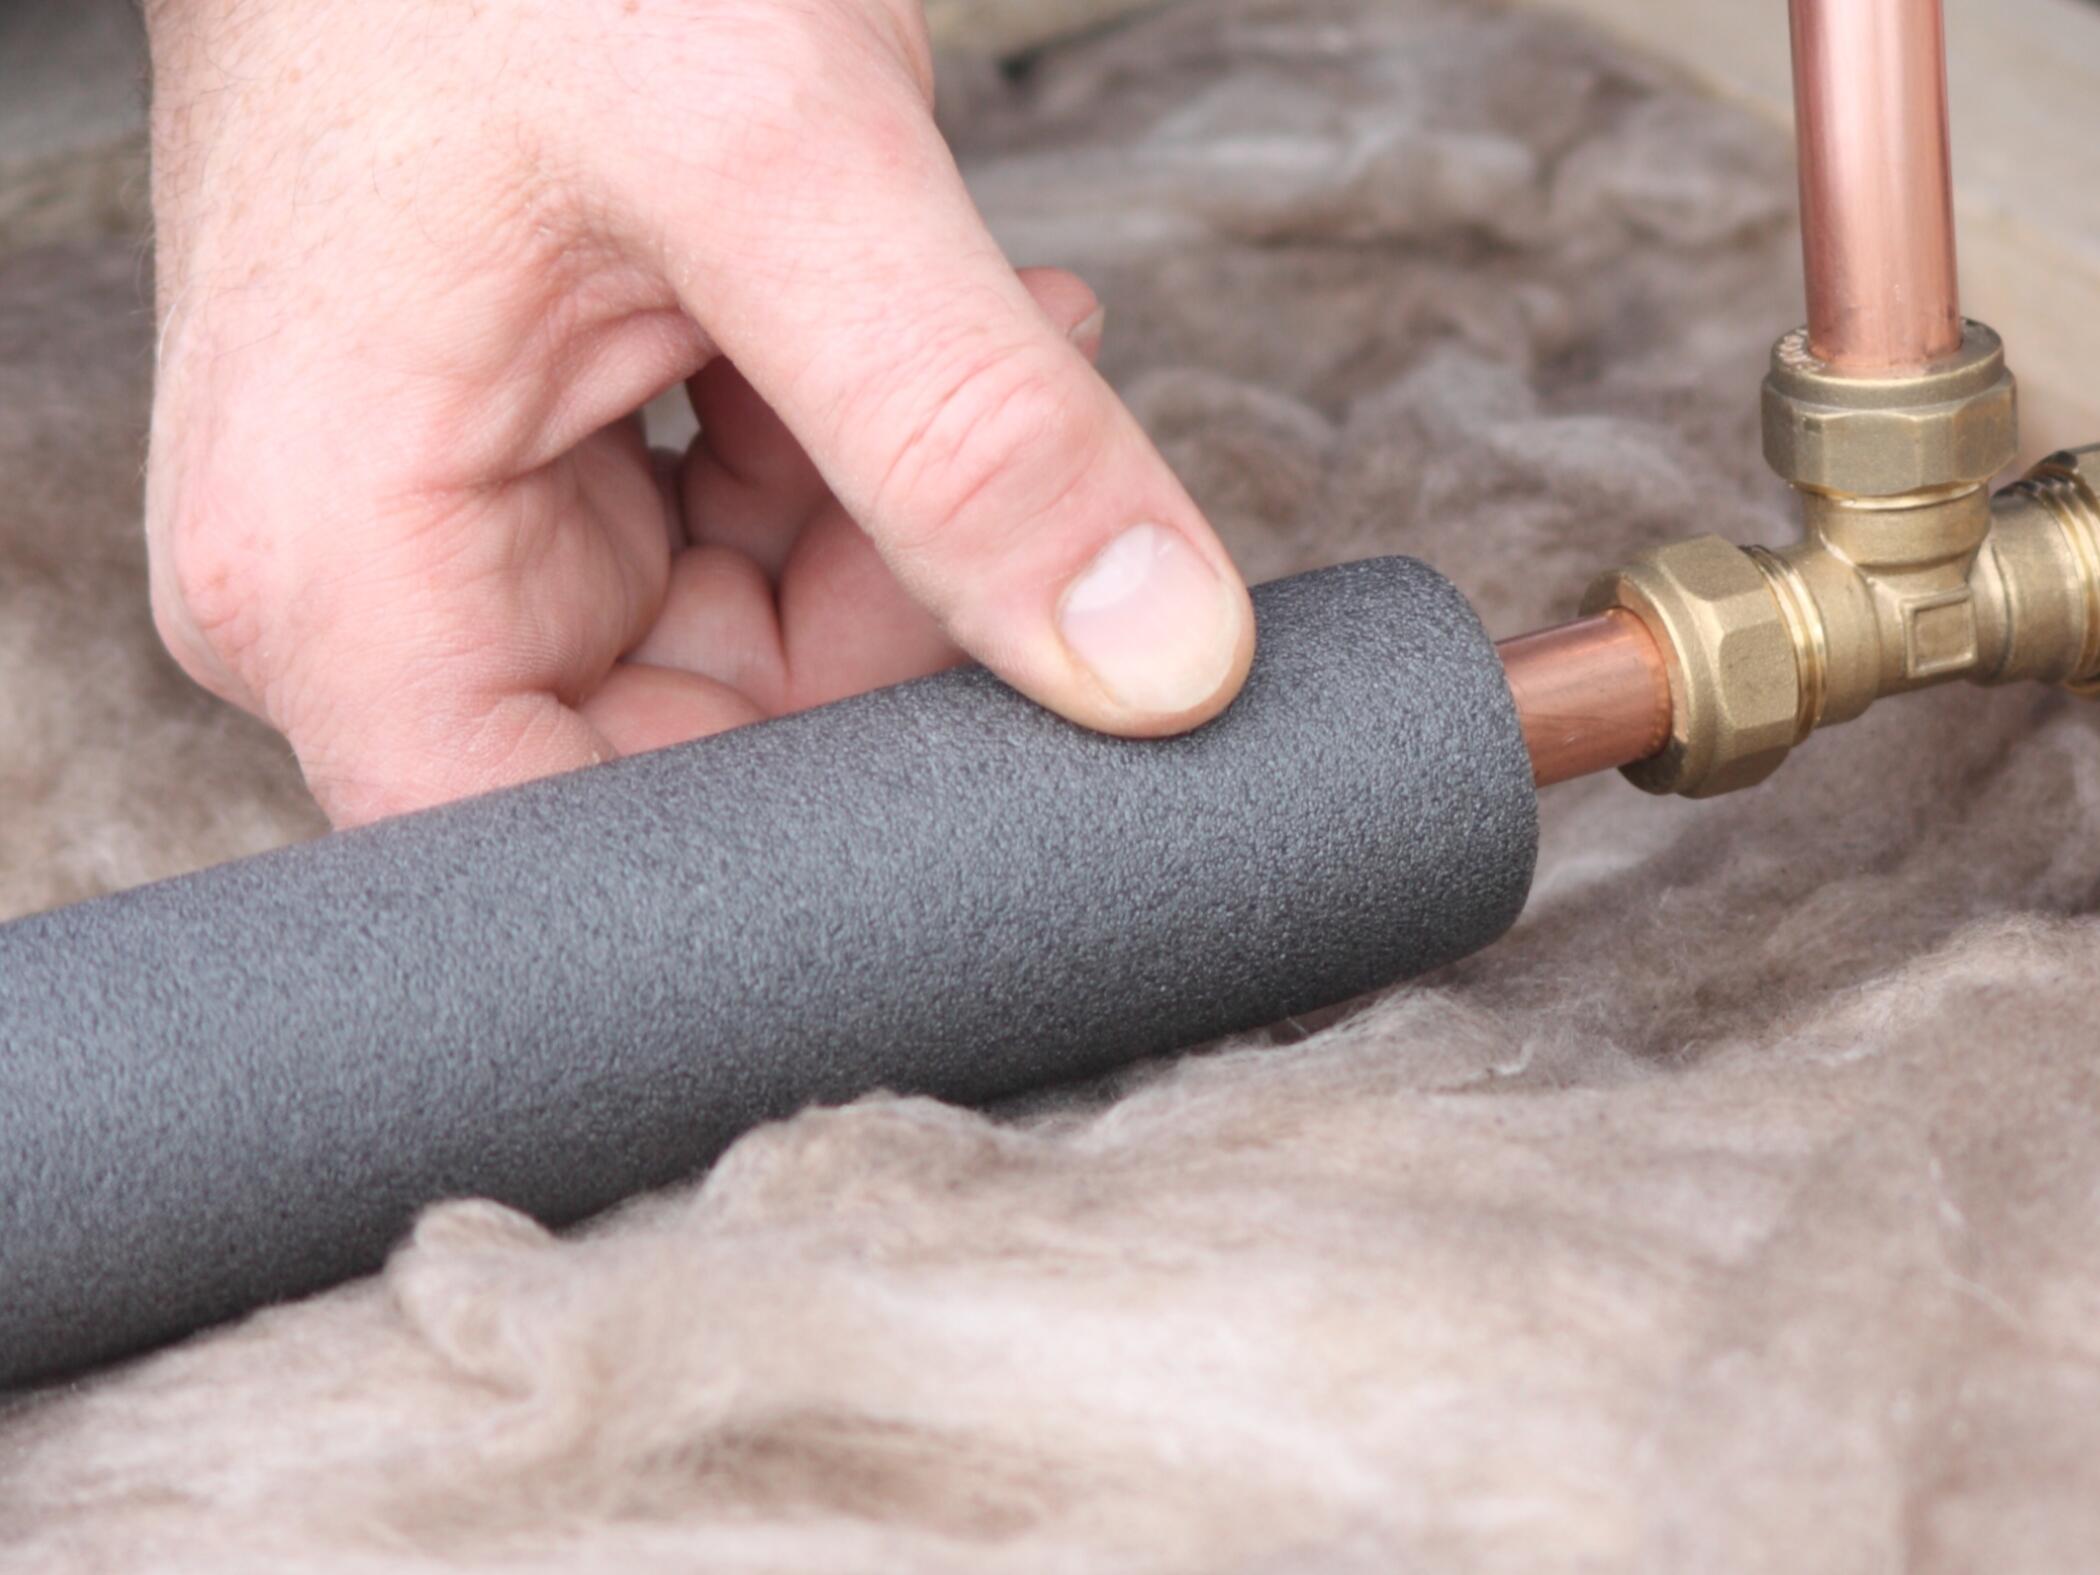
Step 4: Locate the Drain Valve
Now that you have turned off the power and water supply, it’s time to locate the drain valve on your water heater. The drain valve is typically located near the bottom of the unit. Here’s how to find it:
- Inspect the bottom of your water heater and look for a small, brass or plastic valve.
- The drain valve may be labeled or have a handle for easy identification.
- If you’re having trouble locating the drain valve, refer to the instruction manual provided by the manufacturer for specific guidance.
Once you have located the drain valve, you’re ready to move on to the next step of attaching a hose to it for the draining process.
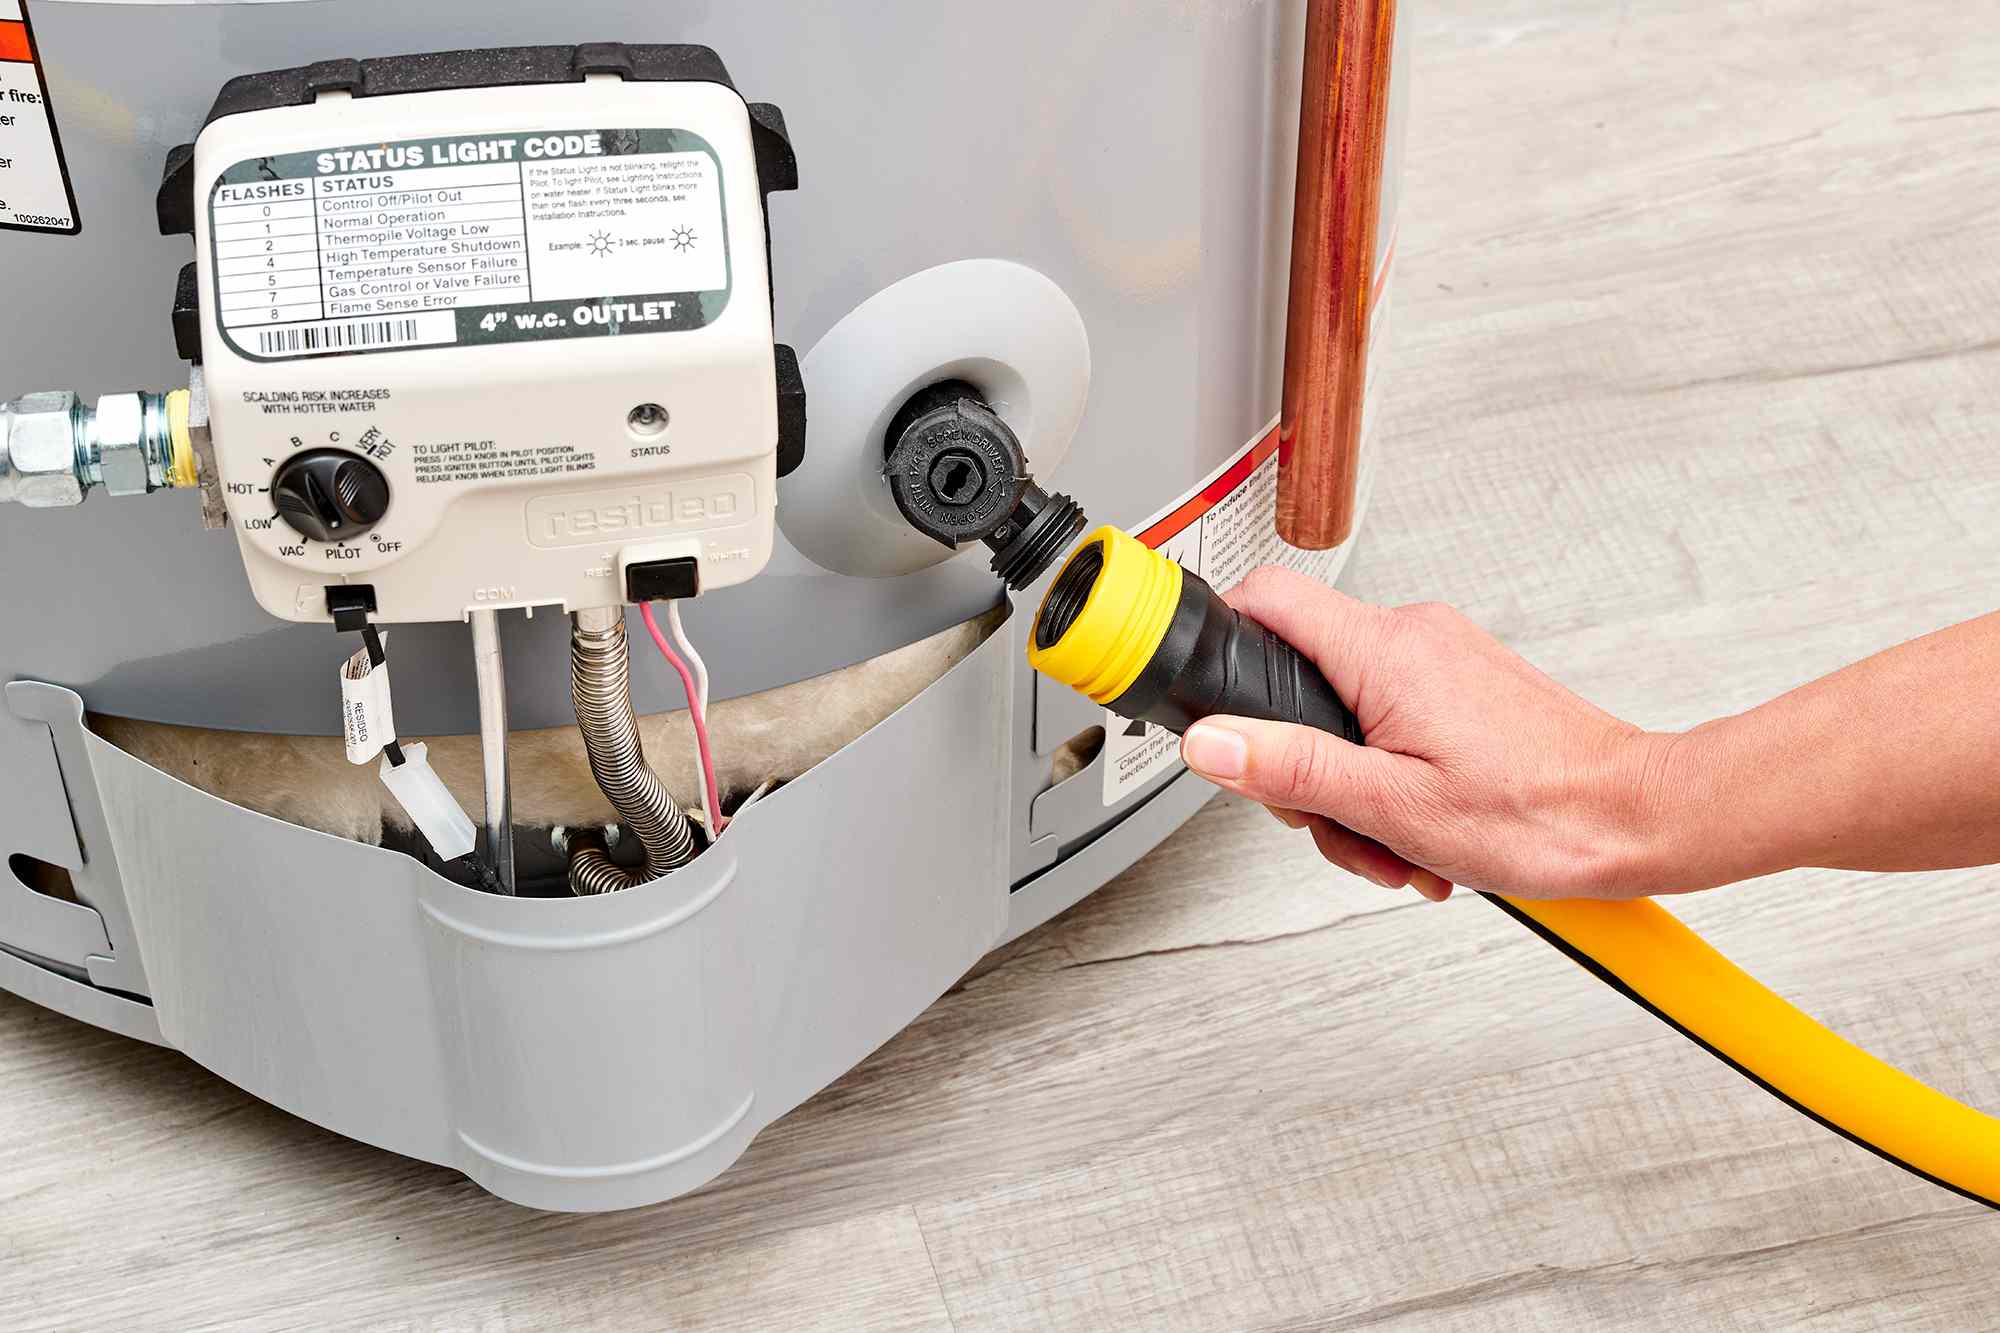
Step 5: Attach a Hose to the Drain Valve
With the drain valve located, the next step is to attach a hose to it to facilitate the draining process. Follow these steps:
- Get a suitable hose that can safely handle hot water and has a length long enough to reach a suitable drainage area.
- If your water heater has a threaded drain valve, you may need to use a garden hose adapter to connect the hose securely. Wrap the threaded end of the drain valve with Teflon tape to ensure a watertight connection.
- If your water heater has a lever handle drain valve, you can directly attach the hose by sliding it onto the valve and securing it with a hose clamp, if necessary.
- Ensure that the hose is securely attached to the drain valve to prevent any leaks during the draining process.
- Extend the other end of the hose to a suitable drainage area, such as a floor drain, sink, or outside where the water can safely drain away.
Once the hose is securely attached, you’re ready to proceed to the next step and prepare the water heater for draining.
Before draining a water heater in the attic, turn off the power or gas supply to the heater. Then, connect a hose to the drain valve and carefully direct the water to a suitable drainage area. Be sure to open a hot water faucet in the house to allow air into the system and help the water drain more quickly.
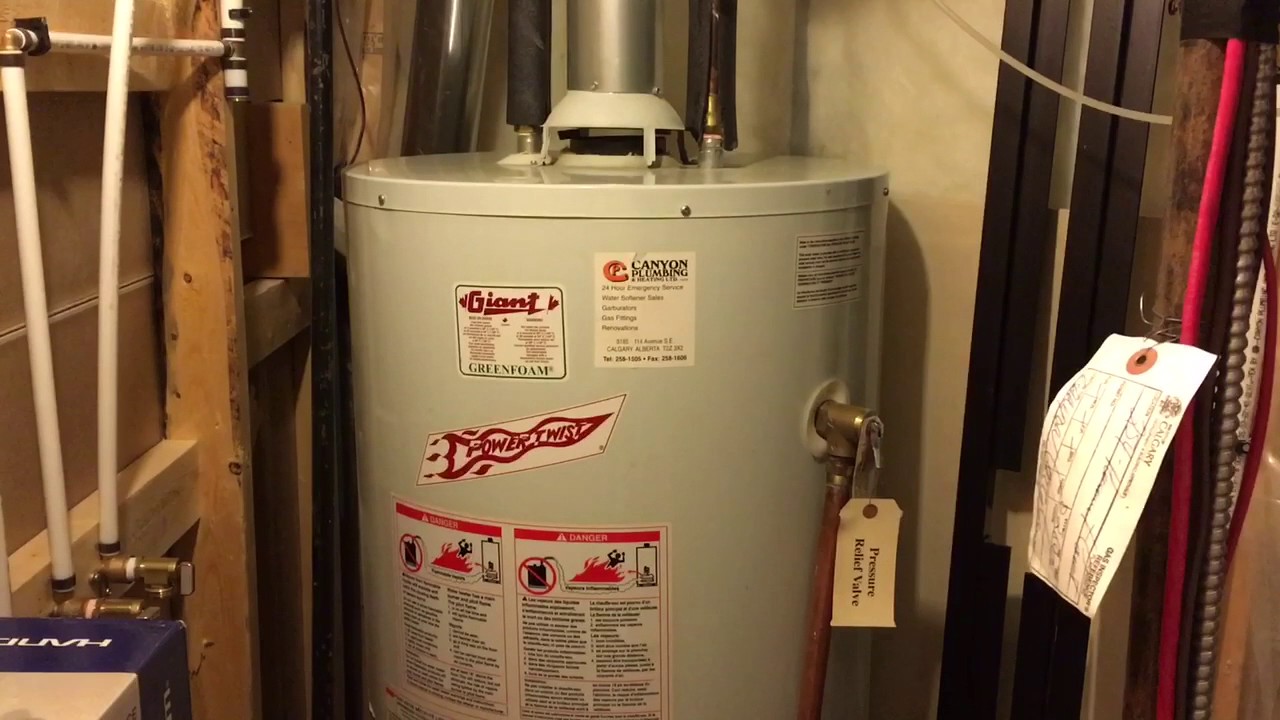
Step 6: Open the Pressure Relief Valve
Before you start draining the water heater, it’s important to open the pressure relief valve to release any built-up pressure inside the unit. Follow these steps:
- Locate the pressure relief valve, which is typically located on the top or side of the water heater.
- Place a bucket or a towel beneath the pressure relief valve to catch any water that may be released.
- Carefully lift the lever on the pressure relief valve to open it. This will allow air to enter the tank and relieve pressure.
- You may hear a slight hissing sound as air and water are released through the valve. This is normal and indicates that the pressure is being safely relieved.
- Keep the pressure relief valve open throughout the draining process to ensure a smooth flow of water.
By opening the pressure relief valve, you are taking precautionary measures to prevent any accidents or damage that could occur from excessive pressure within the water heater.
Step 7: Open the Drain Valve
With the pressure relief valve open, you’re now ready to open the drain valve and start draining the water heater. Follow these steps:
- Ensure that the bucket or hose attached to the drain valve is positioned securely to collect the draining water.
- Using an adjustable wrench or pliers, carefully turn the drain valve counterclockwise to open it. Make sure to do this slowly to avoid any sudden gushing of water.
- As you open the drain valve, you will notice water starting to flow out of the tank and into the bucket or hose.
- Keep an eye on the draining water and be prepared to adjust the position of the collection container if necessary.
- Allow the water heater to drain completely. This may take some time depending on the size of the tank and the water pressure.
As the water heater drains, be cautious as the water may still be hot. Take care to avoid any contact with the draining water to prevent burns or injuries.
It’s worth noting that sometimes sediment or mineral buildup can clog the drain valve. In such cases, you may need to use a small wire brush or a plumbing snake to clear any blockages and ensure a smooth drainage process.
Read more: How To Drain Water Heater In Basement
Step 8: Let the Water Heater Drain
Once the drain valve is open and the water has started to flow, it’s important to let the water heater drain fully. Follow these steps:
- Allow the water heater to continue draining until the water stops flowing and the tank is empty.
- While the water is draining, you may notice sediment or debris being flushed out with the water. This is normal and part of the draining process.
- Keep an eye on the draining process to ensure that it is running smoothly and without any issues.
- If you notice any unusual noises or obstructions, it may indicate a clogged drain valve. In such cases, you may need to discontinue the draining process and seek professional assistance.
- Once the water heater has completely drained, close the drain valve by turning it clockwise with an adjustable wrench or pliers.
It’s important to note that the water heater may take some time to drain fully, especially if there is a significant amount of sediment or debris inside. Be patient and allow the draining process to run its course.
By ensuring that the water heater is completely drained, you can effectively remove any sediment or buildup that may affect its performance and efficiency.
Step 9: Close the Drain Valve
Once the water heater has finished draining, it’s time to close the drain valve. Follow these steps:
- Ensure that the draining process has come to a complete stop, and there is no more water flowing from the drain valve.
- Using an adjustable wrench or pliers, carefully turn the drain valve clockwise to close it. Make sure to do this firmly but gently to avoid damaging the valve.
- Check the drain valve and its surrounding area for any signs of leakage. If you notice any leaks after closing the valve, try tightening it a bit more or consult a professional if needed.
Closing the drain valve securely is important to prevent any water leakage or damage to the water heater. A properly closed drain valve will ensure that the water heater is ready for the next use.
After closing the drain valve, take a moment to inspect the surrounding area for any water spills or drips. If you notice any, wipe them up with a towel or rag to prevent any potential accidents or damage.
Step 10: Refill and Restart the Water Heater
After completing the draining process, it’s time to refill and restart the water heater. Here’s what you need to do:
- Ensure that the drain valve is closed and secure.
- Turn on the main water supply valve to allow water to flow into the water heater.
- Open a hot water faucet in your house to let air escape from the pipes until a steady stream of water flows out.
- Once the air is purged from the system and the water flows smoothly, close the hot water faucet.
- Check the water heater for any signs of leakage around the connections or valves. If you notice any leaks, try tightening the connections or consult a professional if necessary.
- Turn on the power supply to the water heater by flipping the circuit breaker switch or reinserting the fuse.
- Set the desired temperature on the water heater’s thermostat.
- Allow the water heater to heat the newly filled water for some time (usually a few hours) before using hot water in your household.
By following these steps, you can ensure that the water heater is refilled correctly and ready to provide hot water once again. It’s important to monitor the water heater in the following days to ensure that there are no issues or leaks.
Regular maintenance and draining of the water heater will help prolong its lifespan and maintain its efficiency. It’s recommended to consult the manufacturer’s guidelines or seek professional help if you are unsure about any step of the process.
Conclusion
Draining a water heater in the attic may seem like a daunting task, but with proper guidance and safety precautions, it can be done effectively and efficiently. By following the step-by-step process outlined in this article, you can ensure that your water heater is properly maintained and ready to provide hot water for your household.
Throughout the draining process, it’s crucial to prioritize safety by turning off the power supply, shutting off the water supply, and wearing protective gear. These precautions will help prevent accidents and ensure a smooth and secure procedure.
Gathering the necessary tools and materials, locating the drain valve, and attaching a hose are important preparatory steps that will make the draining process easier. Opening the pressure relief valve and the drain valve will facilitate the release of pressure and allow the water heater to drain efficiently.
After the water heater has drained completely, it’s important to close the drain valve securely and take the necessary steps to refill and restart the water heater. Monitoring the system for any leaks or issues in the following days is essential to ensure its proper functioning.
Regular maintenance, including draining the water heater, is crucial for maintaining its performance and prolonging its lifespan. It helps remove sediment and debris that can affect its efficiency and effectiveness.
Remember to consult the manufacturer’s guidelines and seek professional help if you encounter any difficulties or have concerns throughout the process.
By following these steps and taking necessary precautions, you can successfully drain your water heater in the attic and ensure its optimal performance for years to come.
Frequently Asked Questions about How To Drain Water Heater In The Attic
Was this page helpful?
At Storables.com, we guarantee accurate and reliable information. Our content, validated by Expert Board Contributors, is crafted following stringent Editorial Policies. We're committed to providing you with well-researched, expert-backed insights for all your informational needs.


0 thoughts on “How To Drain Water Heater In The Attic”