Articles
How To Drain Water Heater In Basement
Modified: August 27, 2024
Learn how to drain a water heater located in your basement with our informative articles. Find step-by-step instructions and tips for a successful draining process.
(Many of the links in this article redirect to a specific reviewed product. Your purchase of these products through affiliate links helps to generate commission for Storables.com, at no extra cost. Learn more)
Introduction
Welcome to the comprehensive guide on how to drain a water heater in the basement. Water heaters are essential appliances in our homes, responsible for providing hot water for daily activities such as bathing, cooking, and cleaning. Over time, sediment and mineral deposits can accumulate at the bottom of the tank, reducing the heater’s efficiency and potentially causing damage. Draining the water heater periodically is a crucial maintenance task that ensures optimal performance and prolongs its lifespan.
However, draining a water heater in the basement may seem like a daunting task for many homeowners. With the right knowledge and preparation, though, it can be a relatively straightforward process. In this guide, we’ll walk you through the step-by-step procedure of draining a water heater safely and efficiently. But before we dive into the details, it’s important to familiarize ourselves with some essential safety precautions.
Key Takeaways:
- Regularly draining your water heater in the basement is crucial for removing sediment, ensuring optimal performance, and extending its lifespan. Follow the step-by-step guide to maintain efficiency and improve hot water quality.
- Prioritize safety by shutting off power, turning off the water supply, and wearing protective gear when draining your water heater in the basement. Follow the comprehensive guide for a safe and efficient maintenance process.
Read more: How To Drain Whirlpool Water Heater
Safety Precautions
Before you begin draining your water heater in the basement, it’s vital to prioritize safety. Here are some safety precautions to keep in mind:
- Turn off the power: Start by turning off the power supply to the water heater. This is crucial to avoid the risk of electric shock. Locate the circuit breaker or fuse connected to the water heater and switch it off before proceeding.
- Allow the water to cool: Hot water can cause severe burns. To prevent any accidents, allow the water inside the tank to cool down before attempting to drain it. It’s recommended to wait at least a few hours or even overnight to ensure the water is at a safe temperature.
- Protective gear: Wear protective gloves and safety glasses to shield yourself from any potential splashes of hot water or debris while performing the draining process.
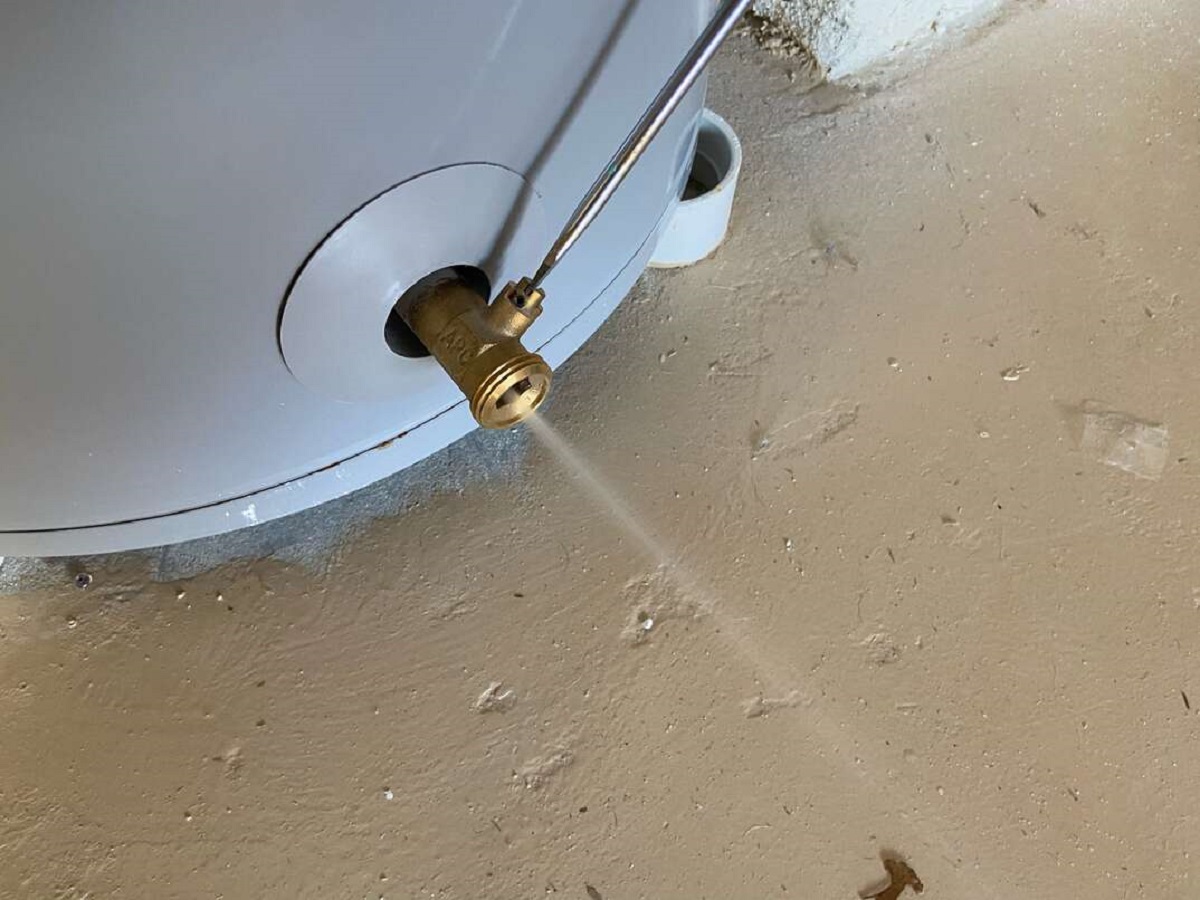
- Check the pressure relief valve: Before draining the water heater, ensure the pressure relief valve is in good working condition. This valve is designed to release excess pressure from the tank and should be functioning correctly to maintain safety. If you notice any leaks or issues with the valve, it’s important to have it repaired or replaced before proceeding.
- Have a drain or suitable receptacle: Ensure you have a proper drain or a suitable receptacle ready to collect the drained water. The volume of water can be significant, so it’s essential to have a container or drainage system that can handle the flow without causing flooding or damage.
- Be cautious of hot water and steam: When opening the drain valve, be prepared for hot water and steam to come out. Keep your face and body at a safe distance from the valve to avoid any scalding or burns, and be careful not to touch any hot surfaces during the process.
- Follow manufacturer’s instructions: It’s important to consult the manufacturer’s instructions specific to your water heater model. Every water heater may have unique requirements or safety measures, so be sure to familiarize yourself with the guidelines and instructions provided.
By following these safety precautions, you can minimize potential risks and ensure a safe draining process for your water heater in the basement.
Gathering Materials
Before you start draining your water heater in the basement, it’s important to gather all the necessary materials and tools. Having everything prepared in advance will make the process more efficient and save you time and hassle. Here are the materials you’ll need:
- A pair of gloves: Choose sturdy rubber gloves that can protect your hands from hot water and debris.
- Safety glasses: Ensure you have safety glasses or goggles to shield your eyes from any potential splashes or particles.
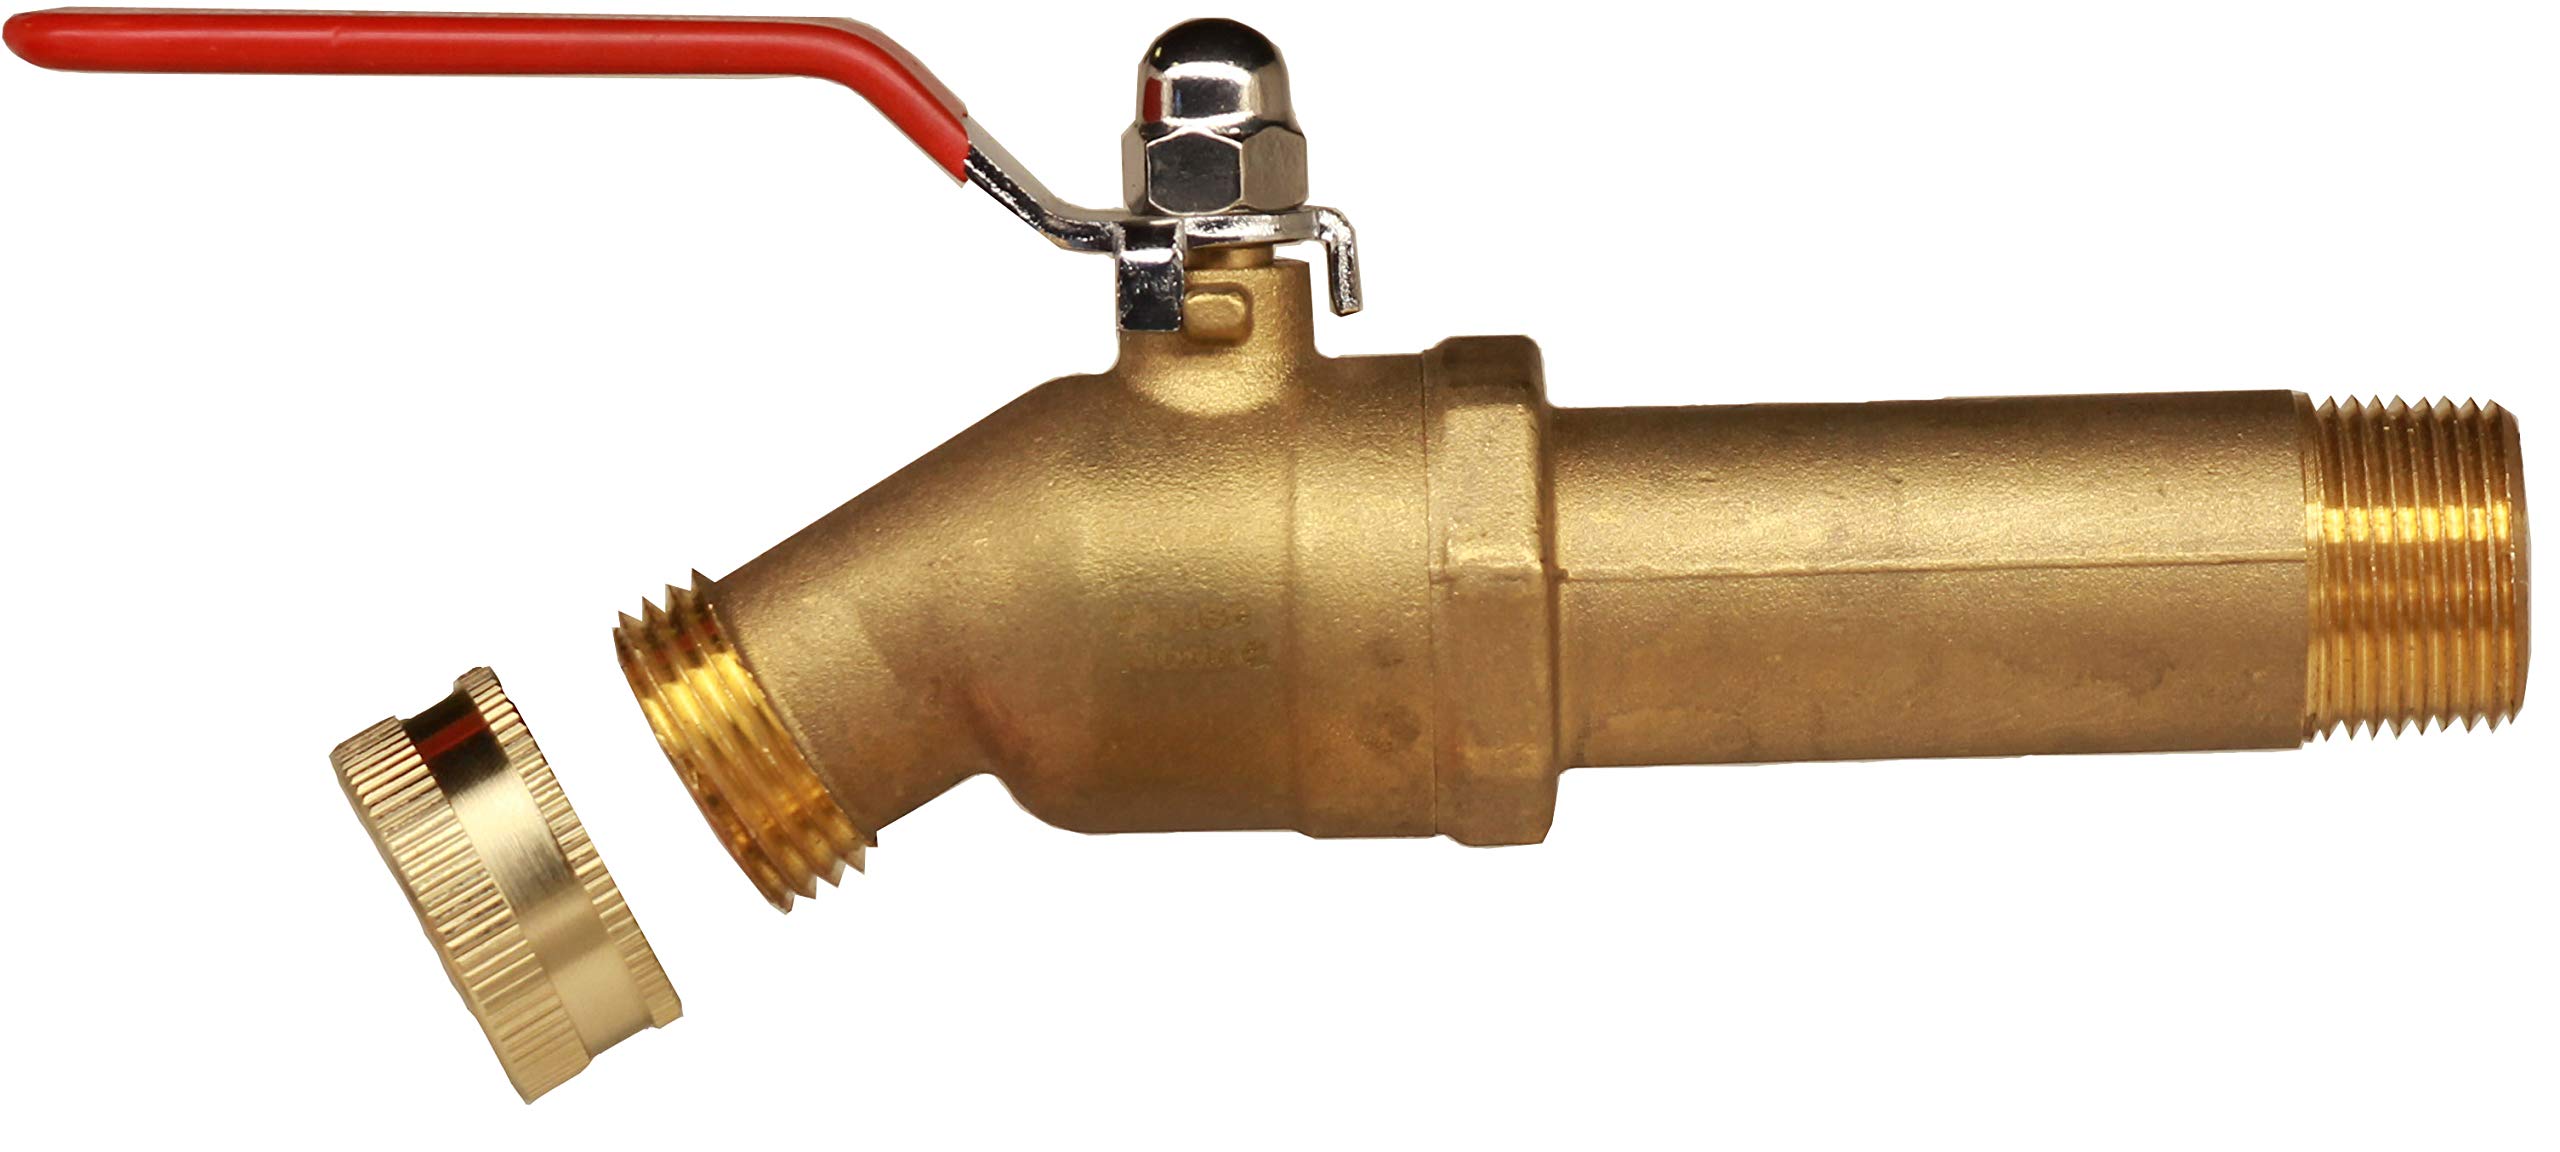
- A hose: You’ll need a garden hose long enough to reach from the water heater’s drain valve to the drain or suitable receptacle. A hose with a wider diameter, such as ¾ inch, is recommended as it allows for faster drainage.
- A bucket or suitable container: Have a bucket or container ready to catch any initial rush of water before connecting the hose. This will prevent any water from spilling onto the floor or causing a mess.
- A wrench or pliers: Depending on the type of drain valve on your water heater, you may need a wrench or pliers to loosen or open the valve. Check the valve beforehand and ensure you have the appropriate tool to manipulate it.
- Teflon tape or plumber’s tape: If your drain valve has threads, it’s a good idea to have some Teflon tape or plumber’s tape on hand. This tape can be wrapped around the threads to create a tight seal and prevent any leaks during the process.
- A drain or suitable receptacle: Ensure you have a proper drain or a suitable receptacle ready to collect the drained water. Make sure it can handle the volume of water and is positioned at a lower point than the water heater for efficient drainage.
By gathering these materials in advance, you’ll have everything you need to perform the draining process smoothly. Double-check that you have all the items on this list, and if needed, make a quick trip to the hardware store to obtain any missing materials. Being prepared will make the task much easier and help you avoid any last-minute frustrations.
Shutting Off the Power
Once you have gathered all the necessary materials, the next step in draining your water heater in the basement is to shut off the power supply. This step is crucial to ensure your safety and prevent any potential electrical accidents during the draining process. Here’s how to shut off the power:
- Locate the circuit breaker or fuse box: The first step is to locate the circuit breaker panel or fuse box in your house. This is where the power supply to the water heater is controlled. In most cases, the water heater will have its own dedicated circuit breaker.
- Identify the water heater circuit: Once you’ve located the circuit breaker panel, identify the circuit that supplies power to the water heater. Look for labels or markings indicating the water heater or check the circuit diagram provided by an electrician.
- Switch off the circuit breaker: Once you have identified the correct circuit, switch off the corresponding circuit breaker. Flip the switch to the “Off” position to cut off the power supply to the water heater. You may hear a distinct click or see the switch in the opposite direction.
- Ensure power is off: To be extra cautious, verify that the power to the water heater is indeed off. Go to the water heater and test the control panel or any indicator lights to confirm that there is no power running to the unit. If all lights and controls are off, you can be confident that the power supply is successfully shut off.
It’s important to note that shutting off the power ensures your safety during the draining process. It prevents the risk of electric shock and reduces the chances of any malfunctions or accidents. Remember, if you are unsure or uncomfortable working with electricity, it’s always recommended to consult a professional electrician for assistance.
Turning Off the Water Supply
After shutting off the power to the water heater, the next step in draining your water heater in the basement is to turn off the water supply. This ensures that no additional water flows into the tank while you are draining it. Here’s how to turn off the water supply:
- Locate the water supply valve: The water supply valve for your water heater is typically located on the cold water pipe that connects to the tank. It may be near the top of the tank or close to where the pipe enters the basement. Look for a wheel-like handle or a lever-style valve.
- Close the water supply valve: Once you have located the water supply valve, turn it clockwise to close it. This action will shut off the flow of cold water into the water heater, preventing any more water from entering the tank.
- Verify water supply is off: To ensure that the water supply is indeed turned off, you can check by running a faucet or a tap in your house. If no water flows out, it confirms that the water supply to the water heater has been successfully shut off.
It’s important to note that turning off the water supply prevents any potential flooding or excessive water discharge during the draining process. By closing the valve, you have control over the water flow, making it easier to drain the tank without any interruption. Remember to keep the water supply valve closed until you have completed the draining process and are ready to refill the tank.
Read more: How To Drain An Electric Water Heater
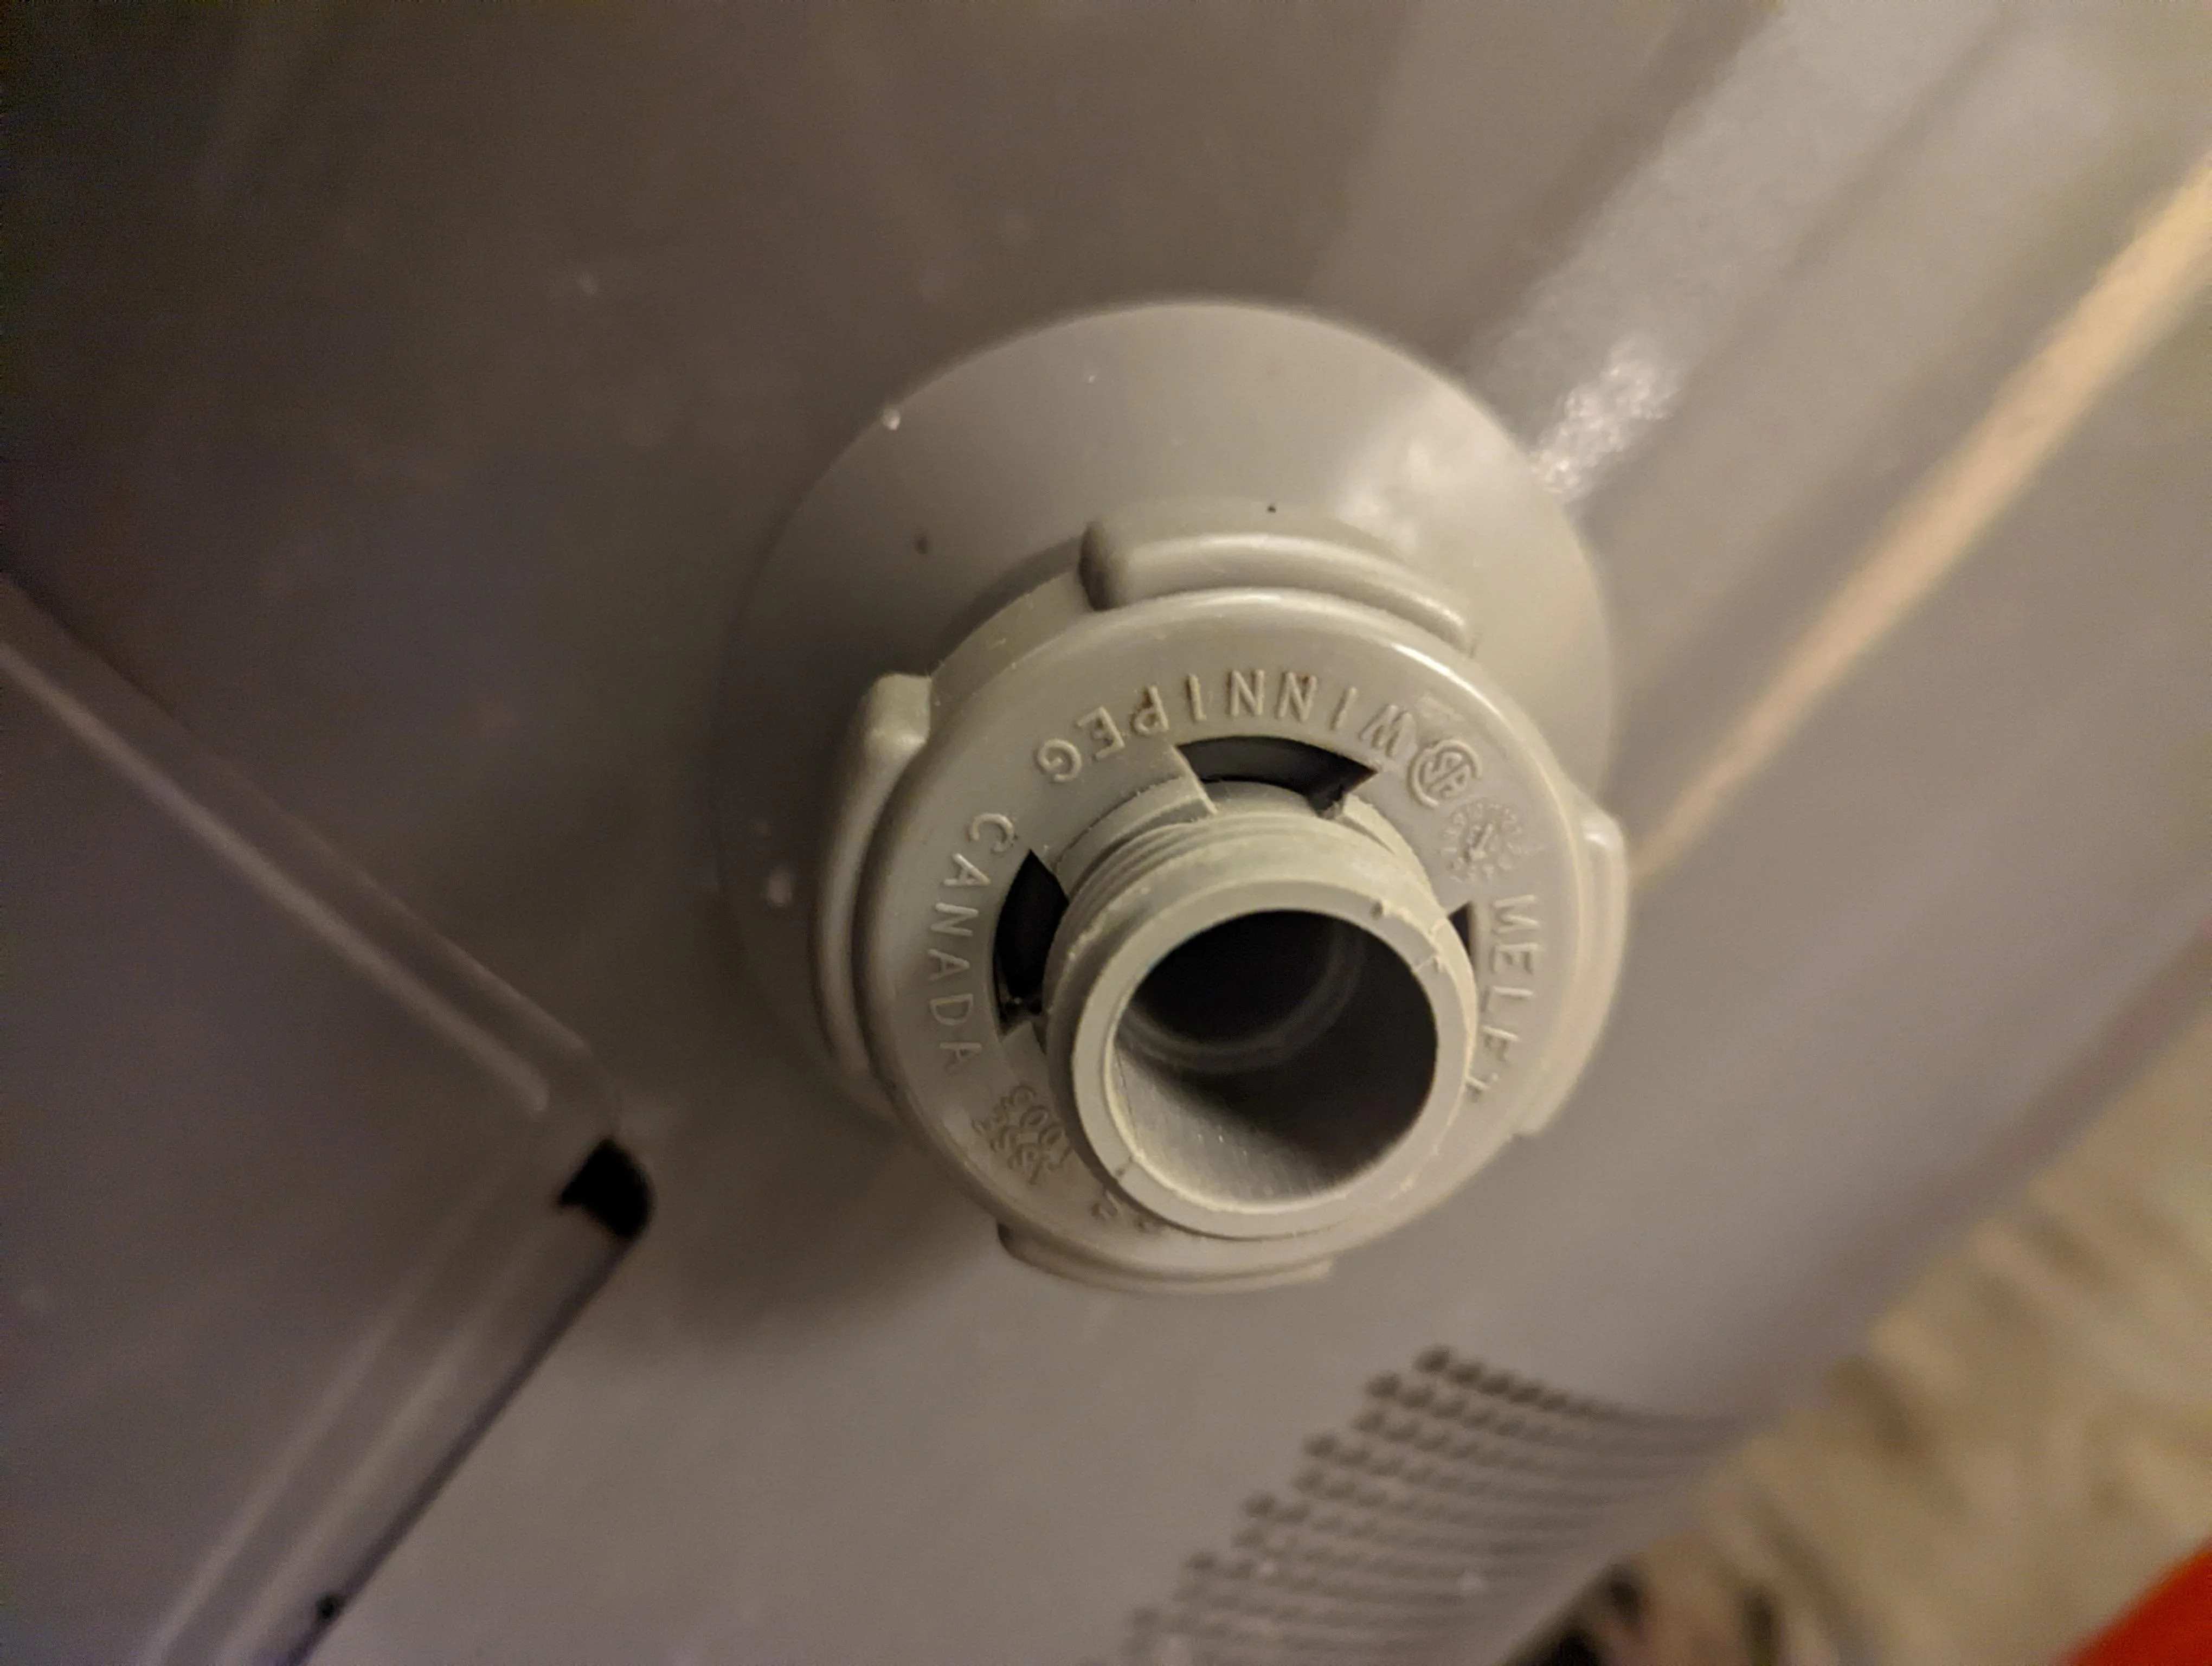
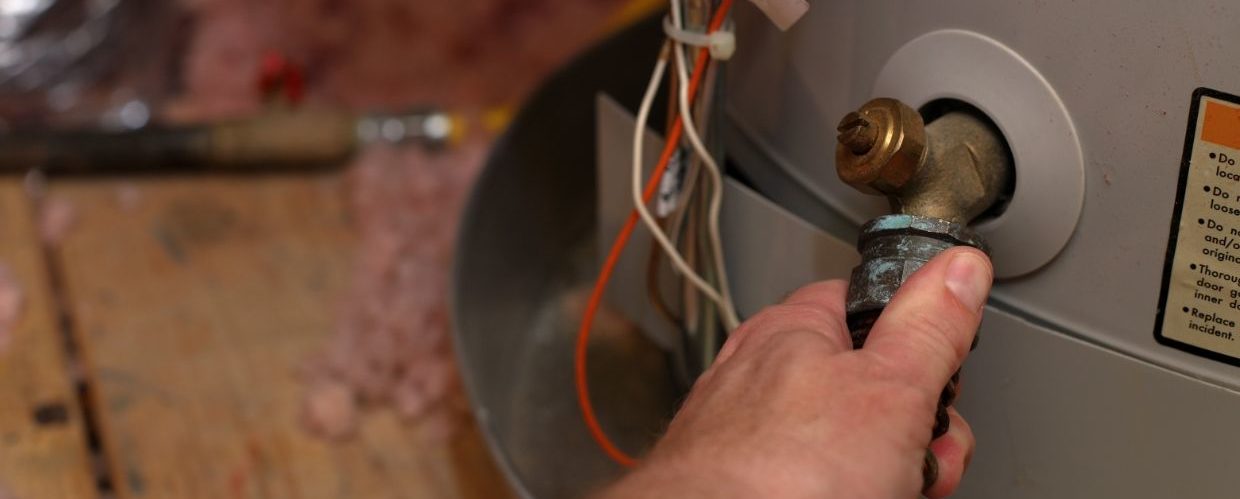
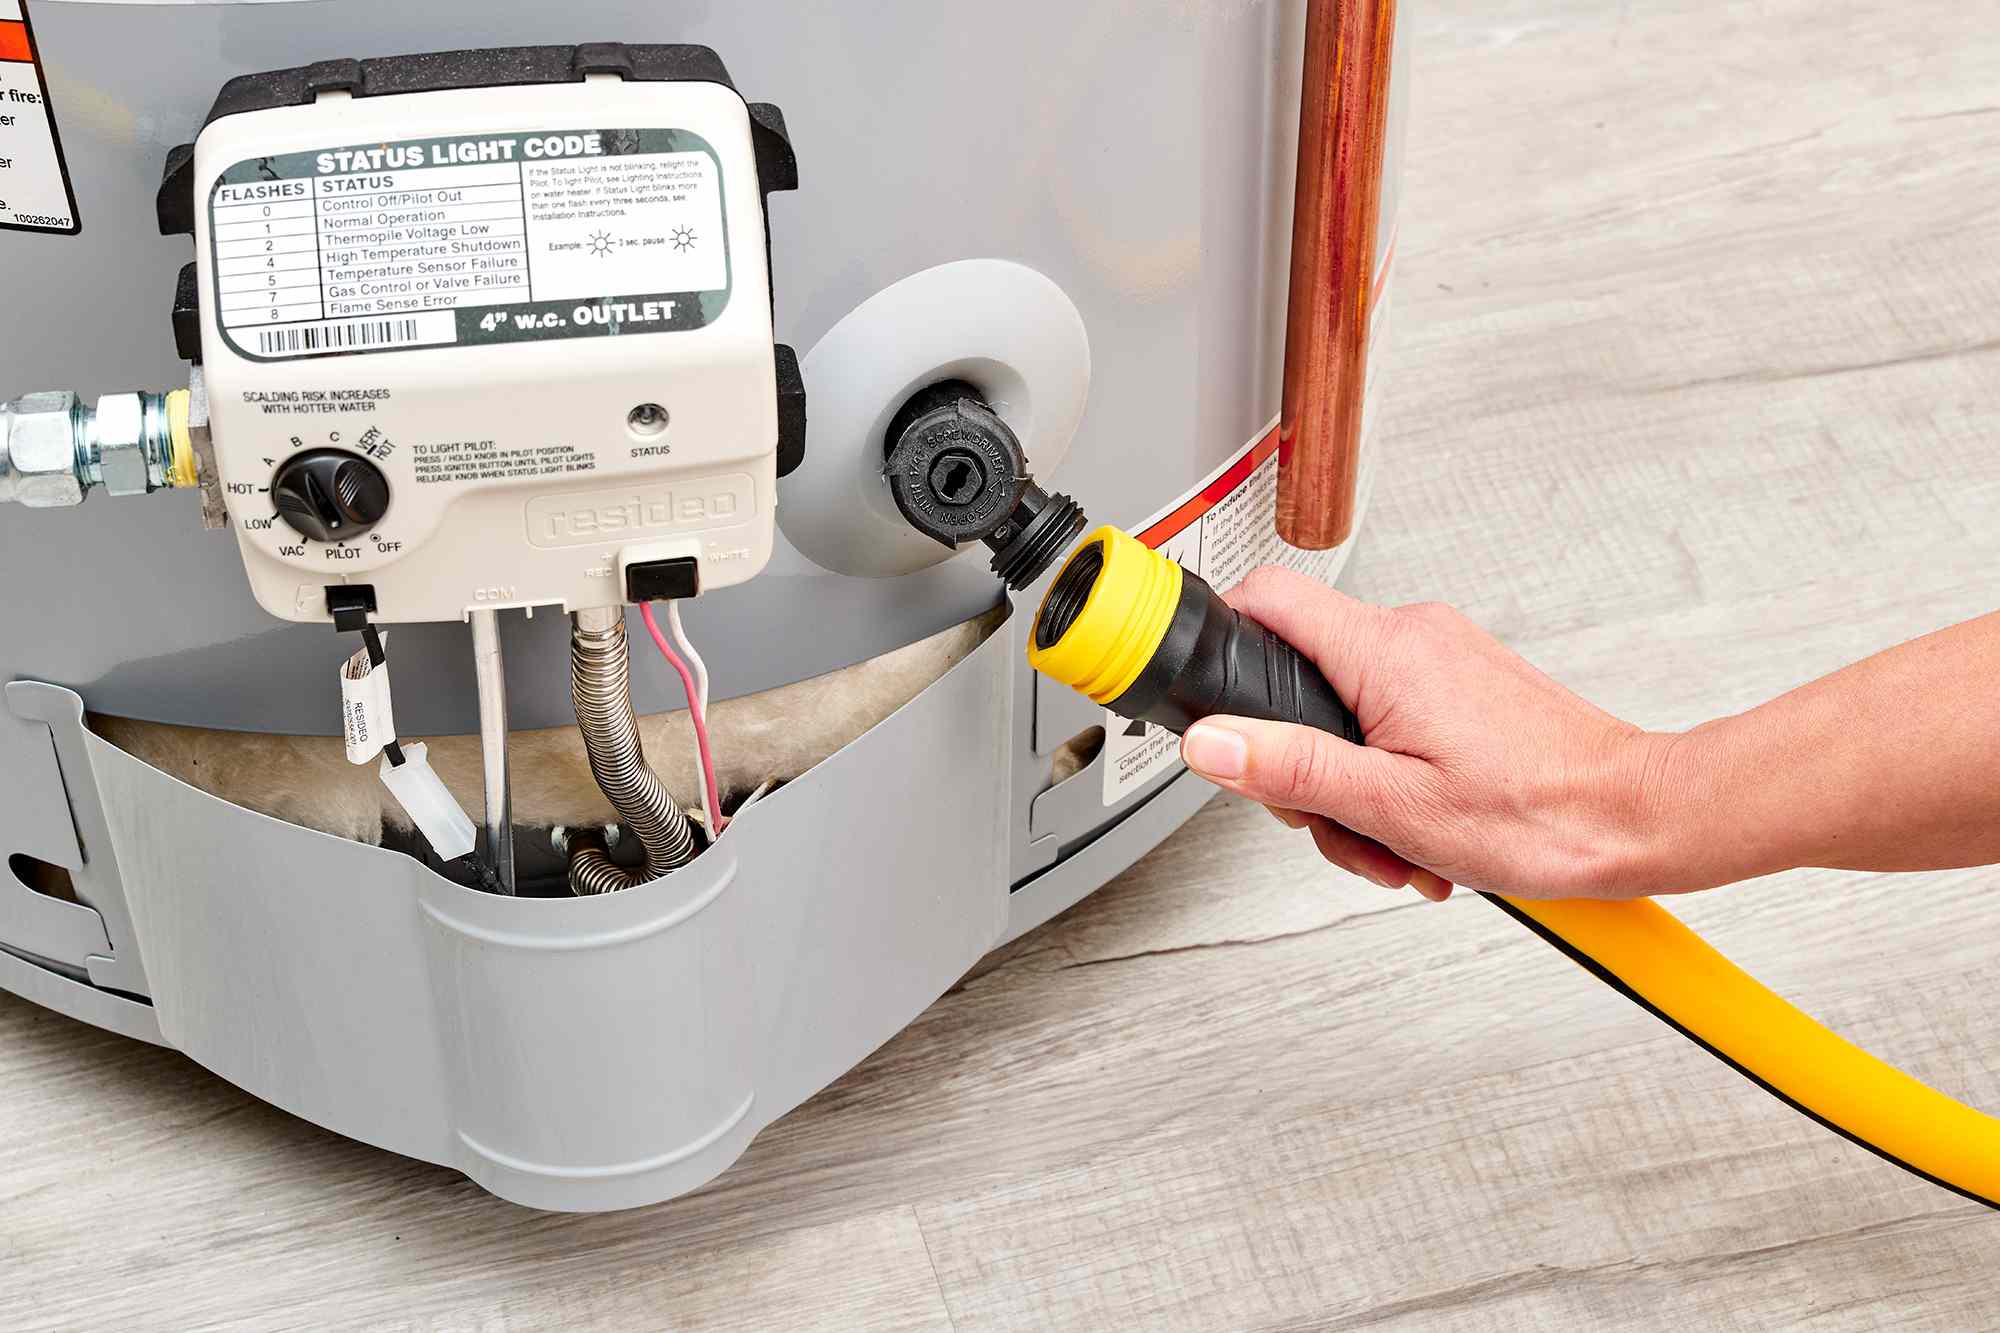
Opening Drain Valve
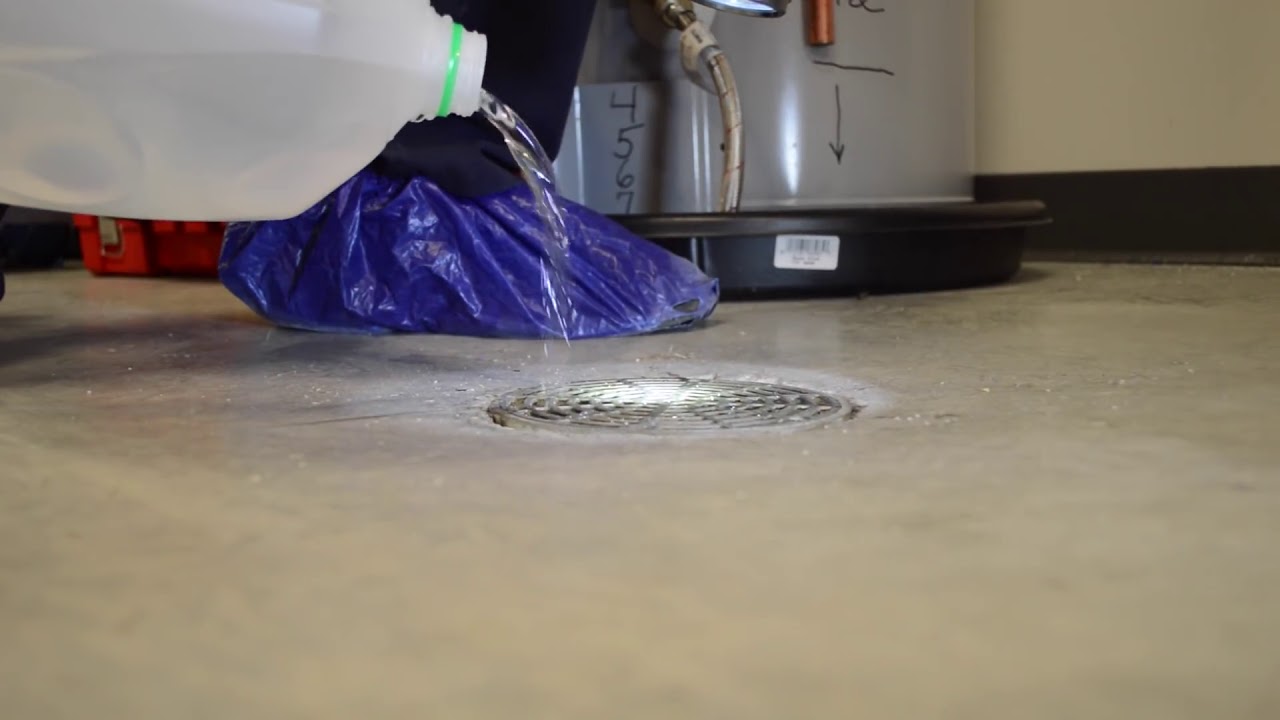
With the power and water supply to the water heater turned off, it’s time to open the drain valve and begin the draining process. Opening the drain valve allows the water to flow out of the tank and into a suitable receptacle or drain. Here’s how to open the drain valve:
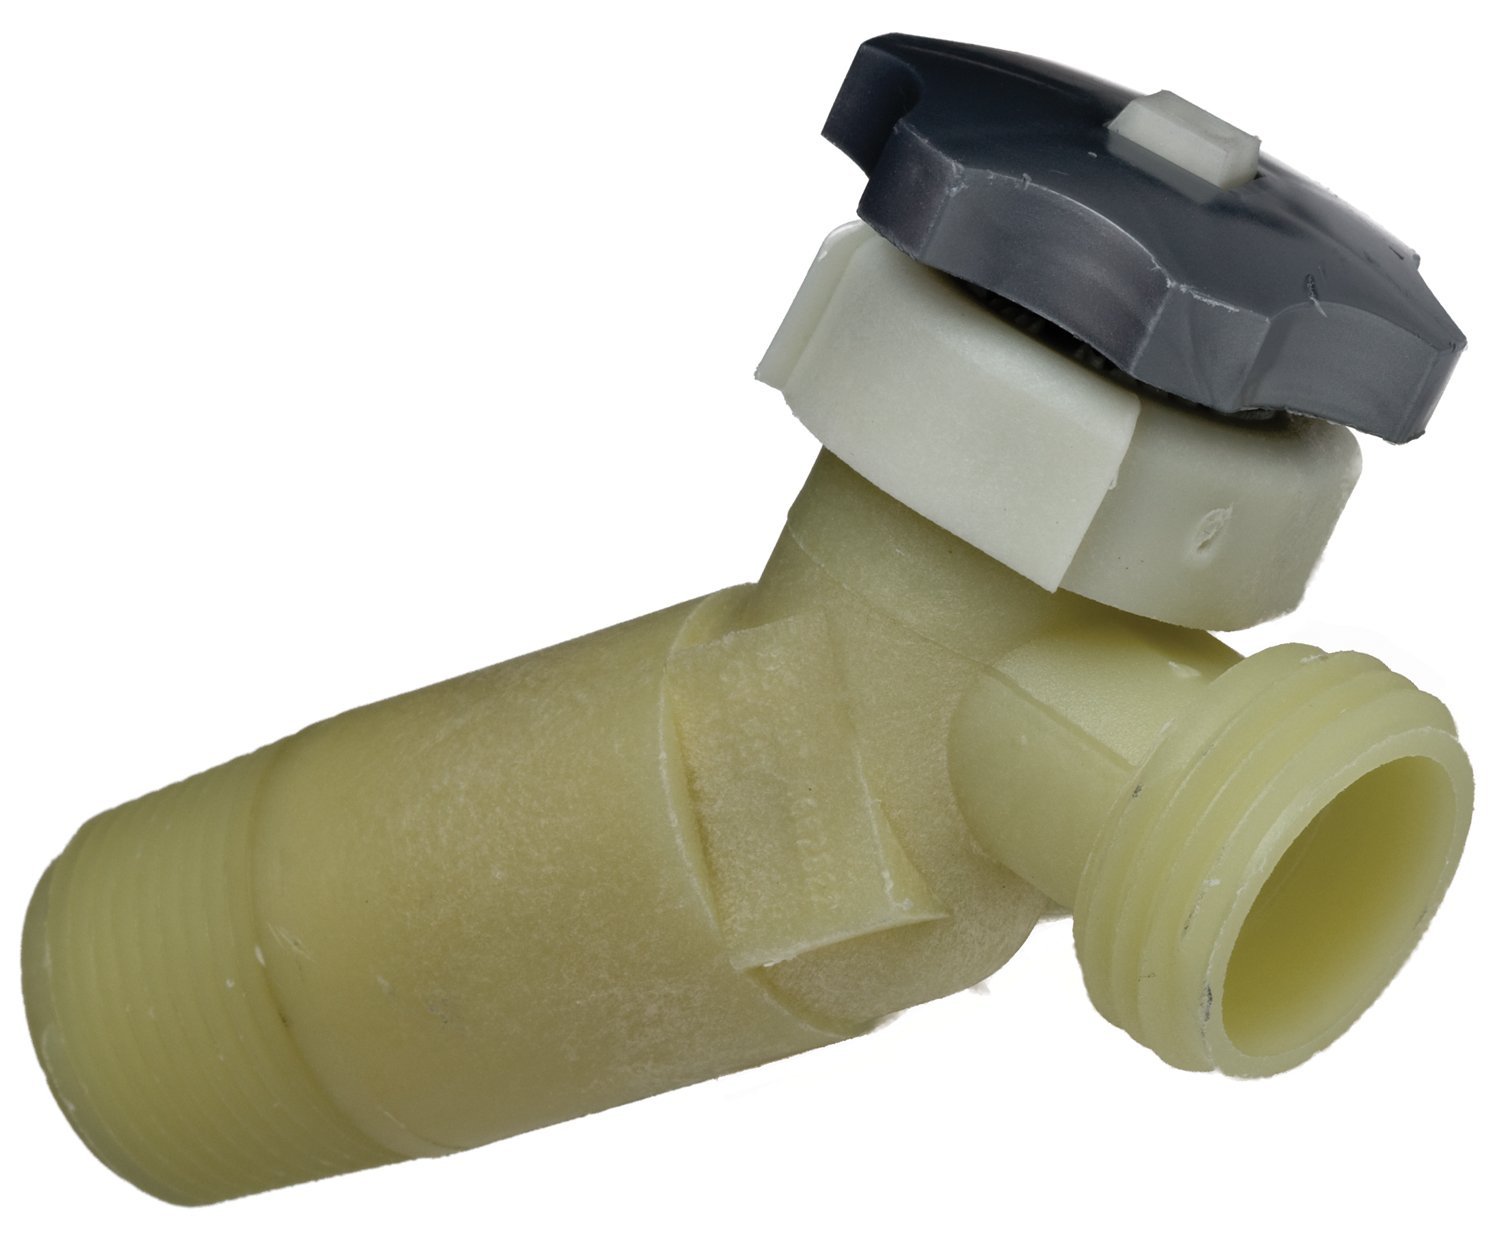
- Locate the drain valve: The drain valve is typically located at the bottom of the water heater. It is a small faucet-like valve with a threaded opening.
- Prepare the drainage area: Before opening the drain valve, ensure that you have a suitable receptacle or drain at a lower level than the water heater. Place a bucket or container under the valve to catch any initial rush of water.
- Attach a hose (if required): If the drain valve is threaded, you can attach a garden hose to it. Wrap Teflon tape or plumber’s tape around the threads of the valve before screwing the hose onto it. This helps create a tight seal and prevents any leaks.
- Open the drain valve: Using a wrench or pliers, slowly turn the drain valve counterclockwise to open it. Be prepared for hot water and steam to come out initially. You may need to hold a bucket or direct the hose into the drainage area. Allow the water to flow out completely.
- Monitor the draining process: While the water is draining, keep an eye on the progress. Watch for any signs of sediment or debris being flushed out of the tank. This step helps to purge the tank of any build-up and ensure optimal performance.
By following these steps, you can safely open the drain valve and allow the water to drain out of the tank. Be cautious of the hot water and steam that may flow out, and make sure to direct it into a suitable receptacle or drain to prevent any mess or damage.
Before draining your water heater in the basement, turn off the power or gas supply to the heater. Then, connect a garden hose to the drain valve and run it to a floor drain or outside. Open the valve and let the water drain completely.
Purging Sediment from the Tank
As the water drains from the water heater, it’s a good opportunity to purge any sediment or mineral deposits that may have accumulated at the bottom of the tank. Sediment build-up can decrease the efficiency of the water heater and lead to potential problems. Here’s how to purge sediment from the tank:
- Continue draining until water runs clear: As the water flows out of the tank, pay attention to its color and clarity. Initially, it may appear cloudy or discolored due to the sediment. Allow the water to drain until it runs clear. This ensures that most of the sediment has been flushed out.
- Flush the tank: To further flush out the remaining sediment, you can perform a quick flushing procedure. With the drain valve still open, briefly open and then close the cold water supply valve. This causes a surge of water to enter and exit the tank, helping to dislodge any remaining sediment.
- Repeat if necessary: If the drained water is still cloudy or contains sediment particles, you may need to repeat the draining and flushing process. Close the drain valve, refill the tank partially, and repeat the draining steps until the water runs clear.
- Inspect the drain valve: While the tank is empty, take a moment to inspect the drain valve for any signs of damage or leaks. If you notice any issues, such as leakage or malfunctioning, it’s advisable to have it repaired or replaced before proceeding.
Purging the sediment from the tank helps ensure that your water heater operates efficiently and extends its lifespan. By following these steps and taking the time to flush out any build-up, you will improve the overall performance and maintain the quality of the hot water that your water heater provides.
Closing the Drain Valve
After the water has drained completely and you have purged the sediment, it’s time to close the drain valve to prepare for the next steps. Here’s how to close the drain valve:
- Make sure the water is fully drained: Before attempting to close the drain valve, double-check that the water has completely emptied from the tank. Verify this by inspecting the water level through the drain valve or by confirming that no more water is flowing out.
- Gently close the drain valve: Using a wrench or pliers, turn the drain valve clockwise to slowly close it. Take care not to overtighten. Ensure the valve is closed securely to prevent any leaks or drips, but be cautious not to damage the valve or its threading.
- Detach the hose (if used): If you attached a hose to the drain valve, carefully unscrew it and remove it. Be cautious as the hose may still contain residual water. Allow any remaining water to drain from the hose before storing it away.
By closing the drain valve, you prevent any additional water from escaping the tank and prepare for the next step of refilling the tank. It’s important to ensure a secure and watertight closure to prevent any leaks or drips. Take your time to close the valve properly and be mindful of not applying excessive force or damaging the valve in the process.
Refilling the Tank
With the drain valve closed, it’s time to refill the tank and restore the water supply to your water heater in the basement. Here’s how to refill the tank:
- Turn on the water supply: Locate the water supply valve for your water heater. It’s the same valve you closed earlier to stop the water flow. Turn the valve counterclockwise to open it and allow the water to flow back into the tank.
- Monitor the filling process: As the tank refills, keep an eye on the water level. You can use the drain valve or a sight glass (if your model has one) to gauge the water level inside. Allow the tank to fill completely until the water reaches the appropriate level.
- Check for leaks: While the tank is filling, closely inspect the area around the water supply valve, connections, and the drain valve for any signs of leaks. If you notice any leakage, promptly shut off the water supply and address the issue before proceeding.
- Open hot water faucets: To release any trapped air and ensure proper water flow, open the hot water faucets in your house. Let the faucets run until a steady flow of water is established, indicating that the air has been purged from the system.
Refilling the tank allows you to restore the water supply and prepare the water heater for normal operation. It’s important to ensure that the tank fills completely and check for any leaks during the process. Opening the hot water faucets helps ensure a smooth flow of water and expels any trapped air in the system.
Read more: How To Drain Water Heater In The Attic
Turning the Power Back On
After refilling the tank and ensuring there are no leaks, the final step in draining and maintaining your water heater in the basement is to turn the power back on. Restoring the power supply will allow the water heater to heat the water and resume normal operation. Here’s how to turn the power back on:
- Locate the circuit breaker or fuse box: Return to the circuit breaker panel or fuse box where you initially shut off the power to the water heater.
- Find the water heater circuit: Identify the circuit breaker or fuse that controls the power supply to the water heater. It should be the same circuit breaker that you switched off earlier.
- Switch on the circuit breaker: Flip the circuit breaker switch or replace the fuse to restore power to the water heater. You may hear a click or see the switch return to its original position.
- Verify power is restored: To confirm that the power is on, check the control panel or any indicator lights on the water heater. If they are illuminated or functioning, it indicates that the power supply has been successfully restored.
By turning the power back on, you allow the water heater to heat the water and function as intended. It’s important to ensure that the power is fully restored and that the water heater is receiving the necessary electrical supply. Take a moment to verify that the control panel or indicator lights are operating correctly, indicating that the power is back on.
With the power restored, your water heater in the basement is ready to provide you with hot water and continue working efficiently.
Conclusion
Draining a water heater in the basement is a crucial maintenance task that allows you to remove sediment, ensure optimal performance, and prolong the lifespan of the appliance. By following the step-by-step process outlined in this guide, you can confidently and safely drain your water heater. Let’s recap the key steps:
- Start by shutting off the power supply to the water heater to prevent any electrical accidents.
- Turn off the water supply to stop the flow of water into the tank.
- Open the drain valve and allow the water to drain completely, taking precautions for hot water and steam.
- Purge sediment from the tank by allowing the water to run until it flows clear. Flush the tank if necessary.
- Close the drain valve securely, ensuring a watertight seal.
- Refill the tank by turning on the water supply, monitoring the water level, and checking for leaks.
- Finally, turn the power back on to allow the water heater to heat the water and resume normal operation.
Remember to prioritize safety throughout the process by wearing protective gear, taking precautions with hot water and steam, and consulting a professional if you are unsure about any steps.
Regularly draining your water heater in the basement helps maintain its efficiency, improves the quality of the hot water, and reduces the risk of damage. It’s recommended to perform this maintenance task at least once a year or as specified by the manufacturer’s guidelines.
By following this comprehensive guide, you can confidently maintain your water heater and ensure its optimal performance for years to come.
Frequently Asked Questions about How To Drain Water Heater In Basement
Was this page helpful?
At Storables.com, we guarantee accurate and reliable information. Our content, validated by Expert Board Contributors, is crafted following stringent Editorial Policies. We're committed to providing you with well-researched, expert-backed insights for all your informational needs.


0 thoughts on “How To Drain Water Heater In Basement”