Articles
How Long Does It Take To Replace Water Heater
Modified: October 31, 2024
Looking for articles on how long it takes to replace a water heater? Get expert insights and tips on the process, all in one place.
(Many of the links in this article redirect to a specific reviewed product. Your purchase of these products through affiliate links helps to generate commission for Storables.com, at no extra cost. Learn more)
Introduction
Replacing a water heater is a common home maintenance task that homeowners may need to undertake at some point. Whether your current water heater has reached the end of its lifespan or you are considering upgrading to a more energy-efficient model, knowing how long the replacement process typically takes can help you plan accordingly.
In this article, we will explore the factors that can affect the time it takes to replace a water heater. We will also provide some tips for choosing a new water heater and outline the steps involved in the replacement process. By the end, you’ll have a better understanding of what to expect when it comes to replacing your water heater.
Key Takeaways:
- The time to replace a water heater depends on factors like type, size, accessibility, plumbing modifications, electrical connections, and permits. Consulting professionals and choosing the right model are crucial for a smooth replacement process.
- When replacing a water heater, consider fuel type, size, energy efficiency, installation requirements, and budget. Proper removal of the old unit and meticulous installation and testing of the new water heater are essential for a reliable hot water supply.
Factors Affecting Replacement Time
Several factors can influence the time it takes to replace a water heater. These factors can vary depending on the specific situation and can impact the overall duration of the replacement process. Here are some key factors to consider:
- The type and size of the water heater: The type and size of the water heater you choose will play a significant role in determining the time required for replacement. For example, a traditional tank water heater may be quicker to install compared to a tankless water heater, which may require additional time for plumbing modifications.
- Accessibility of the installation area: The accessibility of the installation area can also affect the replacement time. If the water heater is located in a cramped or hard-to-reach space, it may take longer for technicians to remove the old unit and install the new one.
- Plumbing modifications: If you are upgrading to a different type or size of water heater, it may require some plumbing modifications. This can include adjusting the water supply lines, installing new valves, or reconfiguring the plumbing system. These modifications can add time to the overall replacement process.
- Electrical connections: In addition to plumbing modifications, the replacement of a water heater may also involve electrical connections. This includes wiring the new water heater to the electrical panel and ensuring it is properly grounded. If electrical work is required, it may extend the duration of the replacement.
- Permits and inspections: Depending on your location, obtaining permits and scheduling inspections may be necessary before or after replacing a water heater. These additional steps can add time to the overall process, as you may need to wait for approvals from local authorities.
It’s important to consult with a qualified technician or plumber to assess the specific requirements of your replacement project. They can provide a more accurate estimate of the time needed based on the factors unique to your situation.
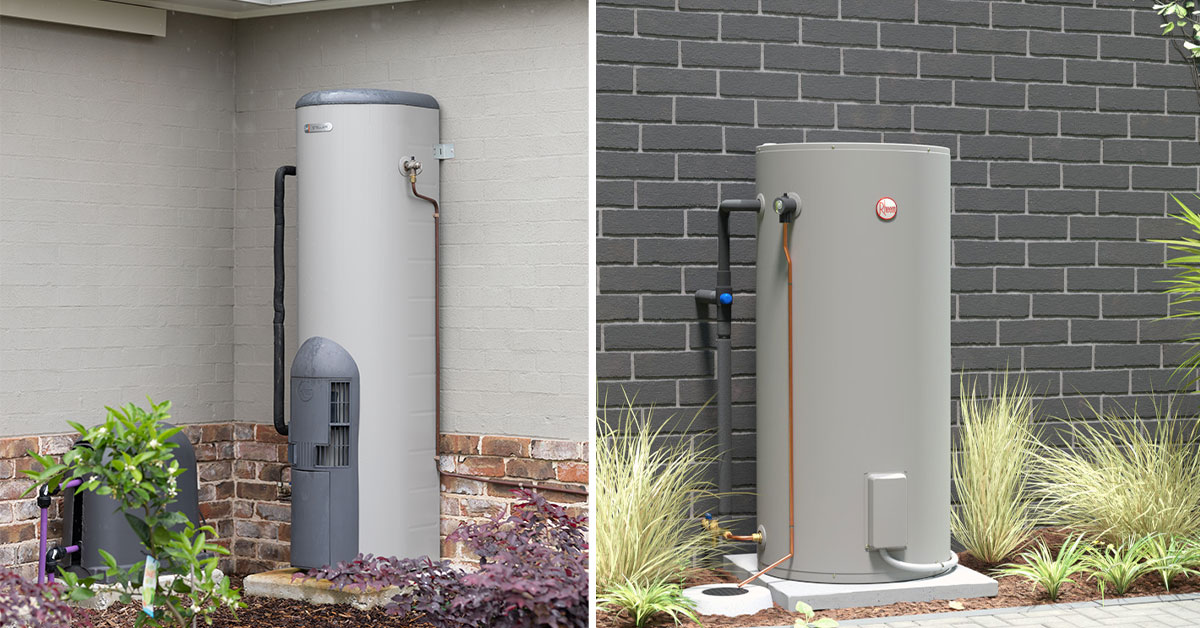
Choosing a New Water Heater
When it comes to replacing your water heater, selecting the right model for your needs is crucial. Here are some factors to consider when choosing a new water heater:
- Fuel type: Water heaters can run on various fuel types, including electricity, natural gas, propane, or even solar energy. Consider the availability and cost of the fuel source in your area.
- Type of water heater: There are different types of water heaters available, such as tankless, storage tank, heat pump, and hybrid models. Each type has its own advantages and considerations, so weigh the pros and cons to determine which one suits your household’s hot water requirements and budget.
- Size and capacity: The size and capacity of the water heater should match your household’s hot water demands. Consider factors such as the number of occupants, simultaneous hot water usage, and peak usage times when determining the appropriate size for your new water heater.
- Energy efficiency: Look for water heaters with a high energy efficiency rating. Energy-efficient models can help reduce your utility bills over time while being more environmentally friendly. Check for the ENERGY STAR label to ensure the water heater meets the required efficiency standards.
- Installation and maintenance requirements: Consider the installation and maintenance requirements of the water heater. Some models may need specific venting or additional space for installation. Additionally, consider the regular maintenance and servicing needs to keep the water heater running efficiently.
- Budget: Set a budget for your water heater replacement project. Keep in mind that while higher-quality and more efficient models may come with a higher upfront cost, they can lead to long-term savings in energy bills.
Research different brands and models, read customer reviews, and consult with a professional to help you make an informed decision based on your specific needs and budget.
Once you have chosen the right water heater, you can proceed with the replacement process.
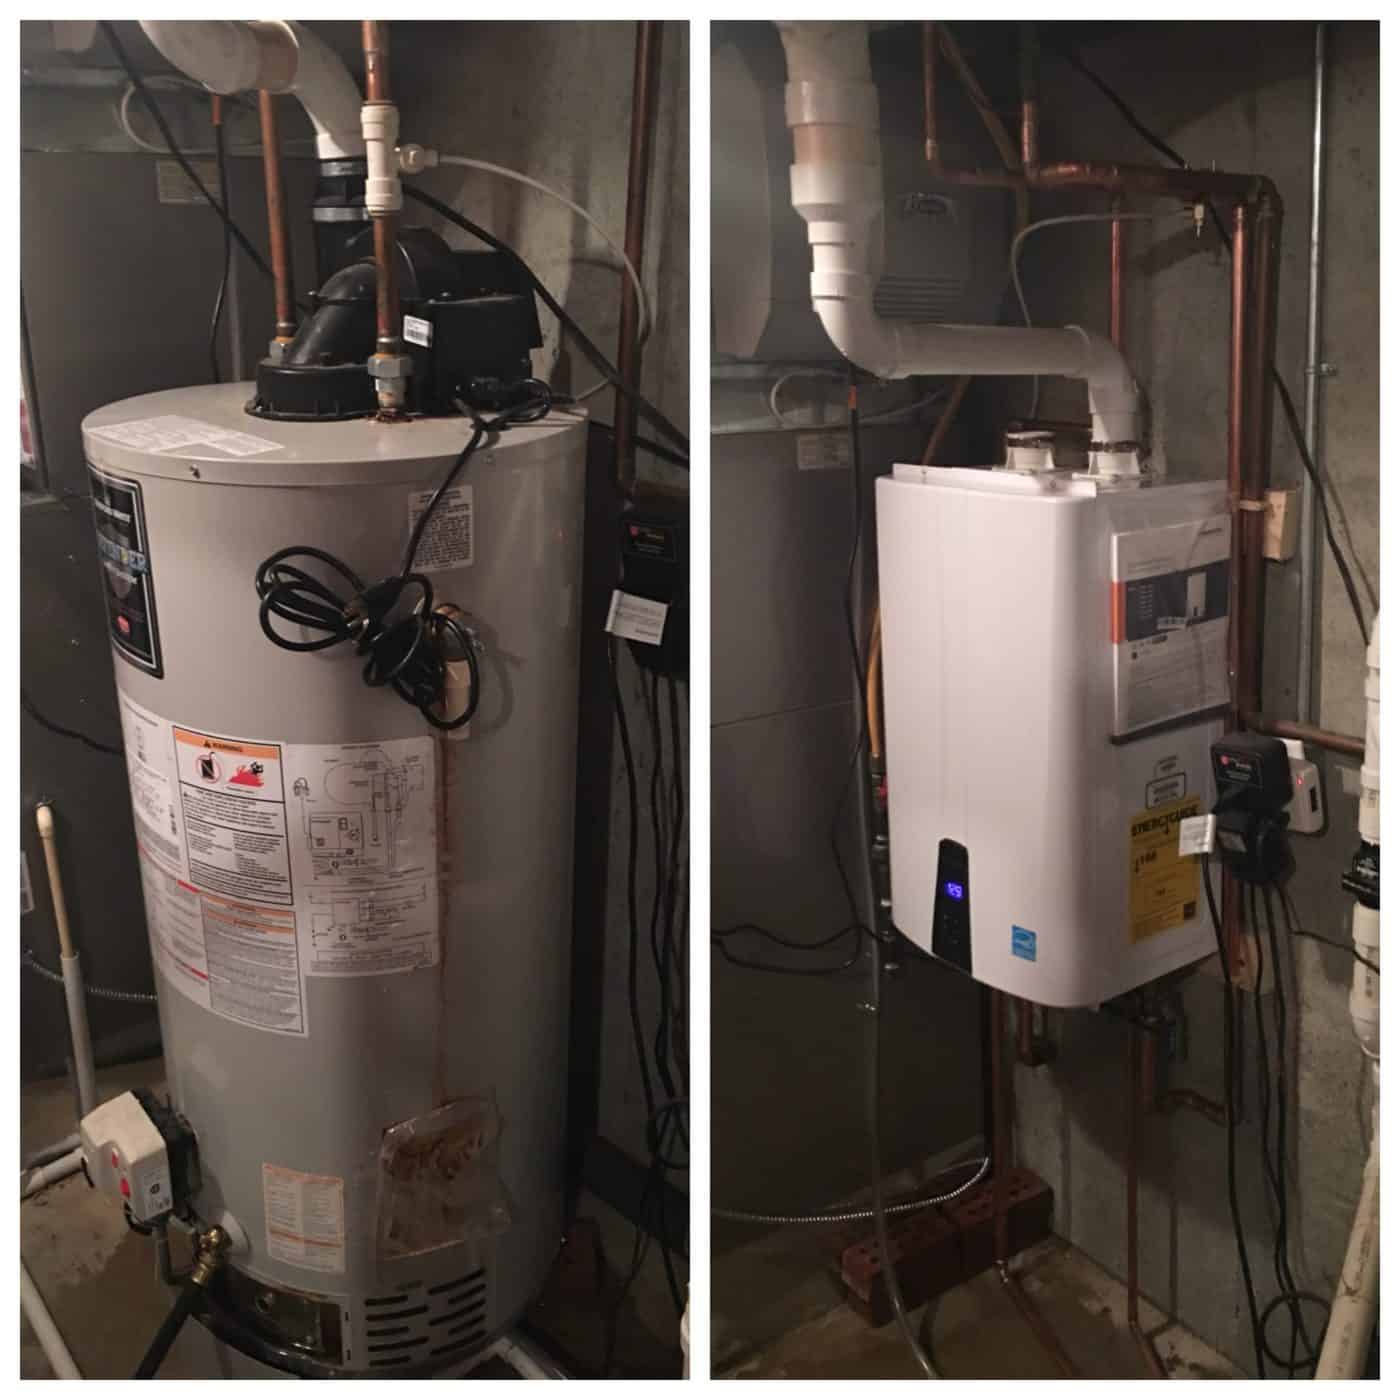
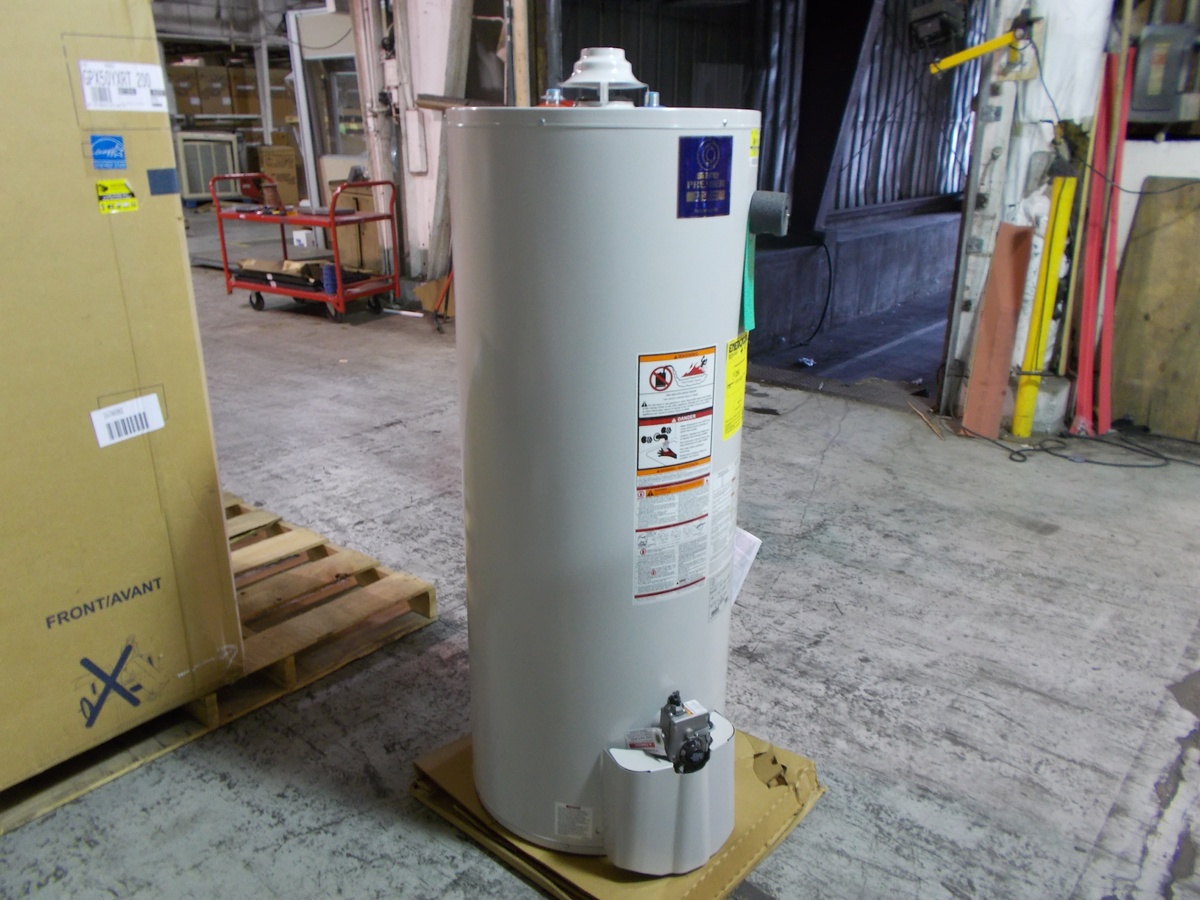
Removal of Old Water Heater
Before installing a new water heater, the old unit must be properly removed. The process of removing the old water heater typically involves the following steps:
- Shut off the utilities: Begin by turning off the power supply to the water heater. For electric water heaters, this can usually be done by flipping the breaker switch in the electrical panel. For gas water heaters, turn off the gas supply valve.
- Drain the tank: Next, the tank needs to be drained of any remaining water. Attach a garden hose to the drain valve located near the bottom of the tank and direct the other end to a suitable drainage area. Open the drain valve and allow the water to flow out completely.
- Disconnect the plumbing: Once the tank is drained, disconnect the water supply lines and the hot water outlet pipe. Use a wrench or pliers to loosen and remove any connections, ensuring that no water is left in the lines.
- Disconnect the gas line (if applicable): If you have a gas water heater, you will need to disconnect the gas line. This should be done with caution to ensure safety. Follow the manufacturer’s instructions or consult a professional for guidance.
- Remove the old water heater: With all the connections detached, the old water heater can now be lifted and removed from its location. Be cautious as water heaters can be heavy. It may require the help of another person or special equipment to safely remove and dispose of the old unit.
Properly disposing of the old water heater is essential. Check with your local waste management facility or recycling center to determine the best method for disposal or recycling in accordance with local regulations.
Once the old water heater is removed, you can proceed with the installation of your new water heater.
The time it takes to replace a water heater can vary depending on the type and size of the heater, as well as the complexity of the installation. On average, it can take anywhere from 2 to 4 hours for a professional to complete the replacement.
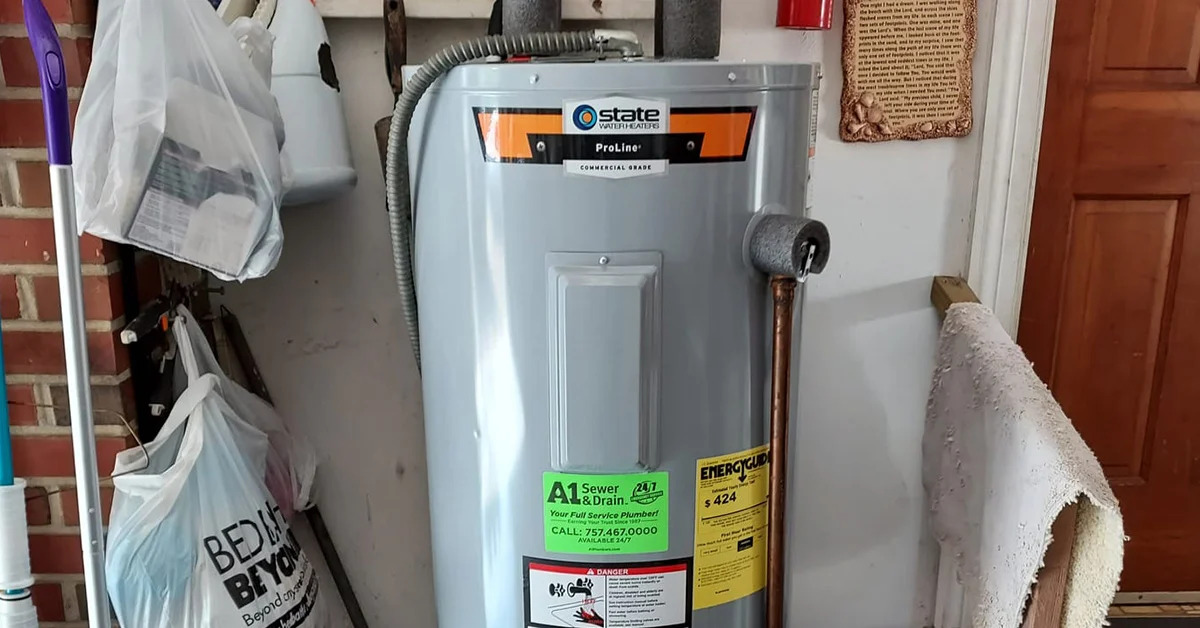
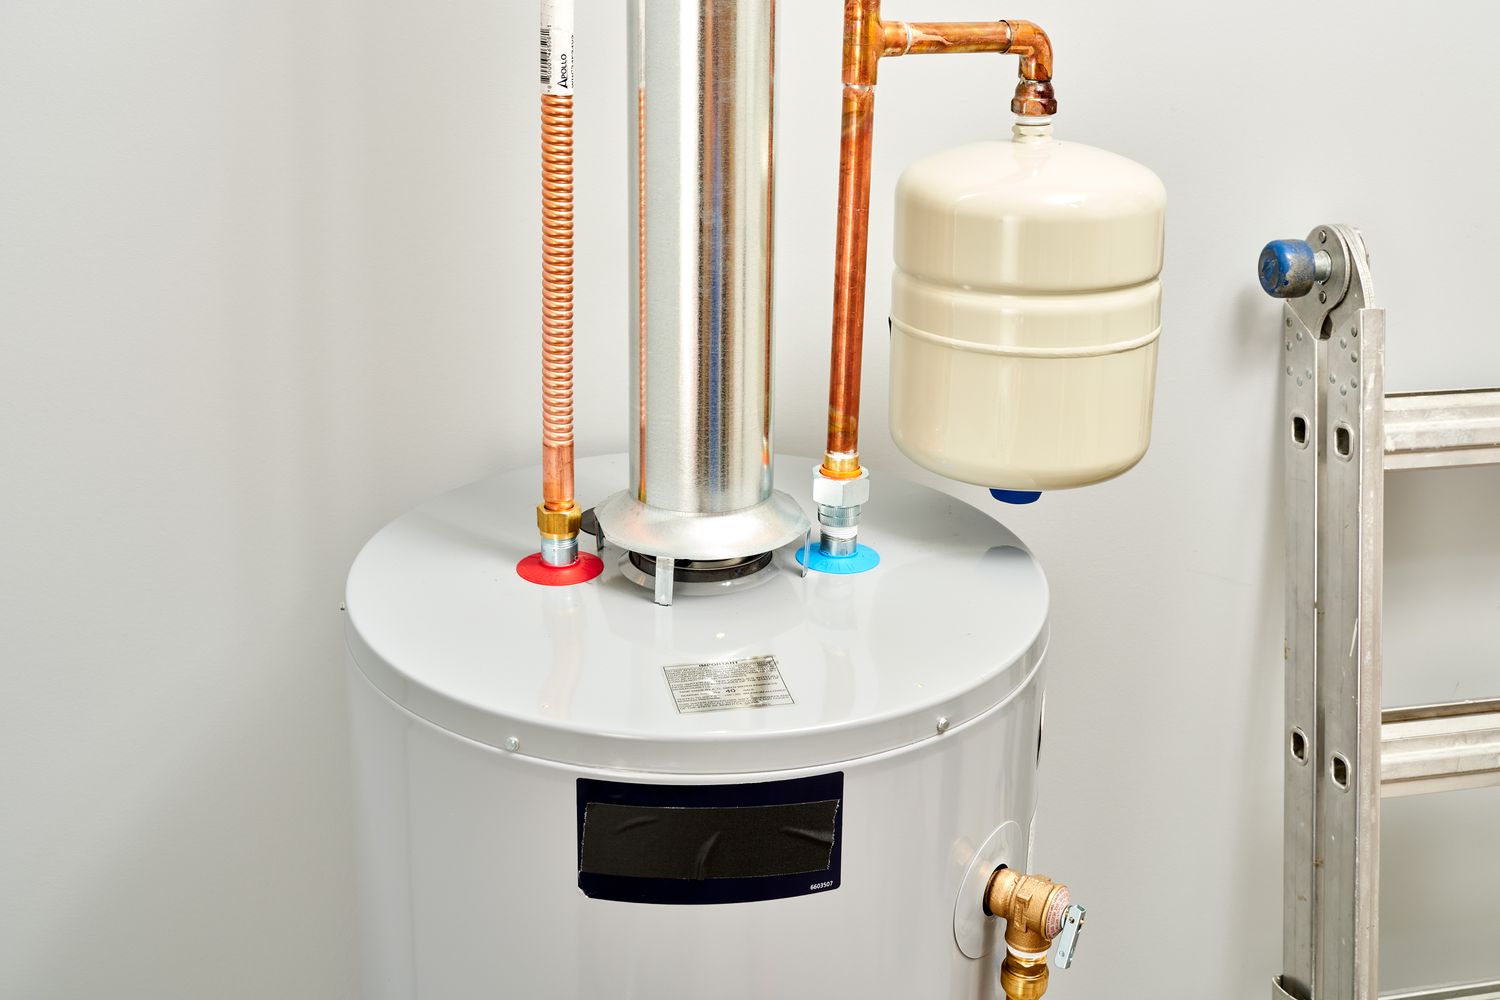
Installation of New Water Heater
Installing a new water heater involves several steps to ensure proper operation and safety. Here is a general outline of the installation process:
- Prepare the installation area: Clear the space where the new water heater will be installed. Ensure there is enough clearance around the unit for proper ventilation and maintenance access.
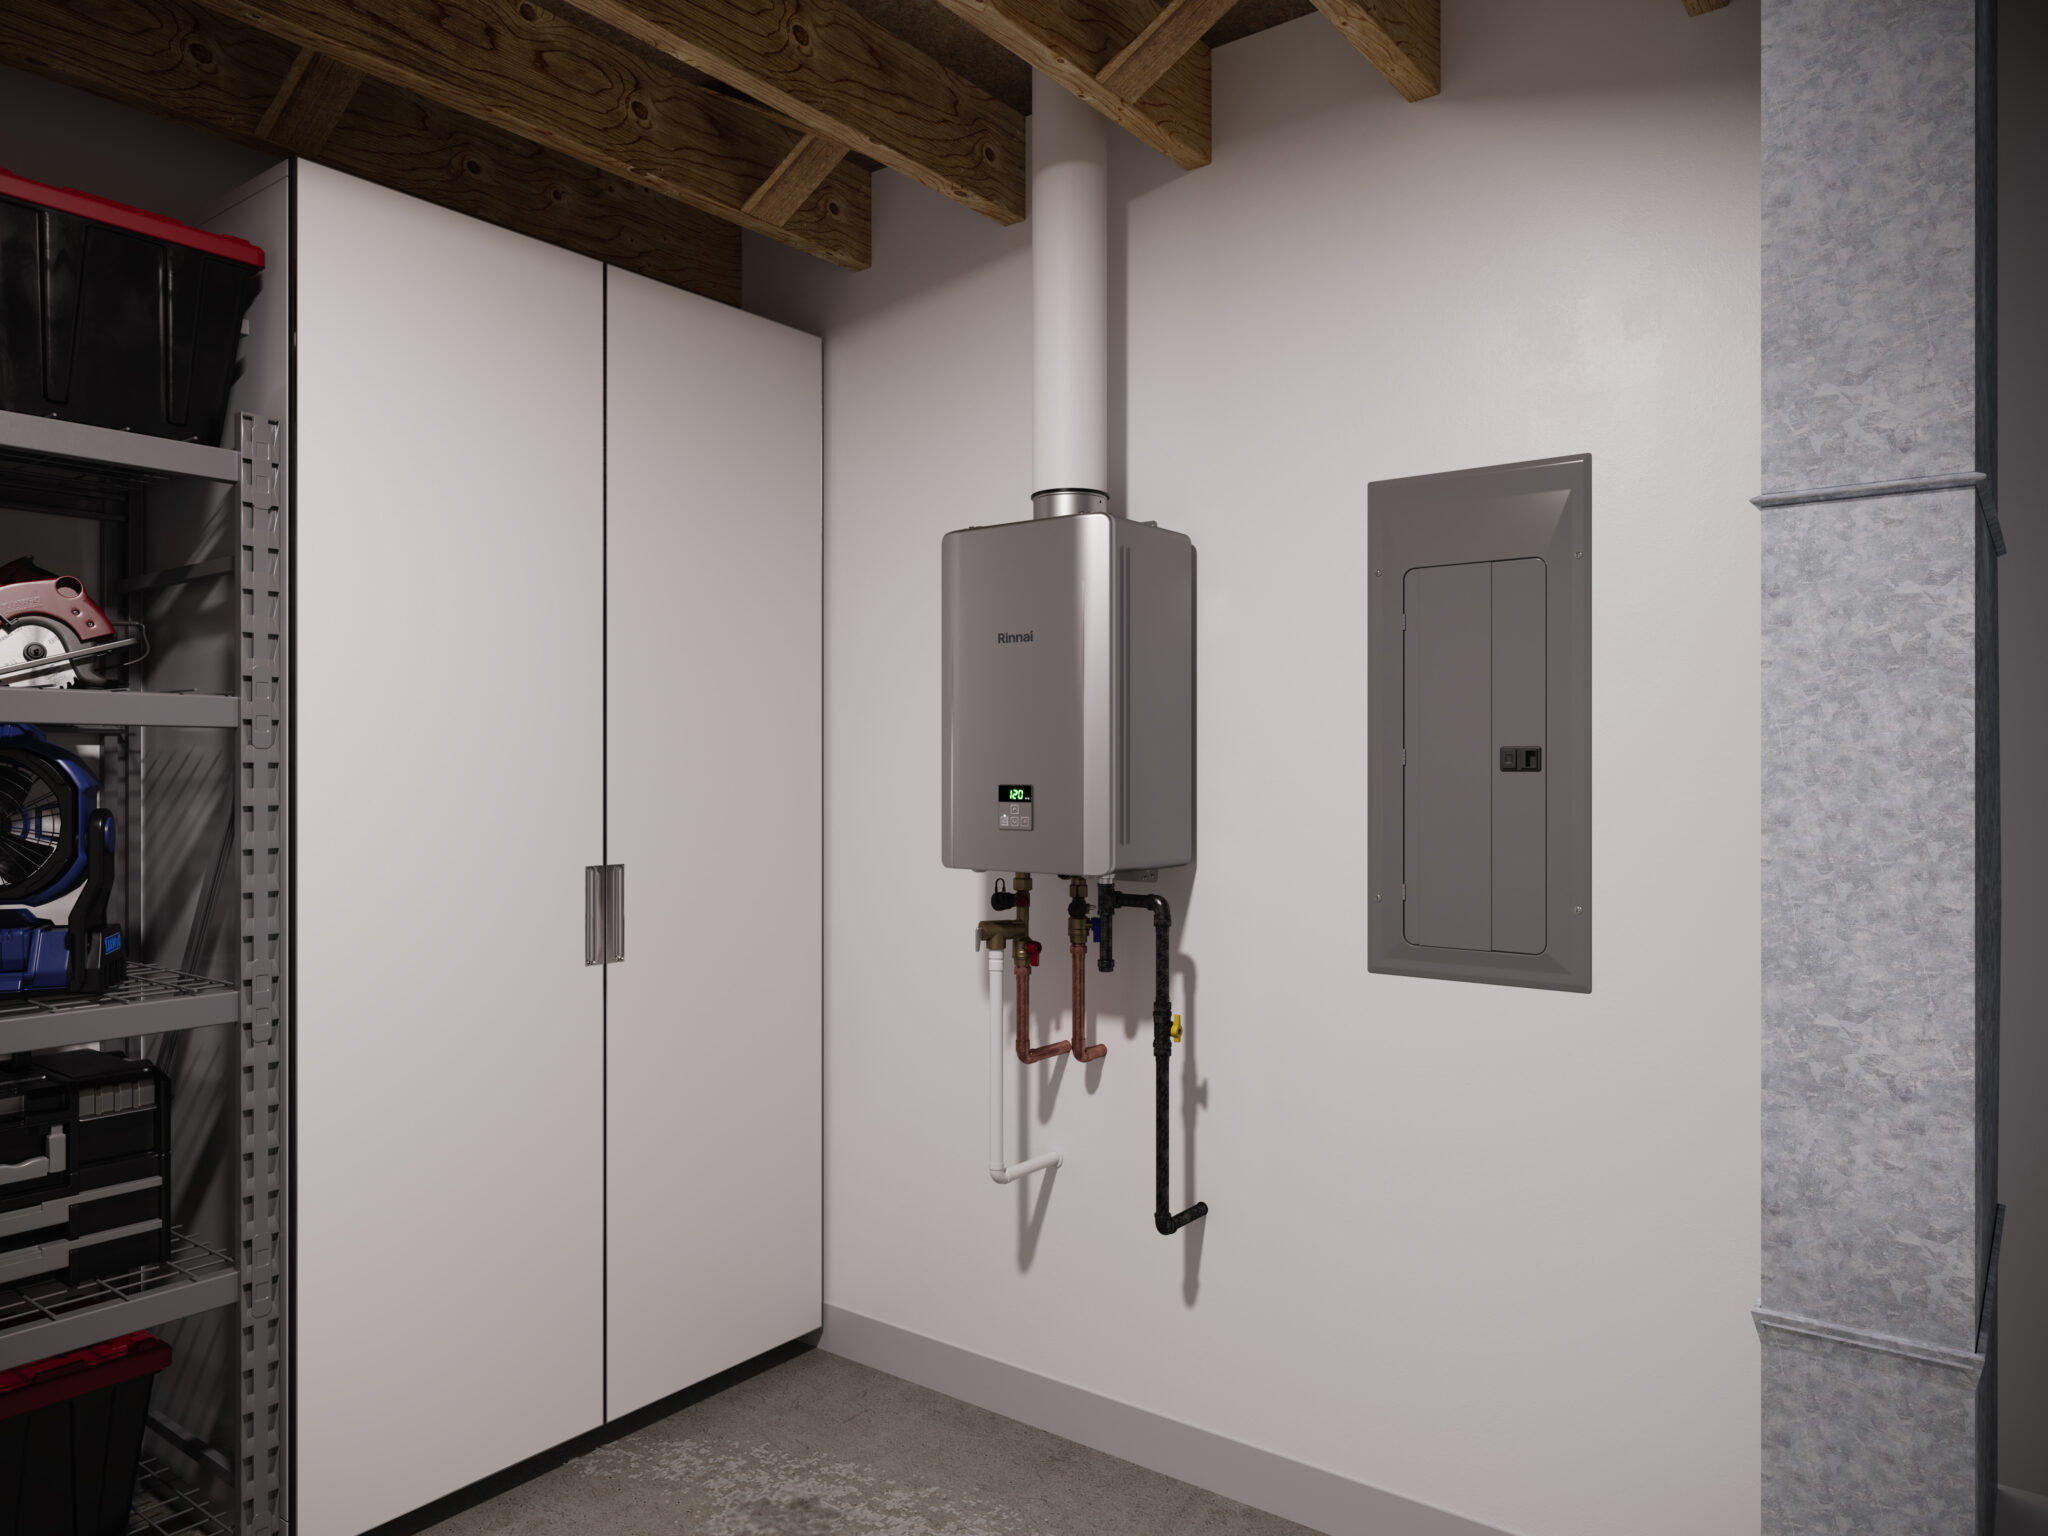
- Position the water heater: Carefully position the new water heater in the designated area. Follow the manufacturer’s instructions for specific clearance requirements and any other installation guidelines.
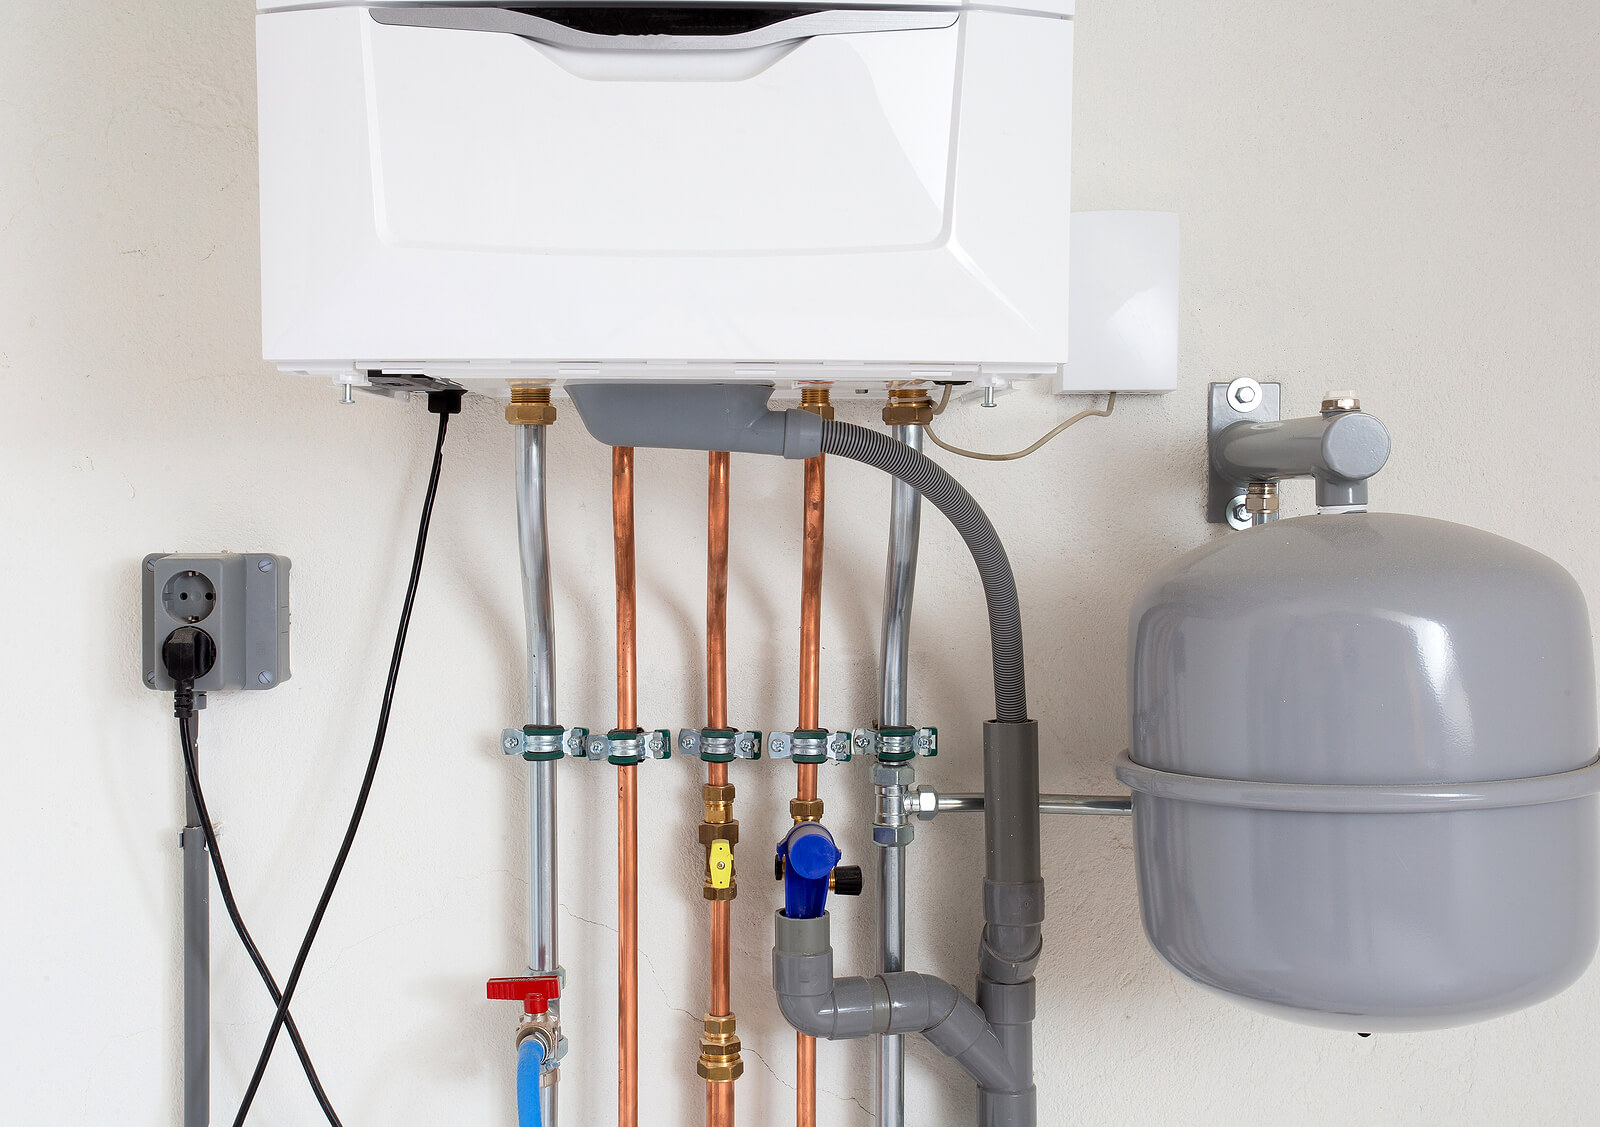
- Connect the plumbing: Begin by connecting the water supply lines. Use Teflon tape or pipe joint compound to create a leak-proof seal. Connect the cold water supply to the appropriate inlet on the water heater and the hot water outlet to the corresponding outlet.
- Install the pressure relief valve: Every water heater should have a pressure relief valve installed for safety purposes. Ensure the valve is properly placed and connected following the manufacturer’s instructions.
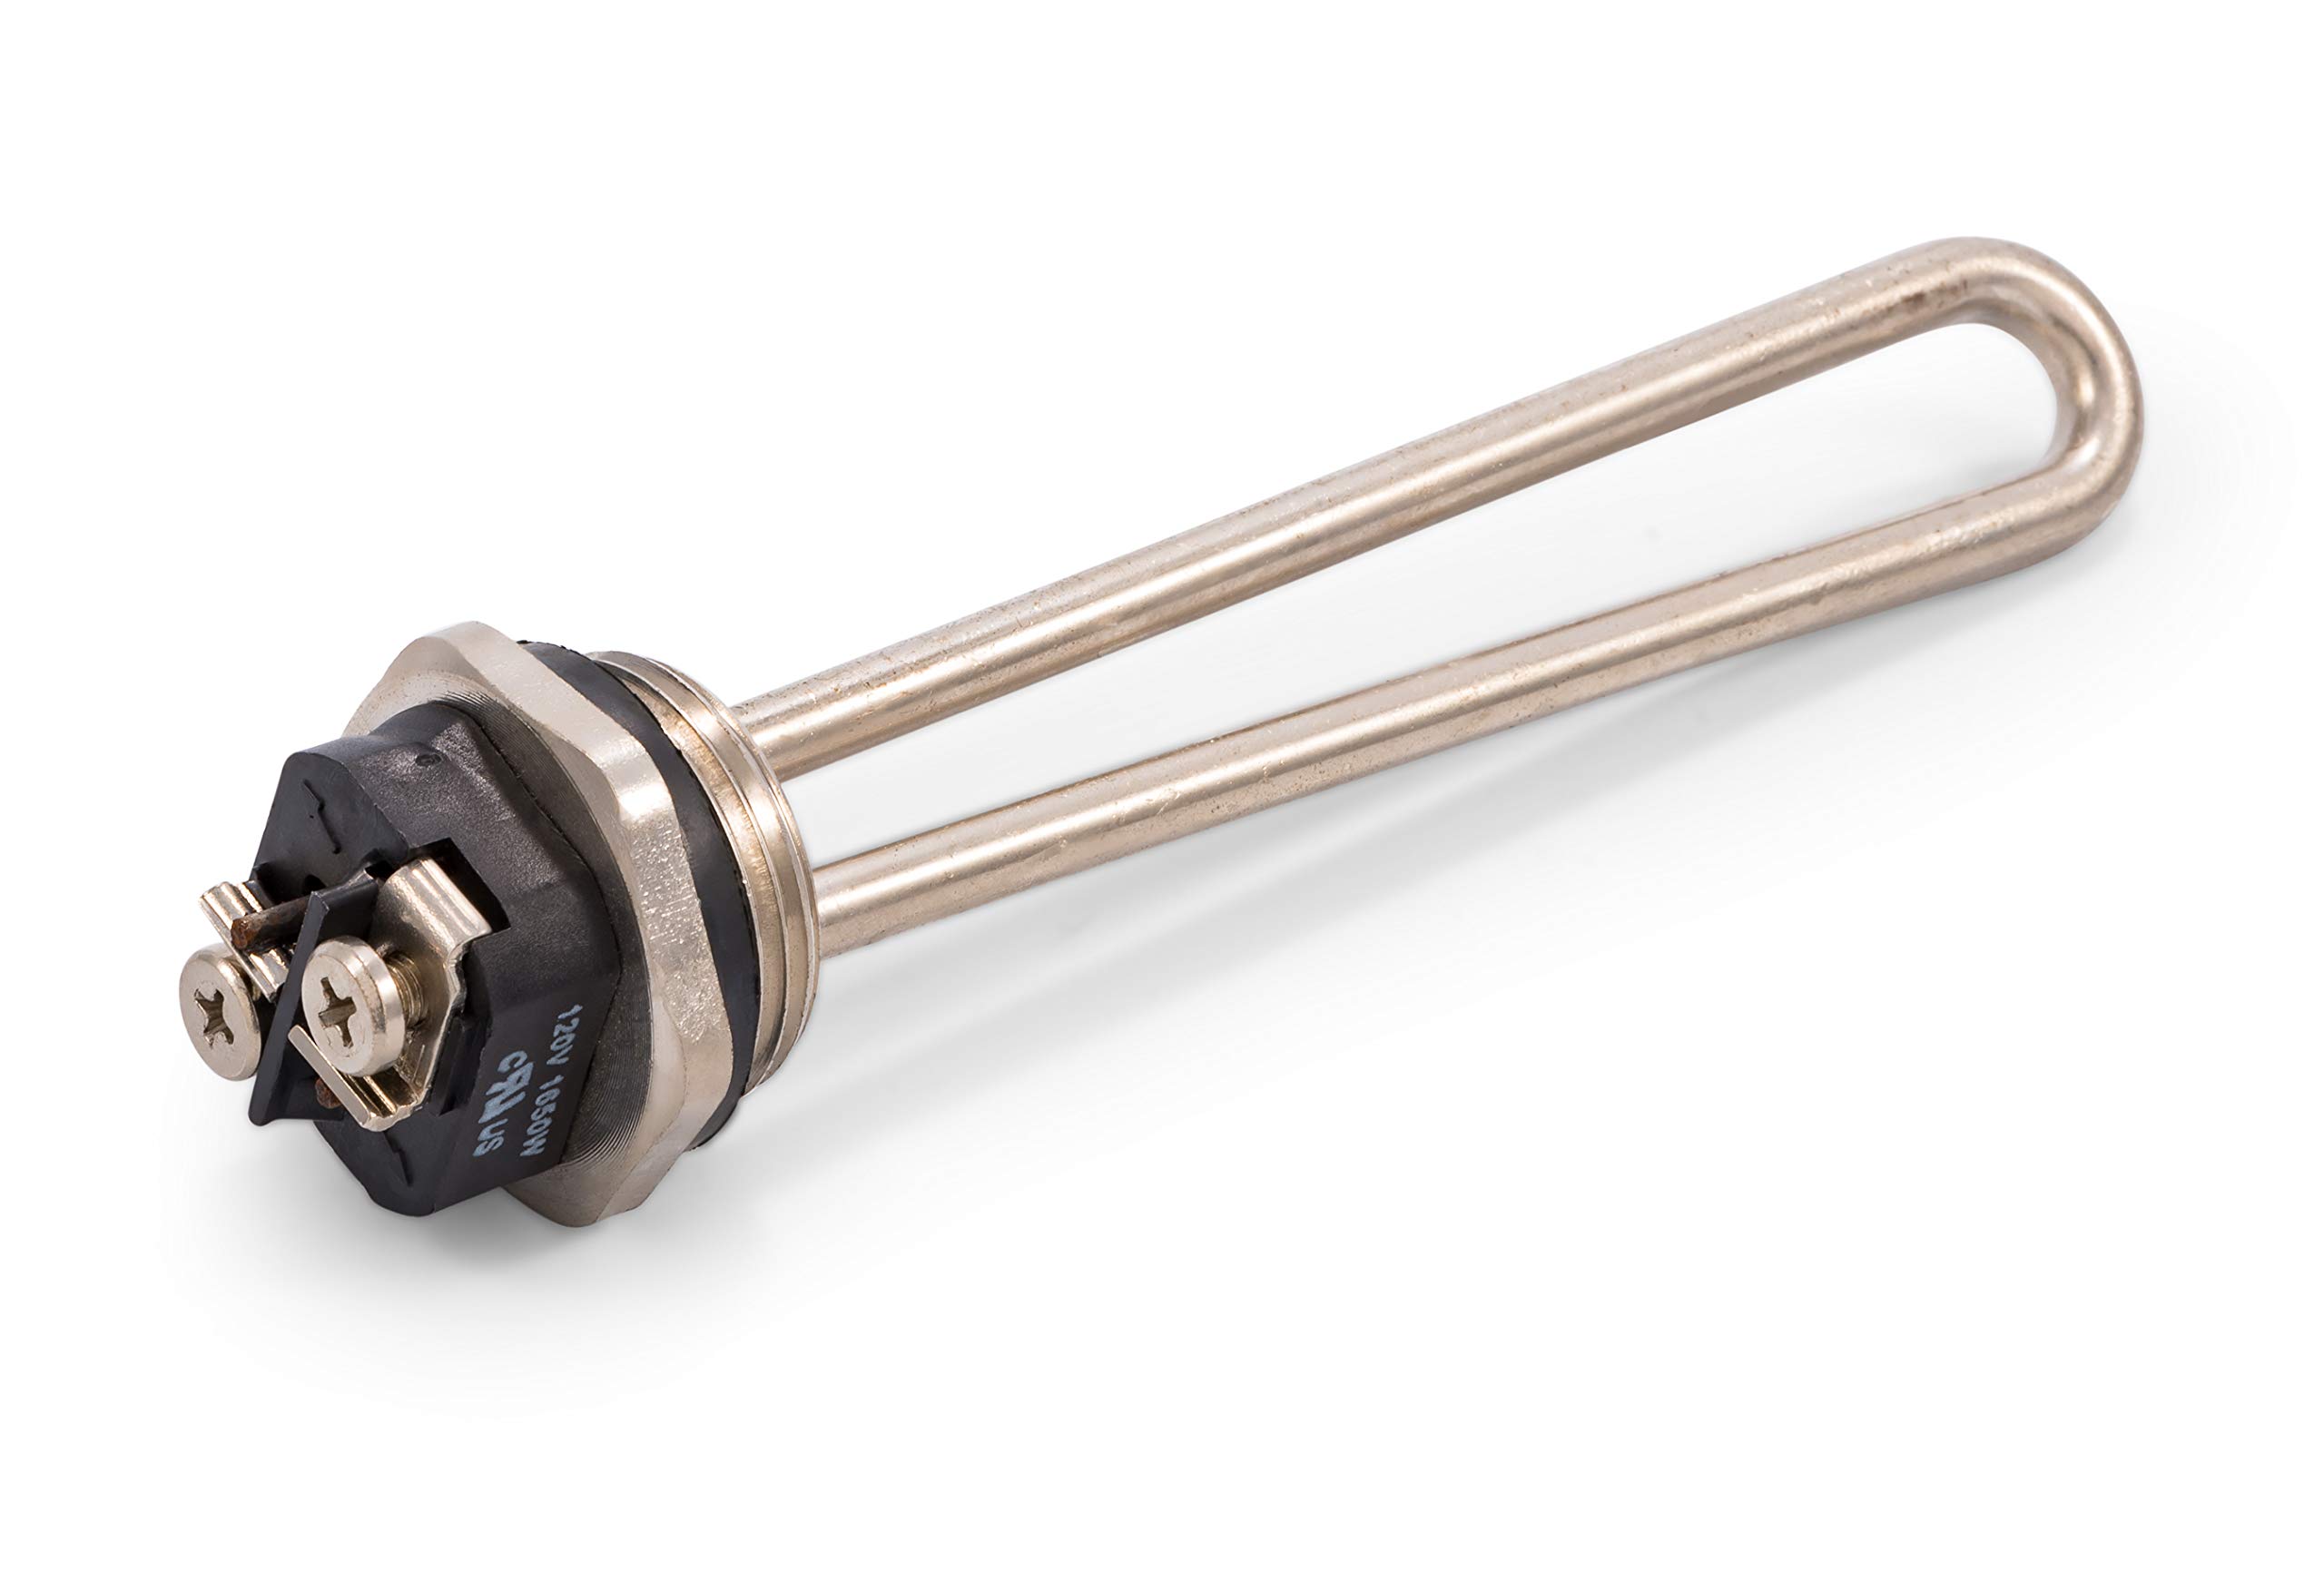
- Connect the gas line or electrical wiring: If you have a gas water heater, connect the gas line following the proper guidelines for your specific model. This may involve using pipe joint compound or Teflon tape to ensure a secure connection. For electric water heaters, connect the electrical wiring according to local electrical codes.
- Secure the water heater: Use straps or brackets to secure the water heater to the wall to prevent it from toppling over. This is especially important in areas prone to earthquakes.
- Adjust the thermostat: Set the thermostat temperature to your desired level. Most water heaters have a temperature dial or control panel that allows you to adjust the temperature as needed.
It is crucial to follow the manufacturer’s instructions and consult a professional or licensed plumber for guidance during the installation process. They will ensure that the water heater is properly set up and connected according to safety standards and local building codes.
After completing the installation, it is essential to test and adjust the new water heater before using it.
Read more: How Long Does It Take To Replace Water Pump
Connecting Plumbing and Electrical Systems
Connecting the plumbing and electrical systems of your new water heater is a crucial step in ensuring its proper functioning. Here are the steps involved in connecting these systems:
- Plumbing Connections:
- Electrical Connections:
Start by connecting the cold water supply pipe to the inlet of the water heater. Use a wrench or pliers to tighten the connection and ensure it is leak-free. If the water heater requires a pressure relief valve, connect it to the designated port on the water heater.
Next, connect the hot water outlet pipe to the appropriate outlet on the water heater. Make sure to use plumbing tape or joint compound to create a watertight seal. Double-check all connections for any leaks before proceeding.
If necessary, adjust the water heater’s temperature and pressure settings according to the manufacturer’s instructions. This ensures the water temperature and pressure are within safe and desired limits.
For electric water heaters, the electrical connection process involves the following steps:
Switch off the electrical supply for safety. Locate the electrical access panel on the water heater and carefully remove it.
Identify the wiring connection points, usually marked as “Line” for incoming power and “Load” for the connection to the water heater.
Follow the specific instructions provided by the manufacturer for connecting the electrical wires. This typically involves attaching the corresponding wires from the water heater to the appropriate connections, ensuring a secure connection.
Once the connections are made, carefully replace the access panel and ensure it is securely fastened.
Finally, restore the electrical supply and test the water heater to ensure it is functioning correctly.
It is crucial to follow all safety guidelines and consult a licensed electrician if you are not confident in connecting the electrical system of the water heater.
Always refer to the manufacturer’s instructions for your specific water heater model, as they may have specific guidelines or variations in the installation process. If you are not familiar with plumbing or electrical work, it is recommended to seek the assistance of a professional plumber or electrician to ensure the connections are made correctly and in compliance with safety standards.
Testing and Adjusting the New Water Heater
Once the water heater is properly installed and the plumbing and electrical connections are made, it is essential to test and adjust the unit to ensure it is functioning correctly. Here are the steps for testing and adjusting the new water heater:
- Check for leaks: Before turning on the water heater, carefully inspect all connections for any signs of leaks. Look for water dripping or pooling around the unit or along the pipes. If any leaks are detected, tighten the connections or seek professional assistance to resolve the issue.
- Turn on the water heater: Activate the power supply or turn on the gas valve, depending on the type of water heater. Follow the manufacturer’s instructions for safely operating the water heater and igniting the pilot light or activating the heating element.
- Allow the water heater to heat up: Give the water heater sufficient time to heat the water. This may take a while, especially if it is a larger unit or if you have opted for a tankless water heater. Be patient and ensure that the water heater is running and heating properly.
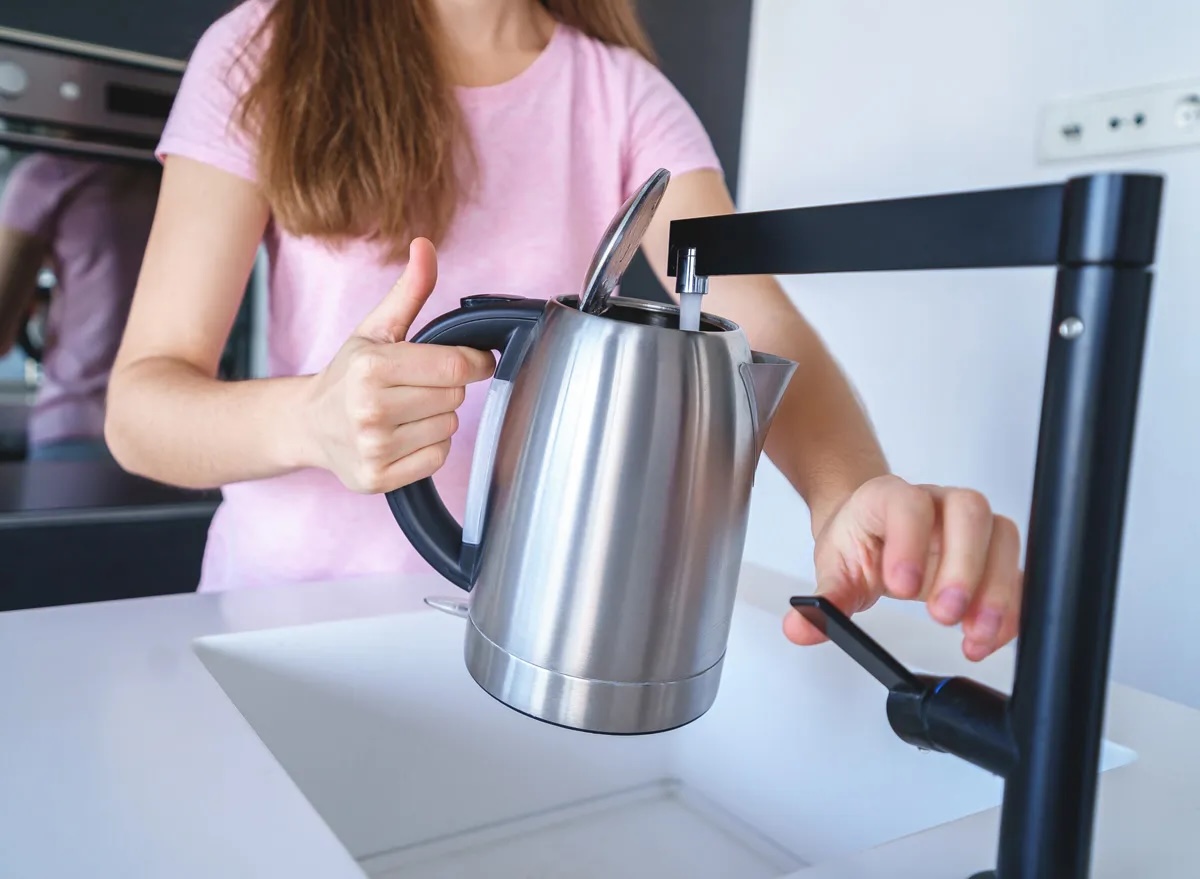
- Check the temperature: Once the water has had time to heat up, check the temperature at various faucets in your home. Use a thermometer or simply run the hot water and feel the temperature. Adjust the temperature setting on the water heater if necessary, following the manufacturer’s instructions.
- Monitor performance: Observe the performance of the water heater over the next few days to ensure it consistently provides hot water as needed. Pay attention to any unusual noises, odors, or fluctuations in temperature, which may indicate a problem. If you notice any issues, contact a professional for further assessment and assistance.
Regular maintenance of the water heater is also crucial to ensure optimal performance and longevity. Consult the manufacturer’s guidelines for recommended maintenance tasks and intervals, such as flushing the tank, checking the anode rod, and inspecting the pressure relief valve.
By testing and adjusting the new water heater and staying on top of maintenance tasks, you can enjoy the benefits of efficient hot water supply in your home.
Conclusion
Replacing a water heater is a significant undertaking, but it is a necessary task to ensure a reliable supply of hot water in your home. Understanding the factors that can affect the replacement time, choosing the right water heater, and following the proper installation and testing procedures are all key to a successful replacement process.
Factors such as the type and size of the water heater, accessibility of the installation area, plumbing modifications, electrical connections, and permits and inspections can all impact the duration of the replacement process. Taking these factors into account and consulting with professionals can help you set realistic expectations and plan accordingly.
When choosing a new water heater, consider the fuel type, type of water heater, size and capacity, energy efficiency, installation and maintenance requirements, and your budget. Careful consideration of these factors will ensure you select a water heater that meets your household’s hot water needs while being cost-effective and energy-efficient.
The process of replacing a water heater involves removing the old unit and installing the new one. Properly disconnecting the plumbing, gas line (if applicable), and electrical connections of the old water heater is crucial for a safe and successful replacement. Likewise, connecting the plumbing and electrical systems of the new water heater with attention to detail is essential for its proper functioning.
After installation, it is necessary to test the water heater for any leaks and ensure that it is heating the water adequately. Adjusting the temperature as needed and monitoring the performance of the water heater in the days following installation will ensure a reliable supply of hot water in your home.
In conclusion, replacing a water heater may seem like a complex task, but with the right knowledge and guidance, it can be done efficiently and effectively. By considering the factors that impact the replacement time, choosing the appropriate water heater, and following proper installation and testing procedures, you can enjoy the benefits of a reliable and energy-efficient hot water system in your home.
Frequently Asked Questions about How Long Does It Take To Replace Water Heater
Was this page helpful?
At Storables.com, we guarantee accurate and reliable information. Our content, validated by Expert Board Contributors, is crafted following stringent Editorial Policies. We're committed to providing you with well-researched, expert-backed insights for all your informational needs.


0 thoughts on “How Long Does It Take To Replace Water Heater”