
Articles
How To Add Pictures To Skylight Frame
Modified: December 7, 2023
Learn how to easily add pictures to your Skylight Frame with our step-by-step articles. Enhance your digital photo frame experience and keep your memories alive.
(Many of the links in this article redirect to a specific reviewed product. Your purchase of these products through affiliate links helps to generate commission for Storables.com, at no extra cost. Learn more)
Introduction
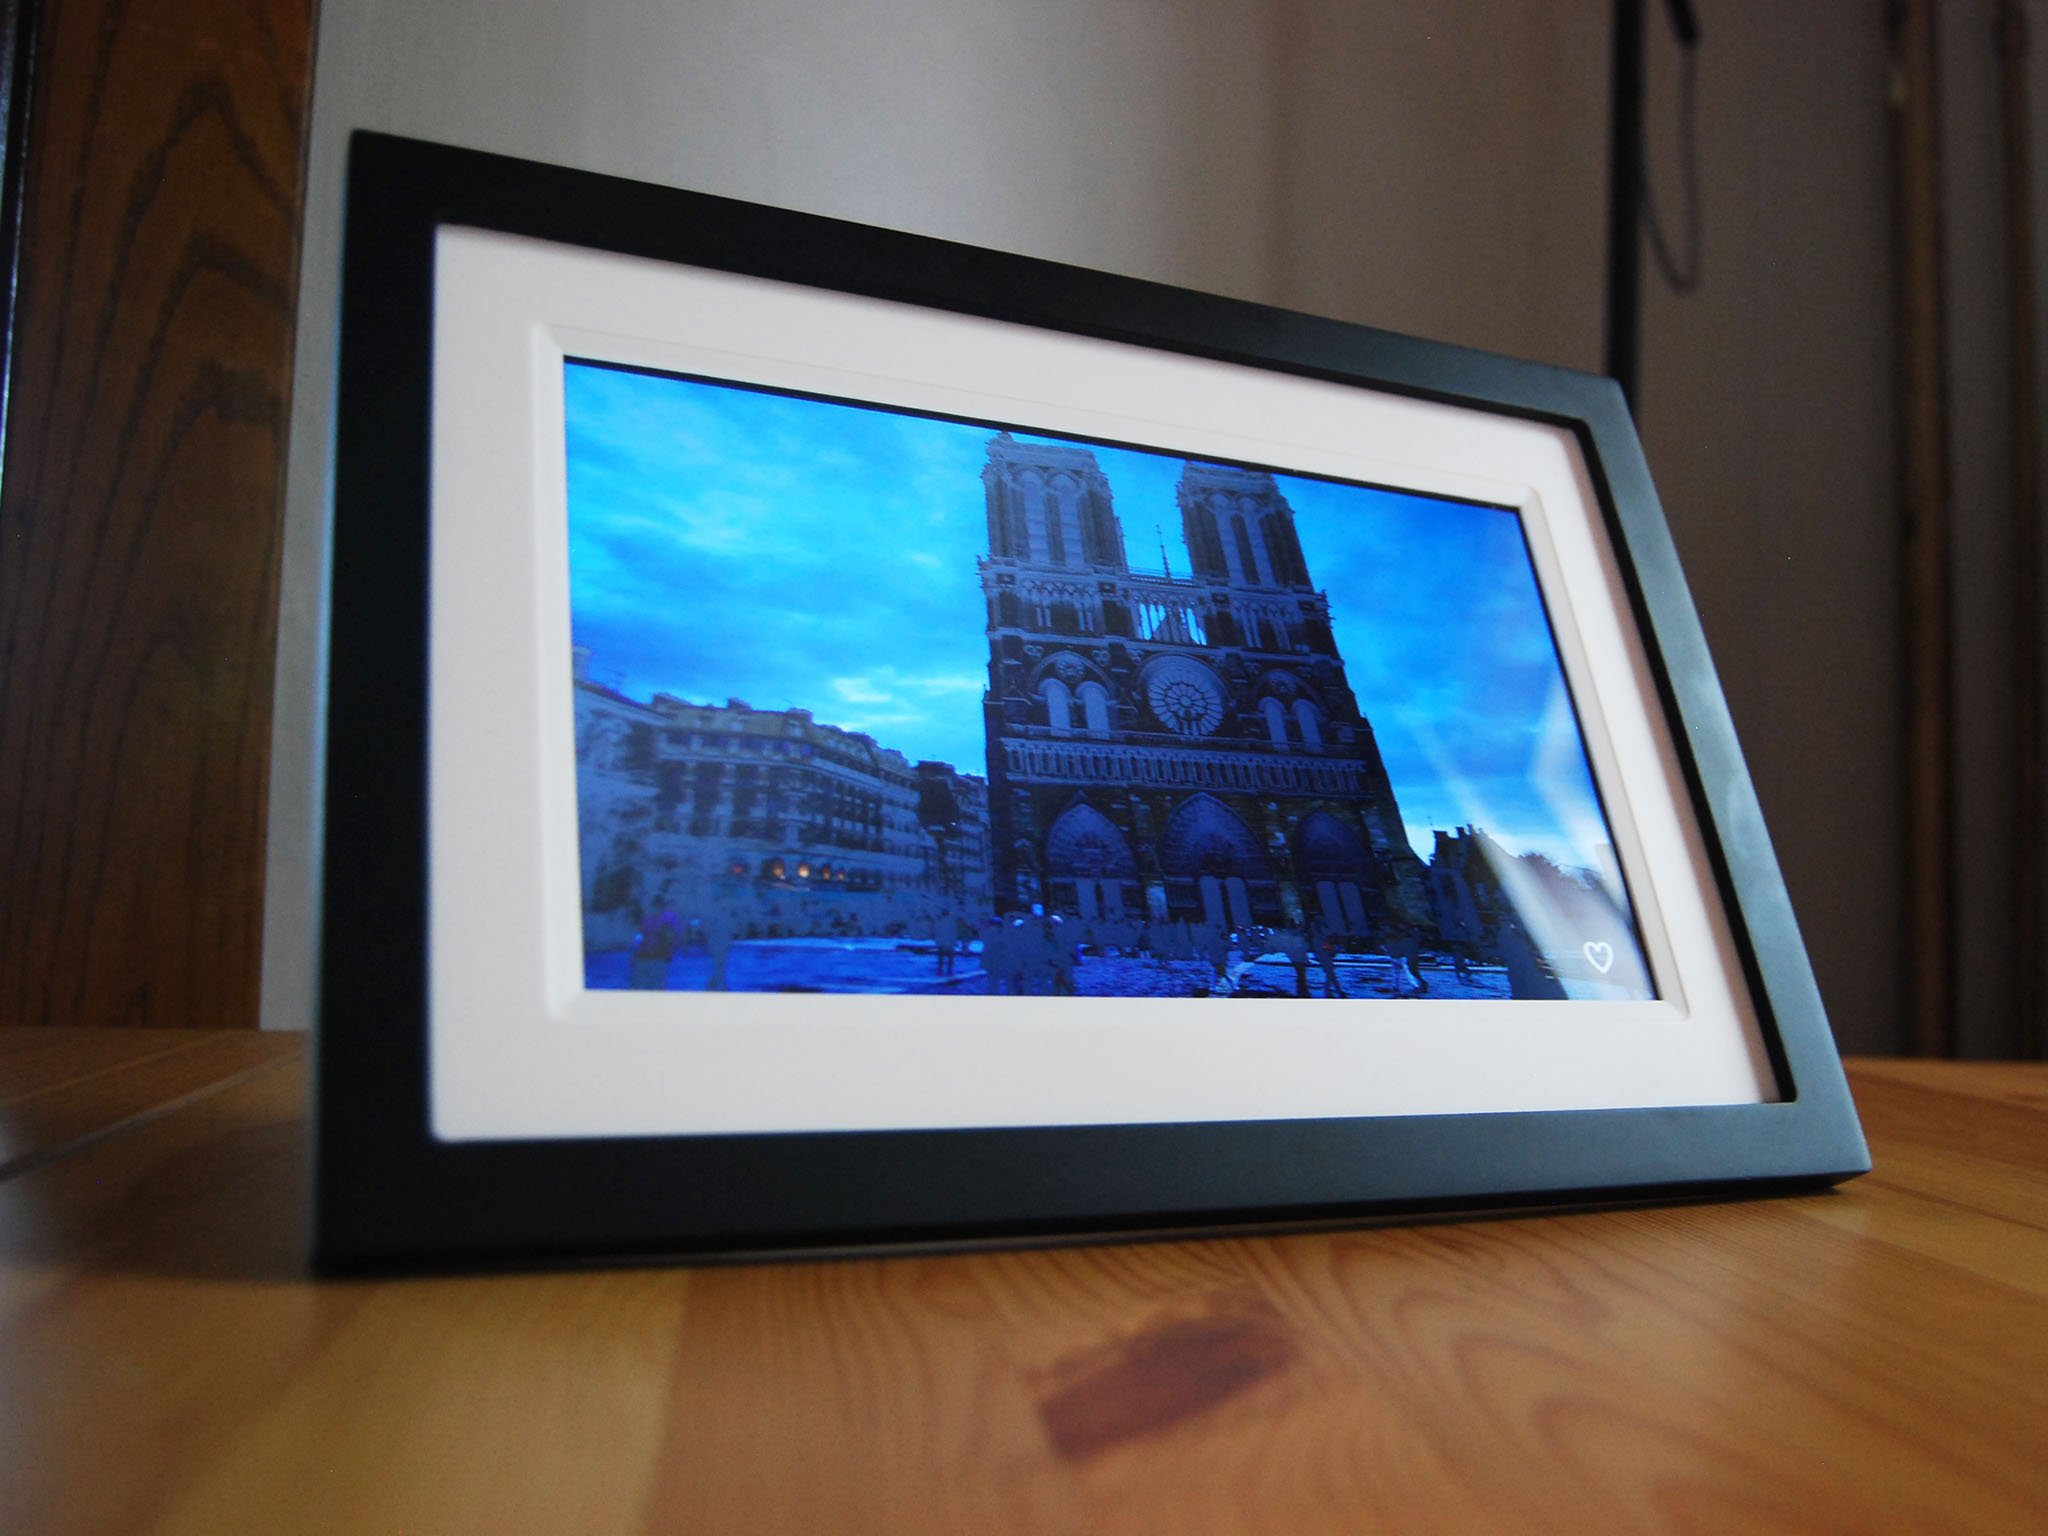
Welcome to the world of Skylight Frames! If you’re looking to add a personal touch to your home or office, a Skylight Frame is the perfect solution. These sleek digital photo frames allow you to display a rotating slideshow of your favorite pictures, providing a constant reminder of cherished memories.
Adding pictures to your Skylight Frame is a simple and enjoyable process that can be done in just a few easy steps. Whether you’re a tech-savvy individual or a beginner, this guide will walk you through the process and ensure that you can showcase your photos with ease.
In this article, we will delve into the step-by-step process of setting up your Skylight Frame, preparing your pictures, transferring them to the frame, adjusting picture settings, organizing your slideshow, adding captions, and troubleshooting common issues. By following these instructions, you’ll have your Skylight Frame up and running in no time!
So, let’s dive in and discover how to add pictures to your Skylight Frame, giving your space a personal touch and creating a vibrant display of your most cherished moments.
Key Takeaways:
- Easily transform your space with cherished memories by setting up, preparing, and transferring pictures to your Skylight Frame. Customize settings, organize slideshows, and add captions for a captivating and personalized display.
- Troubleshoot common issues with patience and reach out to Skylight’s customer support for a seamless experience. Unleash your creativity and let your Skylight Frame become a window to your most treasured memories.
Read more: How To Send Pictures To Skylight Frame
Step 1: Setting up your Skylight Frame
Before you can start adding pictures to your Skylight Frame, you’ll need to complete the initial setup process. Follow these steps to get your frame ready:
- Unbox your Skylight Frame and remove all the protective packaging.
- Plug in the power supply and connect it to your frame. Make sure the power outlet is easily accessible and close to where you plan to display your frame.
- Press the power button to turn on your Skylight Frame. A startup screen will appear, guiding you through the setup process.
- Connect your frame to Wi-Fi by selecting the appropriate network from the available options. You may need to enter the password for your Wi-Fi network.
- Once connected, your Skylight Frame will sync with the Skylight app, allowing you to manage your pictures remotely.
- Follow the prompts on the screen to set the date, time, and other basic settings. You may also have the option to customize the frame’s brightness and slideshow duration.
- Once you’ve completed the setup process, your Skylight Frame is ready to receive pictures!
Setting up your Skylight Frame is a breeze, and it lays the foundation for a seamless picture-adding experience. With your frame now connected and configured, you can move on to the next step: preparing your pictures.
Step 2: Preparing your pictures
Before you can transfer your pictures to the Skylight Frame, it’s important to make sure they are in the right format and size. Follow these steps to prepare your pictures:
- Select the pictures you want to display on your Skylight Frame. It’s a good idea to gather them in a separate folder on your computer or cloud storage.
- Ensure that your pictures are in a compatible file format, such as JPEG or PNG. If any of your pictures are in a different format, you can convert them using photo editing software or online converters.
- Resize your pictures to the optimal size for the Skylight Frame. The recommended resolution is 1024×768 pixels, as it provides high-quality display on the frame’s screen. You can use photo editing software or online tools to resize your pictures to this dimension.
- If you want to add a variety of pictures to your frame, consider organizing them into separate folders based on themes or events. This will allow you to create dedicated slideshows for different occasions.
- If your pictures have specific orientations (portrait or landscape), consider rotating them before transferring to the Skylight Frame. This will ensure that they display correctly and avoid any cropping or distortion on the frame’s screen.
- Finally, take the time to review and edit your pictures, adjusting brightness, contrast, and color if needed. This will help enhance the overall visual appeal of your slideshow.
By preparing your pictures in the right format, size, and orientation, you’ll optimize their display on the Skylight Frame, resulting in a visually stunning and engaging slideshow. Now that your pictures are ready, it’s time to transfer them to your frame, which we’ll cover in the next step.
Step 3: Transferring pictures to your Skylight Frame
Now that you’ve prepared your pictures, it’s time to transfer them to your Skylight Frame. There are a few different ways you can do this, depending on your preferences and the options provided by your frame:
- Using the Skylight Mobile App: If your frame is compatible with the Skylight Mobile App, you can easily transfer pictures from your smartphone or tablet. Simply download the app, connect it to your frame, and follow the instructions to select and send pictures from your device to the frame.
- Using a USB Drive: Most Skylight Frames have a USB port that allows you to directly transfer pictures from a USB drive. To do this, insert the USB drive into your computer, copy the desired pictures onto it, and then insert the drive into the frame. The frame will automatically detect and display the pictures.
- Using Email: With some Skylight Frames, you can email your pictures directly to the frame. Each frame is assigned a unique email address, which you can find in the frame’s settings. Simply compose an email, attach the pictures, and send it to the frame’s email address. The pictures will be automatically added to your slideshow.
Whichever method you choose, be sure to follow the specific instructions provided by Skylight for your frame model. This will ensure a seamless and successful picture transfer process.
Once you’ve transferred the pictures to your Skylight Frame, you can sit back and enjoy the beautiful display of your favorite memories. But before you do, let’s make sure your picture settings are adjusted to your liking, which we’ll cover in the next step.
Step 4: Adjusting picture settings
After transferring your pictures to the Skylight Frame, it’s time to fine-tune the picture settings to ensure the best display quality. Follow these steps to adjust the picture settings:
- Access the settings menu on your Skylight Frame. This can usually be done by tapping the screen or using the buttons on the frame.
- Adjust the brightness and contrast levels to your preference. This will help optimize the visibility of your pictures, especially in different lighting conditions.
- Consider enabling the auto-rotate feature if your frame supports it. This will automatically adjust the orientation of your pictures based on how the frame is positioned.
- Explore any additional picture settings available on your frame, such as color saturation or slideshow transition effects. Customize these settings to your liking to enhance the visual appeal of your picture slideshow.
- If your frame offers the option, consider enabling the energy-saving mode. This will help conserve power and extend the frame’s battery life if it is not plugged in.
By adjusting the picture settings to your preference, you can ensure that your pictures are displayed in the best possible way on the Skylight Frame. Take some time to experiment with the settings until you achieve your desired visual outcome.
Now that your picture settings are optimized, it’s time to organize your picture slideshow. This will allow you to showcase your pictures in a meaningful and organized way, as we’ll explore in the next step.
When adding pictures to a Skylight Frame, make sure to use high-resolution images for the best display quality. Also, organize your photos into folders on your computer to easily transfer them to the frame.
Read more: How To Reset A Skylight Frame
Step 5: Organizing your picture slideshow
Organizing your picture slideshow on the Skylight Frame is a great way to showcase your photos in a meaningful and personalized way. Follow these steps to organize your picture slideshow:
- Access the settings menu on your Skylight Frame.
- Look for the option to create albums or folders. This will allow you to group your pictures based on specific themes, events, or people.
- Create new albums or folders and give them descriptive names. For example, you might have albums named “Family Vacation,” “Childhood Memories,” or “Friends and Loved Ones.”
- Once you’ve created your albums, you can start adding pictures to them. Select the desired album, and then choose the pictures you want to include.
- You can also rearrange the order of the pictures within each album to create a custom sequence for your slideshow. This can be done by dragging and dropping the pictures into the desired position.
- If your Skylight Frame supports it, you may have the option to set different display durations for each picture. This allows you to emphasize certain photos by giving them more time on the screen.
- Make sure to save your changes once you’re satisfied with the organization of your picture slideshow.
By organizing your picture slideshow into albums and arranging them in a meaningful order, you can create a dynamic and personalized display that reflects your unique memories and experiences.
However, if you want to add an extra touch of sentimentality to your pictures, consider adding captions. This will help enhance the storytelling aspect of your slideshow, which we’ll cover in the next step.
Step 6: Adding captions to your pictures
Adding captions to your pictures on the Skylight Frame can bring an extra layer of storytelling and context to your slideshow. Follow these steps to add captions to your pictures:
- Access the settings menu on your Skylight Frame.
- Look for the option to add captions or text to your pictures. This may be labeled as “Caption,” “Text Overlay,” or something similar.
- Select the picture to which you want to add a caption.
- Enter your desired caption using the on-screen keyboard or connected device (such as a smartphone or computer). Keep in mind that there may be a character or word limit for captions, so choose your words wisely.
- Save the caption once you’re satisfied with it.
- Repeat these steps for any other pictures to which you want to add captions.
Adding captions to your pictures allows you to provide additional context, descriptions, or anecdotes for each photo. This can be especially helpful for documenting special moments, sharing meaningful quotes, or providing background information about the people or places in your pictures.
Once you’ve added captions to your pictures, take a moment to review your slideshow and ensure that the captions complement the visual content. This will help create a more engaging and immersive experience for viewers.
Now that you’ve personalized your picture slideshow with captions, let’s address any potential issues or challenges you may encounter in the next step: troubleshooting common issues.
Step 7: Troubleshooting common issues
While using your Skylight Frame, you may occasionally encounter some common issues. Here are a few troubleshooting tips to help you address them:
- If your pictures are not displaying correctly, ensure that they are in the compatible file format (such as JPEG or PNG) and that they are resized to the recommended resolution. Double-check the file names to make sure they don’t contain any special characters or symbols.
- If your frame is not connecting to Wi-Fi, check if your internet connection is working properly. Restart both your router and your frame to see if that resolves the issue. Make sure your frame is within range of your Wi-Fi network.
- If your frame is unresponsive or frozen, try performing a reset by disconnecting the power supply and then reconnecting it after a few seconds. This will help refresh the frame’s system and resolve any temporary glitches.
- If you’re having trouble organizing your slideshow or adding captions, refer to the user manual or online guides provided by Skylight. They often offer specific instructions and troubleshooting tips for your frame model.
- If you continue to experience issues or have any other concerns, don’t hesitate to reach out to Skylight’s customer support. They are knowledgeable and experienced in troubleshooting and can provide personalized assistance.
Remember, don’t be discouraged if you face any challenges along the way. Technical issues are common with any digital device, and there are always solutions available. With a little patience and troubleshooting, you’ll be able to enjoy a smooth and amazing experience with your Skylight Frame.
With this comprehensive guide, you now have all the necessary information to add pictures to your Skylight Frame successfully. Take advantage of this creative and personalized way to showcase your memories, and enjoy the constant reminder of your cherished moments.
So, go ahead and start adding those beautiful pictures to your Skylight Frame – a unique and captivating addition to your home or office décor!
Happy picture-sharing!
Conclusion
Adding pictures to your Skylight Frame is a delightful and rewarding experience that allows you to transform your space with cherished memories. By following the steps outlined in this guide, you can easily set up your frame, prepare your pictures, transfer them, adjust picture settings, organize your slideshow, add captions, and troubleshoot any common issues that may arise along the way.
Remember, the key to a captivating picture slideshow is thoughtful organization and personalization. Take the time to curate and resize your pictures, create albums or folders, adjust settings to your preference, and add meaningful captions. These small details can make a big difference in the overall impact of your slideshow.
Additionally, don’t hesitate to reach out to Skylight’s customer support if you encounter any difficulties. They are there to assist you and ensure that you have a seamless experience with your Skylight Frame.
Now, it’s time to unleash your creativity and let your pictures come to life on the vibrant screen of your Skylight Frame. Whether it’s reliving precious family moments, sharing unforgettable travel adventures, or simply showcasing beautiful artwork, your frame will add a personalized touch to any space.
So, gather your favorite pictures, follow the steps in this guide, and let your Skylight Frame become a window to your most treasured memories. Enjoy the journey of storytelling and reminiscing, as you create a slideshow that reflects your unique experiences and brings joy to all who view it.
Happy picture-adding!
Frequently Asked Questions about How To Add Pictures To Skylight Frame
Was this page helpful?
At Storables.com, we guarantee accurate and reliable information. Our content, validated by Expert Board Contributors, is crafted following stringent Editorial Policies. We're committed to providing you with well-researched, expert-backed insights for all your informational needs.








0 thoughts on “How To Add Pictures To Skylight Frame”