Articles
How To Move Picture Frames
Modified: October 18, 2024
Learn how to move picture frames safely and efficiently with our expert articles. Gain valuable tips and techniques for preventing damage and ensuring a smooth relocation process.
(Many of the links in this article redirect to a specific reviewed product. Your purchase of these products through affiliate links helps to generate commission for Storables.com, at no extra cost. Learn more)
Introduction
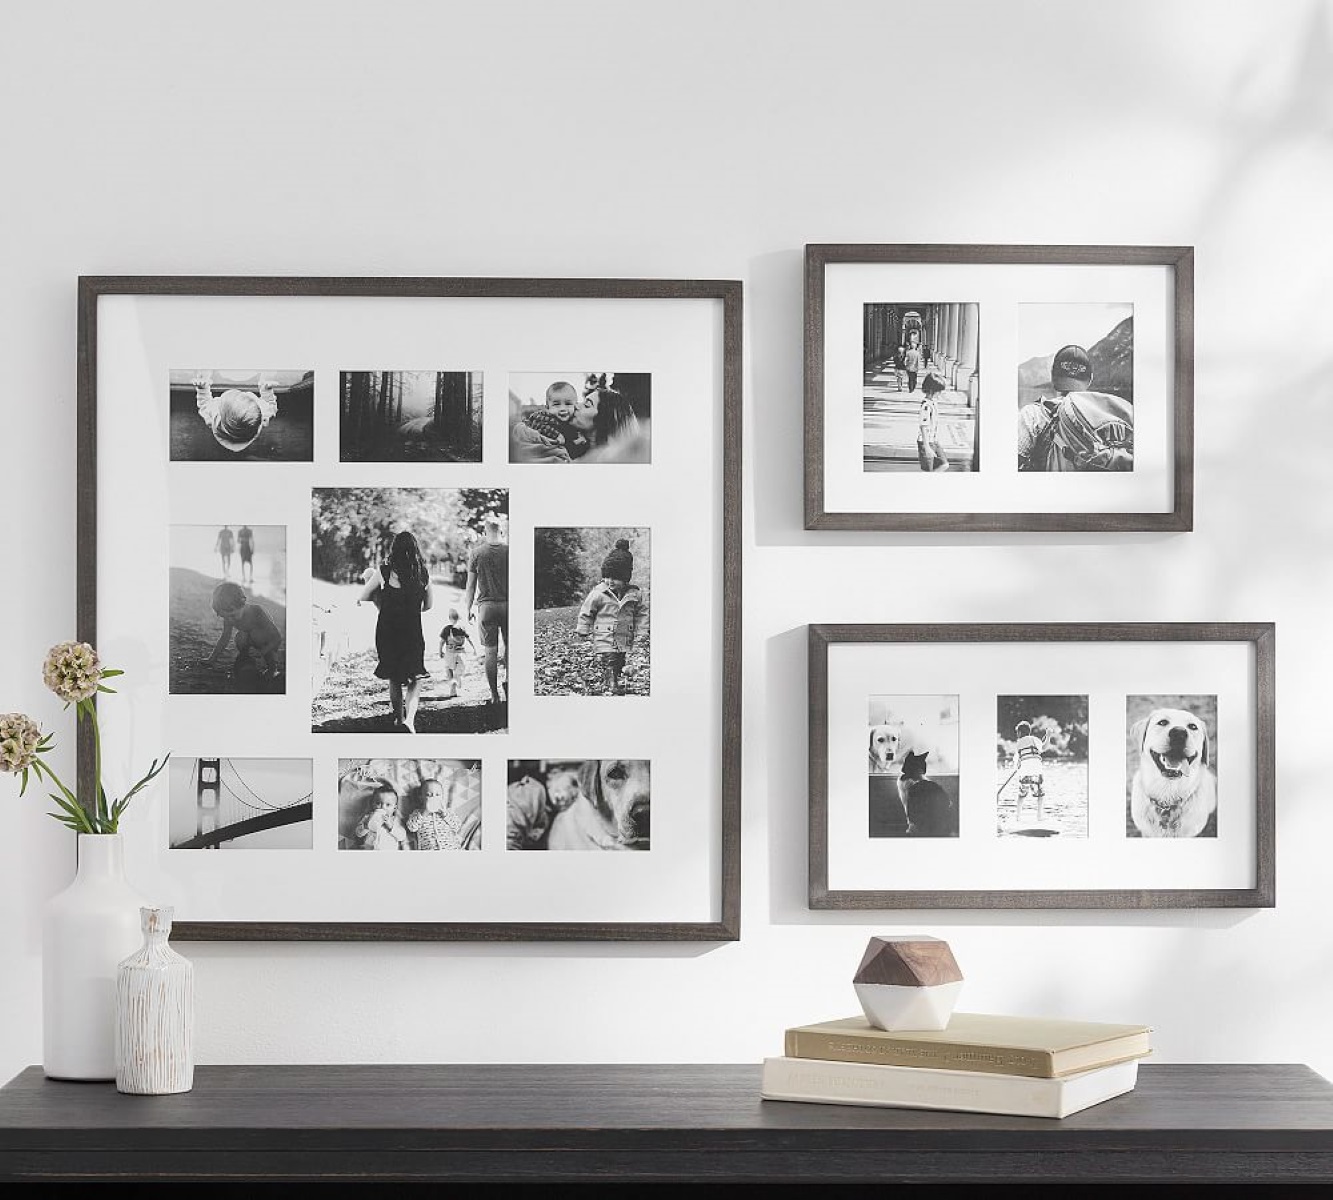
In every home, picture frames serve as not only decoration but also a way to display cherished memories and artwork. However, there may come a time when you need to move your picture frames to a different location. Whether you’re redecorating, renovating, or simply looking for a change, knowing how to properly move picture frames is essential to ensure their safety and maintain their visual appeal.
When it comes to moving picture frames, there are a few important factors to consider. First and foremost, you’ll need to assess the condition of the picture frame itself. Is it fragile or delicate? Does it have any loose parts that need repair? Assessing the picture frame’s condition will help you determine the level of care and precaution required during the moving process.
After assessing the picture frame, it’s crucial to gather the necessary supplies before attempting to move it. This may include tools like a measuring tape, a hammer, and nails, as well as protective materials like bubble wrap or foam padding. Having these supplies on hand will make the process smoother and help prevent any potential damage to your picture frame.
Next, you’ll need to carefully remove the picture frame from the wall. This task requires patience and precision to avoid any accidental damage to the frame or the wall itself. Taking your time and using the appropriate tools will ensure a successful removal.
Once the picture frame is safely removed, it’s time to prepare the new location where you want to hang it. This step involves measuring the wall space, marking the desired position, and ensuring that it is suitable for your picture frame. Making sure the new location is conducive to displaying your picture frame will help elevate its visual impact in your home.
After preparing the new location, you’ll then mount the picture frame on the wall. This step requires careful attention to alignment and getting the right positioning. Using a level and following the proper techniques will ensure that your picture frame appears straight and visually pleasing in its new spot.
As you adjust and level the picture frame, take the time to step back and assess its placement. Does it complement the surrounding décor? Is the height appropriate for optimal viewing? Making these adjustments will ensure that your picture frame becomes a focal point and adds aesthetic value to the space.
Finally, consider adding some final touches to enhance the overall appearance of the picture frame. You might want to clean the glass or update the matting. These small details can make a big difference in how the frame looks and feels in its new location.
By following these steps and taking the necessary precautions, you can confidently move your picture frames without any damage or mishaps. Remember to handle them with care and give yourself enough time to complete the process properly, ensuring that your cherished memories and artwork continue to be beautifully displayed in your home.
Key Takeaways:
- Assess the fragility, size, and condition of your picture frames before moving them. Gather necessary supplies, remove frames with care, and prepare the new location to ensure a smooth and damage-free transition.
- Mount and adjust picture frames with precision, considering alignment, surrounding elements, and final touches. Regular maintenance and protection from direct sunlight will preserve their beauty for years to come.
Read more: How To Distress Picture Frames
Assessing Picture Frames
Before moving your picture frames, it’s crucial to assess their condition to determine the level of care and precaution required during the moving process. Here are some factors to consider:
- Fragility: Some picture frames are more delicate and prone to damage than others. Assess whether your frame is made of fragile materials such as glass or if it has intricate designs that require extra care.
- Loose parts: Check if any parts of the frame, such as the backing or hanging hardware, are loose or in need of repair. Repairing any loose parts beforehand will ensure your frame remains intact during the move.
- Size and weight: Take note of the size and weight of your picture frame. Larger frames or those with heavy artwork might require additional assistance or special equipment to move safely.
- Condition of the artwork: If your picture frame contains artwork or photos, examine their condition. Determine if they are sensitive to light or if they require any special handling to avoid damage during the move.
By carefully assessing these factors, you’ll gain a better understanding of how to handle your picture frames during the moving process. Remember to always prioritize the protection and preservation of your frames and their contents.
Gathering Necessary Supplies
Before you start moving your picture frames, it’s important to gather all the necessary supplies. Having the right tools and materials on hand will make the process smoother and help protect your frames during the move. Here are some essential supplies you’ll need:
- Measuring tape: A measuring tape will come in handy to determine the dimensions of both your picture frames and the new location where you plan to hang them.
- Hammer and nails: Depending on the type of wall and frame, you may need to use hammer and nails to securely mount the frames. Make sure to choose the appropriate size and type of nails for your frame and wall.
- Screwdriver: If your picture frames require screws instead of nails, a screwdriver will be needed to install or remove the screws.
- Bubble wrap or foam padding: To protect your picture frames during the move, wrap them in bubble wrap or use foam padding to cushion and prevent any potential damage.
- Level: A level is essential to ensure that your picture frames hang straight and aligned on the wall. This tool will help you achieve a professional-looking result.
- Protective gloves: Wearing protective gloves will help prevent fingerprints, smudges, or accidental damage to delicate frames or artwork.
- Cleaning supplies: If your frames have glass, it’s a good idea to have some cleaning supplies on hand, such as glass cleaner and a microfiber cloth, to clean any smudges or fingerprints.
Having these supplies readily available before you start moving your picture frames will save you time and ensure that you have everything you need to complete the task efficiently. It’s always better to be prepared and have the right tools at your disposal.
Remember, different picture frames may require additional or specialized supplies. Assess your frames beforehand and consider any unique requirements they may have. By taking the time to gather the necessary supplies, you’ll be well-equipped to safely and smoothly move your picture frames to their new location.
Removing the Picture Frame from the Wall
When it’s time to move your picture frame to a new location, proper removal from the wall is crucial to avoid any damage. Follow these steps to safely remove the frame:
- Gently lift: Start by gently lifting the picture frame up and away from the wall. Slide your hand behind the frame to provide support and prevent it from falling.
- Check for hanging hardware: Depending on how the frame was mounted, it may have hanging hardware such as hooks or wires. Examine the back of the frame to identify any hanging hardware.
- Remove hanging hardware: If your frame has hooks or wires, carefully detach them from the wall or take them off the nails or screws. Use a screwdriver or pliers if necessary to remove any fasteners.
- Pull out nails or screws: If the frame is secured with nails or screws, carefully remove them from the wall. Use a claw hammer or screwdriver to pull them out slowly and avoid damaging the wall.
- Inspect the wall: After removing the frame, inspect the wall for any damage or holes. If there are small nail holes, they can be filled in with spackling compound and sanded down for a smooth finish.
- Secure the frame: Once the frame is removed, make sure to secure any loose components such as the backing or hanging hardware. This will prevent them from getting damaged during the move.
By following these steps, you can safely remove your picture frame from the wall without causing any damage. Remember to handle the frame with care, supporting it from behind to ensure it doesn’t fall. Taking the time to properly remove the frame will make the process of moving it to a new location much smoother.
Preparing the New Location
Before you can mount your picture frame in its new location, it’s important to properly prepare the area. Here are some steps to follow:
- Measure the wall space: Use a measuring tape to determine the dimensions of the new location where you plan to hang your picture frame. This will help you position it accurately and ensure it fits well in the space.
- Mark the desired position: Once you have the measurements, use a pencil to mark the desired position on the wall. Consider the height at which you want to hang the frame and make sure it aligns with your aesthetic preferences.
- Consider surrounding elements: Take a moment to consider the surrounding elements of the new location. Pay attention to furniture, other wall decorations, and the overall decor style. Ensure that the frame will complement the existing elements and enhance the visual appeal of the space.
- Verify structural integrity: Before mounting the picture frame, ensure that the wall is structurally sound and capable of supporting its weight. Depending on the size and weight of the frame, you may need to use additional tools such as wall anchors or screws for added stability.
- Clean the wall: Give the wall a quick clean to remove any dust, dirt, or debris. This will help the frame adhere better and avoid any marks or smudges on the wall.
By taking the time to prepare the new location, you can ensure that your picture frame is positioned correctly and enhances the overall aesthetics of the space. Considering the measurements, surrounding elements, and the structural integrity of the wall will help you create an appealing and harmonious display.
When moving picture frames, wrap them in bubble wrap or cardboard to protect the glass. Use moving blankets or padding to prevent scratches. Pack them vertically in a sturdy box to avoid damage.
Read more: How To Store Picture Frames
Mounting the Picture Frame in the New Location
Now that you’ve prepared the new location, it’s time to mount your picture frame. Follow these steps to ensure a secure and visually pleasing installation:
- Gather the necessary tools: Make sure you have the appropriate tools on hand, such as a hammer, nails, screws, a screwdriver, and a level.
- Align the frame: Hold the picture frame against the wall and align it with the marked position. Use a level to ensure that the frame is straight and not tilted.
- Mark the mounting points: Use a pencil to mark the exact spots where you’ll be mounting the frame. This will serve as a guide when attaching the frame to the wall.
- Choose the mounting method: Depending on the weight and size of the frame, determine the appropriate mounting method. For lighter frames, nails or picture hooks may suffice. Heavier frames may require screws or wall anchors for added support.
- Start mounting: With the appropriate method chosen, start attaching the wall hardware to the marked spots. Follow the manufacturer’s instructions for installation, ensuring that the hardware is securely fastened.
- Hang the frame: Once the wall hardware is in place, carefully hang the picture frame on the mounted hooks, nails, or screws. Take your time to align it properly and avoid forcing it onto the wall hardware to prevent any damage.
- Double-check alignment: After hanging the frame, step back and assess its alignment. Use the level to ensure that it is still straight and adjust if necessary.
By following these steps, you can confidently mount your picture frame in the new location. Pay attention to aligning the frame correctly and use the appropriate mounting method to ensure its stability and longevity.
Remember, proper installation not only ensures the safety of your picture frame but also enhances its visual impact in the room. Take your time and make any necessary adjustments to achieve a beautifully displayed frame.
Adjusting and Leveling the Picture Frame
Once you’ve mounted your picture frame in the new location, the next step is to adjust and level it to ensure a visually appealing display. Follow these steps to achieve the desired alignment:
- Step back and assess: Take a few steps back from the frame to get a clear view of its positioning. Look for any visible misalignment or tilting.
- Use a level: Place a level on top of the frame to check if it is perfectly horizontal. Adjust as needed by gently tilting the frame until it is level.
- Make small adjustments: With the level in place, use your hands to make minor adjustments, nudging the frame up, down, or sideways until it is visually aligned and level.
- Check all sides: While adjusting, ensure that all sides of the frame are level and aligned with the wall. Pay attention to the corners and edges for any discrepancies.
- Seek a second opinion: If unsure about the alignment, ask someone else to provide a second opinion. Another pair of eyes can offer a fresh perspective and help you achieve the desired results.
It’s important to take your time during the adjustment process to ensure a professional-looking display. Even a slight misalignment can impact the visual appeal of the frame, so be patient and meticulous in making the necessary adjustments.
Remember, the goal is to create a visually pleasing and straight presentation of your picture frame. By using a level and making small adjustments, you can achieve balance and alignment that enhances the overall aesthetics of the room.
Final Touches and Considerations
After mounting and adjusting your picture frame, there are a few final touches and considerations to keep in mind to enhance its overall appearance and ensure its longevity:
- Clean the frame: Take a moment to clean the frame’s glass or any other surfaces to remove any smudges or fingerprints. Use a microfiber cloth and a suitable glass cleaner for the best results.
- Update the matting: If your picture frame has matting, consider updating it to refresh the overall look. You can cut new matting or seek professional framing services.
- Secure loose components: Check if any components of the frame, such as the backing or hanging hardware, are loose. Ensure that they are securely in place to prevent any issues in the future.
- Consider lighting: Assess the lighting in the room and ensure that your picture frame is well-lit. Natural light or strategically placed artificial lighting can enhance the visual impact of the frame and draw attention to its contents.
- Regular maintenance: Make a note to periodically clean and inspect your picture frame. Dusting the frame and checking for any signs of damage or deterioration will help maintain its condition over time.
- Protect from direct sunlight: If your picture frame contains artwork or photographs, protect them from direct sunlight. Prolonged exposure to sunlight can cause fading or damage, so consider using UV-blocking glass or displaying the frame in a shaded area.
By paying attention to these final touches and considerations, you can ensure that your picture frame remains in optimal condition and continues to enhance the ambiance of the space where it is displayed.
Remember, picture frames not only showcase cherished memories or artwork, but they also contribute to the overall aesthetics of the room. Taking these extra steps will help you maintain the beauty and integrity of your frames for years to come.
Conclusion
Moving picture frames to a new location may seem like a simple task, but it requires careful consideration and attention to detail. By following the steps outlined in this guide, you can successfully move your picture frames without causing any damage and ensure they are beautifully displayed in their new setting.
Assessing the condition of your picture frames is essential to determine the level of care required during the moving process. Gathering the necessary supplies, such as measuring tape, hammers, and protective materials, will make the process smoother and more efficient.
Removing the picture frame from the wall should be done with precision and care to avoid any accidental damage. Preparing the new location involves measuring, marking, and ensuring that the space complements the frame and surrounding décor.
Mounting the picture frame requires aligning it correctly and choosing the appropriate method based on the frame’s weight and size. Adjusting and leveling the frame is crucial for achieving a visually appealing display, and taking the time to make small adjustments can make a big difference.
Finally, consider final touches such as cleaning the frame, updating matting if necessary, and ensuring that loose components are secure. Regular maintenance and protecting the frame from direct sunlight will help preserve its condition for years to come.
By following these steps and considering the tips provided, you can confidently move your picture frames to a new location and create a visually stunning display. Remember to prioritize the safety and preservation of your frames while adding a personal touch to your living space.
So go ahead, unleash your creativity, and give your picture frames the spotlight they deserve in their new home!
Frequently Asked Questions about How To Move Picture Frames
Was this page helpful?
At Storables.com, we guarantee accurate and reliable information. Our content, validated by Expert Board Contributors, is crafted following stringent Editorial Policies. We're committed to providing you with well-researched, expert-backed insights for all your informational needs.


0 thoughts on “How To Move Picture Frames”