Articles
How To Repair Antique Picture Frames
Modified: January 5, 2024
Looking for articles on how to repair antique picture frames? Explore our comprehensive guide to restoring and preserving your valuable vintage frames.
(Many of the links in this article redirect to a specific reviewed product. Your purchase of these products through affiliate links helps to generate commission for Storables.com, at no extra cost. Learn more)
Introduction
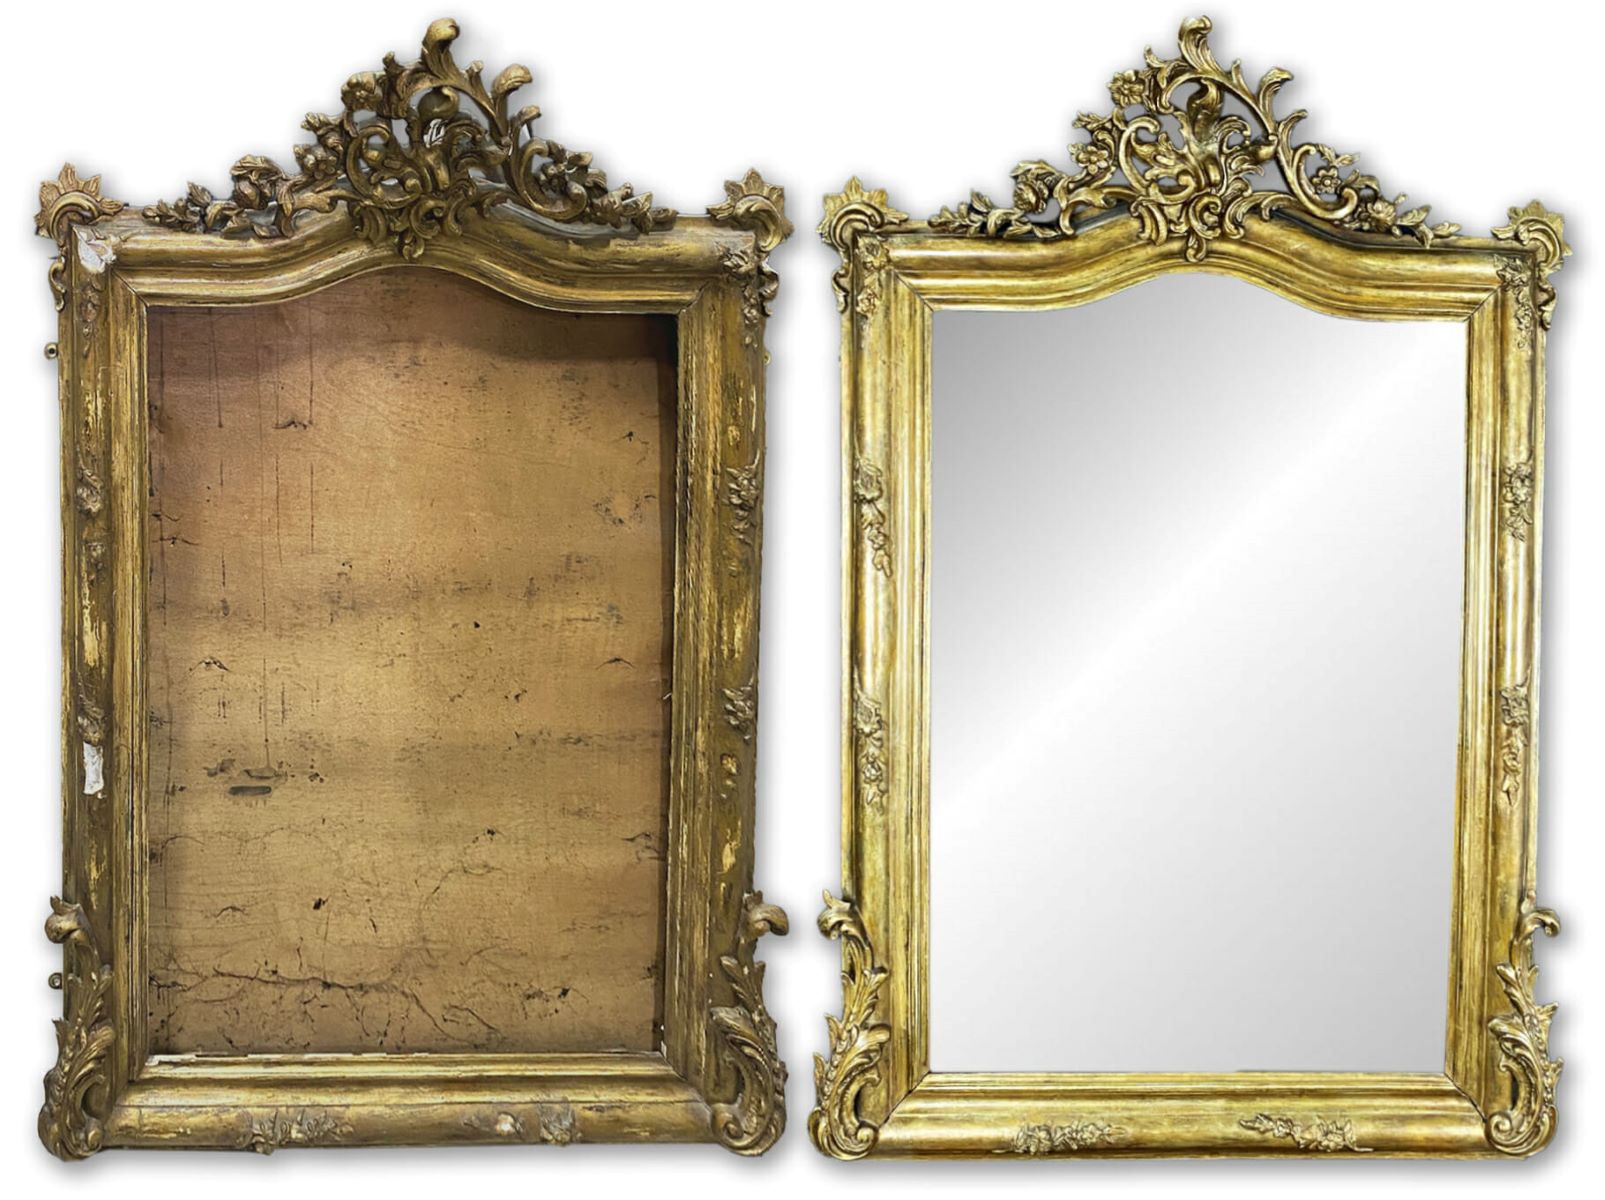
Antique picture frames are not just functional objects; they are cherished pieces of history and art. Whether inherited or acquired through a special purchase, these frames add a touch of elegance and timeless beauty to any artwork or photograph they hold. However, with age, these frames can suffer from various types of damage, including loose joints, cracked corners, or missing parts. Restoring an antique picture frame not only brings it back to its former glory but also preserves its historical and sentimental value.
In this article, we will guide you through the process of repairing antique picture frames, enabling you to restore them to their original condition. We will explore the techniques and tools required to fix common issues such as loose joints, cracks, gaps, and missing parts. Additionally, we will delve into the process of cleaning, preparing, and preserving the original finish of the frame.
Understanding the structure and craftsmanship of antique frames is essential before attempting any repairs. These frames often exhibit intricate designs, elaborate detailing, and unique materials, such as carved wood, gesso, or even gold leaf. Familiarize yourself with the style and era of your antique frame, as this will inform your repair approach.
Before embarking on any restoration work, it is crucial to assess the extent of the damage. Inspect the frame carefully to identify loose joints, cracked or missing parts, and any other signs of wear and tear. Once you have a comprehensive understanding of the frame’s condition, you can proceed with gathering the necessary tools and materials for the restoration process.
Repairing an antique picture frame requires a set of specialized tools and materials. These may include clamps, wood glue, epoxy putty, fillers, brushes, cleaning solutions, and paint for touch-ups. Ensure that you have all the essential items ready before starting the repair work to avoid interruptions.
Next, we will guide you through the step-by-step process of repairing and restoring antique picture frames. From cleaning and preparing the frame to repairing loose joints, filling gaps and cracks, and reattaching or replacing missing parts, we will cover each stage in detail. Our goal is to provide you with the knowledge and techniques needed to achieve a professional-level restoration.
Once the repairs are complete, it is crucial to preserve and protect your restored antique picture frame. We will explore the best practices for securing and displaying the frame, ensuring its longevity and continued enjoyment.
Restoring antique picture frames requires patience, attention to detail, and a deep appreciation for the craftsmanship of the past. By following the techniques and tips outlined in this article, you can breathe new life into your cherished antique frames and proudly showcase their beauty for generations to come. So let’s get started on the journey of restoring these timeless pieces to their former glory.
Key Takeaways:
- Restoring antique picture frames requires patience, attention to detail, and a deep appreciation for craftsmanship. Understanding the frame’s structure, assessing damage, and using the right tools are essential for a successful restoration.
- By securing and displaying the restored antique picture frame with care, you can protect its integrity and enjoy its beauty for years to come. Regular maintenance and proper handling ensure the frame remains a cherished heirloom.
Read more: How To Identify Antique Picture Frames
Understanding Antique Picture Frames
Antique picture frames hold a unique charm and character that sets them apart from modern counterparts. They often serve as stunning works of art in their own right, complementing the artwork or photograph they encase. To effectively repair and restore antique frames, it is essential to have a solid understanding of their structure, materials, and historical context.
Antique picture frames come in various styles, reflecting the trends and aesthetics of different eras. The Victorian era, for example, is known for its ornate frames embellished with intricate carvings and decorative motifs. Art Nouveau frames showcase flowing lines and nature-inspired designs, while Art Deco frames feature geometric shapes and bold colors. By familiarizing yourself with the style and era of your antique frame, you can better appreciate its craftsmanship and tailor your restoration approach accordingly.
When examining an antique picture frame, pay attention to the materials used. Many older frames were handcrafted from high-quality wood, such as mahogany, walnut, or oak. These frames often have unique joinery techniques, including mortise and tenon joints, dovetails, or mitered corners. Understanding these construction methods is crucial when it comes to repairing loose joints or damaged corners.
In addition to wood, antique frames may incorporate other materials, such as gesso and gold leaf. Gesso is a mixture of chalk, gypsum, and glue that was often used as a base layer on frames. Over time, gesso can become brittle and crack, requiring careful restoration. Gold leaf, a thin layer of gold applied to the frame’s surface, adds a luxurious touch and can be tarnished or damaged due to age.
Another aspect of antique frames to consider is their size and shape. While many frames are rectangular or square, some may have unique shapes like oval, octagon, or even circular. These unconventional shapes can present additional challenges when it comes to repairs, but with the right techniques and tools, they can be restored effectively.
Lastly, understanding the historical context of the frame can provide valuable insights into its significance and value. Research the time period in which the frame was created, as well as any notable artists or art movements associated with that era. This information will contribute to your understanding of the frame’s cultural and artistic importance and help guide your restoration decisions.
By gaining a deeper understanding of antique picture frames, you can approach their repair and restoration with knowledge and appreciation. Take the time to examine the materials, craftsmanship, and historical context of your frame to ensure that your restoration efforts are respectful and authentic. With this foundation, you are ready to begin assessing and repairing any damage that may have occurred over time.
Assessing the Damage
Before embarking on the restoration journey, it is crucial to assess the extent of the damage to your antique picture frame. Understanding the scope of repairs needed will help you plan and prioritize your restoration efforts effectively. Take the following steps to thoroughly assess the condition of the frame.
1. Inspect the joints: Look for any signs of loose joints or separation between the frame components. Gently wiggle the frame to check for movement or instability. Note any areas that require attention.
2. Examine the corners: Inspect the corners of the frame for any cracks or damage. Corners are vulnerable areas that can weaken over time, especially if the frame has been mishandled or stored improperly.
3. Check for gaps and cracks: Carefully inspect the surface of the frame for any noticeable gaps or cracks. These can occur due to shifting or drying of the wood or the deterioration of the gesso layer.
4. Look for missing or damaged parts: Identify any missing or damaged parts of the frame, such as decorative trim, appliques, or rosettes. Take note of these areas that may require repair or replacement.
5. Assess the finish: Examine the condition of the frame’s finish. Note any scratches, chips, or discoloration that may require touch-ups or complete refinishing.
6. Evaluate structural integrity: Determine if the frame is structurally stable and capable of supporting the artwork or photograph. Consider factors such as warping, rot, or insect damage that could compromise its integrity.
7. Consider the overall aesthetic: Evaluate the overall aesthetic of the frame. Is it in harmony with the artwork or photograph it holds? Assess if any alterations or modifications are necessary to restore the frame’s original appearance.
While assessing the damage, it is essential to be thorough and take detailed notes or photographs. This documentation will serve as a reference throughout the restoration process and help you keep track of the areas that need attention.
Remember, not all damage requires immediate repair. It is essential to prioritize the repairs based on the severity of the damage and its impact on the frame’s functionality and aesthetics. Some minor cosmetic issues, such as small scratches or imperfections, can be addressed towards the end of the restoration process.
By carefully assessing the damage, you will gain a clear understanding of the restoration work that needs to be done. This evaluation will guide your decision-making process and ensure that your repairs are comprehensive, effective, and respectful of the frame’s historical and artistic value. With a detailed assessment in hand, you are ready to gather the necessary tools and materials for the next phase of the restoration process.
Gathering the Necessary Tools and Materials
Before diving into the restoration of your antique picture frame, it is crucial to gather all the necessary tools and materials. Having everything at hand will ensure a smooth and efficient restoration process. Here are the essential items you will need:
1. Safety equipment: Start by prioritizing your safety. Wear protective gloves, safety goggles, and a dust mask to protect yourself from potential hazards, especially when working with chemicals or power tools.
2. Cleaning supplies: Begin by cleaning the frame to remove any dirt, dust, or grime that has accumulated over time. Gather soft brushes, microfiber cloths, mild detergent, and a bucket of warm water for this task. Avoid using harsh chemicals that could damage the frame’s finish.
3. Repair tools: Depending on the type of repairs needed, you may require a variety of tools. Basic tools for frame repair include clamps, screwdrivers, pliers, a hammer, and chisels. These tools will help you tighten loose joints, fix damaged corners, or reattach missing parts.
4. Wood glue or epoxy: For repairing loose joints or reattaching separated parts, you will need a suitable adhesive. Wood glue is often recommended for wooden frames, while epoxy is a stronger option for more significant repairs.
5. Fillers and putty: To address gaps, cracks, or missing sections of the frame, you will need fillers or putty. These can include wood putty, gesso filler, or epoxy putty. Select the appropriate type based on the material of your frame and the extent of the damage.
6. Sandpaper and sanding blocks: Sandpaper in various grits, along with sanding blocks, will be essential for smoothing and preparing the surfaces before applying fillers or making touch-ups to the finish. Start with a coarse grit and progress to a finer grit for a smooth finish.
7. Paint and brushes: If your frame requires touch-ups or a complete repaint, gather the appropriate paint color that matches the original finish. Acrylic or oil-based paints are commonly used for this purpose. Select brushes of different sizes to ensure precision during the painting process.
8. Finishing materials: Depending on the frame’s original finish, you may need additional materials such as shellac, varnish, or wax for restoring the frame’s luster and protecting the surface.
9. Miscellaneous tools: Include a tape measure, a level, masking tape, a pencil, and a soft cloth for handling and measuring various aspects of the restoration process. These tools will assist in ensuring accuracy and precision during repairs.
When gathering your tools and materials, consider the unique characteristics and requirements of your antique frame. Different frames may necessitate additional or specific supplies for successful restoration.
Taking the time to gather all the necessary tools and materials upfront will save you time and frustration during the restoration process. Having everything readily available will enable you to work smoothly and efficiently, ensuring the best possible outcome for your antique picture frame. Once you have all the necessary supplies, it’s time to move on to cleaning and preparing the frame for repair.
Cleaning and Preparing the Frame
Cleaning and preparing the frame is a crucial step in restoring an antique picture frame. Over time, dust, dirt, and debris can accumulate on the frame’s surface, obscuring its original beauty. By thoroughly cleaning and preparing the frame, you create a clean canvas for the repair and restoration process. Follow these steps to achieve a well-prepared frame:
1. Remove the artwork/photo: Start by carefully removing the artwork or photograph from the frame. Place it in a safe and clean location away from the restoration area.
2. Dusting: Begin by dusting the frame with a soft brush or a microfiber cloth. Gently remove any loose dirt or debris from the surface, being cautious not to scratch or damage delicate details.
3. Cleaning solution: Prepare a cleaning solution by mixing a mild detergent with warm water in a bucket or container. Avoid using harsh chemicals that could potentially damage the frame’s finish.
4. Damp cloth cleaning: Dip a soft cloth into the cleaning solution and wring out excess moisture. Wipe down the frame gently, removing any built-up grime or stains. Pay attention to intricate details and hard-to-reach areas.
5. Drying: Once the frame has been cleaned, use a dry, absorbent cloth to remove any remaining moisture. Ensure the frame is completely dry before proceeding to the next steps.
6. Surface preparation: If the frame has any rough or damaged areas, lightly sand those areas with fine-grit sandpaper. Use a sanding block or your fingertips to maintain control and even pressure. The goal is to smooth out any imperfections and create a consistent surface for repairs and touch-ups.
7. Sanding the finish: If you plan on refinishing the frame, lightly sand the entire surface to remove the existing finish. Be careful not to be too aggressive, as you want to preserve any original patina or delicate details. Wipe away any dust or debris resulting from sanding.
8. Masking: For frames with intricate details or areas that should remain untouched, use masking tape to protect those portions during the repair and refinishing process. This will ensure clean lines and prevent accidental damage.
By cleaning and preparing the frame, you create a suitable foundation for the repair and restoration work that follows. Removing dirt and debris not only improves the frame’s appearance but also allows for better adhesion of fillers, adhesives, and other materials used in the repair process.
Remember to always handle the frame with care and avoid applying excessive force that could cause further damage. If you are uncertain about any specific cleaning or preparation techniques, consult with a professional restoration expert to ensure the best results for your antique frame.
Once the frame is clean and prepared, you can move on to repairing any loose joints or damaged corners. This next step in the restoration process will help stabilize the frame and ensure its longevity.
Read more: How To Clean Antique Picture Frames
Repairing Loose Joints or Corners
One of the most common issues faced when restoring an antique picture frame is loose joints or damaged corners. Over time, the joints can become weakened, causing the frame to lose its stability and structural integrity. Repairing these areas is crucial to ensuring the longevity and functionality of the frame. Follow these steps to effectively repair loose joints or corners:
1. Assess the damage: Examine the loose joint or corner carefully to identify the underlying cause of the problem. It could be due to dried-out glue, loose nails or screws, or weakened wood. Understanding the root cause will help you determine the appropriate repair method.
2. Disassemble if necessary: In some cases, it may be necessary to fully disassemble the frame to access the loose joint or corner. Gently remove any nails, screws, or other fasteners holding the frame together. Take note of the frame’s original assembly to aid in its reassembly later.
3. Clean the joint: Use a soft brush or cloth to remove any debris or old glue from the joint. Ensure the surfaces are clean and free of dust or residue before proceeding with the repair.
4. Apply adhesive: Apply a suitable wood glue or epoxy adhesive to the joint or corner. Use a small brush or a toothpick to spread the adhesive evenly on both surfaces. Be careful not to apply too much adhesive, as excess glue can squeeze out during reassembly.
5. Reassemble the joint: Carefully align the joint or corner back into its original position, ensuring a tight and secure fit. Apply gentle pressure and use clamps or rubber bands to hold the joint together while the adhesive dries. Follow the manufacturer’s instructions regarding the drying and curing time.
6. Reinforce with fasteners: In some cases, adding additional support by using small nails, screws, or pegs can strengthen the repaired joint. This technique provides extra stability and ensures a long-lasting repair. Be mindful of the frame’s aesthetics and choose fasteners that blend in with the frame’s design.
7. Remove excess adhesive: Once the adhesive has fully dried, remove any excess glue that may have squeezed out using a sharp blade or sandpaper. Take care not to scratch or damage the frame during this process.
8. Touch-up the finish: After repairing and cleaning up the joint, assess if any touch-ups are required to restore the frame’s finish. Use appropriate techniques such as touch-up paint or refinishing methods to blend the repaired area with the rest of the frame seamlessly.
By repairing loose joints or damaged corners, you restore the stability and structural integrity of the antique picture frame. Following these steps will ensure a strong and secure repair that will allow your frame to withstand the test of time.
Remember, if you are uncertain about your repair skills or if the damage is extensive, consider consulting with a professional restoration expert. They can provide guidance and assistance tailored to your specific frame and repair needs.
Once the loose joints or corners are repaired, you can move forward with filling and touching up any gaps or cracks in the frame. This step will enhance both the visual appearance and structural integrity of the antique picture frame.
When repairing antique picture frames, use a small amount of wood glue to reattach loose or broken pieces. Clamp the pieces together and allow the glue to dry completely before handling the frame.
Filling and Touching Up Gaps and Cracks
Over time, antique picture frames may develop gaps, cracks, or small imperfections due to natural wear and tear. It is crucial to address these issues to restore the frame’s integrity and visual appeal. Filling and touching up gaps and cracks will not only improve the frame’s appearance but also prevent further damage. Follow these steps to effectively fill and touch up the gaps and cracks in your antique picture frame:
1. Assess the extent of the damage: Examine the gaps and cracks in the frame to determine their size and depth. This evaluation will help you select the appropriate filler material and technique.
2. Choose the right filler material: Select a filler that matches the material of your frame and suits the size and depth of the gaps and cracks. Options include wood putty, gesso filler, epoxy putty, or even a mixture of wood glue and sawdust for a more natural look. Consider consulting a professional restoration expert for guidance on the best filler material for your specific frame.
3. Apply the filler: Using a putty knife or a small spatula, apply the filler material into the gaps and cracks. Ensure that the filler is pressed firmly into the damaged areas and fills them completely. Smooth out the filler with the putty knife to create an even surface.
4. Allow drying time: Follow the manufacturer’s instructions regarding the drying time of the filler material. It is essential to allow sufficient time for the filler to dry and harden before proceeding to the next steps.
5. Sand the filled areas: Once the filler has hardened, use fine-grit sandpaper to gently sand the filled areas. This step helps to level the filler with the surrounding frame surface and create a smooth and seamless finish. Be cautious not to apply too much pressure, as you don’t want to damage the frame.
6. Clean the frame: After sanding, use a soft cloth or brush to remove any dust or debris resulting from the sanding process. Clean the frame thoroughly, ensuring that the surface is smooth and free of any loose particles.
7. Touch-up the finish: Assess the frame’s finish and determine if any touch-ups are required to blend the filled areas with the rest of the frame. Use appropriate techniques such as touch-up paint or refinishing methods to ensure a seamless and cohesive appearance. Take your time to match the color and texture of the original finish as closely as possible.
8. Protect the frame: Once the touch-ups are complete, consider applying a protective finish, such as shellac or varnish, to safeguard the frame and enhance its longevity. This step will help seal and protect the repaired areas, as well as the entire frame surface.
By filling and touching up gaps and cracks, you not only restore the frame’s visual appeal but also prevent further damage and ensure its structural integrity. Take the necessary time and care during the application and finishing stages to achieve the best possible results.
As always, if you are uncertain about the filling and touch-up process or if the damage is extensive, seek guidance from a professional restoration expert. Their expertise and experience can provide invaluable assistance in preserving the beauty and integrity of your antique picture frame.
Once the gaps and cracks are filled and touched up, you can move on to reattaching or replacing any missing or damaged parts of the frame. This step will help restore the frame’s original design and bring it closer to its former glory.
Reattaching or Replacing Missing or Damaged Parts
One of the challenges faced when restoring an antique picture frame is dealing with missing or damaged parts. These can include decorative trim, appliques, rosettes, or even entire sections of the frame. Restoring these elements is crucial to bringing the frame back to its original design and enhancing its aesthetic appeal. Follow these steps to effectively reattach or replace missing or damaged parts:
1. Assess the missing or damaged parts: Examine the frame to identify any missing or damaged parts. Determine whether they can be reattached or if replacement is necessary. If possible, gather any original pieces that may have become detached.
2. Locate or replicate missing parts: Depending on the availability of the original parts, you may need to source replacements. Consider searching for antique stores, online marketplaces, or specialized restoration suppliers that offer authentic or replica parts. If replacements cannot be found, consult with a professional restoration expert who may be able to recreate the missing parts using similar materials and techniques.
3. Prepare the frame and parts: Clean the areas where the missing or damaged parts will be reattached or replaced. Make sure the surfaces are free of dirt, dust, and old adhesive residue.
4. Reattach existing parts: If you have original parts that have become detached, apply an appropriate adhesive (such as wood glue or epoxy) to both the surface of the frame and the back of the part. Carefully align the part with its original position and press it firmly into place. Use clamps or rubber bands to hold the part securely while the adhesive dries. Follow the manufacturer’s instructions for drying and curing times.
5. Replace missing parts: If you are unable to find original parts, carefully measure the dimensions of the missing sections and source or create suitable replicas. Attach these replacements using the same adhesive and alignment process as reattaching existing parts. Take care to match the style, material, and finish of the replacement parts to the original frame as closely as possible.
6. Allow drying and curing time: After reattaching or replacing parts, give the adhesive sufficient time to dry and cure. Follow the manufacturer’s instructions to ensure a solid bond and long-lasting repair.
7. Touch-up the finish: After reattaching or replacing parts, touch up the frame’s finish if necessary. Use appropriate techniques such as touch-up paint, staining, or refinishing to blend the repaired areas with the rest of the frame. Achieve a seamless and cohesive appearance.
8. Secure the restored parts: Once the adhesive has fully dried, reinforce the reattached or replaced parts if needed. Use small nails, screws, or appropriate fasteners to provide additional stability and ensure the longevity of the restored parts.
By reattaching or replacing missing or damaged parts, you not only restore the frame’s original design but also enhance its overall aesthetic appeal. This step helps bring the frame closer to its original beauty and preserves its historical and artistic value.
If you are unsure about the reattachment or replacement process, or if the damage is extensive, consider consulting with a professional restoration expert. Their expertise can provide guidance and ensure that the correct techniques are used to restore and preserve your antique picture frame.
Once the missing or damaged parts are reattached or replaced, you can proceed to the next step of restoring the frame: restoring the original finish.
Restoring the Original Finish
Restoring the original finish of an antique picture frame is a crucial step in the restoration process. The frame’s finish not only enhances its visual appeal but also protects the underlying materials. Over time, the finish can become worn, faded, or damaged. Restoring the original finish brings back the frame’s original luster and preserves its historical and aesthetic value. Follow these steps to effectively restore the original finish of your antique picture frame:
1. Clean the frame: Before proceeding with restoring the finish, ensure that the frame is clean and free from dust, dirt, and debris. Use a soft brush or cloth to gently remove any surface contaminants.
2. Determine the original finish: Research and study the frame to determine the type of original finish it had. Different finishes were commonly used on antique frames, such as shellac, varnish, lacquer, or wax. Consider consulting a professional restoration expert or a reputable resource to help identify the appropriate finish for your frame.
3. Remove the old finish: If the existing finish is damaged or not compatible with the restoration process, it may be necessary to remove it. Use appropriate techniques such as chemical strippers or gentle sanding to remove the old finish. Take care not to damage the frame’s surface or any delicate details.
4. Repair any surface imperfections: Before applying the new finish, address any surface imperfections that may affect the final result. Fill any remaining gaps, cracks, or blemishes with appropriate fillers or putty and sand them smooth. Take your time to achieve a level and consistent surface.
5. Apply the new finish: Select the appropriate finish for your frame based on the research and identification process. Apply the finish using a brush, sponge, or cloth, following the manufacturer’s instructions for the specific product. Apply thin, even coats, allowing sufficient drying time between each layer. From shellac or varnish for a glossy finish to wax for a more subtle sheen, choose the finish that best complements the frame’s original aesthetic.
6. Sand between coats: For certain finishes, such as varnish or lacquer, it may be necessary to lightly sand between coats to achieve a smooth and even surface. Use fine-grit sandpaper or steel wool, following the product instructions for best results. Ensure you remove any dust or debris resulting from sanding before applying subsequent coats.
7. Allow for curing and drying time: After the final coat of finish has been applied, allow ample time for the finish to cure and dry completely. Follow the manufacturer’s instructions for the recommended drying time before handling or displaying the frame.
8. Buff and polish: Once the finish is fully dry, gently buff the frame with a soft cloth to bring out the shine and smooth any imperfections. Consider using a beeswax polish or a specific product recommended for the type of finish you have chosen.
By restoring the original finish of your antique picture frame, you revitalize its appearance, enhance its beauty, and protect the frame for years to come. Take your time and exercise patience during each step to achieve the best possible result.
Remember, if you are unsure about any aspect of the finishing process or if the frame requires specific expertise, consulting with a professional restoration expert is advisable. Their knowledge and experience can ensure that the frame’s original finish is faithfully restored and preserved.
With the frame’s finish restored, you are now ready to secure and display the restored antique picture frame.
Securing and Displaying the Restored Antique Picture Frame
After successfully restoring an antique picture frame to its former glory, it’s important to take proper steps to secure and display your treasured piece. By ensuring proper stability and protection, you can preserve the frame’s beauty for years to come. Follow these guidelines for securing and displaying your restored antique picture frame:
1. Secure hanging hardware: Check the frame for any existing hanging hardware, such as D-rings or wire. Make sure the hardware is securely attached and capable of supporting the weight of the frame and the artwork or photograph it holds. If necessary, replace any damaged or weak hardware with new, sturdy alternatives.
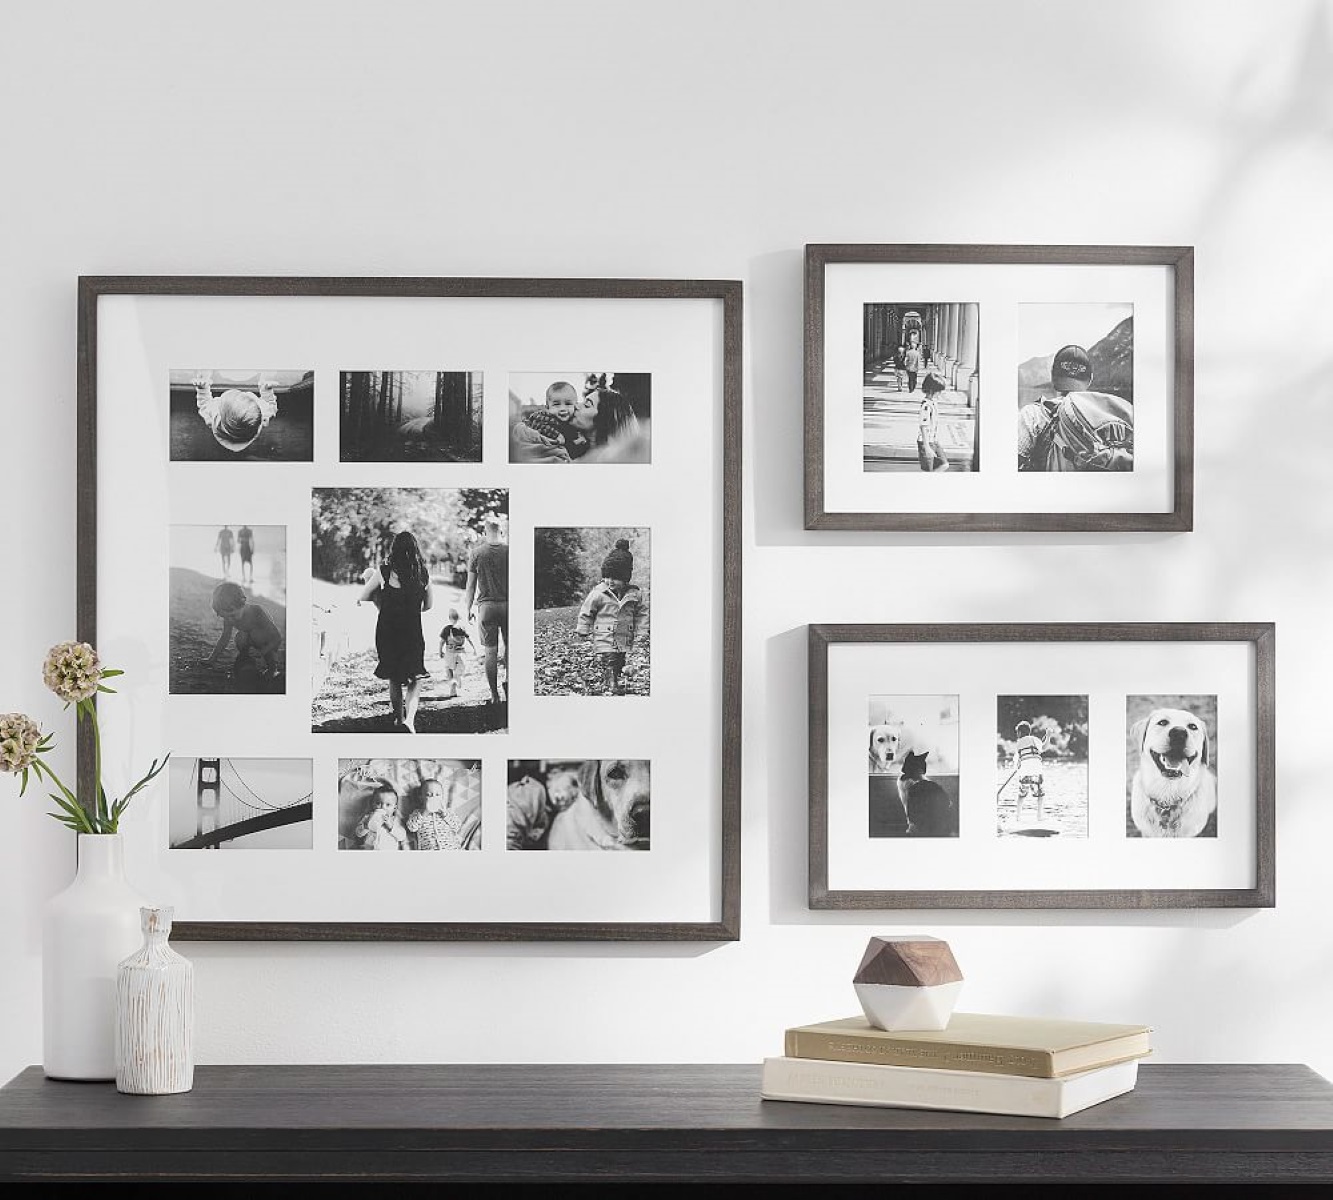
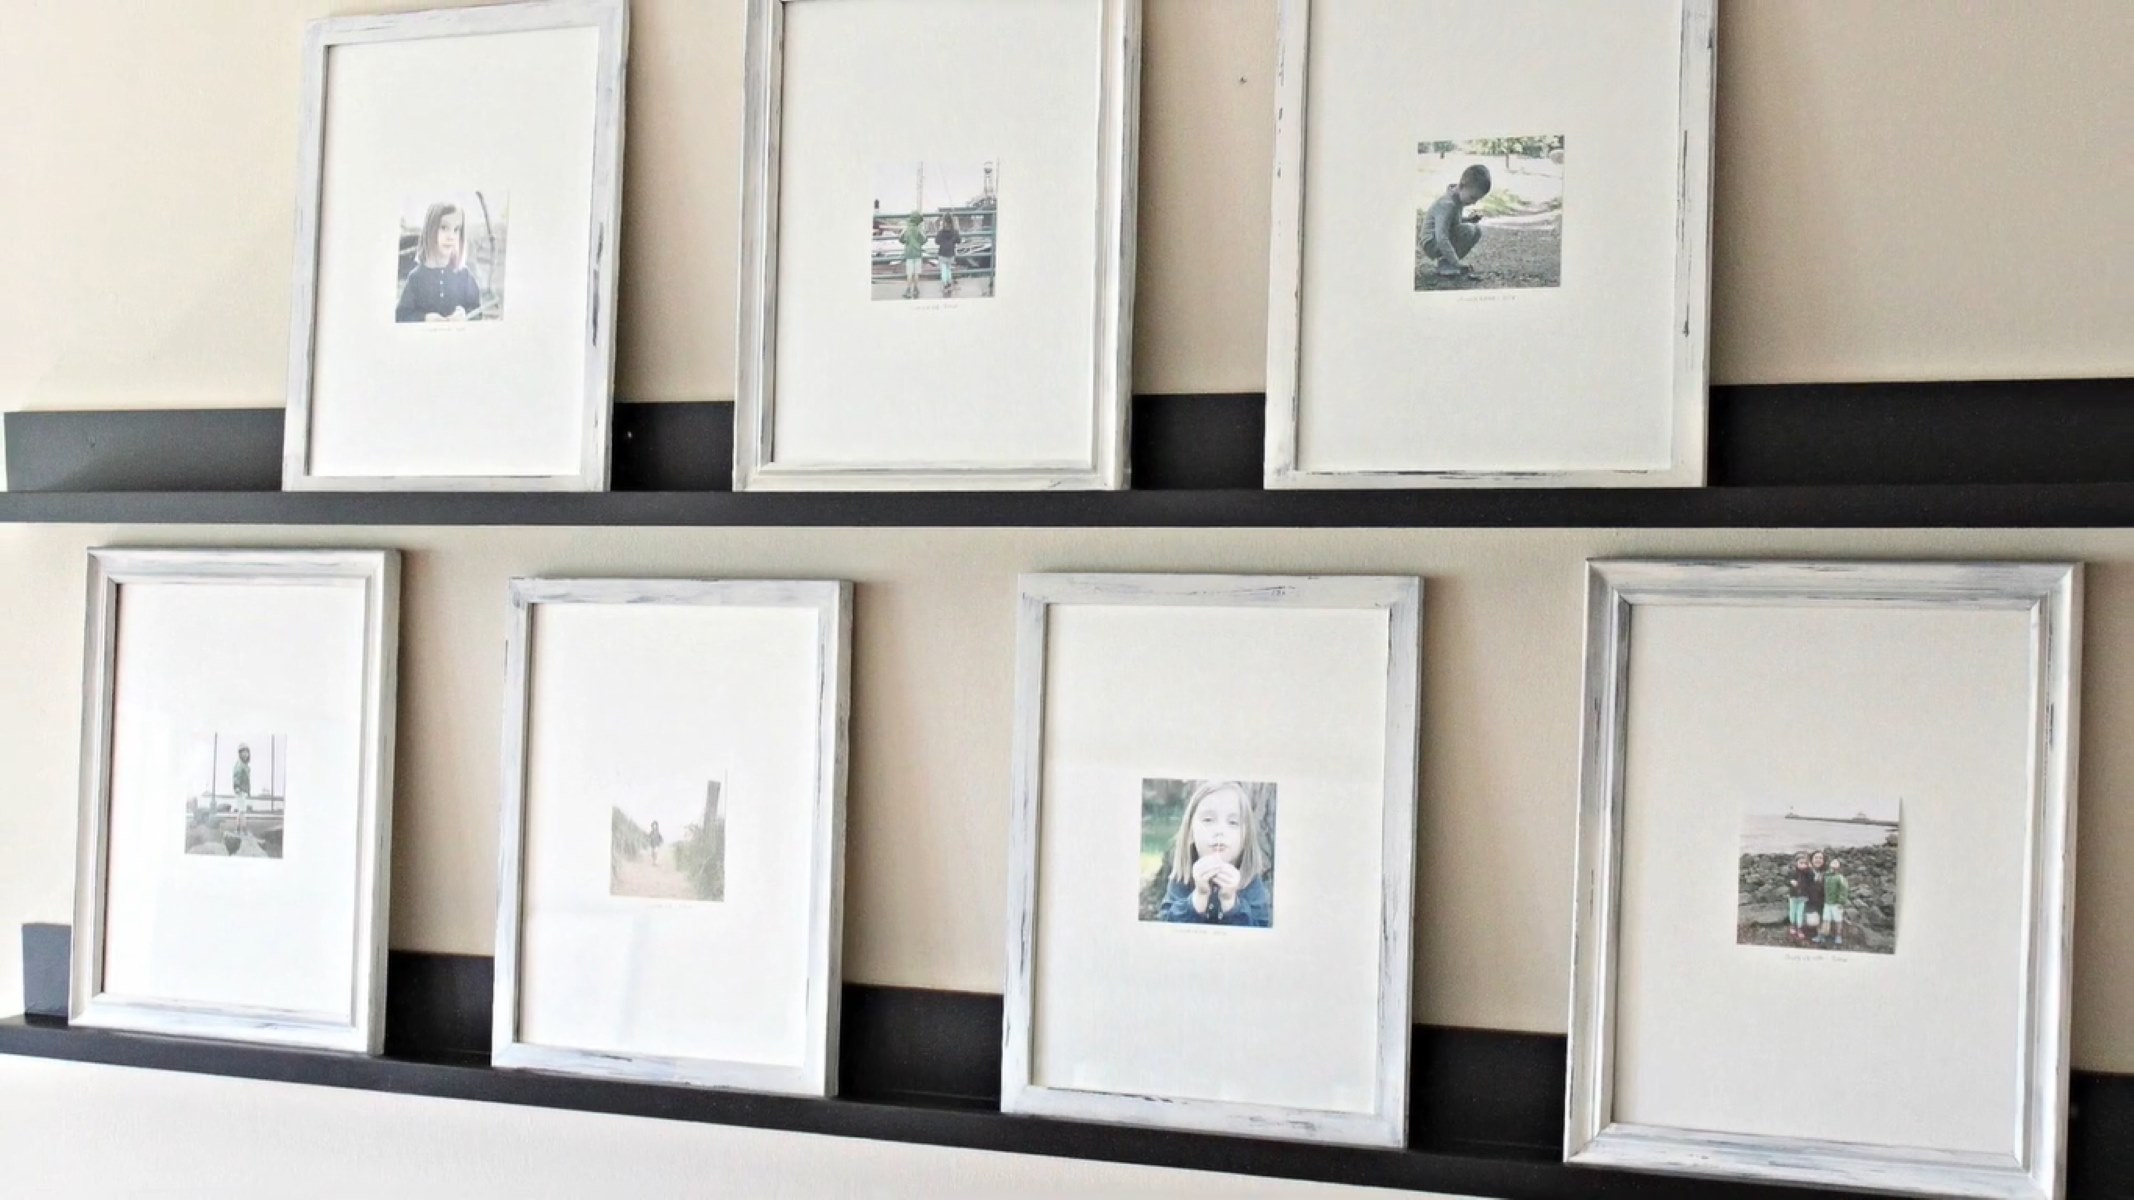
2. Wall mounting: Choose a suitable location to display your antique picture frame. Ensure that the wall can support the weight of the frame and consider using appropriate wall anchors or screws to secure it firmly. Use a level to ensure that the frame hangs straight and is aesthetically aligned with its surroundings.
3. Protective backing: Attach a protective backing to the frame, such as acid-free mat board or archival foam board. This barrier prevents dust, dirt, and insects from entering the frame and protects the artwork or photograph from direct contact with the frame’s materials. Make sure the backing material fits snugly and securely within the frame.
4. UV protection: Protect the artwork or photograph from the harmful effects of ultraviolet (UV) rays. Consider using UV-protective glass or acrylic glazing for your frame. These materials are specially designed to filter out harmful UV radiation, reducing the risk of fading or deterioration over time.
5. Display lighting: Proper lighting can enhance the visual impact of your restored antique picture frame. Use adjustable accent lighting or gallery-style picture lights to illuminate the frame and highlight its intricate details. Be mindful of the heat emitted by the lights, as excessive heat can damage the frame or artwork. Consult a professional lighting specialist for advice on the appropriate type and placement of lighting fixtures.
6. Temperature and humidity control: Maintain a stable environment for your antique picture frame by avoiding extreme temperature fluctuations and high humidity levels. Exposure to excessive heat or humidity can cause the wood to expand, contract, or warp over time. Keep the frame away from direct sunlight, radiators, or areas prone to moisture accumulation, such as bathrooms or basements.
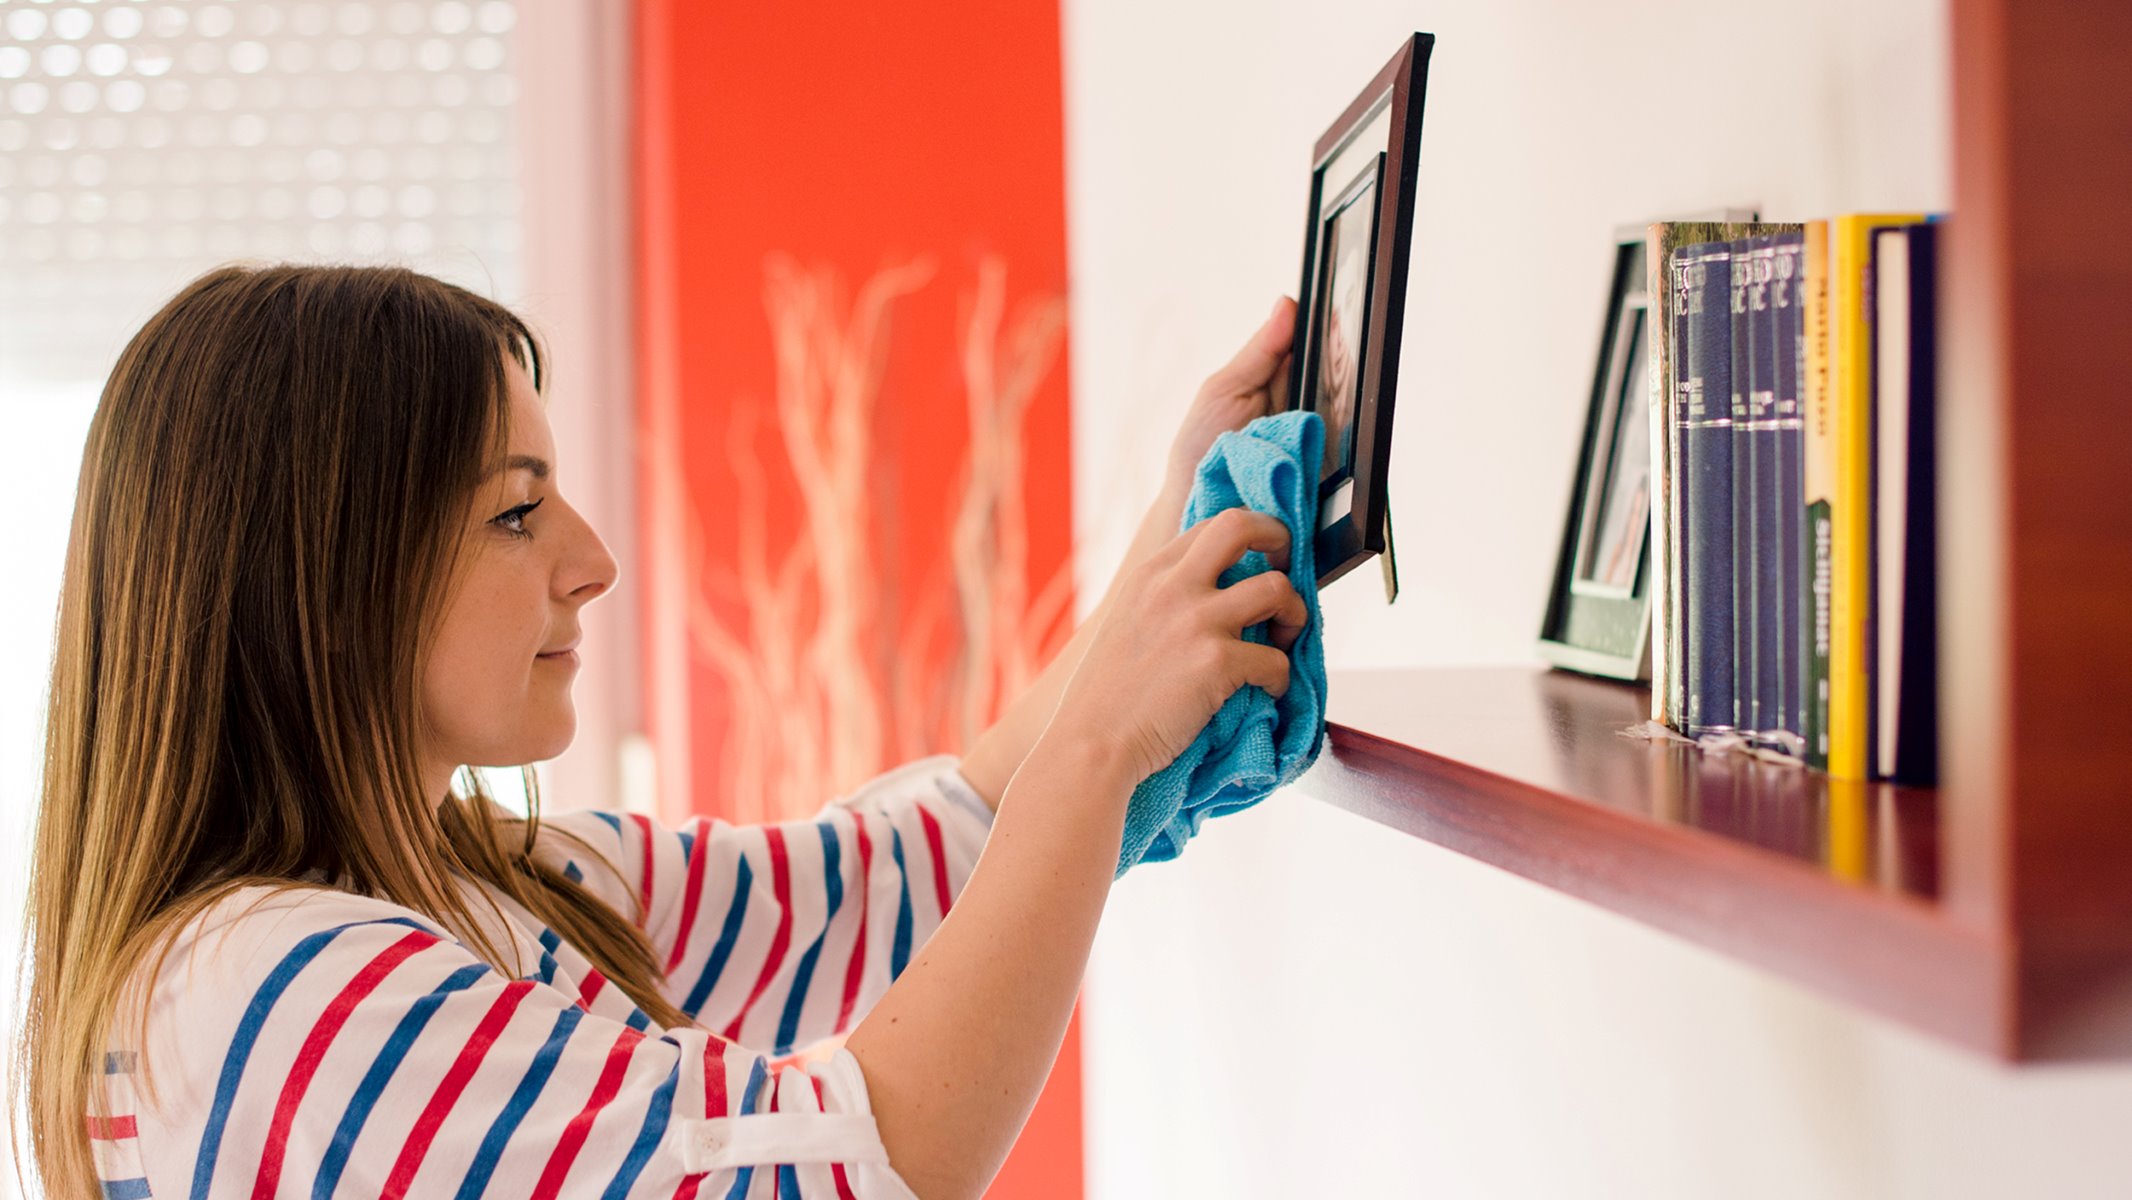
7. Regular cleaning and maintenance: Routinely clean the frame and the display area to prevent the buildup of dust or dirt. Use a soft brush or cloth to gently remove any debris. Be careful not to apply excessive pressure that could damage the frame’s surface or delicate details. Avoid using harsh cleaning chemicals that could compromise the finish or materials.
8. Periodic inspection: Regularly inspect the frame for any signs of damage or deterioration. Look for loose or damaged parts, cracks, or discoloration. Address any issues promptly to prevent further damage and ensure the frame’s long-term preservation. If you notice any significant changes or concerns, consult with a professional restoration expert for guidance and assistance.
By securing and displaying your restored antique picture frame with care, you can protect its integrity and enjoy its beauty for years to come. Remember to handle the frame delicately and use caution when cleaning or moving it to avoid accidental damage. With proper attention and maintenance, your restored antique picture frame will continue to be a cherished heirloom.
Conclusion
Restoring an antique picture frame is a labor of love that requires patience, skill, and attention to detail. By following the steps outlined in this article, you can bring new life to these treasured pieces of history and art. Understanding the structure and materials of the frame, assessing the damage, gathering the necessary tools and materials, cleaning and preparing the frame, repairing loose joints or corners, filling and touching up gaps and cracks, reattaching or replacing missing or damaged parts, restoring the original finish, and securing and displaying the restored frame are essential to achieving a successful restoration.
Throughout the restoration process, it is vital to maintain a deep respect for the frame’s historical and artistic value. By approaching the restoration with care and authenticity, you preserve the unique characteristics that make each antique picture frame special. Taking the time to research and understand the frame’s style, era, and original finish ensures a faithful restoration that honors the craftsmanship and intention of the frame’s creator.
Remember, if you are uncertain about any aspect of the restoration process or if the damage is extensive, consulting with a professional restoration expert is always a wise choice. Their expertise and knowledge can guide you through the restoration journey and ensure the best outcomes for your antique picture frame.
By restoring these beautiful and significant pieces, you not only revive their aesthetic appeal but also preserve their history and legacy for future generations to enjoy. Each frame holds a story, and your restoration efforts contribute to its continuation. Whether the frame has sentimental value or is a valuable antique, the satisfaction and pride that come from seeing the restored frame displayed in all its glory are truly rewarding.
So, roll up your sleeves, gather your tools, and embark on the journey of restoring your antique picture frames. With dedication, skill, and a deep appreciation for the artistry of the past, you can bring these timeless pieces back to life and create a lasting legacy for yourself and future generations to cherish. Happy restoring!
Frequently Asked Questions about How To Repair Antique Picture Frames
Was this page helpful?
At Storables.com, we guarantee accurate and reliable information. Our content, validated by Expert Board Contributors, is crafted following stringent Editorial Policies. We're committed to providing you with well-researched, expert-backed insights for all your informational needs.


0 thoughts on “How To Repair Antique Picture Frames”