
Articles
How To Distress Picture Frames
Modified: August 30, 2024
Learn how to distress picture frames with this collection of articles. Discover various techniques and tips to achieve a beautifully aged and rustic look.
(Many of the links in this article redirect to a specific reviewed product. Your purchase of these products through affiliate links helps to generate commission for Storables.com, at no extra cost. Learn more)
Introduction
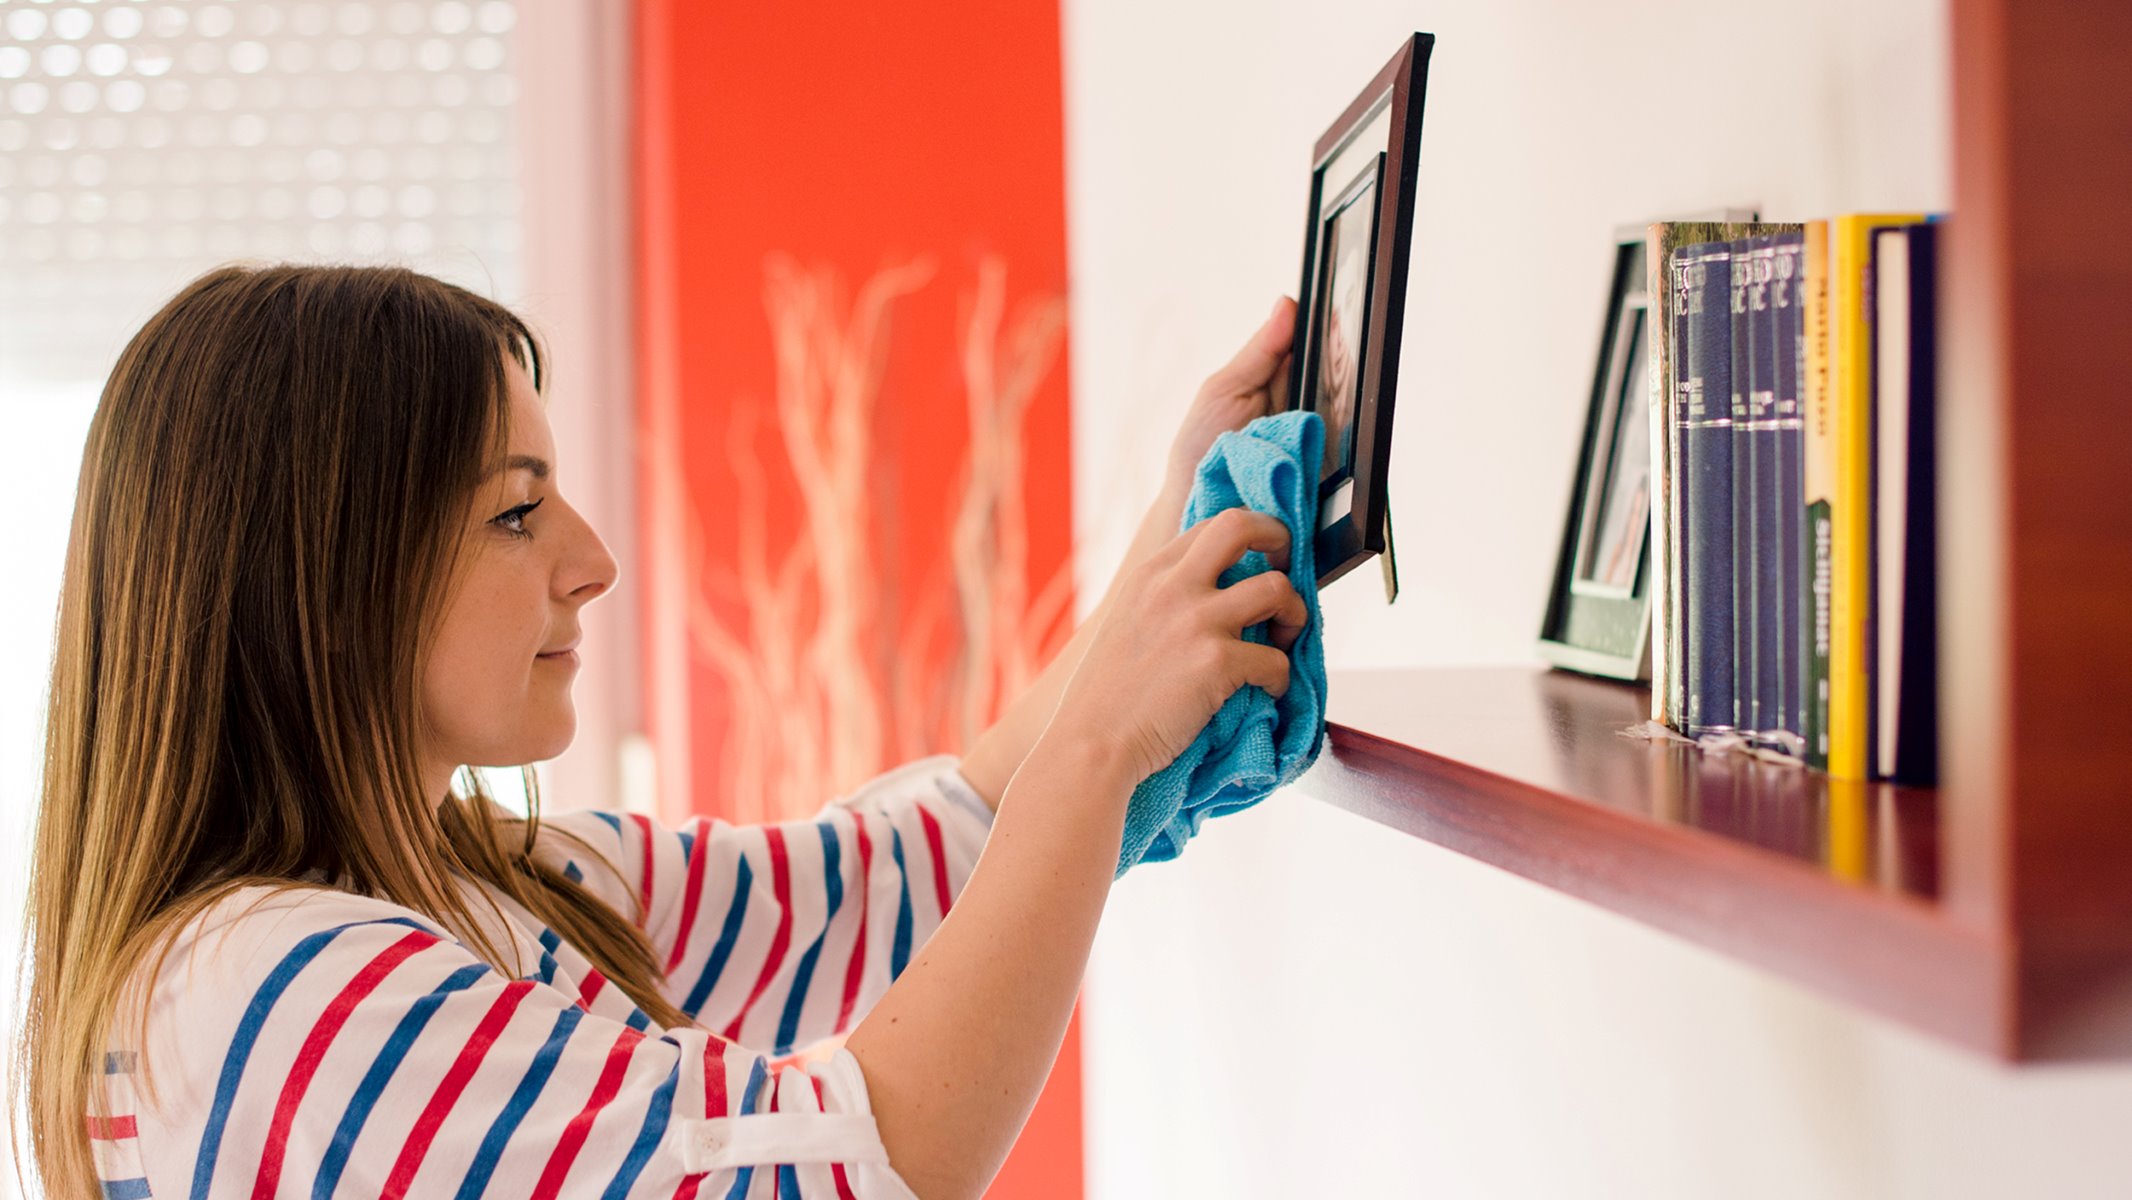
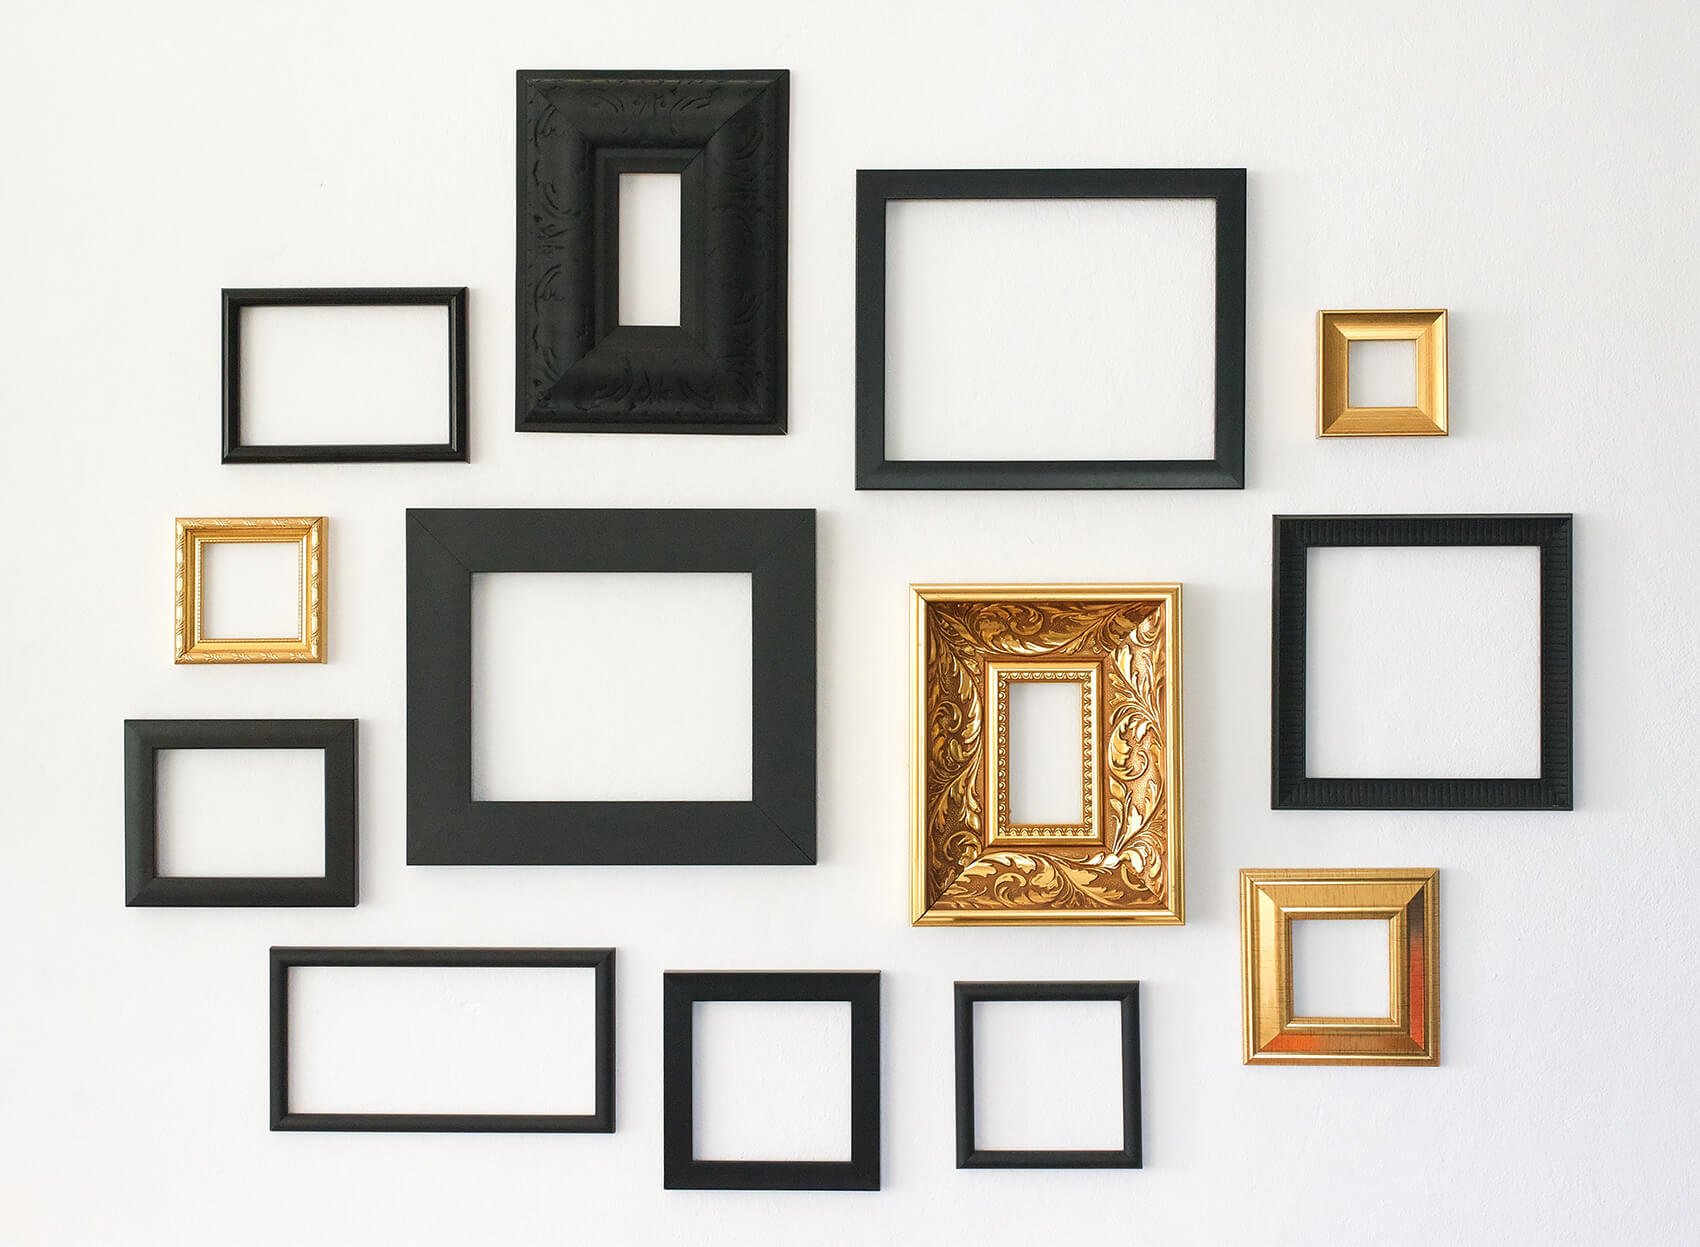
Distressed picture frames add a unique and charming touch to any space. They not only lend a rustic and vintage vibe but also create a sense of depth and character. Whether you want to showcase your cherished memories or display your favorite artwork, distressing picture frames can elevate the overall aesthetic appeal.
Contrary to popular belief, distressing picture frames is not a difficult task. With just a few simple steps and some basic materials, you can easily achieve that perfectly worn and weathered look. In this article, we will guide you through the process of distressing picture frames, enabling you to unleash your creativity and add a personal touch to your home decor.
Before we get started, let’s gather the materials needed for this project.
Key Takeaways:
- Transform plain picture frames into unique, captivating pieces of art with a few simple steps and basic materials, adding vintage charm and personality to your home decor.
- Unleash your creativity and enjoy the process of distressing picture frames, from gathering supplies to sealing the final result, creating beautifully worn and weathered frames that add depth and character to any space.
Read more: How To Store Picture Frames
Materials Needed
To distress picture frames, you will need the following materials:
- Picture frame(s): Choose frames made of wood or composite materials as they are the easiest to distress.
- Sandpaper: Opt for a variety of grits such as 80, 120, and 220 for different levels of distressing.
- Paint or stain: Select a color that complements your overall decor theme and desired distressed look.
- Paintbrushes: Have a few different sizes to ensure smooth application of paint or stain.
- Old rags or sponges: These will be used to apply and remove paint or stain.
- Optional: Distressing tools like screwdrivers, chains, and hammers to create additional distressed effects.
- Sealant: A clear sealant or wax to protect the finish and add durability to the frame.
- Drop cloth or newspaper: Use these to protect your workspace from debris and paint.
- Protective gear: It’s always a good idea to wear gloves, safety goggles, and a mask to protect yourself while sanding and working with paint or stain.
Now that you have gathered all the necessary materials, it’s time to move on to the next step!
Step 1: Gather Your Supplies
The first step in distressing picture frames is to gather all the necessary supplies. Make sure you have everything you need before you start the project to ensure a smooth and efficient process.
Take inventory of your materials and double-check that you have the right type and size of picture frames. Wooden or composite frames work best for distressing as they are more forgiving and have a natural rustic appeal.
Next, gather your sandpaper in different grits. A variety of grits such as 80, 120, and 220 will allow you to achieve different levels of distressing. Start with a rougher grit and gradually move to finer grits for a smoother finish.
Choose the paint or stain color that matches your desired distressed look. Consider the overall theme and color scheme of the room where you plan to display the picture frames. Whether you prefer a vintage white look or a more rustic stained appearance, select the paint or stain accordingly.
Make sure you have a range of paintbrushes in different sizes to accommodate various areas of the frames. Smaller brushes are useful for intricate details, while larger brushes work well for larger flat surfaces.
Don’t forget to gather old rags or sponges for applying and removing the paint or stain. These will help you achieve the desired distressed effect by allowing you to wipe away excess paint or create texture.
If you want to experiment with additional distressing techniques, have some distressing tools like screwdrivers, chains, or hammers on hand. These can be used to create dents, scratches, or other distressed effects.
Lastly, make sure you have a clear sealant or wax to protect the finish and add durability to the frames. This step is crucial to ensure that your distressed look lasts for a long time.
Once you have gathered all the necessary supplies, you are ready to move on to preparing the picture frames for distressing.
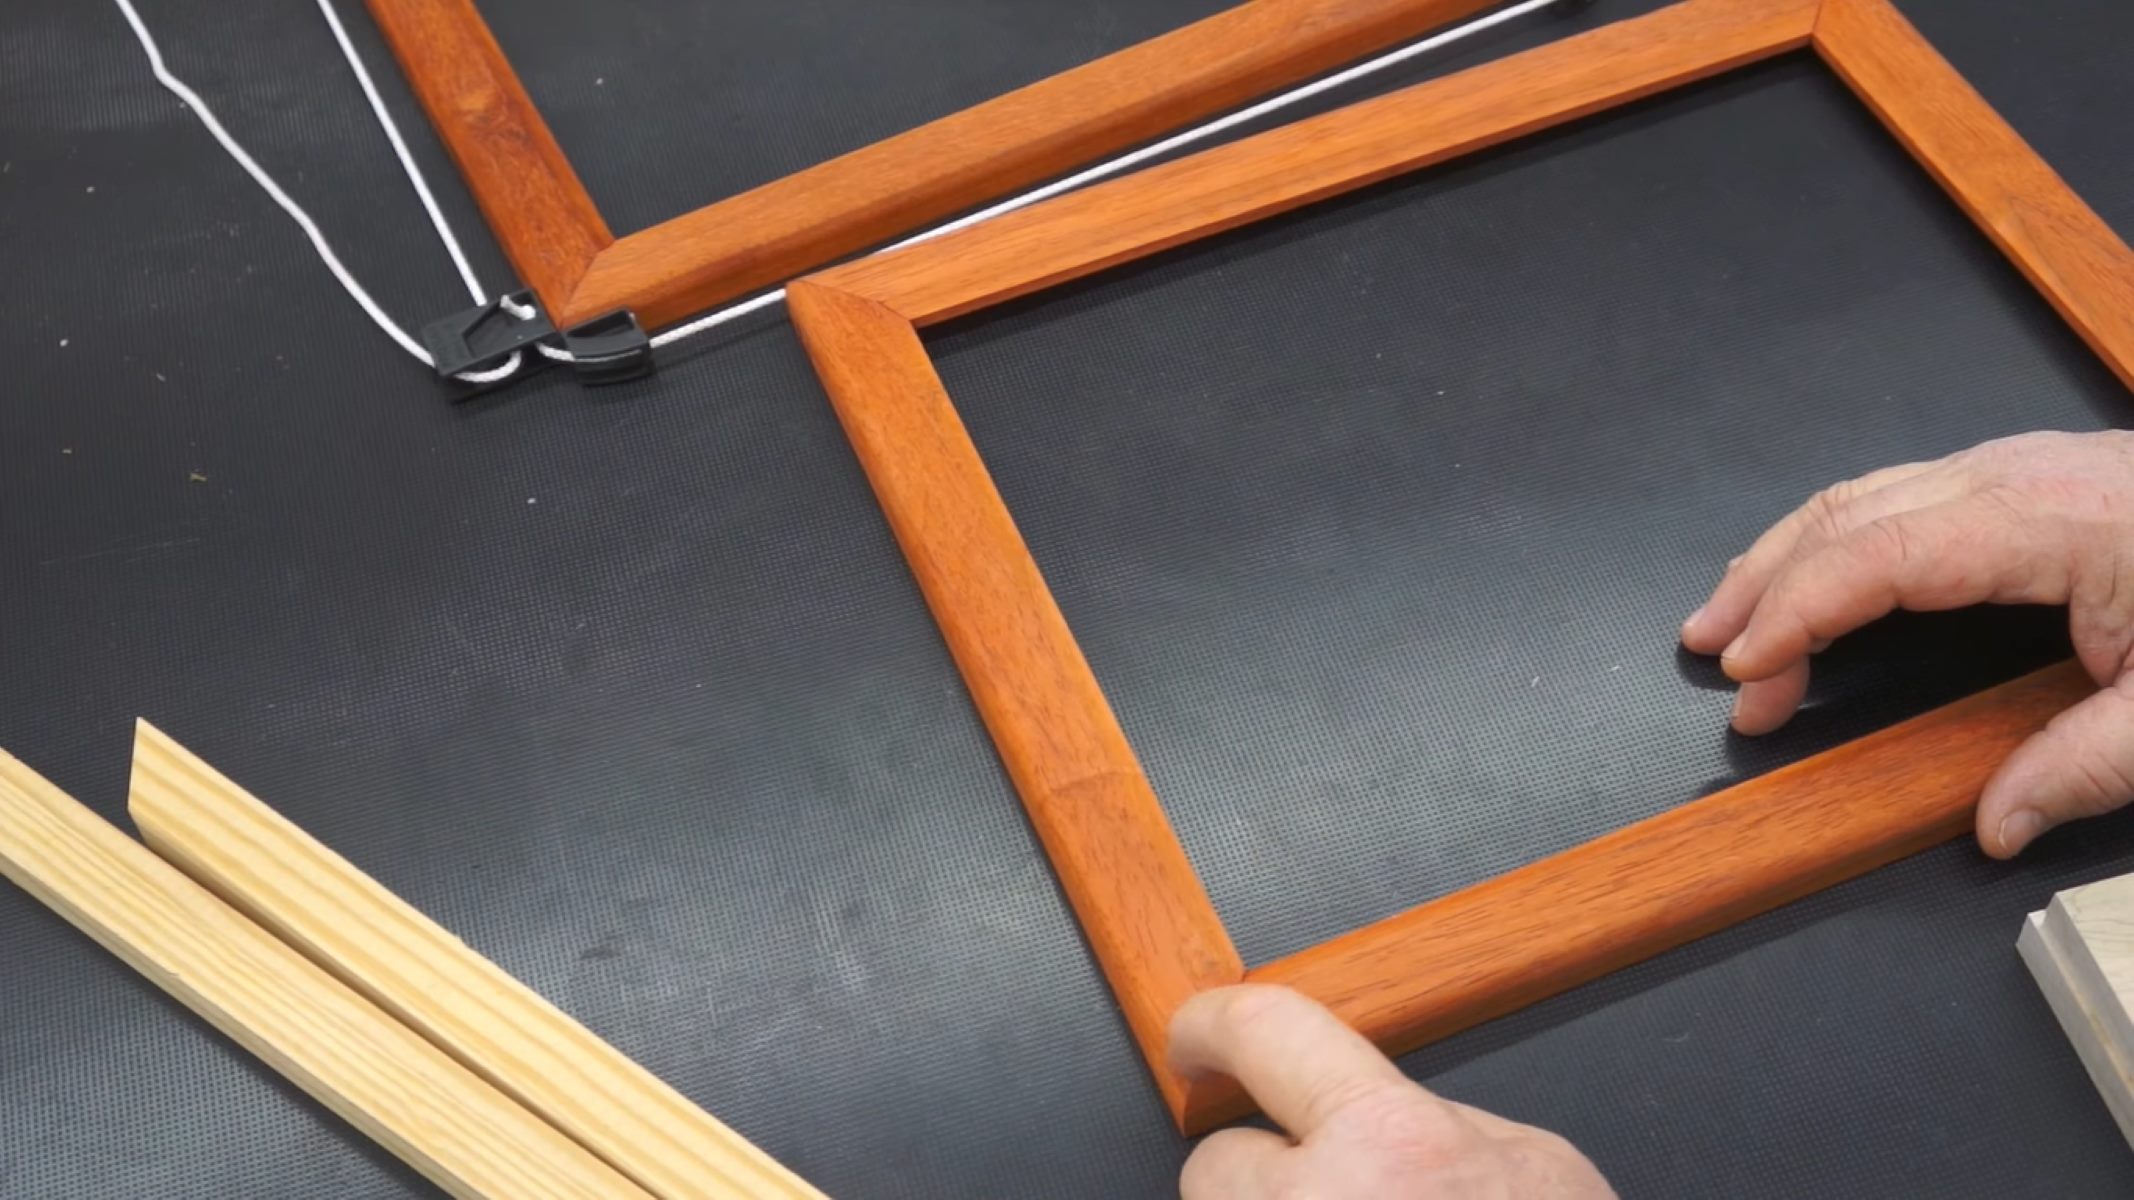
Step 2: Prepare the Picture Frame
Before you begin distressing the picture frame, it is important to properly prepare it to ensure the best possible results. Preparing the frame involves removing any existing hardware, such as glass and backing, as well as addressing any imperfections that might affect the distressing process.
Start by carefully removing the glass and backing from the frame. This will allow you to work on the frame itself without the risk of damaging these components. Make sure to set them aside in a safe place to avoid any accidental breakage.
Inspect the frame for any holes, cracks, or other imperfections that might affect the distressed look. If you come across any, use wood filler or putty to fill them in. Once the filler has dried, sand the area lightly to ensure a smooth and even surface.
If the frame has a glossy or sealed finish, it is important to roughen the surface to facilitate better paint or stain adhesion. Use a medium-grit sandpaper, such as 120, and sand the entire frame gently. This will create a slightly textured surface and help the distressing techniques to adhere better.
After sanding, wipe down the frame with a clean, dry cloth to remove any dust or debris. This step is crucial to ensure a clean surface for painting or staining. Remember to pay attention to any intricate or hard-to-reach areas, ensuring they are free from dust particles.
Once the frame is clean and dry, it is now ready for the distressing process. By adequately preparing the picture frame, you set the foundation for a successful distressing endeavor and ensure that the final result is both visually pleasing and durable.
With the frame prepared, it’s time to move on to the next step: sanding the surface.
Step 3: Sand the Surface
Now that the picture frame is prepared, it’s time to start distressing the surface. Sanding is a crucial step in achieving an authentic distressed look by removing some of the existing finish and creating a worn appearance.
Start by using a coarse-grit sandpaper, such as 80, to roughen the surface of the frame. Use even and consistent strokes, applying gentle pressure to remove the existing finish. Pay attention to corners, edges, and any ornate details on the frame. This will ensure that the distressed look is evenly distributed throughout the frame.
As you sand, be mindful of the amount of pressure you apply. The goal is to gradually remove the top layer of the finish, not to completely strip it off. Sanding too aggressively may damage the frame or create an unnatural effect.
After using the coarse-grit sandpaper, switch to a finer-grit sandpaper, such as 120 or 220. This will help smooth out any rough areas and create a more polished distressed look.
While sanding, it’s important to pay attention to the details and follow the natural grain of the wood. This will create a more authentic and visually pleasing distressed effect.
Throughout the sanding process, periodically wipe away any dust or debris using a clean, dry cloth. This will help you better assess the progress and prevent dust particles from interfering with the painting or staining that will come in the next steps.
Once you are satisfied with the level of distressing achieved, give the frame a final wipe-down using a slightly damp cloth to remove any remaining sanding residue. Allow the frame to dry completely before moving on to the next steps.
By sanding the surface, you have successfully created a textured and worn appearance on the picture frame. Now it’s time to move on to the next step: creating distressed areas.
When distressing picture frames, use sandpaper to gently rub the edges and corners to create a worn look. You can also use a hammer or screwdriver to create small dents and scratches for a more rustic appearance.
Read more: How To Travel With Picture Frames
Step 4: Create Distressed Areas
Creating distressed areas on the picture frame adds character and enhances the overall vintage look. This step involves strategically removing or altering the paint or stain to simulate natural wear and tear.
There are several techniques you can use to create distressed areas:
- Use a screwdriver or the edge of a hammer to lightly scrape along the edges and corners of the frame. This mimics the effects of regular use and exposes the underlying wood or previous layers of finish.
- Take a chain and gently tap it against the frame to create small dents and dings. Be cautious not to dent the frame too deeply or create any structural damage.
- Use sandpaper to selectively remove paint or stain in specific areas. Focus on areas that naturally experience more wear, such as around the corners, edges, and high-touch areas.
- Experiment with other distressing tools like wire brushes or even a fork to create unique textures and patterns.
When distressing, keep in mind that less is often more. Start with subtle distressing techniques and gradually build up to achieve your desired look. You can always add more distressing, but it may be more challenging to remove excessive distressing once done.
Step back occasionally and assess the distressed areas to ensure they are evenly distributed and create a natural, worn appearance. Don’t be afraid to experiment and adjust as you go along, as every picture frame and desired distressed look will be unique.
Once you are satisfied with the distressed areas you have created, it’s time to move on to step 5: applying paint or stain.
Step 5: Apply Paint or Stain
Applying paint or stain is a crucial step in distressing picture frames, as it adds color and depth to the distressed areas. The choice between paint and stain depends on the desired finish and the overall aesthetic you want to achieve.
If you prefer a solid color with opaque coverage, paint is the best option. Select a paint color that complements your decor and desired distressed look. For a vintage or shabby chic vibe, whites, creams, and pastels are popular choices. Use a paintbrush to apply an even layer of paint, making sure to cover all the distressed areas.
If you prefer a more natural and transparent finish that allows the wood grain to show through, stain is the way to go. Stains come in various shades, from light to dark, and can add warmth and richness to the distressed areas. Apply the stain using a clean cloth or brush, following the manufacturer’s instructions for best results.
Whichever option you choose, it’s important to apply the paint or stain with a light hand, allowing some of the distressing to show through. This will create a more authentic and aged appearance.
As you apply the paint or stain, periodically step back and assess the appearance. Consider whether you need to add more layers for a more opaque effect or if you are happy with the current coverage. Remember, distressing is about creating a worn and weathered look, so a little imperfection is part of the charm.
Once the paint or stain has dried, assess the overall effect. If you feel that the distressed areas are not visible enough, you can gently sand over them to reveal more of the underlying wood or previous layers of finish. This will further enhance the distressed look.
With the paint or stain applied, the distressed picture frame is starting to take shape. However, there are a few more steps to complete to truly bring out the distressed appearance. In the next step, we will explore additional distressing techniques to add texture and character to the frame.
Step 6: Add Additional Distressing Techniques
In order to elevate the distressed look of your picture frame, you can incorporate additional distressing techniques to create more texture and character. These techniques can further enhance the vintage and worn appearance of the frame.
Here are a few additional distressing techniques you can try:
- Using a small brush or sponge, lightly dab on a contrasting color of paint over the distressed areas. This technique, called dry brushing, adds depth and highlights the texture.
- Apply a crackle medium over the painted frame, following the manufacturer’s instructions. This will create the appearance of aged and cracked paint, adding an antique touch.
- Take a fine-grit sandpaper and gently sand over the painted or stained frame in random areas. This will create a worn and weathered effect, revealing hints of the wood or previous layers of finish.
- Use a candle or a paraffin wax block and rub it along the edges and corners of the frame before applying the final coat of paint or stain. This will create areas where the paint or stain will resist, revealing a distressed effect when wiped or sanded.
- Experiment with distressing tools like a dry brush, sponge, or cloth to create unique patterns and textures. Lightly dab or drag the tool over the frame, focusing on areas where wear and tear would naturally occur.
Remember, the key to achieving a natural distressed look is to apply these techniques sparingly and selectively. Less is often more, so step back and assess the frame after each additional distressing technique to avoid overdoing it.
Once you are satisfied with the additional distressing techniques, and the frame has dried completely, it’s time to move on to the final step: sealing the frame.
Step 7: Seal the Frame
Sealing the distressed picture frame is an essential final step to protect the finish and ensure its longevity. The sealant adds a layer of durability and helps preserve the distressed look for years to come.
Start by ensuring that the frame is clean and free from any dust or debris. Use a clean, dry cloth to wipe away any particles that may have accumulated during the distressing process.
Choose a clear sealant or wax that is suitable for the type of paint or stain you used on the frame. Follow the manufacturer’s instructions for application, as different sealants may require specific techniques.
Using a brush or cloth, apply the sealant evenly over the entire frame, ensuring that all areas are covered. Pay special attention to the distressed areas, as they are more prone to wear and may require an extra layer of protection.
Allow the sealant to dry completely according to the manufacturer’s instructions. This will usually take several hours or longer, depending on the product used.
Once the sealant has dried, inspect the frame for any uneven or missed spots. If necessary, apply an additional layer of sealant to ensure complete coverage and protection.
After the final coat of sealant is dry, gently buff the frame with a clean cloth to remove any excess or residue and to achieve a smooth finish.
With the frame properly sealed, it is now ready to be displayed and enjoyed. The sealant will help protect the distressed finish from moisture, dust, and general wear and tear, ensuring its longevity.
Congratulations! You have successfully distressed your picture frame and created a vintage, weathered look. Now you can proudly showcase your cherished memories or favorite artwork in a frame that adds charm and character to your space.
Remember, the distressing process is flexible, and you can always customize it to suit your personal style and preferences. Let your creativity shine through as you experiment with different colors, techniques, and levels of distressing to achieve the perfect look for your picture frames.
Enjoy the process of distressing and have fun giving new life to your picture frames!
Note: When working with paint, stain, sealant, or any other materials, always follow proper safety precautions and work in a well-ventilated area.
Thank you for following along with our step-by-step guide on how to distress picture frames. We hope you found this article helpful and inspiring!
Read more: How To Dispose Of Picture Frames
Conclusion
Distressing picture frames is a creative and rewarding process that allows you to add a touch of vintage charm and personality to your home decor. With just a few simple steps and some basic materials, you can transform plain picture frames into unique and captivating pieces of art.
Throughout this article, we have guided you through the process of distressing picture frames, from gathering the necessary supplies to sealing the final result. By following these steps, you can achieve a beautifully worn and weathered appearance that adds depth and character to any space.
Remember, distressing picture frames is a flexible and personal process. Don’t be afraid to experiment with different distressing techniques, colors, and levels of distress to achieve your desired look. Each frame will have its own unique character and story.
As you embark on your distressing journey, keep in mind the importance of proper preparation, including gathering your supplies and preparing the frame’s surface. Take your time with each step, assessing the progress and adjusting as needed to achieve the desired distressed effect.
Sealing the frame at the end of the process is crucial to protect the distressed finish and ensure its longevity. The sealant adds durability and preserves the vintage look for years to come.
Now that you have the knowledge and steps to distress picture frames, unleash your creativity and enjoy the process of transforming ordinary frames into extraordinary works of art. Embark on this journey of creativity and watch your space come alive with the charm and character of distressed picture frames.
Thank you for joining us in this comprehensive guide on how to distress picture frames. We hope you found it informative and inspiring. Happy distressing!
Frequently Asked Questions about How To Distress Picture Frames
Was this page helpful?
At Storables.com, we guarantee accurate and reliable information. Our content, validated by Expert Board Contributors, is crafted following stringent Editorial Policies. We're committed to providing you with well-researched, expert-backed insights for all your informational needs.


0 thoughts on “How To Distress Picture Frames”