Articles
How To Decorate Picture Frames
Modified: October 28, 2024
Discover expert articles on how to decorate picture frames and transform them into beautiful pieces of art. Get inspired and unleash your creativity today!
(Many of the links in this article redirect to a specific reviewed product. Your purchase of these products through affiliate links helps to generate commission for Storables.com, at no extra cost. Learn more)
Introduction
Welcome to this comprehensive guide on how to decorate picture frames! Picture frames not only serve as a way to display cherished memories and artwork, but they can also be a creative expression of your personal style. Whether you want to revamp an old frame or personalize a new one, this article will provide you with all the information you need to transform your ordinary frames into stunning pieces of art.
Decorating picture frames is a fantastic way to add visual interest and personality to your home or office space. By customizing the frames to match your decor or the theme of the photos or artwork they hold, you can create a cohesive and aesthetically pleasing display. Whether you prefer a sleek and modern look, a vintage and rustic feel, or something completely unique, there are countless ways to decorate your picture frames to suit your style.
In the following sections, we will explore various aspects of decorating picture frames, including selecting the right frame, preparing it for decoration, applying paint or stain, and embellishing it with additional elements. We will also discuss different ways to display your decorated frames, such as hanging them on the wall, placing them on shelves or mantels, or even creating a collage frame.
So, whether you’re a seasoned DIY enthusiast or a beginner in the world of crafts, this guide will provide you with all the necessary steps and creative ideas to transform your picture frames into unique and eye-catching pieces. Let’s get started on this exciting journey of picture frame decoration!
Key Takeaways:
- Transform ordinary picture frames into personalized works of art by selecting the right frame, preparing the surface, applying paint or stain, and adding embellishments. Let your creativity shine and enhance your space with unique and eye-catching displays.
- Create captivating displays by arranging decorated picture frames on walls, shelves, or mantels. Experiment with gallery walls, layered arrangements, and color coordination to showcase your creativity and add charm to your home decor.
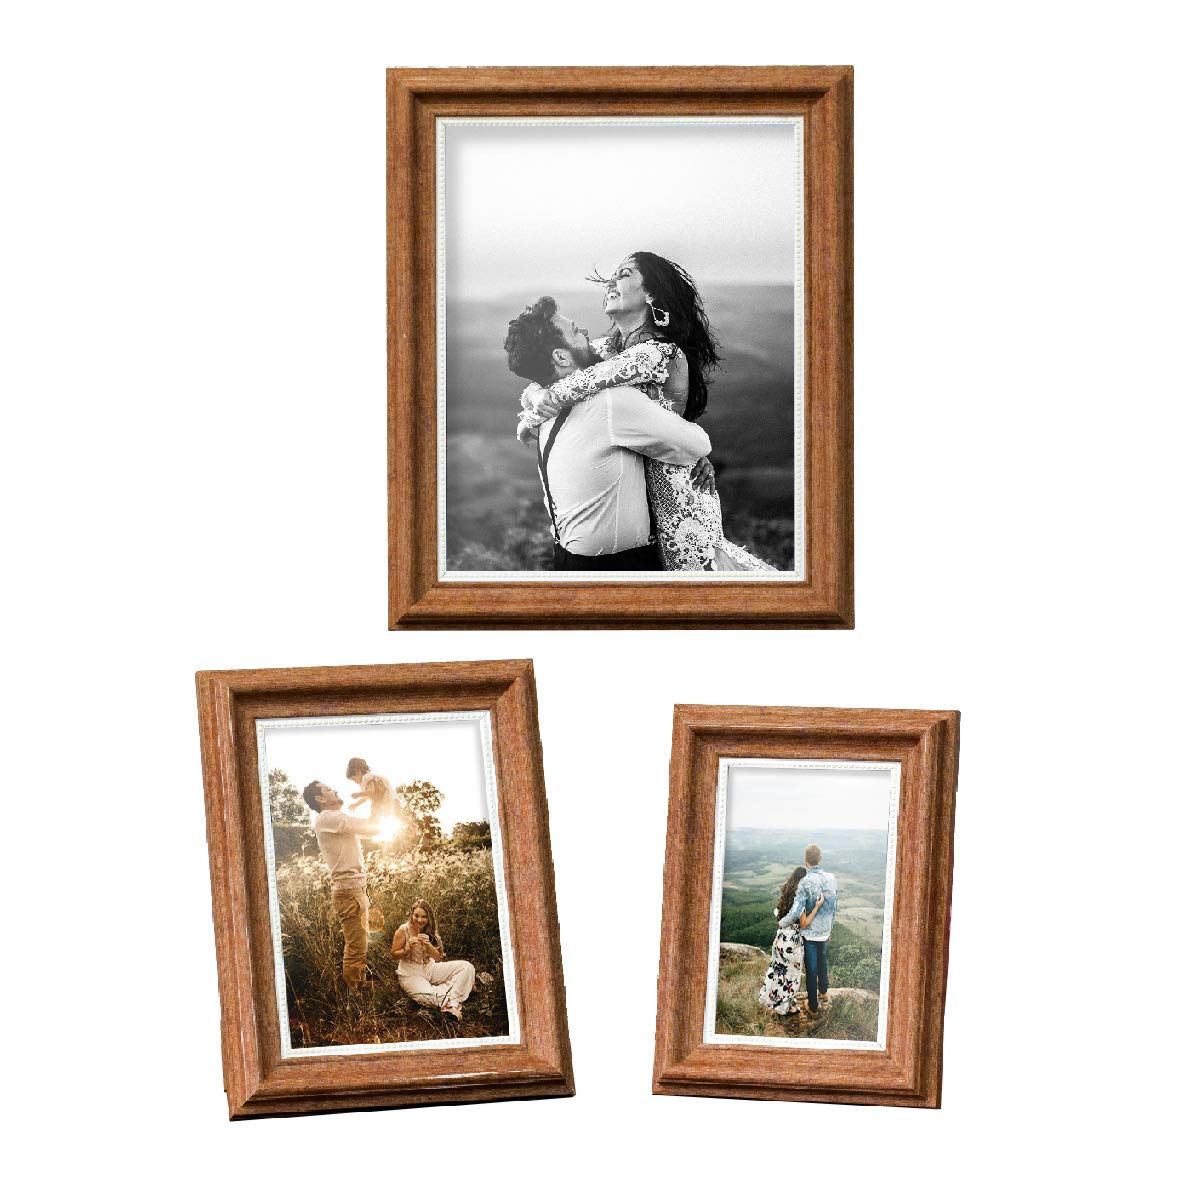
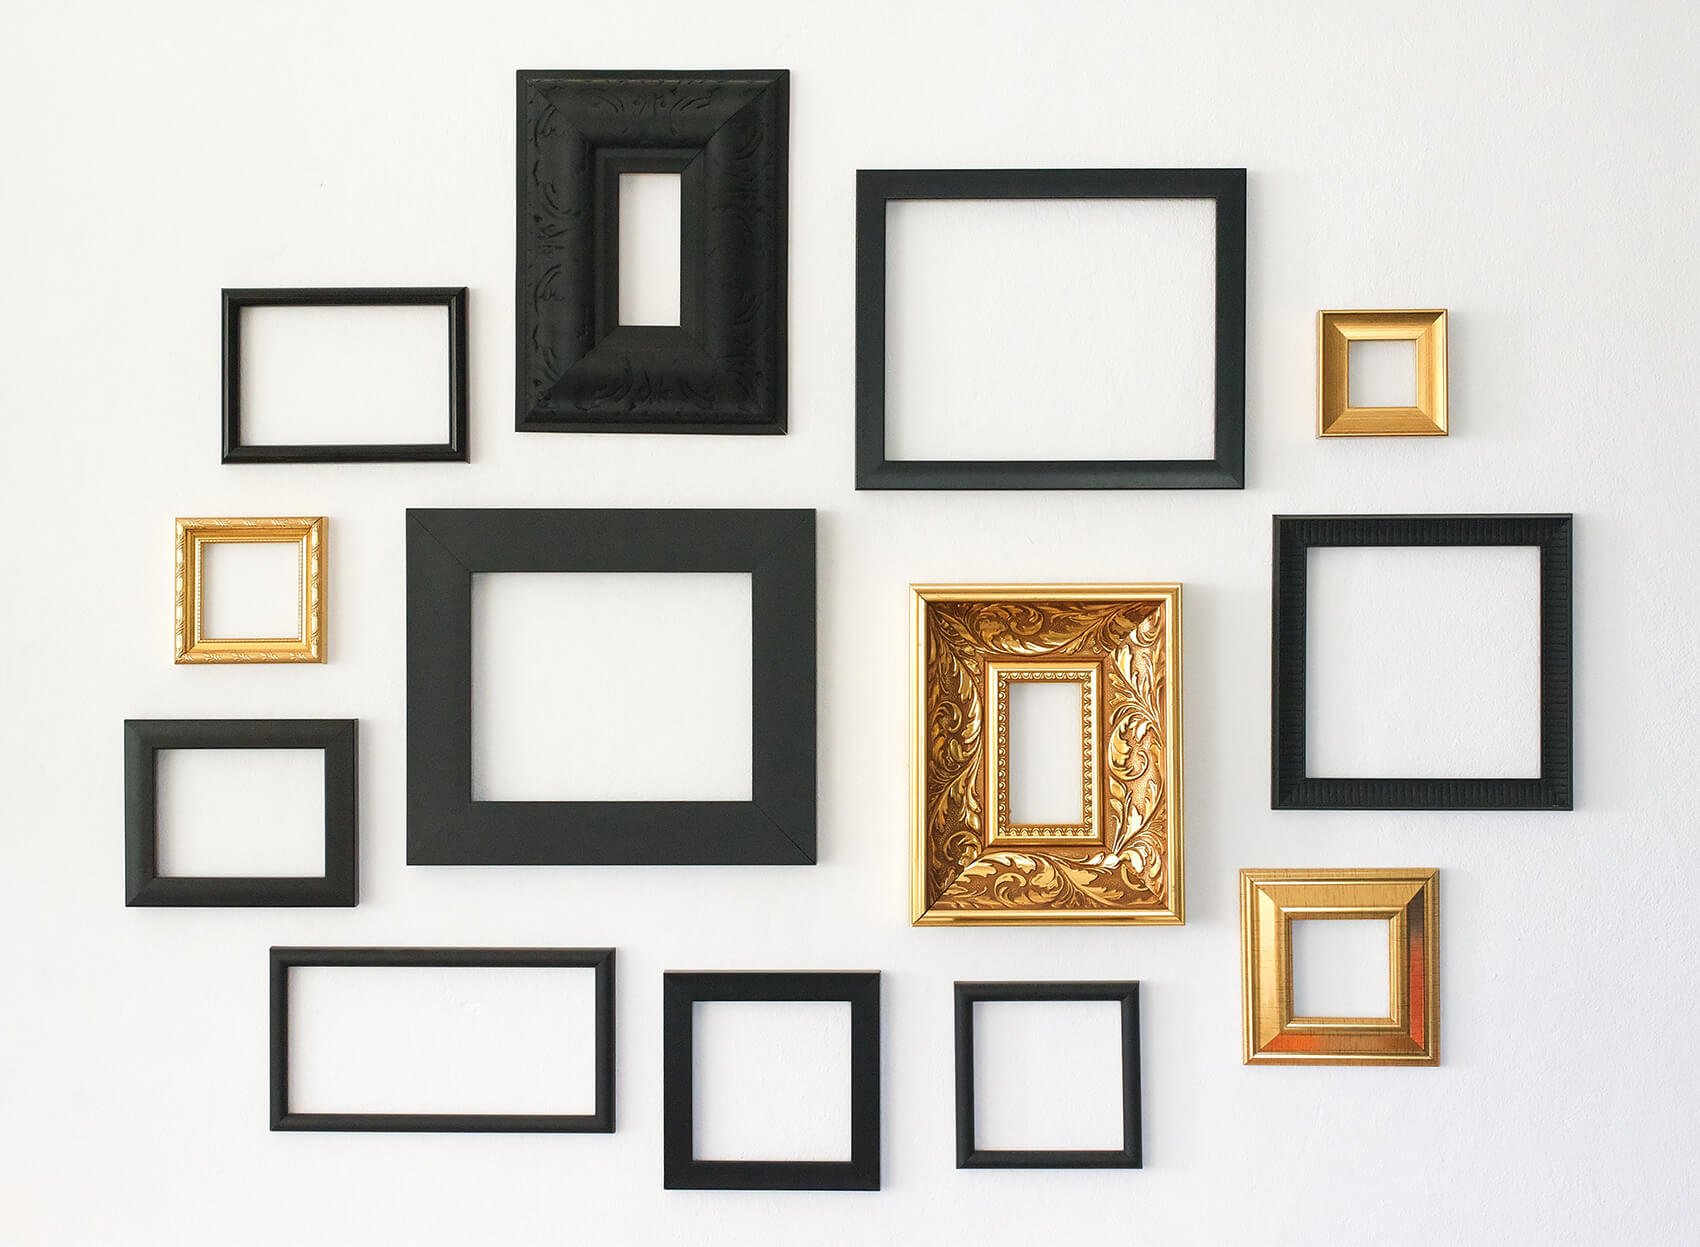
Selecting Picture Frames
Before diving into the process of decorating picture frames, it’s important to start with a frame that suits your needs and style. When selecting picture frames, there are a few key factors to consider.
First, think about the purpose of the frame. Are you looking to display a family portrait, a piece of artwork, or a collection of photos? The type of content you plan to showcase will influence the size and style of the frame you choose.
Next, consider the location where the frame will be displayed. Take into account the existing decor, color scheme, and theme of the room. By selecting a frame that complements the surroundings, you can create a harmonious and visually pleasing display.
When it comes to selecting the frame size, consider the size of the artwork or photo you want to display. The frame should provide a proportionate border around the content, enhancing its visual impact. Keep in mind that larger frames generally work better for larger spaces, while smaller frames are ideal for more intimate areas or desks.
Additionally, think about the orientation of the frame. Will it be displayed in portrait or landscape mode? Some frames are designed to accommodate both orientations, providing flexibility to showcase different types of artwork or photography.
Material is another important consideration when selecting picture frames. Common options include wood, metal, plastic, and even eco-friendly materials. Each material has its own unique aesthetic appeal and durability, so choose one that aligns with your preferences.
Lastly, don’t forget to factor in your budget. Picture frames can vary in price depending on the material, design, and brand. Set a budget that you’re comfortable with and explore options within that range.
By taking into account the purpose, location, size, orientation, material, and budget, you can choose picture frames that serve as a solid foundation for your decorating endeavors. Once you have selected the perfect frames, it’s time to move on to the exciting phase of personalizing and beautifying them!
Choosing the Right Size
When it comes to picture frames, size matters. The size of the frame plays a crucial role in how your photos, artwork, or memorabilia are displayed and perceived. Choosing the right size frame is essential to create a visually appealing and balanced composition. Here are some tips to help you select the perfect size for your picture frames:
- Consider the Content: The first step in choosing the right frame size is to consider the content you want to display. Measure the dimensions of the photo, artwork, or item you intend to frame. This will serve as the basis for selecting a frame that provides an appropriate border or matting around the content.
- Keep Proportions in Mind: The overall proportions of the frame should be in harmony with the content. For example, if you have a large photo or artwork, a chunky or wide frame will help anchor and enhance the visual impact. On the other hand, smaller frames work well for delicate items or when creating a gallery wall with multiple pieces.
- Consider the Display Location: The space where you plan to hang or display the frame can influence the size. In a small room or a tight gallery arrangement, using smaller frames will prevent the display from overwhelming the space. For larger rooms or focal points, bigger frames can create a bold and eye-catching statement.
- Think About Aspect Ratio: The aspect ratio of the frame refers to the relationship between the width and height. It’s important to choose a frame with the same aspect ratio as the content you want to display. If the aspect ratios don’t match, you may need to use matting or cropping to achieve a harmonious composition.
- Consider the Surroundings: Take into account the surrounding elements and decor in the room where the frames will be displayed. The frames should be in proportion to the furniture, wall space, and other decorative items. If you’re matching multiple frames together, ensure that they are of similar sizes or create a deliberate size variation for added visual interest.
Remember, there are no hard and fast rules when it comes to choosing the right frame size. It ultimately depends on your personal preference, the content you want to display, and the visual effect you want to achieve. Experiment with different sizes, create mock-ups or templates, and visualize how the frames will look on your walls or surfaces before making a final decision.
Choosing the right size for your picture frames is an essential step towards achieving a visually appealing and professional-looking display. So, take your time, consider the factors mentioned above, and enjoy the process of finding the perfect frame size for your treasured memories and artwork!
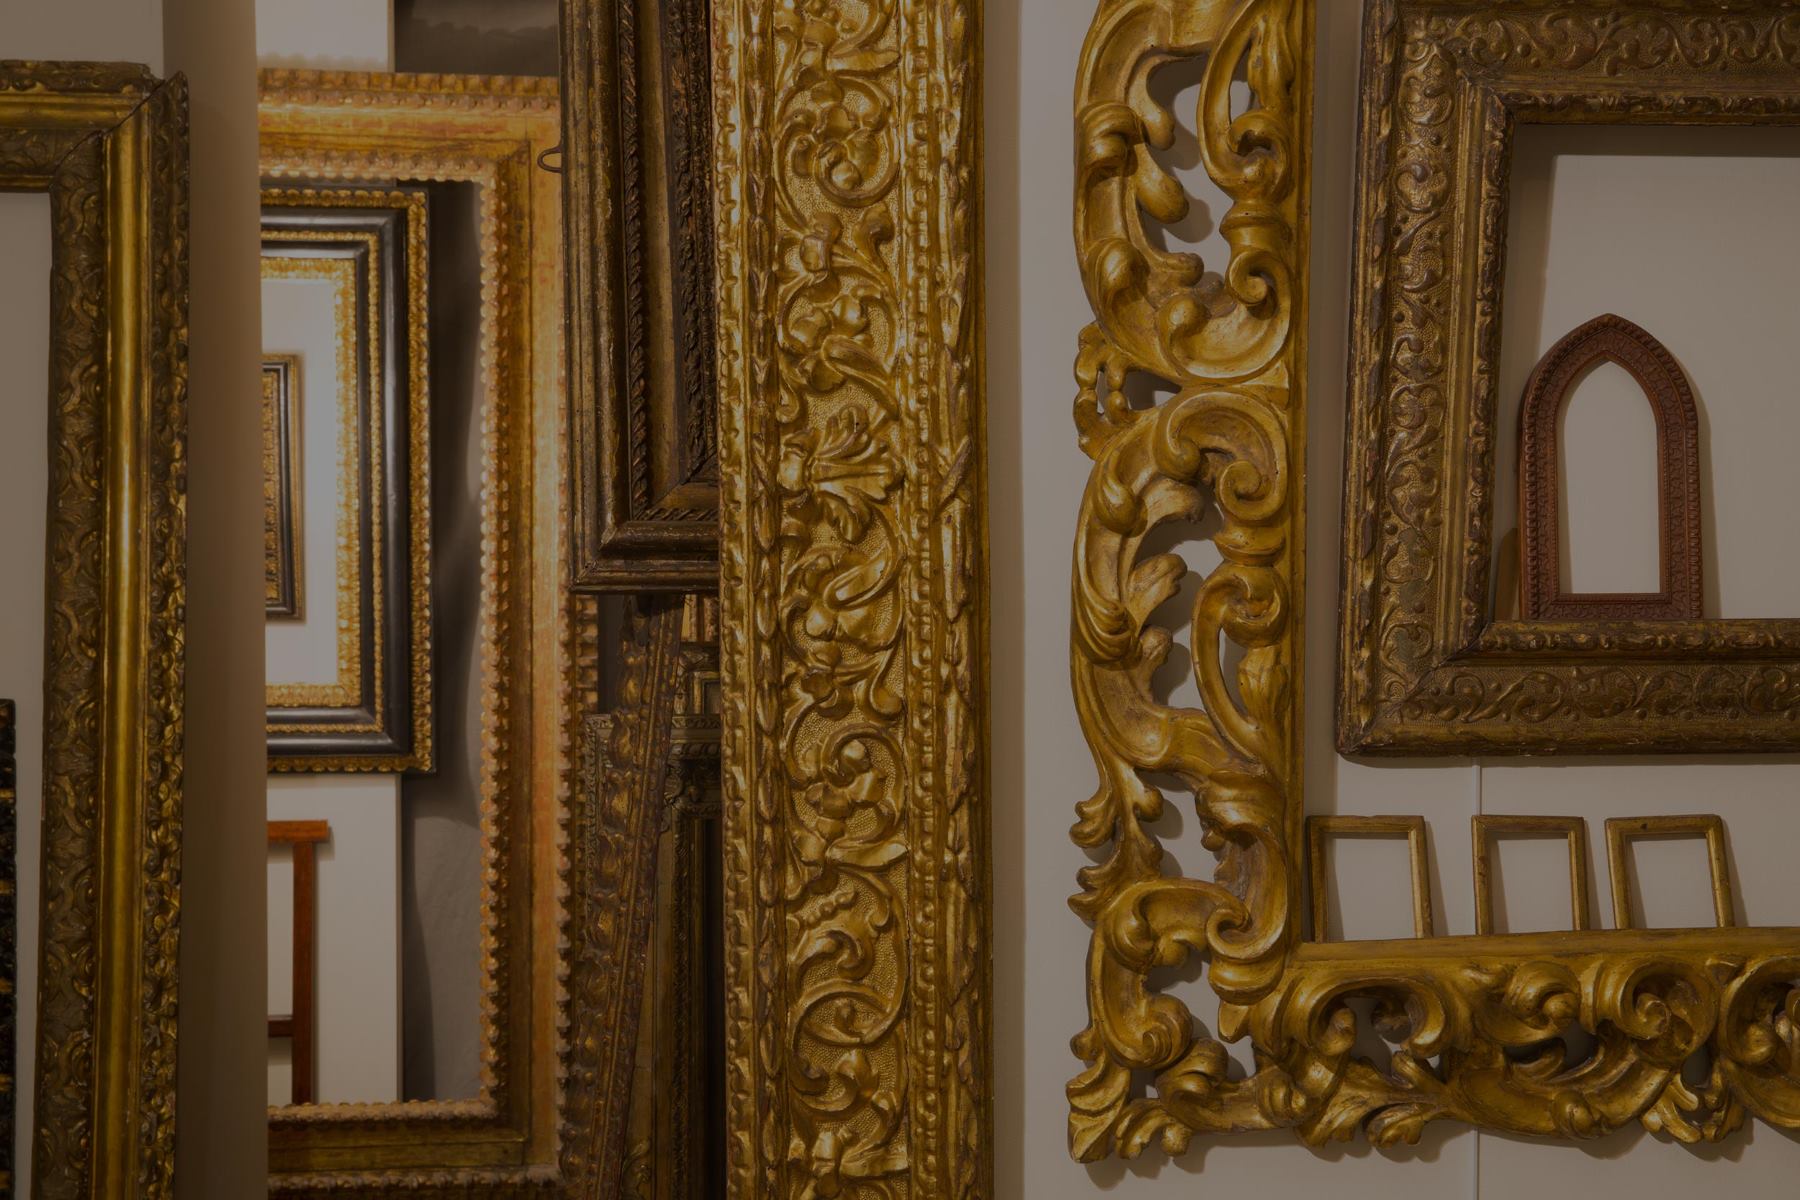
Picking the Frame Material
When it comes to decorating picture frames, the choice of frame material can have a significant impact on the overall aesthetic and durability. There are several common frame materials to choose from, each with its own unique qualities and characteristics. Here are some popular frame materials to consider:
- Wood: Wood frames are a classic choice for picture frames. They offer a natural and timeless look that complements a wide range of interior styles and decor. Wood frames can be made from various types of wood, such as oak, pine, walnut, or cherry, each with its own grain pattern and color variations. Wood frames can be left untreated for a rustic appearance or painted and stained to match your desired aesthetic.
- Metal: Metal frames, typically made from aluminum or steel, are known for their sleek and modern appearance. They are lightweight yet durable, making them a popular choice for both residential and commercial spaces. Metal frames can be found in various finishes, including silver, gold, black, or even colorful options, allowing you to find the perfect match for your decor.
- Plastic: Plastic frames are an affordable and lightweight option. They come in a wide range of colors and styles, making it easy to find a frame that suits your preferences. While plastic frames may not have the same high-end appeal as wood or metal frames, they are a practical choice, especially for children’s rooms or areas prone to accidents.
- Eco-Friendly Materials: If you’re conscious about the environment, you may consider frames made from eco-friendly materials such as bamboo, recycled wood, or reclaimed materials. These frames offer a sustainable alternative to traditional frame materials, allowing you to showcase your photos or artwork without compromising your values.
When picking the frame material, it’s important to consider not only the visual appeal but also the level of protection and durability required for the content you want to display. For example, delicate artworks or valuable photographs may benefit from a frame material that offers UV protection and archival-grade materials to prevent fading or deterioration over time.
Additionally, think about the level of maintenance the frame material requires. Some materials, like wood, may need occasional polishing or refinishing to keep them looking their best, while others, like metal or plastic, are relatively low-maintenance.
Ultimately, the choice of frame material will depend on your personal style, the desired aesthetic, the content you want to display, and the budget you have in mind. Take the time to explore different options, visit frame stores, and compare the qualities of each material. This will help you make an informed decision and select the perfect frame material that enhances the beauty of your photos or artwork.
Considering the Frame Style
When it comes to decorating picture frames, choosing the right frame style is crucial in enhancing the overall presentation of your photos or artwork. The frame style you choose should not only complement the content but also harmonize with the surrounding decor and convey the desired aesthetic. Here are some popular frame styles to consider:
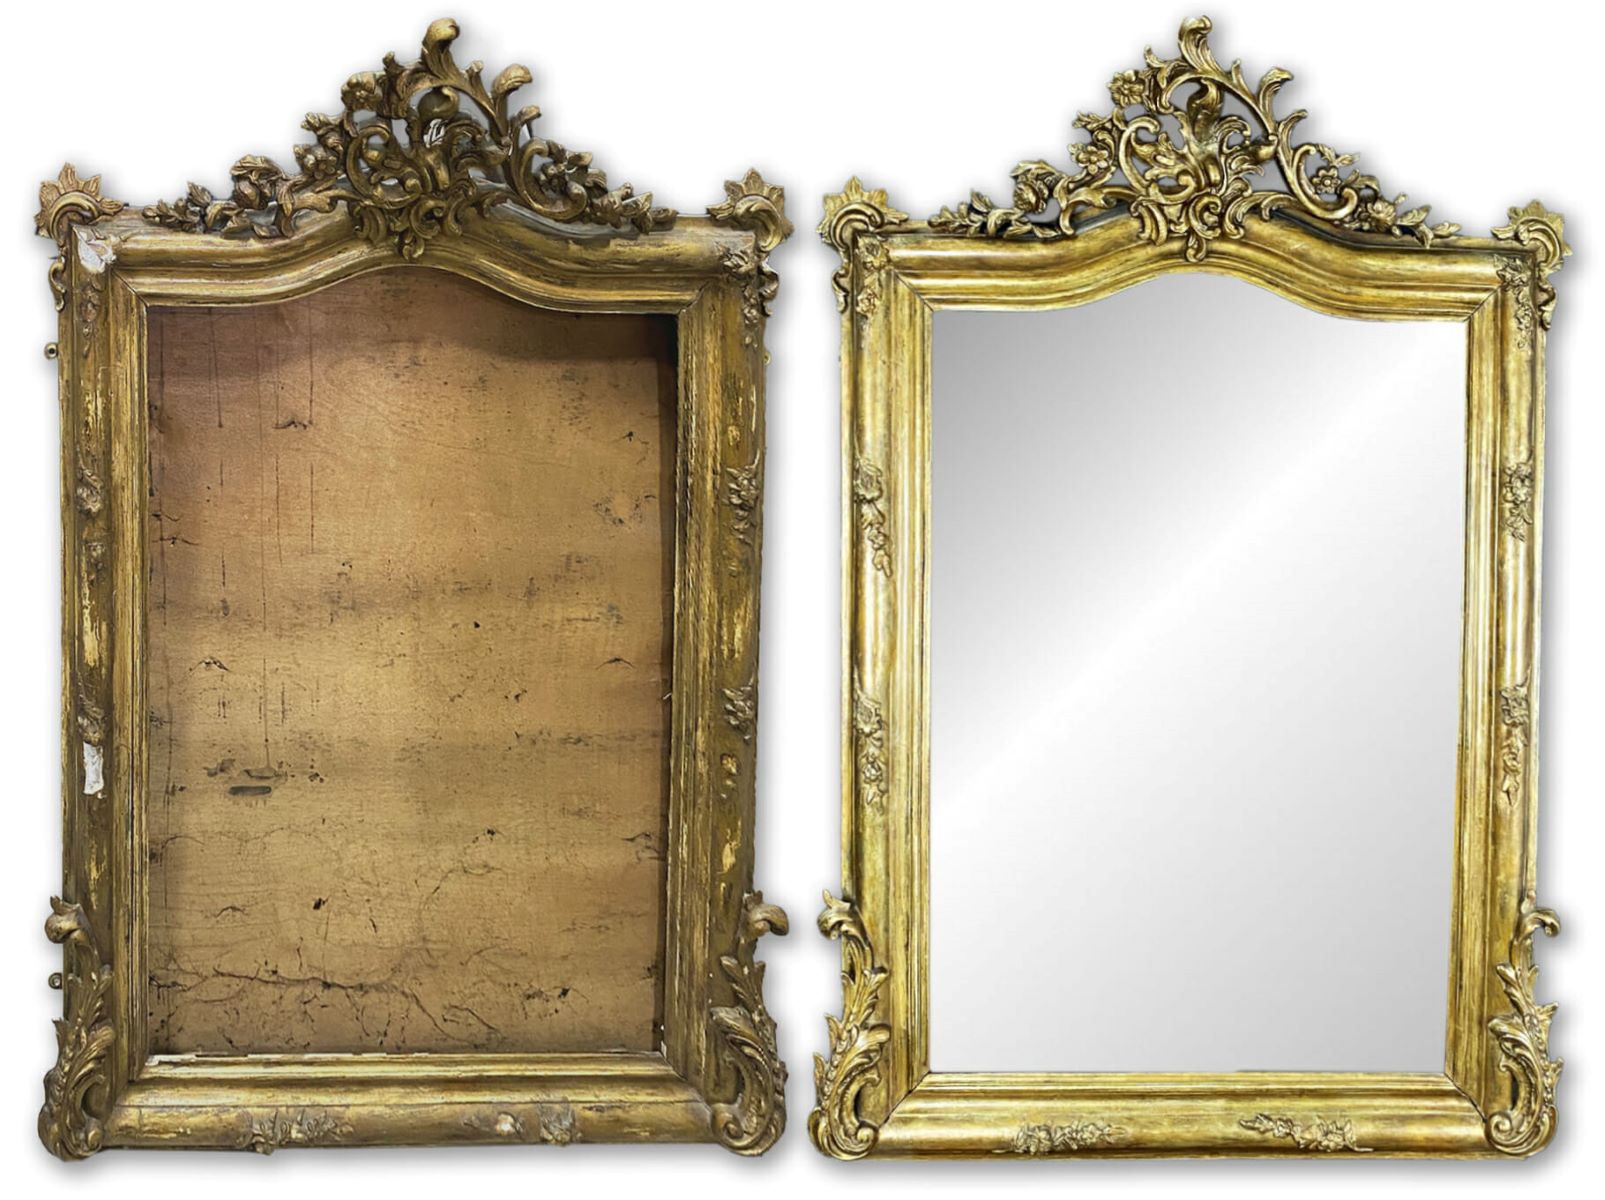
- Traditional: Traditional frames typically feature ornate detailing, intricate patterns, and decorative embellishments. They are often made from wood or metal and add a touch of elegance and sophistication to any space. Traditional frames work well in formal settings, classic interiors, or when displaying timeless or vintage photographs or artwork.
- Modern: Modern frames are characterized by clean lines, minimalist design, and a sleek appearance. They often feature simple geometric shapes, sharp angles, and metallic finishes. Modern frames are ideal for contemporary spaces, minimalistic interiors, or when showcasing modern artworks.
- Rustic: Rustic frames exude a warm and cozy charm with their distressed finishes, weathered textures, and natural elements. They are often made from reclaimed wood, showcasing its unique grain and imperfections. Rustic frames are perfect for farmhouse-style or eclectic spaces, adding a touch of nature and rustic appeal to your photos or artwork.
- Vintage: Vintage frames evoke a sense of nostalgia and timeless beauty. They often feature ornate details, antique finishes, and intricate carvings. Vintage frames work well with vintage photographs or artwork, as well as when creating a vintage-inspired gallery wall or collage.
- Contemporary: Contemporary frames embrace bold designs, innovative materials, and unconventional shapes. They can be sleek and minimalist or avant-garde and artistic. Contemporary frames are ideal for showcasing modern and abstract artworks or when adding a unique statement piece to your decor.
When considering the frame style, think about the overall theme or mood you want to convey. It’s essential to choose a frame style that complements the content rather than overpowering it. For example, if you have a delicate and intricate artwork, a simple and minimalist frame will allow the content to shine without distraction. On the other hand, if the content is more understated, a bold and elaborate frame can add visual interest and drama.
Additionally, consider the existing decor in the room where the frames will be displayed. The frame style should harmonize with the furniture, color scheme, and overall aesthetic. If your decor is eclectic, don’t be afraid to mix and match different frame styles for a curated and unique look.
Remember, the frame style you choose can greatly impact the overall visual impact of your photos or artwork. Take the time to explore various styles, visit frame stores, and experiment with different combinations to find the perfect frame style that enhances your content and reflects your personal taste.
Read more: How To Distress Picture Frames
Preparing the Picture Frame
Before you embark on the journey of decorating your picture frames, it’s important to properly prepare them to ensure a smooth and successful project. Preparation involves cleaning the frame and, in some cases, sanding and priming it for paint or stain application. Here are the key steps to prepare your picture frame:
Cleaning the Frame: Start by cleaning the frame to remove any dust, dirt, or residue that may be present. Use a soft cloth or a gentle brush to wipe away the particles from all surfaces of the frame, including the corners and edges. If necessary, you can use mild soap and water for stubborn stains, but be sure to dry the frame thoroughly afterwards.
Sanding and Priming: If you plan to paint or stain the frame, it’s recommended to sand it lightly to create a smooth surface for better adhesion. Use a fine-grit sandpaper (around 220 grit) to gently sand the entire frame. Pay attention to any rough or uneven areas, and sand them until the surface feels smooth to the touch. After sanding, wipe away any dust with a clean cloth.
Next, if you are painting a wooden frame or staining any type of frame, applying a coat of primer is highly recommended. Primer helps to seal the surface, prevent bleeding or discoloration, and ensure that the paint or stain adheres evenly. Choose a primer specifically designed for your chosen paint or stain type, and apply it according to the manufacturer’s instructions. Allow the primer to dry completely before moving on to the next step.
By cleaning, sanding, and priming your picture frame, you create a clean and smooth canvas for your decorative efforts. These steps not only help to improve the overall appearance of the frame but also ensure that your chosen paint or stain adheres properly and delivers the desired results.
Once your picture frame is cleaned, sanded, and primed, you’re now ready to move on to the exciting phase of applying paint or stain to transform your frame into a personalized work of art. Take your time, follow the instructions of your chosen paint or stain, and let your creativity shine as you decorate your picture frames!
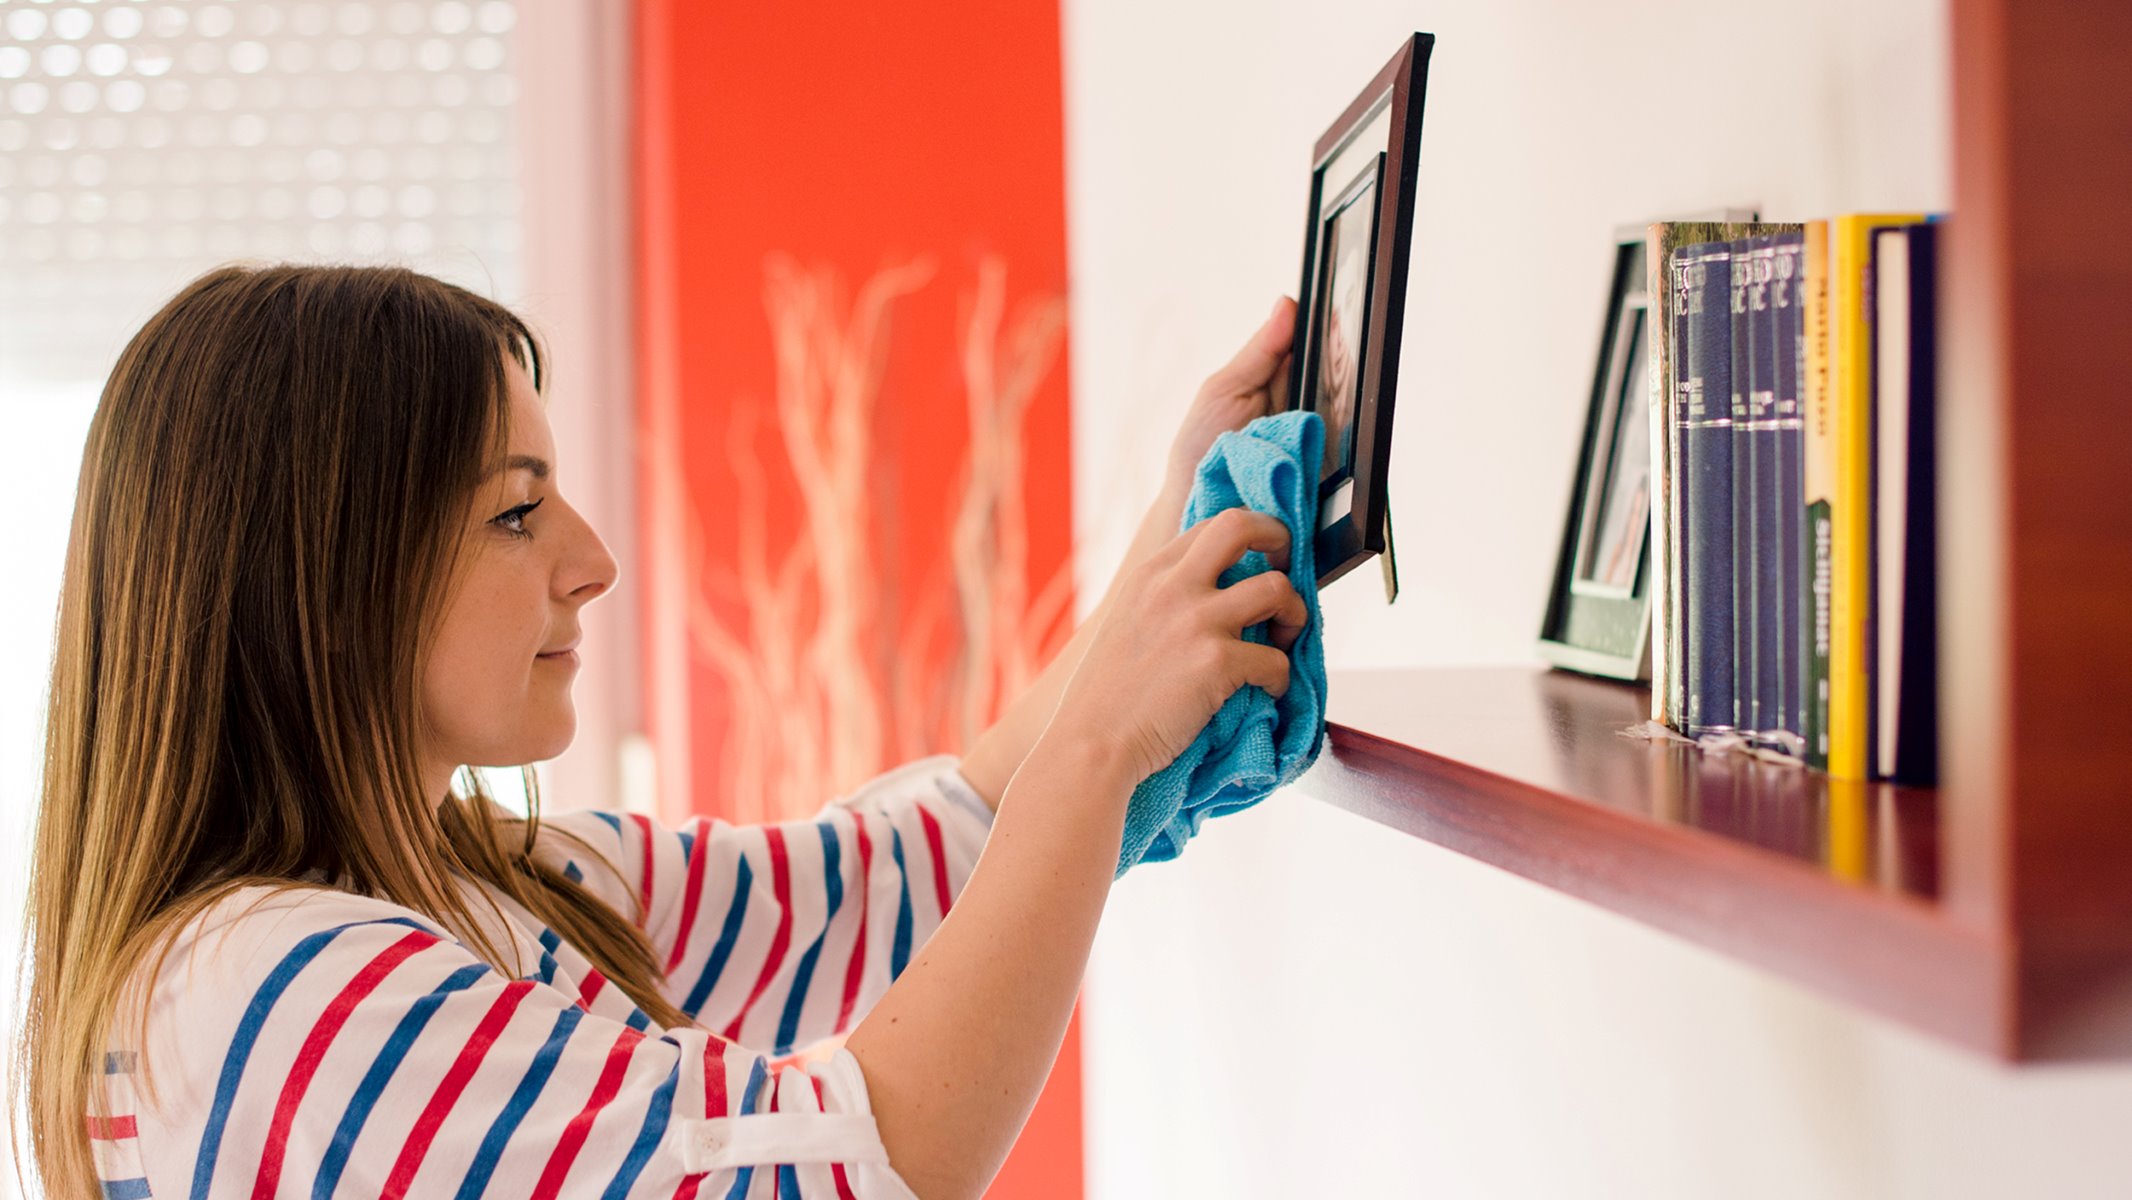
Cleaning the Frame
Before you begin decorating your picture frame, it’s essential to thoroughly clean it to remove any dust, dirt, or residue that may have accumulated over time. Cleaning the frame not only prepares the surface for decoration but also helps enhance its overall appearance. Here are the steps to effectively clean your picture frame:
1. Remove the Frame: Carefully remove the artwork or glass from the frame, ensuring that you handle them with clean hands to avoid transferring oils or dirt onto the surface. Set them aside in a safe and clean area while you clean the frame.
2. Dusting the Frame: Use a soft, dry cloth or a microfiber duster to gently remove any loose dust or debris from all surfaces of the frame, including the front, sides, corners, and back. Be thorough in your dusting to ensure you capture any hidden particles.
3. Cleaning Solution: Prepare a mild cleaning solution by mixing a small amount of gentle dish soap or a mild liquid detergent with warm water. Avoid using harsh chemical cleaners as they may damage the frame’s finish.
4. Spot Test: Before applying the cleaning solution to the entire frame, perform a spot test on a discreet area, such as the back or bottom, to ensure that the solution doesn’t cause any adverse reactions or damage the frame’s finish.
5. Cleaning the Frame: Dip a soft cloth or sponge into the cleaning solution, wring out any excess liquid, and gently wipe the frame’s surfaces. Pay special attention to any areas with stubborn stains or buildup. Avoid oversaturating the frame with the cleaning solution, as excessive moisture may warp or damage the frame’s materials.
6. Drying the Frame: After cleaning, use a clean, dry cloth or paper towel to gently blot the frame and remove any excess moisture. Make sure to dry all surfaces thoroughly to prevent water spots or any potential damage.
7. Reassembling the Frame: Once the frame is completely dry, carefully reassemble it by placing the artwork or glass back into the frame. Ensure everything is properly aligned and secured before moving or displaying the frame.
By cleaning your picture frame before decorating, you ensure that the surface is free from dust, dirt, and grime, providing the optimal canvas for your creative efforts. Regular cleaning not only maintains the appearance of the frame but also helps maintain its longevity and preserve the condition of the content it holds.
Remember to repeat this cleaning process periodically to keep your picture frames looking their best. By maintaining a clean and well-cared-for frame, you can continue to showcase your cherished memories or artwork in a visually appealing and pristine display.
Sanding and Priming
When it comes to decorating picture frames, sanding and priming are important steps in preparing the surface for paint or stain application. Sanding helps create a smooth and even texture, while priming helps improve the adhesion and durability of the paint or stain. Here’s a step-by-step guide on sanding and priming picture frames:
1. Gather Your Supplies: To begin, gather the necessary supplies. You’ll need fine-grit sandpaper (around 220 grit), a sanding block or sponge, a clean cloth, painter’s tape (if needed), and primer suitable for your chosen paint or stain type.
2. Prepare the Work Area: Find a well-ventilated area with a clean, flat surface to work on. Lay down a drop cloth or newspaper to protect the surface from any sanding dust or primer overspray.
3. Remove Any Hardware: If your frame has any hardware, such as hooks or hinges, it’s best to remove them before sanding and priming. This will allow for easier and more thorough sanding and ensure that the hardware remains free from any primer or paint.
4. Sand the Frame: Using the fine-grit sandpaper, gently sand the entire surface of the frame. Make smooth, even strokes, working in the direction of the wood grain if you’re dealing with a wooden frame. Sanding helps remove any rough patches, imperfections, or previous finishes, creating a smooth and clean surface for the primer to adhere to. Be sure to sand any intricate details or crevices carefully to avoid removing too much material.
5. Wipe Away the Dust: After sanding, use a clean cloth to wipe away any sanding dust from the frame. This step ensures that the surface is clean and ready for priming. Be thorough in your dusting to remove all particles and ensure a smooth finish.
6. Apply Painter’s Tape (if needed): If you want to protect certain areas of the frame from primer or paint, such as the glass or specific design elements, apply painter’s tape to those areas. This will create neat and clean lines during the priming and painting process.
7. Apply the Primer: Before applying the primer, ensure that you have chosen the appropriate type for your paint or stain. Following the manufacturer’s instructions, apply an even coat of primer to the entire frame. Use a paintbrush, roller, or spray can depending on your preference and the type of primer you’re using. Be sure to cover all surfaces of the frame, including the edges and corners.
8. Allow the Primer to Dry: Allow the primer to dry completely according to the manufacturer’s instructions. This drying time will ensure that the primer forms a strong bond with the frame, providing a solid foundation for the paint or stain application.
With the sanding and priming steps complete, your picture frame is now ready for the fun part of applying paint or stain and bringing your creative vision to life. Properly sanding and priming the frame ensure a smooth and professional-looking finish, enhancing the overall appearance of your DIY project.
Remember to always follow the manufacturer’s instructions for the sandpaper, primer, and any paints or stains you plan to use. Take your time, pay attention to detail, and enjoy the process of transforming your picture frame into a personalized masterpiece.
When decorating picture frames, consider using a variety of materials such as paint, fabric, or decorative paper to add texture and visual interest. Experiment with different techniques to create a unique and personalized look for your frames.
Applying Paint or Stain
One of the most exciting parts of decorating picture frames is applying paint or stain to bring them to life. The choice of paint or stain color can completely transform the look of your frames, allowing you to personalize them to fit your desired style and aesthetic. Here’s a step-by-step guide on applying paint or stain to your picture frames:
1. Choose Your Paint or Stain: Select the type of paint or stain that suits your project. Acrylic or latex paints are versatile and come in a wide range of colors, while oil-based paints offer a more durable finish. Stains are ideal for bringing out the natural beauty of the wood. Consider the material of your frames and the desired effect you want to achieve when making your choice.
2. Prepare Your Work Area: Set up a clean and well-ventilated workspace. Lay down a drop cloth or newspaper to protect the surface from any accidental spills or drips. Open windows or use a fan if necessary to ensure proper ventilation.
3. Apply a Base Coat (if desired): For some paint colors or wood stains, applying a base coat can enhance the color and improve the overall coverage. Start with a thin and even coat of the base color on the entire frame surface and allow it to dry fully before proceeding.
4. Stir Your Paint or Stain: Before applying, thoroughly stir the paint or stain to ensure consistency and even color distribution. Follow the instructions provided by the manufacturer for the specific product you are using.
5. Apply the Paint or Stain: Using a brush, roller, or sponge, apply the paint or stain to the frame in smooth, even strokes. Work from one side to the other, ensuring complete coverage on all surfaces, edges, and corners. If necessary, apply multiple thin coats, allowing adequate drying time between each coat. This will help achieve a more professional and even finish.
6. Remove Excess Paint or Stain: After applying the paint or stain, use a clean cloth or brush to remove any excess or pooling liquid. Smooth out any drips or uneven areas to create a clean and uniform look.
7. Allow the Paint or Stain to Dry: Follow the drying times recommended by the manufacturer. Ensure that the frames are completely dry before handling or moving them to prevent smudging or damage to the finish.
8. Optional: Apply a Protective Top Coat: If desired, apply a clear protective top coat to preserve the paint or stain and provide additional durability to the frame. This step is especially beneficial for frames that are subjected to frequent handling or potential exposure to moisture.
By following these steps, you can apply paint or stain to your picture frames and achieve a professional and personalized finish. Remember to have fun and experiment with different colors and techniques to create unique and eye-catching frames that reflect your style and enhance your home decor.
Always refer to the instructions provided by the paint or stain manufacturer for specific guidelines on application, drying times, and any additional preparation or finishing steps.
Read more: How To Store Picture Frames
Decorating Picture Frames with Additional Elements
While paint or stain can create a beautiful base for your picture frames, adding additional elements can take your frame decorations to the next level. These extra touches can add texture, depth, and visual interest, making your frames truly unique. Here are some creative ideas for decorating picture frames with additional elements:
- Embellishments: Add decorative elements like beads, buttons, charms, or rhinestones to your frames for a touch of sparkle and personality. Use strong adhesive or craft glue to securely attach these embellishments to the frame’s surface. You can create patterns, spell out names or words, or simply scatter them in a random arrangement.
- Ribbons and Trims: Wrap ribbons or trims around the edges of your frames to add a pop of color and texture. Secure them with glue or double-sided tape. You can choose ribbons in various widths, patterns, or textures to match your decor or theme. Experiment with different placements, such as diagonally or in a crisscross pattern, for a unique look.
- Fabric Wraps: Use fabric to cover the frame surface for a soft and elegant touch. Choose fabrics that complement your decor and wrapping paper. Secure the fabric in place with double-sided tape or a staple gun. You can also add ribbons or bows for added visual interest.
- Decoupage: Use decoupage techniques to adhere patterned paper, fabric, or even images onto the frame’s surface. Apply a layer of decoupage medium or a mixture of white glue and water to the frame, carefully lay the paper or fabric on top, and smooth out any wrinkles or air bubbles. Seal the decoupage with additional layers of the medium, allowing each layer to dry before applying the next.
- Stencil Designs: Add intricate designs or patterns to your frames with stencils. Lay the stencil on the frame’s surface and secure it in place with painter’s tape. Use a sponge brush or stencil brush to gently dab paint onto the frame, ensuring even coverage. Once dry, carefully remove the stencil to reveal your beautifully decorated design.
- Wire or String Art: Create unique patterns or shapes on the frame’s surface using wire or string. Insert small nails or pins along the frame edges in the desired pattern, then wrap the wire or string around them to create your design. You can experiment with different colors and thicknesses of wire or string to achieve various effects.
Remember to consider the overall style and theme of your frames and the surrounding decor when deciding on additional elements. Be creative and let your imagination guide you in choosing the elements that best reflect your personal style and enhance the look of your frames.
It’s important to ensure that any additional elements are securely attached to the frame and won’t interfere with the display of your photos or artwork. Take care to choose materials and adhesives that are appropriate for the frame’s material and will not cause damage over time.
By incorporating these extra touches, you can transform your picture frames into one-of-a-kind pieces that truly stand out and showcase your creativity and personal flair.
Adding Embellishments
Adding embellishments is a wonderful way to elevate the look of your picture frames and create unique and eye-catching displays. Embellishments can range from small decorative accents to more elaborate elements that add texture and visual interest. Here are some ideas for adding embellishments to your picture frames:
- Beads and Jewelry: Incorporate beads, gemstones, or small pieces of jewelry to add a touch of glamour and elegance to your frames. Glue them onto the frame’s surface, focusing on corners, edges, or the center, to create focal points. Choose beads or jewelry pieces that match your color scheme or reflect the style you want to achieve.
- Buttons and Charms: Use buttons or charms to add a whimsical and playful touch to your frames. Arrange them in a specific pattern, spell out words, or create unique designs. You can affix them directly to the frame or use wire or string to attach them for a more dimensional effect.
- Rhinestones and Sequins: Add sparkle and shine to your frames with rhinestones and sequins. Glue them strategically along the frame’s edges or create intricate designs using these dazzling embellishments. Choose colors and shapes that complement your frame and the content you’re displaying.
- Feathers and Fabric Flowers: For a bohemian or nature-inspired look, attach feathers or fabric flowers to your frames. Glue them along one edge or create a corner arrangement for a whimsical touch. Choose natural or colorful feathers that match your desired aesthetic, and experiment with different fabric flower designs and sizes.
- Ribbons and Bow Ties: Tie ribbons around the frame’s edges or create small bows to add a soft and charming touch. Choose ribbons that match your color scheme and the overall style of your frame. You can opt for silky, satin, or patterned ribbons to suit your desired level of elegance or playfulness.
- Seashells and Natural Elements: Create a coastal or nature-inspired theme by attaching seashells, pebbles, or other natural elements to your frames. Arrange them along the top or bottom edges or create a border using these beautiful materials. Use a strong adhesive to ensure they stay secure.
Adding embellishments allows you to personalize your frames and infuse them with your unique style and personality. Let your creativity guide you as you choose embellishments that reflect your desired theme and create a visually stunning display.
When attaching embellishments, consider the material of your frame and choose adhesives that will provide a strong and durable bond. Test out different positioning options before committing to a placement to ensure you achieve the desired look.
Remember that adding embellishments should enhance the overall aesthetic of your frames without overpowering or distracting from the content they hold. Strike a balance between the embellishments and the photos or artwork to create a visually pleasing and cohesive display.
By incorporating these embellishment ideas, you can turn your ordinary picture frames into beautiful and customized works of art that showcase your creativity and add a touch of charm to your space.
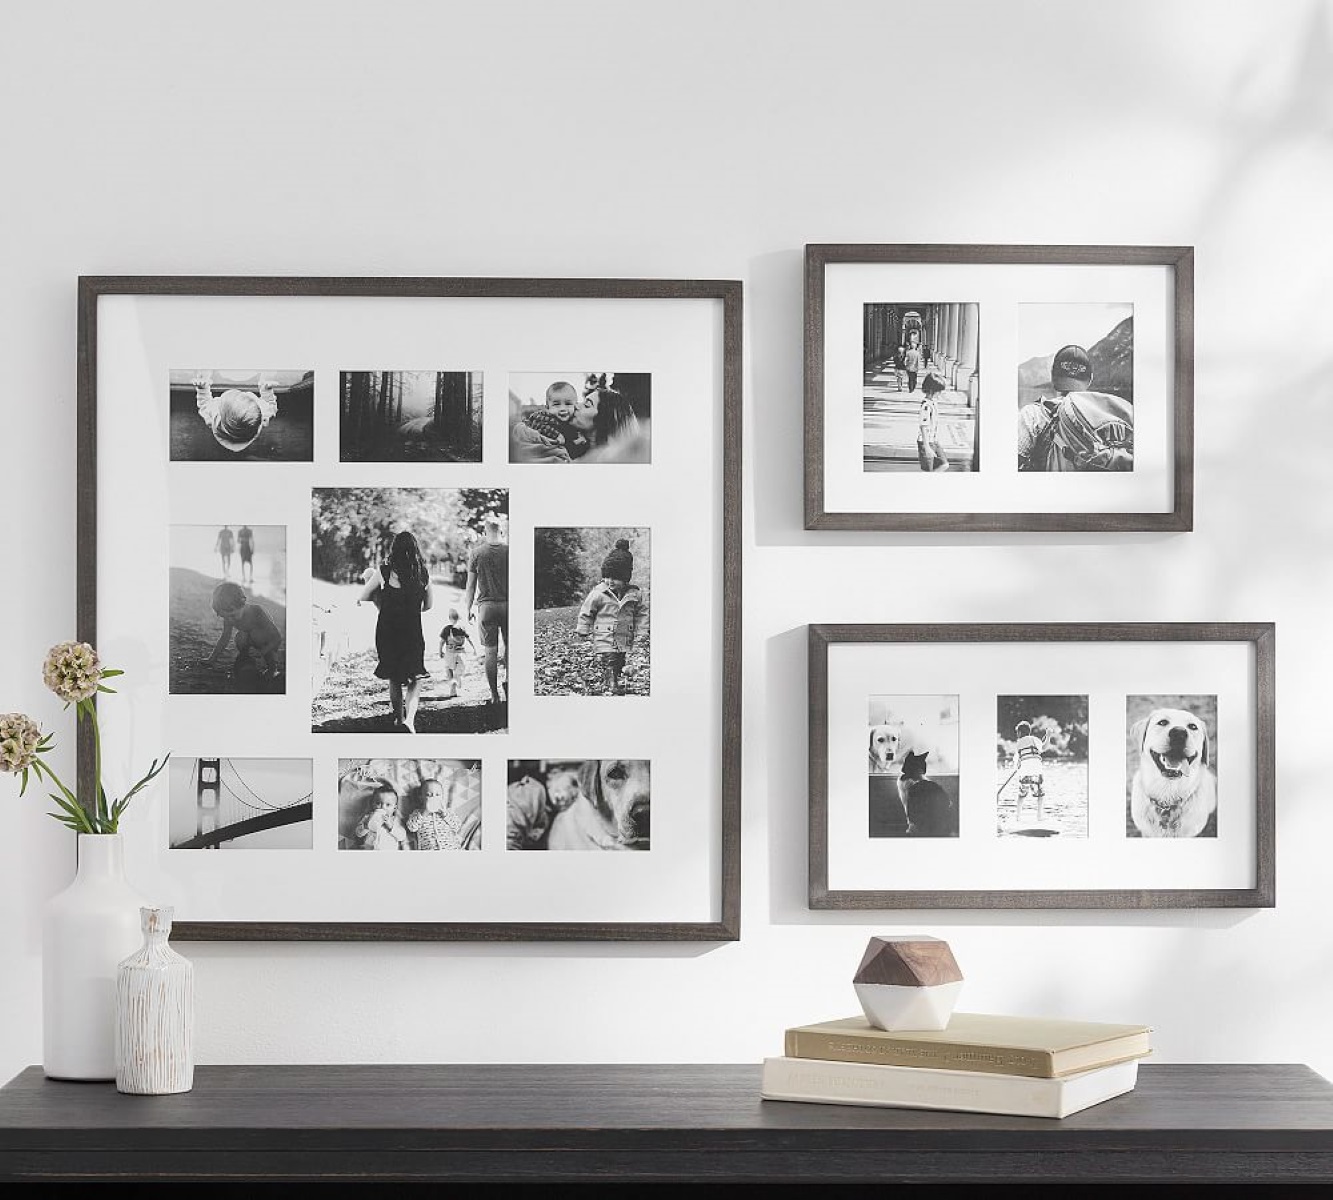
Creating a Collage Frame
A collage frame is an excellent way to display multiple photos or artworks in one cohesive and visually appealing arrangement. It allows you to showcase a collection of memories, create themed displays, or tell a story through images. Here’s a step-by-step guide to creating a collage frame:
1. Choose Your Frame: Start by selecting a frame that accommodates multiple photos or artworks. You can choose a frame with multiple openings or a larger frame that allows you to create your own collage layout.
2. Select Your Photos or Artworks: Gather the photos or artworks you want to include in your collage. Consider the theme, color scheme, and size of the pieces to create a cohesive and visually appealing arrangement. You can choose photos from a specific event, a series of family portraits, or a collection of your favorite quotes—let your creativity guide you.
3. Plan Your Layout: Before attaching anything to the frame, plan your collage layout. Lay out the photos or artworks on a flat surface and experiment with different arrangements until you find a layout that you’re happy with. Consider the balance, spacing, and orientation of each piece.
4. Prepare the Frame: If you’re using a frame with multiple openings, remove the backing and any glass or protective covers. If you’re using a larger frame, ensure that the surface is clean and free from dust or debris.
5. Attach the Photos or Artworks: Begin attaching the photos or artworks to the frame. You can use double-sided tape, adhesive dots, photo corners, or glue dots to secure the pieces in place. Be mindful of the desired positioning and the spacing between each item.
6. Add Additional Elements: Enhance your collage frame by adding additional elements. You can include small decorative accents, such as stickers, labels, or cutouts, to add visual interest and create a dynamic display. Play around with different elements to achieve the desired aesthetic.
7. Reassemble the Frame: Once all the photos or artworks are attached, reassemble the frame. Replace the backing, glass, or protective cover, ensuring that everything is secure. Check that the collage is positioned correctly within the frame and that any hanging hardware is properly installed.
8. Display Your Collage Frame: Find the perfect spot to showcase your collage frame. It can be hung on a wall, placed on a tabletop, or even incorporated into a gallery wall arrangement. Consider the size of your collage frame and the surrounding decor when deciding on its placement.
A collage frame allows you to create a personalized and visually captivating display of your cherished memories or artwork. It adds a unique touch to your space and tells a story through the collection of photos or artworks you choose.
Remember to periodically change and update the photos or artworks in your collage frame to keep it fresh and showcase new memories. This will help keep your display engaging and evoke a sense of nostalgia.
With these steps, you can create a beautiful and meaningful collage frame that is sure to become a focal point in your home or office.
Displaying Decorated Picture Frames
Once you have beautifully decorated your picture frames, it’s time to showcase them in a way that enhances their visual impact and complements your overall decor. Here are some ideas and tips on how to display your decorated picture frames:
Hanging on the Wall:
- Gallery Wall: Create a gallery wall by grouping multiple frames together in an artistic arrangement. Mix and match different sizes, shapes, and styles to add visual interest. You can arrange them symmetrically or asymmetrically, depending on your preference.
- Grid Formation: Hang frames in a clean and organized grid formation for a modern and polished look. Align the frames evenly, leaving a consistent gap between each one for a cohesive display.
- Vertically or Horizontally Stacked: Hang frames vertically or horizontally in a stacked formation to create a streamlined and minimalist display. This works well for frames of the same size or for showcasing a series of related photos or artworks.
- Feature Wall: Designate a specific wall as a feature wall and adorn it with a large statement frame or a collection of frames that tell a story or reflect a theme. This will create a focal point in the room and draw attention to your beautifully decorated frames.
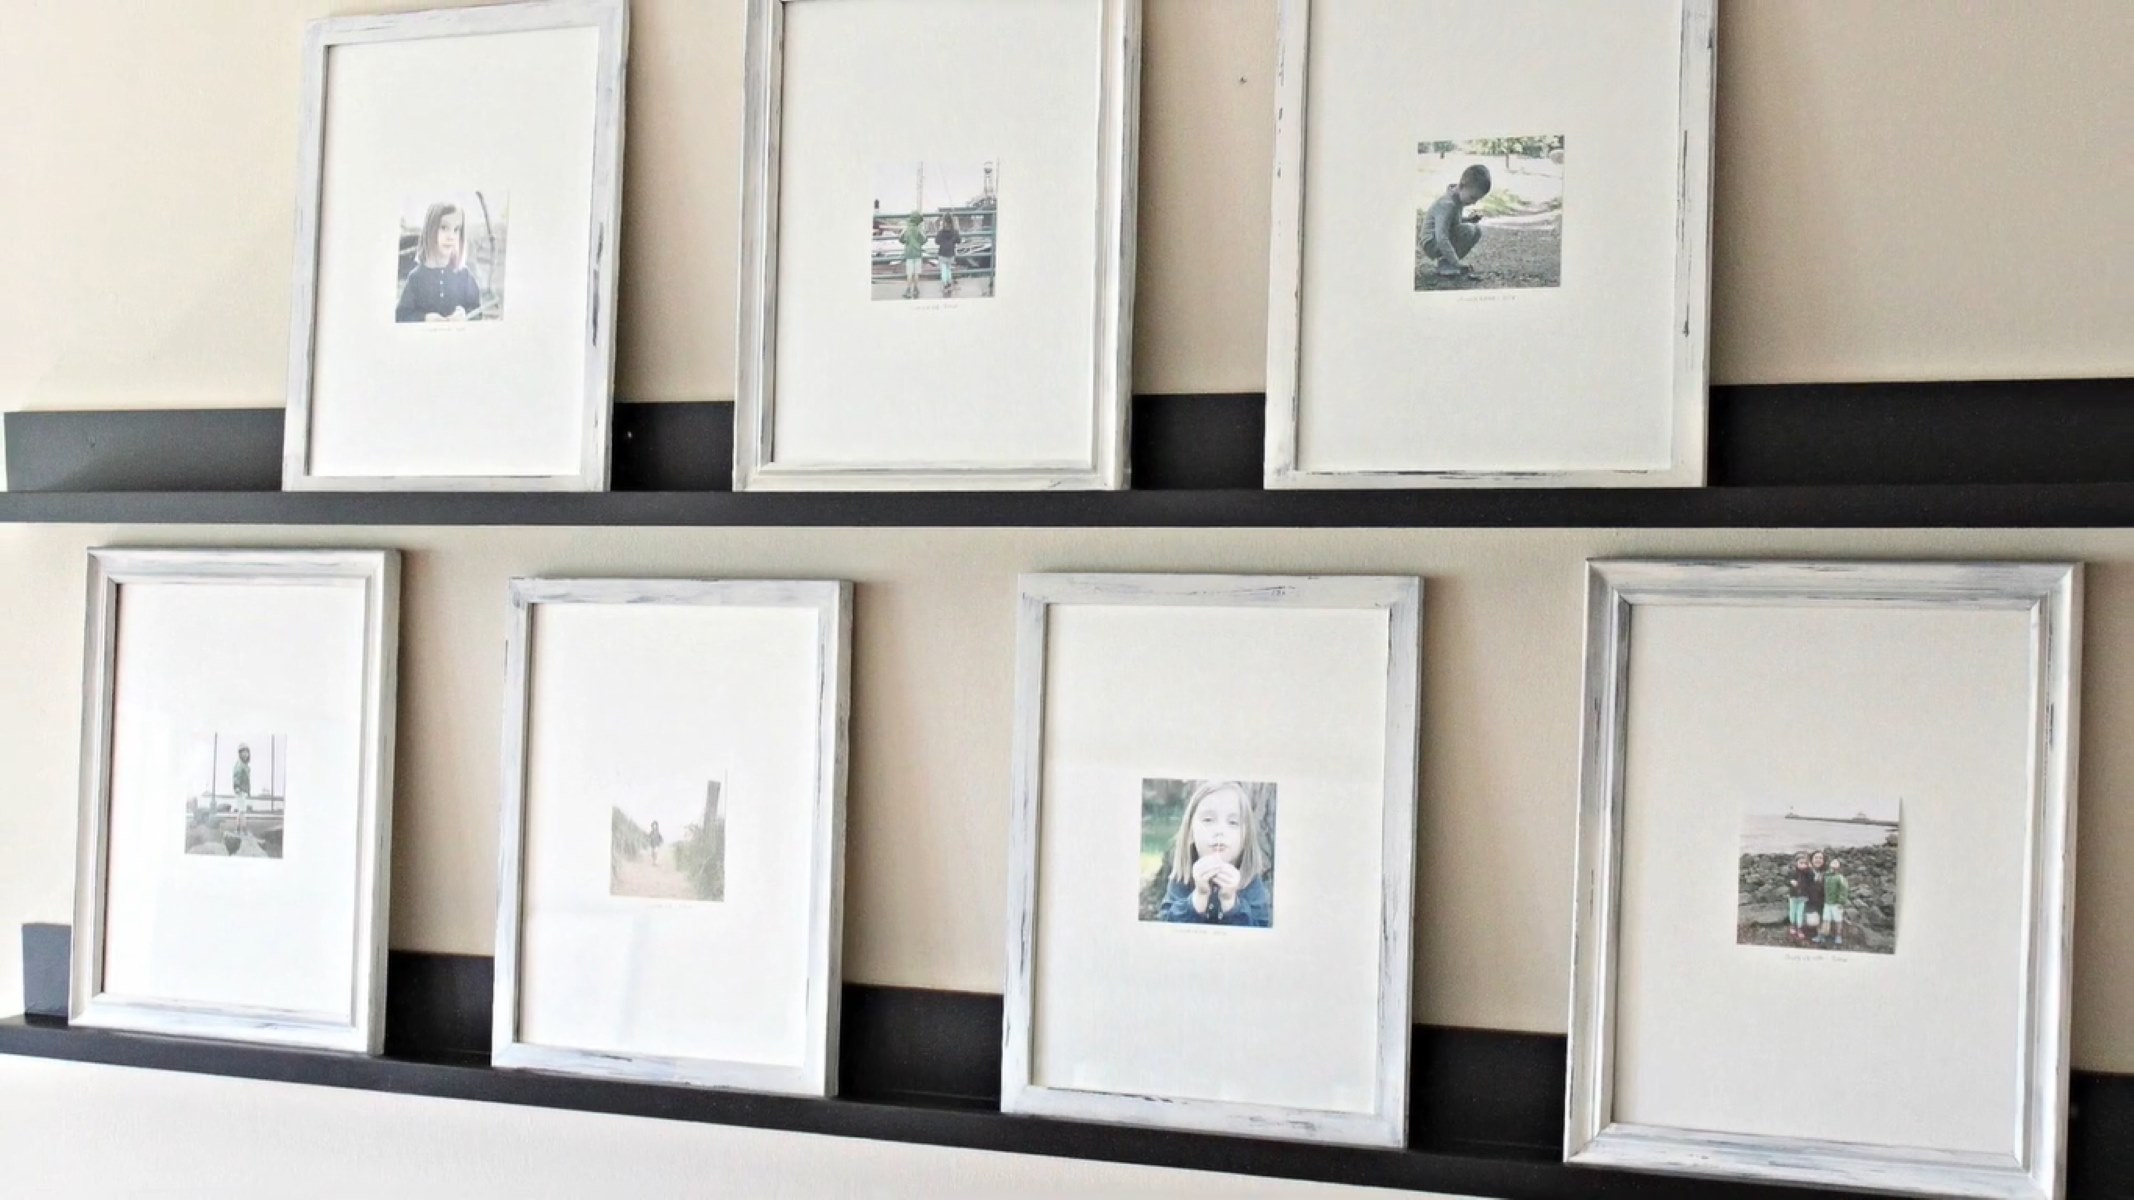
Placing on Shelves or Mantels:
- Layered Arrangement: Arrange frames on a shelf or mantel in a layered formation for a dimensional and textured look. Place smaller frames in front of larger ones or have frames of varying heights to create visual depth.
- Color Coordination: Group frames together based on their color palette to create a cohesive and visually pleasing arrangement. Play with different shades and tones to add variety while maintaining a harmonious display.
- Symmetrical Arrangement: Create a symmetrical arrangement by placing identical or similar frames on both ends of a shelf or mantel. This creates a sense of balance and order in your display.
- Mix Frames with Decorative Objects: Combine framed photos or artworks with other decorative objects, such as vases, figurines, or candles, to create an eclectic and personalized display. This allows you to showcase your framed pieces while incorporating other elements that reflect your style.
When displaying your decorated picture frames, consider the overall balance and proportion within the space. Pay attention to the height, width, and color of the frames in relation to the surrounding decor and furniture.
Don’t be afraid to experiment and rearrange your frames until you find the arrangement that best showcases your artwork or photos. Remember that there are no hard and fast rules—let your personal taste and style guide your display choices.
By thoughtfully considering placement, arrangement, and coordination with your existing decor, you can create a visually stunning and personalized display that highlights your beautifully decorated picture frames.
Read more: How To Travel With Picture Frames
Hanging on the Wall
When it comes to displaying your decorated picture frames, hanging them on the wall can create a striking focal point and elevate the overall aesthetics of your space. Here are some ideas and tips for hanging your frames on the wall:
- Gallery Wall: Create a captivating display by arranging multiple frames on a single wall. Mix and match different sizes, shapes, and styles to add visual interest. Experiment with various layout patterns, such as a grid formation, a symmetrical arrangement, or an eclectic mix. You can also incorporate other decorative elements like mirrors or artwork to create a diverse gallery wall.
Opt for a large and eye-catching frame as a standout piece on your wall. This works particularly well for frames with unique shapes, intricate designs, or bold colors. Hang it in a prominent position, such as above a mantel or as a centerpiece in a room, to draw attention and make a statement. Arrange your decorated frames on the wall based on a specific theme or concept. For example, you can create a family gallery by displaying frames with family photos, or you can create a travel-themed display with frames showcasing your favorite travel memories. Grouping frames by theme adds a cohesive and meaningful touch to your wall decor. Install shelf ledges on the wall and place your framed photos or artworks on them. This creates a layered and dimensional display. You can mix frames of different sizes and styles or create a uniform look with frames of similar dimensions. Play with the arrangement by overlapping frames or adding decorative objects like small plants or trinkets between the frames. Hang frames at different heights to add visual interest and dynamic energy to your wall display. Arrange frames in a diagonal or stair-step formation for a playful and modern look. Varying the heights of the frames also helps them stand out individually while creating an overall cohesive composition.
When hanging your frames, be sure to use appropriate hardware and techniques. Consider the weight of the frames and choose suitable wall anchors, hooks, or nails to ensure they are securely and safely hung. Use a level or measuring tape to ensure your frames are straight and evenly spaced.
Take into account the wall color, surrounding decor, and the natural flow of the room when deciding on the placement and arrangement of your frames. The goal is to create a visually pleasing and harmonious display that enhances the overall ambiance of the space.
By implementing these ideas and tips, you can transform any wall into a captivating gallery of your beautifully decorated picture frames, showcasing your creativity, memories, and personal style.
Placing on Shelves or Mantels
Placing your decorated picture frames on shelves or mantels can create a visually stunning display that adds charm and personality to your space. It allows you to showcase your frames while incorporating them into your existing decor. Here are some ideas and tips for placing your frames on shelves or mantels:
- Layered Arrangement: Create a layered and dimensional display by placing your frames at different depths on the shelves or mantels. Place larger frames at the back and smaller frames in front, or use books and decorative objects to create varying heights. This adds visual interest and depth to the arrangement.
- Color Coordination: Group your frames together based on color to create a cohesive and visually pleasing arrangement. Arrange frames with similar color palettes together for a unified and harmonious look. You can play with shades and tones within the same color family for added depth and variation.
- Symmetrical Arrangement: Create a symmetrical arrangement by placing identical or similar frames on both ends of the shelves or mantel. This creates a sense of balance and order in your display. You can also mirror the arrangement by placing the frames in the same positions on opposite sides.
- Mix Frames with Decorative Objects: Combine framed photos or artworks with other decorative objects to create an eclectic and personalized display. Place small vases with fresh flowers, decorative sculptures, or candles alongside your frames. This adds visual interest and creates a cohesive and captivating arrangement.
If you have a collection of frames, consider displaying them together on a shelf or mantel. Group frames with similar themes, sizes, or styles to create a curated collection. This brings a sense of unity and coherence to the display while allowing each frame to shine individually. Experiment with placing frames at different angles to create a dynamic and visually intriguing display. Tilt frames slightly backward or forward, or place them at different angles on the shelves or mantel. This adds a playful and artistic touch to your arrangement.
When placing your frames on shelves or mantels, consider the scale and proportion of the frames in relation to the size of the space. A balance between large and small frames, as well as negative space, will ensure a visually pleasing display. Be mindful of the height and width of your frames in relation to the shelves or mantels to create a visually balanced composition.
Don’t be afraid to experiment and rearrange your frames until you find the placement and arrangement that best showcases your decorated picture frames. Remember to consider the overall look and feel of your space and let your personal style guide your display choices.
With thoughtful placement and attention to detail, you can create an eye-catching and personalized display of your decorated picture frames on shelves or mantels, adding a touch of elegance and creativity to your home decor.
Conclusion
Decorating picture frames is a creative and rewarding endeavor that allows you to transform ordinary frames into personalized works of art. By selecting the right frame, preparing the surface, applying paint or stain, adding embellishments, or creating a collage, you can truly make your picture frames shine. Whether you choose to display them on the wall, place them on shelves or mantels, or showcase them in a gallery arrangement, your beautifully decorated frames will enhance the overall ambiance of your space.
As you embark on your picture frame decoration journey, remember to consider the style, size, material, and color of both the frames and the content they hold. Take into account the existing decor and theme of your space, and let your personal taste and creativity guide your choices.
Throughout this guide, we’ve discussed the importance of proper preparation, such as cleaning, sanding, and priming, to ensure a smooth and professional finish. We’ve explored various ways to decorate frames, such as adding embellishments, creating collages, and experimenting with different elements and arrangements.
Whether you’re decorating frames for your own home, as a thoughtful gift, or even as a creative project, the possibilities are endless. Let your imagination soar and create frames that tell stories, evoke emotions, and showcase cherished memories or artwork.
Remember the importance of properly hanging or placing your frames, considering factors such as balance, symmetry, height, and color coordination. By paying attention to these details, you can create eye-catching displays that bring joy and beauty to your space.
So, go ahead and let your creativity run wild. Decorate your picture frames with love, attention to detail, and a touch of personal flair. The result will be stunning frames that not only showcase your treasured memories but also reflect your unique style and creativity.
Frequently Asked Questions about How To Decorate Picture Frames
Was this page helpful?
At Storables.com, we guarantee accurate and reliable information. Our content, validated by Expert Board Contributors, is crafted following stringent Editorial Policies. We're committed to providing you with well-researched, expert-backed insights for all your informational needs.


0 thoughts on “How To Decorate Picture Frames”