Articles
How To Paint Picture Frames
Modified: August 17, 2024
Learn the art of painting picture frames with these informative articles. Find step-by-step tutorials and expert tips to create beautiful frames.
(Many of the links in this article redirect to a specific reviewed product. Your purchase of these products through affiliate links helps to generate commission for Storables.com, at no extra cost. Learn more)
Introduction
Welcome to this comprehensive guide on how to paint picture frames! Picture frames not only serve as a way to protect and display your cherished memories but also as a beautiful decorative element in your home. By painting your picture frames, you can add a personal touch and complement your existing decor.
However, painting picture frames requires careful preparation and execution to achieve a professional-looking result. In this guide, we will take you through the step-by-step process of selecting the right frame, preparing it for painting, choosing and mixing colors, applying the base coat, adding decorative elements, enhancing the frame with finishing techniques, sealing and protecting the painted frame, and finally, displaying and enjoying your painted picture frames.
Whether you want to revamp an old frame or create a custom frame from scratch, this guide will provide you with the knowledge and techniques to transform your frames into beautiful works of art. So, grab your paintbrushes and let’s get started!
Key Takeaways:
- Transform ordinary picture frames into personalized works of art by carefully selecting, preparing, painting, and enhancing them with creative techniques, adding beauty and individuality to your living space.
- Display and enjoy your painted picture frames by showcasing them in visually appealing ways, creating a meaningful and personalized space that evokes joy and inspiration.
Read more: How To Distress Picture Frames
Choosing the Right Frame
The first step in painting picture frames is selecting the right frame to work with. There are a variety of frames available in different materials, styles, and sizes. Here are some factors to consider when choosing the right frame for your project:
- Material: Picture frames can be made from wood, metal, plastic, or a combination of materials. Each material has its own unique characteristics and can provide a different aesthetic appeal. Consider the overall look and feel you want to achieve and choose a frame material that complements your style.
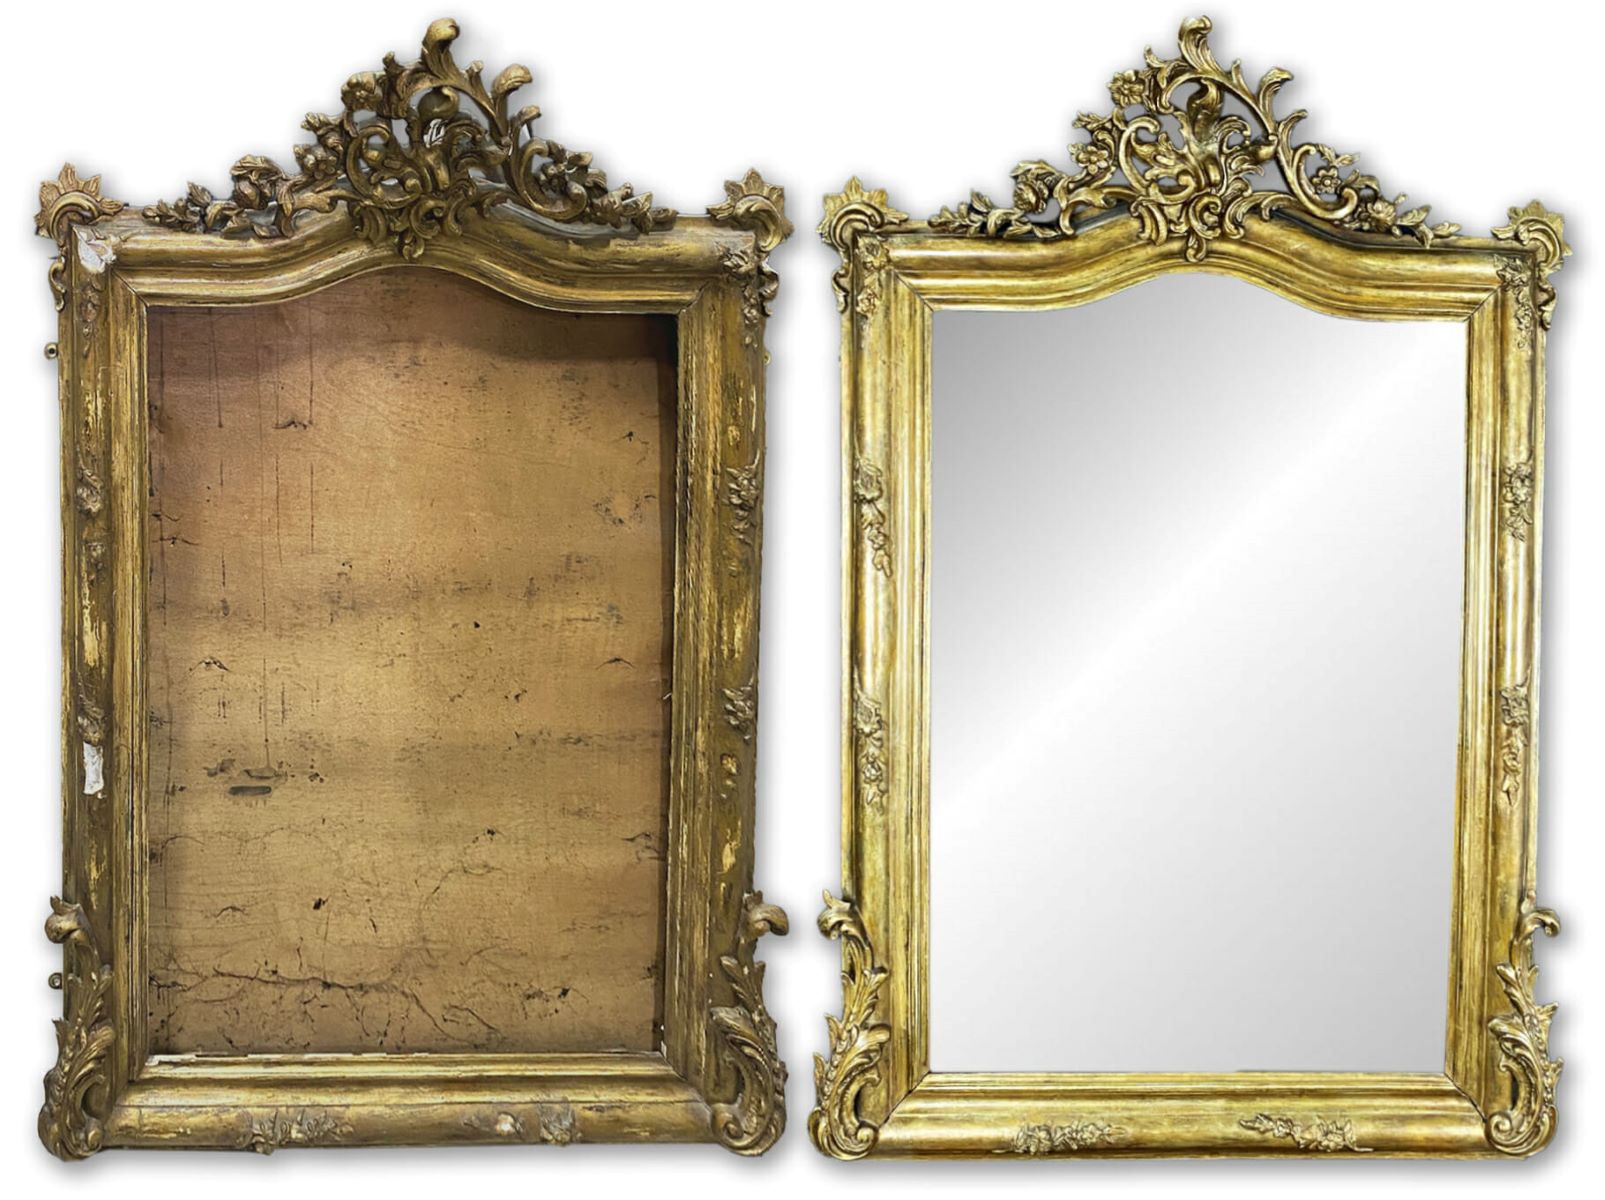
- Style: Frames come in various styles, such as traditional, modern, rustic, or ornate. Decide on the style that aligns with your personal taste and the existing decor in your space. It’s important to choose a frame that will harmonize with the artwork or photograph it will hold.
- Size: Consider the size of the artwork or photograph you plan to display in the frame. Choose a frame that is proportionate to the size of the artwork, ensuring it doesn’t overpower or get dwarfed by the piece.
- Condition: If you’re working with an old frame, assess its condition. Check for any cracks, dents, or other imperfections that may need to be repaired before painting. If the frame is in poor condition, you might consider refinishing it or selecting a new frame altogether.
Once you have considered these factors, you can begin looking for the perfect frame for your project. Check out local thrift stores, antique shops, or online marketplaces for a wide selection of frames. Don’t hesitate to think outside the box and consider repurposing items like old windows or doors to create unique and creative frames.
Remember, the frame you choose will serve as the canvas for your painting project. Therefore, it’s essential to select a frame that aligns with your vision and allows you to showcase your creativity. With the right frame in hand, you’re ready to move on to the next step: preparing the frame for painting.
Preparing the Frame for Painting
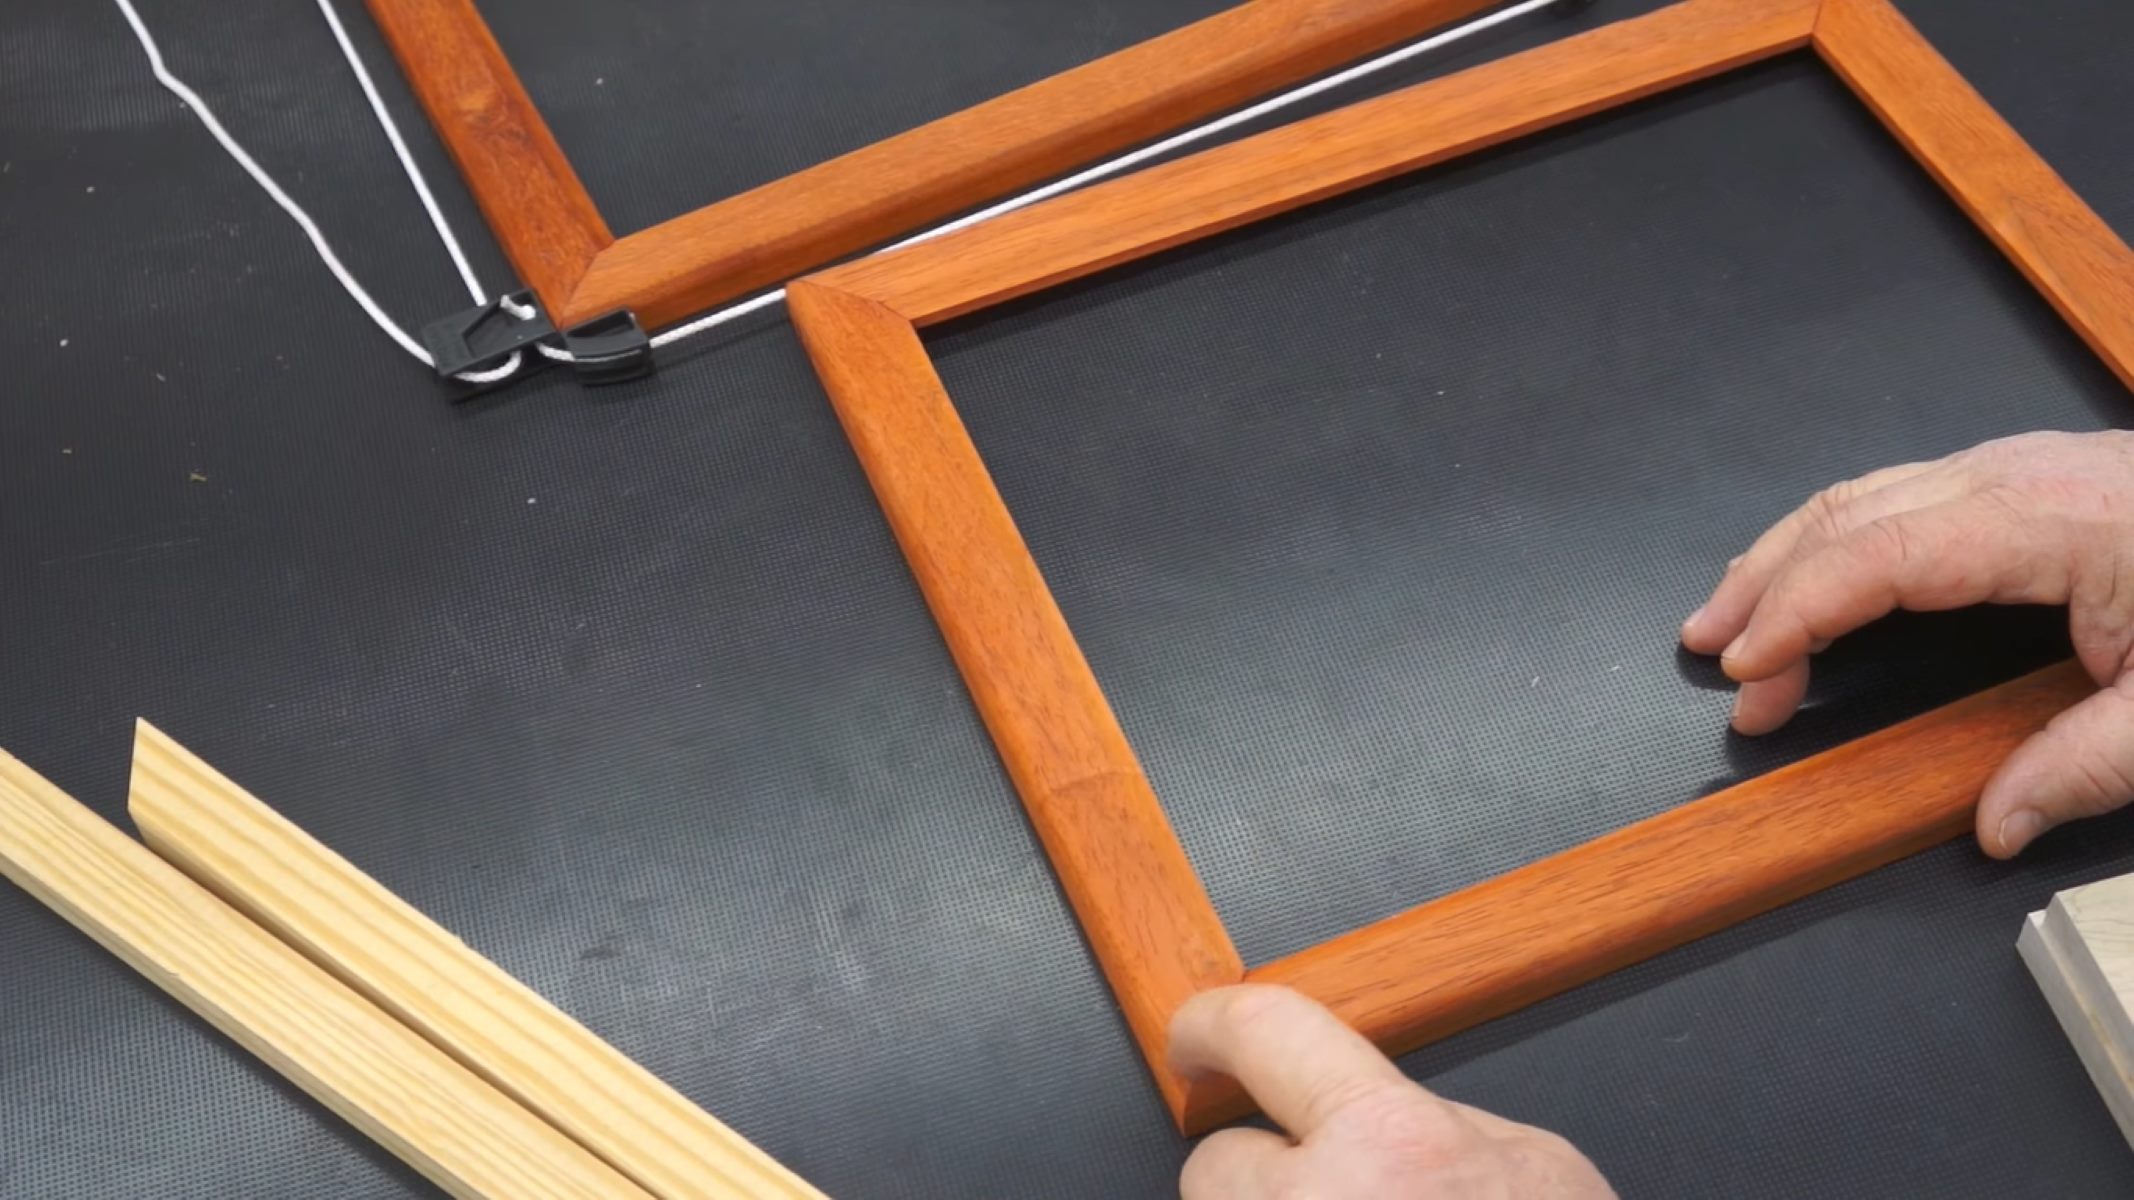
Before you can start painting your picture frame, it’s crucial to properly prepare it to ensure the paint adheres well and the final result is smooth and flawless. Here’s a step-by-step process to help you prepare your frame for painting:
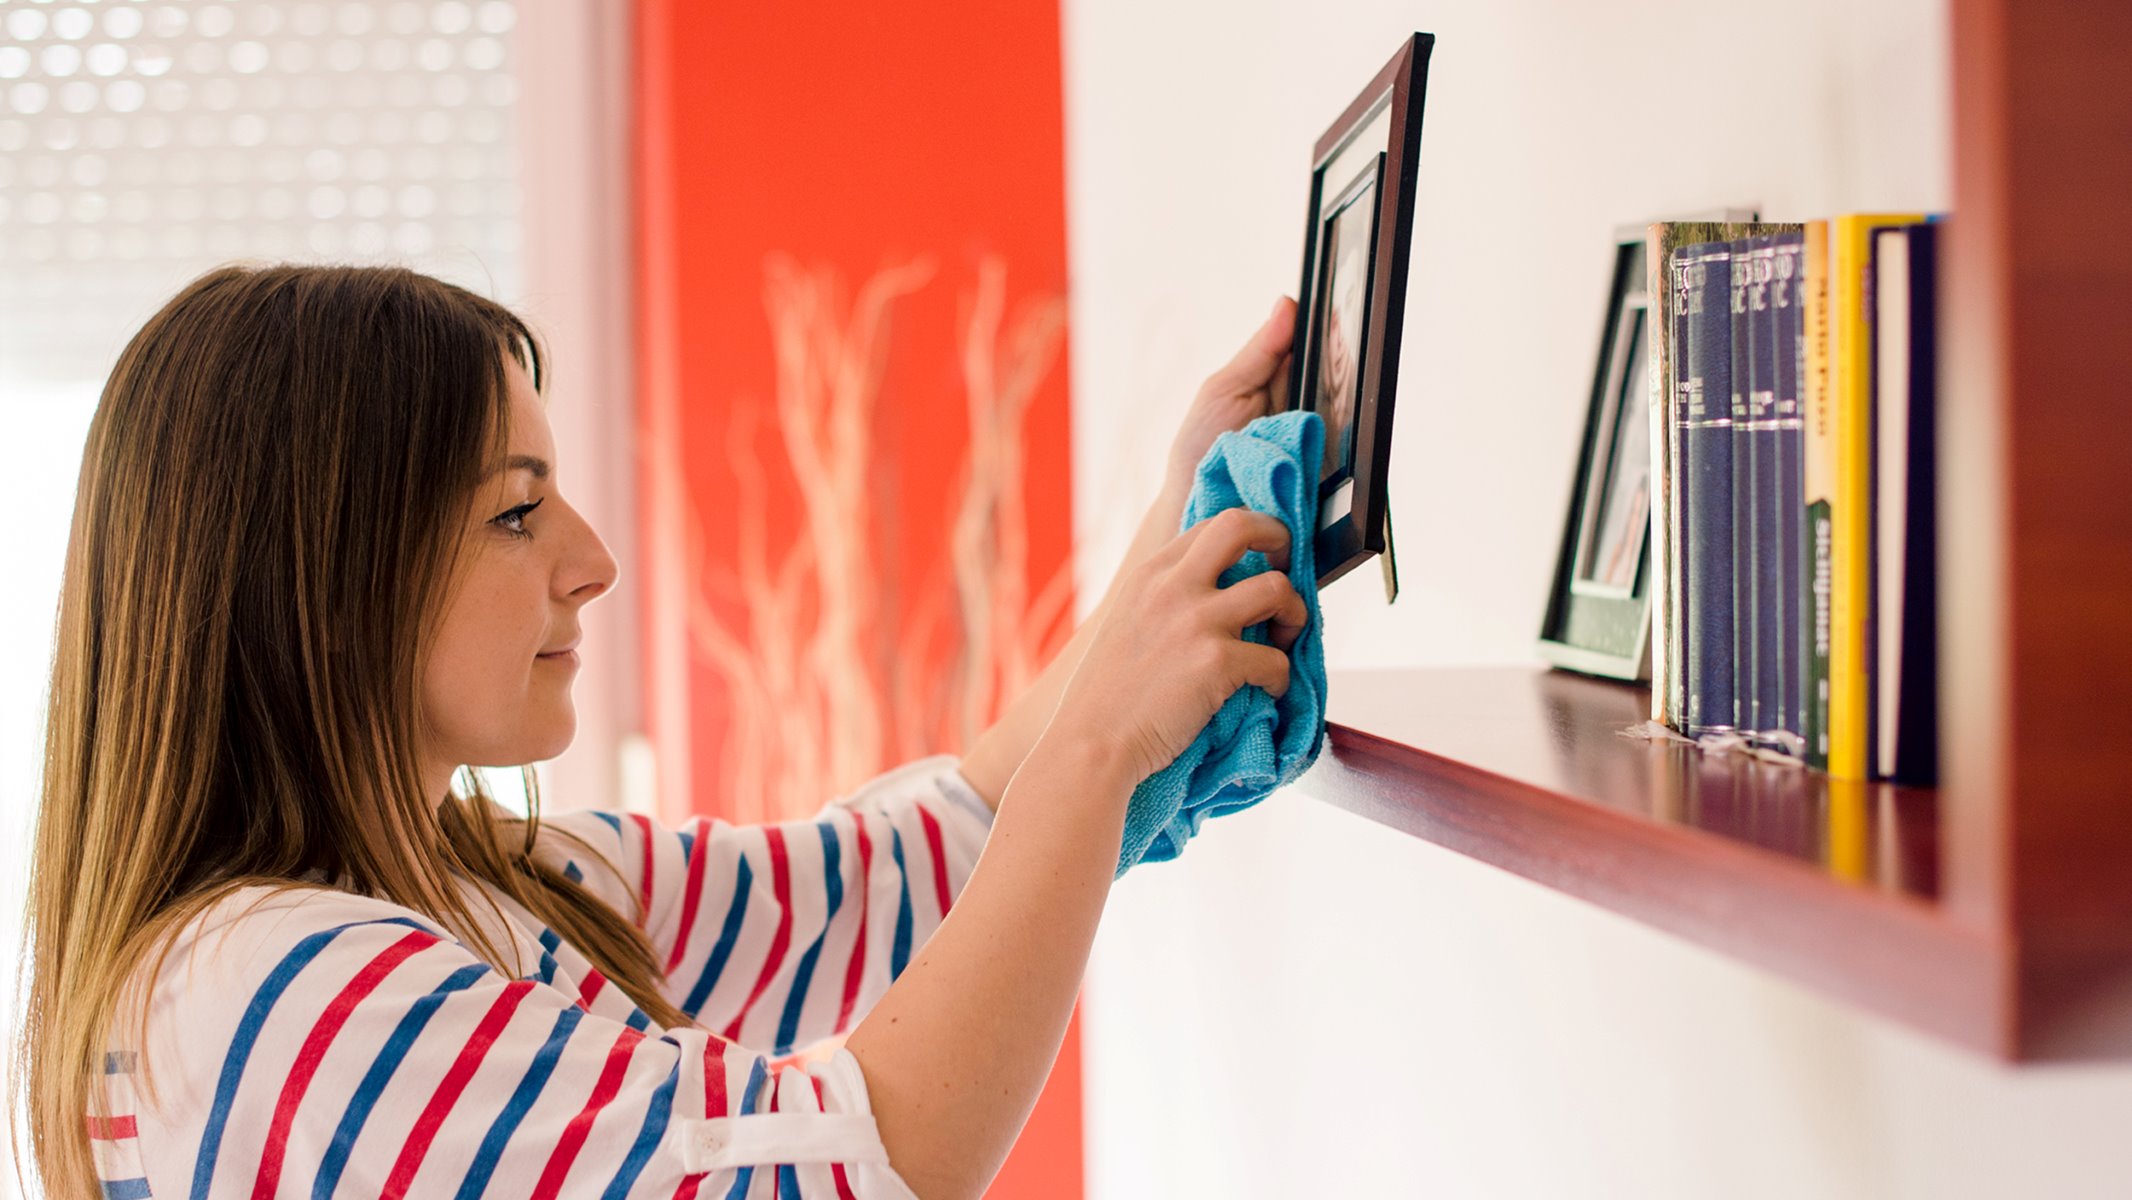
- Clean the Frame: Start by cleaning the frame to remove any dust, dirt, or grime that may have accumulated. Use a soft cloth or sponge and a gentle cleaner to wipe down the frame. Make sure to clean both the front and back surfaces, as well as any intricate details or crevices.
- Sand the Surface: If the frame has a glossy or smooth finish, it’s essential to lightly sand it to create a rougher surface for the paint to adhere to. Use fine-grit sandpaper and gently sand the entire frame, focusing on areas with the existing finish. This step ensures better paint adhesion and helps the new paint coat adhere evenly.
- Apply Primer: Primer is an important step to ensure a smooth and long-lasting paint finish. Apply a coat of primer to the frame using a brush or spray primer. Primer helps to seal the surface, provides a base for the paint to adhere to, and helps to prevent any bleed-through of the previous finish or wood tannins.
- Fill Imperfections: If there are any cracks, dents, or imperfections on the frame, use wood filler or putty to fill them in. Apply the filler with a putty knife, smooth it out, and let it dry completely. After drying, sand the filled areas to create a seamless surface.
- Protect Hardware: If your frame has any hardware, such as hinges or knobs, that you don’t want to paint, protect them by covering them with painter’s tape or removing them if possible. This will ensure that the hardware remains clean and unaffected by the paint.
Once you have completed these steps, the frame should be clean, properly sanded, primed, and any imperfections filled. Take a moment to inspect the frame and make any final touch-ups or repairs as needed. With the frame now prepared, you’re ready to move on to the fun part: selecting and mixing colors!
Selecting and Mixing Colors
Choosing the right colors for your painted picture frame is essential to achieve the desired aesthetic and complement the artwork or photograph it will hold. Here are some tips to help you select and mix colors for your frame:
- Consider the Overall Palette: Look at the colors and tones in the room where the frame will be displayed. Consider the existing color scheme and choose colors that harmonize with the surroundings. You can either select colors that match the room’s palette or choose contrasting colors to create a bold statement.
- Complement the Artwork: If you’re framing a specific artwork or photograph, take into account the colors and tones in the piece. Choose frame colors that enhance the artwork and bring out its best features. You can either select colors that blend with the artwork or choose contrasting colors to make it stand out.
- Experiment with Color Mixing: If you can’t find the perfect shade or want to create a custom color, don’t hesitate to experiment with color mixing. Start with basic primary colors and mix them in small increments until you achieve the desired hue. Keep notes of the ratios and colors used to replicate the color in case you need to make more later.
- Consider Different Finishes: Aside from color, you can also experiment with different finishes or techniques to add depth and texture to the frame. Consider using metallic paints, distressing techniques, or faux finishes to create a unique and eye-catching look.
- Test Before Committing: It’s always a good idea to test the colors on a small area or a sample board before painting the entire frame. This allows you to see how the colors look together and how they appear in different lighting conditions.
Remember, the color selection process is a personal preference, and there are no strict rules. Trust your intuition and have fun with the process. Don’t be afraid to think outside the box and experiment with different color combinations until you find the perfect match for your frame and space.
Once you have finalized your color choices and mixed the desired shades, you’re ready to move on to the next step: applying the base coat on your picture frame!
Applying the Base Coat
The base coat is the foundation of your painted picture frame and sets the stage for the final color and finish. Applying a smooth and even base coat is crucial for achieving a professional-looking result. Follow these steps to apply the base coat:
- Prepare Your Workspace: Set up a clean and well-ventilated area to work on your frame. Lay down a drop cloth or newspapers to protect the surface. Gather your painting supplies, including brushes, rollers, or spray paint, depending on your chosen application method.
- Stir and Prep the Paint: If you’re using paint from a can, stir it thoroughly to ensure an even consistency. If using spray paint, shake the can according to the manufacturer’s instructions. Follow any prep steps needed, such as removing safety seals or adjusting nozzle settings.
- Apply the Base Coat: Start by applying the base coat to the frame. Use long, even strokes to cover the entire surface, working in the direction of the wood grain if applicable. For small or intricate areas, use a smaller brush or a foam brush to ensure proper coverage. Apply thin coats and allow each coat to dry completely before applying the next one. This will help avoid drips or pooling of paint.
- Check for Even Coverage: After applying the first coat, check for any areas that may need touch-ups or additional coverage. Look for any streaks, thin spots, or missed areas. Apply a second coat if needed, ensuring even coverage and a smooth finish.
- Allow Proper Drying Time: Follow the manufacturer’s instructions for the recommended drying time between coats. It’s important to allow the paint to dry completely before moving on to the next step. This will ensure that the subsequent layers of paint adhere properly and prevent any smudging or damage to the base coat.
Remember to clean your brushes or tools promptly after painting to prevent the paint from drying and damaging the bristles. Follow any cleanup instructions provided by the manufacturer based on the type of paint you’re using.
Once the base coat is dry and you’re satisfied with the coverage, you can proceed to add decorative elements and personalize your picture frame further.
When painting picture frames, be sure to sand the surface first to create a smooth base for the paint to adhere to. This will help ensure a professional and long-lasting finish.
Read more: How To Store Picture Frames
Adding Decorative Elements
Now that you have applied the base coat on your picture frame, it’s time to enhance its visual appeal by adding decorative elements. Customizing your frame with unique embellishments can make it stand out and add a personal touch. Here are some creative ideas to consider:
- Stencils and Patterns: Use stencils to add intricate patterns or designs to your frame. Secure the stencil onto the frame with tape and apply paint using a sponge or stencil brush. This technique allows you to create a focal point or add decorative accents to your frame.
- Decoupage: Decoupage is a technique that involves attaching paper cutouts or fabric to the frame using a layer of adhesive. You can choose patterned paper, magazine cutouts, or even fabric scraps to create a unique and textured look on your frame. Apply a layer of decoupage glue or mod podge to the frame and carefully press the paper or fabric onto it. Once dry, seal with another layer of glue for durability.
- Embellishments: Explore a variety of craft embellishments such as buttons, beads, ribbons, or rhinestones. These small details can be glued onto the frame to add texture and visual interest. Arrange them in patterns or create borders for a unique and eye-catching design.
- Painted Designs: If you have artistic skills or enjoy painting, consider hand-painting designs or artwork directly on the frame. You can create landscapes, abstract patterns, flowers, or any design that resonates with your style. Use fine brushes and acrylic paints for detailed and precise results.
- Distressing: To achieve a rustic or vintage look, you can distress your frame by lightly sanding the edges and corners to reveal the base coat or wood underneath. This technique adds a weathered and worn appearance to the frame and can be done using sandpaper or even a nail file.
Remember to let your creativity shine and experiment with different techniques and materials. Don’t be afraid to mix and match various decorative elements to create a one-of-a-kind frame that reflects your personal style and enhances the overall aesthetic.
Once you have added the desired decorative elements, it’s time to enhance the frame even further with finishing techniques.
Enhancing the Frame with Finishing Techniques
After adding decorative elements to your picture frame, you can further enhance its appearance by applying finishing techniques. These techniques can add depth, texture, and a professional touch to your frame. Here are some finishing techniques to consider:
- Antiquing: Create an aged and antiqued look by applying an antiquing glaze or stain to the frame. This technique adds depth and highlights the details of the frame. After applying the glaze, use a soft cloth or brush to wipe away the excess and reveal the desired level of antiquing.
- Distressing: If you want to achieve a worn and weathered look, distressing is a great technique. Use sandpaper or a sanding block to gently rub the edges, corners, and other areas of the frame where natural wear would occur. This technique adds character and a vintage feel to your frame.
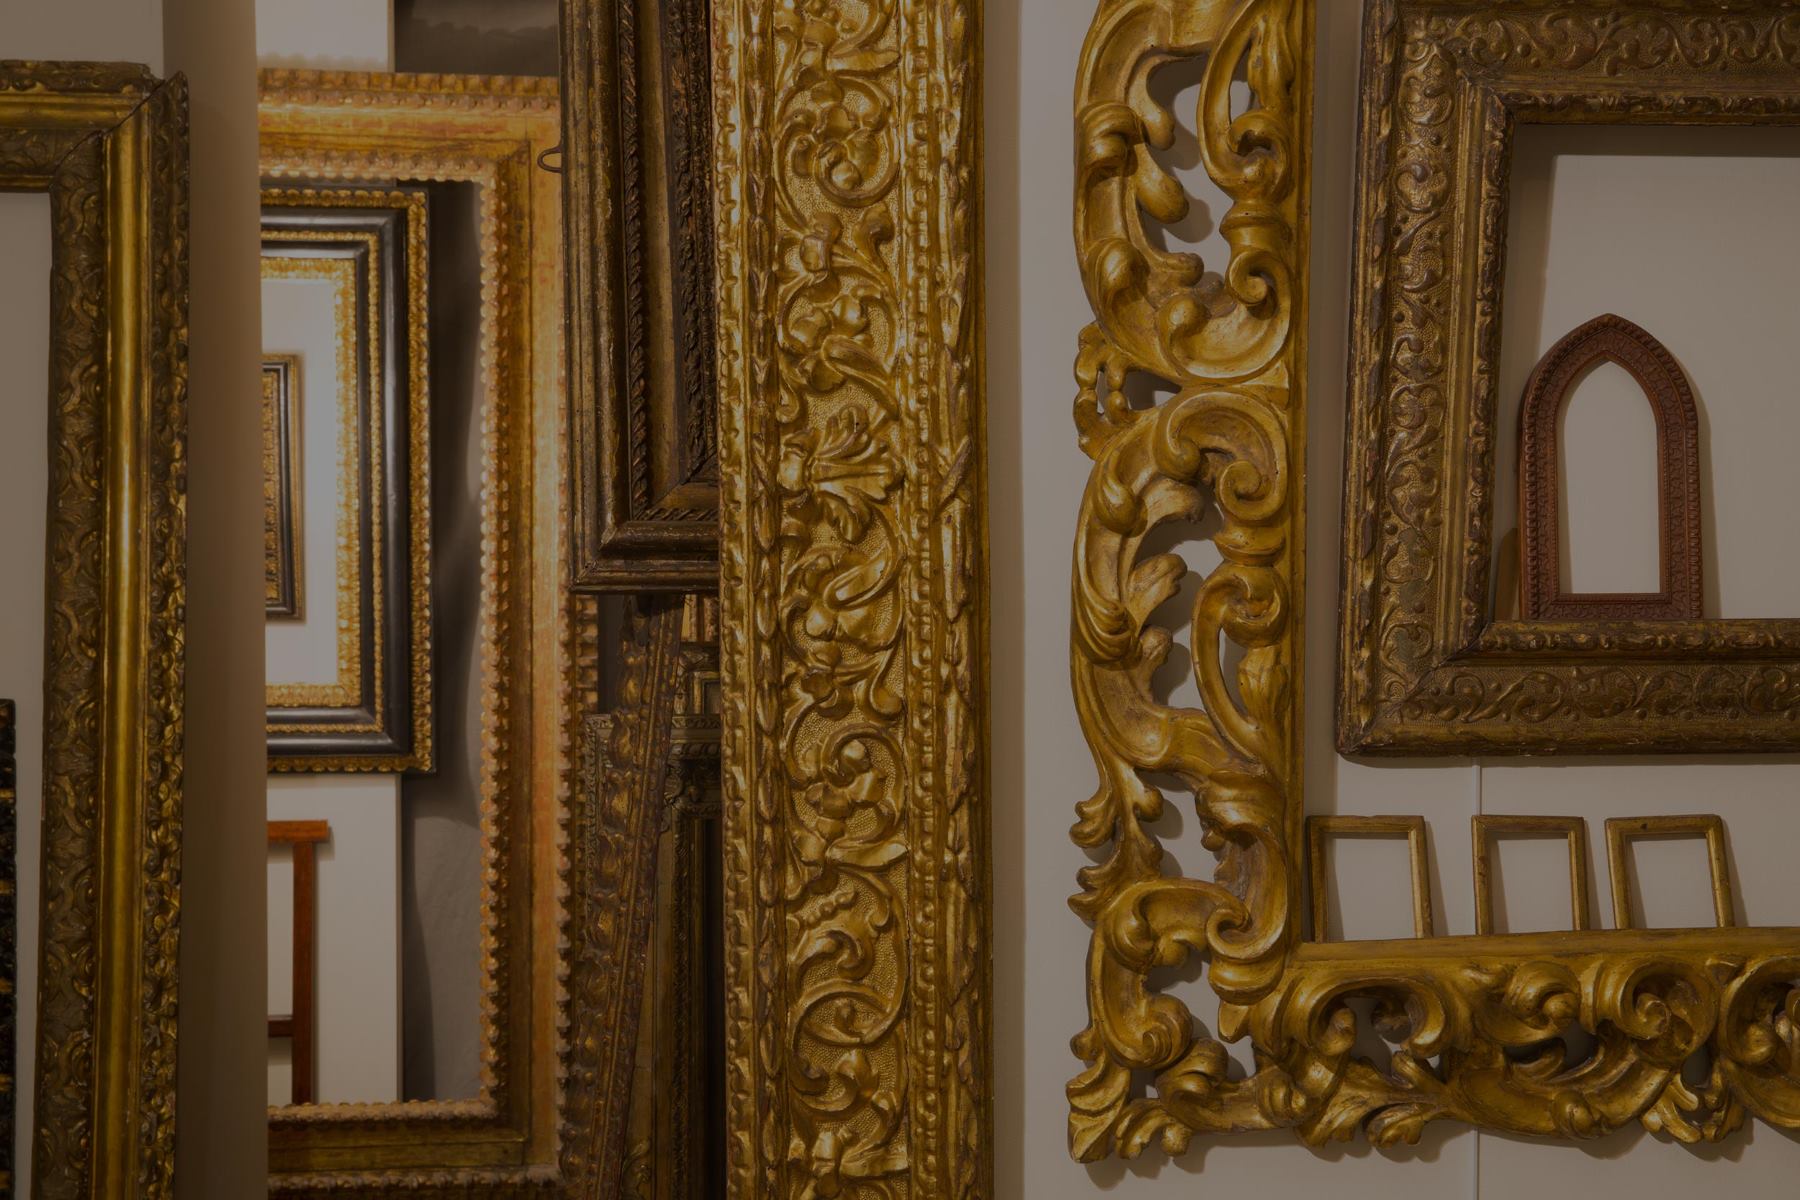
- Gilding: Gilding is a technique that involves applying a thin layer of gold or silver leaf to the frame. This adds a luxurious and elegant touch. Apply a special adhesive or use gold/silver leaf sheets to carefully transfer the metal to the frame’s surface. Seal it with a clear finishing spray for protection.
- Texture Painting: If you want to add texture to your frame, consider using texture mediums or texture paints. These products create a raised or textured surface when applied to the frame. Use a palette knife or a textured roller to create unique patterns and designs.
- Glazing: Glazing is a technique used to create translucent layers of color on the frame. It adds depth and richness to the paint job. Apply a glaze mixture over the dried base coat, and then use a soft brush or cloth to gently remove some of the glaze, creating a subtle color shift and dimension.
Remember to practice these techniques on a test surface or spare piece of wood to get the desired effect before applying them to your frame. Take your time and pay attention to detail to ensure a professional and refined finish.
Once you have completed the finishing techniques, it’s important to seal and protect the painted frame to ensure its longevity and durability.
Sealing and Protecting the Painted Frame
After investing time and effort into painting and enhancing your picture frame, it’s crucial to seal and protect the painted surface. This step will help preserve the paint, prevent chipping or fading, and ensure the longevity of your frame. Follow these steps to seal and protect your painted frame:
- Choose the Right Sealant: Select a sealant that is suitable for your frame’s material and the type of paint you used. Consider factors such as whether the frame will be displayed indoors or outdoors, as well as the level of gloss or matte finish you desire.
- Prepare the Surface: Ensure the painted surface is clean and free from any dust or debris. If necessary, lightly sand any rough or uneven areas to create a smooth surface.
- Apply the Sealant: Use a brush, roller, or spray applicator to apply the sealant evenly on the frame’s surface. Work in thin and even layers to avoid drips or pooling. Follow the manufacturer’s instructions regarding the drying time and number of coats needed.
- Allow Proper Drying Time: It’s crucial to allow the sealant to dry completely before handling or manipulating the frame. Follow the recommended drying time provided by the manufacturer to ensure the sealant sets and provides adequate protection.
- Consider Additional Protection: Depending on the intended use and environment of the frame, you may want to consider additional protective measures. For frames displayed outdoors or in high-humidity areas, applying a UV-resistant sealant or using a weatherproofing spray can help protect the frame from sun damage and moisture.
- Maintain and Clean: Once the sealant has fully dried, it’s important to maintain and clean your painted frame properly. Avoid using harsh chemicals or abrasive cleaners that can damage the sealant or paint. Instead, use a soft cloth or a mild soapy solution to gently clean the surface when needed.
By sealing and protecting your painted frame, you can ensure that it remains vibrant and well-preserved for years to come. It will also be easier to maintain and clean, allowing you to enjoy the beauty of your frame without worry.
With the frame sealed and protected, all that’s left is to display and enjoy your painted picture frames!
Displaying and Enjoying Your Painted Picture Frames
Now that you have completed the process of painting, enhancing, and protecting your picture frames, it’s time to display and enjoy the fruits of your labor. Here are some tips for showcasing your painted frames in a visually appealing and impactful way:
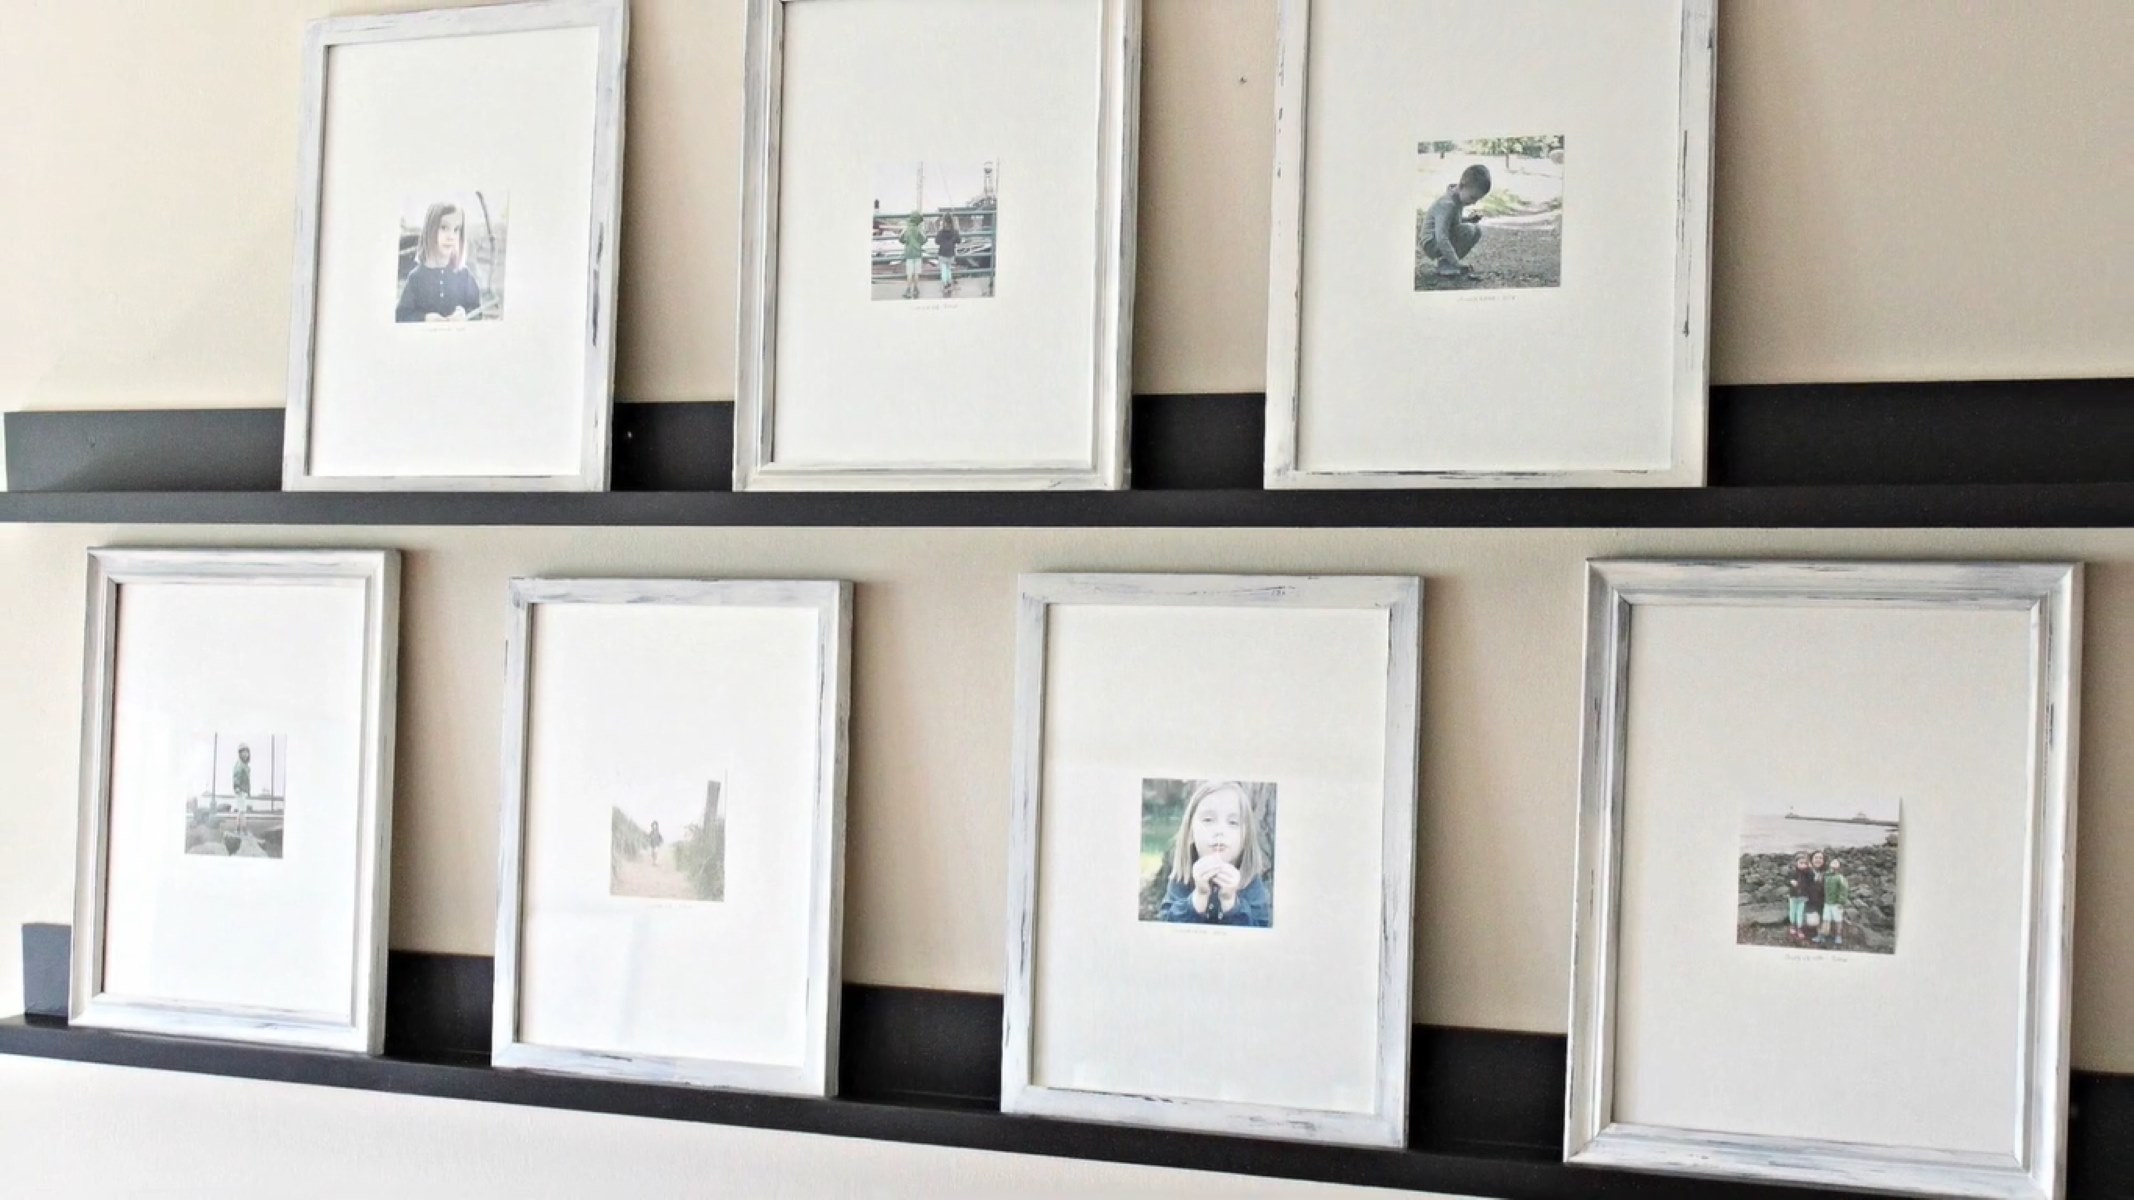
- Choose the Perfect Location: Consider where you want to display your painted frames. Look for a prominent spot that enhances the overall aesthetic of the room and ensures maximum visibility. Options could include walls, shelves, mantels, or even table surfaces.
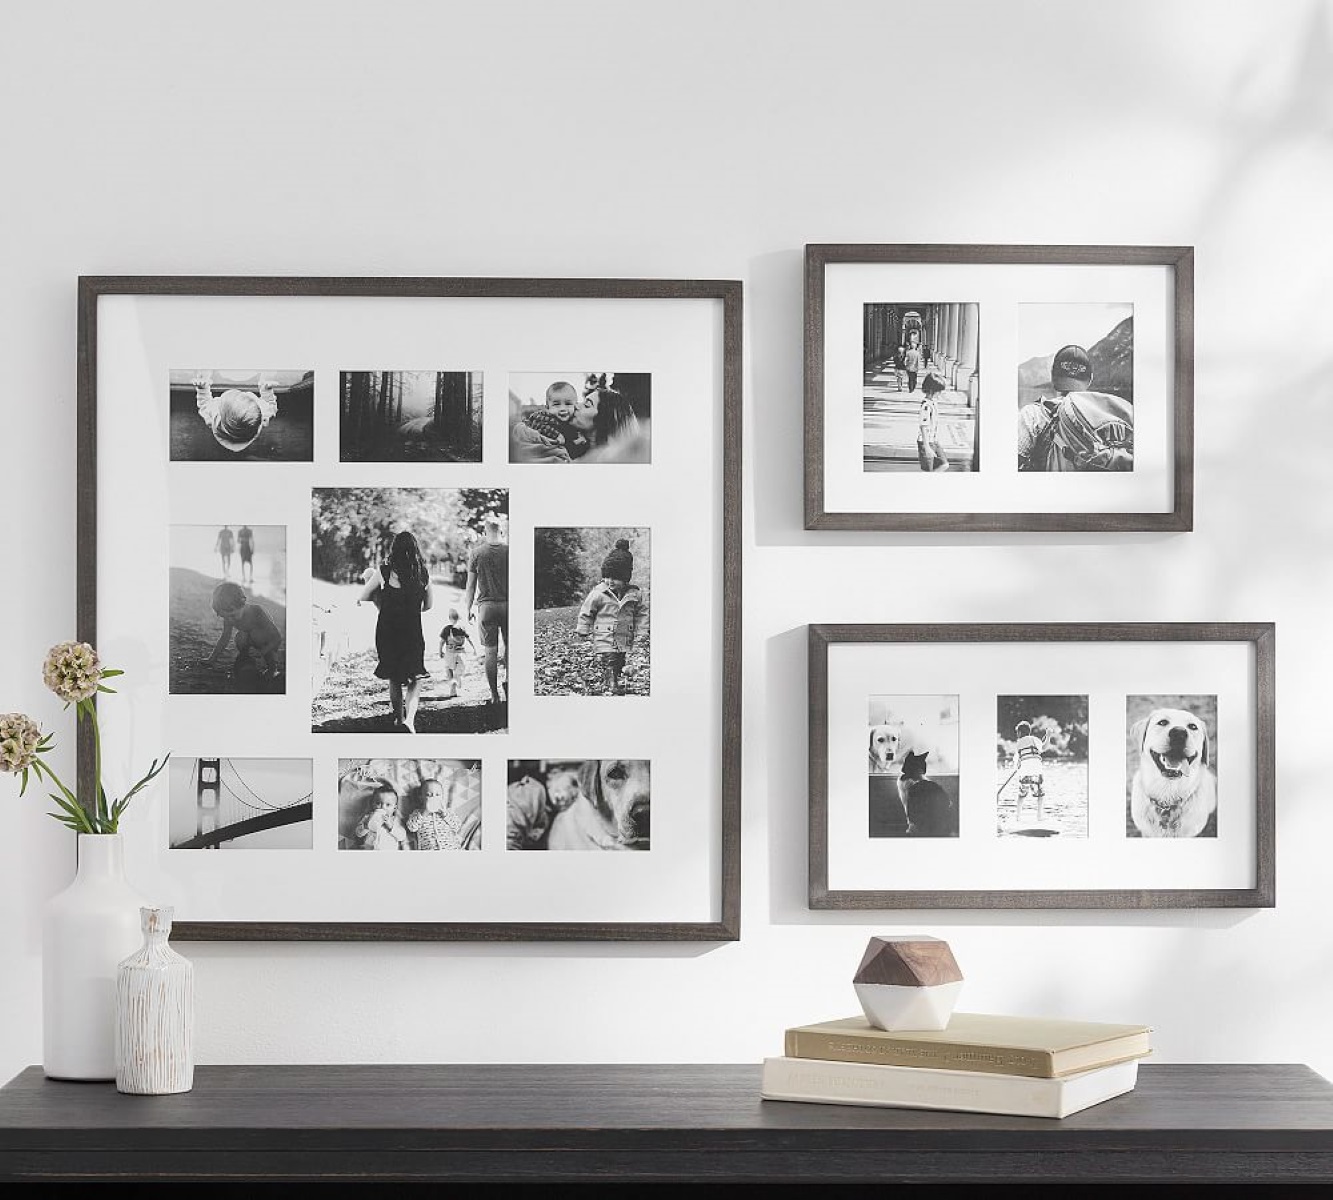
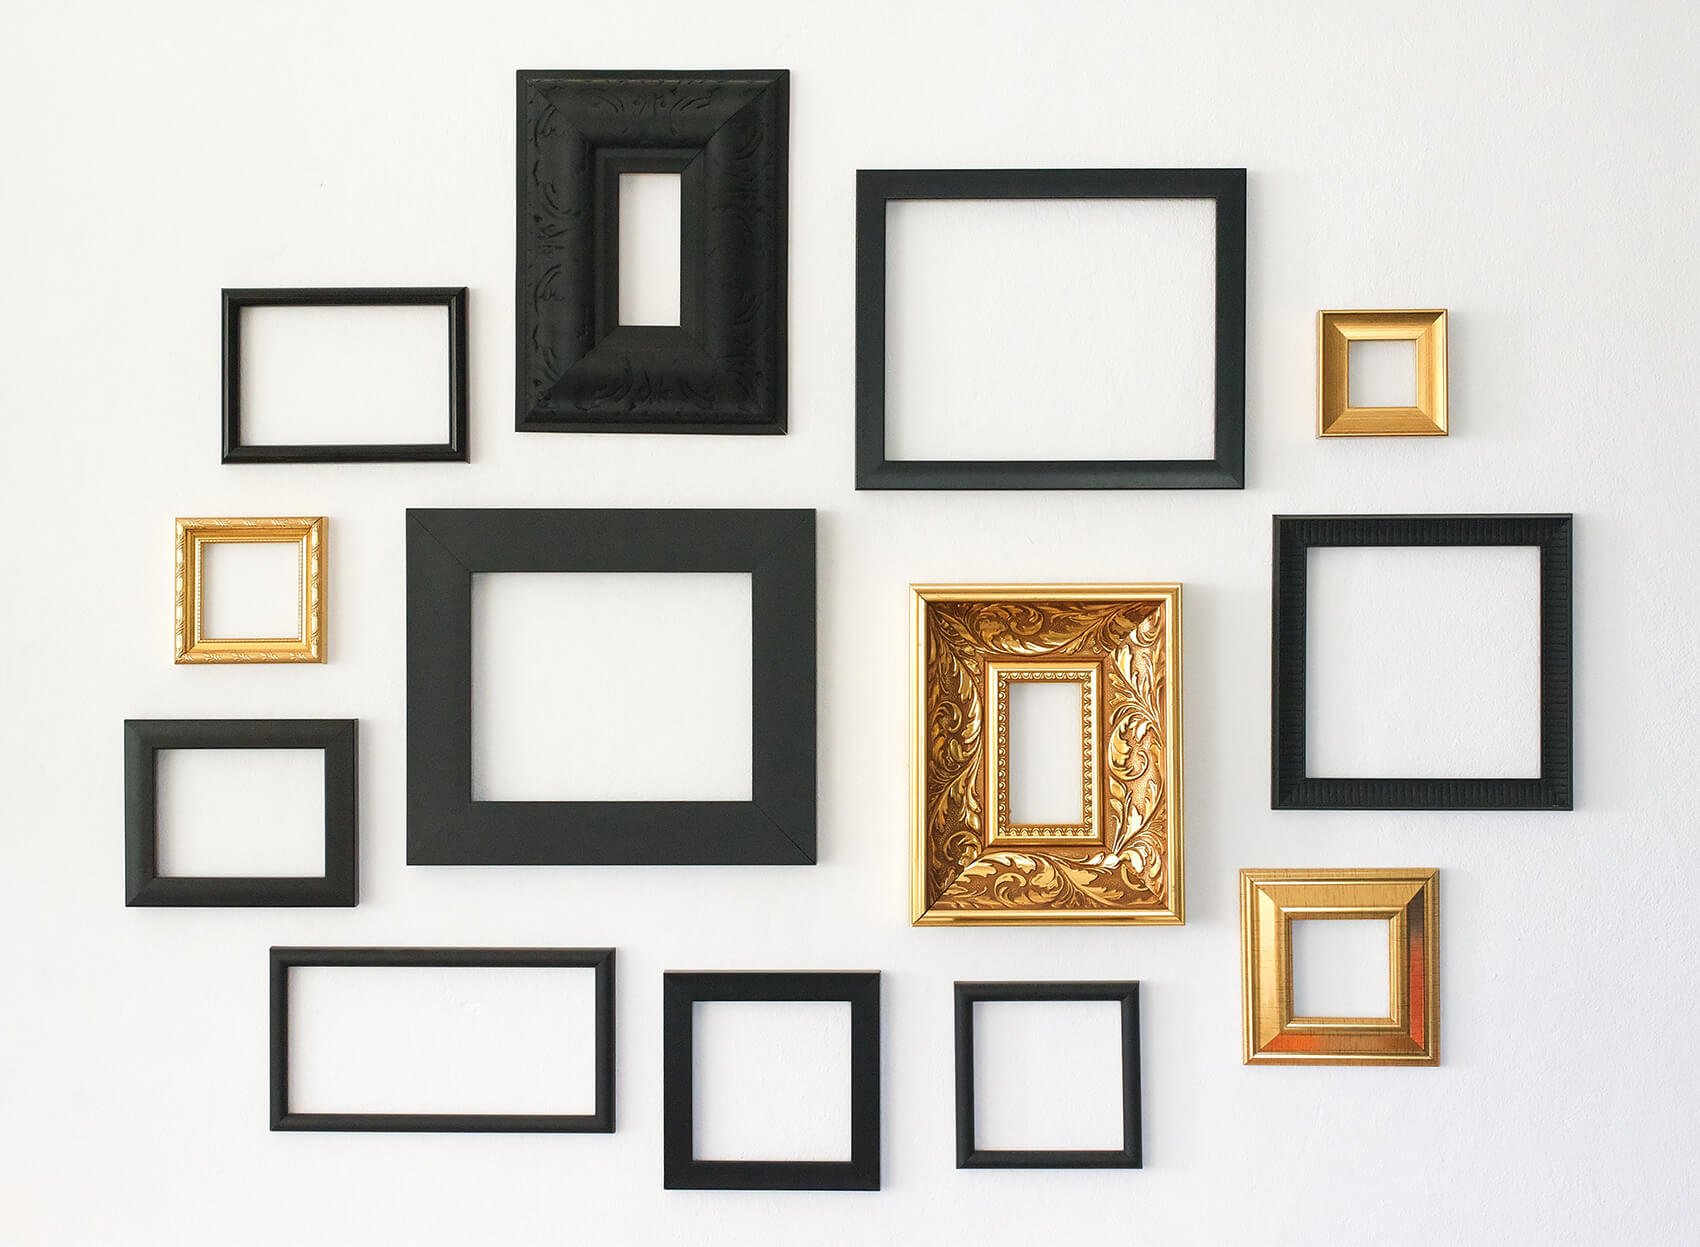
- Create a Gallery Wall: If you have several painted frames or want to showcase a collection of frames, consider creating a gallery wall. Arrange your frames in a visually pleasing pattern or grid layout for a stunning and cohesive display.
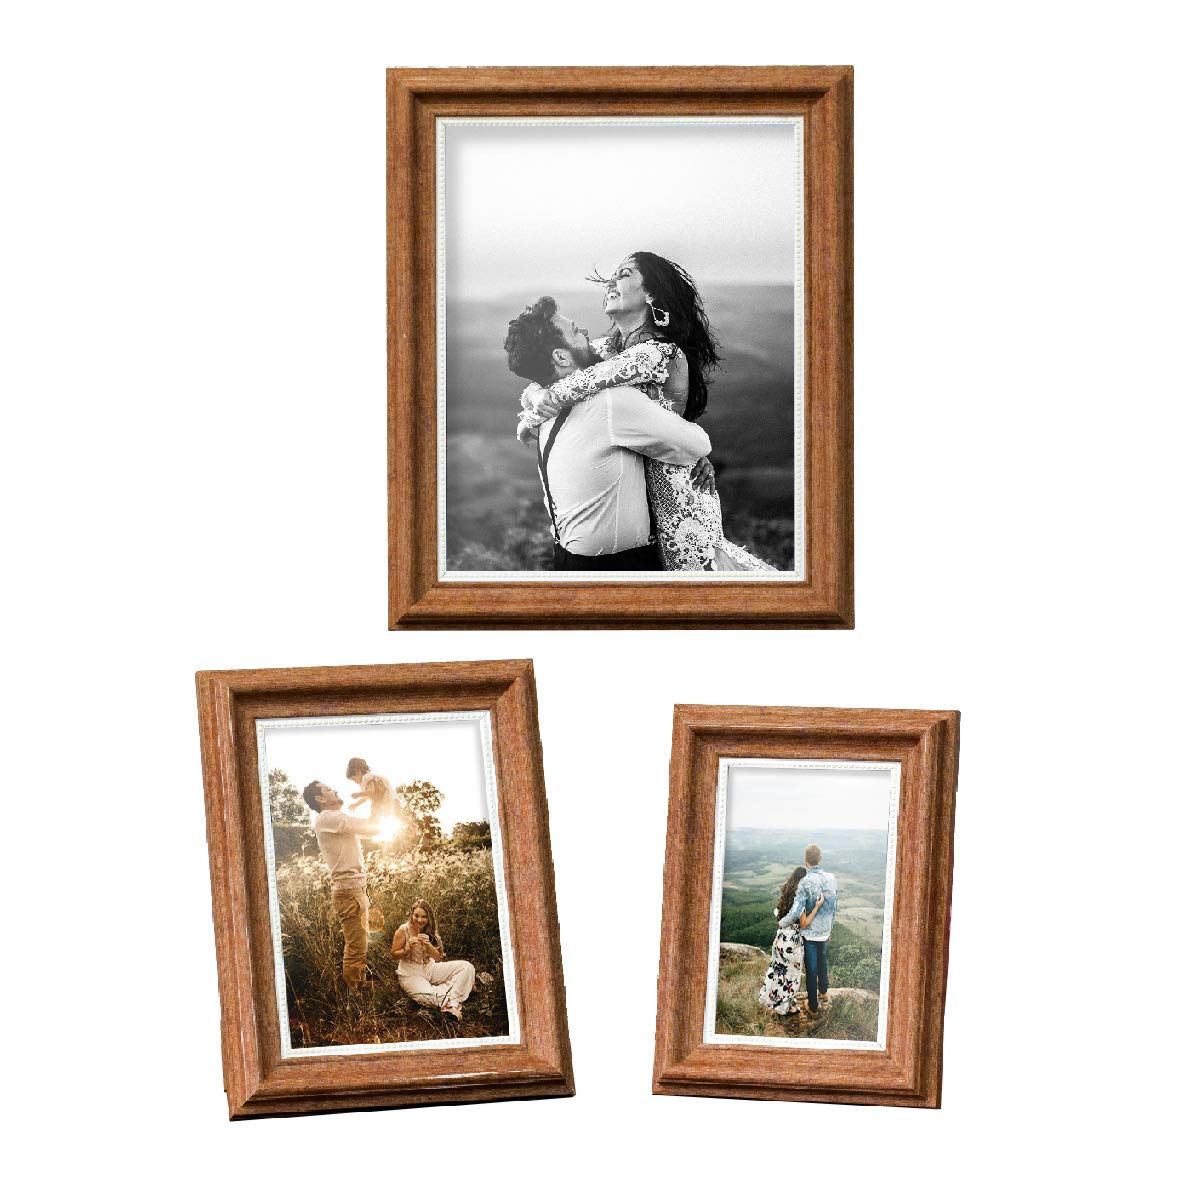
- Mix and Match: Don’t be afraid to mix and match different frame sizes, colors, and shapes. The combination of various painted frames can add an eclectic and personalized touch to your space.
- Vary the Artwork or Photographs: Change up the artwork or photographs inside your painted frames to keep things fresh and interesting. Rotate different pieces or switch them out seasonally to add variety to your display.
- Consider Lighting: Proper lighting can greatly enhance the impact of your painted frames. Use spotlights, track lighting, or wall sconces to illuminate the frames and draw attention to their beauty. Experiment with different lighting angles and intensities to create the desired ambiance.
- Layer with Decorative Items: Layer your painted frames with other decorative elements such as plants, sculptures, or other cherished objects. This adds depth and dimension to your display and creates an inviting and personalized arrangement.
- Change the Backdrop: Consider changing the backdrop behind your painted frames to create a striking contrast or complementary background. You can use wallpaper, fabric, or even paint a feature wall to make your frames truly stand out.
- Showcase Special Moments: Select meaningful photographs, artwork, or mementos to display in your painted frames. These can be cherished memories, milestones, or items that hold sentimental value. Seeing these special moments on display will evoke feelings of joy and nostalgia.
Remember, displaying your painted picture frames is not only about showcasing your creativity but also about creating a meaningful and personalized space. Select frames and artwork that resonate with your style and personality, and don’t be afraid to switch things up or experiment with different arrangements to keep your display fresh and inspiring.
By following these tips, you can create a stunning and customized display that will bring joy and beauty to your home or any space where your painted frames are showcased.
With that, you have completed the journey of painting, enhancing, protecting, and displaying your picture frames. Enjoy the beauty and artistry you have created, and let your painted frames become a treasured part of your home’s decor.
Read more: How To Travel With Picture Frames
Conclusion
Congratulations on completing this comprehensive guide on how to paint picture frames! You have learned the step-by-step process of transforming ordinary frames into works of art that reflect your personal style and enhance your home’s decor. From choosing the right frame and preparing it for painting to selecting and mixing colors, applying the base coat, adding decorative elements, enhancing with finishing techniques, and sealing and protecting the painted frame, you have gained valuable insights and techniques to create beautiful and customized picture frames.
Remember, painting picture frames is not only a creative outlet but also a way to add a personal touch to your living space. Each step in the process requires attention to detail and patience, but the end result is well worth it. Your painted frames will not only protect and preserve your cherished memories but also become statement pieces that catch the eye and spark conversations.
As you continue your journey of painting picture frames, don’t hesitate to experiment, try new techniques, and let your creativity shine. Every frame is an opportunity for artistic expression and a chance to add a unique touch to your home decor. Remember to incorporate your personal style and preferences, whether it’s through color choices, decorative elements, or the overall arrangement of your frames.
Now that you have learned how to paint picture frames, it’s time to put your knowledge into practice. Start exploring thrift stores, antique shops, or your own collection of frames and let your imagination guide you. With patience, practice, and a little bit of creativity, you can transform any frame into a stunning masterpiece that adds beauty and personalization to your living space.
So, pick up your paintbrushes and get ready to embark on a journey of artistic expression and home decor transformation. Let your painted picture frames become a reflection of your unique style, memories, and creativity. Enjoy the process, and may your frames bring joy and inspiration to your space for years to come!
Frequently Asked Questions about How To Paint Picture Frames
Was this page helpful?
At Storables.com, we guarantee accurate and reliable information. Our content, validated by Expert Board Contributors, is crafted following stringent Editorial Policies. We're committed to providing you with well-researched, expert-backed insights for all your informational needs.


0 thoughts on “How To Paint Picture Frames”