Articles
How To Add Wallpaper To Your Ceiling
Modified: March 19, 2024
Discover the best techniques and step-by-step instructions in our comprehensive articles on how to wallpaper your ceiling. Transform your space with ease and create a stunning design statement.
(Many of the links in this article redirect to a specific reviewed product. Your purchase of these products through affiliate links helps to generate commission for Storables.com, at no extra cost. Learn more)
Introduction
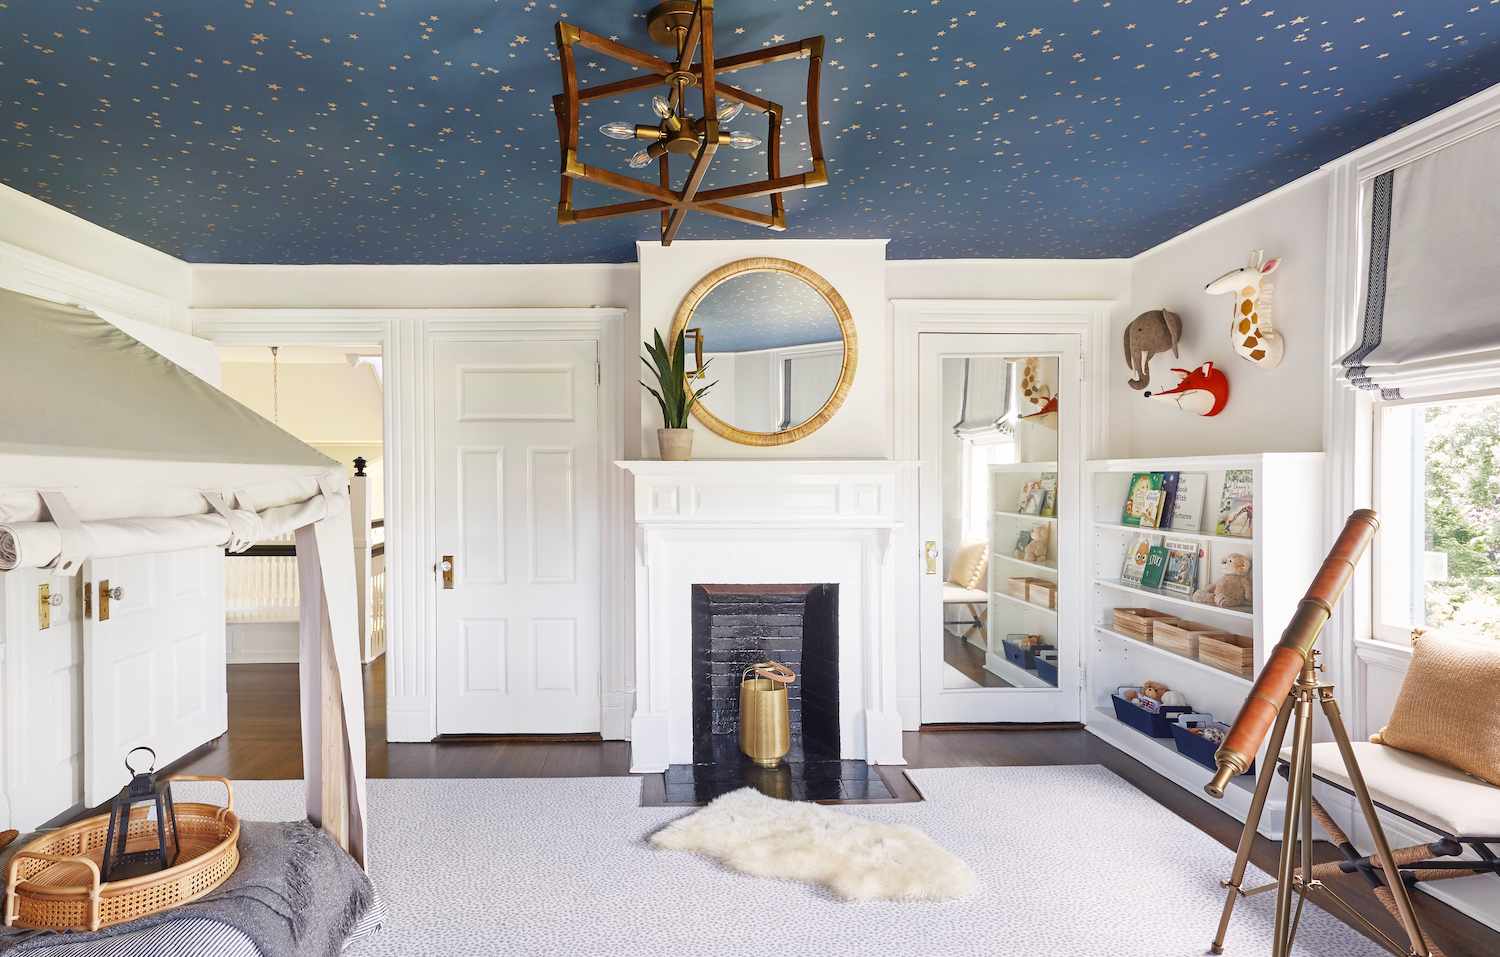
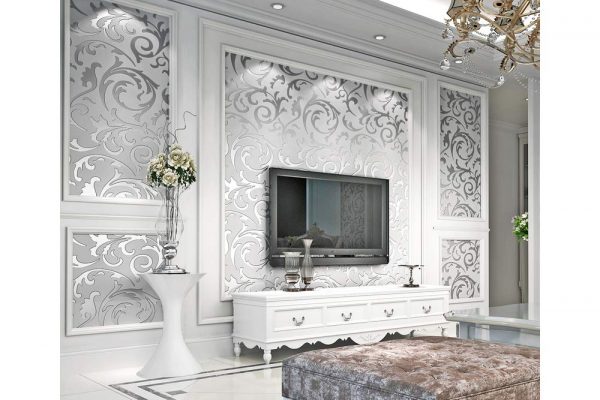
Adding wallpaper to your ceiling is a fantastic way to transform the look and feel of any room. It can bring character, depth, and a touch of elegance to your space. Wallpapering a ceiling may seem like a daunting task, but with the right preparation and techniques, it can be a rewarding and enjoyable project.
In this article, we will guide you through the step-by-step process of wallpapering a ceiling. From gathering the necessary materials to applying the wallpaper and adding finishing touches, you’ll learn everything you need to know to successfully wallpaper your ceiling.
Before we dive in, it’s important to note that wallpapering a ceiling requires some physical effort and attention to detail. It’s a project that may take some time, but the end result will be well worth it. So roll up your sleeves, put on your creativity hat, and let’s get started!
Key Takeaways:
- Elevate any room with a captivating and elegant touch by wallpapering the ceiling. Follow the step-by-step guide for a rewarding and visually stunning transformation.
- Unleash your creativity and confidence in wallpapering your ceiling. With patience and attention to detail, achieve a professional and flawless finish that will be a conversation starter in your space.
Step 1: Gather the necessary materials
Before you begin wallpapering your ceiling, make sure you have all the materials and tools you’ll need. Here’s a list of what you should have on hand:
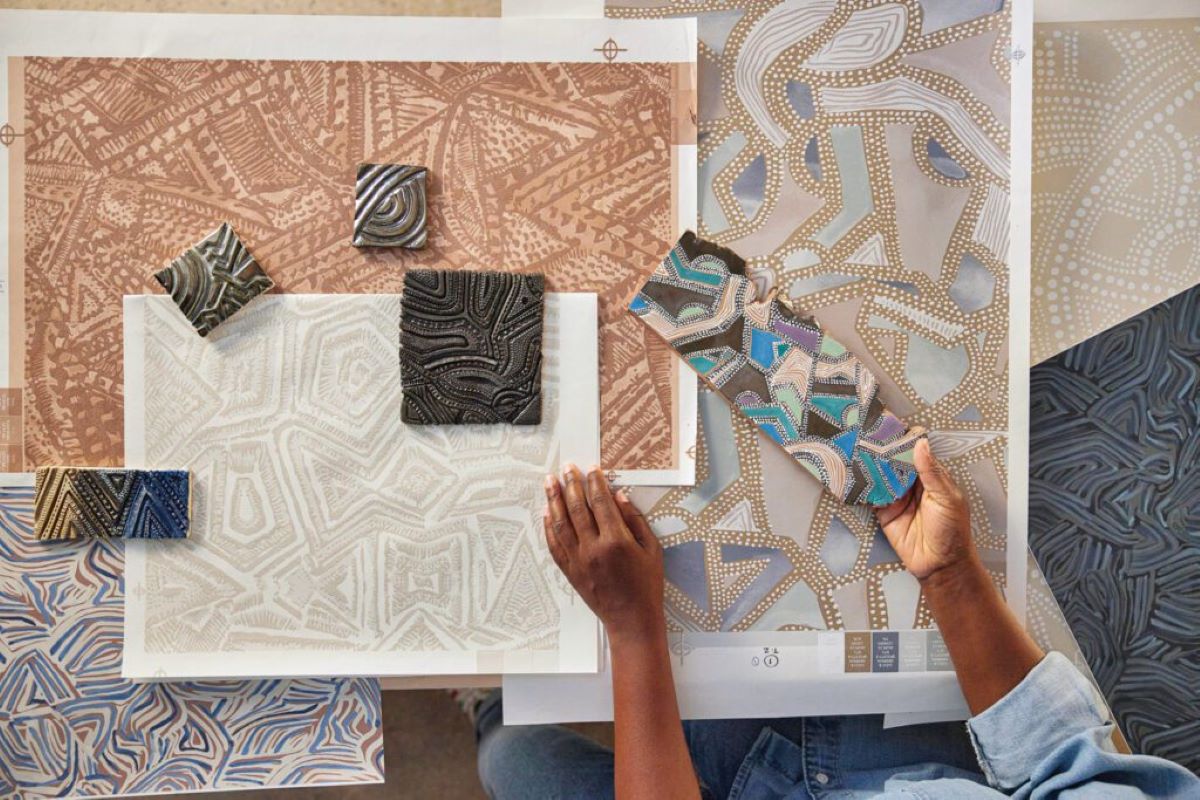
- Wallpaper: Choose a design and pattern that suits your style and complements the overall decor of the room. Make sure to measure the ceiling accurately so that you can purchase enough wallpaper to cover the entire area.
- Wallpaper adhesive: Select an adhesive that is specifically designed for wallpaper. Check the manufacturer’s instructions to ensure it is suitable for use on ceilings.
- Wallpaper brush or roller: This will help smooth out the wallpaper and remove any air bubbles or wrinkles.
- Measuring tape: Use a measuring tape to accurately measure the dimensions of the ceiling. This will ensure that you cut the wallpaper to the correct size.
- Utility knife: A sharp utility knife will be needed to cut the wallpaper to the appropriate size and to trim any excess.
- Sponge or damp cloth: This will be used to clean the ceiling before applying the wallpaper, ensuring a smooth surface for adhesion.
- Ladder or step stool: Depending on the height of your ceiling, you may need a ladder or step stool to reach the ceiling comfortably and safely.
- Drop cloths or old sheets: To protect your floor and furniture from any adhesive or wallpaper paste, lay down drop cloths or old sheets.
- Painter’s tape: Use painter’s tape to mark any areas that you want to keep wallpaper-free, such as light fixtures or vents.
- Optional: Wallpaper primer: If your ceiling has a glossy or textured surface, consider applying a wallpaper primer to ensure better adhesion.
Once you have gathered all the necessary materials, you’re ready to move on to the next step: preparing the ceiling for wallpaper application.
Step 2: Prepare the ceiling
Before applying wallpaper to your ceiling, it’s important to properly prepare the surface. This will ensure a smooth and long-lasting result. Follow these steps to prepare your ceiling:
- Clean the ceiling: Use a sponge or damp cloth to wipe down the ceiling, removing any dust, dirt, or grease. Make sure the surface is dry before moving on to the next step.
- Repair any imperfections: Inspect the ceiling for any cracks, holes, or other imperfections. Fill in these areas with spackling compound or lightweight filler. Allow the filler to dry completely, and then sand it gently to create a smooth surface.
- Remove any loose paint or wallpaper: If there are any areas where the paint or wallpaper is peeling or flaking, use a scraper or sandpaper to remove them. Ensure that the surface is smooth and free from any loose debris.
- Apply a primer (if necessary): If your ceiling has a glossy or textured surface, or if you are covering up a dark color, it’s recommended to apply a primer. This will create a better surface for the wallpaper adhesive to adhere to. Follow the manufacturer’s instructions for the specific primer you are using.
- Protect the surrounding area: Place drop cloths or old sheets on the floor and furniture to protect them from any adhesive or wallpaper paste that may drip or splatter during the application process.
By taking the time to properly prepare your ceiling, you will ensure a smooth and flawless finish for your wallpaper. Once you’ve completed these steps, you’re ready to move on to measuring and cutting the wallpaper in the next step.
Step 3: Measure and cut the wallpaper
Accurate measurements and precise cutting are crucial when wallpapering a ceiling. Follow these steps to measure and cut the wallpaper:
- Measure the ceiling dimensions: Use a measuring tape to measure the length and width of the ceiling. Add a few extra inches to each measurement to account for any pattern matching or trimming that may be needed.
- Mark the wallpaper: Lay the wallpaper on a flat surface with the design side facing down. Use a pencil or a light colored marker to mark the measurements of the ceiling on the back of the wallpaper. Double-check the markings to ensure accuracy.
- Cut the wallpaper: Using a sharp utility knife and a straight edge as a guide, carefully cut along the marked lines to create strips of wallpaper. Take your time and make clean and precise cuts.
- Number the wallpaper strips: To keep track of the order in which the wallpaper strips should be installed, lightly number the back of each strip with a pencil. This will help you stay organized during the installation process.
- Book the wallpaper: If the wallpaper manufacturer’s instructions recommend it, you can “book” the wallpaper strips. This involves folding the cut strips in on themselves, with the adhesive sides touching. This allows the adhesive to activate and the paper to relax before installation.
It’s important to be careful and precise when measuring and cutting the wallpaper. Taking your time in this step will ensure that the wallpaper fits perfectly on the ceiling and matches up seamlessly. Once you’ve completed this step, you’re ready to move on to applying the wallpaper adhesive in the next step.
Step 4: Apply wallpaper adhesive
Now that you have your wallpaper cut and prepared, it’s time to apply the wallpaper adhesive to ensure proper adhesion to the ceiling. Follow these steps to apply the adhesive:
- Read the manufacturer’s instructions: Different wallpaper adhesives may have different application instructions, so it’s important to read and follow the specific guidelines provided by the adhesive manufacturer.
- Prepare the adhesive: Mix the wallpaper adhesive according to the manufacturer’s instructions. Make sure to achieve a smooth and lump-free consistency.
- Apply the adhesive: Using a roller or a brush, apply a generous and even coat of adhesive to the back of one strip of wallpaper. Ensure that the entire surface is covered with adhesive, paying extra attention to the edges.
- Fold the adhesive-coated strip: Once the adhesive is applied, carefully fold the strip in on itself, with the adhesive sides facing each other. This technique is known as “booking” and allows the adhesive to activate and the paper to relax before installation.
- Let it rest: Allow the booked strip to rest for the duration recommended by the adhesive manufacturer. This will vary depending on the specific adhesive used.
- Continue with the remaining strips: Repeat the process of applying adhesive, booking, and resting for each strip of wallpaper until all are prepared and ready for installation.
By following these steps and adhering to the manufacturer’s instructions, you will ensure that the adhesive is applied properly and allows for optimal adhesion of the wallpaper to the ceiling. Once you have completed this step, you’re ready to move on to installing the wallpaper on the ceiling in the next step.
Read more: How To Add A Porch To Your House
Step 5: Install the wallpaper on the ceiling
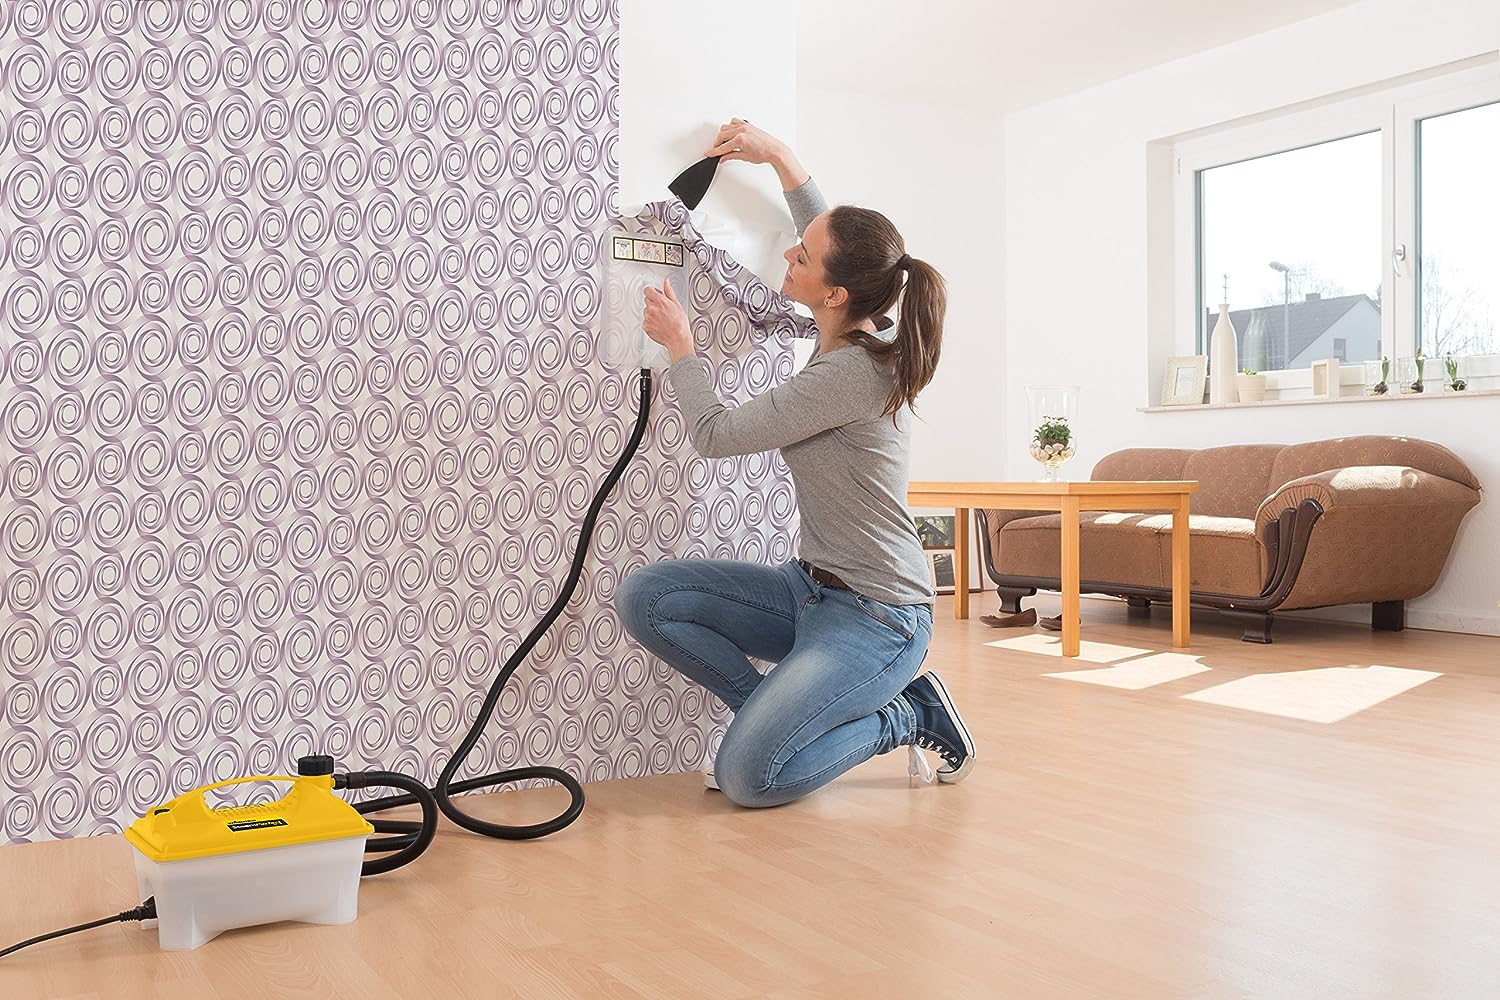
With the wallpaper adhesive applied and the strips booked, it’s time to install the wallpaper on the ceiling. Follow these steps for a smooth and successful installation:
- Start in a corner: Begin in a corner of the room, preferably the corner that is least visible or least noticeable. This will allow you to align the wallpaper properly and make any necessary adjustments.
- Unfold the booked strip: Unfold the booked strip of wallpaper, starting from the top. Be careful not to let the adhesive side touch anything until it’s in position on the ceiling.
- Align the wallpaper: Align the top edge of the wallpaper strip with the ceiling corner or the guideline you have marked. Ensure that it is straight and well-positioned before pressing it onto the ceiling.
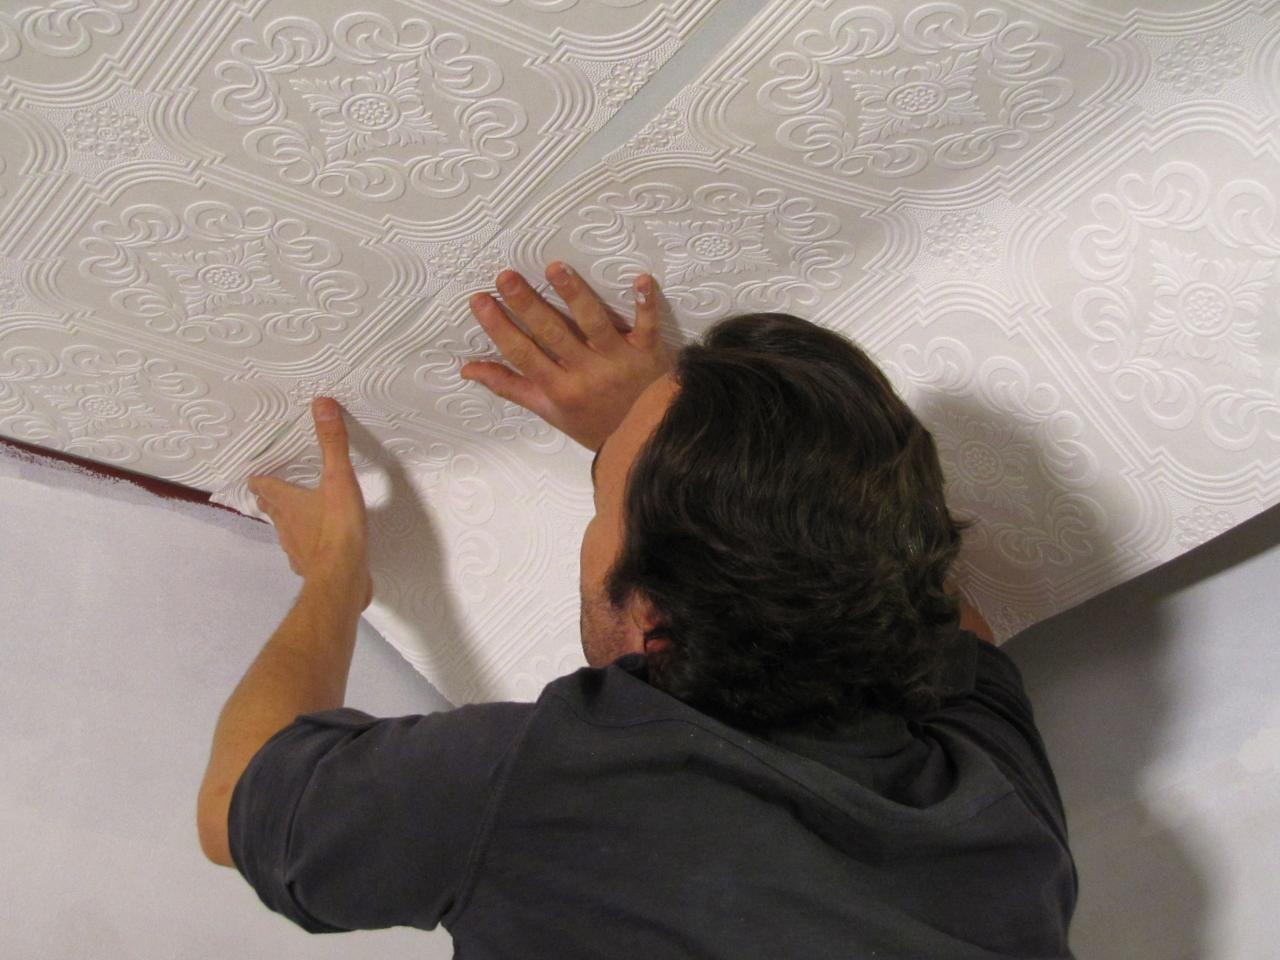
- Smooth out the wallpaper: Working from the top down, use a wallpaper brush or roller to smooth out the wallpaper and remove any air bubbles or wrinkles. Start from the center and move outward to the edges.
- Continue with the next strips: Align the next strip of wallpaper with the first one, matching the patterns if applicable. Smooth out the strip and ensure a seamless transition between each piece of wallpaper.
- Overlap the edges: When installing subsequent strips, make sure to overlap the edges slightly, usually about 1/8 inch. This will help create a seamless appearance.
- Repeat the process: Continue installing the wallpaper strips across the ceiling, working one strip at a time, until the entire ceiling is covered.
Take your time during the installation process, ensuring that each strip is aligned correctly and free from air bubbles or wrinkles. Remember to work systematically to achieve a professional-looking finish. Once you have installed all the wallpaper strips, you’re ready to move on to the next step: smoothing out any bubbles or wrinkles.
Make sure to measure the ceiling area accurately before cutting the wallpaper. Use a good quality adhesive to ensure the wallpaper stays in place. Smooth out any air bubbles for a seamless finish.
Step 6: Smooth out any bubbles or wrinkles
After you have installed the wallpaper on the ceiling, it’s important to smooth out any bubbles or wrinkles that may have formed. Here are the steps to achieve a smooth and flawless finish:
- Inspect the wallpaper: Carefully examine the ceiling to identify any areas where bubbles or wrinkles are present.
- Release trapped air: Use a wallpaper brush or a smoothing tool to gently push out any trapped air bubbles. Start from the center of the bubble and work toward the edges, smoothing out the wallpaper as you go.
- Smooth out wrinkles: If you notice any wrinkles, use the wallpaper brush or smoothing tool to carefully push them toward the edges and flatten them out.
- Be gentle: Take care not to apply too much pressure or pull on the wallpaper too forcefully, as this can damage the paper or cause it to tear.
- Inspect again: Once you have addressed the bubbles and wrinkles, inspect the ceiling again to ensure it appears smooth and even.
It’s important to be patient and meticulous during this step, as it can significantly impact the overall appearance of the wallpapered ceiling. Take your time and pay close attention to detail to achieve the desired result.
After you have smoothed out any bubbles or wrinkles, you’re ready to move on to the next step: trimming the excess wallpaper.
Step 7: Trim excess wallpaper
Once you have successfully smoothed out any bubbles or wrinkles in the wallpaper, it’s time to trim the excess edges for a clean and finished look. Follow these steps to trim the excess wallpaper:
- Inspect the edges: Carefully examine the edges of the wallpaper to identify any excess or overlapping portions.
- Use a straight edge: Place a straight edge, such as a ruler or a wallpapering guide, along the edge of the wallpaper that needs to be trimmed.
- Cut with a utility knife: Using a sharp utility knife, carefully cut along the straight edge, following a straight line. Apply gentle and steady pressure to ensure a clean and precise cut.
- Trim in sections: Work in small sections, trimming the excess wallpaper bit by bit. This will help you maintain control and avoid accidentally cutting too much.
- Trim around objects: If there are light fixtures, vents, or other objects on the ceiling, carefully measure and cut the wallpaper around them to ensure a seamless fit.
- Remove excess wallpaper: Gather and discard the trimmed excess wallpaper as you go, keeping your workspace clean and tidy.
Take your time during this step to ensure precision and accuracy in trimming the edges. A clean and well-trimmed edge will give your wallpapered ceiling a professional and polished appearance.
Once you have trimmed all the excess wallpaper, you’re ready to move on to the next step: allowing the wallpaper to dry.
Step 8: Allow the wallpaper to dry
After all the hard work of installing and trimming the wallpaper, it’s essential to allow it to dry properly. This will ensure that the adhesive sets and the wallpaper adheres securely to the ceiling. Follow these steps to allow the wallpaper to dry:
- Check drying time: Refer to the wallpaper adhesive manufacturer’s instructions to determine the recommended drying time. This can vary depending on the type of adhesive used.
- Avoid touching or disturbing the wallpaper: Once the wallpaper is installed and trimmed, refrain from touching or disturbing it while it is drying. This will help prevent any damage or shifting of the wallpaper.
- Avoid excessive moisture or humidity: During the drying process, avoid exposing the room to excessive moisture or humidity. This can interfere with the drying time and the adhesive’s ability to set properly.
- Allow adequate ventilation: Ensure the room is adequately ventilated to encourage proper drying. Open windows or use fans to promote air circulation, but be mindful of any drafts that could cause the wallpaper to move or lift.
- Monitor drying progress: Keep an eye on the wallpaper’s drying progress, checking for any signs of peeling or lifting. If you notice any issues, gently press down the affected areas and allow more time for drying.
It’s important to have patience during this step and give the wallpaper sufficient time to dry. Rushing the process may result in a compromised finish. Once the wallpaper is completely dry, you can proceed with the final step: adding finishing touches and cleaning up.
Read more: How To Add Insulation To Your Attic
Step 9: Finishing touches and clean up
Congratulations! You’ve successfully wallpapered your ceiling. Now it’s time to add those finishing touches and clean up the workspace. Follow these final steps to complete your project:
- Inspect the wallpaper: Take a moment to inspect the entire wallpapered ceiling. Check for any remaining bubbles, wrinkles, or imperfections. Address any issues by gently smoothing out or adjusting the wallpaper as needed.
- Remove painter’s tape: If you placed painter’s tape to protect light fixtures or vents, carefully remove it now to reveal the clean edges around these areas.
- Trim any missed edges: Double-check for any missed or unevenly trimmed edges of the wallpaper. Use a sharp utility knife to tidy up any areas that require additional attention.
- Clean up the workspace: Remove the drop cloths or old sheets, and dispose of any excess wallpaper scraps or adhesive containers. Vacuum or sweep the floor to ensure it is clear of any debris.
- Replace furniture and decor: Once the workspace is clean, carefully place back any furniture or decor items that were temporarily moved during the wallpapering process.
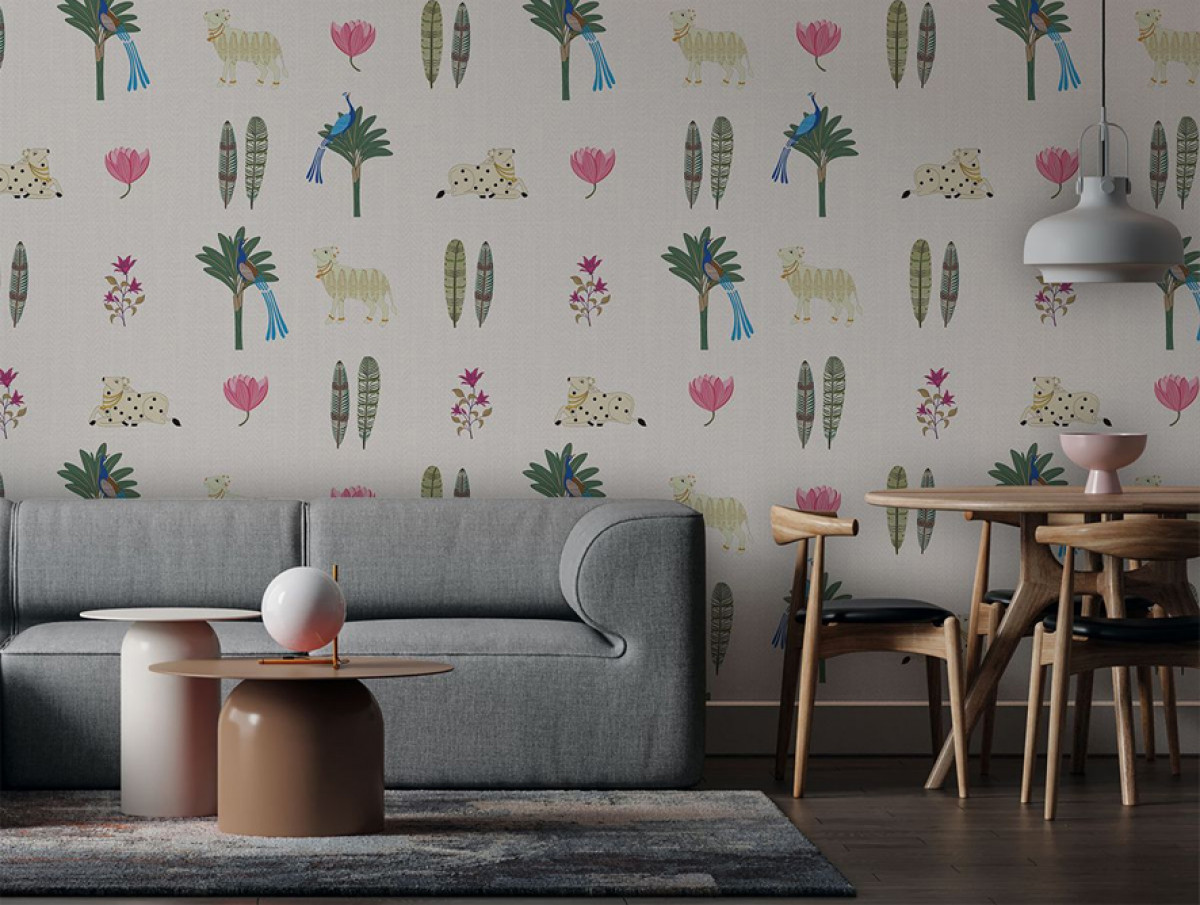
- Enjoy your newly wallpapered ceiling: Take a step back and admire your hard work. Your wallpapered ceiling has now become a stunning focal point in the room, adding warmth and personality to the space.
By adding these final touches and tidying up, you can fully appreciate the beauty of your newly wallpapered ceiling. Sit back, relax, and enjoy the transformed ambiance of your room.
As with any home improvement project, remember to follow safety guidelines and instructions provided by the wallpaper and adhesive manufacturers. Take your time, work carefully, and consult professionals if needed. Now go ahead and revel in the satisfaction of a job well done!
Conclusion
Wallpapering a ceiling can elevate the look and feel of any room, transforming it into a captivating space with a touch of elegance. While the process may seem daunting at first, following the step-by-step guide outlined in this article will ensure a successful wallpapering project.
From gathering the necessary materials to preparing the ceiling, measuring and cutting the wallpaper, applying adhesive, installing the wallpaper, and smoothing out any bubbles or wrinkles, each step is crucial to achieving a professional and flawless finish. Taking the time to properly measure, prepare, and install the wallpaper will result in a ceiling that is both visually stunning and long-lasting.
Remember to pay attention to detail, be patient, and follow the manufacturer’s instructions for the specific materials and adhesives you use. Taking these precautions will help ensure a smooth and seamless installation.
Once the wallpaper is installed and dried, the finishing touches and clean-up bring the project to a close. Take pride in your accomplishment and revel in the beauty of your newly wallpapered ceiling. It is sure to be a focal point and conversation starter in your space.
Whether you choose a bold and vibrant print or a subtle and understated design, the addition of wallpaper to your ceiling can completely transform the ambiance of a room. So why wait? With the knowledge and guidance from this article, you are now equipped to take on the task of wallpapering your ceiling with confidence.
Remember, wallpapering is a skill that improves with practice. So don’t be afraid to unleash your creativity and try new patterns and textures. Enjoy the process, have fun, and let your imagination run wild as you transform your space into a work of art.
Frequently Asked Questions about How To Add Wallpaper To Your Ceiling
Was this page helpful?
At Storables.com, we guarantee accurate and reliable information. Our content, validated by Expert Board Contributors, is crafted following stringent Editorial Policies. We're committed to providing you with well-researched, expert-backed insights for all your informational needs.


0 thoughts on “How To Add Wallpaper To Your Ceiling”