Articles
How To Fix Bathroom Ceiling
Modified: October 30, 2024
Learn effective tips and tricks to fix your bathroom ceiling with our comprehensive articles. Transform your space with our expert guidance and step-by-step instructions.
(Many of the links in this article redirect to a specific reviewed product. Your purchase of these products through affiliate links helps to generate commission for Storables.com, at no extra cost. Learn more)
Introduction
The bathroom ceiling is an essential component of any bathroom, providing protection and insulation while also adding to the overall aesthetic appeal of the space. Over time, however, bathroom ceilings can become damaged due to moisture, leaks, or simply wear and tear. A damaged bathroom ceiling not only looks unsightly but can also be a breeding ground for mold and mildew, posing potential health risks.
If you’re dealing with a damaged bathroom ceiling, don’t worry! With a little bit of time and effort, you can restore it to its former glory. In this article, we will guide you through the process of fixing a bathroom ceiling step by step, ensuring that you have a smooth and successful repair experience.
Before you dive into fixing your bathroom ceiling, it’s important to assess the extent of the damage. This will help you determine the right approach and the materials you will need. So, let’s get started!
Key Takeaways:
- Assess, prepare, and repair! Before fixing your bathroom ceiling, assess the damage, prepare the work area, and follow the step-by-step process to repair cracks, prime, and paint for a refreshed and polished look.
- Safety first, attention to detail, and patience are crucial. Prioritize safety, take your time with repairs, and enjoy the satisfaction of a job well done while restoring your bathroom ceiling.
Read more: How To Fix Bubble In Ceiling
Step 1: Assess the Ceiling Damage
The first step in fixing your bathroom ceiling is to assess the extent of the damage. This will help you determine if the damage is minor and can be repaired with a simple touch-up or if it requires more extensive repairs.
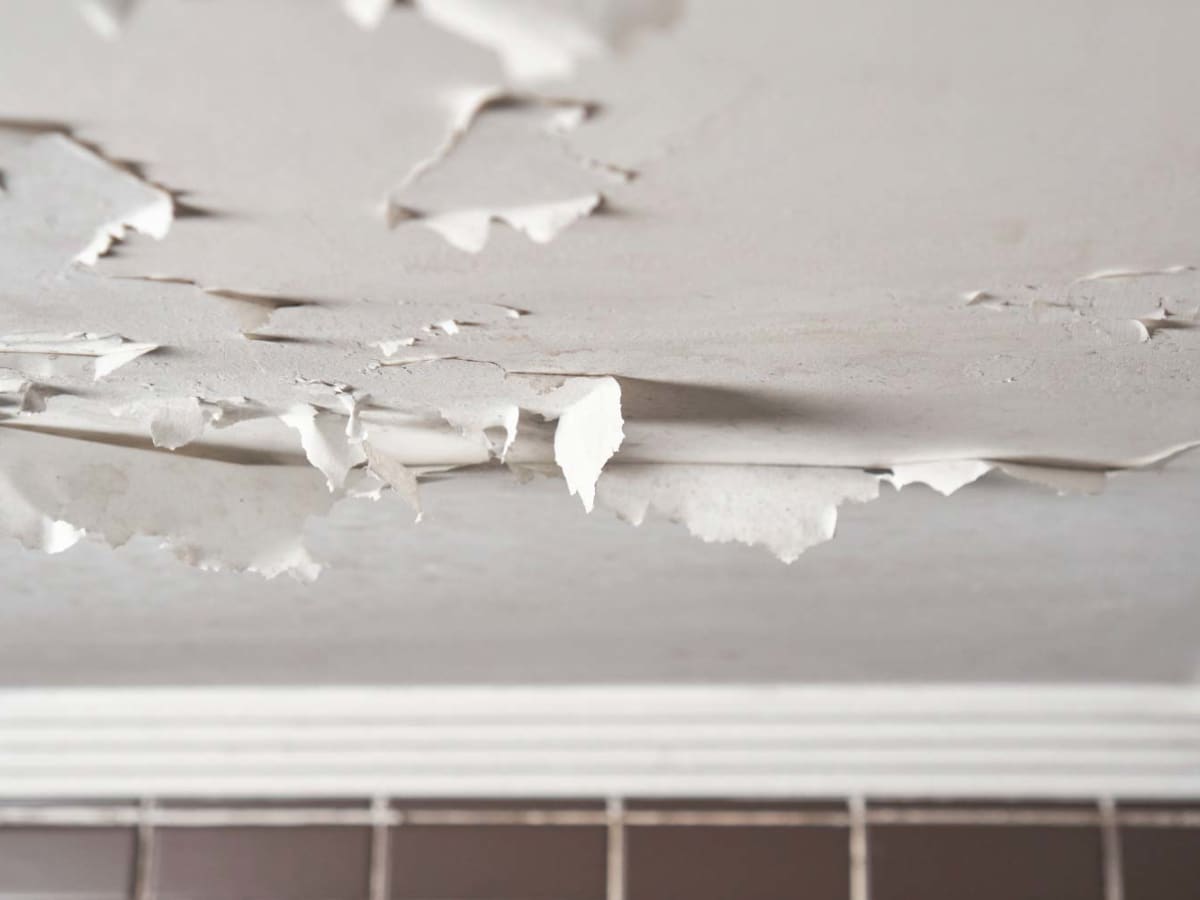
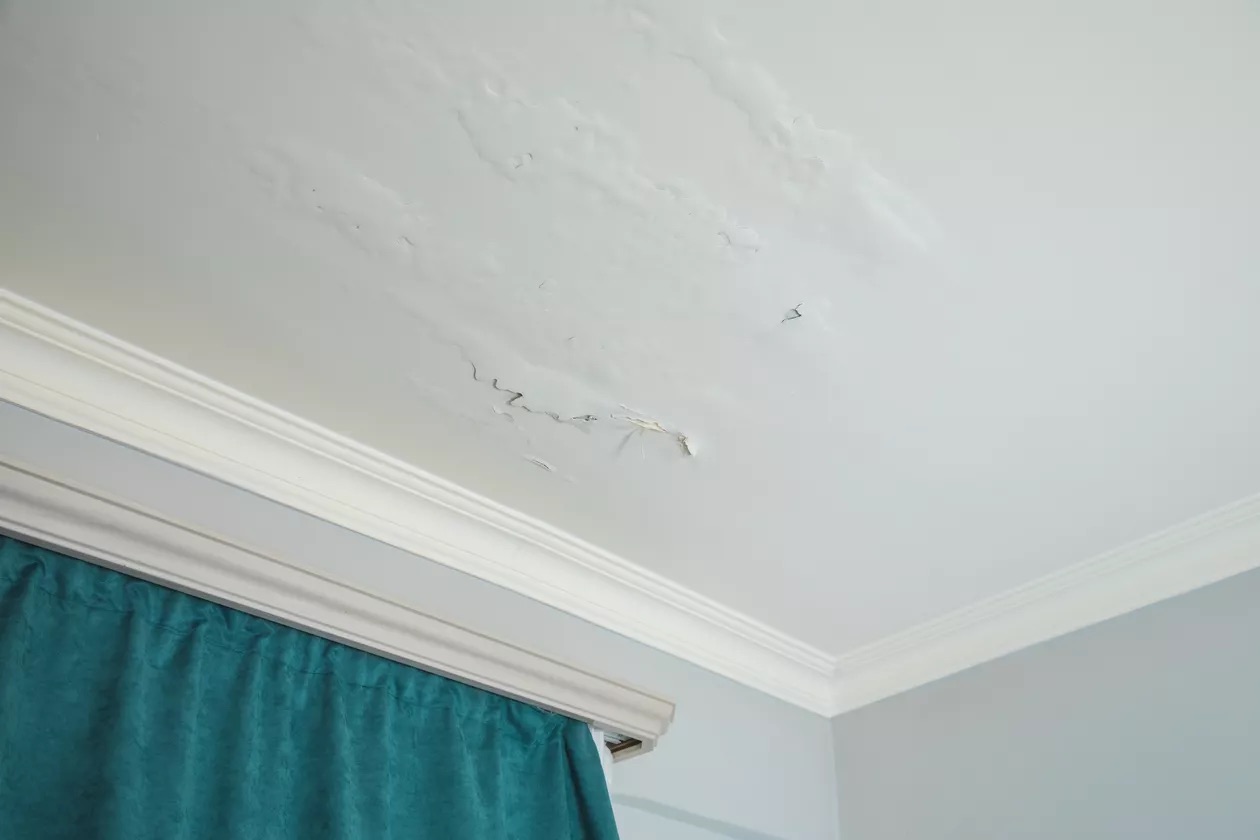
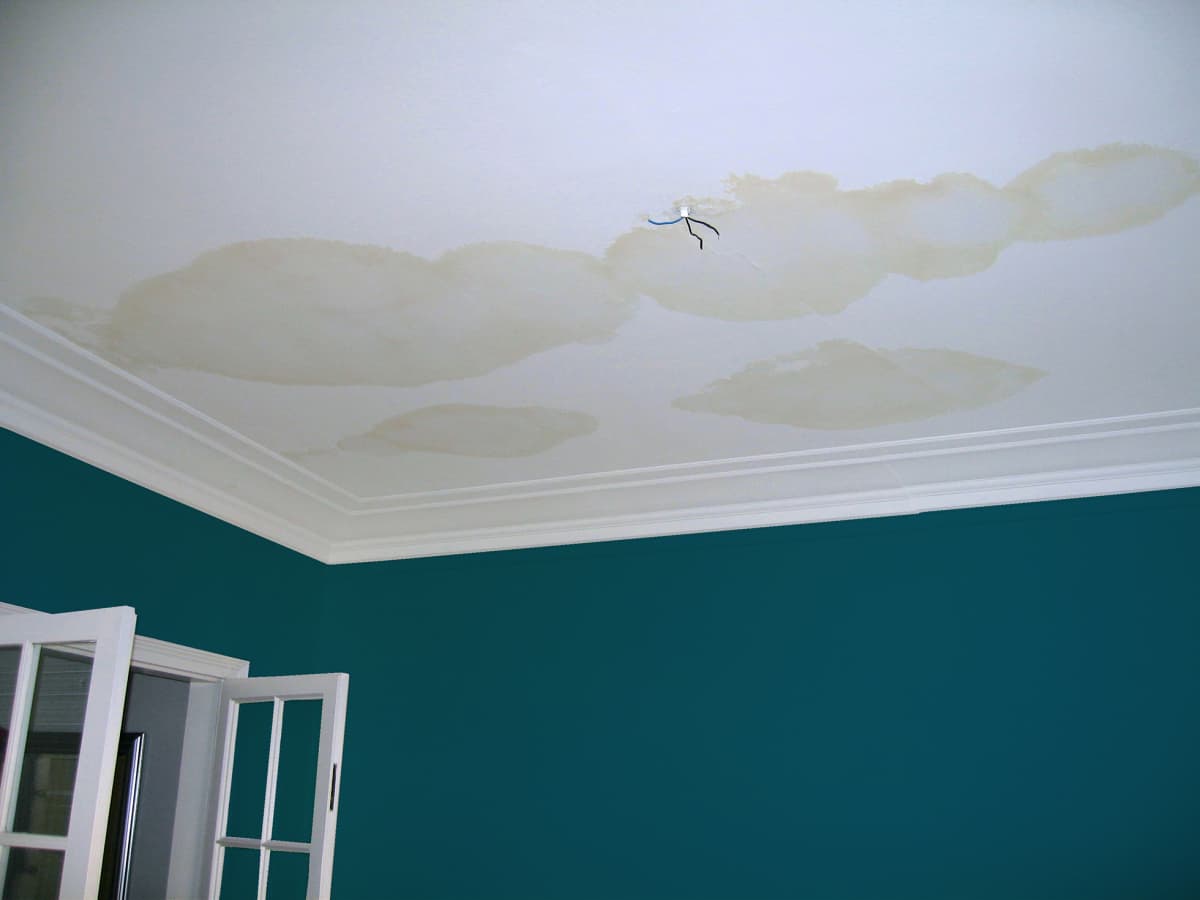
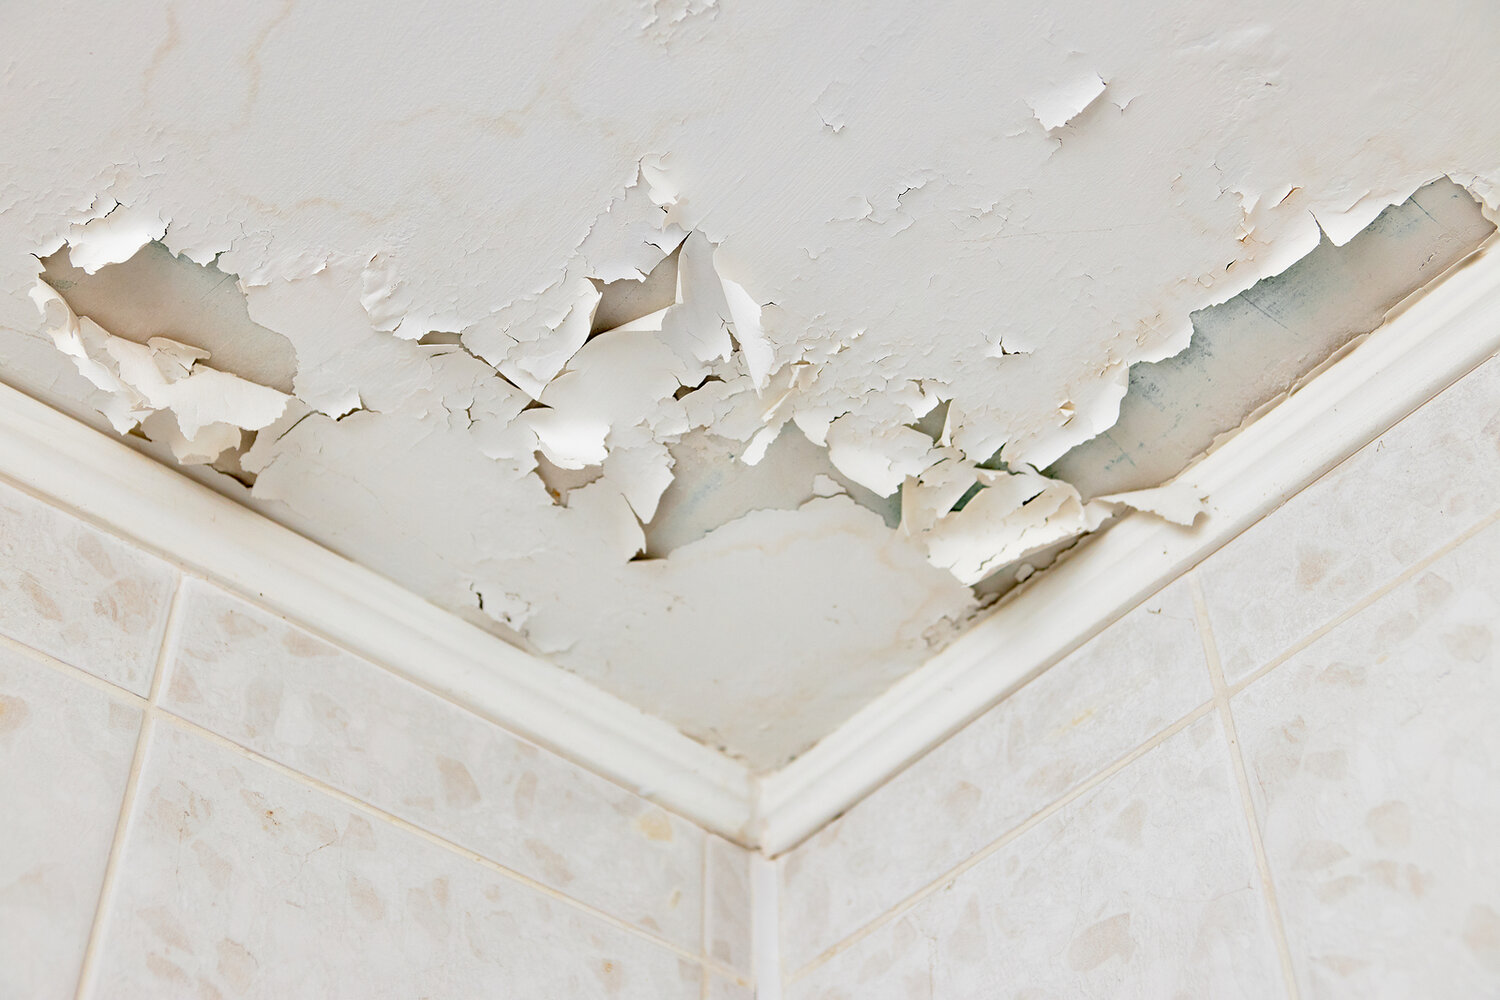
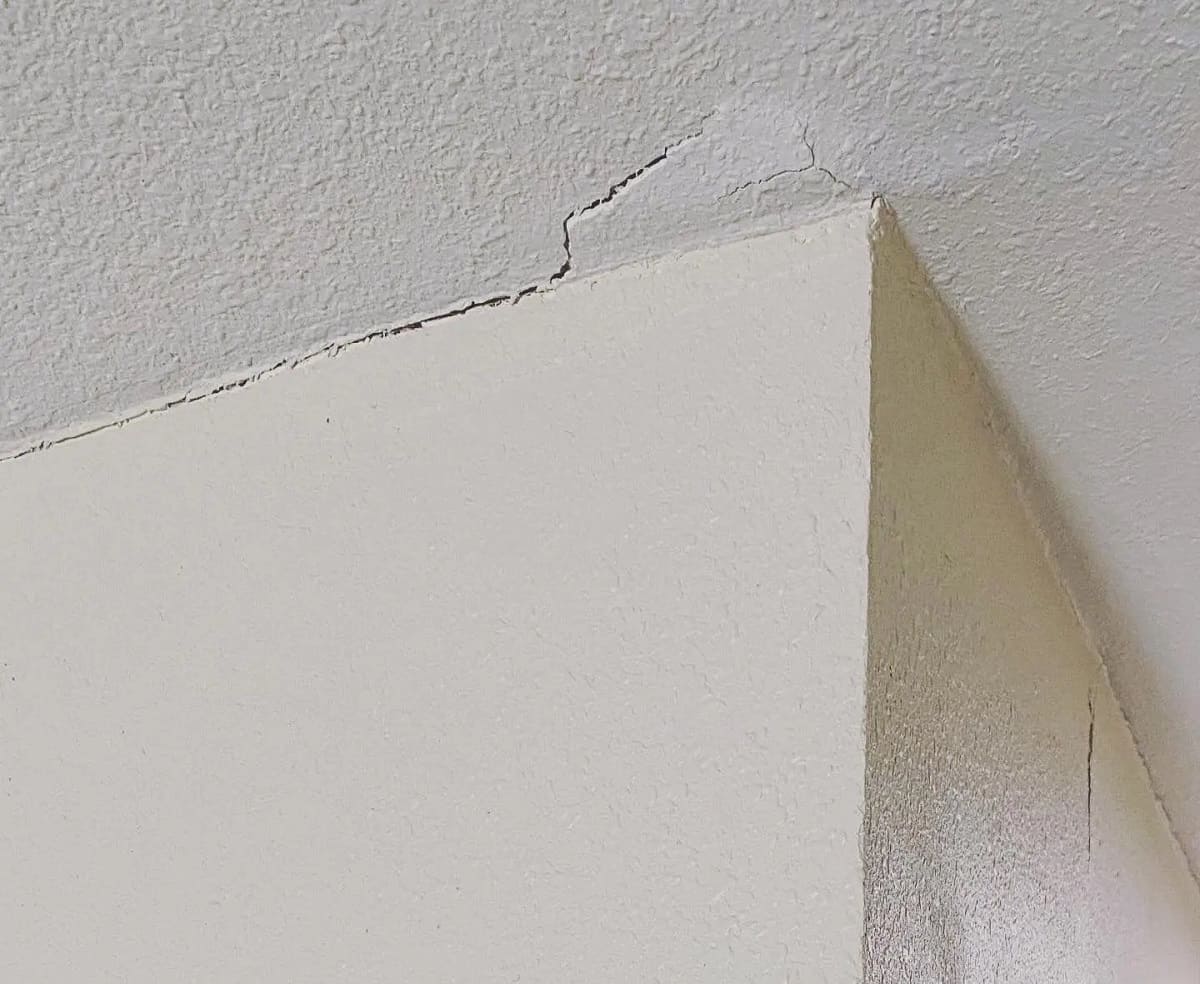
Start by carefully examining the ceiling for any signs of cracks, water stains, or sagging areas. Look for discoloration, peeling paint, or any visible signs of water damage. Pay close attention to areas around light fixtures, vents, and corners as they are more prone to moisture buildup.
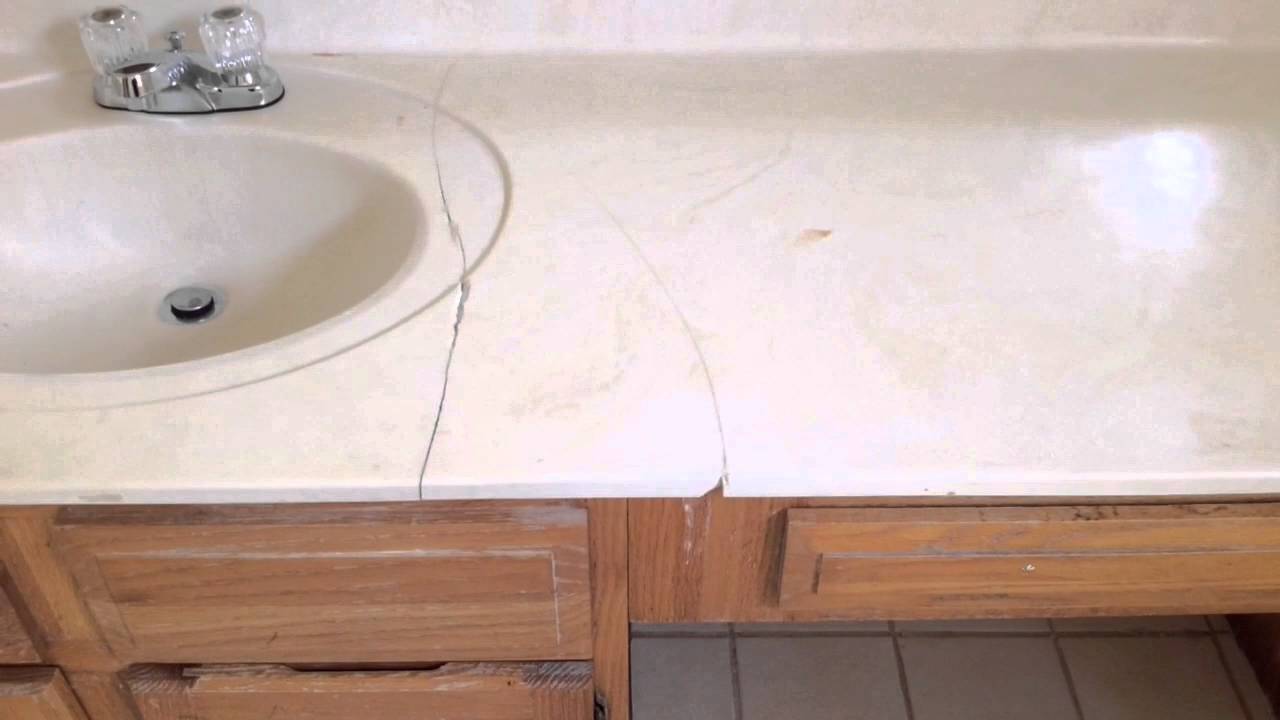
If you notice small cracks or minor water stains, you may be able to fix them with some simple repairs. However, if you find extensive damage or a sagging ceiling, it may indicate a more serious issue that requires professional assistance, such as a leak in the roof or plumbing.
Take note of the types of repairs needed, whether it’s patching up cracks, addressing water stains, or fixing structural damage. This assessment will guide you in the subsequent steps of the repair process, allowing you to gather the necessary tools and materials and plan your approach accordingly.
Remember, safety should always be a priority when working on any home improvement project. If you are unsure about the extent of the damage or feel uncomfortable with DIY repairs, it’s best to consult a professional.
Once you have assessed the damage, you can move on to the next step of preparing the work area to ensure a smooth and efficient repair process.
Step 2: Prepare the Work Area
Before you begin the repair process, it’s important to prepare the work area to ensure a safe and clean environment. Here are the steps to follow when preparing your bathroom ceiling for repair:
- Clear the area: Remove any furniture, bathroom accessories, or items that may obstruct your workspace. This will provide you with ample room to move around and work efficiently.
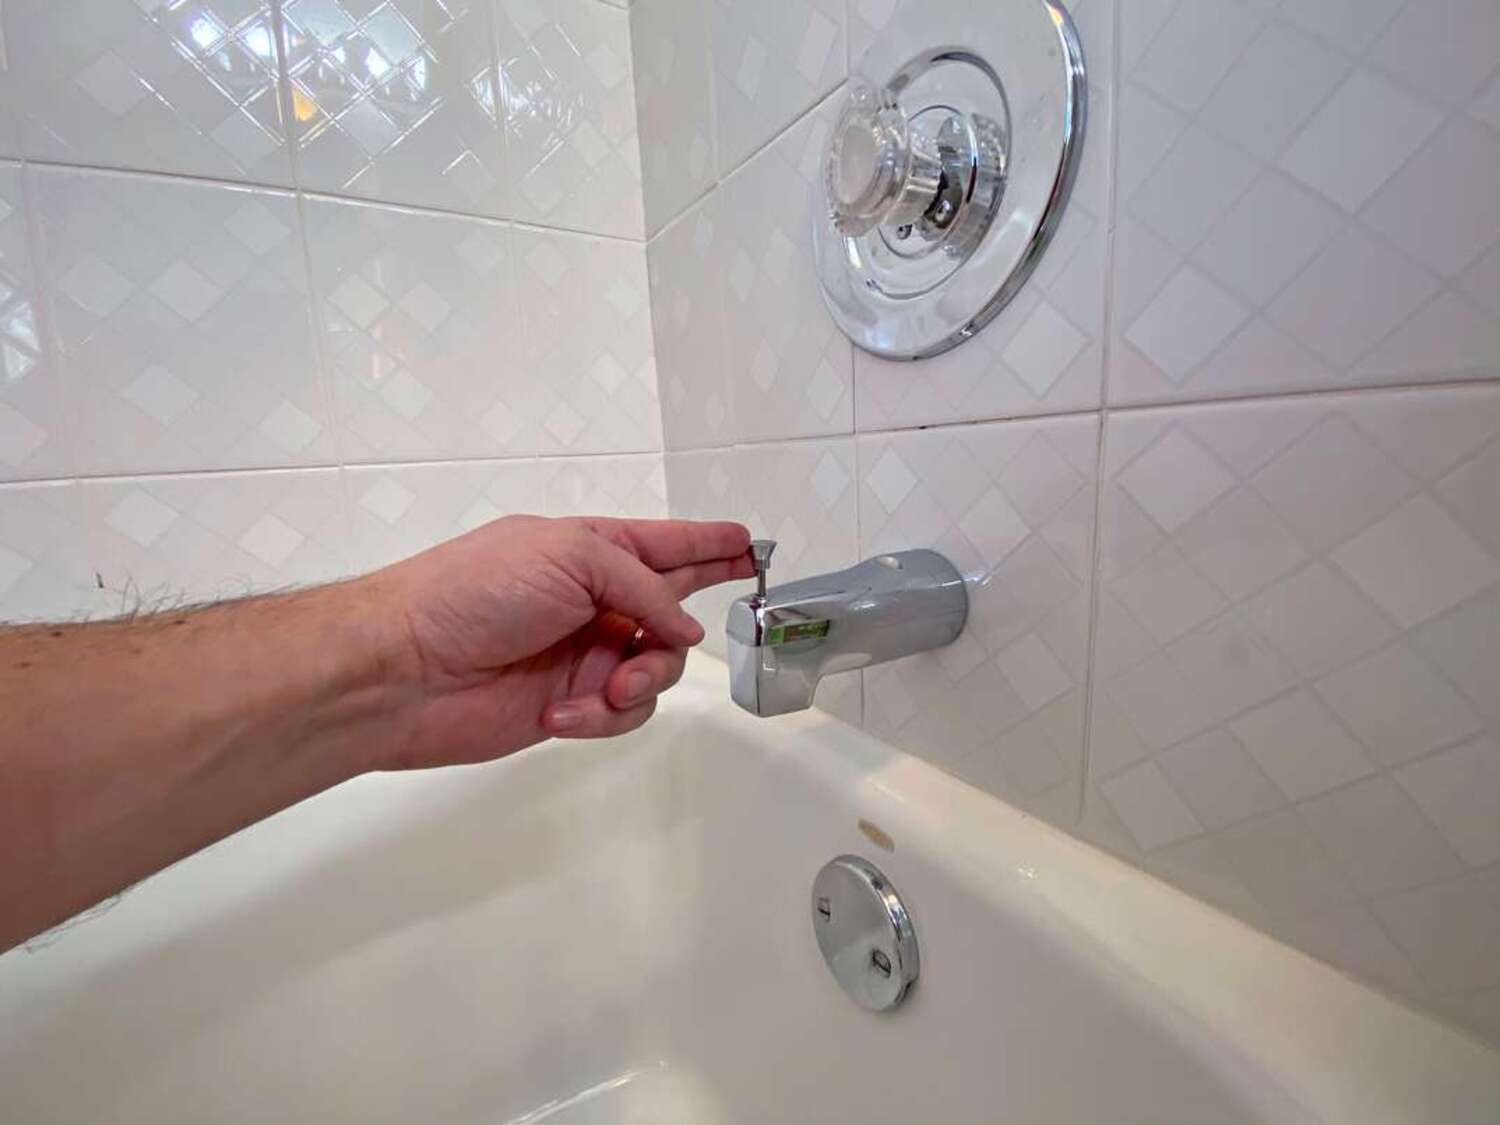
- Protect the floor and fixtures: Cover the bathroom floor with drop cloths or plastic sheets to prevent any debris or repair materials from falling and causing damage. Remember to protect any fixtures, such as the bathtub, sink, or toilet, with plastic covers or tape to avoid accidental spills or scratches.
- Wear safety gear: Put on the necessary safety gear to protect yourself during the repair process. This may include goggles, a dust mask, and gloves to shield your eyes, lungs, and hands from any potential hazards, such as dust or chemicals.
- Ensure proper ventilation: Open windows or use fans to ensure proper ventilation in the bathroom while you work. This will help to minimize the buildup of dust and fumes and create a more comfortable environment.
By following these steps, you will create an organized and safe workspace for repairing your bathroom ceiling. With the work area prepared, you are now ready to gather the necessary tools and materials for the repair process, which will be covered in the next step.
Step 3: Gather the Necessary Tools and Materials
Now that you have prepared the work area, it’s time to gather the tools and materials needed to repair your bathroom ceiling. Having all the necessary items on hand will make the repair process smoother and more efficient. Here are the essential tools and materials you will need:
Tools:
- Putty knife or scraper: This will be used to remove any loose or damaged ceiling materials.
- Sanding block or sandpaper: Necessary for smoothing and preparing the surface for repair.
- Paintbrushes or rollers: Used for priming and painting the ceiling.
- Ladder or step stool: Depending on the height of your bathroom ceiling, you may need a ladder or step stool to reach and work on the damaged areas.
- Drop cloths or plastic sheets: These are essential for protecting the surrounding area from paint drops or debris.
- Safety gear: As mentioned in the previous step, goggles, a dust mask, and gloves are important for your safety during the repair process.
Read more: How To Fix Ceiling Nail Pops
Materials:
- Spackle or joint compound: Used to fill in cracks or holes in the ceiling.
- Primer: Helps to create a smooth and even surface before applying paint.
- Ceiling paint: Choose a high-quality paint specifically formulated for ceilings to ensure durability and a seamless finish.
- Caulk: If there are any gaps or areas that need to be sealed, caulk will come in handy.
- Sandpaper or sanding block: Helps to smooth out the repaired areas and create a seamless surface.
Make sure to double-check your inventory and ensure that all tools and materials are readily available before starting the repair process. This will save you time and prevent any unnecessary interruptions.
With the necessary tools and materials at your disposal, you are now ready to proceed to the next step: removing loose or damaged ceiling materials.
Step 4: Remove Loose or Damaged Ceiling Materials
Now that you have gathered the necessary tools and materials, it’s time to tackle the first phase of the actual repair process: removing any loose or damaged ceiling materials. This step is crucial as it will create a stable and solid foundation for the subsequent repairs. Here’s how to remove loose or damaged ceiling materials:
- Protect yourself: Put on your safety gear, including goggles, a dust mask, and gloves, to protect yourself from dust and debris.
- Use a putty knife or scraper: Gently scrape away any loose or damaged portions of the ceiling. Be careful not to apply excessive pressure or force, as this can cause further damage.
- Inspect the surrounding area: After removing the damaged materials, carefully inspect the surrounding area for any additional signs of damage or weakness. It’s important to address any underlying issues to prevent future problems.
- Dispose of the debris: Place the removed materials in a trash bag or a designated disposal container to keep your work area clean and tidy.
While removing loose or damaged ceiling materials, be cautious not to disturb any stable portions or cause unnecessary damage. Take your time and work methodically to ensure that you remove only what is necessary.
After completing this step, you will have a clean and stable surface ready for the next phase of the repair process: applying spackle or joint compound to repair cracks or holes. But before moving on, make sure to take a moment to clean up any debris and prepare for the next step.
Step 5: Apply Spackle or Joint Compound to Repair Cracks or Holes
With the loose or damaged materials removed, it’s time to move on to repairing any cracks or holes in your bathroom ceiling. This step involves applying spackle or joint compound to restore the integrity of the surface. Here’s how you can complete this step:
- Prepare the spackle or joint compound: Follow the manufacturer’s instructions to properly prepare the spackle or joint compound. Typically, you will need to mix it well and achieve a smooth and creamy consistency.
- Apply the compound to the cracks or holes: Use a putty knife to gently apply the spackle or joint compound to the damaged areas. Make sure to fill the cracks or holes completely and create a slightly elevated surface. Smooth out the compound with the putty knife for a seamless finish.
- Allow the compound to dry: Follow the drying time specified on the product packaging. Typically, it takes around 24 hours for the compound to fully dry. During this time, avoid touching or disturbing the repaired areas.
- Sand the dried compound: Once the compound is completely dry, use sandpaper or a sanding block to carefully smooth the repaired areas. Be gentle and take your time to create a seamless transition between the repaired portions and the surrounding ceiling.
- Clean up the dust: After sanding, use a damp cloth or sponge to clean up any dust or debris left from the sanding process. This will ensure a clean surface for the next steps.
Remember, patience is key when applying spackle or joint compound. Take your time to ensure that the repaired areas are well-filled and smooth before moving on to the next step.
Now that the cracks or holes are repaired, it’s time to move on to the next step: sanding and smoothing the repaired areas.
Step 6: Sand and Smooth the Repaired Areas
After applying spackle or joint compound to repair the cracks or holes in your bathroom ceiling, the next step is to sand and smooth the repaired areas. This step is crucial to ensure an even and seamless finish. Follow these steps to sand and smooth the repaired areas:
- Prepare the sanding materials: Use fine-grit sandpaper or a sanding block that is appropriate for the size of the repaired areas. Ensure that the sanding materials are clean and in good condition.
- Gently sand the repaired areas: Starting with light pressure, carefully sand the repaired areas in a circular motion. Gradually increase the pressure as needed, but be cautious not to sand too aggressively or apply excessive force, as this can damage the surface or create unevenness.
- Check for smoothness: Periodically check the repaired areas by running your hand over them. If you feel any roughness or unevenness, continue sanding until the surface is smooth to the touch.
- Clean up the dust: After sanding, use a damp cloth or sponge to wipe away any dust or debris from the sanded areas. It’s important to remove all dust particles to ensure a clean surface for painting.
Take your time during the sanding process and pay attention to detail. The goal is to create a seamless transition between the repaired areas and the surrounding ceiling. By sanding and smoothing the repaired areas, you will achieve a professional-looking finish and ensure that the next steps of priming and painting are successful.
Now that the repaired areas are smooth and ready, it’s time to move on to the next step: priming the ceiling.
Check for any water leaks from the floor above and repair them. Use a mold-killing primer before repainting the ceiling to prevent mold growth.
Read more: How To Fix Car Ceiling Fabric
Step 7: Prime the Ceiling
After sanding and smoothing the repaired areas of your bathroom ceiling, the next step is to prime the entire ceiling. Priming is crucial to create a smooth and even surface for the paint to adhere to. Follow these steps to prime your ceiling:
- Prepare the primer: Select a high-quality primer that is specifically designed for ceilings. Follow the manufacturer’s instructions to properly prepare the primer, such as stirring it well before use.
- Cover the surrounding area: Use drop cloths or plastic sheets to protect the surrounding walls and floor from any primer spills or drips. This will make the cleanup process much easier.
- Apply the primer: Use a paint roller or brush to apply the primer on the ceiling. Start from one corner and work your way across the surface, ensuring even coverage. Apply two coats if necessary, allowing the first coat to dry completely before applying the second.
- Follow drying time: Allow the primer to dry according to the recommended drying time provided by the manufacturer. This usually takes around 24 hours, but always refer to the product instructions for accurate drying time.
- Inspect for any imperfections: Once the primer is dry, carefully inspect the ceiling for any missed spots or imperfections. If you notice any areas that require touch-ups, use a brush to apply primer to those specific spots.
Priming the ceiling creates a solid base for the paint and helps to improve its adhesion, coverage, and overall durability. It also ensures that the paint color appears consistent and vibrant across the entire ceiling.
After the primer has dried and any necessary touch-ups have been addressed, it’s time to move on to the exciting final step: painting the ceiling.
Step 8: Paint the Ceiling
With the ceiling primed and properly prepared, it’s time to apply the final coat of paint and bring your bathroom ceiling back to life. Follow these steps to paint your bathroom ceiling:
- Choose the right paint: Select a high-quality paint that is specifically formulated for ceilings. Consider factors such as the color, finish, and coverage to achieve the desired result.
- Prepare the paint: Stir the paint thoroughly to ensure consistent color and texture. Pour the paint into a paint tray or bucket for easy access during the painting process.
- Cover the surrounding area: Use drop cloths or plastic sheets to protect the walls, fixtures, and floor from any accidental paint splatters or drips.
- Start with the edges: Use a brush to paint around the edges and corners of the ceiling, creating a smooth border where the ceiling meets the walls.
- Paint the rest of the ceiling: Use a roller with an extension pole to paint the rest of the ceiling. Start from one end and work your way across, applying the paint in even, overlapping strokes. Ensure consistent coverage and avoid leaving any visible brush marks or roller lines.
- Apply multiple coats if necessary: Depending on the paint’s coverage and the desired finish, you may need to apply multiple coats. Follow the recommended drying time between coats as specified by the paint manufacturer.
- Clean up and inspect: After the paint has dried, carefully remove any drop cloths or plastic sheets and clean up any paint spills or drips. Inspect the painted ceiling for any missed spots or imperfections. If necessary, touch up those areas with a small brush.
By following these steps, you will achieve a beautifully painted bathroom ceiling that enhances the overall look and feel of the space.
Now that the painting is complete, it’s time for the final step: cleaning up and adding the finishing touches to complete the repair process.
Step 9: Clean Up and Final Touches
Congratulations! You have successfully repaired and painted your bathroom ceiling. Now it’s time to clean up the work area and add the final touches to complete the process. Follow these steps for the final phase:
- Remove any coverings and clean up: Start by carefully removing any drop cloths, plastic sheets, or coverings used to protect the surrounding area. Dispose of any debris or waste materials properly.
- Clean the ceiling: Use a damp cloth or sponge to wipe down the painted ceiling and remove any dust or residue from the repair and painting process. This will leave your ceiling looking clean and fresh.
- Inspect for any touch-ups: Take a moment to inspect the entire ceiling for any missed areas or imperfections. If you notice any spots that require touch-ups, use a small brush to carefully apply paint to those areas.
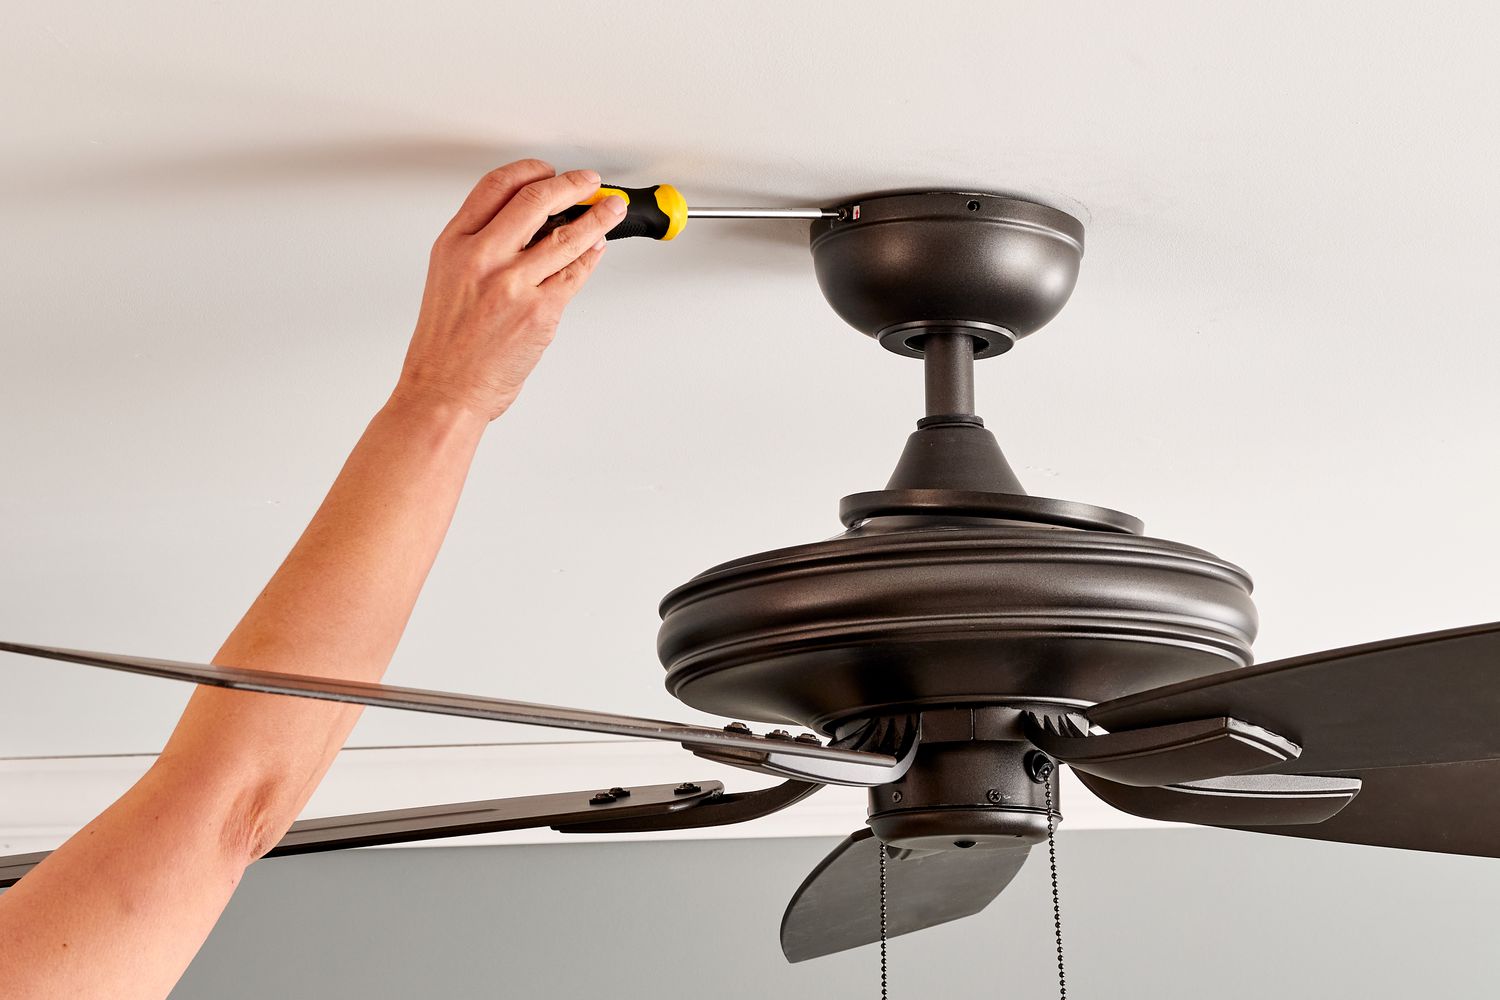
- Reinstall any fixtures or accessories: If you removed any light fixtures, vents, or other accessories during the repair process, now is the time to reinstall them. Follow the manufacturer’s instructions to ensure proper installation.
- Clean up your tools: Clean your brushes, rollers, and any other tools used during the repair and painting process. Properly clean and store them for future use.
With the clean-up complete and the final touches added, stand back and admire your work. Your bathroom ceiling should now look refreshed and free from any signs of damage. Take pride in knowing that you have successfully completed the repair process!
Remember, regular maintenance and proper ventilation in your bathroom can help prevent future ceiling damage. Keep an eye out for any signs of water leaks or moisture issues to address them promptly and avoid more extensive repairs in the future.
Thank you for following this step-by-step guide to fix your bathroom ceiling. We hope this article has been helpful, and we wish you continued success with your home improvement projects!
Conclusion
Repairing a damaged bathroom ceiling may seem like a daunting task, but with the right approach and guidance, it can be successfully accomplished. By following the step-by-step process outlined in this article, you can restore your bathroom ceiling to its former glory and create a fresh and appealing space.
Throughout the repair process, it is essential to prioritize safety by wearing the appropriate protective gear and taking precautionary measures. Assessing the extent of the damage, preparing the work area, and gathering the necessary tools and materials are crucial initial steps that set the foundation for a smooth and efficient repair process.
Removing loose or damaged ceiling materials, applying spackle or joint compound to repair cracks or holes, and sanding and smoothing the repaired areas ensure a stable surface for the subsequent steps. Priming the ceiling creates a smooth base, while painting the ceiling provides the final touch, giving the bathroom a refreshed and polished look.
Remember, attention to detail, patience, and proper ventilation are key factors in achieving a successful repair. Take the time to assess the damage, follow the proper repair techniques, and ensure thorough cleaning and final touch-ups for a professional finish.
By investing time and effort into fixing your bathroom ceiling, you not only improve the aesthetic appeal of the space but also prevent further damage and potential health risks associated with mold and mildew. Enjoy the satisfaction that comes with a job well done and take pride in your ability to tackle home improvement projects.
We hope this comprehensive guide has provided you with the information and confidence to repair your bathroom ceiling effectively. Remember, if you encounter major structural issues or feel uncomfortable with the repairs, it’s always best to seek professional assistance.
Thank you for following this guide, and we wish you success in your bathroom ceiling repair journey!
Frequently Asked Questions about How To Fix Bathroom Ceiling
Was this page helpful?
At Storables.com, we guarantee accurate and reliable information. Our content, validated by Expert Board Contributors, is crafted following stringent Editorial Policies. We're committed to providing you with well-researched, expert-backed insights for all your informational needs.


0 thoughts on “How To Fix Bathroom Ceiling”