
Articles
How To Adjust Temp On Water Heater
Modified: January 8, 2024
Learn the step-by-step process to easily adjust the temperature on your water heater with our informative articles. Take control of your water temperature today!
(Many of the links in this article redirect to a specific reviewed product. Your purchase of these products through affiliate links helps to generate commission for Storables.com, at no extra cost. Learn more)
Introduction
Adjusting the temperature on a water heater is an important task that every homeowner should know how to do. The temperature of your water heater plays a crucial role in providing hot water for various household needs, such as bathing, cleaning, and cooking. Being able to adjust the temperature ensures that you have hot water at the desired temperature while also ensuring energy efficiency and safety.
In this article, we will guide you through the process of adjusting the temperature on your water heater. We will cover everything you need to know, from checking the water heater to turning off the power, locating the temperature dial, adjusting the temperature settings, testing the water temperature, and finally, turning the power back on. So let’s get started and learn how to adjust the temperature on your water heater.
Key Takeaways:
- Ensure your water heater is in good condition before adjusting the temperature. Check for leaks, inspect the insulation, and turn off the power to avoid accidents.
- Adjust the temperature to 120°F for safety and energy efficiency. Test the water temperature, then turn the power back on and monitor the heater’s performance.
Checking the Water Heater
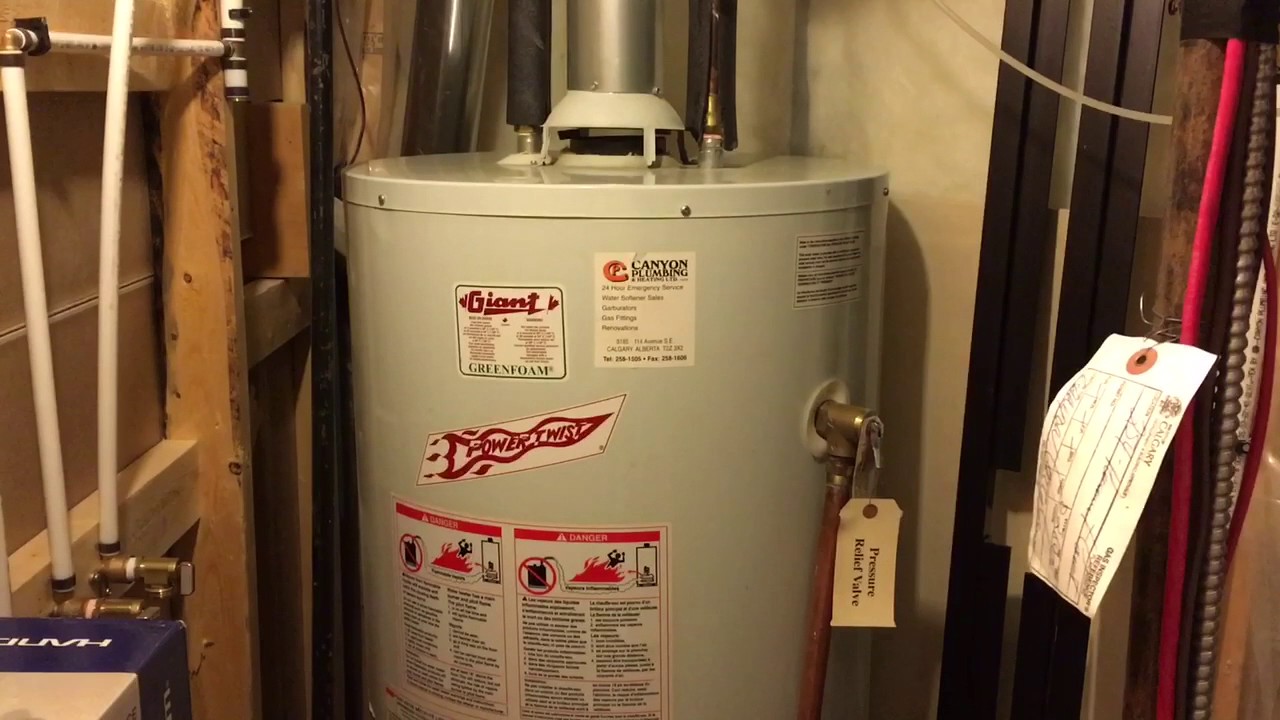
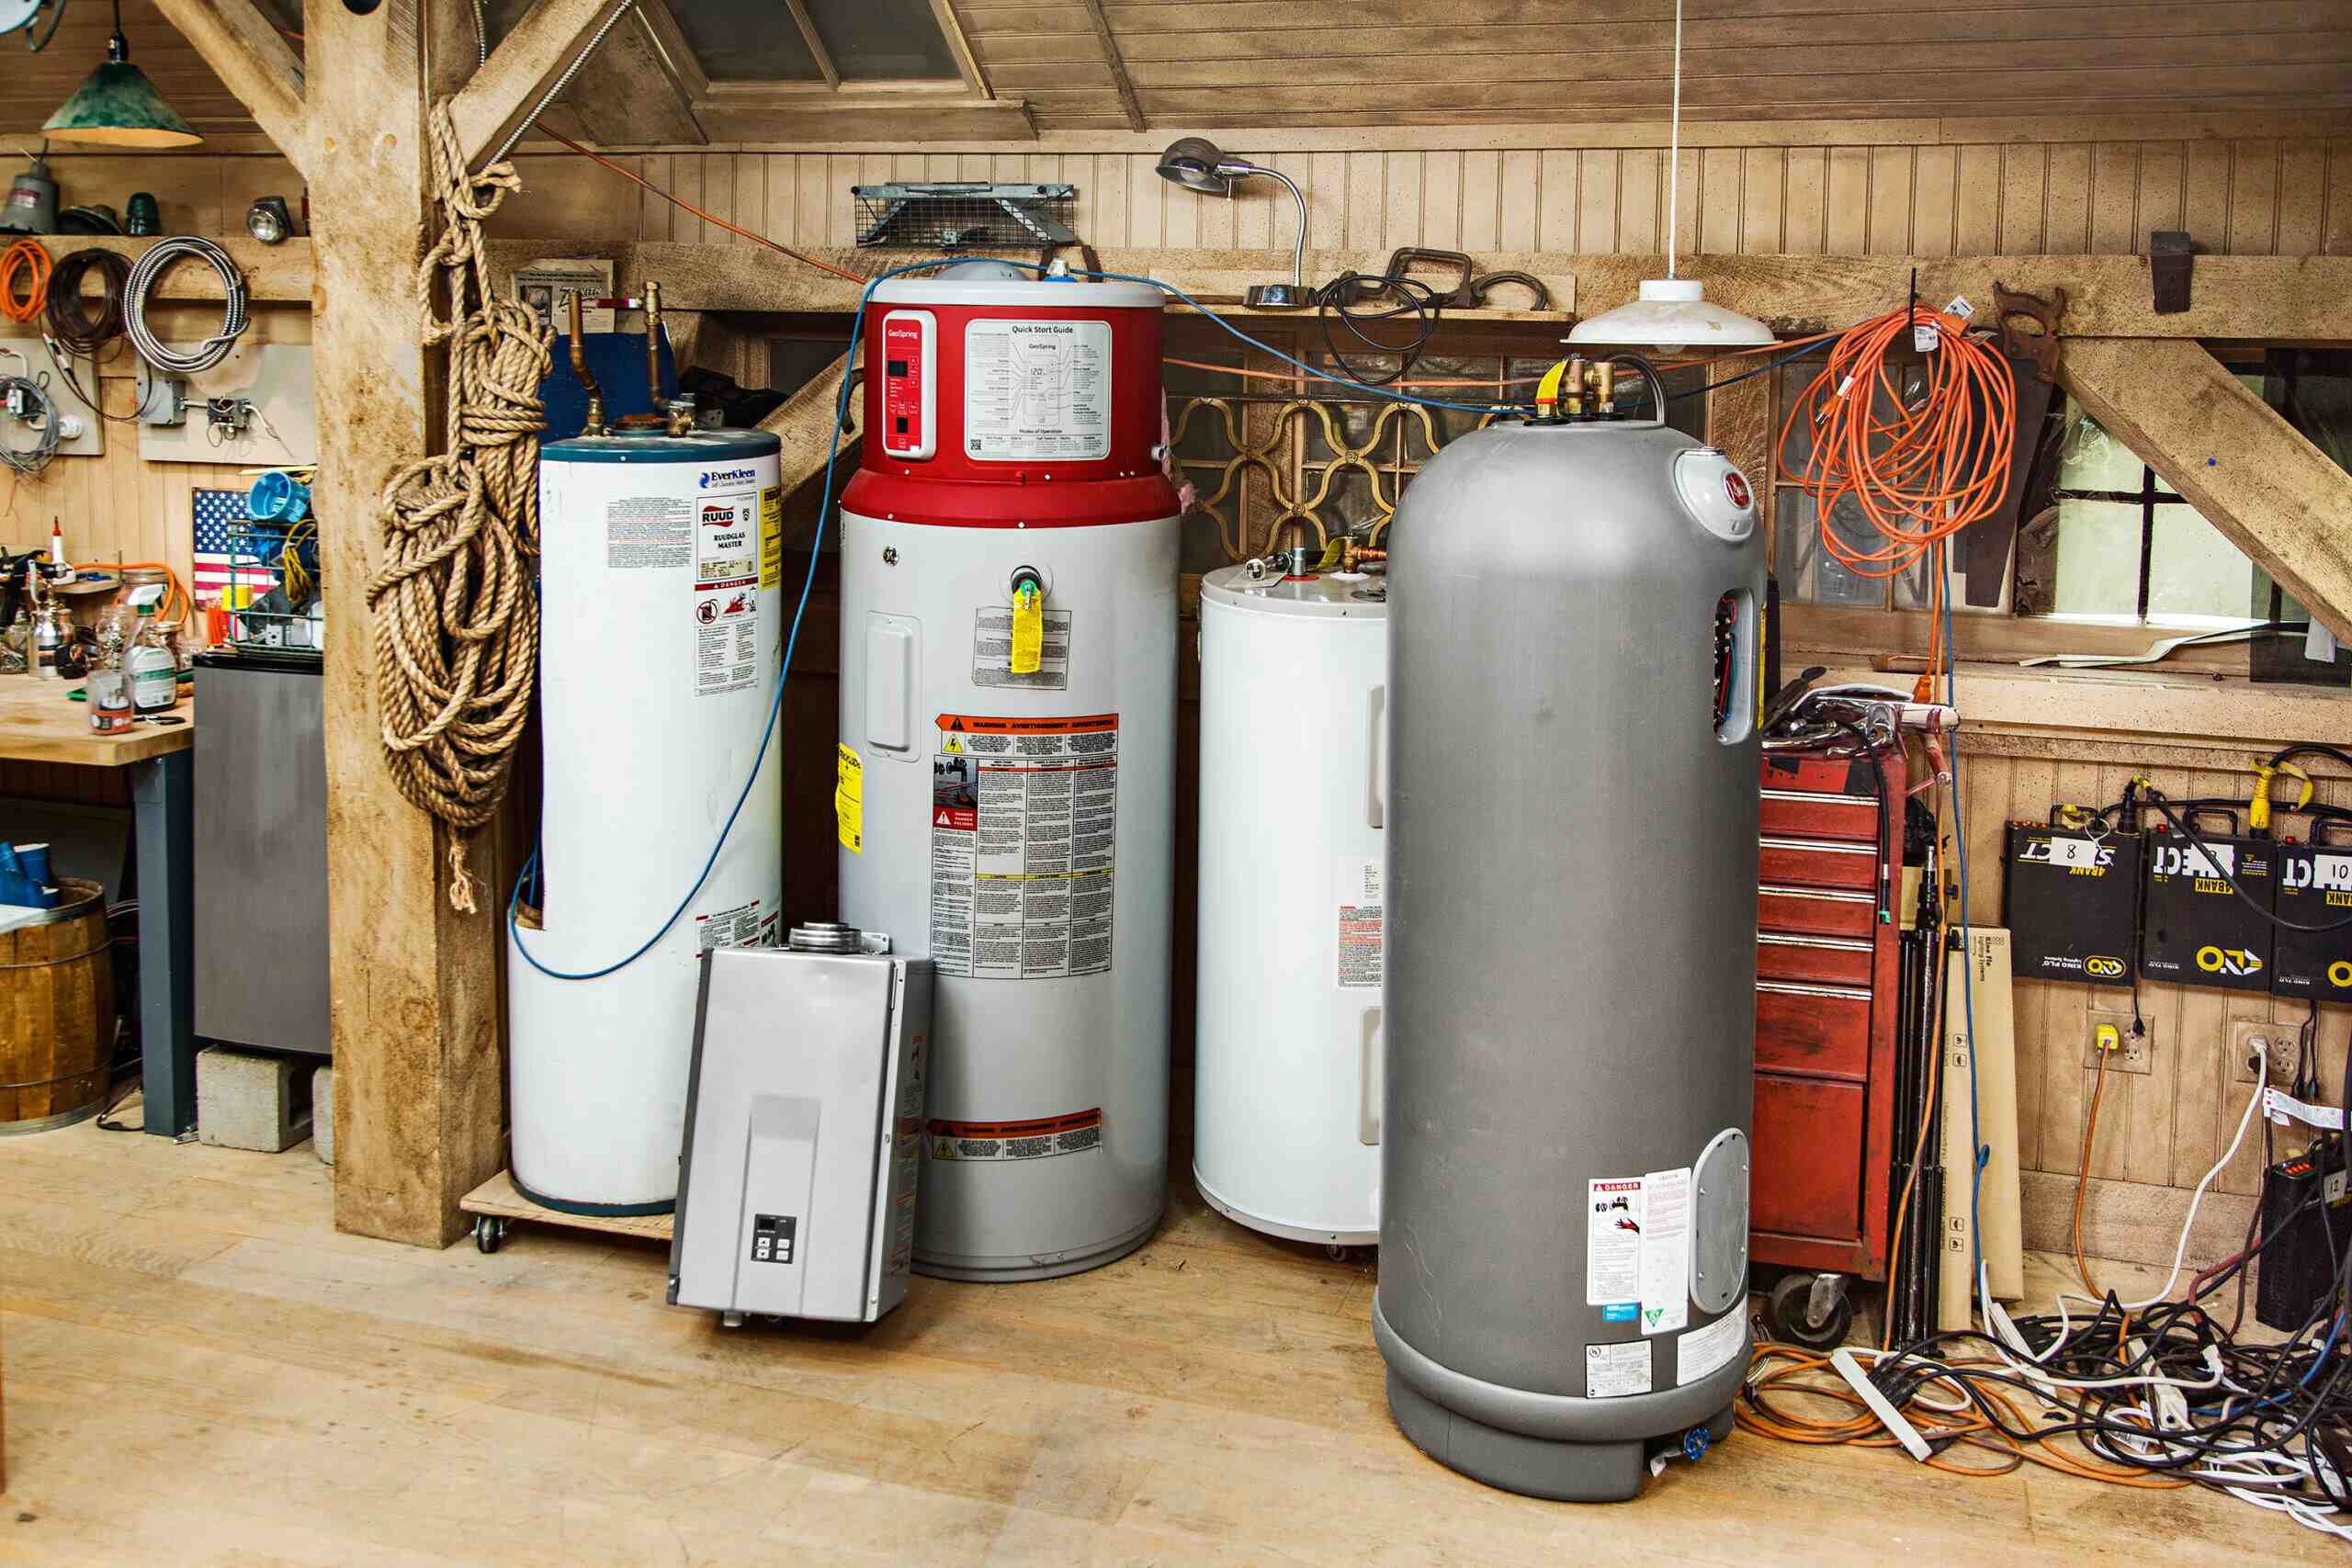
Before you can start adjusting the temperature on your water heater, it’s important to take a moment to inspect the unit and ensure everything is in good working order. Here’s what you need to do:
- Start by visually examining the water heater for any signs of damage or leaks. Look for puddles of water or rust on the tank, as these could indicate a problem that needs attention.
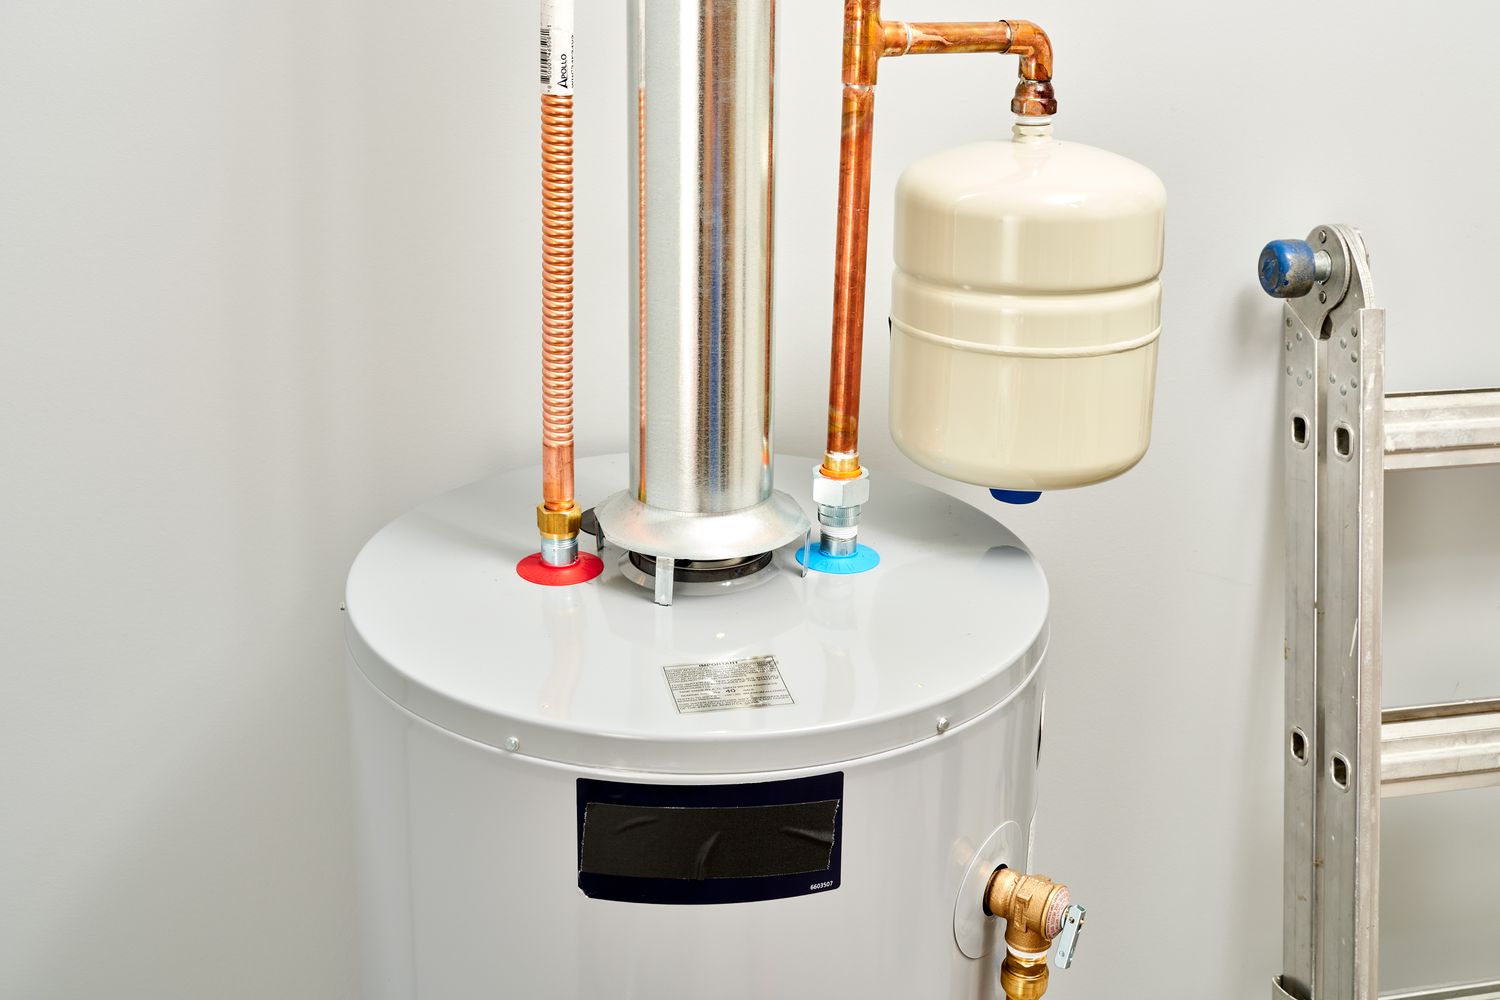
- Next, check the pressure relief valve. It is usually located at the top or side of the unit. Ensure that there is no leakage around the valve and that it is functioning properly.
- Take note of the water heater’s age. Most water heaters have a lifespan of around 10-15 years. If your unit is approaching this age or experiencing frequent issues, it may be time to consider a replacement.
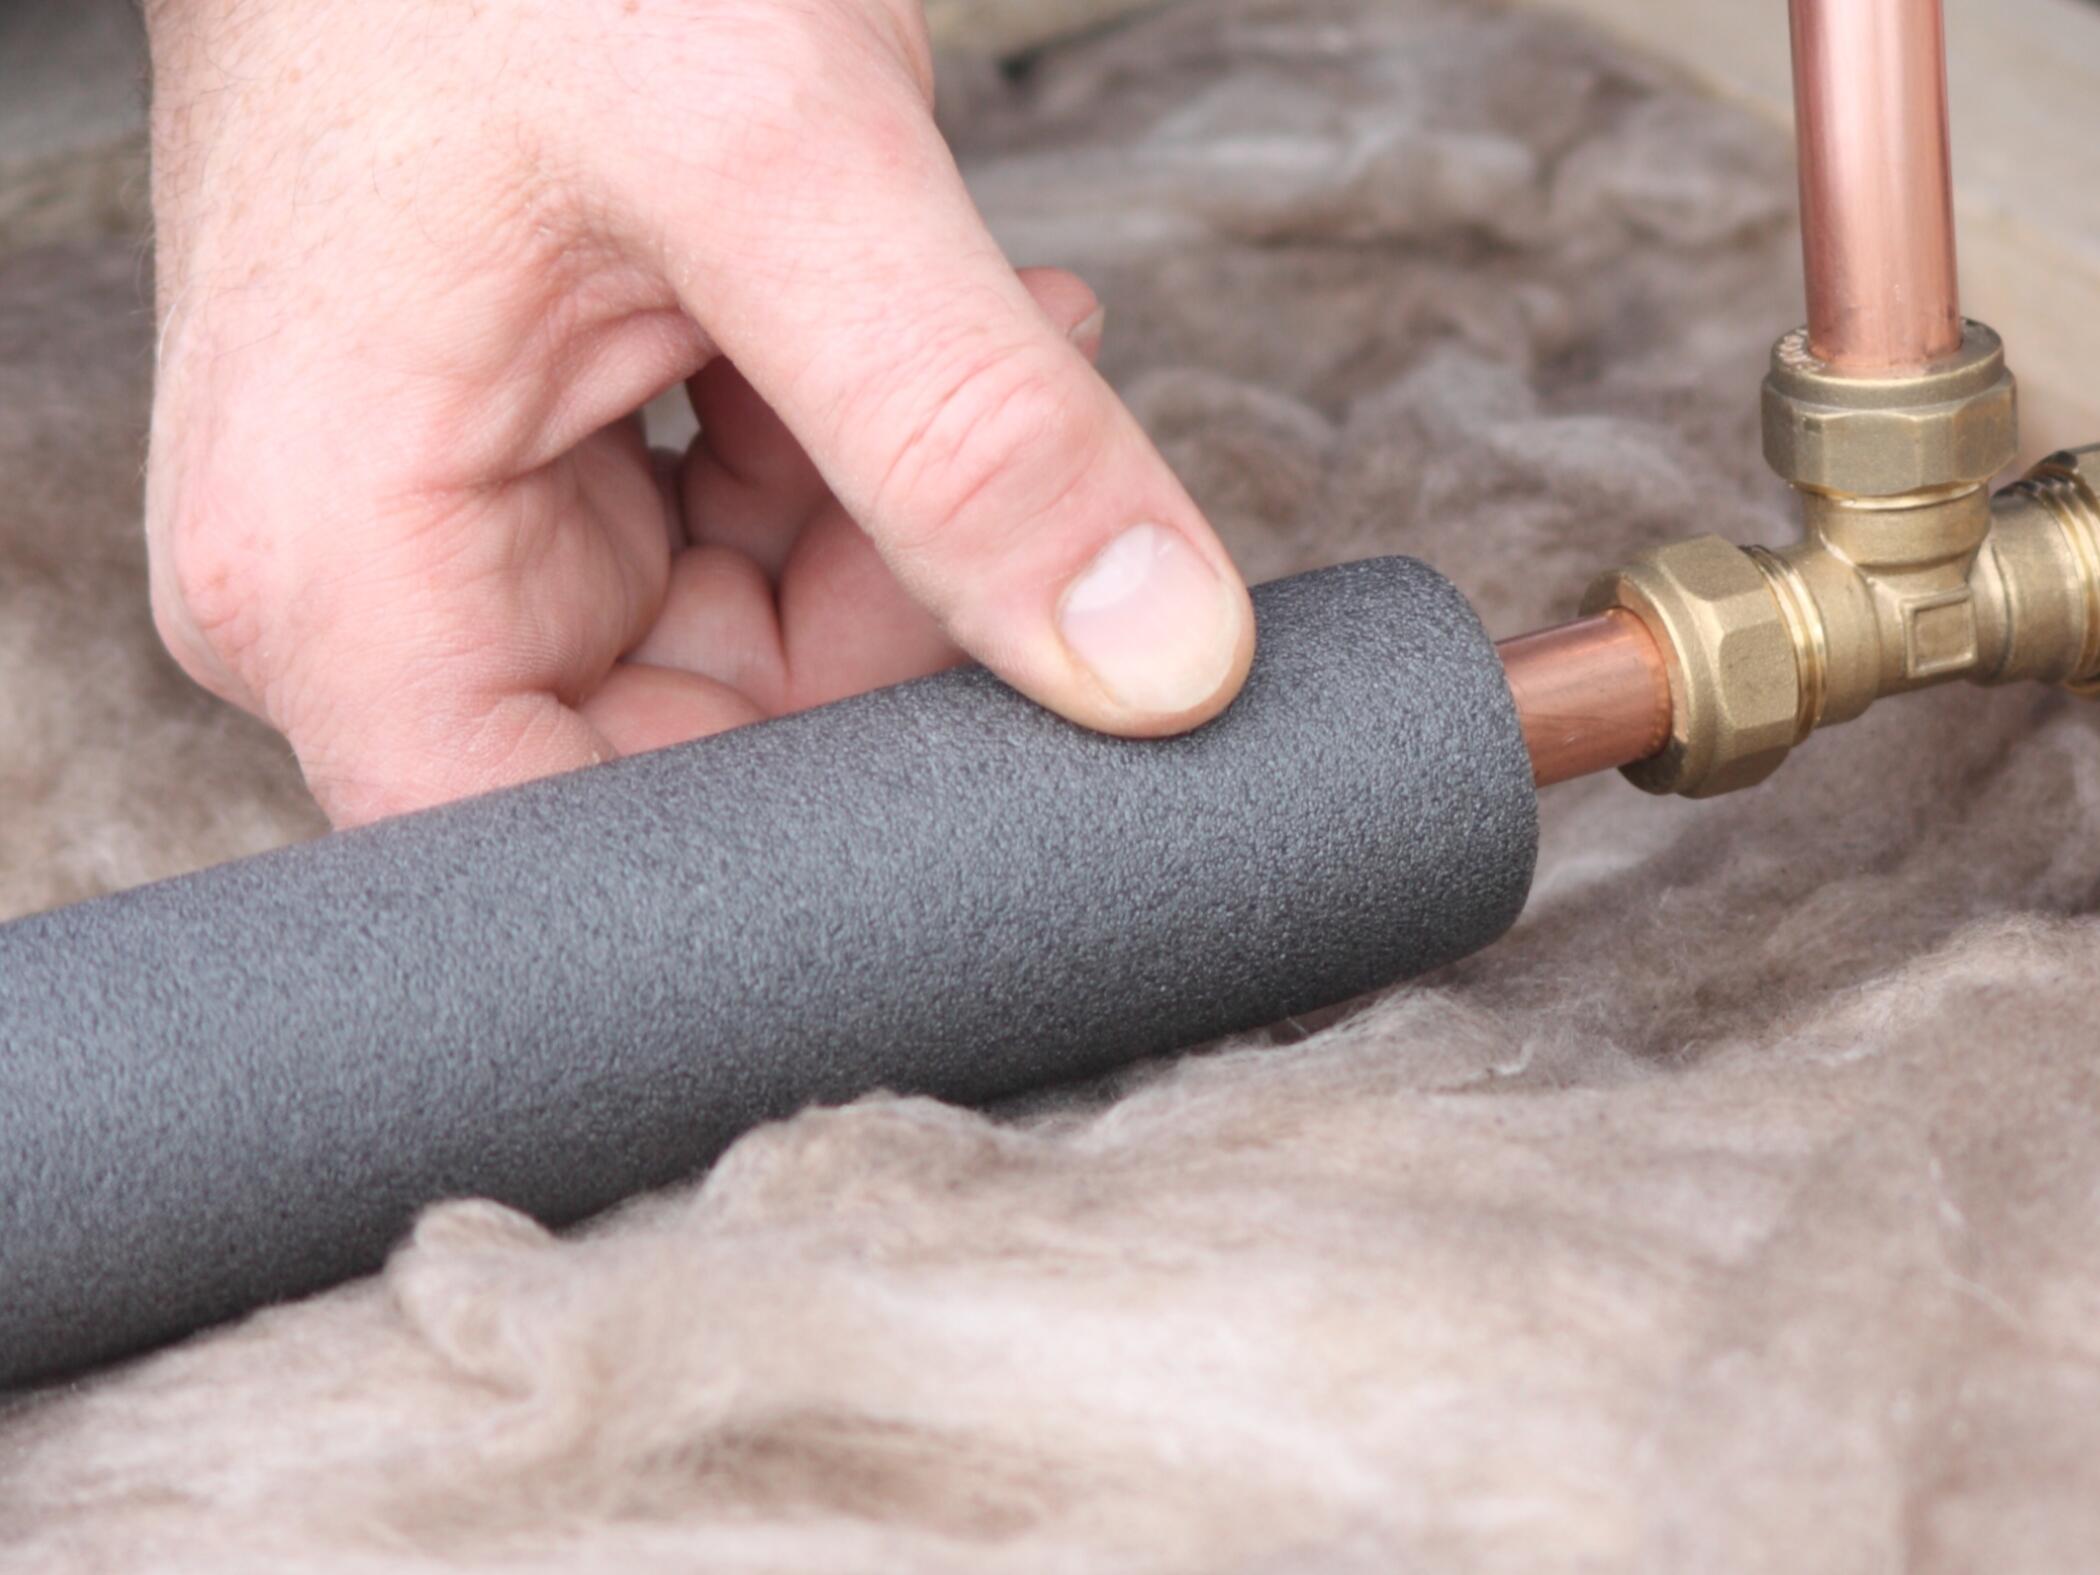
- Check the insulation around the water heater. Proper insulation helps to maintain the heat inside the tank and improve energy efficiency. If the insulation is damaged or inadequate, consider adding a water heater blanket to help conserve energy.
- If your water heater runs on gas, check the gas supply and ensure there are no leaks. You can use a soapy water solution to check for any gas leaks. If you notice any bubbles forming when applying the solution, there may be a leak that needs to be addressed by a professional.
- For electric water heaters, inspect the electrical connections and make sure they are secure. Look for any signs of frayed wires or loose connections that may need to be repaired.
By thoroughly checking your water heater, you can identify any potential issues that may affect its performance or safety. It’s important to address these issues before adjusting the temperature settings to ensure optimum functionality and prevent any potential hazards.
Turning Off the Power
Before you can adjust the temperature settings on your water heater, you need to ensure that the power to the unit is turned off. This step is crucial to prevent any accidents or electrical shocks while working on the water heater. Here’s how you can turn off the power:
- For electric water heaters, locate the breaker panel in your home. Look for the breaker labeled for the water heater or the one associated with the specific circuit. Flip the breaker to the “off” position to cut off the power supply to the water heater entirely.
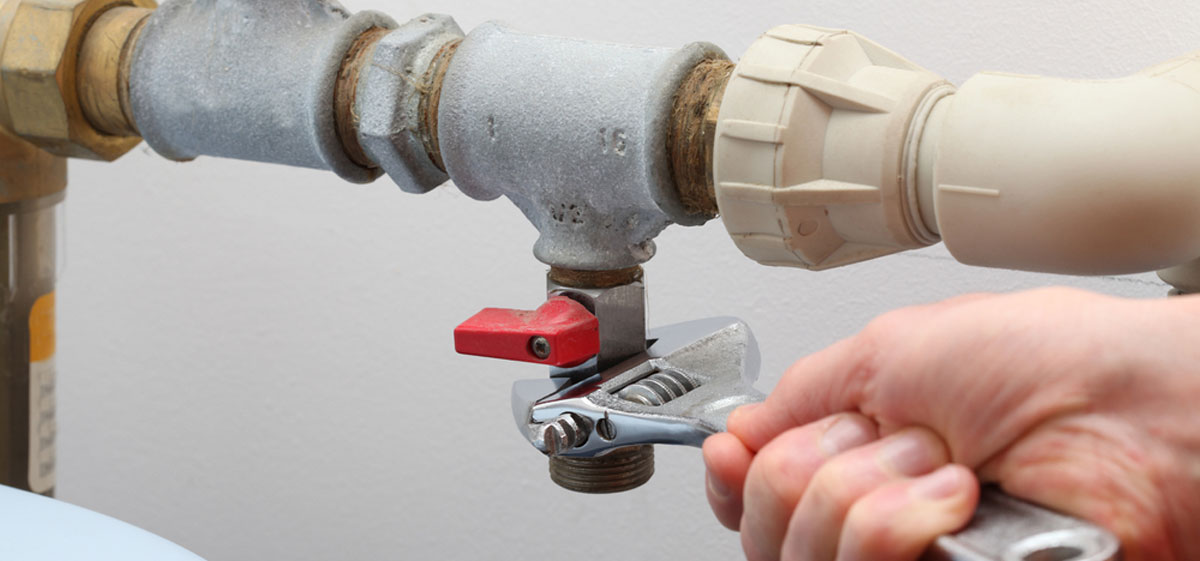
- If you have a gas water heater, locate the gas control valve on the unit. Turn the valve to the “off” position to shut off the gas supply. It’s essential to ensure that the gas is completely turned off to prevent any gas leaks or potential hazards.
Once you have turned off the power, it’s a good idea to test the unit to make sure it is truly off. You can do this by turning on the hot water tap in your home and checking if any hot water is still flowing. If no hot water is coming out, it means the power has been successfully turned off.
Remember to exercise caution when working with the power supply of your water heater. If you are unsure or uncomfortable with this step, it’s always best to consult a professional plumber or electrician to ensure proper safety measures are taken.
Locating the Temperature Dial
Now that you have turned off the power to your water heater, you can proceed to locate the temperature dial. The temperature dial is responsible for controlling the temperature of the water inside the tank. Here’s how you can find it:
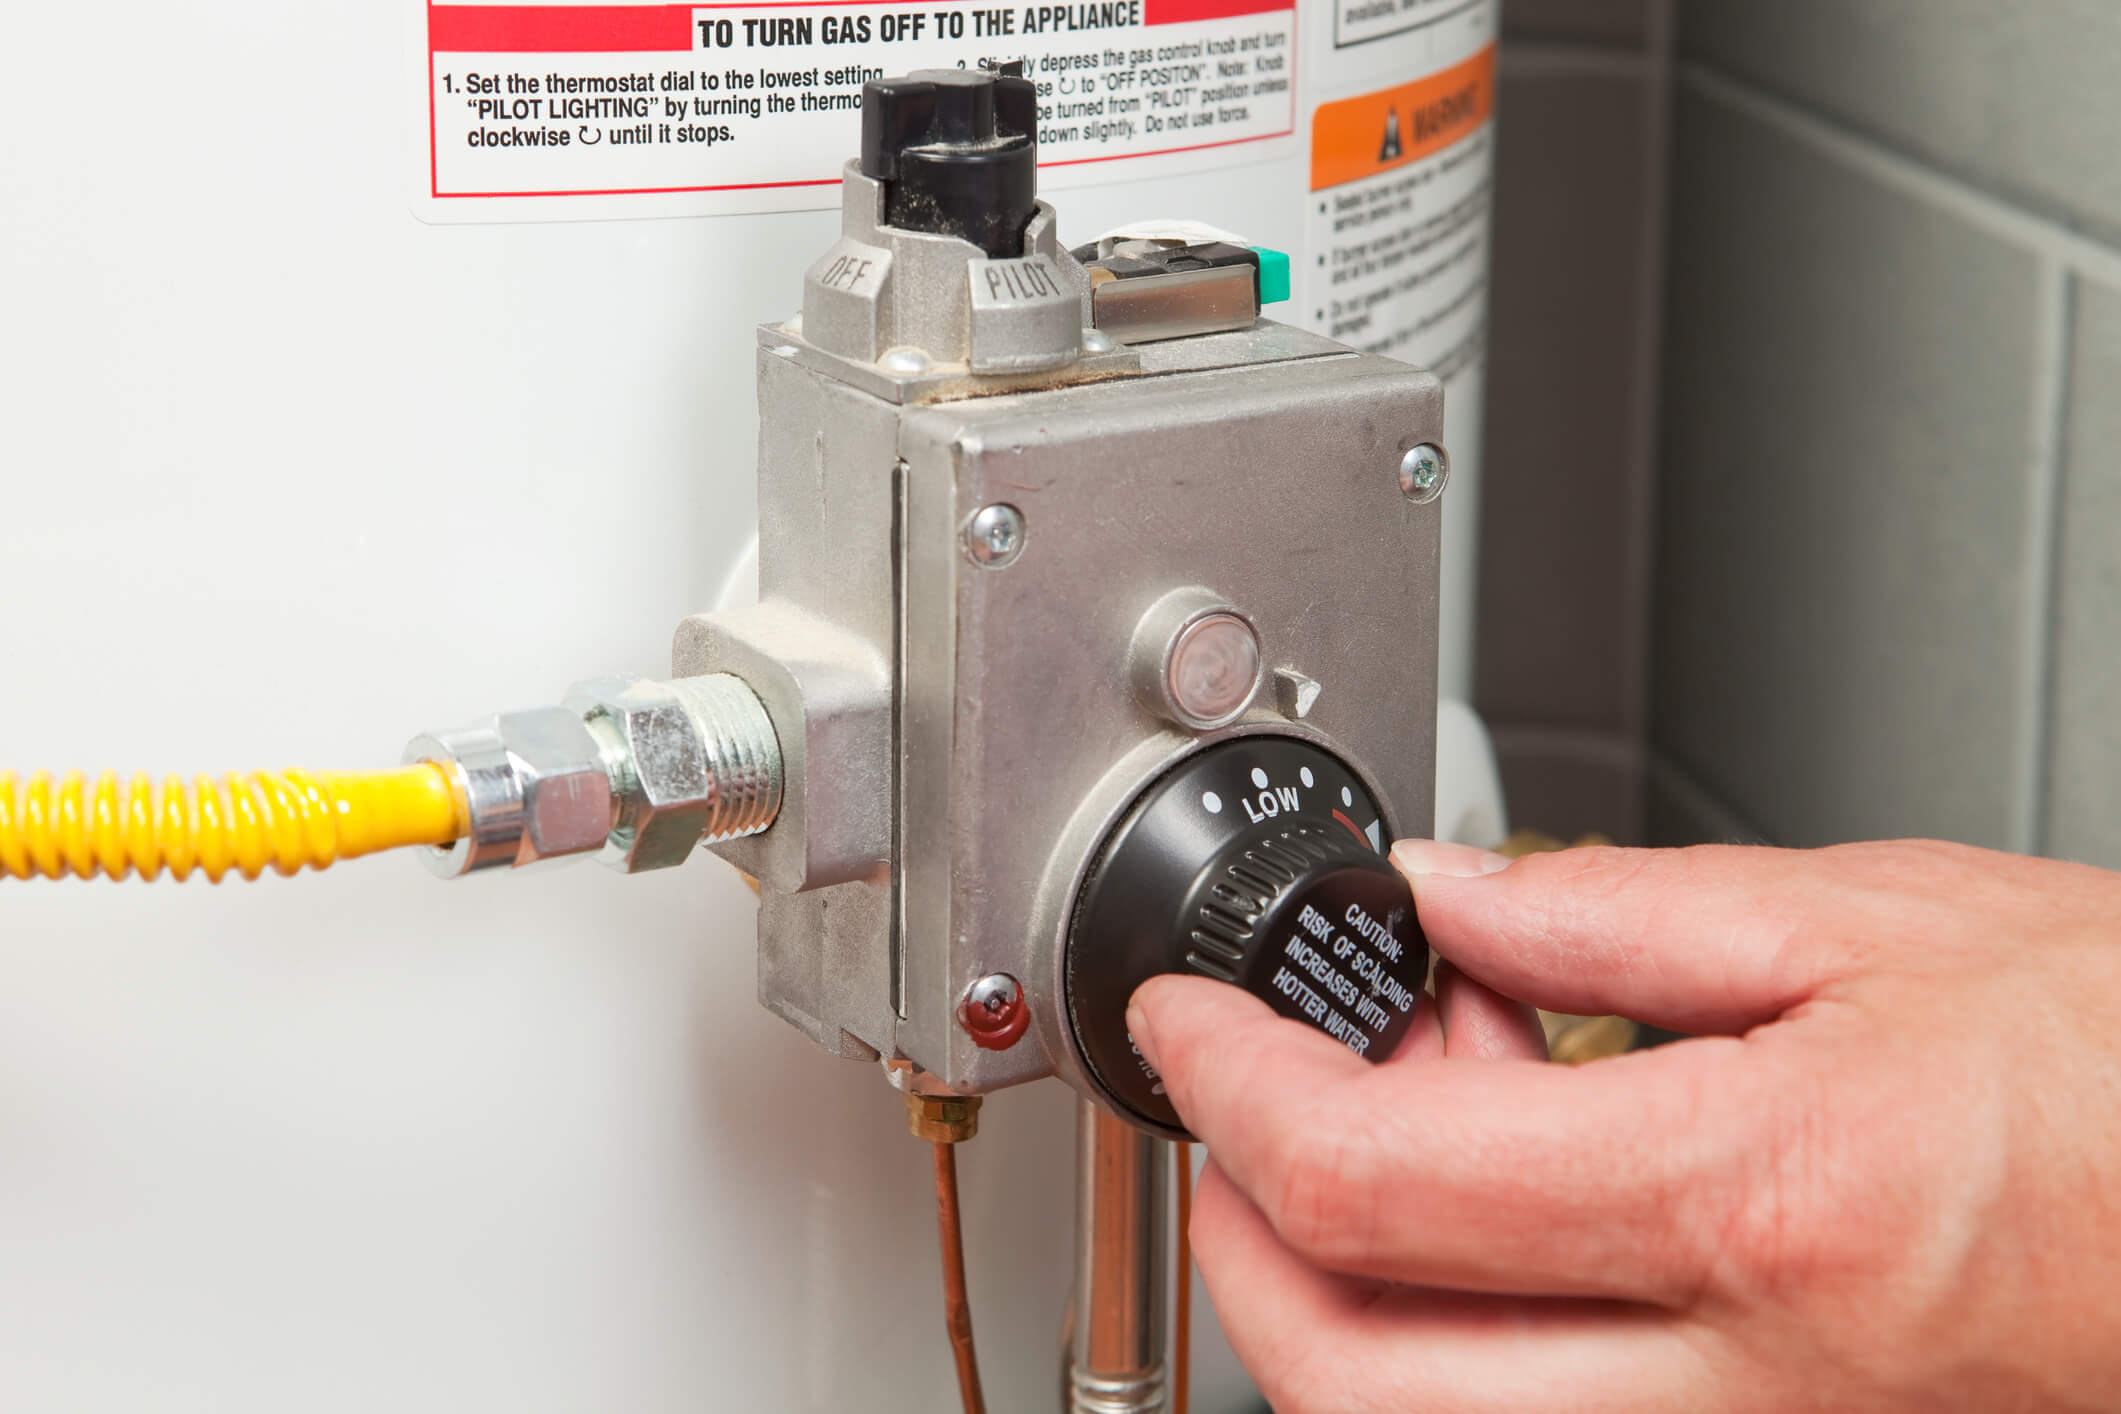
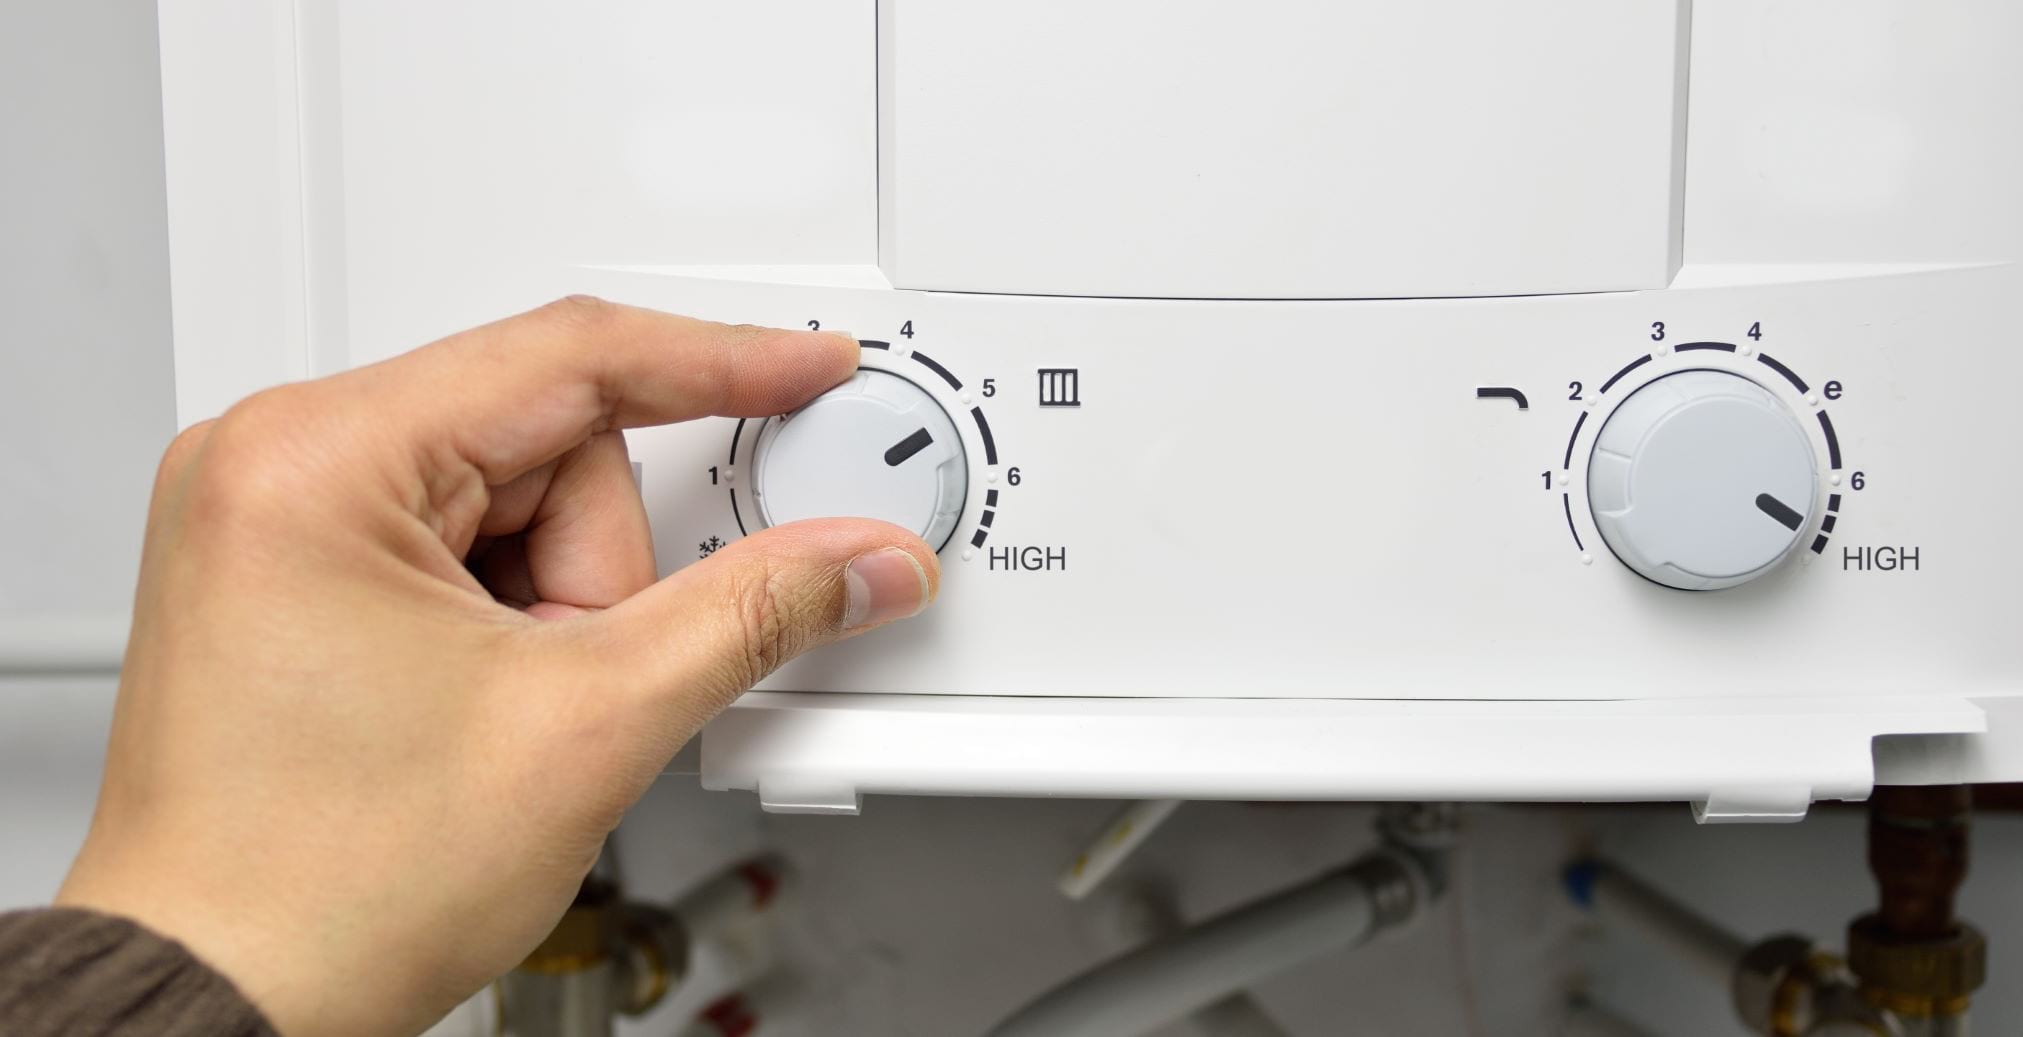
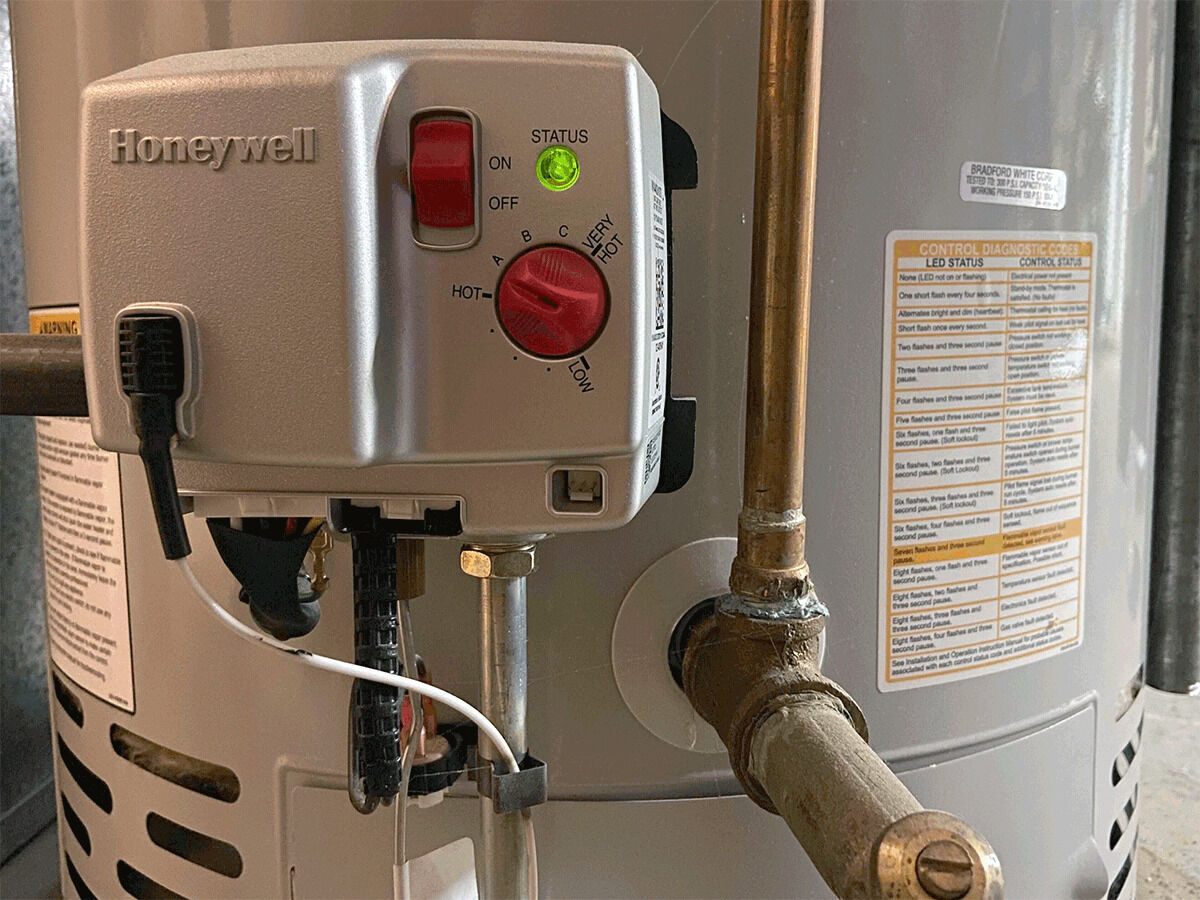
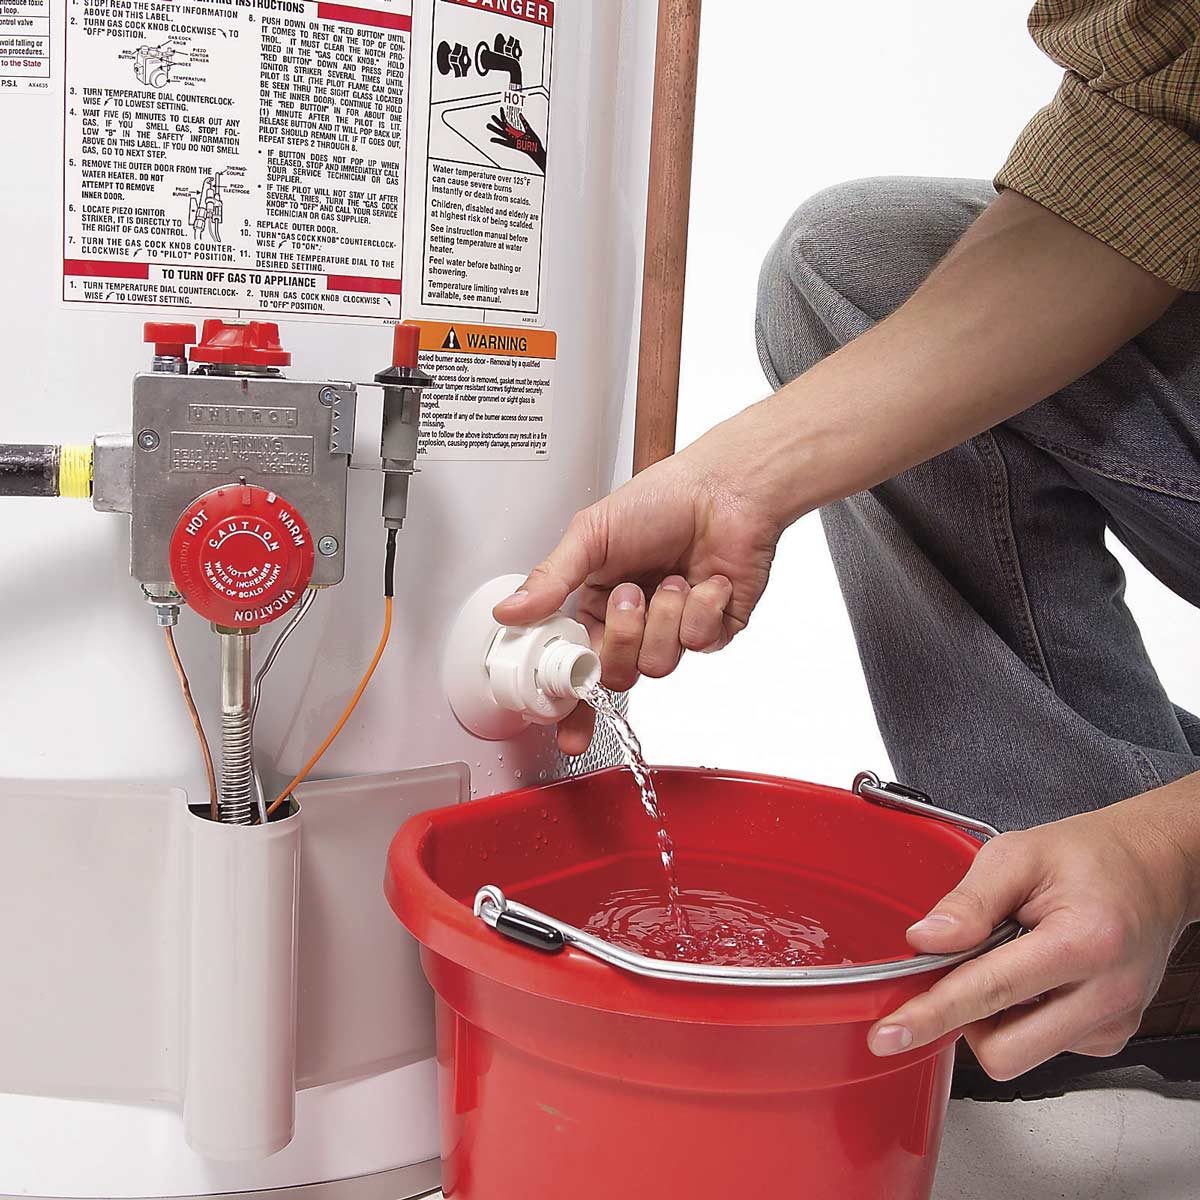
- For most water heaters, the temperature dial can be found on the front of the unit. It is usually located towards the bottom or middle of the tank. Look for a knob or a dial with temperature markings.
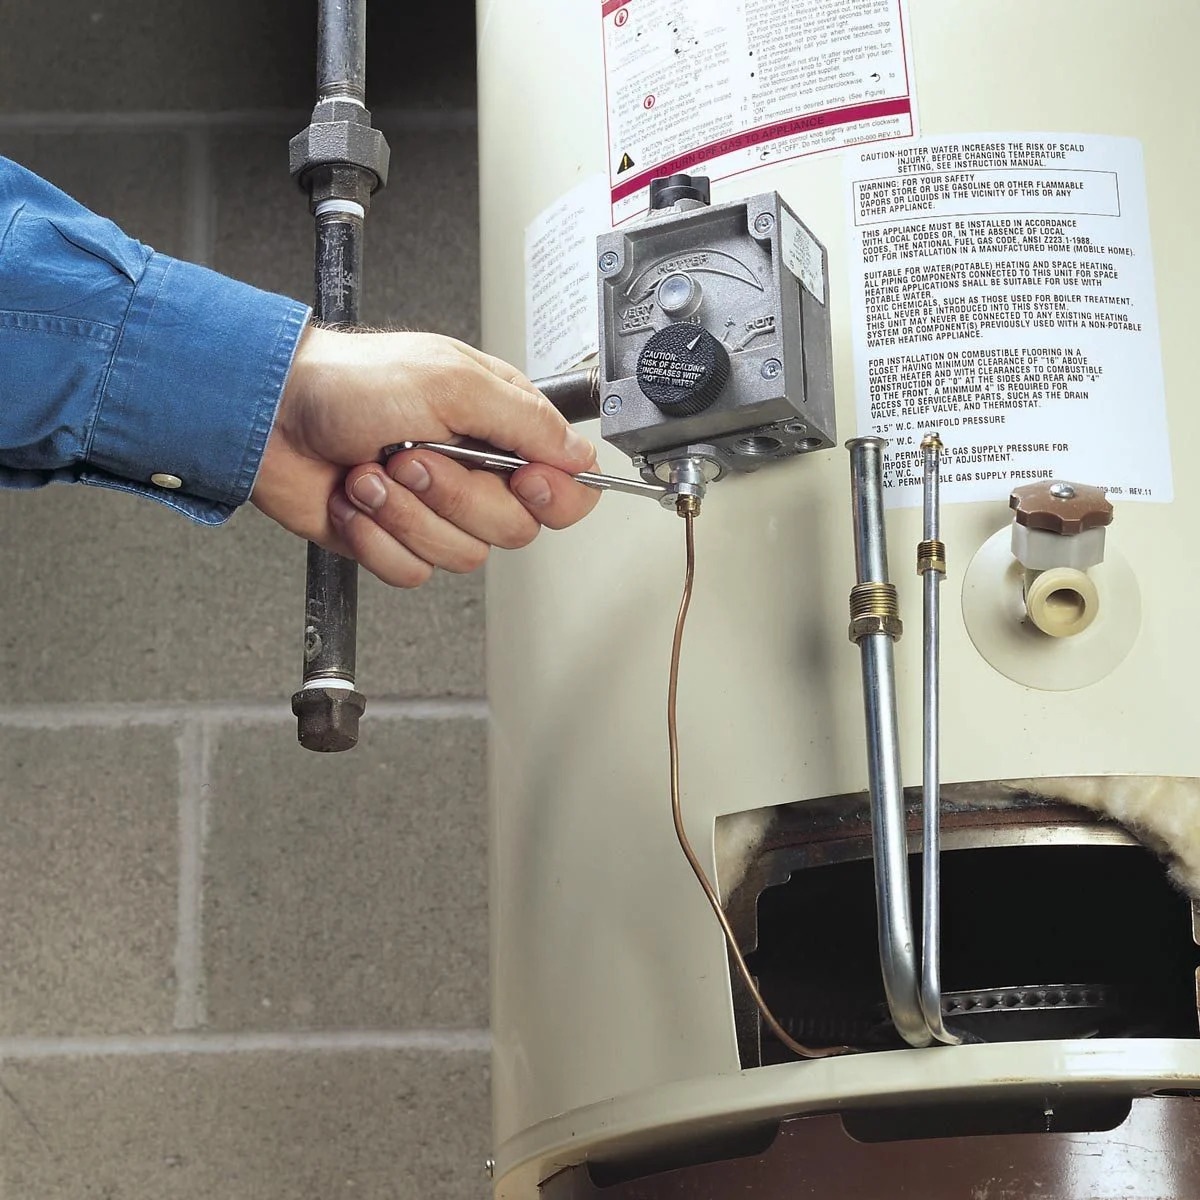
- In some cases, the temperature dial may be covered by a panel or a small access door. If this is the case, use a screwdriver or a wrench to remove the panel and reveal the temperature dial underneath.
- If you are having trouble locating the temperature dial, refer to the manufacturer’s manual or look for the model number of your water heater online. This information can help you locate the specific placement of the temperature dial for your unit.
Once you have located the temperature dial, take note of the current temperature setting. It is usually indicated in degrees Fahrenheit (°F) or Celsius (°C). This initial temperature setting will serve as a reference point for adjusting the water heater temperature accordingly.
Remember to handle the temperature dial with care and avoid forcing or tampering with it. If you encounter any difficulties or uncertainties during this process, consult the manufacturer’s instructions or seek guidance from a professional plumber.
Most water heaters have a thermostat that can be adjusted to control the temperature of the water. Locate the thermostat on your water heater and use a flathead screwdriver to adjust the temperature setting to your desired level. Always follow the manufacturer’s instructions and safety guidelines when making adjustments.
Adjusting the Temperature Settings
Now that you have located the temperature dial on your water heater, you can proceed to adjust the temperature settings based on your desired preference. Here’s how you can do it:
- Carefully turn the temperature dial either clockwise or counterclockwise to adjust the temperature setting. Some water heaters may have a dial with specific temperature markings, while others may have a simple low to high range. Use the reference point of the current temperature setting to guide your adjustments.
- For safety reasons, it is recommended to set the water heater temperature to 120 degrees Fahrenheit (49 degrees Celsius). This temperature is considered safe for most household needs while also promoting energy efficiency. However, you can adjust the temperature higher or lower depending on your personal preferences.
- Keep in mind that setting the temperature too high can lead to scalding water and increase the risk of burns, especially for young children or elderly individuals. On the other hand, setting the temperature too low may not provide sufficient hot water for your needs.
- Take into consideration factors such as your climate, the number of people in your household, and your typical hot water usage when determining the appropriate temperature setting.
It’s important to note that adjusting the temperature settings on your water heater may take some time to reflect in the actual hot water temperature. Give the water heater at least a few hours to stabilize and reach the desired temperature before testing the water.
Once you have made the necessary adjustments to the temperature settings, move on to the next step to test the water temperature and ensure that it meets your requirements.
Read more: How To Adjust Hot Water In Bathtub
Testing the Water Temperature
After adjusting the temperature settings on your water heater, it’s essential to test the water temperature to ensure that it meets your desired comfort level and safety requirements. Here’s how you can test the water temperature:
- Open a hot water tap in your home and let the water flow for a few seconds to allow any cold water in the pipes to clear out.
- Place a thermometer directly under the hot water stream and let it sit for a few moments to get an accurate reading.
- Take note of the temperature displayed on the thermometer. This will give you an idea of the current hot water temperature coming out of your water heater.
- If the temperature is too hot or too cold, make additional adjustments to the temperature settings on your water heater and repeat the testing process until you achieve the desired temperature.
Keep in mind that the ideal hot water temperature may vary depending on personal preference and household needs. However, it is generally recommended to set the water heater temperature at 120 degrees Fahrenheit (49 degrees Celsius) to ensure both comfort and safety.
It’s important to regularly check the water temperature and make any necessary adjustments to ensure consistent performance. Additionally, remember that turning up the temperature too high can result in scalding water and increase the risk of burns. Take caution, especially if you have young children or elderly individuals in your household.
Testing the water temperature after adjusting the settings will give you the confidence that the water heater is providing hot water at the desired temperature, allowing you to use it for various household tasks comfortably and safely.
Turning On the Power
Once you have successfully adjusted the temperature settings on your water heater and tested the water temperature, you can proceed to turn the power back on. Here’s how you can safely turn on the power:
- For electric water heaters, go back to the breaker panel in your home. Locate the breaker that controls the water heater and flip it back to the “on” position. This will restore power to the water heater.
- If you have a gas water heater, locate the gas control valve and turn it back to the “on” position. This will allow the flow of gas to the water heater and enable it to function.
After turning on the power, give the water heater some time to warm up and reach the desired temperature. This may take a couple of hours depending on the size and efficiency of your water heater.
It’s important to monitor the water heater’s operation and check for any abnormal noises, leaks, or performance issues after turning on the power. If you notice anything unusual, it’s recommended to contact a professional plumber or water heater technician for further inspection and maintenance.
Regularly check the water heater to ensure it continues to operate efficiently and effectively. By properly maintaining the water heater and adjusting the temperature settings as needed, you can enjoy a reliable supply of hot water while promoting energy efficiency and safety.
Conclusion
Adjusting the temperature on your water heater is a simple yet important task that ensures you have hot water at the desired temperature while promoting energy efficiency and safety. By following the steps outlined in this article, you can successfully adjust the temperature settings on your water heater and enjoy a comfortable and reliable supply of hot water.
Begin by checking the water heater for any signs of damage or leaks and ensuring that it is in good working order. Next, turn off the power to the water heater to prevent accidents or electrical shocks. Once the power is off, locate the temperature dial, which controls the water heater’s temperature. Adjust the temperature setting based on your preference, keeping in mind the recommended temperature range for safety and energy efficiency.
After adjusting the temperature, it’s crucial to test the water temperature using a thermometer to ensure it meets your desired comfort level. Make any additional adjustments as necessary until you achieve the desired temperature. Finally, turn the power back on and allow the water heater to warm up to the set temperature.
Regularly monitoring and maintaining your water heater is essential to ensure its efficient operation. Checking for any performance issues, leaks, or abnormal noises can help you identify and address potential problems before they escalate. If you encounter any difficulties or uncertainties during the process, it’s always best to consult a professional plumber or water heater technician for assistance.
Remember, safety should be a top priority when working with any electrical or gas-powered appliance. If you are unsure or uncomfortable handling the water heater or its power supply, it’s recommended to seek professional help.
By adjusting the temperature settings on your water heater, you can not only enjoy hot water at the desired temperature but also promote energy conservation and ensure the safety of everyone in your household. So take the time to check and adjust the temperature settings on your water heater to create a comfortable and efficient hot water system in your home.
Frequently Asked Questions about How To Adjust Temp On Water Heater
Was this page helpful?
At Storables.com, we guarantee accurate and reliable information. Our content, validated by Expert Board Contributors, is crafted following stringent Editorial Policies. We're committed to providing you with well-researched, expert-backed insights for all your informational needs.

0 thoughts on “How To Adjust Temp On Water Heater”