Articles
How To Transport A Water Heater
Modified: August 21, 2024
Learn how to safely transport a water heater with our informative articles. Get handy tips and advice on moving and securing this heavy appliance.
(Many of the links in this article redirect to a specific reviewed product. Your purchase of these products through affiliate links helps to generate commission for Storables.com, at no extra cost. Learn more)
Introduction
Transporting a water heater may seem like a daunting task, but with the right preparations and techniques, it can be a smooth and hassle-free process. Whether you are moving to a new home or need to replace your existing water heater, knowing how to transport it properly is essential to prevent any damage and ensure its safe arrival.
In this article, we will guide you step-by-step on how to transport a water heater effectively. From preparing for the transport to safely unloading and reconnecting the water heater, we will cover all the necessary information you need to know.
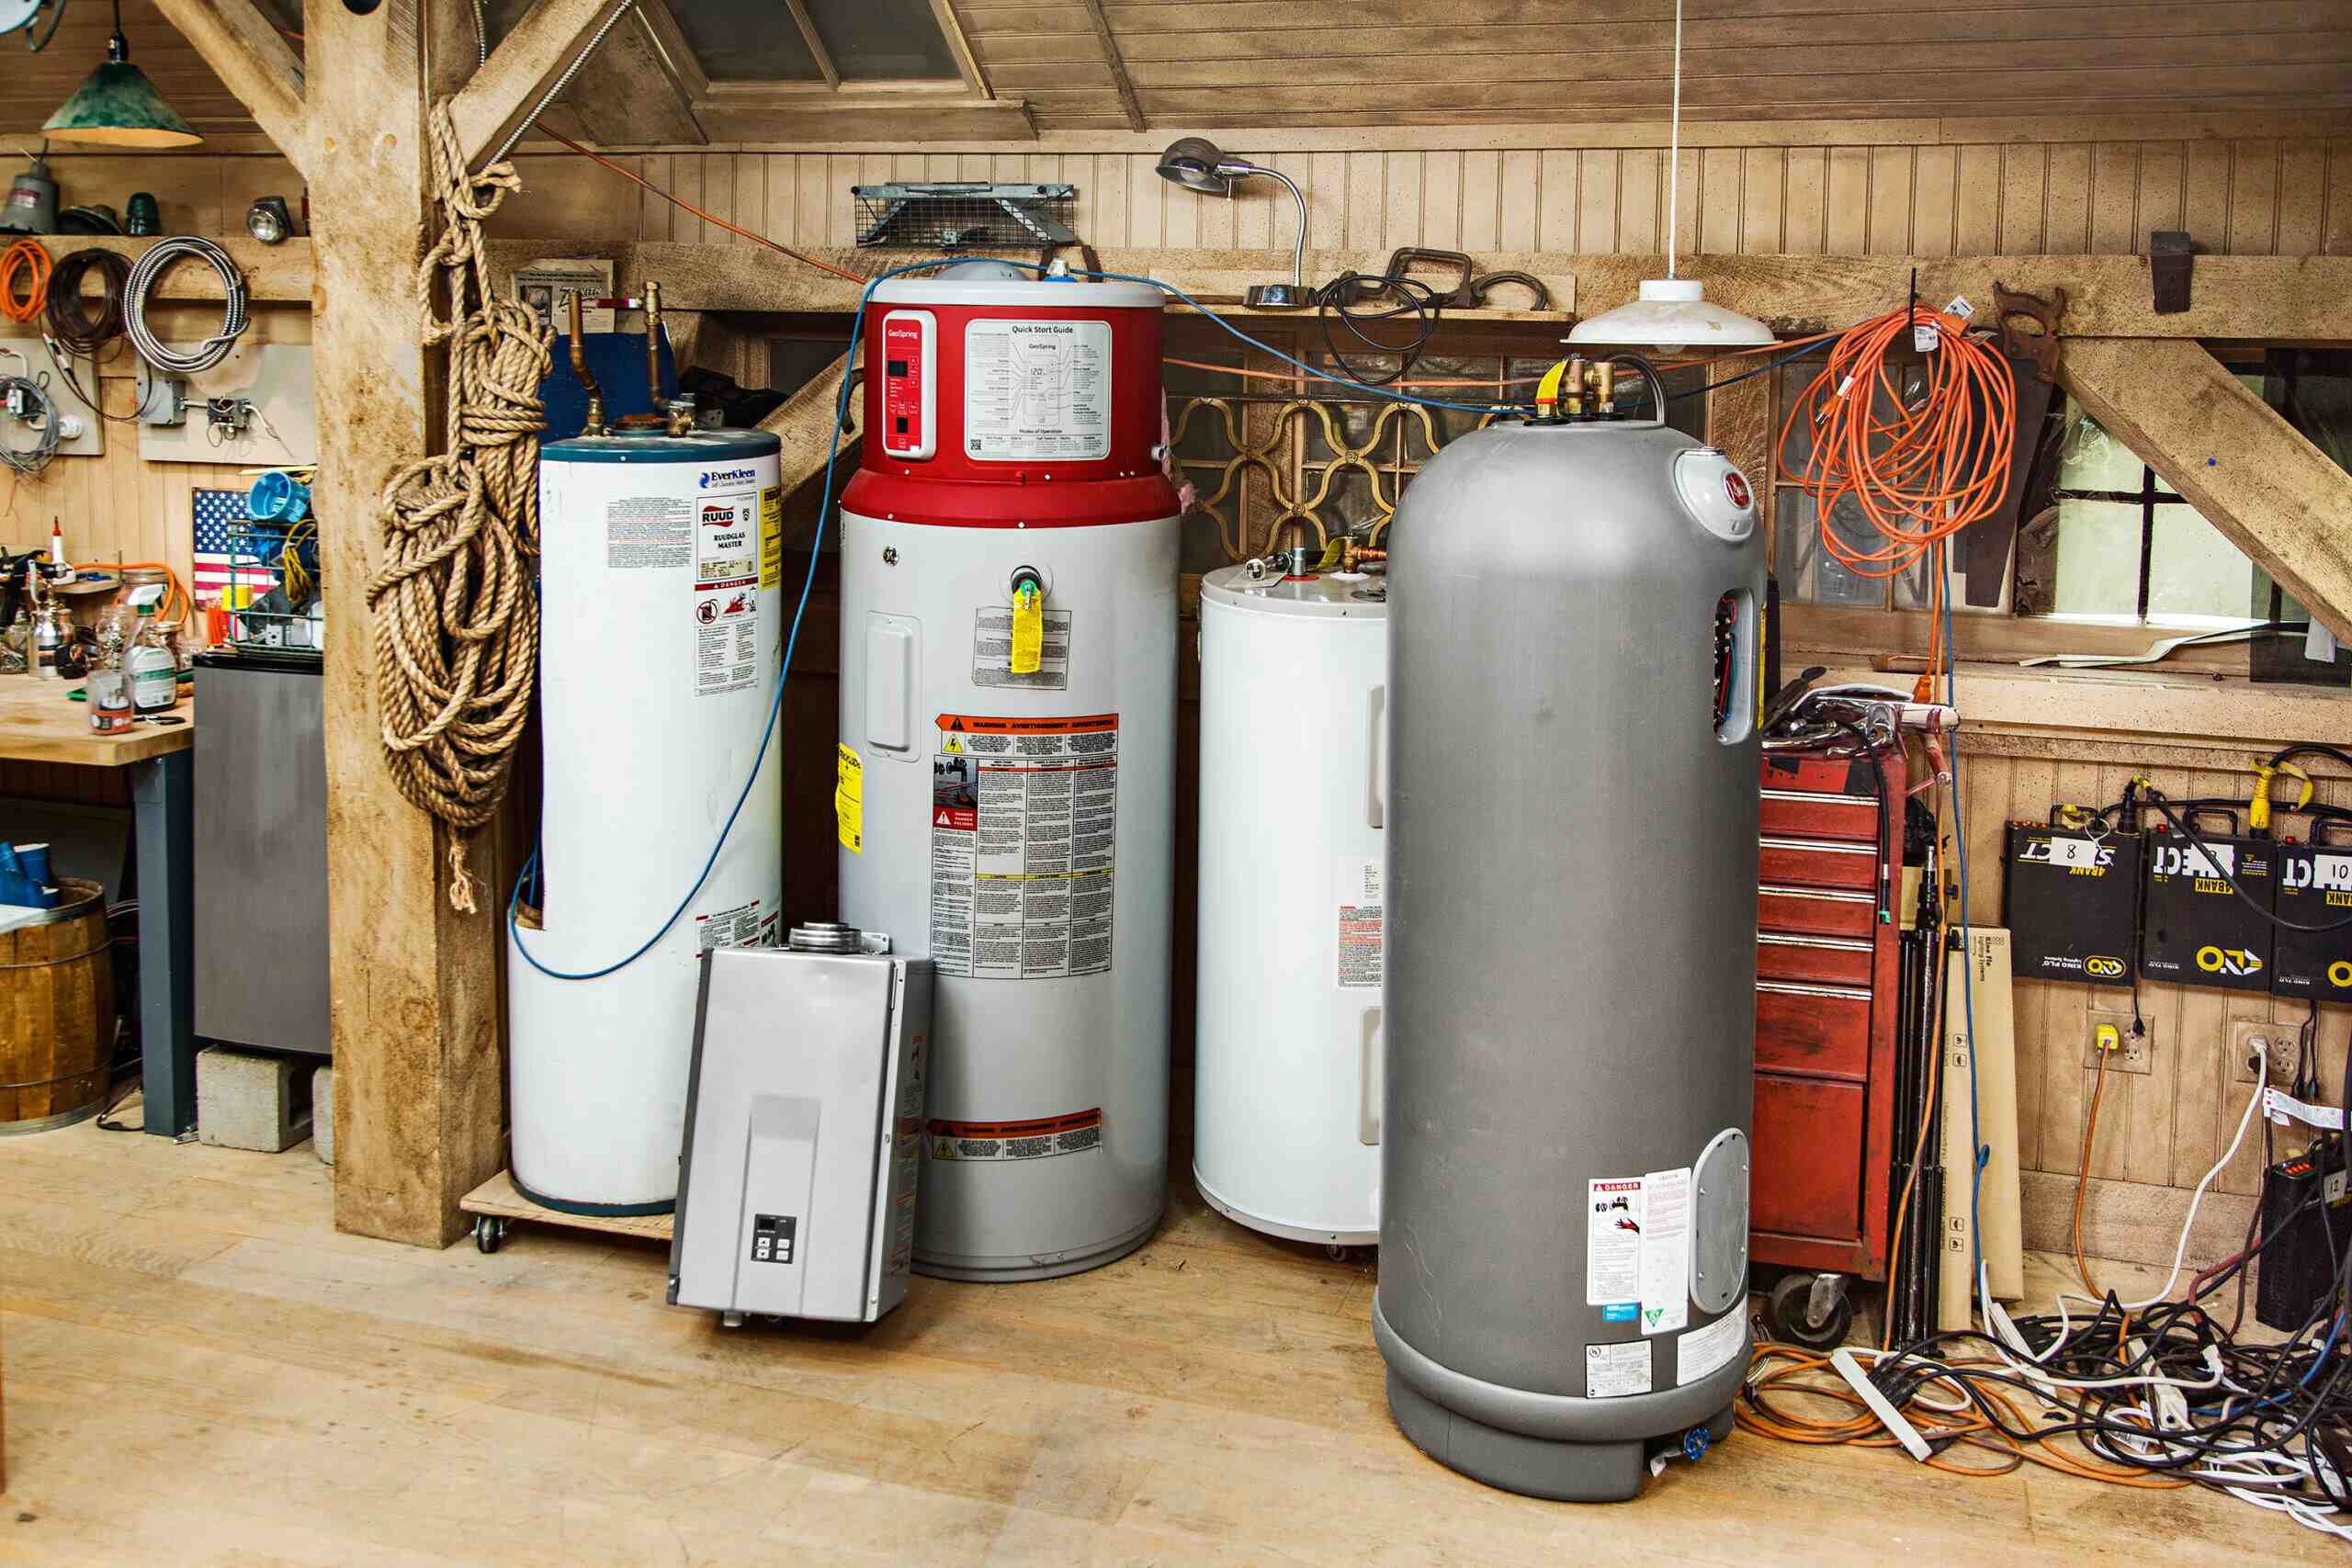
Before we dive into the details, it’s important to note that transporting a water heater can be a physically demanding task. It’s recommended to seek assistance from a friend or family member to help with the lifting and maneuvering, especially if you have a large or heavy water heater.
Now, let’s go through each step to transport your water heater with ease and peace of mind.
Key Takeaways:
- Proper preparation is essential for transporting a water heater. From measuring dimensions to securing loose components, attention to detail ensures a smooth and safe process.
- Prioritize safety at every step, from lifting and loading to reconnecting the water heater. Seek professional assistance if needed to ensure a stress-free experience.
Read more: How To Refill A Water Heater
Step 1: Prepare for Transport
Before you begin transporting your water heater, it’s crucial to make the necessary preparations to ensure a smooth and safe process. Here are the steps to follow:
- Gather the Required Equipment: Before you start, gather all the equipment you’ll need, including moving blankets, straps or ropes, a dolly or hand truck, and any tools necessary for disconnecting the water heater.
- Measure the Dimensions: Measure the dimensions of your water heater to determine the space needed for transportation. This will help you plan for the appropriate vehicle or moving container.
- Clear the Pathways: Clear any obstacles or debris from the pathways you’ll be using to move the water heater. This will ensure smooth and safe movement without any tripping hazards.
- Protect the Surrounding Area: Place protective coverings, such as moving blankets or cardboard, on the floor and walls near the water heater. This will prevent any accidental scratches or damage during the moving process.
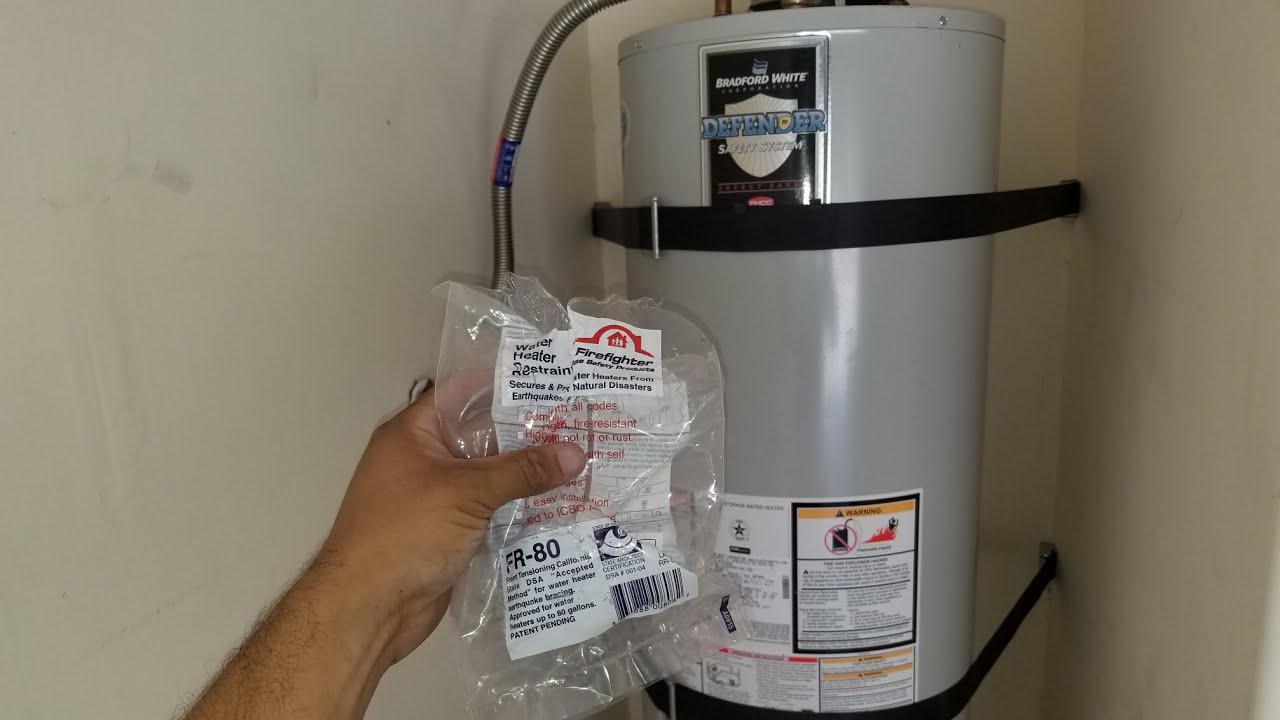
- Secure Loose Components: If your water heater has any loose components, such as a control panel or pressure relief valve, secure them with tape or zip ties to prevent them from getting damaged during transport.
- Take Pictures: Before disconnecting any pipes or hoses, take pictures of the connections to ensure you can easily reconnect them later. This will help you avoid any confusion or mistakes when reinstalling the water heater.
By following these preparation steps, you’ll set yourself up for a successful water heater transport. It’s always better to be well-prepared and organized before starting any physical moving tasks. Now, let’s move on to the next step: turning off the power and water supply.
Step 2: Turn Off the Power and Water Supply
Before you disconnect your water heater, it’s crucial to turn off the power and water supply to ensure a safe disconnection process. Here’s how to do it:
- Shut off the Power: Locate the power source for your water heater, which is typically a circuit breaker or an electrical switch. Turn off the power by flipping the corresponding circuit breaker or switching off the electrical switch. This will prevent any electrical accidents during the disconnection process.
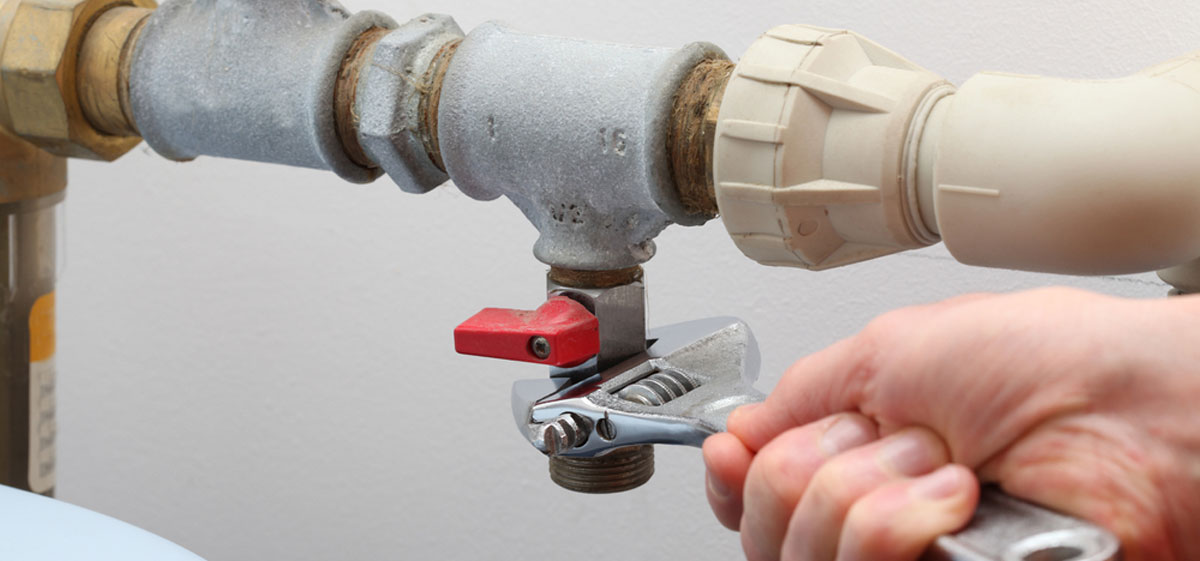
- Turn off the Gas Supply (if applicable): If your water heater is gas-powered, locate the gas supply valve usually located near the bottom of the unit. Turn the valve clockwise to shut off the gas supply. This step is crucial to prevent any gas leaks or hazards during transportation.
- Turn off the Water Supply: Locate the water supply valve connected to your water heater. This valve is usually located on the cold water pipe entering the unit. Turn the valve clockwise to shut off the water supply. This will prevent any water leakage during the disconnection process.
- Release Pressure (if necessary): If your water heater has a pressure relief valve, open it to release any built-up pressure inside the tank. This step is particularly important if the water heater has been recently used or if there is excessive pressure in the tank.
Remember to take proper safety precautions when working with electricity and gas. If you’re unsure about how to safely turn off the power or gas supply, consult a professional plumber or electrician for assistance.
By following these steps, you’ll safely disconnect your water heater from the power and water supply. This ensures that no accidents or damage occur during the transportation process. Now, let’s move on to the next step: draining the water heater.
Step 3: Drain the Water Heater
Draining the water heater is an important step to prevent any water leakage or damage during transport. Here’s how you can effectively drain the water heater:
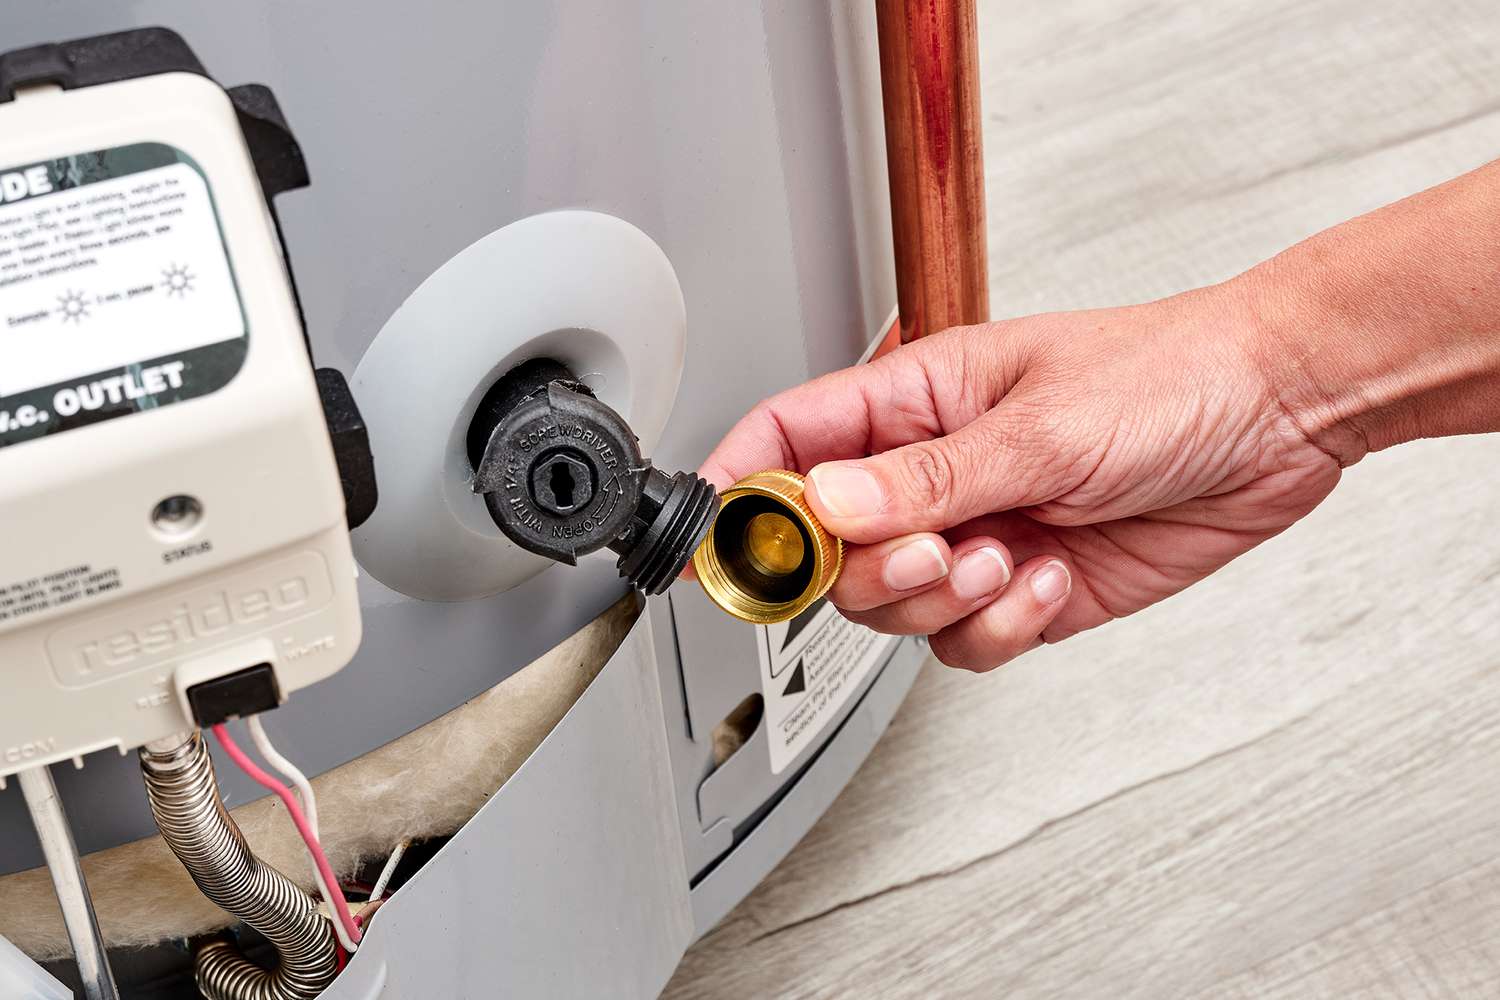
- Attach a Hose: Locate the drain valve at the bottom of your water heater. Attach a garden hose securely to the drain valve. Make sure the other end of the hose is directed towards a suitable drainage area or floor drain.
- Open the Drain Valve: Use a wrench or pliers to carefully open the drain valve. This will allow the water to flow out of the tank and through the hose. Keep in mind that the water might be hot, so use caution.
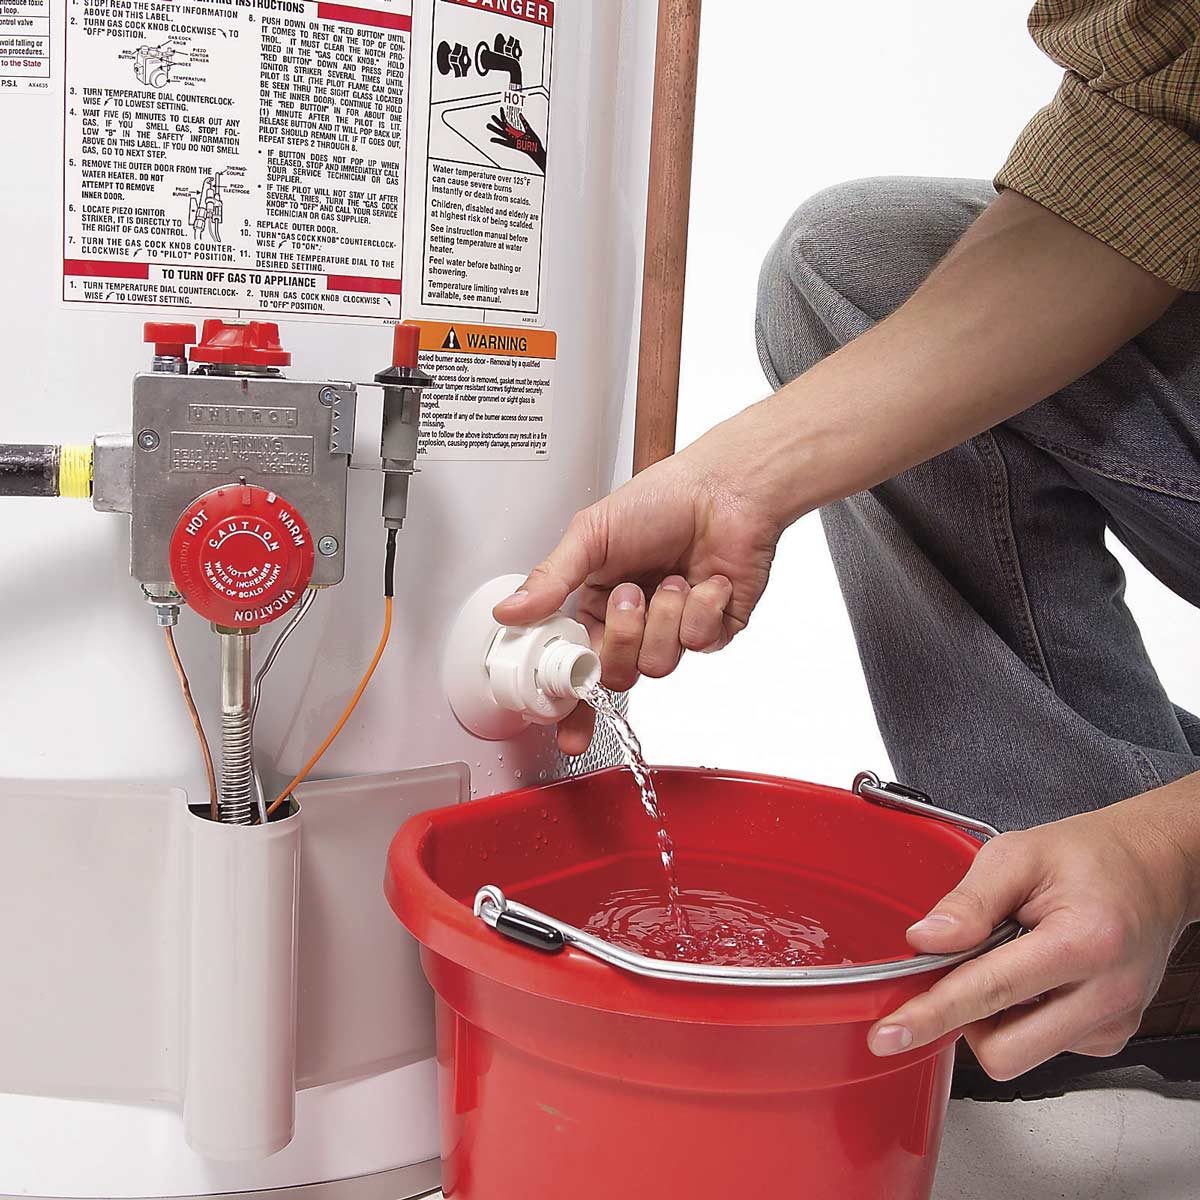
- Open a Faucet: To release the vacuum and allow the water to flow freely, open a nearby hot water faucet in your home. This will help in the draining process by preventing any airlocks.
- Drain the Water Heater: Let the water heater drain completely into the drainage area. This process may take some time, depending on the size of the tank and the water pressure.
- Close the Drain Valve: Once the tank is completely drained, close the drain valve tightly to prevent any water leakage. Remove the hose carefully and ensure no residual water is dripping.
It’s important to note that if your water heater is equipped with a temperature and pressure relief valve (TPR valve), it’s typically not necessary to drain the tank completely. The TPR valve will automatically release excess pressure and temperature during the transportation process.
By following these steps, you’ll effectively drain your water heater and avoid any potential water damage or leakage. Now, let’s move on to the next step: disconnecting the water heater.
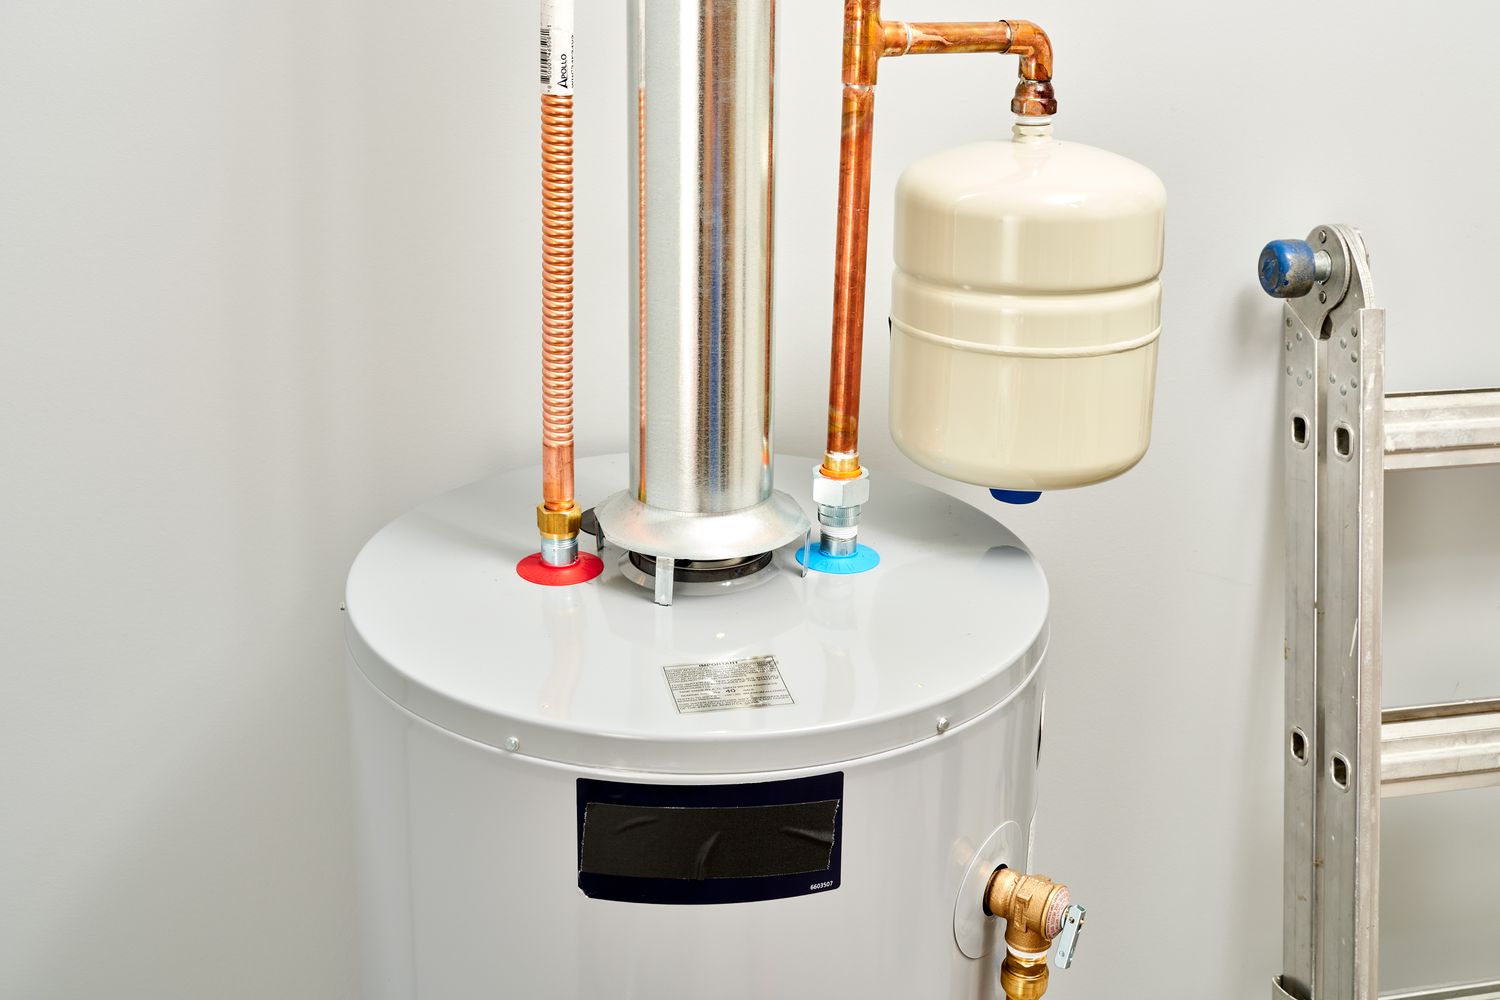
Step 4: Disconnect the Water Heater
Disconnecting the water heater is a crucial step in the transportation process. Here’s how you can properly disconnect the water heater:
- Turn off the Gas Supply (if applicable): If your water heater is gas-powered, ensure the gas supply valve is turned off before proceeding with the disconnection. This will prevent any gas leaks or hazards.
- Disconnect the Gas Line (if applicable): Using a wrench, carefully disconnect the gas line where it connects to the water heater. Ensure the connection is fully secure and no gas is leaking.
- Disconnect the Water Lines: Use a wrench or pliers to disconnect the water lines connected to the water heater. There will typically be a cold water inlet and a hot water outlet. Take care not to damage the pipes or fittings during this process.
- Label the Pipes: To make the reconnection process easier, consider labeling the pipes or taking pictures of the connections before disconnecting them. This will help ensure they are properly reconnected later.
- Remove Electrical Connections: If your water heater is electric-powered, carefully disconnect any electrical connections, such as wiring or cables, from the unit. Take caution not to touch any live wires.
- Secure Loose Components: If there are any loose components, such as a control panel or pressure relief valve, secure them tightly or remove them temporarily to prevent any damage during transportation.
It’s important to note that when disconnecting the water heater, you should ensure all connections are fully sealed and no water or gas is leaking. This will prevent any accidents or damage during the transportation process.
By following these steps, you’ll successfully disconnect your water heater in preparation for transport. Now, let’s move on to the next step: securing the water heater for transport.
Read more: How To Disconnect Water Heater
Step 5: Secure the Water Heater for Transport
Securing the water heater properly is essential to prevent any damage or movement during transportation. Here’s how you can securely prepare the water heater for transport:
- Wrap the Water Heater: Use moving blankets or padded blankets to wrap the water heater completely. This will provide cushioning and protect it from any scratches or dents.
- Secure with Straps or Ropes: Use straps or ropes to securely fasten the moving blankets around the water heater. Make sure they are tight and will hold the blankets in place during transport.
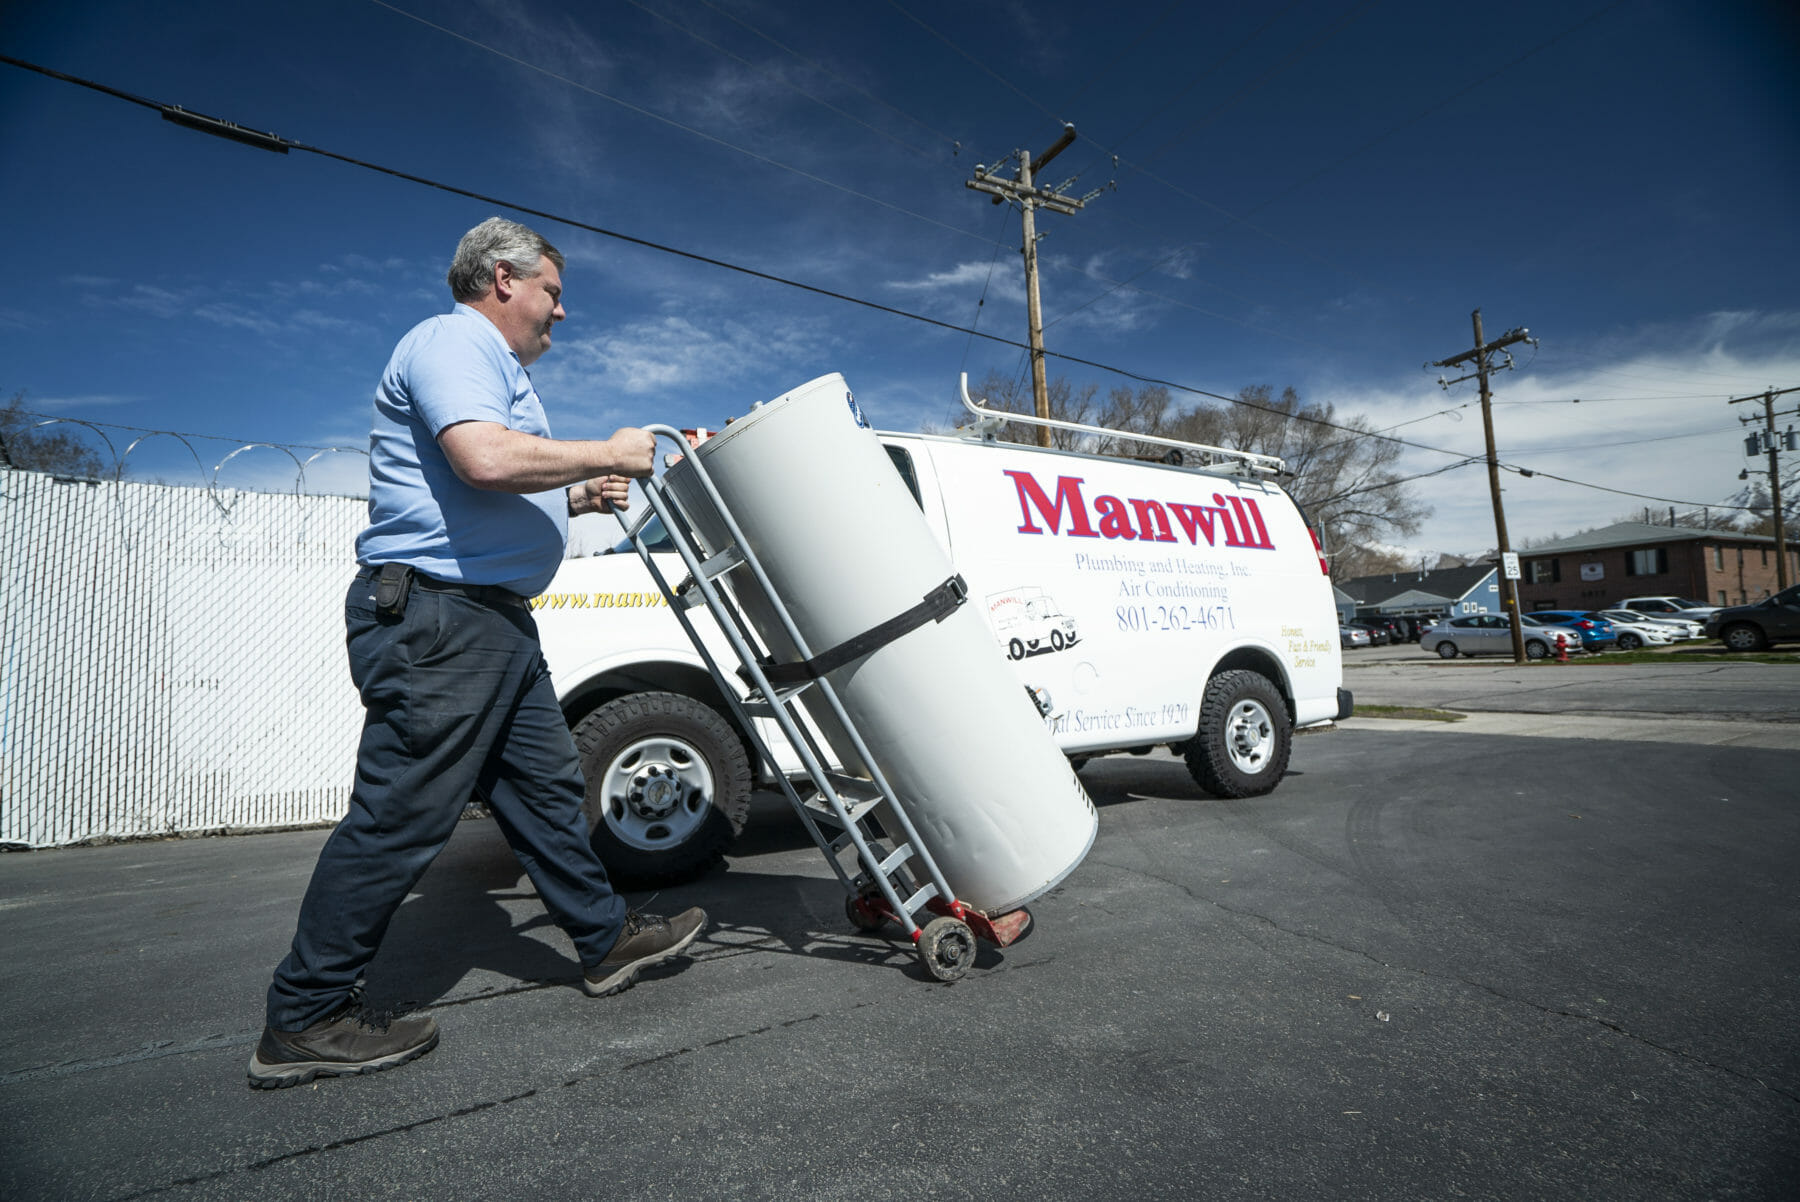
- Use a Dolly or Hand Truck: If possible, use a dolly or hand truck to move the water heater. This will make the process easier and prevent any unnecessary strain on your back.
- Ensure Stability: When using a dolly or hand truck, ensure the water heater is positioned securely and is stable. Use straps or ropes to fasten it to the dolly or hand truck to prevent any shifting or movement.
- Pay Attention to Weight Limitations: If you are using a transportation vehicle, make sure it can handle the weight of the water heater. Check the weight limitations of the vehicle and distribute the weight evenly to avoid any imbalance.
- Protect Fragile Components: If there are any fragile components, such as glass panels or control panels, consider adding additional padding or protection to prevent any damage during transport.
By taking these steps to secure the water heater, you’ll minimize the risk of any damage or accidents during transportation. It’s important to ensure the water heater is stable and protected to ensure a smooth transport process.
Now that you’ve securely prepared the water heater for transport, let’s move on to the next step: loading the water heater onto a transportation vehicle.
When transporting a water heater, make sure to drain all the water from the tank before moving it to prevent leaks and damage. This will also make it lighter and easier to handle.
Step 6: Load the Water Heater onto a Transportation Vehicle
Loading the water heater onto a transportation vehicle requires careful planning and proper lifting techniques to ensure a safe and successful process. Here’s how you can load the water heater onto a transportation vehicle:
- Enlist Help: Since water heaters can be heavy and cumbersome, it’s important to have at least one other person assist you with the lifting and loading process. Working with a partner will make the task much easier and safer.
- Position the Vehicle: Park the transportation vehicle as close to the water heater’s current location as possible. This will minimize the distance you need to carry the water heater, reducing the risk of accidents or injuries.
- Use Proper Lifting Techniques: Bend your knees, keep your back straight, and use your leg muscles to lift the water heater. Avoid lifting with your back to prevent strain or injury.
- Coordinate the Lift: Communicate with your partner to coordinate the lift. Lift the water heater at the same time and maintain a firm grip to ensure stability during the lifting process.
- Carefully Load onto the Vehicle: Lift the water heater onto the transportation vehicle, using ramps or other loading equipment if needed. Take caution to avoid any sudden movements or jolts that could damage the water heater.
- Position Properly: Once the water heater is on the vehicle, position it securely to prevent any movement during transportation. Use straps or ropes to secure the water heater in place, ensuring it is stable and will not shift during transit.
It’s crucial to prioritize your safety and avoid lifting more than you can handle. If the water heater is too heavy or you have any concerns about the lifting process, consider hiring professional movers with experience in transporting heavy appliances.
By following these steps and using proper lifting techniques, you’ll safely load the water heater onto a transportation vehicle and ensure it’s secured for transport. Now, let’s move on to the next step: securing the water heater in the vehicle.
Step 7: Secure the Water Heater in the Vehicle
Properly securing the water heater in the transportation vehicle is crucial to prevent any movement or damage during transit. Here are the steps to securely fasten the water heater:
- Place on a Stable Surface: Position the water heater on a stable and level surface within the transportation vehicle. This will provide a solid base for securing it.
- Use Straps or Ropes: Secure the water heater using straps or ropes to prevent any shifting or movement during transit. Attach the straps or ropes to stable anchor points within the vehicle.
- Tighten the Straps: Ensure that the straps or ropes are tightened securely to hold the water heater in place. Check the tightness periodically during transit to make sure they remain secure.
- Avoid Over-Tightening: While it’s important to secure the water heater tightly, be cautious not to over-tighten the straps or put excessive pressure on the unit, as this could potentially cause damage.
- Protect Fragile Components: If there are any fragile components on the water heater, such as glass panels or control panels, consider using additional padding or protection to prevent any damage during transit.
- Inspect for Stability: After securing the water heater in the vehicle, give it a gentle shake to ensure it is stable and does not move excessively. Make any necessary adjustments to ensure a secure fit.
It’s important to follow the guidelines provided by the transportation vehicle for securing loads. If you’re unsure about the proper methods of securing the water heater or if you have any concerns, consult professionals or experts who have experience in securing heavy appliances during transport.
By following these steps and properly securing the water heater in the transportation vehicle, you’ll minimize the risk of any damage or accidents during transit. Now, let’s move on to the next step: transporting the water heater to the desired location.
Step 8: Transport the Water Heater to the Desired Location
Once the water heater is securely loaded and fastened in the transportation vehicle, it’s time to transport it to the desired location. Here’s what you need to consider for a smooth and successful transportation:
- Plan the Route: Before you start the journey, plan the route to your desired location. Take into account any road conditions, potential traffic, or obstacles that may affect the transport.
- Drive Smoothly: While driving, maintain a smooth and steady speed to minimize any sudden movements or vibrations. This will help prevent any unnecessary jostling or shifting of the water heater.
- Take Caution on Turns: Be mindful of turns, especially sharp curves or corners. Slow down and take caution to prevent any tipping or movement of the water heater.
- Stay within Weight Limitations: Ensure that the weight of the water heater, along with any other items in the transportation vehicle, does not exceed the weight limitations set by the vehicle manufacturer.
- Monitor the Water Heater: Keep an eye on the water heater during the transport to ensure it remains stable and secure. If you notice any signs of movement or instability, pull over safely and make any necessary adjustments.
- Minimize Vibrations: Avoid rough roads or uneven surfaces as much as possible to minimize vibrations. Excessive vibrations can potentially damage the water heater or its internal components.
- Ensure Proper Ventilation: If you are transporting a gas-powered water heater, ensure that the transportation vehicle provides adequate ventilation to prevent the accumulation of gas fumes.
It’s essential to exercise caution and prioritize safety during the transportation process. Arriving at the desired location without any damage to the water heater is the ultimate goal.
Once you reach your destination safely, it’s time to move on to the next step: unloading and positioning the water heater.
Read more: How To Turn On A Water Heater
Step 9: Unload and Position the Water Heater
After safely transporting the water heater to your desired location, it’s time to unload and position it properly. Here’s how you can do it:
- Prepare the Unloading Area: Clear the area where you plan to unload the water heater. Remove any obstacles or debris to create a safe and open space.
- Enlist Help: Once again, it’s important to have assistance from another person or a team to safely unload the water heater. Coordinate with your helpers and communicate throughout the process.
- Use Proper Lifting Techniques: Just as during the loading process, use proper lifting techniques to minimize the risk of injury. Bend your knees, keep your back straight, and lift with your leg muscles.
- Unload Carefully: Slowly lower the water heater from the transportation vehicle using a dolly, hand truck, or by carrying it with your team members. Take caution to avoid any sudden movements or dropping the unit.
- Position the Water Heater: Once the water heater is on the ground, carefully position it in its designated location. If necessary, use a dolly, hand truck, or the help of your team members to maneuver and adjust the placement.
- Consider Installation Requirements: If you are installing the water heater in a specific area, ensure that it aligns with the necessary clearances, venting requirements, and electrical or gas connections as per the manufacturer’s guidelines.
- Remove Protective Wrapping: Remove any protective wrapping or padding from the water heater, being mindful not to damage any components or fittings in the process.
Take your time during the unloading process and prioritize safety. It’s important to handle the water heater delicately to avoid any damage or injury. Once the water heater is unloaded and properly positioned, you can proceed to the final step: reconnecting the water heater.
Step 10: Reconnect the Water Heater
Now that the water heater is in its desired location, it’s time to reconnect it to the power and water supply. Follow these steps to successfully reconnect the water heater:
- Position the Water Heater: Ensure that the water heater is properly aligned in its designated location before proceeding with the reconnection process.
- Reconnect the Water Lines: Carefully attach the water lines (cold water inlet and hot water outlet) back to the respective connections on the water heater. Use a wrench or pliers to secure the fittings, making sure they are watertight.
- Reconnect the Gas Line (if applicable): If your water heater is gas-powered, reconnect the gas line to the unit using a wrench. Ensure that the connection is securely fastened and there are no gas leaks.
- Reconnect Electrical Connections: If your water heater is electric-powered, reconnect any electrical connections, such as wiring or cables, making sure they are properly connected and secure.
- Open the Water Supply Valve: Turn on the water supply valve to allow water to flow into the water heater. Check for any leaks around the connections and make sure they are tightly sealed.
- Turn on the Power: If you had turned off the electrical power during the transportation process, turn it back on using the corresponding circuit breaker or electrical switch.
- Test for Functionality: Once the water and power are reconnected, test the functionality of the water heater. Allow time for the tank to fill with water and check for any irregularities or issues.
- Monitor for Leaks: Keep an eye out for any water leaks or gas leaks around the connections. If you notice any leaks, carefully tighten the fittings or consult a professional plumber for assistance.
By following these steps, you’ll successfully reconnect the water heater. It’s essential to ensure that all connections are properly sealed to avoid any water or gas leakage. Periodically check the water heater for any signs of malfunctioning or leaks after the reconnection.
Congratulations! You have successfully transported and reconnected your water heater. Following these steps ensures a safe and efficient process, allowing you to enjoy the benefits of hot water in your new location.
As a final note, it’s recommended to consult the manufacturer’s guidelines or seek professional assistance if you have any specific concerns or questions regarding the reconnection process for your particular water heater model.
Conclusion
Transporting a water heater may seem like a complex task, but with proper planning and execution, it can be done smoothly and safely. By following the step-by-step guide provided in this article, you can ensure that your water heater arrives at its new location without any damage or issues.
From preparing for the transport to disconnecting and securing the water heater, each step plays a crucial role in ensuring a successful and hassle-free process. Taking the time to turn off the power and water supply, drain the water heater, and disconnect the necessary components will prevent any accidents or leaks during transport.
Remember to gather the required equipment, measure the dimensions of your water heater, clear pathways, and protect the surrounding area before initiating the transportation process. Securing the water heater with moving blankets, straps, or ropes, and using a suitable transportation vehicle will help prevent any movement or damage during transit.
Once you’ve arrived at your desired location, unloading the water heater and positioning it correctly is vital. Reconnecting the water heater by attaching the water lines, gas line (if applicable), and electrical connections should be done carefully to ensure proper functionality.
Throughout the process, prioritize safety and be cautious of any potential hazards. Seek assistance if needed, especially during lifting and maneuvering heavy appliances. It’s worth considering professional help for a seamless and stress-free experience.
By following these steps and guidelines, you can successfully transport and reconnect your water heater, ensuring uninterrupted access to hot water in your new location. Regularly monitor your water heater for any leaks, malfunctions, or unusual behavior, and address them promptly to maintain its longevity and optimal performance.
Remember to consult the manufacturer’s guidelines for your specific water heater model, as some steps or procedures may vary. When in doubt, it is always best to seek professional assistance to ensure the safety and proper functioning of your water heater.
With careful planning, preparation, and execution, you can confidently transport your water heater with ease and peace of mind.
Frequently Asked Questions about How To Transport A Water Heater
Was this page helpful?
At Storables.com, we guarantee accurate and reliable information. Our content, validated by Expert Board Contributors, is crafted following stringent Editorial Policies. We're committed to providing you with well-researched, expert-backed insights for all your informational needs.


0 thoughts on “How To Transport A Water Heater”