Articles
How To Insulate Water Heater
Modified: October 20, 2024
Looking for articles on how to insulate your water heater? Find step-by-step guides and expert tips to efficiently insulate your water heater for maximum energy savings.
(Many of the links in this article redirect to a specific reviewed product. Your purchase of these products through affiliate links helps to generate commission for Storables.com, at no extra cost. Learn more)
Introduction
Welcome to this comprehensive guide on how to insulate a water heater. A water heater is an essential appliance that provides us with hot water for various purposes, such as bathing, cooking, and cleaning. However, without proper insulation, a significant amount of heat can be lost from the water heater, resulting in energy wastage and higher utility bills. By insulating your water heater, you can minimize heat loss and improve its energy efficiency.
In this article, we will explore the importance of insulating a water heater, the different types of insulation materials available, the tools and materials required, and the step-by-step process of insulating a water heater. We will also discuss how to test the insulation efficiency and provide tips on maintaining the insulation for maximum effectiveness.
Whether you have a traditional storage tank water heater or a tankless water heater, this guide will provide you with all the information you need to insulate your water heater and save energy in the process. So, let’s get started!
Key Takeaways:
- Properly insulating your water heater can lead to significant energy savings, extended lifespan of heating elements, and reduced environmental impact by minimizing heat loss and standby heat loss.
- Regular maintenance of the insulation, including proper sealing, monitoring for moisture, and avoiding damage, is crucial for maximizing energy efficiency and ensuring long-term cost savings.
Read more: How To Refill A Water Heater
Importance of Insulating a Water Heater
Insulating a water heater is crucial for several reasons. Firstly, it helps to reduce heat loss from the water stored in the tank, allowing it to stay hotter for longer periods. This means less energy is required to reheat the water when it is needed, resulting in lower energy consumption and cost savings on your utility bills.
Furthermore, insulating your water heater can improve its overall energy efficiency. A properly insulated water heater will retain heat more effectively, preventing the need for the system to constantly reheat the water. This not only reduces energy wastage but also extends the lifespan of the heating elements, ensuring that your water heater operates optimally for a longer period.
Insulation also helps to reduce standby heat loss. Standby heat loss occurs when heat is transferred from the stored hot water to the surrounding environment. By insulating the water heater and minimizing this heat loss, you can ensure that the water remains hot for more extended periods, reducing the frequency of heating cycles.
Another significant benefit of insulating your water heater is that it can help to prevent freezing during colder seasons. Insulation acts as a barrier, preventing the cold air from reaching the water inside the tank. This is particularly important for regions with colder climates, as frozen water in the tank can cause damage to the water heater and plumbing system.
Insulating your water heater can also contribute to your overall environmental footprint. By reducing energy consumption, you help to conserve valuable resources and decrease greenhouse gas emissions associated with electricity or fuel production.
Overall, insulating your water heater is a cost-effective way to improve its energy efficiency, decrease heat loss, save money on energy bills, and contribute to a more sustainable environment. In the next sections, we will explore the different types of insulation materials and the step-by-step process of insulating your water heater.
Types of Insulation Materials
When it comes to insulating your water heater, there are several types of insulation materials to choose from. Each material has its own set of benefits and considerations, so it’s important to select the one that suits your needs and budget. Here are some common insulation materials used for water heaters:
- Fiberglass Insulation: Fiberglass insulation is one of the most widely used materials for water heater insulation. It consists of tiny glass fibers that trap air, providing excellent thermal resistance. Fiberglass insulation comes in rolls or pre-cut blankets and is relatively easy to install. However, it’s important to wear protective gloves and a mask when handling fiberglass to avoid skin irritation and respiratory issues.
- Foam Board Insulation: Foam board insulation, also known as rigid insulation, is made of polystyrene or polyisocyanurate foam. It comes in large sheets and is a great option for insulating water heaters, especially when there are irregularities or obstructions present. Foam board insulation provides good insulation value and is resistant to moisture. It’s important to cut the foam boards accurately to ensure proper coverage.
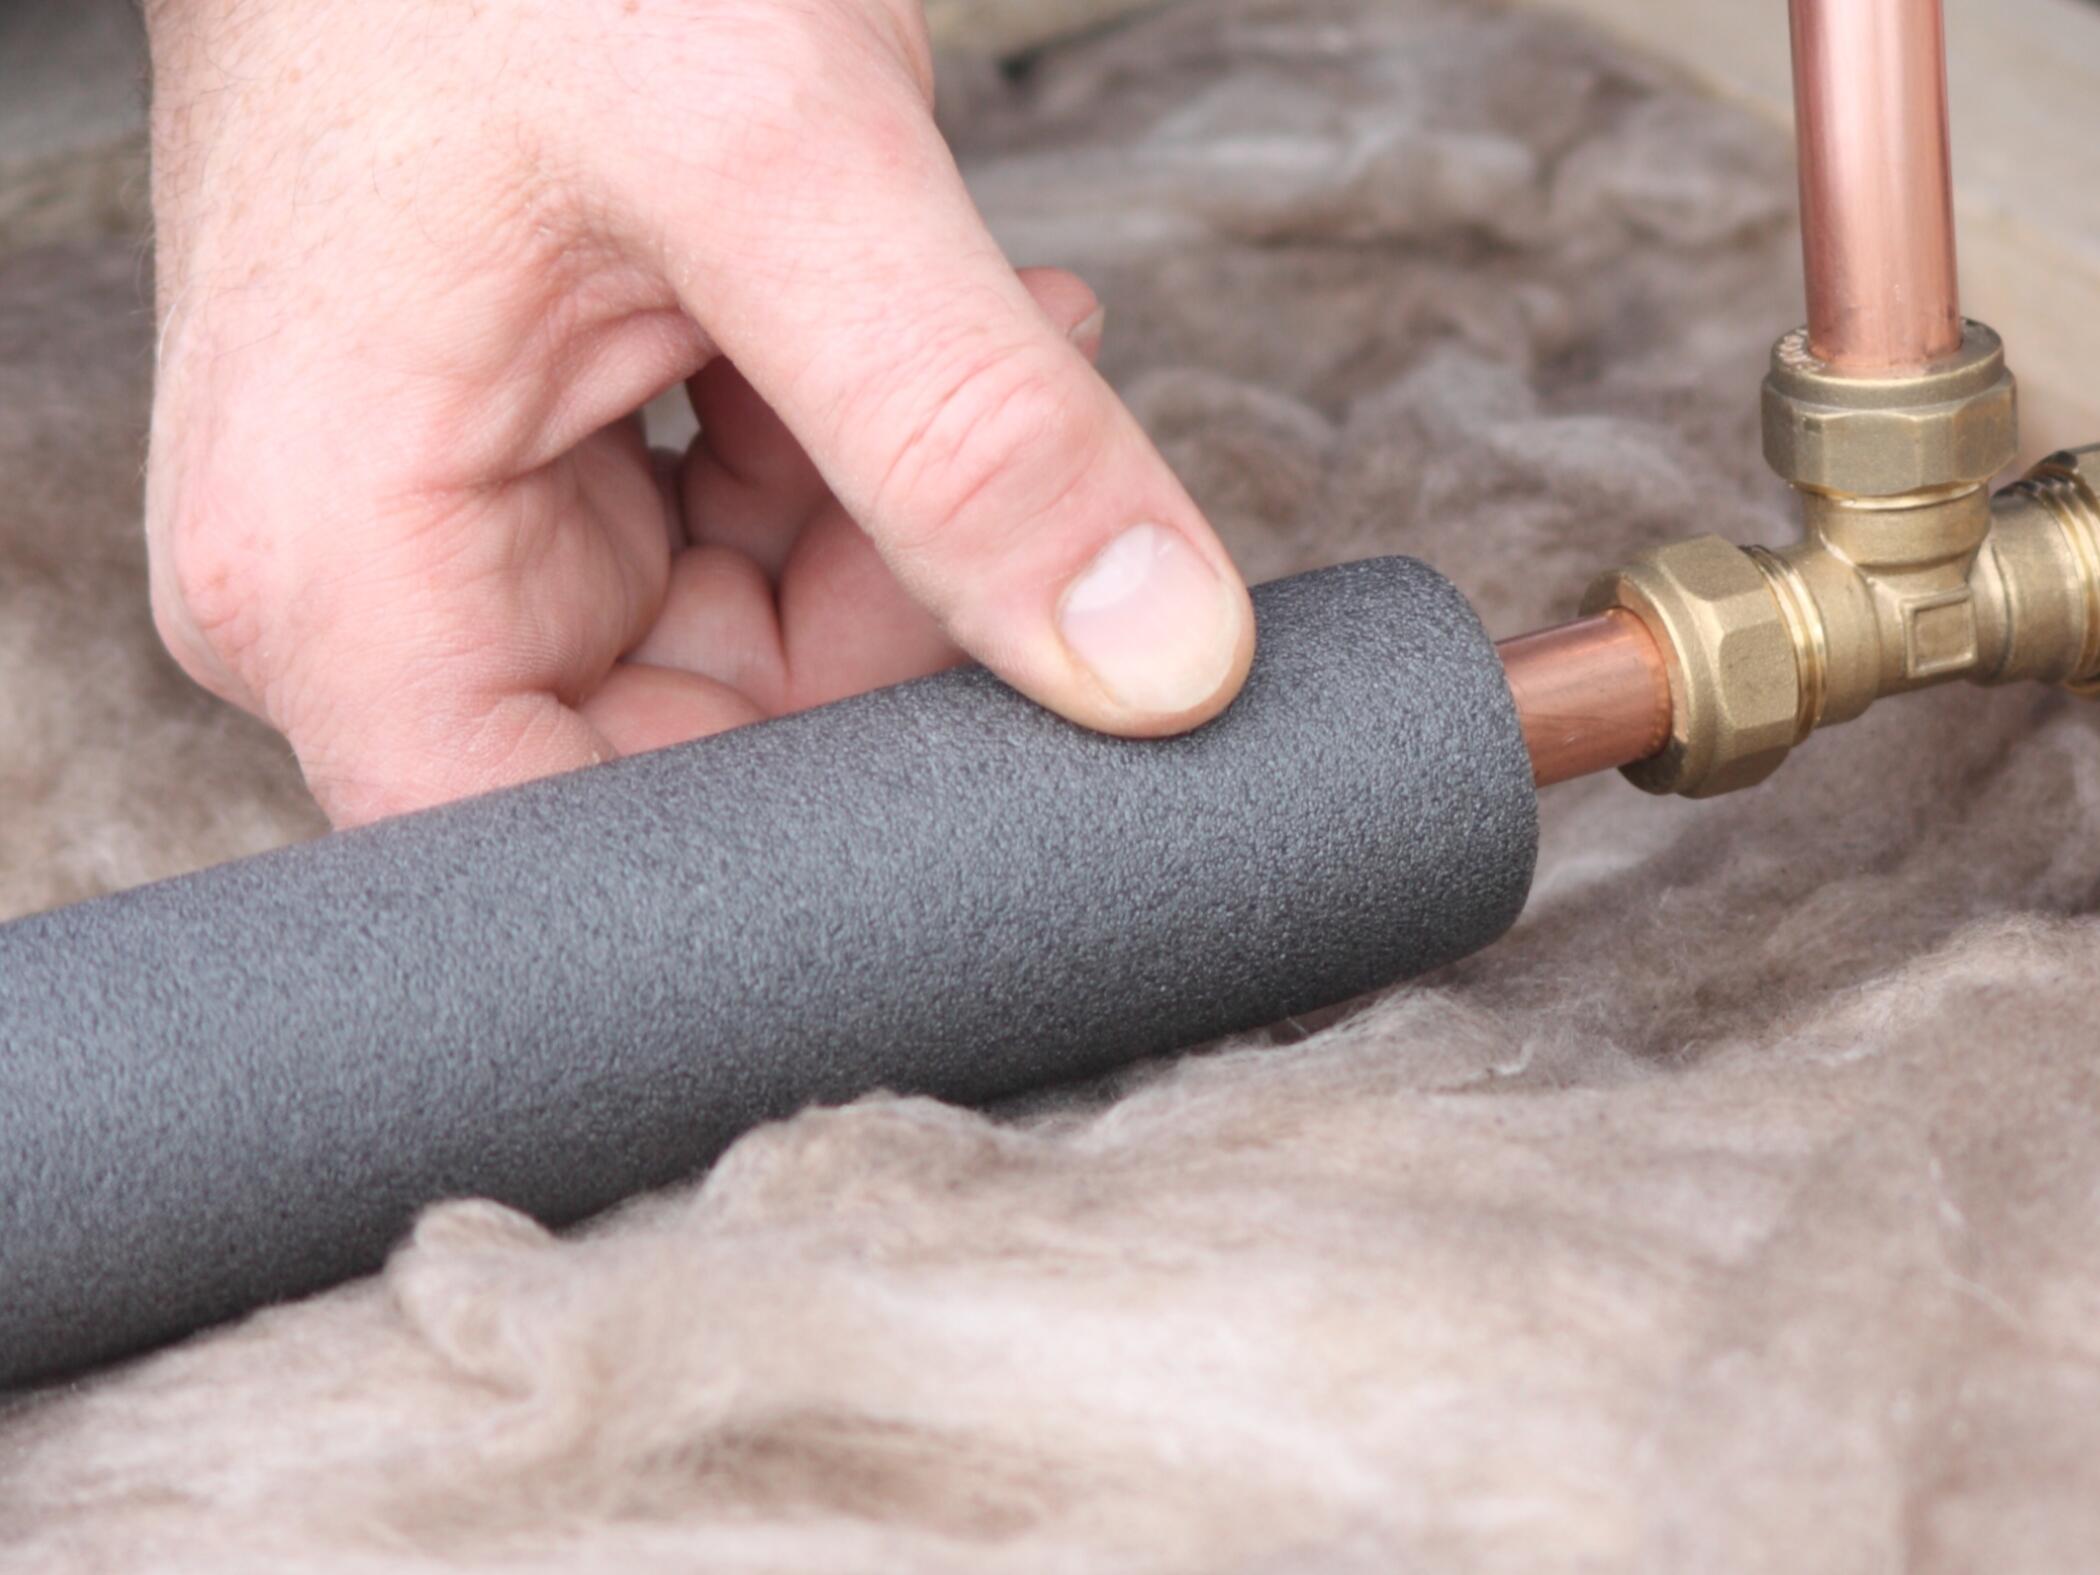
- Pipe Wrap Insulation: Pipe wrap insulation is specifically designed for insulating the pipes connected to your water heater. These foam or fiberglass tubes are slit on one side for easy installation and provide insulation to prevent heat loss from the pipes. By insulating the pipes, you can further enhance the energy efficiency of your water heater system.
- Reflective Foil Insulation: Reflective foil insulation consists of a layer of foil with a bubble wrap or foam core. It works by reflecting radiant heat back into the water heater tank. Reflective foil insulation is lightweight, easy to install, and resistant to moisture and mold. It’s an excellent option for areas with high humidity.
- Vapor Barrier Wrap: Vapor barrier wrap is a thin plastic sheet that acts as a barrier against moisture. It is often used in conjunction with other insulation materials to provide an additional layer of protection. Vapor barrier wrap helps to prevent water condensation and mold growth, ensuring the longevity of your insulation.
Before choosing an insulation material, consider factors such as the desired insulation value, ease of installation, cost, availability, and any specific requirements or restrictions. It’s also essential to follow the manufacturer’s instructions and safety guidelines when working with insulation materials.
Now that we’ve discussed the different types of insulation materials, let’s move on to the tools and materials you will need for the insulation process.
Tools and Materials Required
Before you start insulating your water heater, it’s important to gather all the necessary tools and materials. Having everything prepared beforehand will ensure a smooth and efficient insulation process. Here are the tools and materials you will need:
Tools:
- Measuring tape
- Utility knife
- Straight edge or ruler
- Scissors
- Protective gloves
- Dust mask
- Marker or pen
- Hot glue gun or adhesive
Read more: How To Disconnect Water Heater
Materials:
- Insulation material of choice (fiberglass, foam board, reflective foil, etc.)
- Foil tape or duct tape
- Pipe wrap insulation (if applicable)
- Vapor barrier wrap (if desired or required)
- Zip ties or wire for securing insulation
- Plastic sheet or drop cloth for workspace protection
When selecting insulation materials, make sure to purchase enough to cover the entire water heater and any exposed pipes. Measure the dimensions of the water heater and the length of the pipes accurately to determine the amount of insulation required.
Additionally, consider any specific recommendations or requirements provided by the manufacturer of your water heater. Some manufacturers may have guidelines on the type and thickness of insulation material suitable for your specific model.
Ensure that you work in a well-ventilated area and follow safety precautions when using tools and handling insulation materials. Protect yourself by wearing gloves and a dust mask to avoid any potential skin irritation or respiratory issues.
Now that you have all the necessary tools and materials ready, let’s move on to preparing the water heater for insulation in the next section.
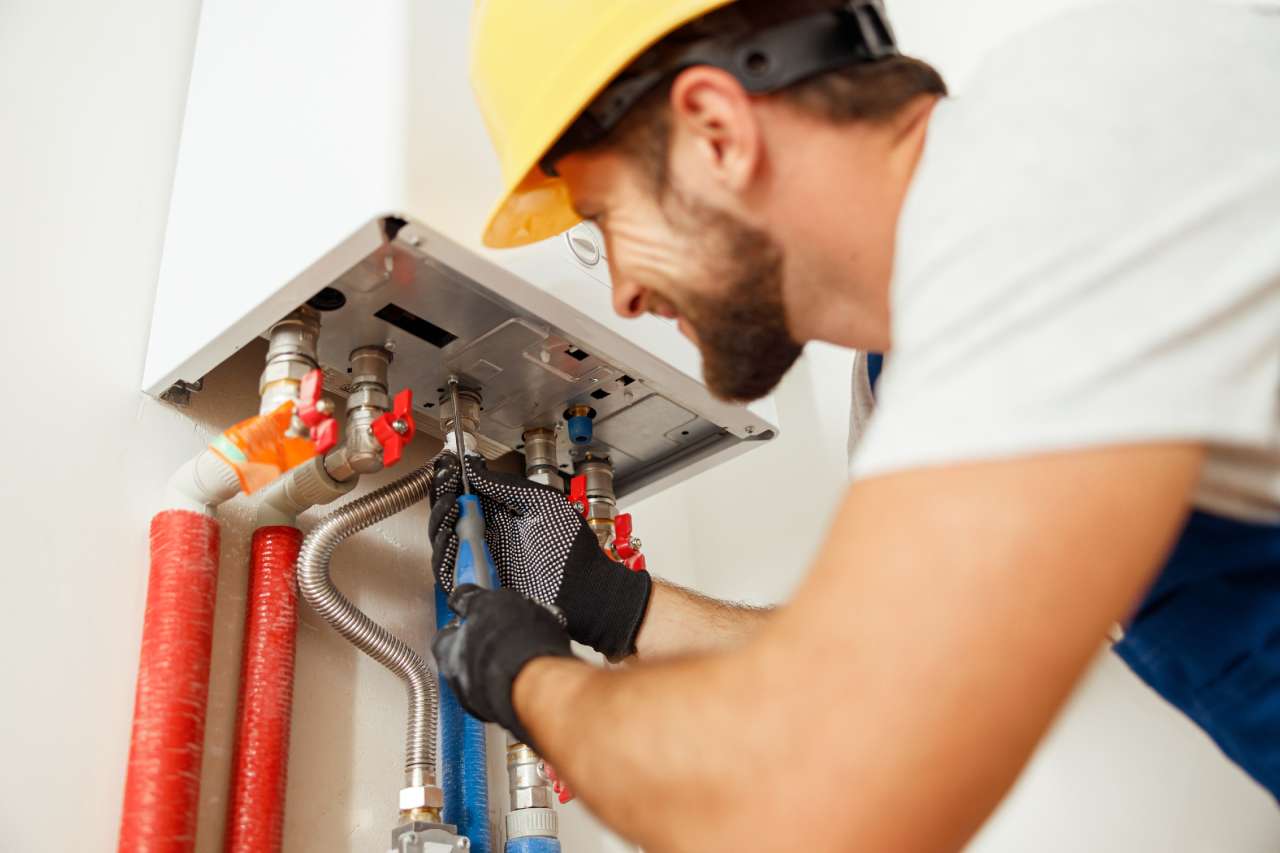
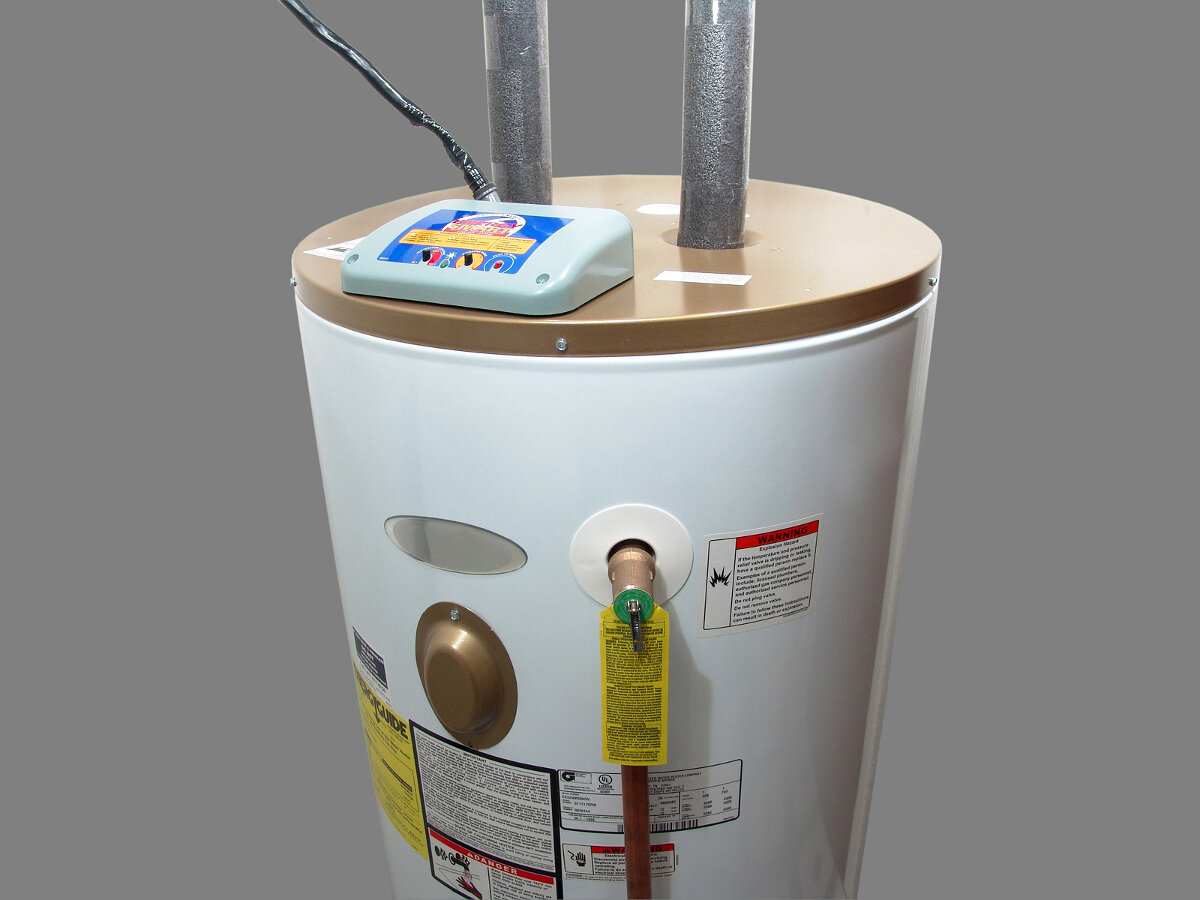
Preparing the Water Heater
Before you begin the insulation process, it’s essential to properly prepare your water heater. Here are the steps to follow:
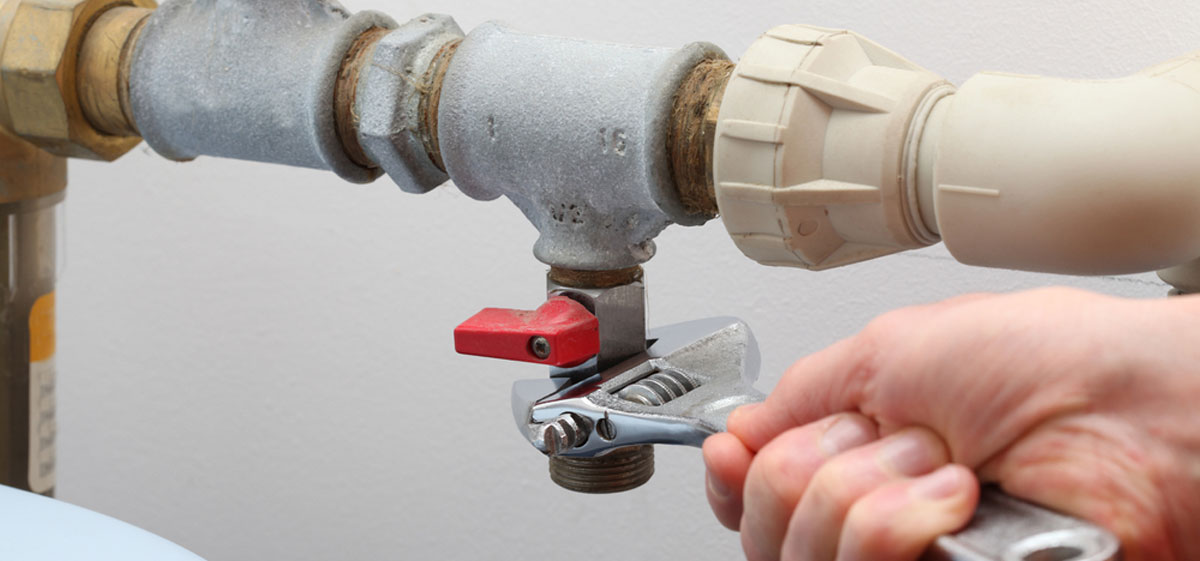
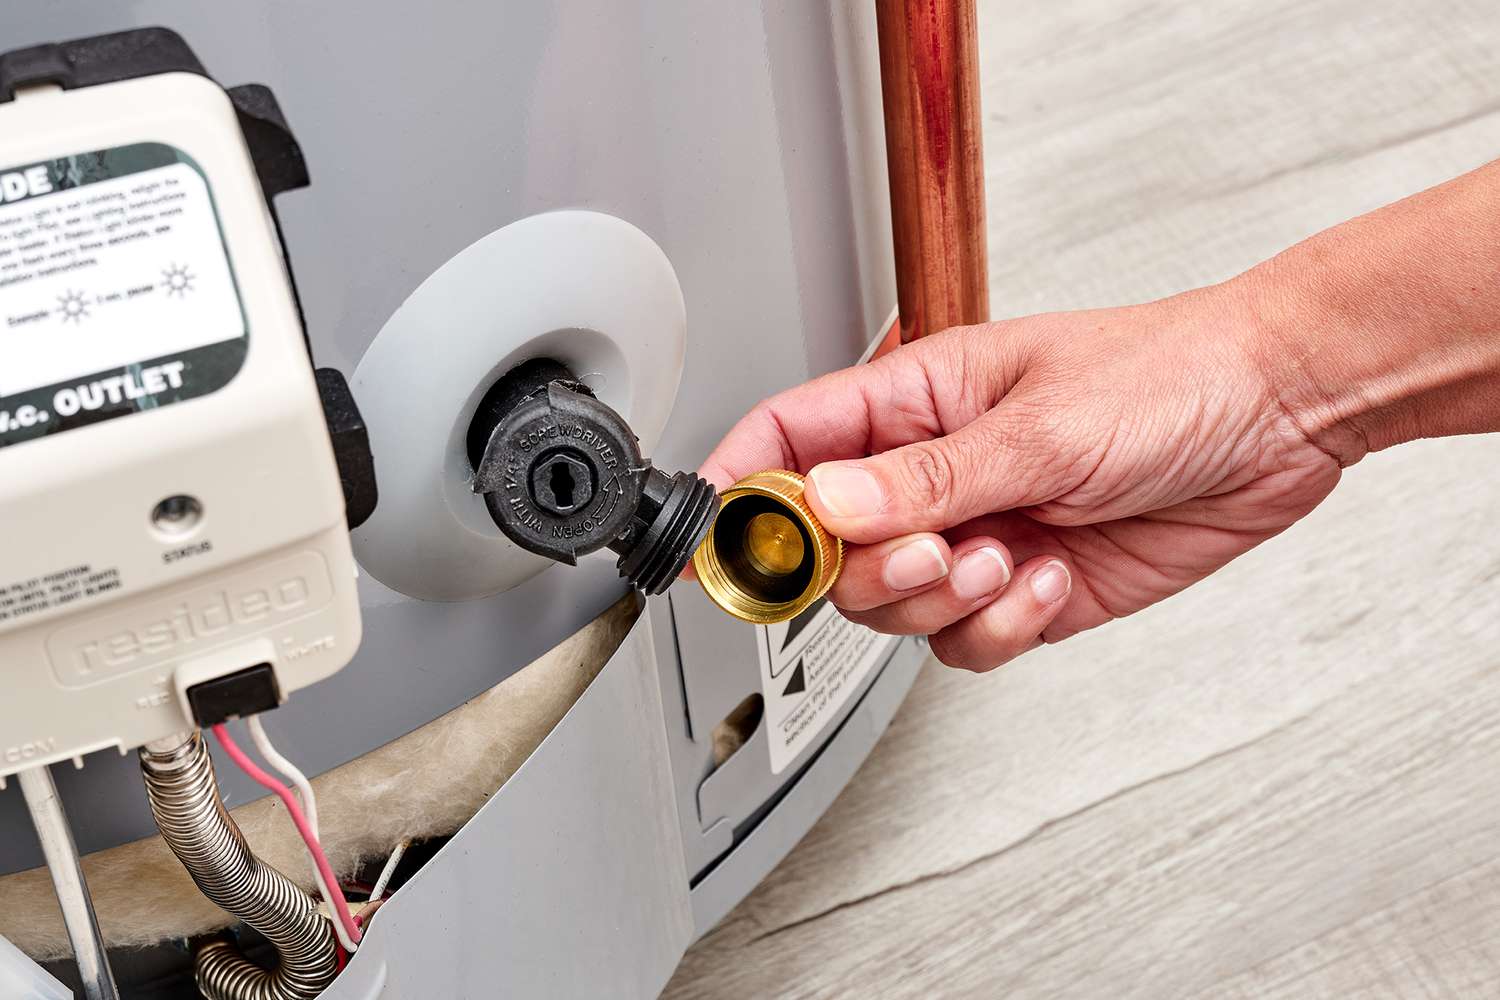
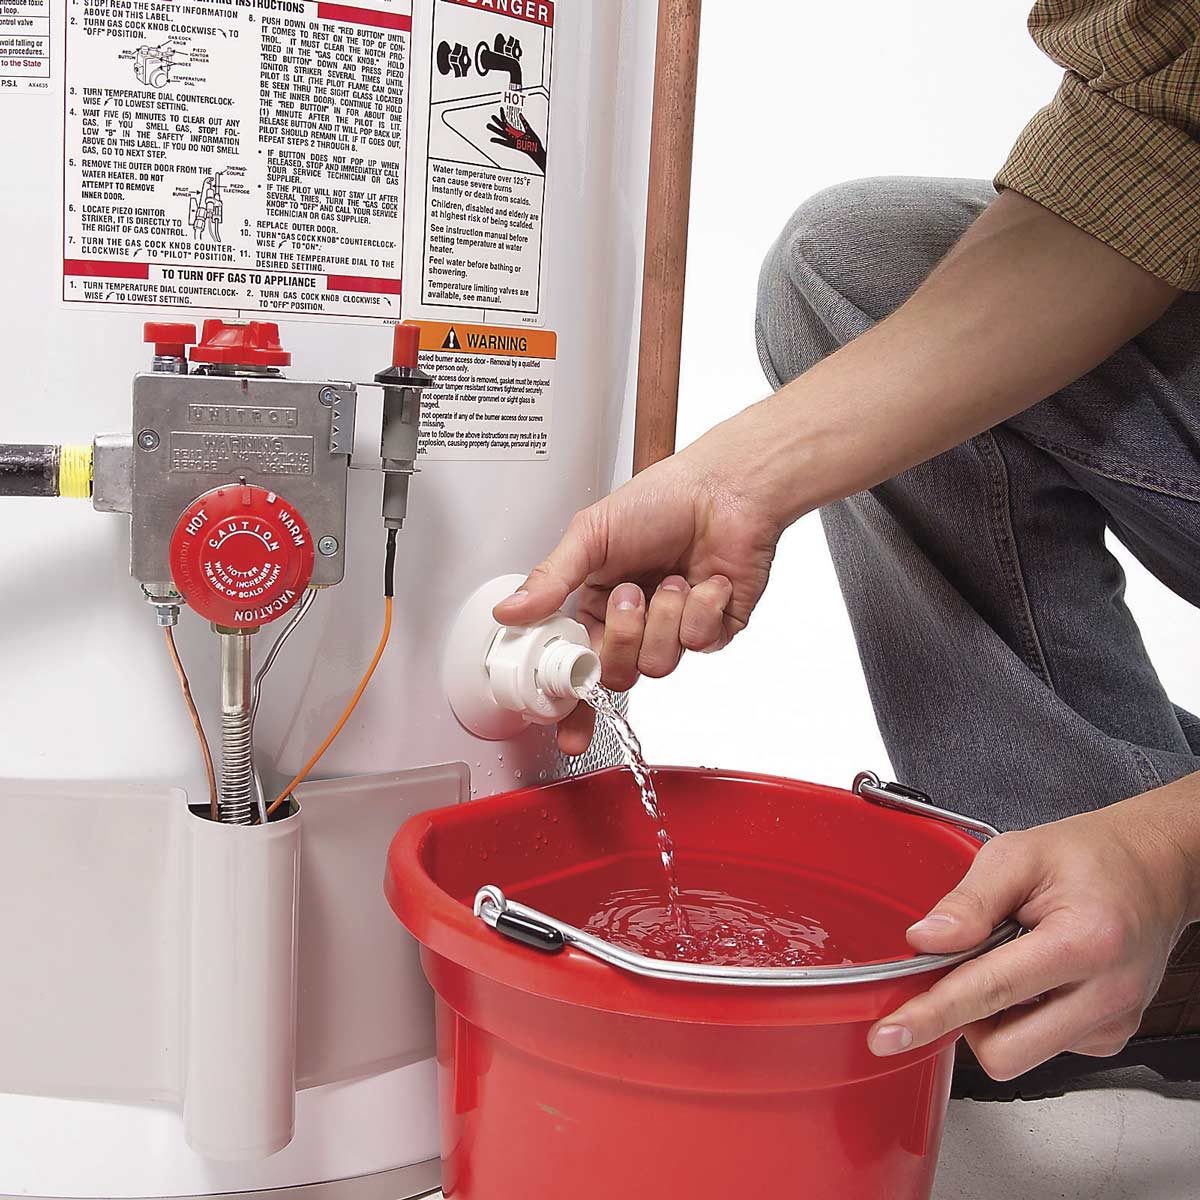
- Turn off Power and Water Supply: Start by turning off the power supply to the water heater. This can usually be done by switching off the circuit breaker dedicated to the water heater. Also, turn off the water supply valve to prevent any water from flowing into the tank during the insulation process.
- Allow the Water Heater to Cool: Wait for the water inside the tank to cool down before starting the insulation process. This is important to ensure your safety and prevent any accidental burns.
- Clean the Water Heater: Take the time to clean the exterior surface of the water heater. Remove any dust, dirt, or debris that may have accumulated. This will ensure that the insulation material adheres properly to the tank.
- Inspect for Leaks or Damages: Inspect the water heater for any leaks, cracks, or damages. If you notice any issues, it’s important to address them before proceeding with insulation. Repair or replace any faulty parts to ensure the proper functioning of the water heater.
- Measure the Dimensions: Use a measuring tape to measure the height, circumference, and diameter of the water heater. These measurements will help you accurately cut the insulation material to the proper size.
By properly preparing your water heater, you ensure that the insulation process goes smoothly and effectively. Once you have completed these preparatory steps, you can move on to the next section, where we will discuss how to wrap the water heater with insulation.
Wrapping the Water Heater
Now that you have prepared the water heater, it’s time to start wrapping it with insulation. Follow these steps to insulate your water heater:
- Measure and Cut the Insulation: Using the measurements taken earlier, measure and mark the insulation material to fit the height and circumference of the water heater. Use a straight edge or ruler to ensure straight cuts.
- Wrap the Insulation Around the Tank: Start by wrapping the insulation tightly around the tank, making sure it overlaps on the sides. Use adhesive or a hot glue gun to secure the insulation in place as you go along. Take care not to cover important components such as the pressure relief valve, thermostat, or access panel.
- Secure the Insulation: Once the insulation is wrapped around the water heater, use zip ties or wire to secure it at regular intervals. Make sure the insulation remains tight and securely fastened to the tank.
- Cut Openings for Access Points: If necessary, cut openings in the insulation to provide access to important components such as the pressure relief valve or thermostat. Use a utility knife or scissors to carefully cut through the insulation without damaging the underlying tank.
- Insulate the Pipes: If you have exposed pipes connected to the water heater, use pipe wrap insulation to insulate them as well. Wrap the pipe insulation tightly around the pipes, ensuring proper coverage. Use tape or zip ties to secure the insulation in place.
Remember to follow the manufacturer’s guidelines and recommendations for the insulation material you are using. Some materials may require additional steps or precautions for installation.
Once you have completed wrapping the water heater and insulating the pipes, you can move on to the next section, where we will discuss how to secure the insulation and test its efficiency.
Consider using a water heater insulation blanket to reduce heat loss and save energy. Make sure to follow the manufacturer’s instructions for proper installation.
Securing the Insulation
After wrapping the water heater with insulation, it’s important to secure it properly to ensure it stays in place and maintains its effectiveness. Here are the steps to securely fasten the insulation:
- Check for a Snug Fit: Ensure that the insulation material fits tightly around the water heater. Any gaps or loose areas can lead to heat loss and reduce the efficiency of the insulation. Adjust the insulation as needed to achieve a snug fit.
- Use Foil Tape or Duct Tape: Use foil tape or duct tape to seal any seams or openings in the insulation material. This will help to prevent heat from escaping and improve the overall insulation effectiveness.
- Secure with Zip Ties or Wire: Use zip ties or wire to tightly secure the insulation material around the water heater. Place the ties or wire at regular intervals, ensuring that the insulation remains in position and does not slide or sag.
- Avoid Blocking Ventilation Openings: Ensure that any ventilation openings, such as air intake or exhaust vents, are not covered or obstructed by the insulation material. Blocking these openings can interfere with the proper functioning of the water heater and pose safety hazards.
- Check for Proper Clearance: Verify that the insulation material does not come into contact with any electrical components or heating elements. Maintain proper clearance to prevent any potential damage or safety risks.
By securing the insulation properly, you can ensure that it remains in place and provides effective insulation for your water heater. The insulation should be tight, securely fastened, and free from any obstructions.
With the insulation securely in place, the next step is to test its efficiency and ensure that it is providing the desired energy-saving benefits. We will discuss testing the insulation efficiency in the next section.
Read more: How To Turn On A Water Heater
Testing the Insulation Efficiency
After insulating your water heater, it’s important to test the insulation’s efficiency to ensure that it is effectively reducing heat loss. Here are a few methods to test the insulation:
- Check for Warmth: Carefully touch the surface of the insulated water heater. It should feel warm to the touch, indicating that the insulation is retaining heat effectively. If the surface feels cold, there may be gaps or areas of insufficient insulation that need to be addressed.
- Monitor Energy Consumption: Keep track of your water heater’s energy consumption after insulating it. Compare the energy usage before and after insulation to see if there is a noticeable decrease in energy consumption. Lower energy consumption can indicate improved insulation efficiency.
- Inspect for Heat Loss: While the water heater is operating, visually inspect the insulation for any signs of heat loss. Look for areas where the insulation may be sagging, loose, or peeling off. These areas may indicate that the insulation is not properly secured or that additional insulation is needed.
- Check for Condensation: Look for any signs of condensation on the outer surface of the insulation or the water heater tank. Condensation can indicate that the insulation is not effectively preventing heat transfer. Address any condensation issues by reinforcing or replacing the insulation as needed.
- Hire a Professional Energy Audit: For a more comprehensive analysis of your water heater’s insulation efficiency and overall energy usage, consider hiring a professional energy auditor. They can use specialized tools and techniques to evaluate your water heater’s performance and provide recommendations for optimal insulation.
Regularly monitoring the insulation efficiency of your water heater will help ensure that it continues to operate at maximum energy efficiency and minimize heat loss. If you notice any issues or concerns with the insulation, take necessary steps to address them promptly to maintain optimal performance.
Now that you have tested the insulation efficiency, it’s important to maintain the insulation to ensure its effectiveness in the long term. We will cover the maintenance tips for water heater insulation in the next section.
Maintaining the Insulation
Proper maintenance of your water heater’s insulation is essential to ensure its long-term effectiveness. Here are some tips to maintain the insulation and maximize its performance:
- Regular Inspection: Periodically inspect the insulation to check for any signs of wear, damage, or gaps. Look for any areas where the insulation may have loosened or started to degrade. Address any issues promptly by repairing or replacing the insulation as needed.
- Seal Any Gaps: Ensure that there are no gaps or openings in the insulation material. Use foil tape or duct tape to seal any areas where the insulation may have come loose or where there may be visible gaps. This will help maintain the insulation’s effectiveness by preventing heat loss through those areas.
- Avoid Damage: Be mindful of potential sources of damage to the insulation, such as sharp objects or chemicals. Keep the area around the water heater clear and avoid storing items that could potentially puncture or damage the insulation.
- Monitor for Moisture: Regularly check for any signs of moisture or water accumulation on the insulation. Moisture can compromise the insulation’s effectiveness and lead to mold or mildew growth. If you notice any condensation or moisture, investigate and address the underlying cause promptly.
- Maintain Proper Clearance: Ensure that the insulation material does not come into contact with any electrical components or heating elements. Maintain proper clearance to prevent any potential damage to the insulation and to ensure the safe operation of the water heater.
- Keep Insulation Dry: If the insulation material becomes wet, either through water leakage or other means, make sure to dry it out thoroughly before continuing to use the water heater. Wet insulation can become less effective and may require replacement to maintain proper insulation.
Regularly maintaining the insulation will help prolong its lifespan and ensure that your water heater continues to operate at optimal energy efficiency. By being proactive and addressing any issues promptly, you can maximize the insulation’s performance and reap the long-term benefits of energy savings.
Now that you have learned how to maintain the insulation, let’s conclude this article with a brief summary of the key points discussed.
Conclusion
Insulating your water heater is a simple yet effective way to improve energy efficiency, reduce heat loss, and save money on utility bills. By properly insulating your water heater, you can maintain hot water temperatures, minimize standby heat loss, and contribute to a more sustainable environment.
In this comprehensive guide, we discussed the importance of insulating a water heater and the benefits it brings, including cost savings and extended lifespan of the heating elements. We explored various types of insulation materials, such as fiberglass, foam board, reflective foil, and pipe wrap insulation, each with its own advantages and considerations.
We also covered the tools and materials required for the insulation process, emphasizing the importance of proper preparation and measurement. We discussed how to prepare the water heater by turning off the power and water supply, allowing it to cool, cleaning the surface, and inspecting for leaks or damages.
Furthermore, we provided step-by-step instructions on wrapping the water heater with insulation, including cutting the insulation to size, securing it tightly, and ensuring proper clearance for ventilation openings. We also discussed the importance of testing the insulation’s efficiency, such as checking for warmth, monitoring energy consumption, and inspecting for condensation or heat loss.
To maintain the insulation’s effectiveness, we highlighted the importance of regular inspection, sealing any gaps, avoiding damage, monitoring for moisture, maintaining proper clearance, and keeping the insulation dry.
By following these guidelines and implementing proper insulation techniques, you can maximize the energy efficiency of your water heater and enjoy the benefits of lower energy bills and a reduced environmental impact.
Remember, while insulating a water heater is a relatively straightforward process, it’s always a good idea to refer to the manufacturer’s instructions and take safety precautions when working with insulation materials.
So go ahead and get started on insulating your water heater. Not only will you save money, but you’ll also contribute to a greener and more sustainable future.
Frequently Asked Questions about How To Insulate Water Heater
Was this page helpful?
At Storables.com, we guarantee accurate and reliable information. Our content, validated by Expert Board Contributors, is crafted following stringent Editorial Policies. We're committed to providing you with well-researched, expert-backed insights for all your informational needs.

0 thoughts on “How To Insulate Water Heater”