Articles
How To Replace An Electric Water Heater
Modified: October 22, 2024
Learn how to replace an electric water heater with step-by-step instructions in this helpful article. Find expert tips and tricks to ensure a smooth installation process.
(Many of the links in this article redirect to a specific reviewed product. Your purchase of these products through affiliate links helps to generate commission for Storables.com, at no extra cost. Learn more)
Introduction
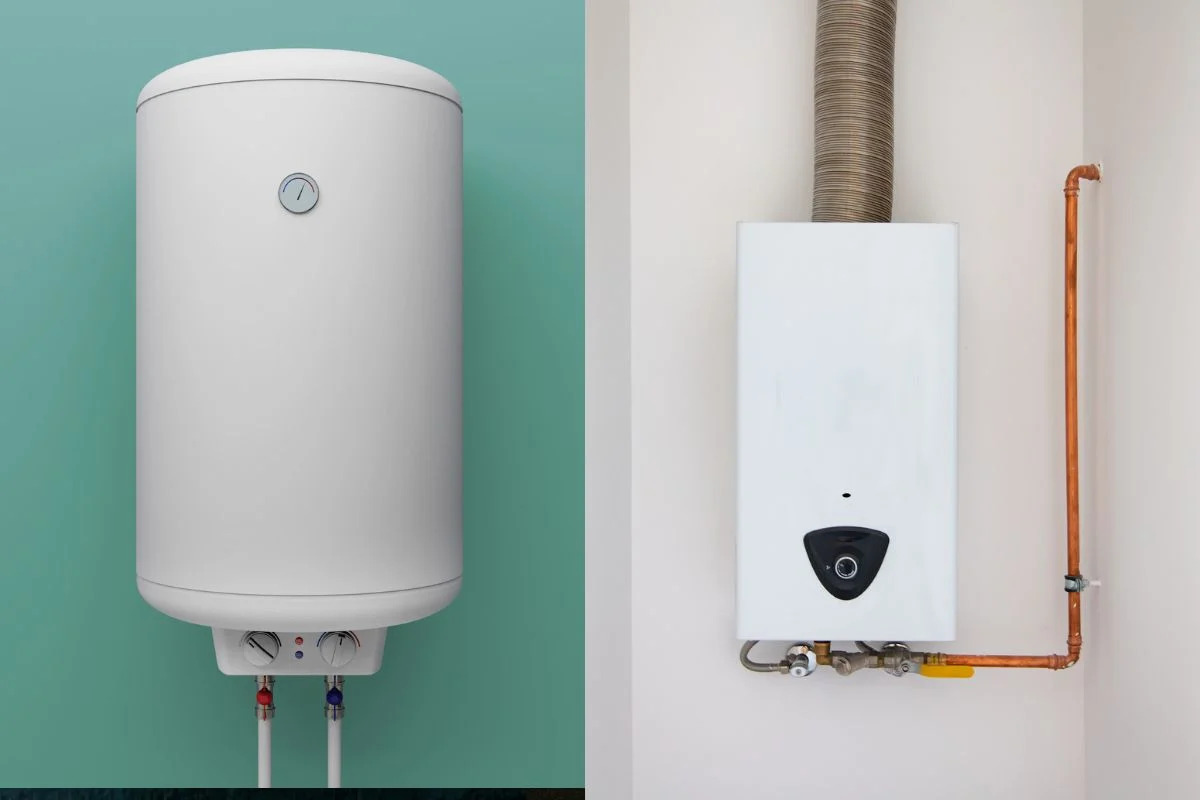
Welcome to our comprehensive guide on how to replace an electric water heater. Whether you are experiencing issues with your current water heater or simply looking to upgrade to a more energy-efficient model, this step-by-step tutorial will help you navigate the process with ease. While replacing a water heater may seem like a daunting task, with the right tools, materials, and instructions, you’ll be able to successfully complete the installation and enjoy a reliable supply of hot water in no time.
Before we dive into the detailed steps of replacing an electric water heater, it’s important to note that electricity and water can be a dangerous combination. If you are not confident in your abilities or have concerns about electrical or plumbing work, it’s always best to consult a professional. Safety should be your top priority throughout this process.
In this guide, we will take you through each stage of the water heater replacement process, from gathering the necessary tools and materials to testing the new unit for leaks. By following these instructions and taking the appropriate precautions, you’ll be able to smoothly replace your electric water heater and enjoy the benefits of a reliable hot water supply.
So, let’s get started with the first step – gathering the tools and materials you will need for the water heater replacement.
Key Takeaways:
- Safety First!
Replacing an electric water heater requires careful attention to safety. From turning off power and water supplies to checking for leaks, prioritizing safety throughout the process is crucial for a successful installation. - Attention to Detail
From gathering the right tools and materials to connecting electrical wiring, attention to detail is key. Following manufacturer’s instructions and guidelines ensures a proper and secure installation for a reliable hot water supply.
Read more: How To Replace A Gas Water Heater
Step 1: Gathering Tools and Materials
The first step in replacing an electric water heater is to gather all the necessary tools and materials. Having everything prepared beforehand will save time and ensure a smoother installation process. Here are the essential tools and materials you will need:
- Adjustable wrench – This will be used to tighten and loosen various connections.
- Screwdrivers – Both flathead and Phillips-head screwdrivers may be required for different parts of the installation.
- Tubing cutter – This tool will be necessary if you need to cut and remove any existing copper or PVC pipes.
- Plumber’s tape – Also known as Teflon tape, this is used to create a tight seal on threaded connections.
- Wire stripper – You will need this tool to strip the insulation off the electrical wires.
- Bucket – A bucket will come in handy for draining any residual water from the old water heater.
- New water heater – Make sure to purchase a suitable replacement that meets your household’s hot water needs.
- New copper or PVC pipes – If the existing pipes are damaged or need to be replaced, you will need new ones to connect the water heater.
- New shutoff valve – It’s a good idea to install a new shutoff valve to ensure easy maintenance and control of the water supply.
- New flexible hoses and fittings – These will be needed to connect the water heater to the plumbing system.
- Electrical wire and connectors – If the existing wiring is in poor condition, you may need to replace it to ensure safe and reliable electrical connections.
Once you have gathered all the necessary tools and materials, you are ready to move on to the next step – turning off the power and water supply to the old water heater.
Step 2: Turning off Power and Water Supply
Before proceeding with replacing the electric water heater, it is crucial to turn off the power supply to ensure your safety. Follow these steps:
- Locate the electrical panel in your home. It is usually found in the basement, garage, or utility room.
- Identify the circuit breaker that corresponds to the water heater. It should be clearly labeled.
- Switch the breaker to the “off” position to cut off the power supply to the water heater. Double-check by testing the water heater to confirm it is no longer functioning.
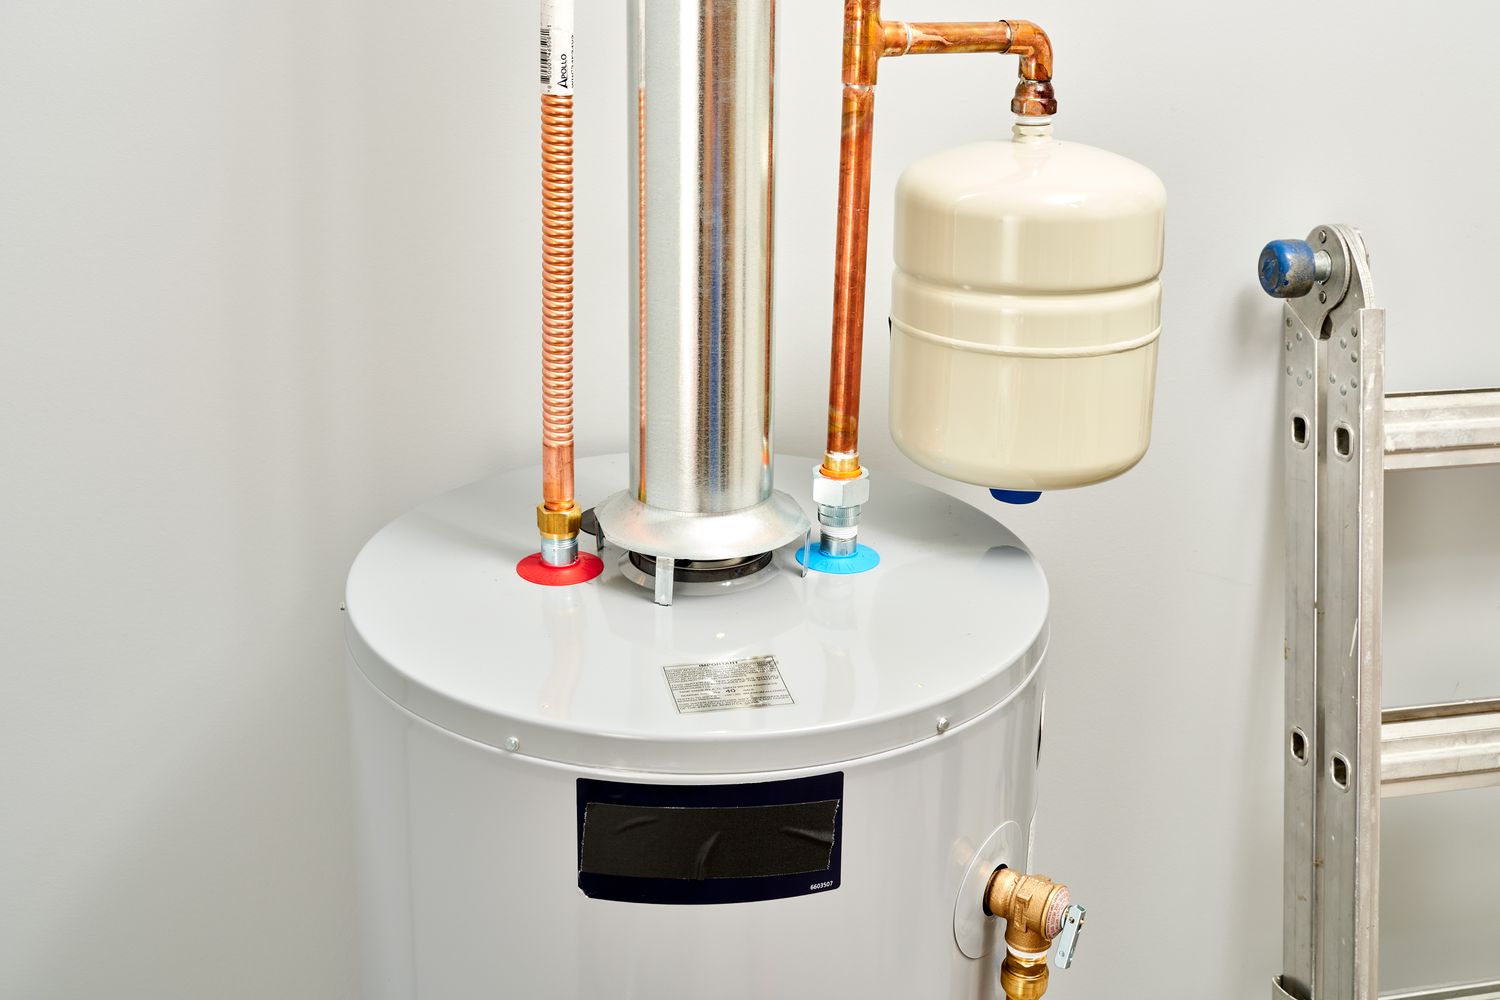
- Next, turn off the water supply to the water heater. Locate the cold water supply valve, which is usually located near the top of the water heater.
- Close the valve by turning it clockwise until it is fully closed. This will prevent any additional water from entering the water heater during the replacement process.
- Open a faucet or two in your home to relieve any pressure in the plumbing system. Leave the faucets open as you proceed with the remaining steps.
By turning off both the power and water supply, you ensure that there is no risk of electric shock or water damage during the replacement process. This step is crucial to your safety and the success of the water heater installation.
Once you have completed this step, you are now ready to move on to the next phase – draining the water heater to remove any remaining water.
Step 3: Draining the Water Heater
Now that you have turned off the power and water supply to the water heater, the next step is to drain any remaining water from the tank. Follow these instructions:
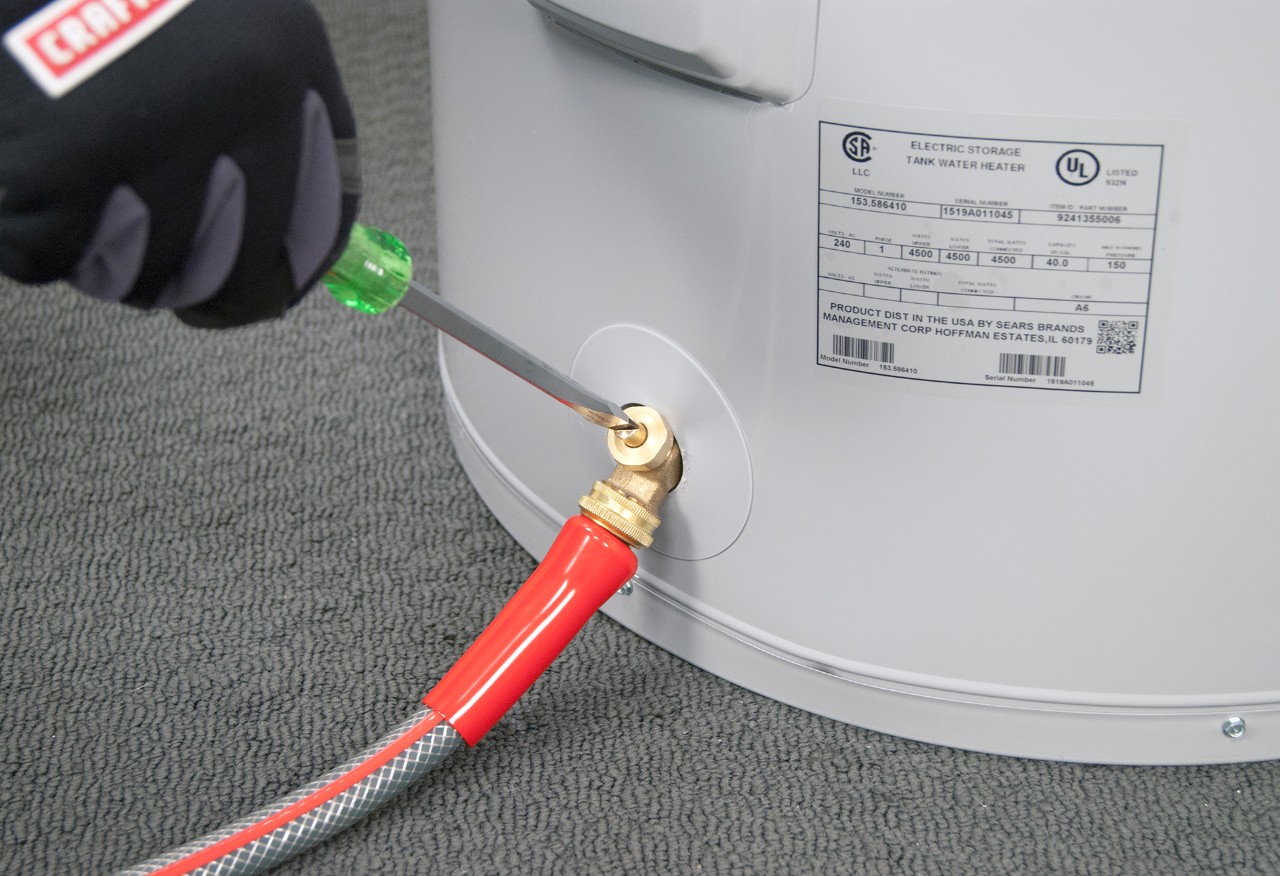
- Locate the drain valve at the bottom of the water heater tank. It is typically a brass or plastic valve with a hose attachment.
- Place a bucket or large container beneath the drain valve to catch the water that will be released.
- Slowly open the drain valve by turning it counterclockwise. Be cautious, as the water may be hot.
- Allow the water to drain completely from the tank. This may take some time depending on the size of the tank and the amount of water inside.
- Once the tank is empty, close the drain valve by turning it clockwise.
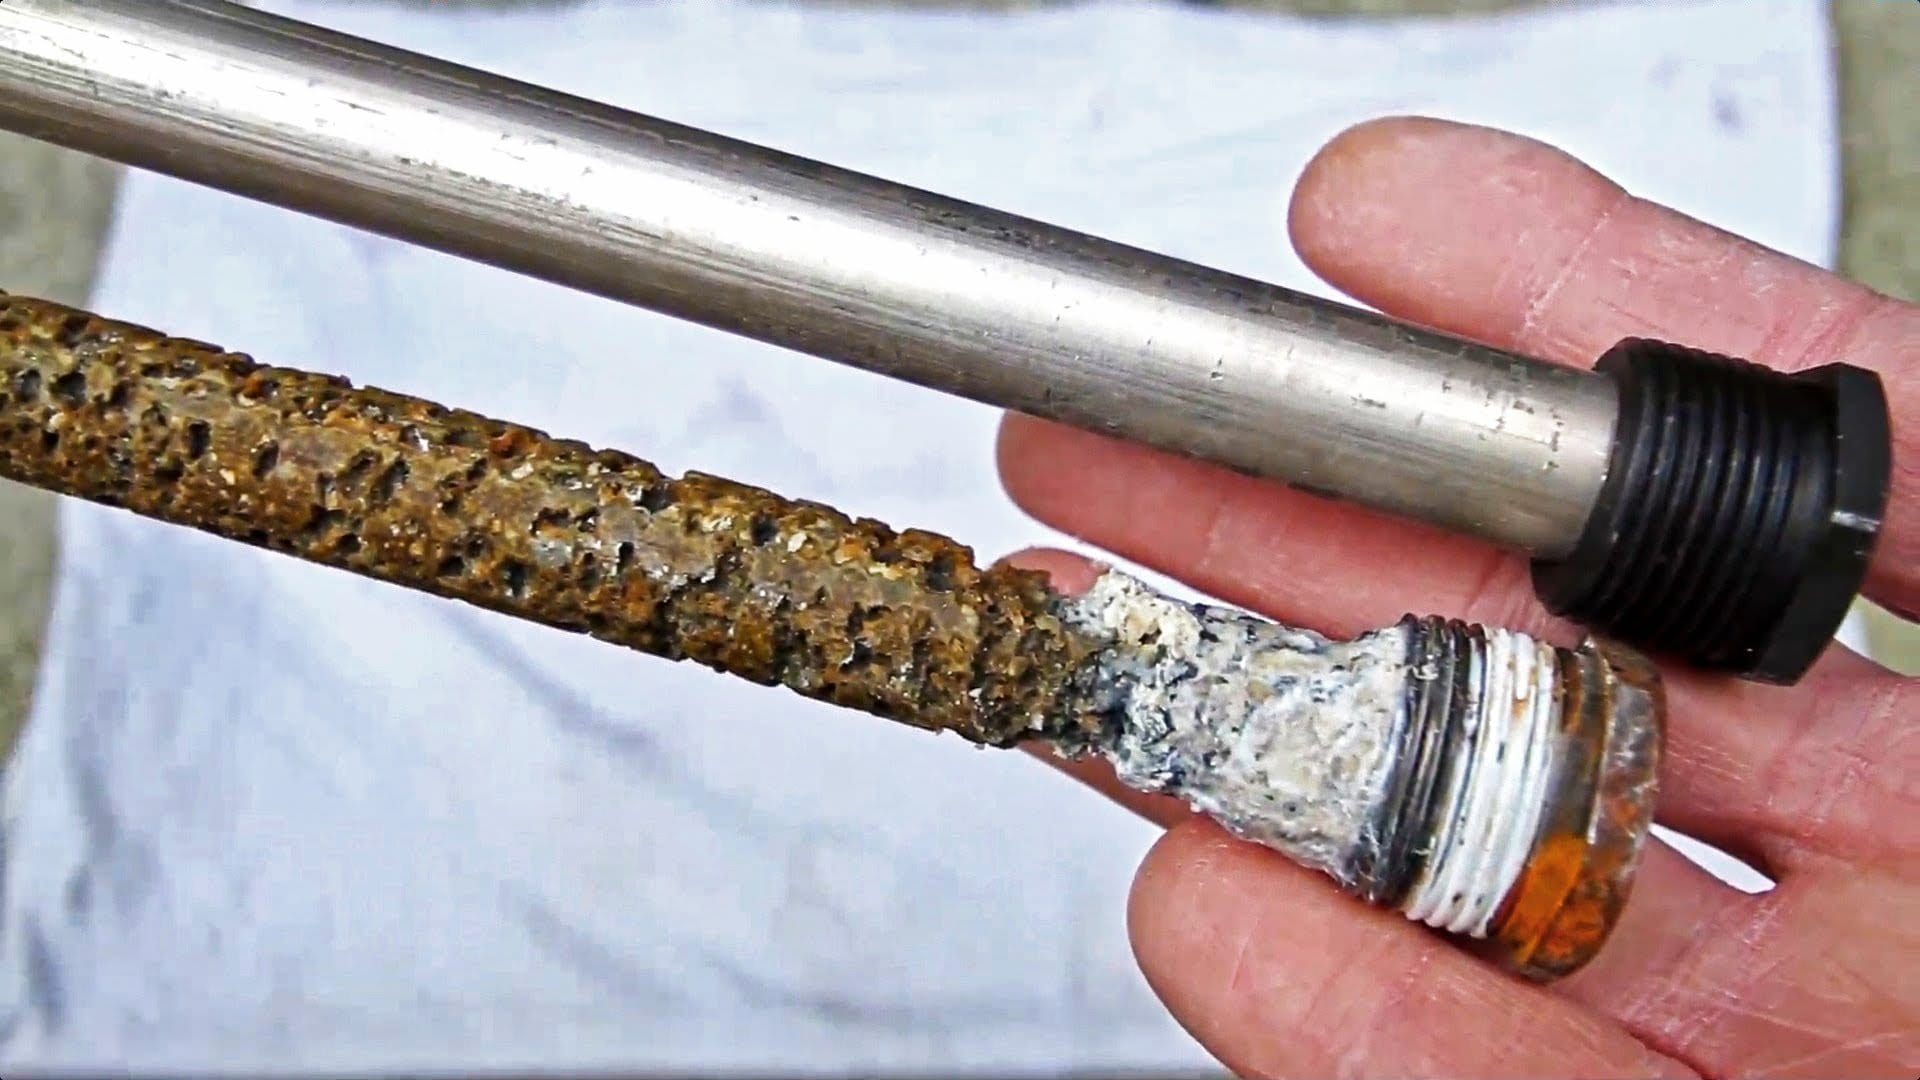
Draining the water heater tank is important to remove sediment or debris that may have accumulated over time. This helps ensure optimal performance and extends the lifespan of the new water heater.
After following these steps, you have successfully drained the water heater tank. Keep the bucket or container nearby as you disconnect the old water heater in the next step.
With the water heater drained, you can now move on to step 4 – disconnecting the old water heater from the plumbing system.
Step 4: Disconnecting the Old Water Heater
Now that you have drained the water from the tank, it’s time to disconnect the old water heater from the plumbing system. Follow these steps:
- Turn off any additional power sources to the water heater, such as gas or other fuel supplies, if applicable.
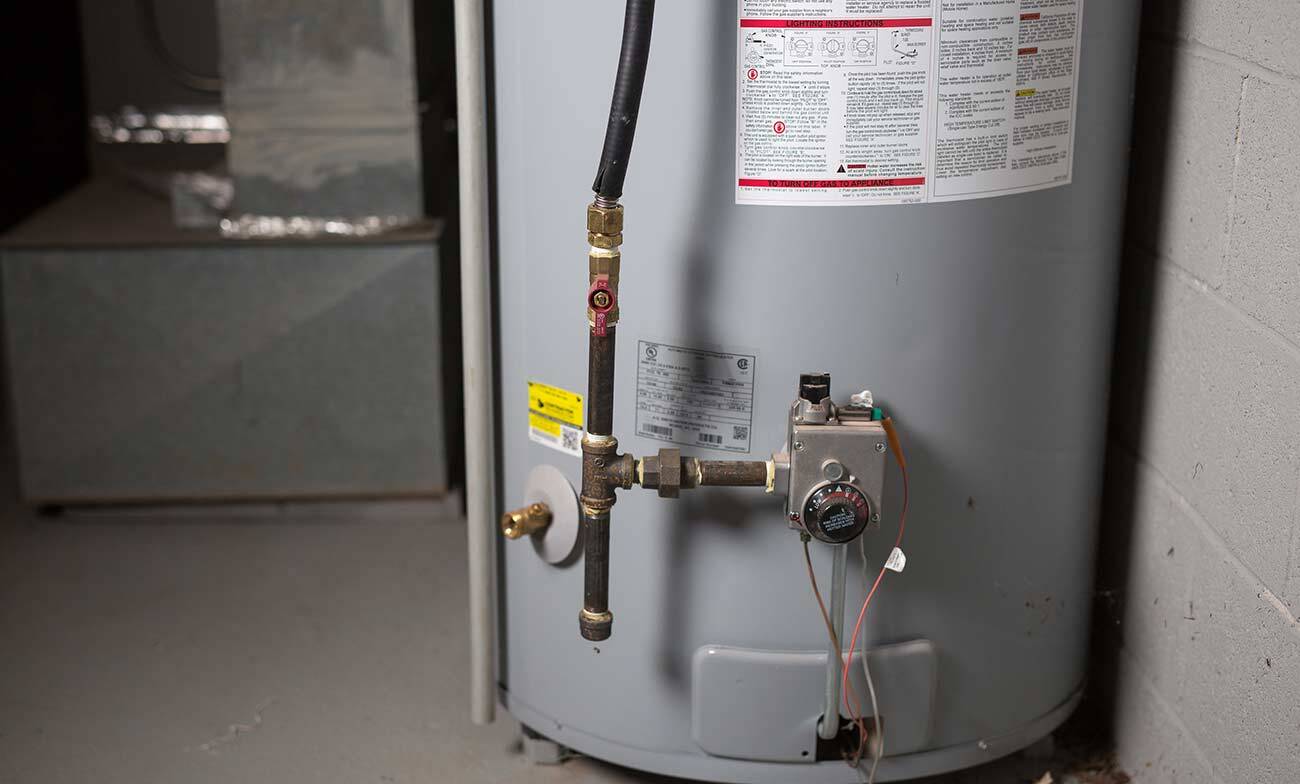
- Use an adjustable wrench to disconnect the water supply lines connected to the water heater. There should be two lines – the cold water line coming in and the hot water line going out.
- If the supply lines are connected with threaded fittings, use the wrench to loosen and remove them. If they are connected with compression fittings, use a wrench to loosen the nut and then gently pull the line free.
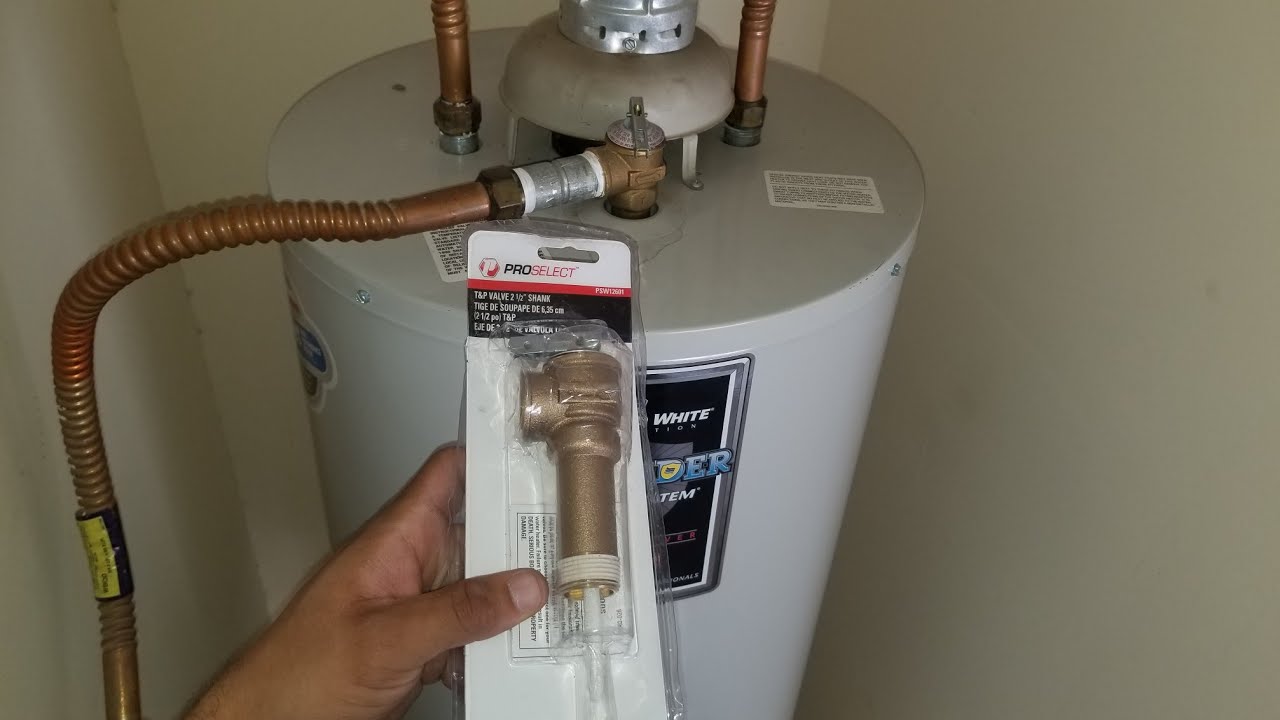
- Disconnect the temperature and pressure relief valve (TPR valve) by unscrewing it from the top of the water heater. Be cautious, as there may be hot water trapped inside the valve.
- If there is an electrical connection, carefully disconnect the wires or cables. Make note of which wire is connected to each terminal for future reference.
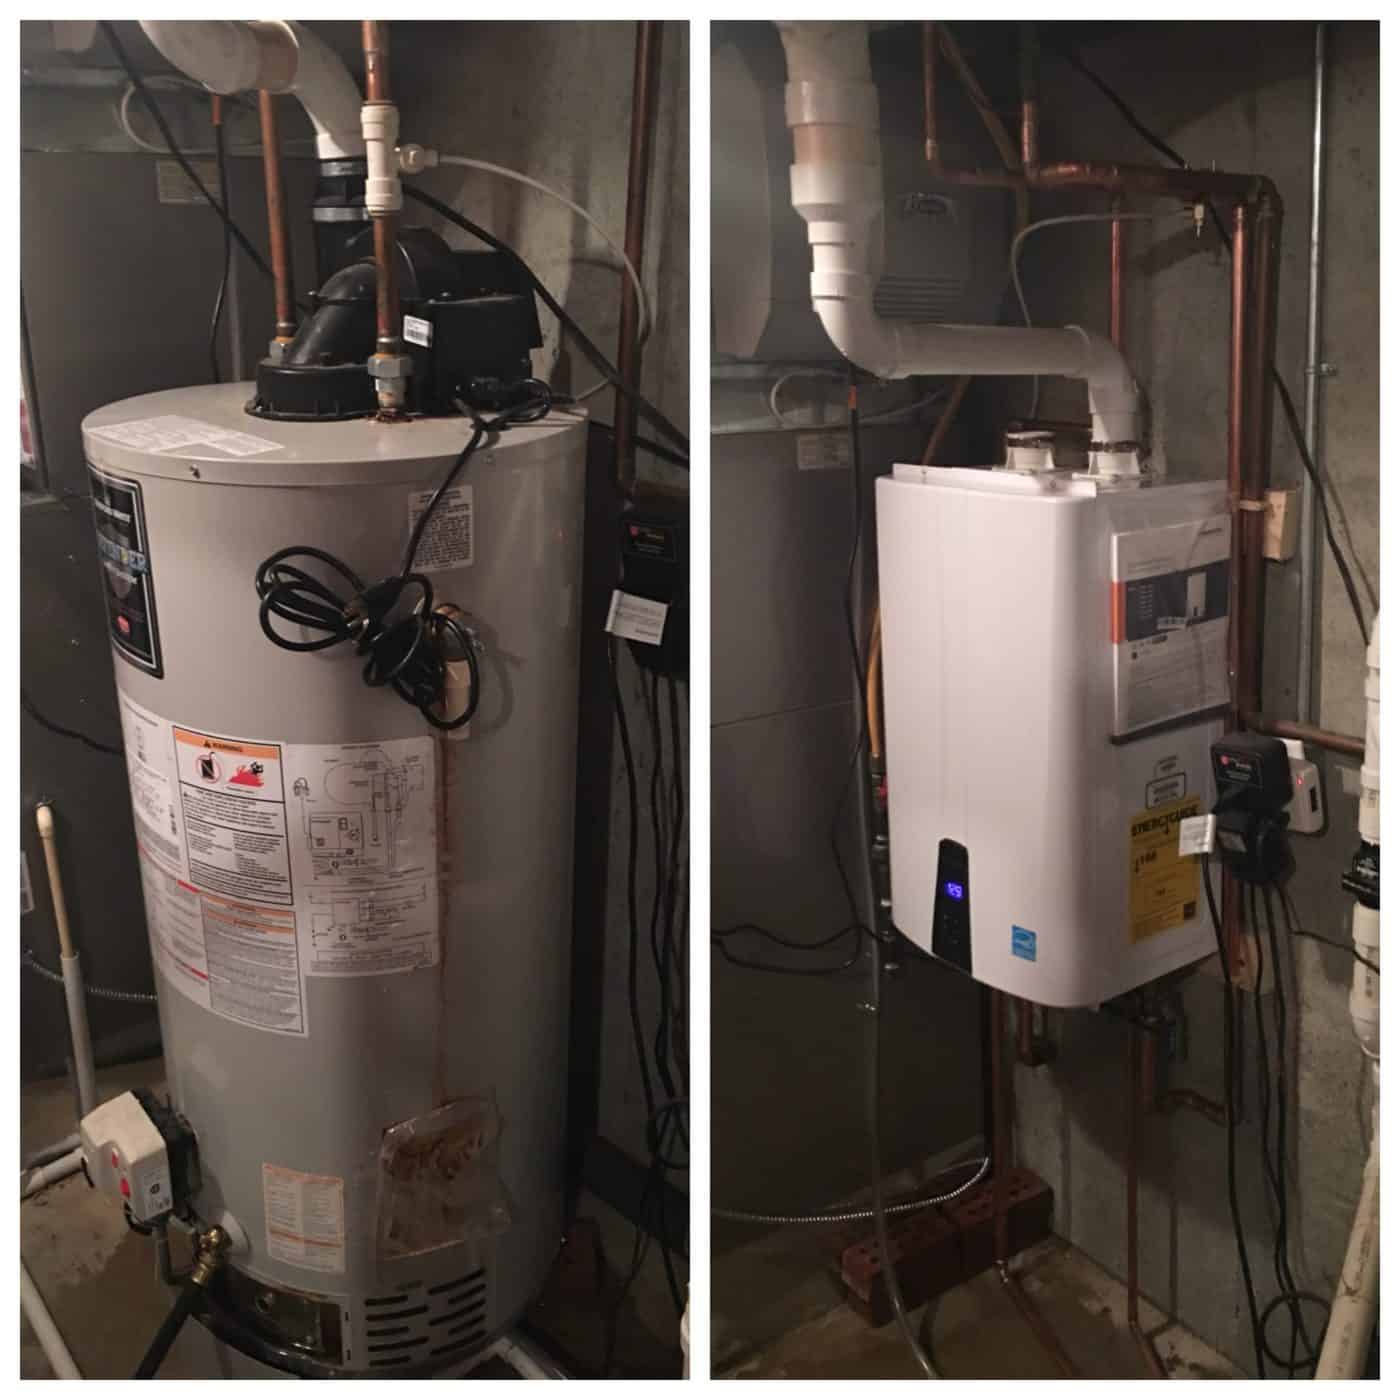
- With all the connections detached, carefully maneuver the old water heater out of its current location. It may be heavy, so ask for assistance if needed.
By disconnecting the old water heater from the plumbing system, you are preparing the space for the installation of the new water heater. Take care to note the location and orientation of the connections as you will need this information when installing the new unit.
Once you have successfully disconnected the old water heater, you are ready to move on to step 5 – preparing the new water heater for installation.
Read more: How To Replace Element In Water Heater
Step 5: Preparing the New Water Heater
With the old water heater disconnected and removed, it’s time to prepare the new water heater for installation. Follow these steps:
- Place the new water heater in the desired location. Ensure that it is level and stable.
- Remove any protective coverings or packaging materials from the unit.
- Inspect the new water heater for any visible damage or defects. If you notice any issues, contact the manufacturer or supplier for assistance.
- Check the manufacturer’s instructions for any specific installation requirements or recommendations. These may include clearance distances, venting specifications, or electrical wiring guidelines.
- Prior to connecting the water supply lines, apply plumber’s tape to the threaded ends of the pipes. This will help create a tight seal and prevent leaks.
- If necessary, install a new shutoff valve on the cold water supply line. This will provide easy control over the water flow to the new water heater.
- Review the location and orientation of the various connections on the old water heater. Use this as a reference to properly align the new water heater’s connections.
- Ensure that the new water heater is accessible for future maintenance and repairs.
By properly preparing the new water heater, you are laying the foundation for a successful installation. Take the time to review any instructions or guidelines provided by the manufacturer to ensure that the installation is done correctly.
Now that your new water heater is ready, it’s time to move on to step 6 – installing the new water heater.
When replacing an electric water heater, make sure to turn off the power at the breaker and shut off the water supply before beginning the installation process. This will ensure safety and prevent any potential water damage.
Step 6: Installing the New Water Heater
Now that you have prepared the new water heater, it’s time to install it in its designated location. Follow these steps for a successful installation:
- Position the new water heater in the desired location, ensuring that it is level and stable.
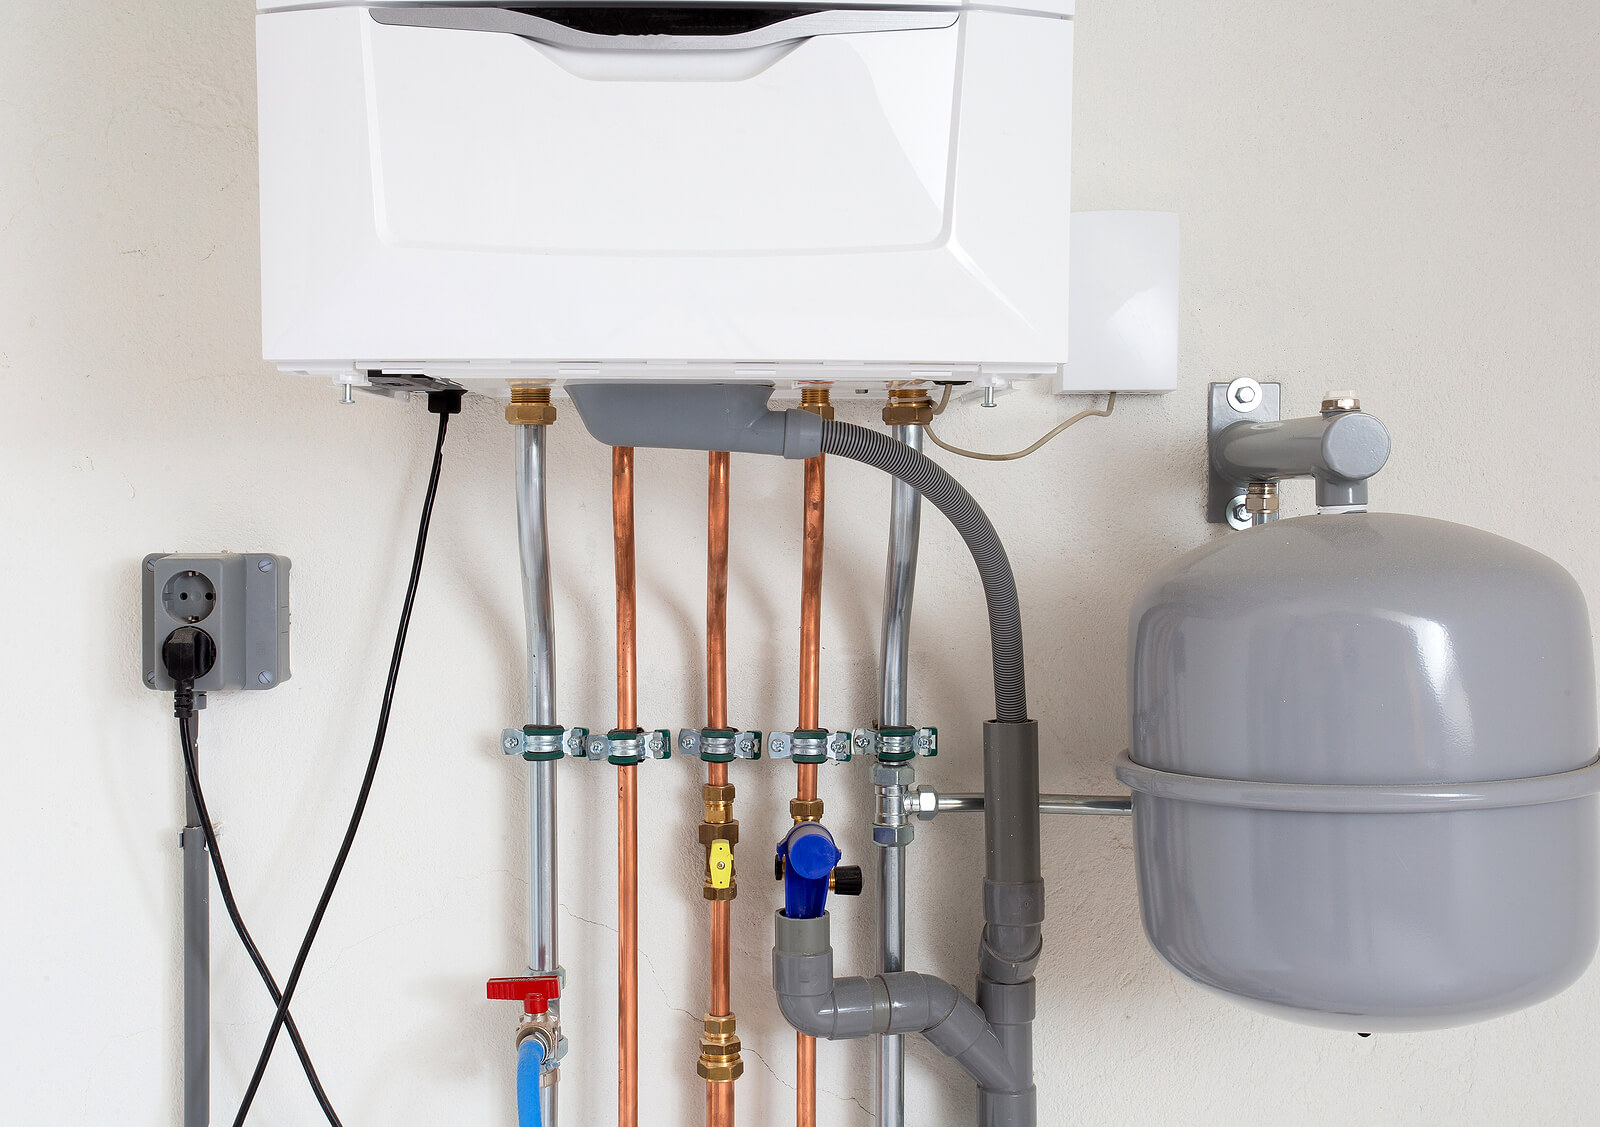
- Connect the water supply lines to the appropriate connections on the new water heater. Use the appropriate fittings, whether threaded or compression, and tighten them securely with an adjustable wrench.
- If the water heater requires venting, refer to the manufacturer’s instructions for specific venting requirements. Install the necessary vent pipes and ensure they are properly connected and secured.
- Reinstall the temperature and pressure relief valve (TPR valve) on the top of the new water heater. Use plumber’s tape on the threaded connection to prevent leaks.
- If there were electrical connections on the old water heater, carefully reconnect the wires or cables to their respective terminals on the new water heater. Use wire connectors or other appropriate methods to ensure a secure and safe electrical connection.
- Double-check all the connections to make sure they are tight and secure. Inspect for any signs of leaks or damage.
- Open the shutoff valve on the cold water supply line, allowing water to flow into the new water heater.
- Observe the new water heater as it fills with water. Look for any signs of leaks or abnormal behavior.
By following these steps, you can successfully install the new water heater and ensure that it is properly connected to the plumbing system. Take your time to review the manufacturer’s instructions and guidelines to ensure a seamless installation.
Now that the new water heater is installed, it’s time to move on to step 7 – connecting the electrical wiring.
Step 7: Connecting the Electrical Wiring
With the new water heater installed and the water supply connected, the next step is to connect the electrical wiring. Follow these steps to ensure a safe and proper electrical connection:
- Turn off the circuit breaker that controls the power supply to the water heater at the electrical panel.
- Remove the access panel on the new water heater to reveal the electrical connections.
- Carefully strip the insulation off the ends of the electrical wires, following the manufacturer’s guidelines for the proper length.
- Identify the terminal block on the water heater where the electrical connections will be made. It is usually labeled with the letters L1 and L2.
- Connect the black (hot) wire to the L1 terminal and the white (neutral) wire to the L2 terminal. Follow the manufacturer’s instructions for the specific wiring configuration of your water heater model.
- If there is a ground wire, connect it to the appropriate grounding terminal or screw on the water heater.
- Secure the electrical connections by tightening the screws or connectors, ensuring a firm and secure connection.
- Double-check all the electrical connections to make sure they are properly secured and insulated.
- Replace the access panel on the water heater, ensuring it is securely fastened.
- Return to the electrical panel and turn on the circuit breaker for the water heater.
Connecting the electrical wiring requires attention to detail and adherence to electrical safety practices. If you are unsure about any aspect of the electrical connection, it is always recommended to consult a licensed electrician for assistance.
With the electrical wiring connected, you can now move on to step 8 – filling the new water heater with water.
Step 8: Filling the New Water Heater
Now that the new water heater is installed and the electrical wiring is connected, it’s time to fill the tank with water. Follow these steps to ensure a proper filling process:
- Close all faucets in your home that were opened during the draining process.
- Double-check that the shutoff valve on the cold water supply line to the water heater is fully open.
- Open a hot water faucet in one of your sinks or bathtubs.
- Allow the hot water faucet to run until a steady stream of water flows out. This will help to remove any air that may be trapped in the plumbing system.
- Close the hot water faucet once you have a continuous stream of water.
- Monitor the new water heater as it fills with water. You should hear the sound of water flowing into the tank.
- Keep an eye on the temperature and pressure gauge on the water heater. Once the tank is filled, the gauge should stabilize at the appropriate levels.
- Check for any signs of leaks around the connections or the tank itself.
It is important to properly fill the new water heater to ensure that it is functioning correctly and to prevent any damage. By following these steps, you can successfully fill the tank and be one step closer to enjoying a reliable supply of hot water.
With the new water heater filled, it’s time to move on to step 9 – testing and checking for leaks.
Read more: How To Check Electric Water Heater
Step 9: Testing and Checking for Leaks
After filling the new water heater and ensuring a proper installation, it’s important to test the unit and check for any potential leaks. Follow these steps to complete the testing process:
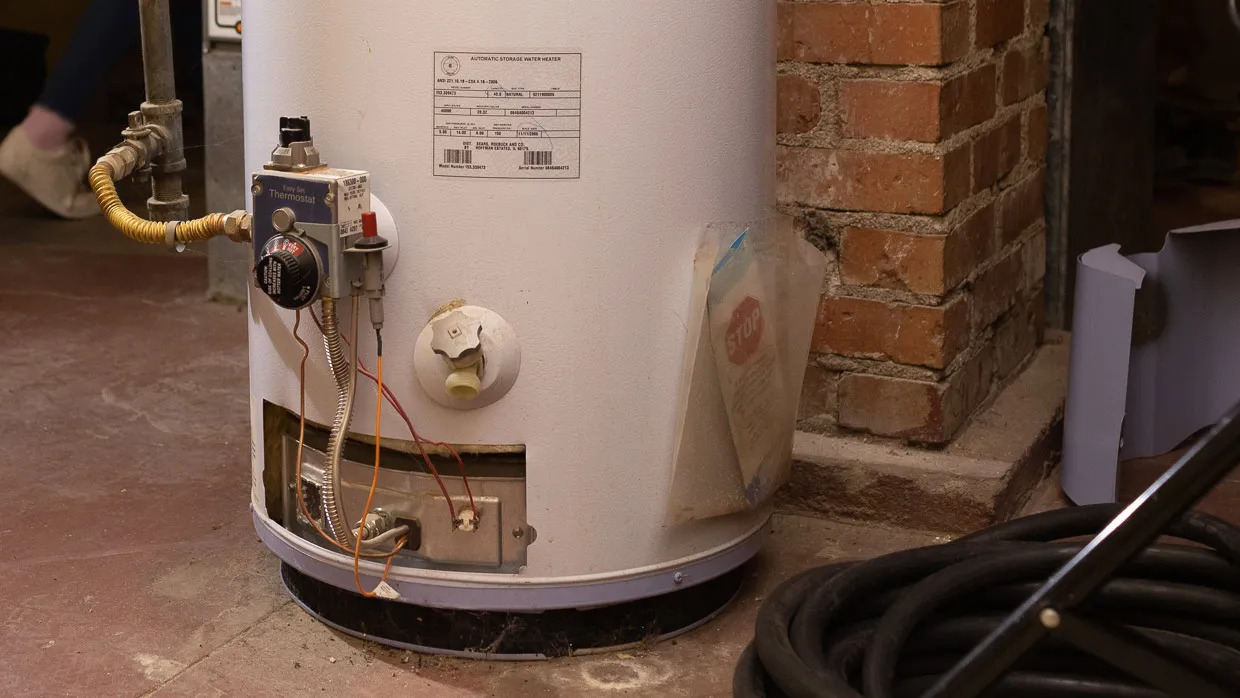
- Turn on the power supply to the water heater by flipping the circuit breaker to the “on” position at the electrical panel.
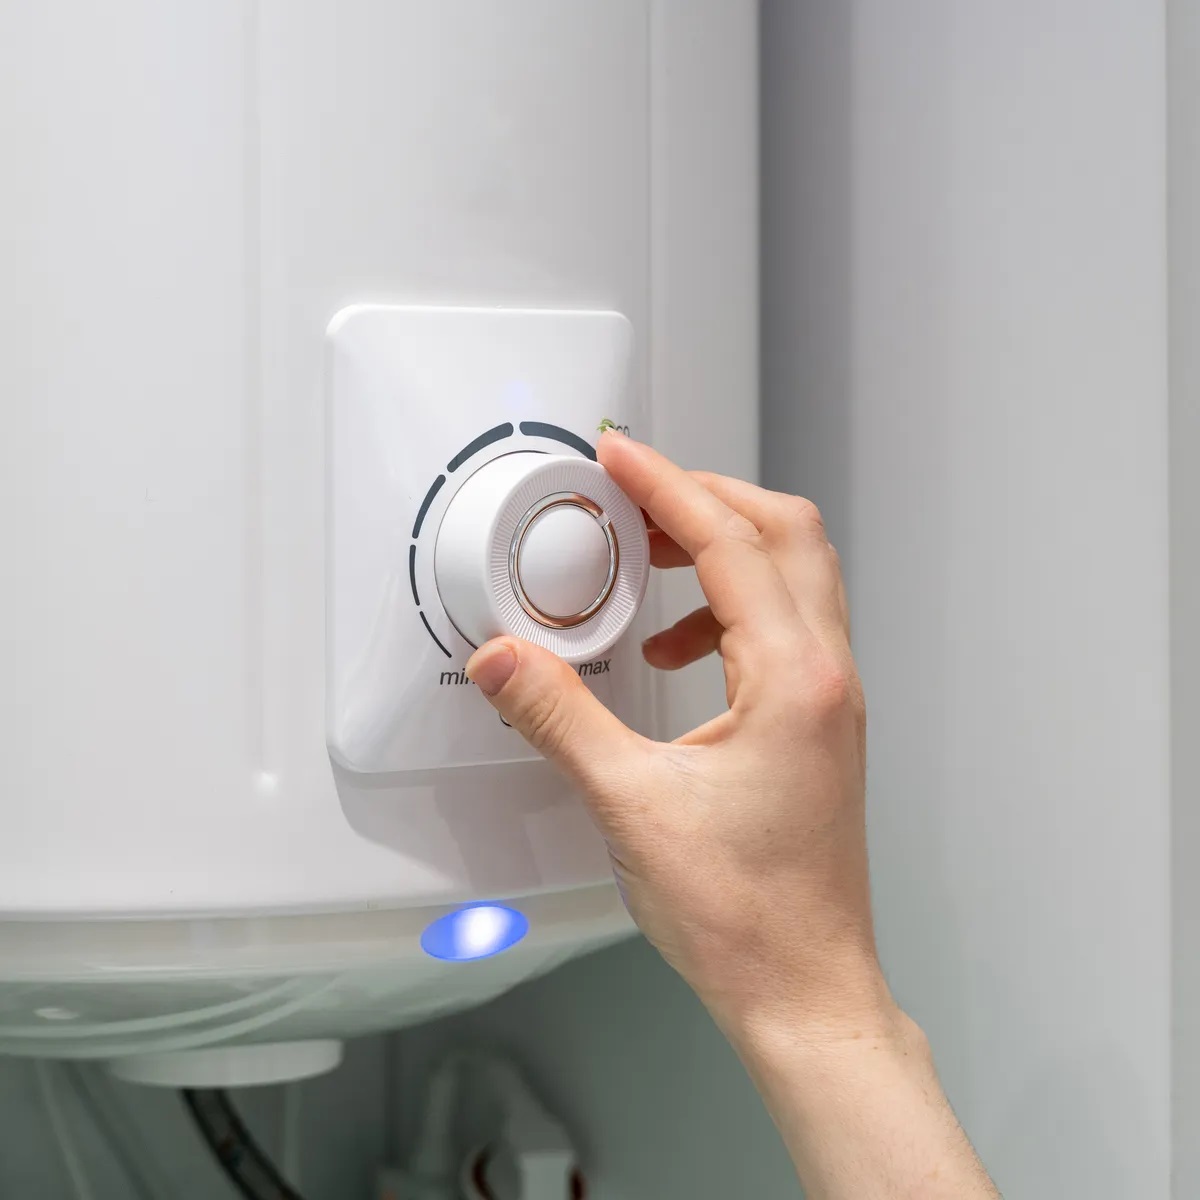
- Set the temperature on the thermostat to your desired setting.
- Allow the water heater to heat the water for a designated period of time. This may vary depending on the size and type of water heater you have installed.
- During the heating process, check for any signs of leaks around the connections, valves, or tank. If you notice any water dripping or pooling, immediately shut off the power and water supply and address the issue before proceeding.
- Once the water has been heated, open a hot water faucet in your home to check the flow and temperature of the water. Ensure that hot water is being distributed properly and that the temperature matches your desired setting.
- If everything is working as expected and there are no signs of leaks, close the hot water faucet.
- Continue to periodically monitor the new water heater for any potential leaks or issues. It is recommended to check for leaks at least a few times within the first few days after installation.
Testing the water heater and checking for leaks are important steps to ensure that the installation was successful and that the unit is functioning properly. By performing these tests and inspections, you can have peace of mind knowing that your new water heater is operating efficiently.
Congratulations! You have successfully replaced your electric water heater. By following these step-by-step instructions, you have accomplished a significant home improvement project that will provide you with a reliable supply of hot water. Remember to consult the manufacturer’s instructions and guidelines throughout the process, and always prioritize safety.
If you encounter any difficulties or are unsure about any aspect of the installation, it is recommended to seek the assistance of a professional plumber or electrician. They have the expertise and experience to handle any challenges that may arise during the process.
Enjoy your newly installed water heater and the comfort of hot water whenever you need it!
Conclusion
Replacing an electric water heater may seem like a daunting task, but with the right tools, materials, and instructions, it can be a manageable project. By following this comprehensive guide, you have learned the step-by-step process for replacing an electric water heater in your home.
We began by gathering the necessary tools and materials, ensuring that we had everything we needed for a successful installation. Then, we turned off the power and water supply to the old water heater, ensuring our safety throughout the process.
After draining the water from the old water heater, we disconnected it from the plumbing system and prepared the new water heater for installation. We made sure to follow the manufacturer’s instructions and guidelines, ensuring a proper and secure installation.
Next, we connected the electrical wiring, taking the necessary precautions to ensure a safe and reliable electrical connection. With the electrical wiring connected, we proceeded to fill the new water heater with water, checking for any leaks or abnormalities.
Finally, we tested the new water heater and checked for any signs of leaks, ensuring that the installation was successful and the unit was functioning properly. Through each step of the process, we prioritized safety and attention to detail.
By successfully completing the installation of your new electric water heater, you can now enjoy a reliable supply of hot water for your everyday needs. Remember to periodically inspect and maintain your water heater to extend its lifespan and efficiency.
If at any point you are unsure about the process or encounter difficulties, it is always best to consult a professional plumber or electrician. They have the expertise and experience to ensure a smooth and successful installation.
Thank you for following this comprehensive guide on how to replace an electric water heater. We hope that it has provided you with the knowledge and confidence to undertake this home improvement project. Enjoy your new water heater and the comfort of hot water on demand!
Frequently Asked Questions about How To Replace An Electric Water Heater
Was this page helpful?
At Storables.com, we guarantee accurate and reliable information. Our content, validated by Expert Board Contributors, is crafted following stringent Editorial Policies. We're committed to providing you with well-researched, expert-backed insights for all your informational needs.

0 thoughts on “How To Replace An Electric Water Heater”