Articles
How To Adjust Toilet Float
Modified: May 6, 2024
Learn how to adjust the toilet float with helpful articles. Find step-by-step instructions and troubleshooting tips for a properly functioning toilet.
(Many of the links in this article redirect to a specific reviewed product. Your purchase of these products through affiliate links helps to generate commission for Storables.com, at no extra cost. Learn more)
Introduction
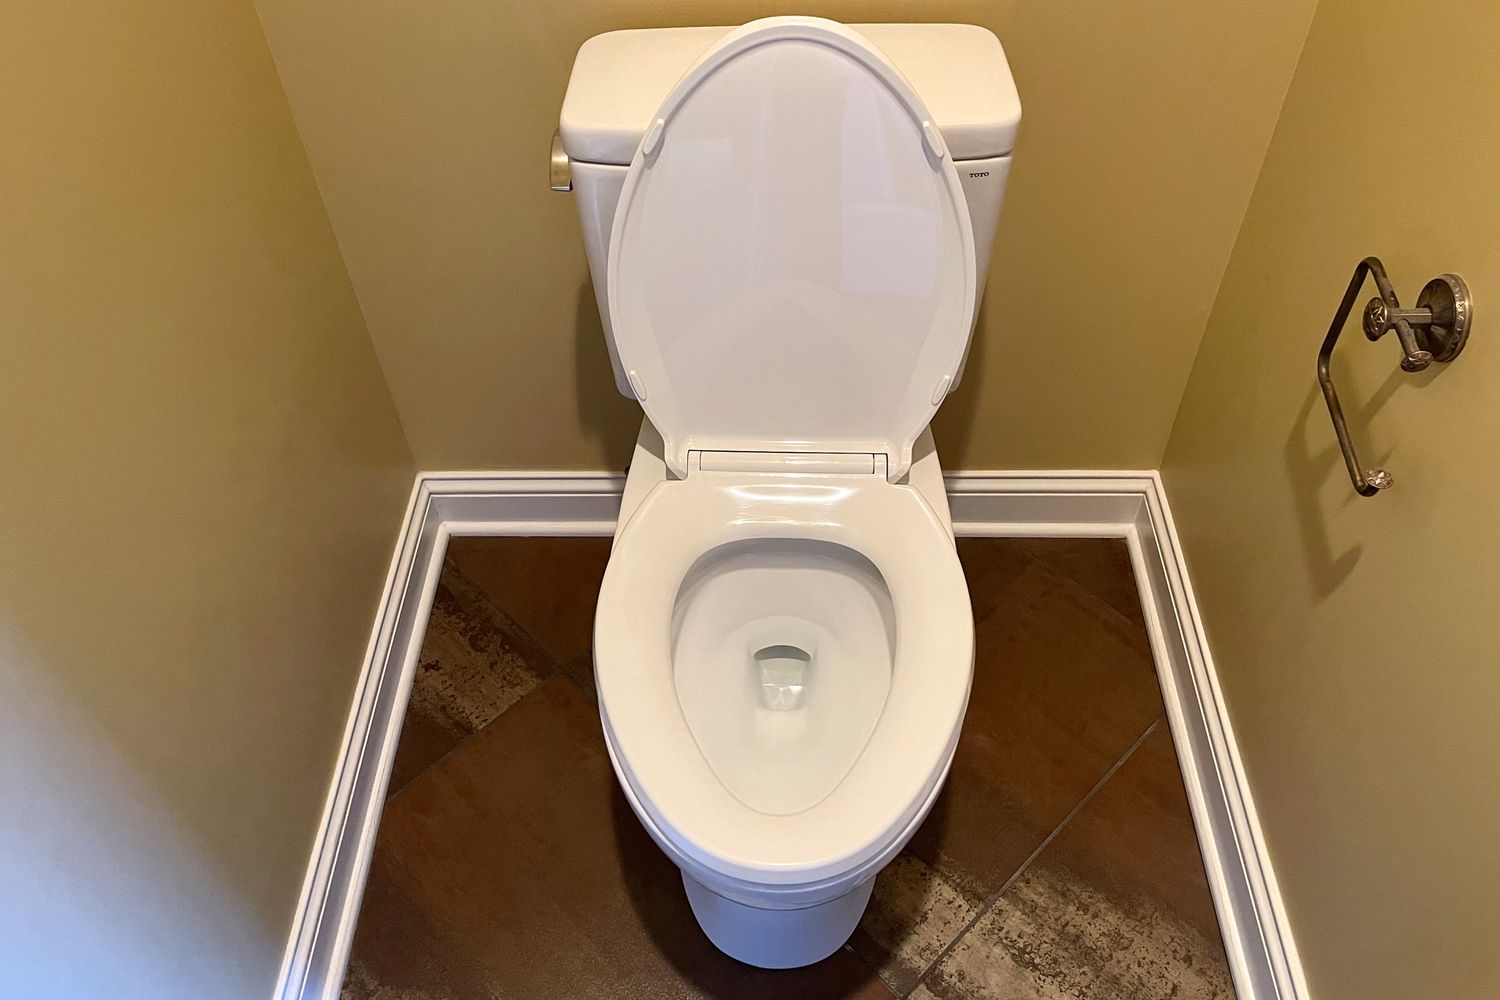
When it comes to maintaining the proper functioning of your toilet, one key component to consider is the toilet float. The toilet float is responsible for controlling the water level in the tank, ensuring that it fills up and shuts off at the appropriate times. However, if the float is not properly adjusted, it can lead to issues such as constant running water or a weak flush.
Adjusting the toilet float is a simple task that can be done without calling a plumber. By following a few easy steps, you can ensure that your toilet is operating efficiently and prevent any unnecessary water waste. In this article, we will guide you through the process of adjusting the toilet float to help you maintain a properly functioning toilet.
Before we begin, it’s important to note that the specific steps may vary slightly depending on the type of toilet you have. However, the general principles remain the same. Be sure to consult your toilet’s user manual for any specific instructions or contact a professional if you are unsure about any part of the process.
Key Takeaways:
- Takeaway 1: Properly adjusting the toilet float is crucial for preventing water wastage and maintaining a strong flush. By following simple steps, you can ensure your toilet operates efficiently and saves you money on your water bill.
- Takeaway 2: Taking the time to adjust the toilet float not only benefits the environment through water conservation but also promotes the long-term functionality of your bathroom. With a little effort, you can achieve a balanced and reliable toilet float adjustment.
Read more: How To Adjust Toilet Flapper
Step 1: Shutting off the Water Supply
The first step in adjusting the toilet float is to shut off the water supply to the toilet. This is crucial to prevent any water from flowing into the tank while you are making adjustments.
Locate the shut-off valve, which is usually located near the bottom of the toilet tank or on the wall behind the toilet. Turn the valve clockwise to shut off the water flow. You should now see that the water has stopped filling the tank.
If you are having difficulty locating the shut-off valve or it is not working properly, you may need to shut off the main water supply to your home. This is typically located near your water meter or in the basement. Consult your home’s plumbing system or contact a professional if you are unsure of how to proceed.
Once the water supply is shut off, you can proceed to the next step of adjusting the toilet float.
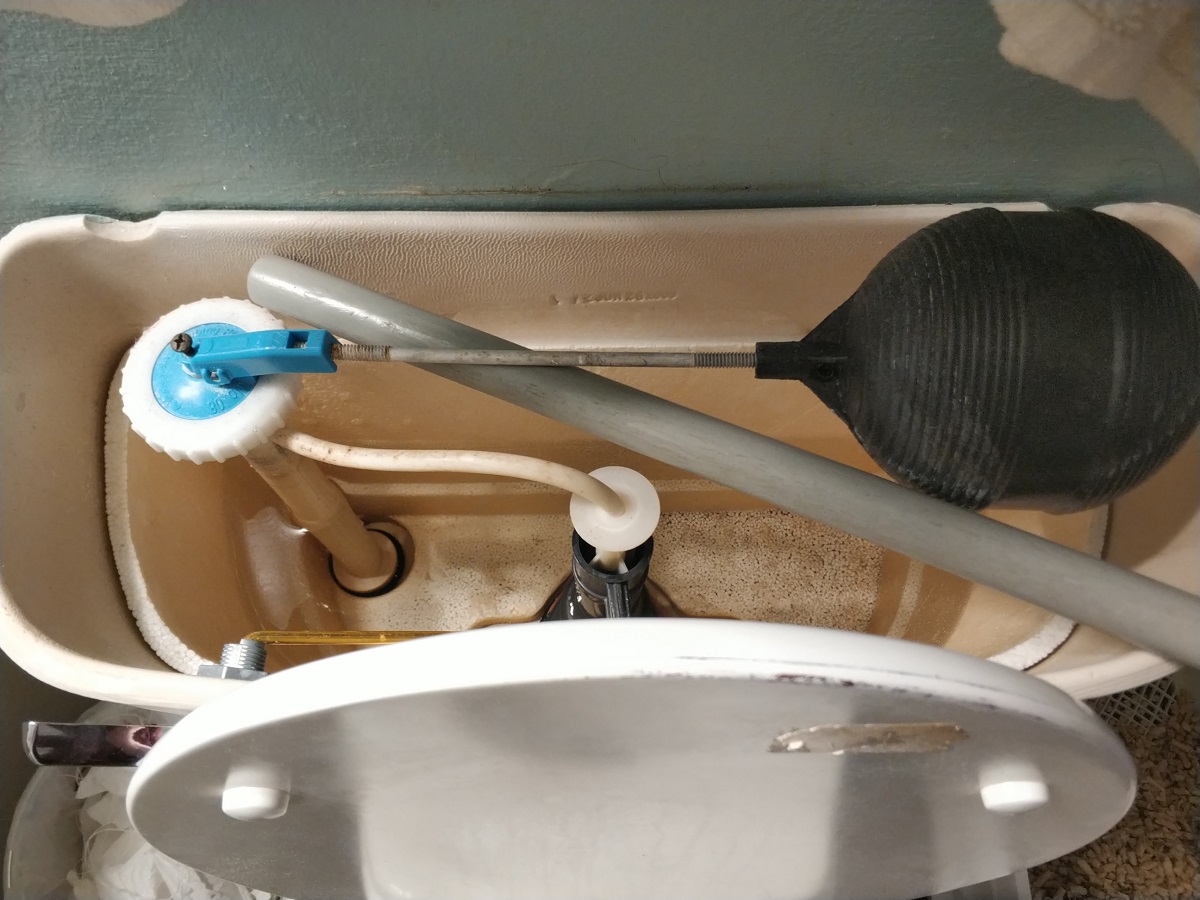
Step 2: Locating the Float and Float Arm
After shutting off the water supply, the next step is to locate the float and float arm inside the toilet tank. These are the components that control the water level in the tank.
Open the toilet tank lid and set it aside in a safe place. Take a look inside the tank and you will see a mechanism comprised of the float and float arm. The float is usually a hollow plastic or metal ball that is attached to the float arm.
The float arm is a long, thin rod that is connected to the fill valve. As the water level rises in the tank, the float arm is lifted by the float. When the water reaches the desired level, the float arm pushes against the fill valve, shutting off the water flow.
Ensure that the float and float arm are in good condition and not damaged or obstructed. If you notice any issues with these components, such as cracks or corrosion, they may need to be replaced before proceeding.
With the float and float arm located, you can now move on to adjusting the float height in the next step.
Step 3: Adjusting the Float Height
Now that you have located the float and float arm, it’s time to adjust the float height. The float height determines the water level in the toilet tank and is crucial for proper functioning of the toilet.
Take a close look at the float and observe how it is attached to the float arm. Most floats have a metal clip or screw mechanism that allows for adjustment of the float height. This mechanism can be loosened or tightened to raise or lower the position of the float.
To adjust the float height, use a screwdriver or your hand to loosen the metal clip or screw on the float mechanism. Gradually move the float up or down to the desired height. The correct float height is usually marked on the inside of the tank or noted in the toilet’s user manual.
It is important to adjust the float to the correct height to ensure that the tank fills up with the right amount of water. If the float is set too high, the tank may overfill and lead to constant running water. On the other hand, if the float is set too low, the flush may not be strong enough.
Once you have adjusted the float to the proper height, tighten the metal clip or screw to secure it in place. Ensure that the float moves freely up and down without any obstructions or sticking.
With the float height adjusted, we can now move on to the next step of testing the float adjustment.
To adjust the toilet float, locate the adjustment screw on top of the fill valve. Turn the screw clockwise to raise the water level and counterclockwise to lower it. Test the water level after each adjustment.
Step 4: Testing the Float Adjustment
After adjusting the float height, it’s important to test the float adjustment to ensure that it is functioning properly. Testing will help you determine if the water level is correctly set and if any further adjustments are needed.
To test the float adjustment, turn on the water supply to the toilet by turning the shut-off valve counterclockwise. Allow the tank to fill with water until it reaches the desired level.
Observe the water level in the tank once it has filled up. The water should stop filling when it reaches the set float height. If the water continues to flow and does not shut off, the float height may need further adjustment.
If the water level is too high, causing overflow, or too low, resulting in a weak flush, you can make finer adjustments to the float height. Repeat Step 3 and adjust the float up or down as needed. Test the adjustment again until the water shuts off at the correct level.
Continue this process of adjusting and testing until you have achieved the optimal float height that allows for proper filling and shutting off of the water.
Once you are satisfied with the float adjustment, proceed to the final step of finishing up the process.
Step 5: Finishing Up
Now that you have successfully adjusted the float height and tested its functionality, it’s time to finish up the process by ensuring everything is properly secured and in working order.
First, tighten any screws or clips that may have loosened during the adjustment process. Make sure the float and float arm are securely attached and can move freely without any obstructions.
Next, double-check the water supply valve to make sure it is fully open. This will ensure a steady flow of water to the toilet tank.
Lastly, put the toilet tank lid back on and make sure it is properly aligned and securely in place. This will help prevent any foreign objects from falling into the tank and potentially causing damage or clogging.
Once you have completed these final steps, turn on the water supply to the toilet by turning the shut-off valve counterclockwise. Observe the tank as it fills and ensure that the water shuts off at the correct float height.
If you notice any issues or irregularities with the flush or water flow, recheck the float adjustment and make any necessary tweaks.
With the float properly adjusted, your toilet should now be operating efficiently and effectively. Regularly monitor the float and perform maintenance as needed to ensure its continued performance and prevent any potential issues.
Congratulations! You have successfully adjusted the toilet float and taken an important step in maintaining a properly functioning toilet.
Conclusion
Adjusting the toilet float is a simple yet important task that can help maintain the proper functioning of your toilet. By ensuring the float is at the correct height, you can prevent issues such as constant running water and weak flushes.
In this article, we have provided a step-by-step guide on how to adjust the toilet float. From shutting off the water supply to locating the float and float arm, to adjusting the float height and testing the adjustment, we have covered the essential steps required for a successful adjustment.
Remember to consult your toilet’s user manual for any specific instructions or contact a professional if you encounter any difficulties or uncertainties during the process.
With proper float adjustment, you can promote water conservation and reduce potential water wastage. This not only benefits the environment but can also save you money on your water bill.
Maintaining a properly functioning toilet is essential for the overall functionality of your bathroom. By taking the time to adjust the toilet float, you can ensure that your toilet operates efficiently and effectively for years to come.
So, don’t hesitate to follow the steps outlined in this article and take control of your toilet’s performance. With a little effort and attention, you can achieve a balanced and reliable toilet float adjustment.
Now that you've mastered adjusting your toilet float, why stop there? Dive into our latest guide on toilet repair for advanced tips and tricks that'll save you a trip from calling the plumber. Or, if you're feeling handy, our comprehensive DIY home improvement section has all you need to tackle projects big and small around your house. Dealing with a bit more of a mess? Our easy steps on fixing toilets when they overflow will get things back in order fast.
Frequently Asked Questions about How To Adjust Toilet Float
Was this page helpful?
At Storables.com, we guarantee accurate and reliable information. Our content, validated by Expert Board Contributors, is crafted following stringent Editorial Policies. We're committed to providing you with well-researched, expert-backed insights for all your informational needs.


0 thoughts on “How To Adjust Toilet Float”