Articles
How To Vent A Toilet
Modified: October 20, 2024
Learn how to vent a toilet with these informative articles. Get step-by-step instructions and expert tips for proper toilet ventilation.
(Many of the links in this article redirect to a specific reviewed product. Your purchase of these products through affiliate links helps to generate commission for Storables.com, at no extra cost. Learn more)
Introduction
Proper toilet ventilation is essential for maintaining a healthy and odor-free bathroom environment. A poorly ventilated toilet can lead to a buildup of unpleasant smells, excess moisture, and even potential health hazards. Understanding how to effectively vent a toilet is crucial for homeowners and plumbers alike.
In this comprehensive guide, we will delve into the importance of proper toilet ventilation and provide step-by-step instructions on how to vent a toilet effectively. Whether you are embarking on a bathroom renovation project or troubleshooting existing ventilation issues, this article will equip you with the knowledge and insights to ensure a well-ventilated and comfortable bathroom space.
Before we dive into the specifics of toilet ventilation, let’s first understand why it is so crucial.
Key Takeaways:
- Proper toilet ventilation is crucial for a fresh and healthy bathroom. Venting through the roof, exterior wall, or floor can eliminate odors and maintain a sanitary space. Consult a professional plumber for optimal results.
- Regular maintenance and troubleshooting are essential for a well-ventilated bathroom. Address common venting issues like slow drainage and foul odors promptly to prevent complications. Enjoy a refreshing and odor-free bathroom space.
Read more: How To Vent Sink
Understanding the Need for Proper Toilet Ventilation
A toilet generates various gases, including methane and sulfur compounds, which can result in unpleasant odors. Without adequate ventilation, these odors can linger in your bathroom, causing discomfort for you and your household. Additionally, excessive moisture from toilet usage can lead to mold and mildew growth, potentially damaging your bathroom and compromising your indoor air quality.
Proper ventilation helps remove these odors and excess moisture, creating a more sanitary and pleasant bathroom environment. It also plays a crucial role in preventing the buildup of harmful gases, such as hydrogen sulfide, that can pose health risks if inhaled in large quantities.
Now that we understand the importance of proper toilet ventilation, let’s move on to the next step: assessing your existing plumbing system to determine the best venting option.
Key Takeaways:
- Proper toilet ventilation is crucial for a fresh and healthy bathroom. Venting through the roof, exterior wall, or floor can eliminate odors and maintain a sanitary space. Consult a professional plumber for optimal results.
- Regular maintenance and troubleshooting are essential for a well-ventilated bathroom. Address common venting issues like slow drainage and foul odors promptly to prevent complications. Enjoy a refreshing and odor-free bathroom space.
Read more: How To Vent Sink
Understanding the Need for Proper Toilet Ventilation
Apart from being a necessary fixture in every bathroom, a toilet can also be a significant source of unpleasant odors and excess moisture. This is why proper toilet ventilation is crucial to maintain a healthy and comfortable bathroom environment.
When you flush a toilet, it creates a suction that can draw air from nearby sources like the bathroom, sewer pipes, and even the septic tank. If there is no proper ventilation system in place, these odors can easily escape into your bathroom, making it an unpleasant space to be in.
In addition to odor control, proper toilet ventilation also helps in moisture management. When you use a toilet, water is released into the bowl and splashes back up, resulting in the generation of moisture in the form of steam. Without proper ventilation, this steam can accumulate and create a damp environment, leading to the growth of mold and mildew, which can be harmful to your health and can cause damage to your bathroom fixtures and walls.
Furthermore, inadequate ventilation can also trap gases like methane and hydrogen sulfide inside the bathroom, which can be potentially hazardous to your health when inhaled in large quantities.
To ensure a healthy and comfortable bathroom environment, it is important to have a well-designed and properly installed ventilation system for your toilet. This includes choosing the right venting option, ensuring proper installation, and addressing any ventilation issues promptly.
In the next sections, we will explore the different options for venting a toilet, ranging from venting through the roof to venting through the exterior wall or floor. We will also discuss the considerations for each option and provide step-by-step instructions for properly installing and troubleshooting your toilet ventilation system.
By understanding the need for proper toilet ventilation and learning how to effectively vent your toilet, you can create a clean, fresh, and comfortable bathroom space for yourself and your family.
Assessing the Existing Plumbing System
Before you can start venting a toilet, it’s essential to assess your existing plumbing system to determine the best venting option. This involves evaluating the layout and design of your pipes and identifying any obstacles or limitations that may affect the installation of the ventilation system.
Here are a few key factors to consider when assessing your existing plumbing system:
- Pipe Size and Material: Take note of the size and material of the existing pipes connected to your toilet. PVC pipes are commonly used for plumbing, but older homes might have cast iron or galvanized steel pipes. The size and material of the pipes will determine the type of venting system you can use.
- Plumbing Code Requirements: Familiarize yourself with the local plumbing codes and regulations in your area. These codes dictate the minimum requirements for toilet ventilation systems, including the distance the vent pipe should be from windows, doors, and other ventilation openings.
- Obstacles: Identify any obstacles that might hinder the installation of a ventilation system, such as existing walls, flooring, or other fixtures. It’s important to work around these obstacles and find a suitable venting option that meets your needs.
- Distance from Soil Stack: Determine the distance between your toilet and the main soil stack, which is the vertical pipe that carries waste from the house to the sewer or septic system. The closer your toilet is to the soil stack, the easier it will be to vent it properly.
- Plumbing Access: Take note of the available access points in your plumbing system. It’s important to have access to the pipes for proper installation and maintenance of the ventilation system.
By carefully assessing your existing plumbing system, you can identify any potential challenges and make informed decisions when choosing the most appropriate venting option for your toilet.
In the next section, we will explore the different venting options available and discuss their advantages and considerations.
Choosing the Right Venting Option
When it comes to venting a toilet, there are several options to consider. The choice of venting option depends on the layout of your plumbing system, the location of your toilet, and any restrictions imposed by local building codes. Let’s explore the different venting options available:
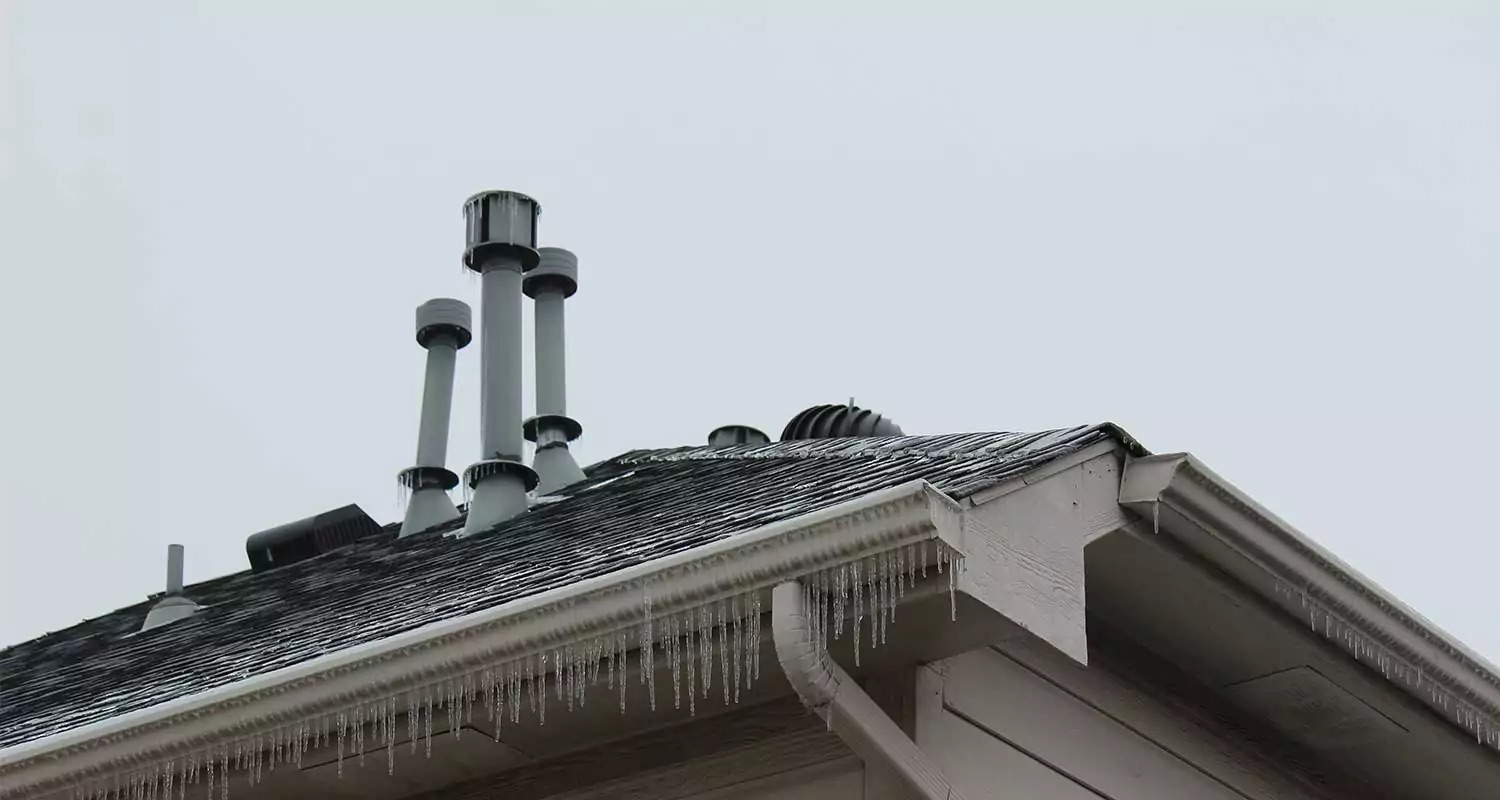
- Venting through the Roof: This is the most common and recommended option for toilet ventilation. It involves running a vent pipe vertically from the toilet to the roof, allowing the gases and odors to escape outside. Venting through the roof ensures proper airflow and avoids the risk of gases being trapped in the system. However, this option may require access to the attic or crawl space to install the vent pipe.
- Venting through the Exterior Wall: If venting through the roof is not feasible or preferred, venting through an exterior wall can be an alternative. With this option, a vent pipe is installed horizontally through the wall, allowing the gases to be vented outside. This option requires careful consideration of the wall’s position and the distance from the toilet to the exterior wall to ensure proper ventilation.
- Venting through the Floor: In some cases, venting through the floor may be the only viable option, especially in multi-story buildings. This involves running a vent pipe through the floor and connecting it to the existing plumbing system or an exterior vent. Venting through the floor requires careful planning and coordination to ensure proper alignment and installation.
- Air Admittance Valve (AAV): In certain situations where traditional venting methods are not feasible, an Air Admittance Valve can be used. An AAV is a one-way valve that allows air to enter the plumbing system while preventing gases from escaping. It serves as a venting alternative and can be installed under the sink or in the wall to vent the toilet. However, it’s important to check local building codes as AAVs may not be permitted in all areas.
When choosing the right venting option, consider factors such as the layout of your plumbing system, the accessibility of the installation location, and compliance with local building codes. It’s important to consult with a professional plumber or adhere to local regulations to ensure a proper and code-compliant installation.
In the next sections, we will delve into each venting option in detail and provide step-by-step instructions for their installation. By choosing the right venting option, you can ensure proper toilet ventilation and maintain a clean and odor-free bathroom environment.
Read more: How To Vent A Dryer
Venting a Toilet Through the Roof
Venting a toilet through the roof is the most common and recommended method for ensuring proper ventilation. This option allows gases and odors to be safely expelled outside, preventing them from lingering in your bathroom. Here’s a step-by-step guide on how to vent a toilet through the roof:
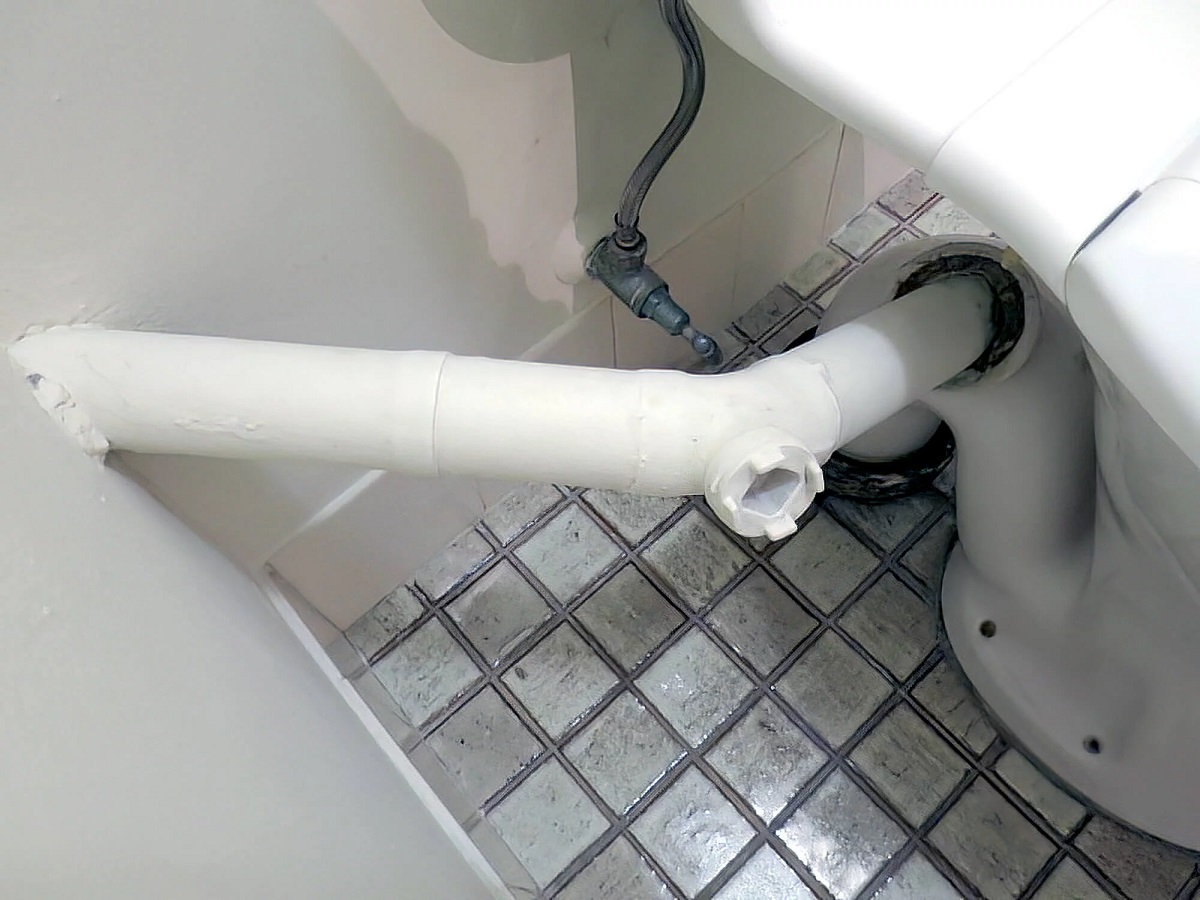
- Locate the Toilet Drain Pipe: Begin by identifying the drain pipe connected to your toilet. This is typically a 3- or 4-inch diameter pipe located behind or beneath the toilet.
- Plan the Route: Determine the path the vent pipe will take from the toilet drain pipe to the roof. This pathway should be as direct and vertical as possible to ensure proper airflow.
- Measure and Cut the Vent Pipe: Measure the distance from the toilet drain pipe to the roofline, adding a few extra inches for adjustments. Use a saw to cut a section of vent pipe to the determined length.
- Create an Opening in the Roof: Locate the chosen exit point on the roof and create a hole slightly larger than the diameter of the vent pipe. Ensure that there are no obstructions, such as rafters or wires, in the way.
- Install the Vent Pipe: Connect the cut vent pipe to the toilet drain pipe using a PVC coupling or connector. Secure the connection with PVC cement to ensure a watertight seal. Extend the vent pipe up through the hole in the roof, ensuring it extends above the roofline.
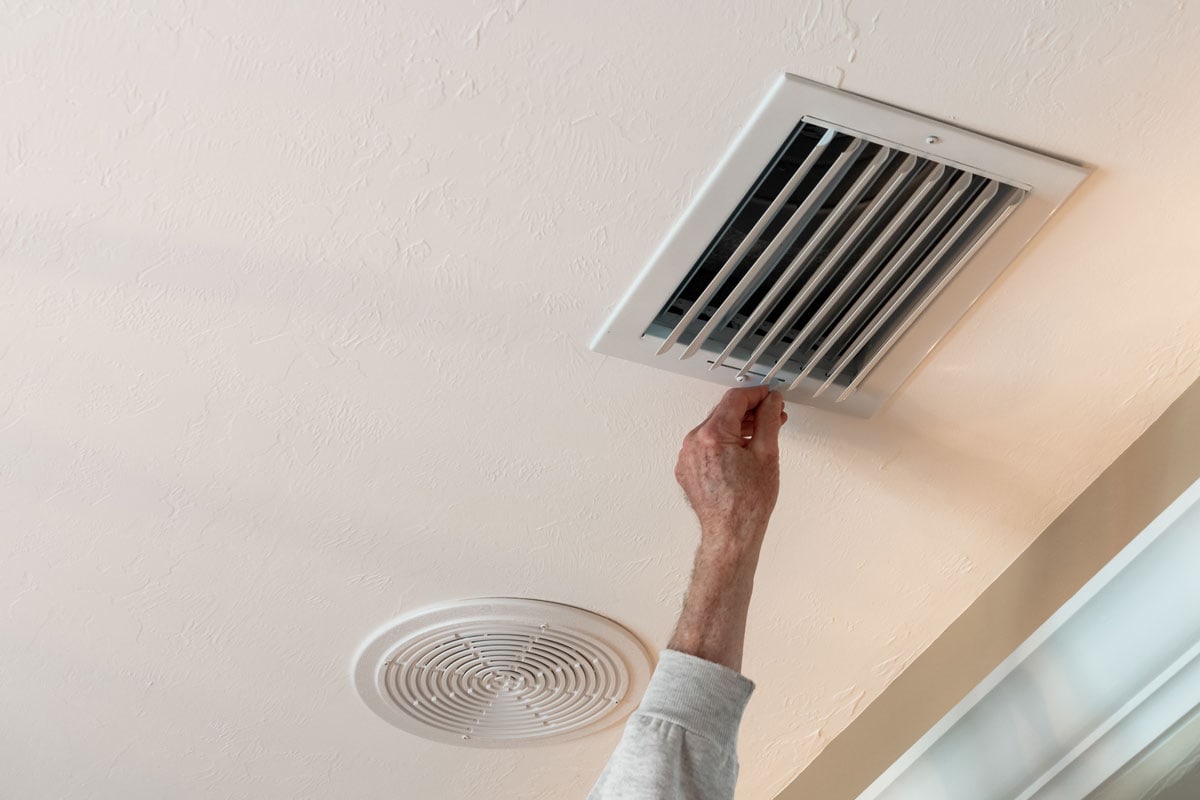
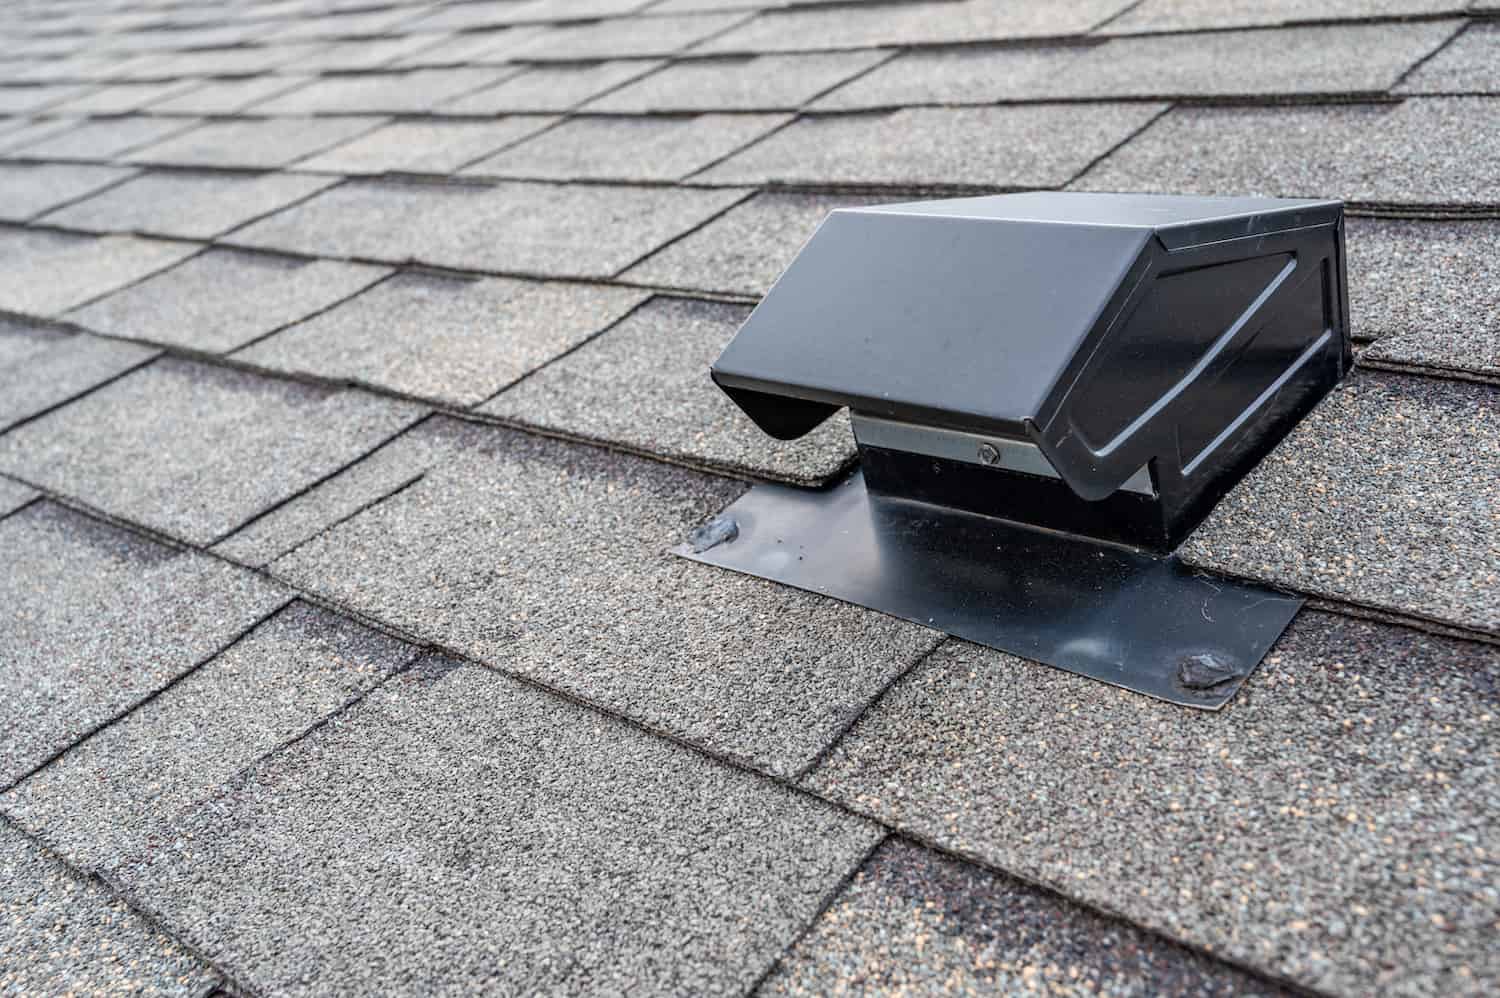
- Install a Vent Cap: Attach a vent cap on top of the vent pipe to prevent debris and water from entering. Ensure that the vent cap provides proper airflow while protecting against rain and pests.
- Inspect and Test: Once the vent pipe and cap are installed, carefully inspect the entire system to ensure proper alignment and connections.
It is also recommended to run water through the toilet to check that the venting system is working effectively.
Confirm that there are no leaks, and the water flows freely down the drain.
It is important to note that local plumbing codes may have specific requirements for venting through the roof.
Be sure to consult with a professional plumber or refer to the local building codes to ensure compliance during installation.
Venting a toilet through the roof effectively removes gases and odors, preventing them from polluting your bathroom space.
By following these steps, you can ensure proper ventilation and a fresh and odor-free environment in your bathroom.
Make sure the toilet vent pipe is installed at the correct angle to prevent clogging and allow for proper ventilation. It should be at least 3 inches in diameter and extend through the roof to prevent sewer gas buildup.
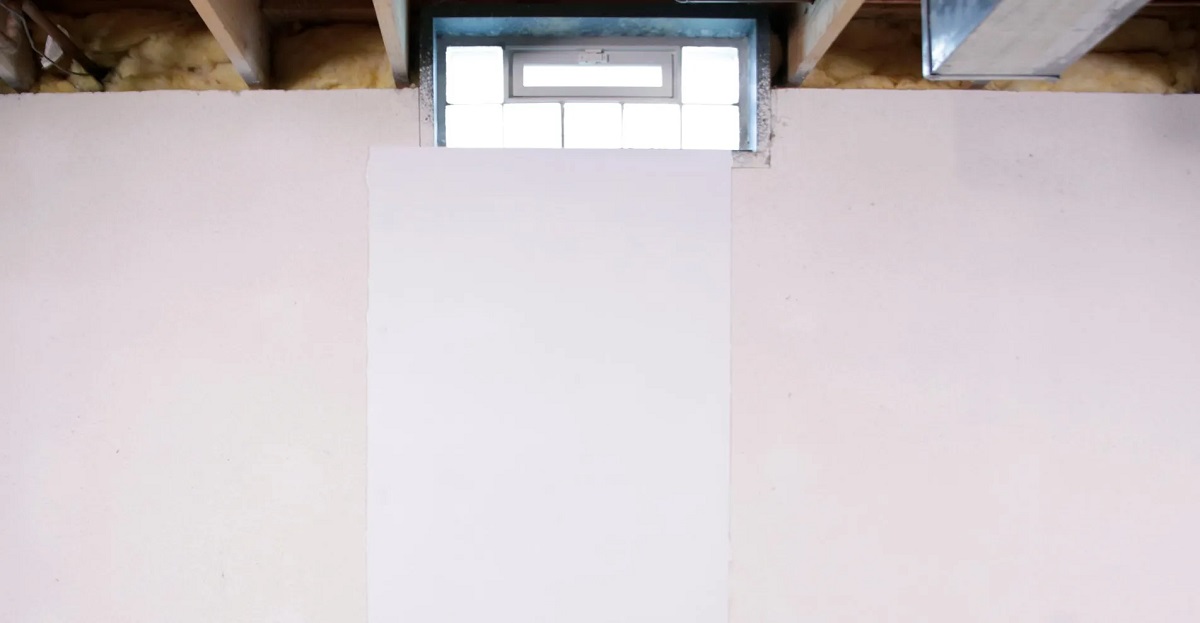
Venting a Toilet Through the Exterior Wall
If venting a toilet through the roof is not feasible or preferred, venting through an exterior wall can be an alternative option. This method allows gases and odors to be expelled outside through a vent pipe installed horizontally through the wall. Here’s a step-by-step guide on how to vent a toilet through the exterior wall:
- Determine the Suitable Wall Location: Choose an exterior wall near the toilet where the vent pipe can be installed. Consider factors such as the proximity to the toilet drain pipe, the accessibility of the wall, and compliance with local building codes.
- Measure and Mark the Wall Opening: Measure the diameter of the vent pipe and mark the corresponding size of the opening on the chosen wall. Ensure that the opening is level and located slightly above the toilet drain pipe.
- Create the Wall Opening: Using a drill and a hole saw or reciprocating saw, carefully cut the opening in the marked area of the exterior wall. Be cautious of any electrical or plumbing lines that may be hidden within the wall.
- Install the Vent Pipe: Connect the vent pipe to the toilet drain pipe using a PVC coupling or connector. Ensure that the connection is secure and watertight. Extend the vent pipe horizontally through the wall opening, ensuring it slopes slightly downward to facilitate proper airflow.
- Install a Wall Vent: Attach a wall vent cover or cap on the exterior of the vent pipe. This will prevent debris, pests, and weather elements from entering while allowing proper venting. Ensure that the vent cover is securely fastened to the wall.
- Inspect and Test: Thoroughly inspect the vent pipe, connections, and wall vent to ensure they are properly aligned and sealed. Run water through the toilet to ensure that the venting system is functioning effectively, with no leaks or blockages.
It is important to note that venting a toilet through the exterior wall may have limitations based on the layout of your plumbing system and local building codes. Consulting with a professional plumber or referring to the local regulations can help ensure the installation is done correctly and meets the necessary requirements.
Venting a toilet through the exterior wall offers an alternative to roof venting, allowing for proper ventilation and the elimination of odors from your bathroom. By following these steps, you can successfully install a vent pipe and maintain a fresh and odor-free bathroom environment.
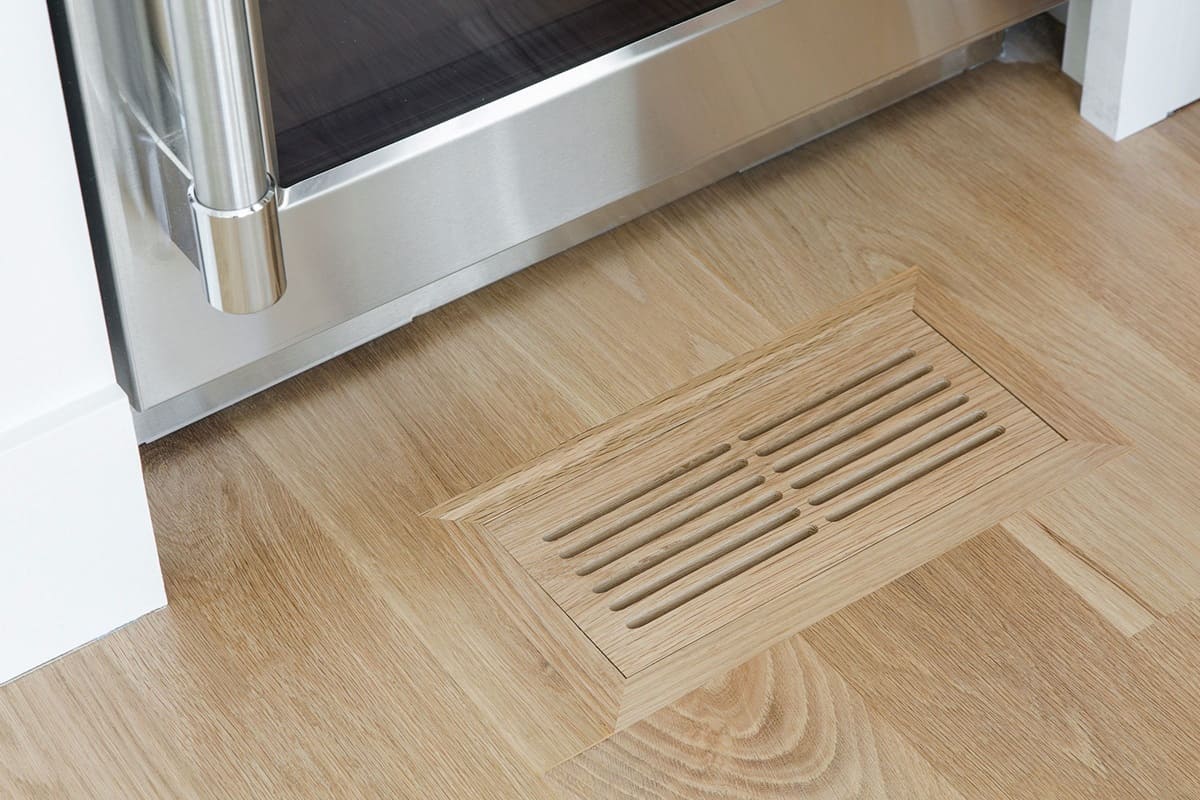
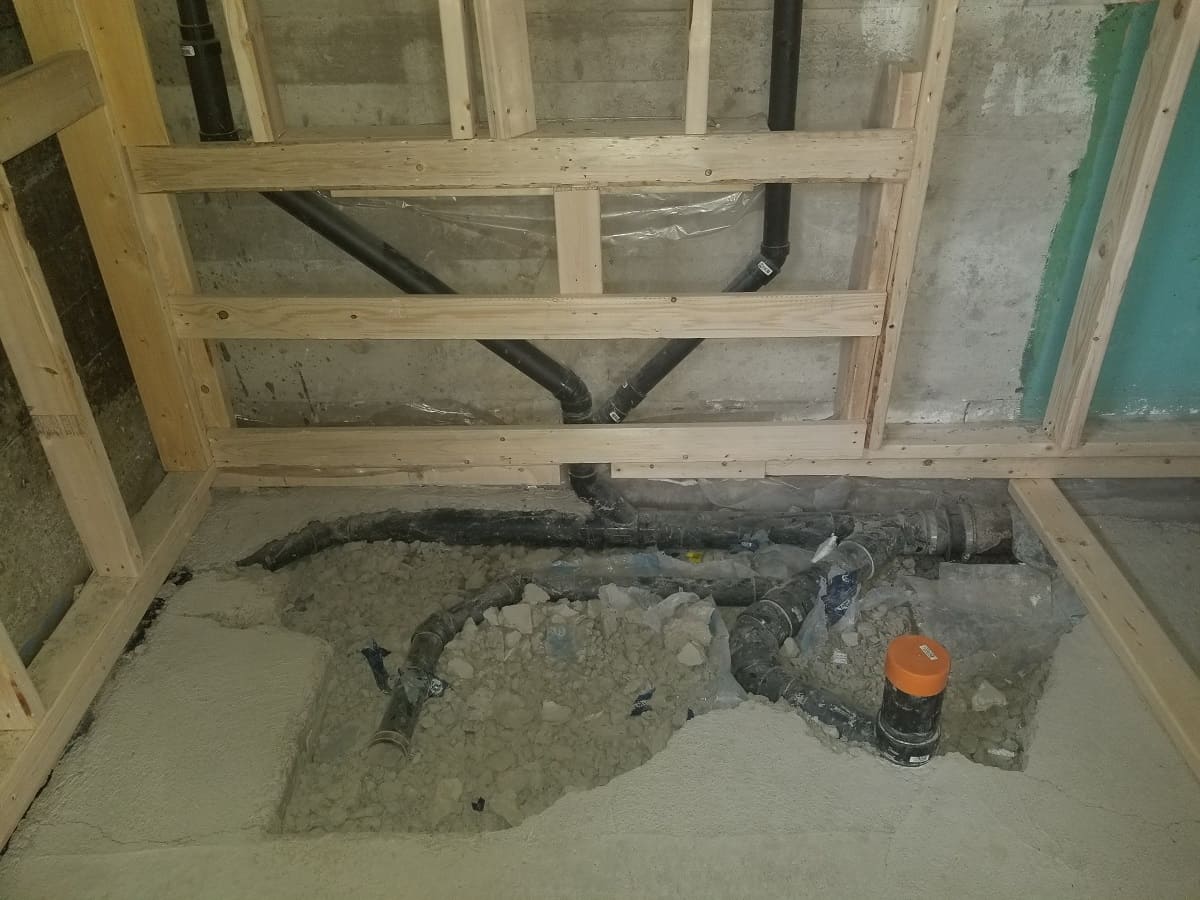
Venting a Toilet Through the Floor
If venting a toilet through the roof or exterior wall is not possible due to the layout of your plumbing system or other constraints, venting through the floor can be an alternative option. This method allows gases and odors to be expelled outside by running a vent pipe through the floor. Here’s a step-by-step guide on how to vent a toilet through the floor:
- Determine the Suitable Floor Location: Choose a location on the floor near the toilet where the vent pipe can be installed. Take into consideration the proximity to the toilet drain pipe, accessibility, and compliance with local building codes.
- Measure and Mark the Floor Opening: Measure the diameter of the vent pipe and mark the corresponding size of the opening on the chosen floor location. Ensure that the opening is located slightly above the toilet drain pipe and centered for proper alignment.
- Create the Floor Opening: Use a drill and a hole saw or reciprocating saw to carefully cut the opening in the marked area of the floor. Ensure that there are no electrical or plumbing lines underneath the floor before cutting.
- Install the Vent Pipe: Connect the vent pipe to the toilet drain pipe using a PVC coupling or connector. Make sure the connection is secure and watertight. Extend the vent pipe vertically through the floor opening, ensuring it slopes slightly upward to facilitate proper airflow.
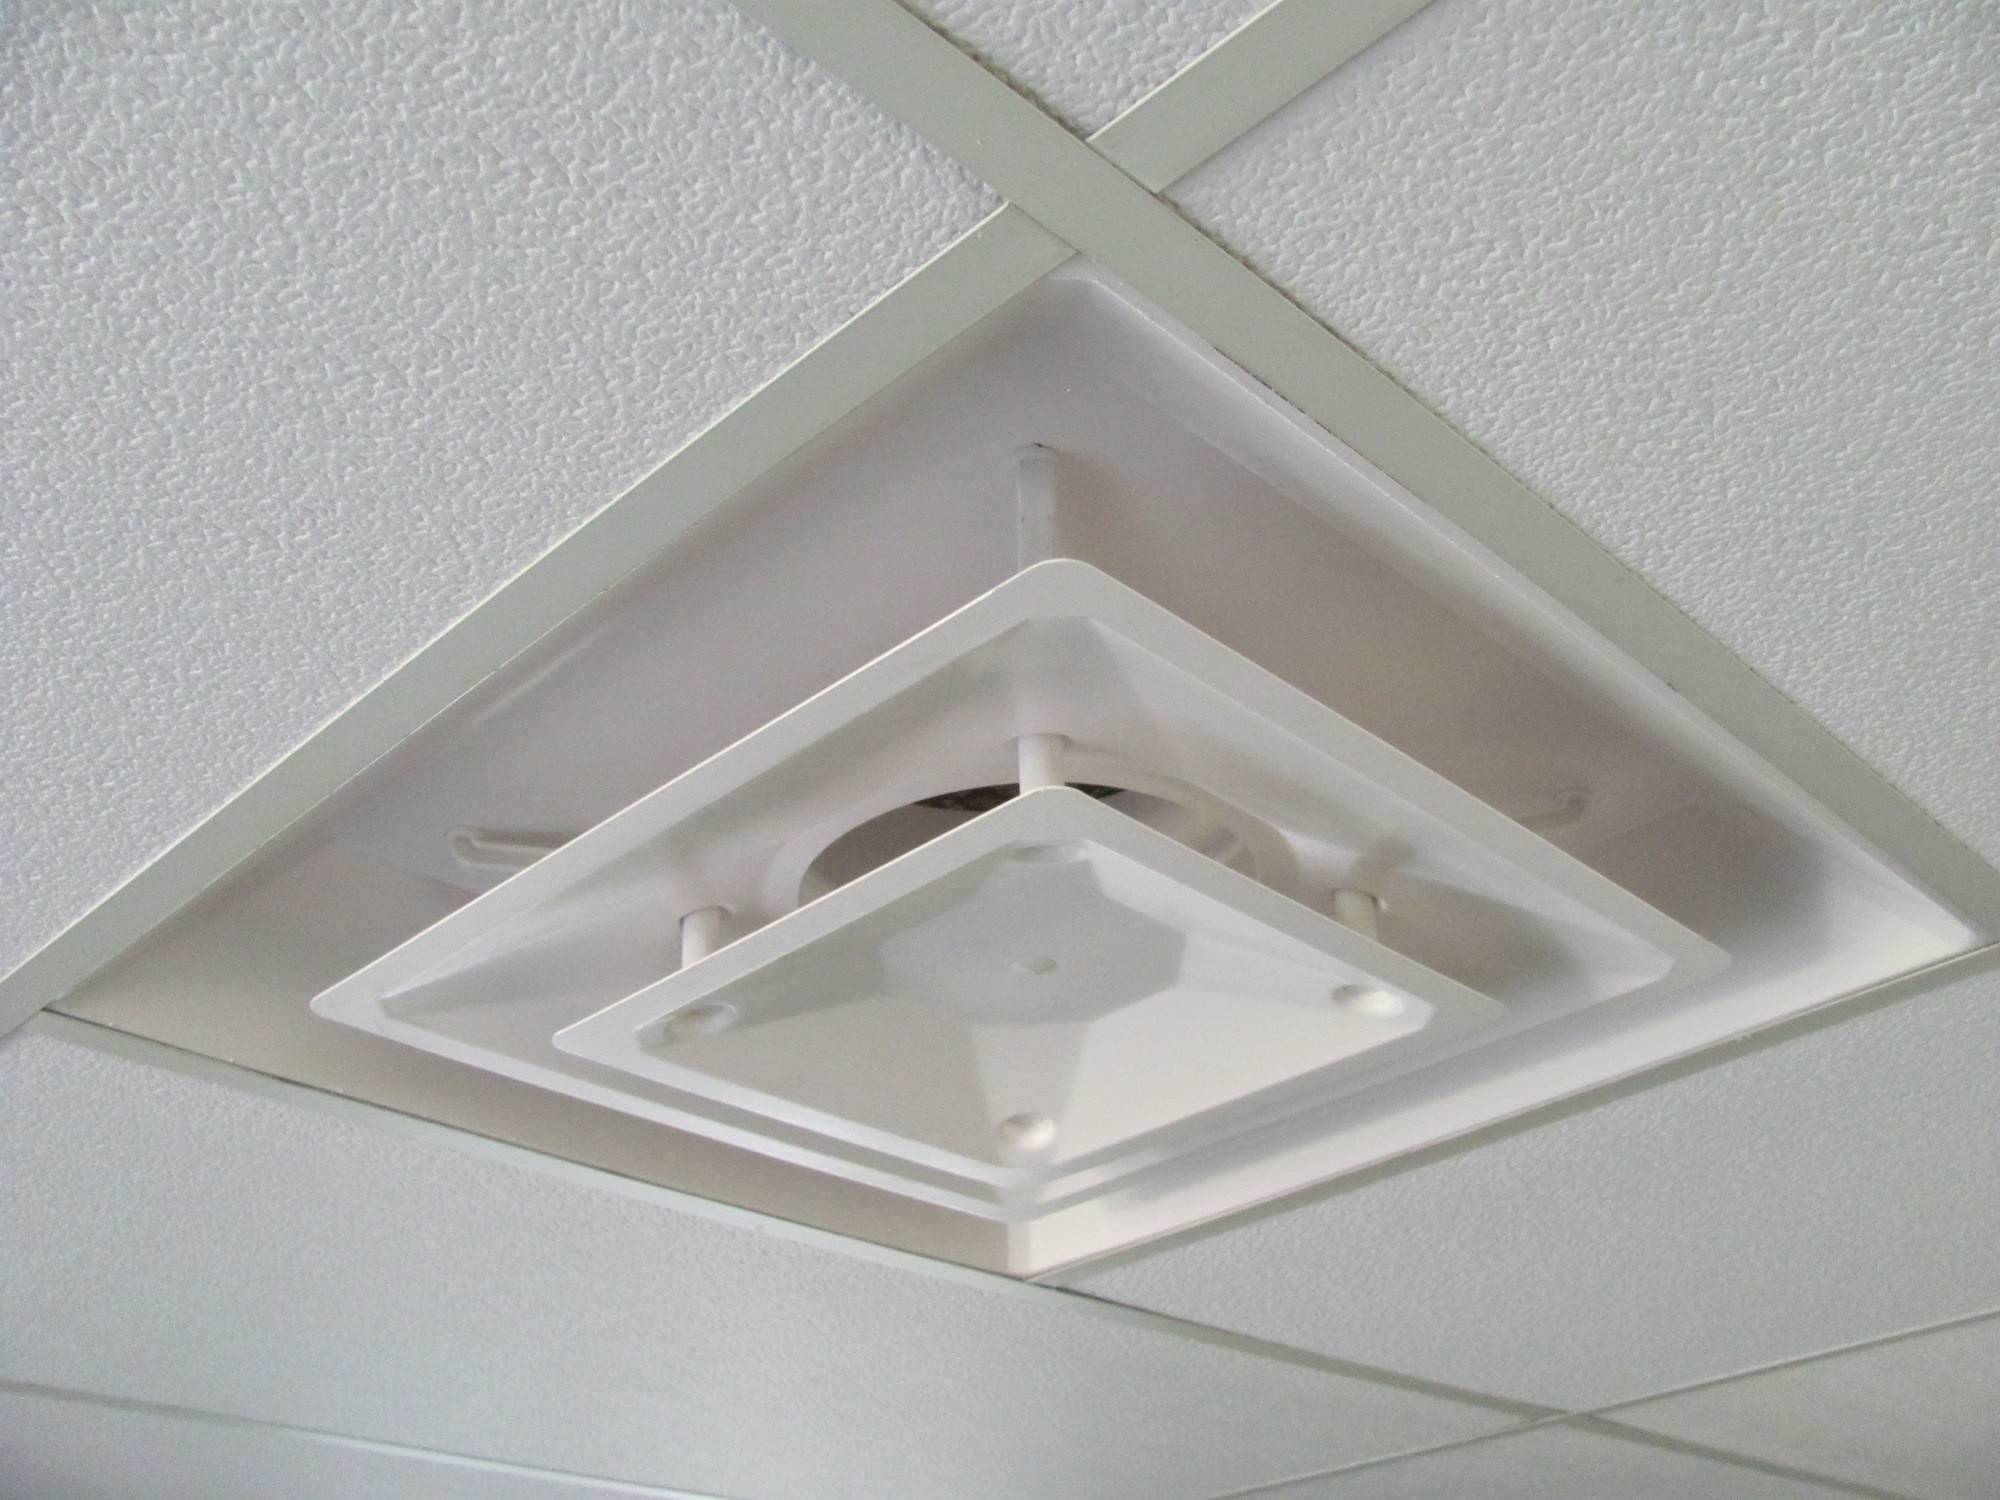
- Install a Floor Vent or Wall Cap: Attach a floor vent or wall cap on top of the vent pipe either on the floor or the wall where it extends out. This will prevent debris and pests from entering while allowing for proper venting. Ensure that the vent or cap is securely fastened.
- Inspect and Test: Thoroughly inspect the vent pipe, connections, and vent or cap to ensure proper alignment and sealing. Run water through the toilet to ensure that the venting system is functioning effectively without any leaks or blockages.
It is important to note that venting a toilet through the floor may have its limitations based on the design of your plumbing system and local building codes. Consulting with a professional plumber or referring to the local regulations can help ensure that the installation is done correctly and meets the necessary requirements.
Venting a toilet through the floor provides an alternative solution when venting through the roof or exterior wall is not feasible. By following these steps, you can effectively install a vent pipe, ensuring proper ventilation and eliminating odors from your bathroom.
Ensuring Proper Installation and Ventilation
When it comes to venting a toilet, proper installation and ventilation are crucial to ensure the system functions effectively and efficiently. Here are some essential considerations and steps to follow to ensure the proper installation and ventilation of your toilet vent system:
- Follow Building Codes: Familiarize yourself with the local plumbing codes and regulations to ensure compliance during the installation process. These codes outline specific requirements for vent pipe size, distance from openings, and other necessary guidelines to ensure safety and efficiency.
- Use the Correct Pipe Size: Select a vent pipe that is of appropriate size for your toilet venting system. The diameter of the pipe should be determined based on the local plumbing codes and the distance the vent pipe needs to travel.
- Ensure Proper Slope: The vent pipe should have a slight slope to allow for proper drainage of gases and condensation. Aim for a slope of at least 1/4 inch per foot towards the outside of the building to facilitate smooth airflow.
- Secure Connections: Ensure that all connections between the vent pipe and other plumbing components, such as the toilet drain pipe or other vent pipes, are secure and watertight. Use appropriate fittings, couplings, and PVC cement to create reliable and leak-free connections.
- Provide Adequate Ventilation Airflow: The venting system relies on proper airflow to function effectively. Ensure that there are no obstructions, such as debris or blockages, in the vent pipe that could impede the flow of air. Regularly inspect and clean the vent pipe, especially if you notice any signs of reduced airflow or foul odors.
- Consider Secondary Venting: Depending on the complexity of your plumbing system and the number of fixtures, you may need to consider providing secondary venting options to ensure adequate airflow. Consult with a professional plumber to determine if additional vents or air admittance valves are necessary.
- Maintain the Venting System: Regular maintenance is crucial to ensure the longevity and efficiency of your toilet venting system. Inspect the system periodically for any signs of damage or deterioration. Clear any debris or blockages that may obstruct proper airflow. Additionally, check for leaks and repair them promptly.
By ensuring proper installation and ventilation of the toilet vent system, you can maintain a healthy and odor-free bathroom environment while preventing potential plumbing issues. It is always recommended to consult with a professional plumber to ensure compliance with local regulations and for expert guidance throughout the installation process.
Troubleshooting Common Venting Issues
While proper installation and maintenance of a toilet venting system can minimize the likelihood of issues, problems may still arise over time. Here are some common venting issues you may encounter and troubleshooting steps to resolve them:
1. Slow Drainage: If you notice that your toilet is draining slowly or gurgling, it could indicate a venting issue. The vent pipe may be obstructed with debris or a blockage, impeding proper airflow. In this case, you can attempt to use a plunger or a plumbing snake to clear the vent pipe. If the problem persists, it is recommended to consult with a professional plumber.
2. Foul Odors: Lingering odors in the bathroom despite proper ventilation can be a cause for concern. It might indicate an issue with the venting system or a trapped vent. Check for any obstructions in the vent pipe, clean out the vent cap or wall vent, and ensure there is proper airflow. If the problem persists, it may require the expertise of a plumber to identify and rectify the issue.
3. Gurgling or Bubbling Sounds: If you hear gurgling or bubbling sounds when you flush the toilet or run water in other fixtures, it often indicates a venting problem. This could be due to a clogged or restricted vent pipe, which causes air to be sucked in from other fixtures. Inspect the vent pipe for any obstructions, clear them if possible, and test the system to ensure proper airflow.
4. Vent Pipe Freezing: In cold climates, vent pipes can sometimes freeze, blocking proper ventilation. To prevent this issue, consider insulating the vent pipe with pipe insulation to protect it from freezing temperatures. If the pipe has already frozen, use a heat source, such as a hairdryer, to thaw it out. However, it’s crucial to address the root cause of the freezing issue, such as inadequate insulation or improper vent pipe positioning.
5. Pressure Imbalance: In some cases, inadequate venting can create a pressure imbalance within the plumbing system, resulting in issues like toilet bowl bubbling or water level fluctuations. To address this problem, ensure that the vent pipe is properly sized and positioned to provide sufficient airflow. If needed, consult with a plumber to assess and modify the venting system to balance the air pressure.
It’s important to note that if you encounter persistent or complex venting issues, it is best to seek the assistance of a professional plumber. They have the expertise and tools to accurately diagnose and resolve the problem, ensuring your toilet venting system functions effectively and efficiently.
Conclusion
Proper toilet ventilation is essential for maintaining a healthy and comfortable bathroom environment. By venting a toilet effectively, you can eliminate unpleasant odors, prevent moisture buildup, and ensure a sanitary space for you and your household.
In this comprehensive guide, we explored the importance of proper toilet ventilation and provided step-by-step instructions for venting a toilet through various options including the roof, exterior wall, and floor. We discussed the importance of assessing the existing plumbing system, choosing the right venting option, and ensuring proper installation and ventilation.
Throughout the process, it is crucial to consult local building codes, follow proper guidelines, and consider the specific requirements of your plumbing system. Professional guidance from a plumber is always recommended, especially when addressing complex venting issues or dealing with unique circumstances.
Remember, the goal of venting a toilet is to eliminate odors and remove moisture, creating a fresh and clean bathroom environment. Regular maintenance of the venting system is essential for long-term efficiency and effectiveness. Keep an eye out for common venting issues such as slow drainage, foul odors, gurgling sounds, and pressure imbalances, and troubleshoot them promptly to prevent further complications.
By ensuring proper ventilation and addressing any issues that arise, you can enjoy a well-ventilated bathroom that enhances the comfort and overall hygiene of your home.
So go ahead, take the necessary steps to properly vent your toilet and create a bathroom space that is refreshing, odor-free, and a pleasure to use.
Frequently Asked Questions about How To Vent A Toilet
Was this page helpful?
At Storables.com, we guarantee accurate and reliable information. Our content, validated by Expert Board Contributors, is crafted following stringent Editorial Policies. We're committed to providing you with well-researched, expert-backed insights for all your informational needs.


0 thoughts on “How To Vent A Toilet”