Articles
How To Install Cabinet On Wall
Modified: January 19, 2024
Looking to install kitchen furniture? Learn how to easily mount cabinets on your wall with our step-by-step guide. Achieve a functional and stylish kitchen space today!
(Many of the links in this article redirect to a specific reviewed product. Your purchase of these products through affiliate links helps to generate commission for Storables.com, at no extra cost. Learn more)
Introduction
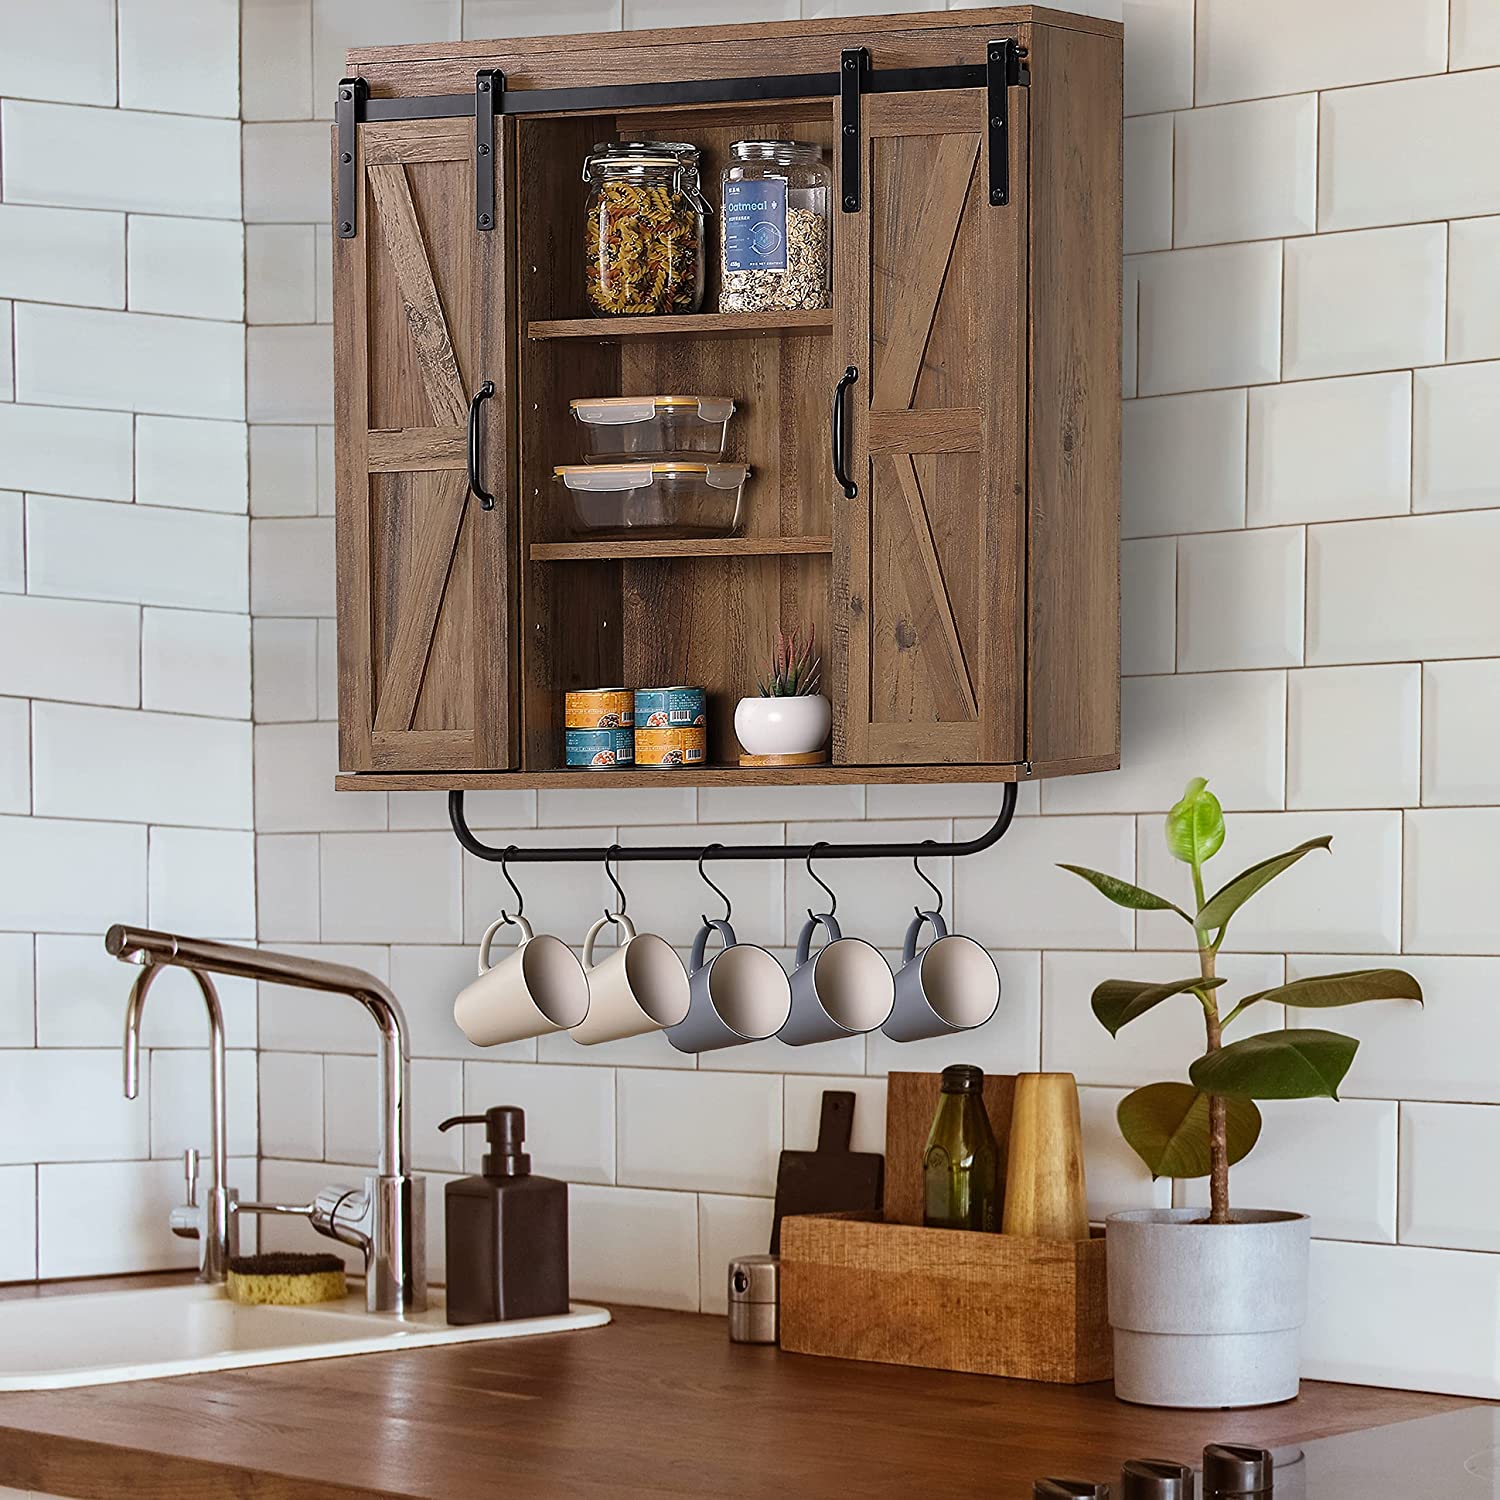
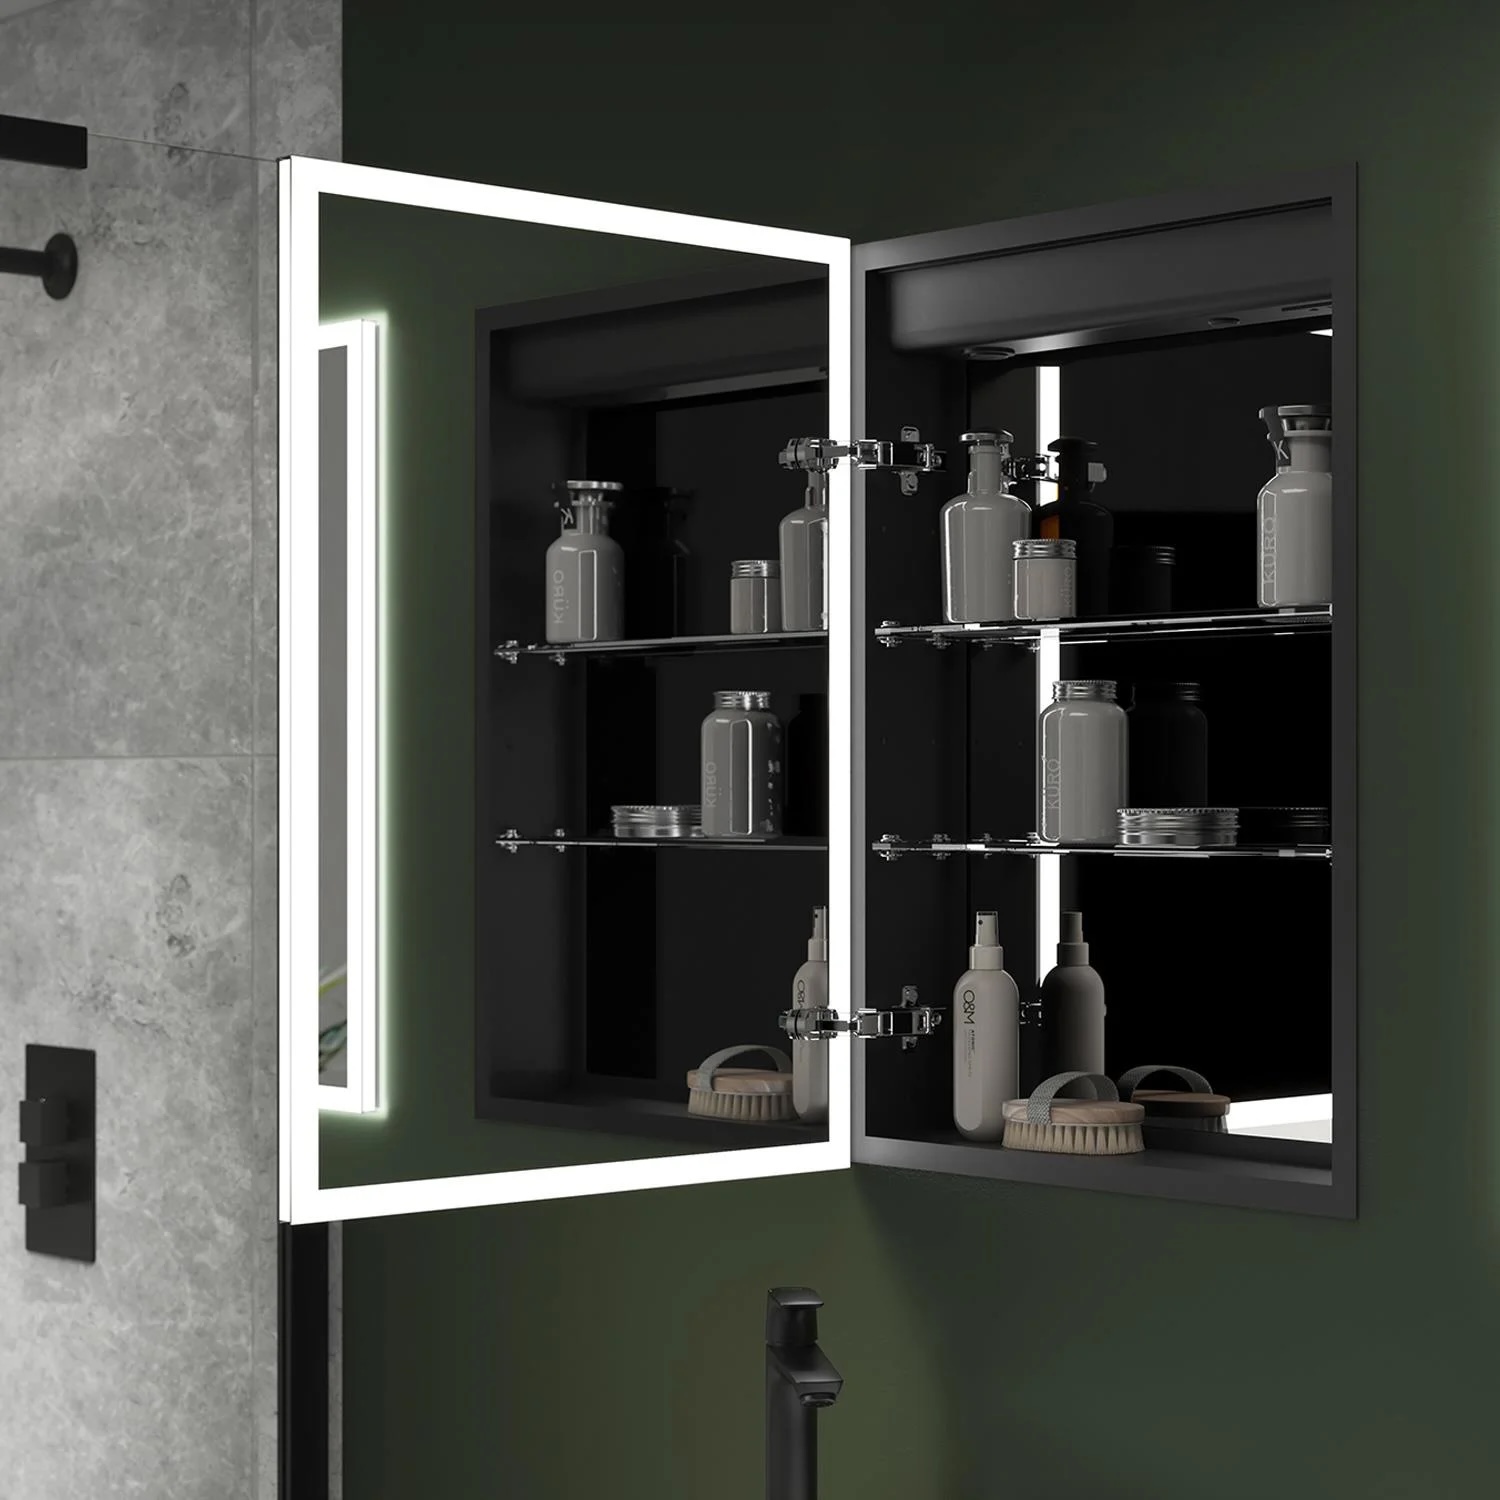
Welcome to the comprehensive guide on how to install a cabinet on a wall! Whether you are looking to add storage space in your kitchen, bathroom, or any other room in your home, installing a cabinet on the wall is a practical and stylish solution. With the right tools, materials, and steps, you can successfully complete this project and enjoy the benefits of a functional and organized space.
Before we get started, it’s important to note that the instructions provided here are general guidelines. Different types of cabinets may have specific installation requirements, so always refer to the manufacturer’s instructions for your particular cabinet model. Additionally, if you are not confident in your DIY skills or if you are dealing with complex wiring or plumbing behind the wall, it’s best to consult a professional for assistance.
Now, let’s gather our tools and materials and begin the process of installing a cabinet on the wall.
Key Takeaways:
- Secure and stable cabinet installation requires proper preparation, stud finding, leveling, and attachment. Final adjustments ensure functionality and safety, leading to a successful DIY project.
- Careful consideration of cabinet selection, accurate measurements, and precise markings are crucial for a professional and polished cabinet installation. Safety and functionality are paramount throughout the process.
Tools and Materials Needed
Before starting the cabinet installation process, it’s essential to gather all the necessary tools and materials. Here is a list of items you will likely need:
Tools:
- Stud finder
- Level
- Tape measure
- Pencil
- Power drill
- Screwdriver
- Hole saw or jigsaw (if creating openings for wires or plumbing)
- Adjustable wrench (if connecting plumbing)
Materials:
- Cabinet
- Wall-mounting brackets or mounting rail (depending on cabinet type)
- Screws or bolts (appropriate length for the wall type and cabinet weight)
- Wall anchors (if necessary)
- Wood shims (if needed for leveling)
Make sure you have all the tools and materials ready before beginning the installation process. This will help streamline the process and avoid any unnecessary delays. It’s also a good idea to wear protective eyewear and gloves for safety during the installation process.
Preparation
Before installing the cabinet on the wall, it’s important to properly prepare the area to ensure a successful installation. Here are some essential steps for preparation:
1. Clear the Work Area: Remove any furniture, decorations, or obstacles that may hinder your access to the wall where the cabinet will be installed. Clearing the work area will make the installation process easier and safer.
2. Turn Off Power and Water: If you are installing a cabinet near electrical outlets or plumbing fixtures, turn off the power and shut off the water supply to avoid any accidents or damage during the installation process.
3. Read the Instructions: Carefully read the manufacturer’s instructions that came with the cabinet. Familiarize yourself with the specific installation steps and any special considerations for your cabinet model.
4. Enlist Help: Depending on the size and weight of the cabinet, it may be helpful to have an extra pair of hands to assist with lifting and positioning. Enlist the help of a friend or family member to make the installation process smoother and safer.
5. Prepare the Hardware: Gather all the screws, bolts, and other hardware that came with the cabinet. Check that you have the correct hardware required for the installation. Organize them for easy access during the installation process.
By taking the time to properly prepare the area and gather the necessary tools and materials, you will set yourself up for a successful cabinet installation. Once the preparation is complete, you can move on to the next steps of the installation process.
Wall Preparation
Before installing the cabinet on the wall, it’s crucial to ensure the wall is properly prepared to provide a secure and stable base. Here are the steps for wall preparation:
1. Check for Studs: Use a stud finder to locate the wall studs. It’s best to attach the cabinet to the studs for a stronger and more secure installation. Mark the stud locations using a pencil.
2. Remove Wall Coverings: If there are any wall coverings, such as wallpaper or paint, in the area where the cabinet will be installed, it’s advisable to remove them. This will ensure a better bond between the wall and the cabinet.
3. Patch and Repair: Inspect the wall surface for any holes, cracks, or imperfections. Patch these areas using a suitable wall filler or spackle. Allow the filler to dry completely, then sand it smooth to create a level surface.
4. Sand and Clean: If the wall has any rough or uneven areas, sand them gently to create a smoother surface. After sanding, clean the wall with a damp cloth to remove any dust or debris.
5. Mark Attachment Points: Use a pencil and the cabinet measurements to mark the exact locations where the cabinet will be attached to the wall. Double-check the marks to ensure they align with the stud locations.
By properly preparing the wall, you will ensure a secure and stable installation for your cabinet. Taking the time to locate studs, repair imperfections, and clean the wall surface will help create a solid foundation for the cabinet to be attached. With the wall preparation complete, you are now ready to move on to the next steps of the cabinet installation process.
Cabinet Selection
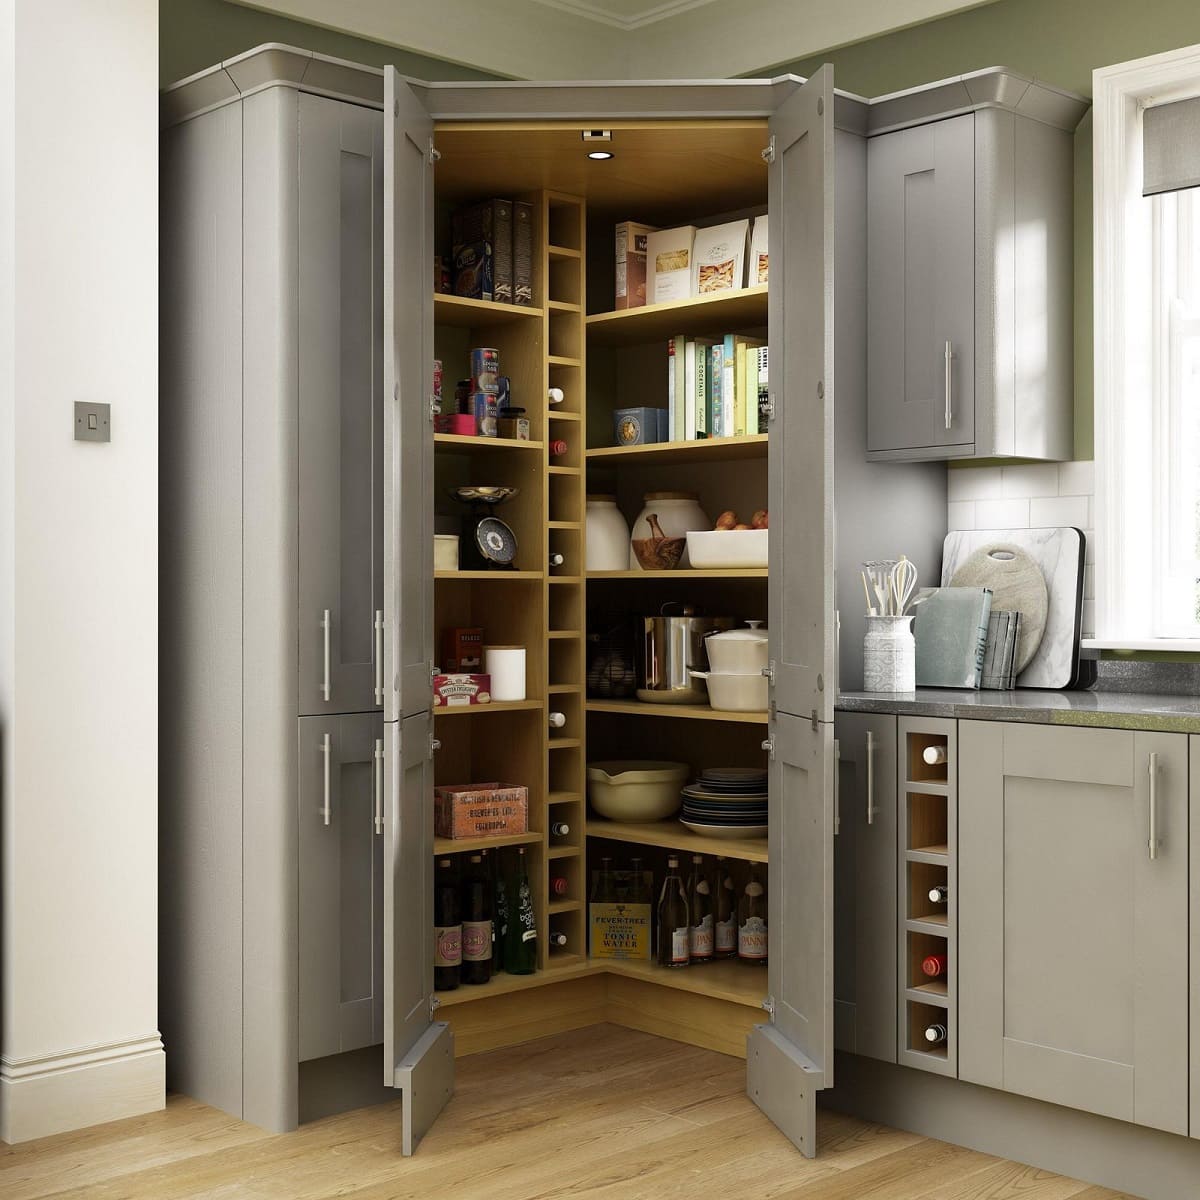
Choosing the right cabinet for your wall installation is crucial to ensure both functionality and aesthetics. Here are some factors to consider when selecting a cabinet:
1. Size and Space: Measure the available wall space where you plan to install the cabinet. Consider the dimensions of the cabinet, including its height, width, and depth, to ensure it fits properly in the designated area without overcrowding the space.
2. Style and Design: Select a cabinet that complements the overall style and design of the room. Consider factors such as the cabinet’s color, finish, hardware, and door style. Whether you prefer a modern, traditional, or eclectic look, choose a cabinet that enhances the aesthetic appeal of your space.
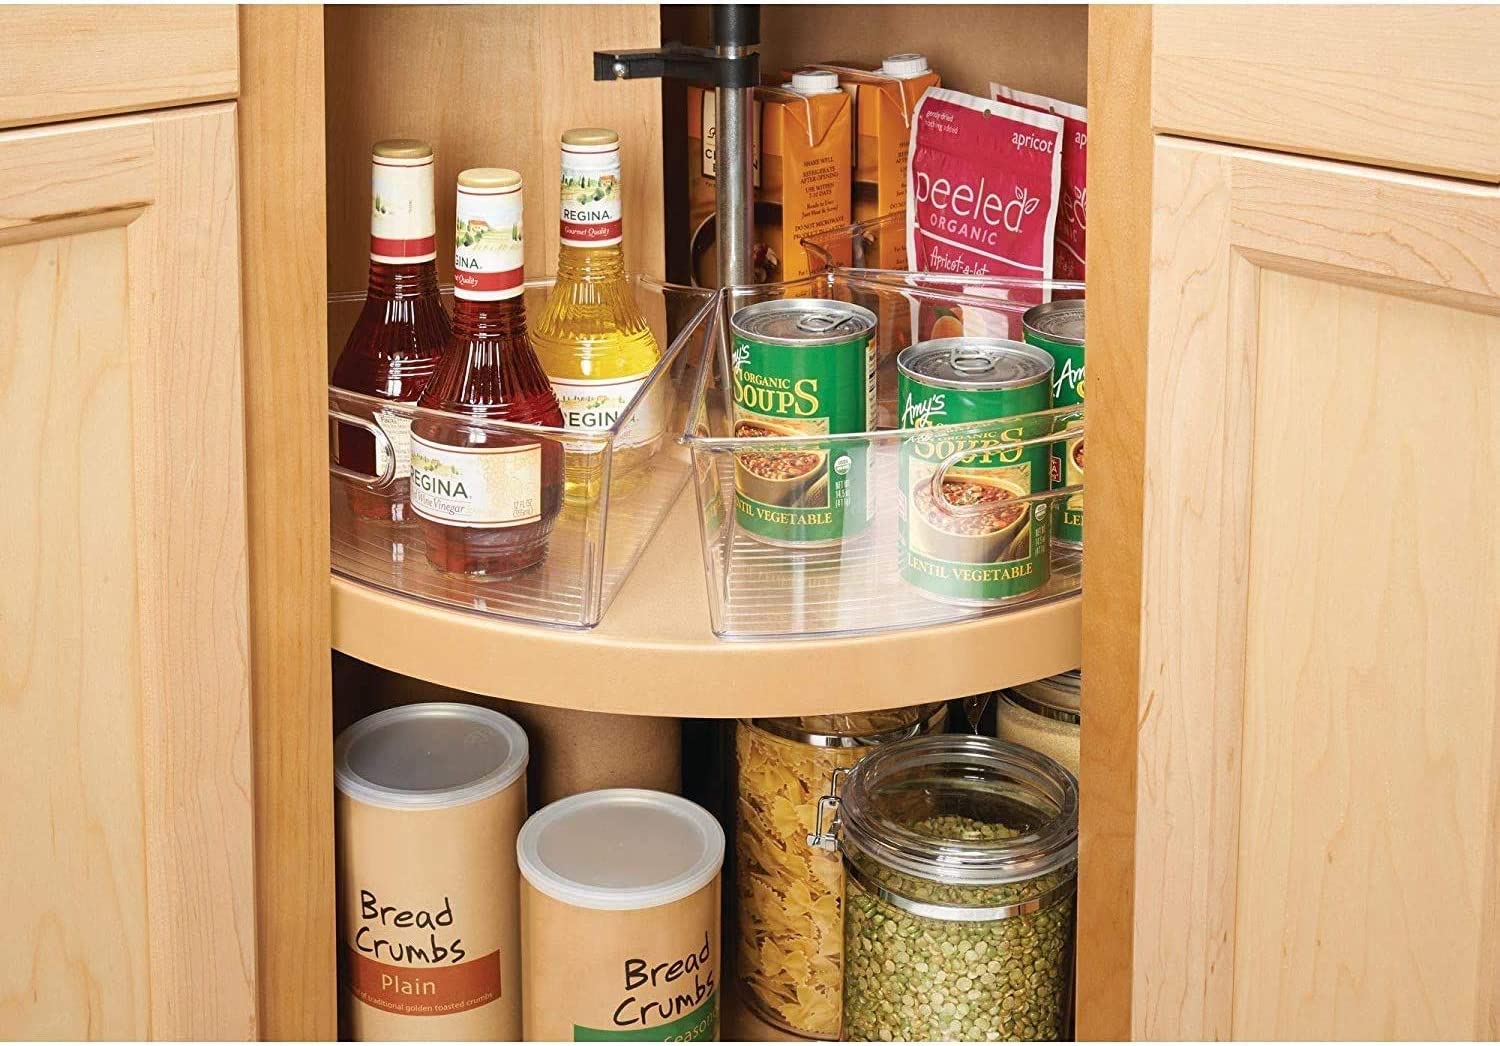
3. Functionality: Determine the intended use of the cabinet. Are you installing it in the kitchen for storage? Or is it for organizing bathroom essentials? Consider the number of shelves, drawers, or compartments you need, as well as any additional features such as adjustable shelving or built-in lighting.
4. Material and Durability: Evaluate the durability and quality of the cabinet material. Common options include wood, laminate, or metal. Consider the level of maintenance required for each material and choose one that is suitable for your needs and lifestyle.
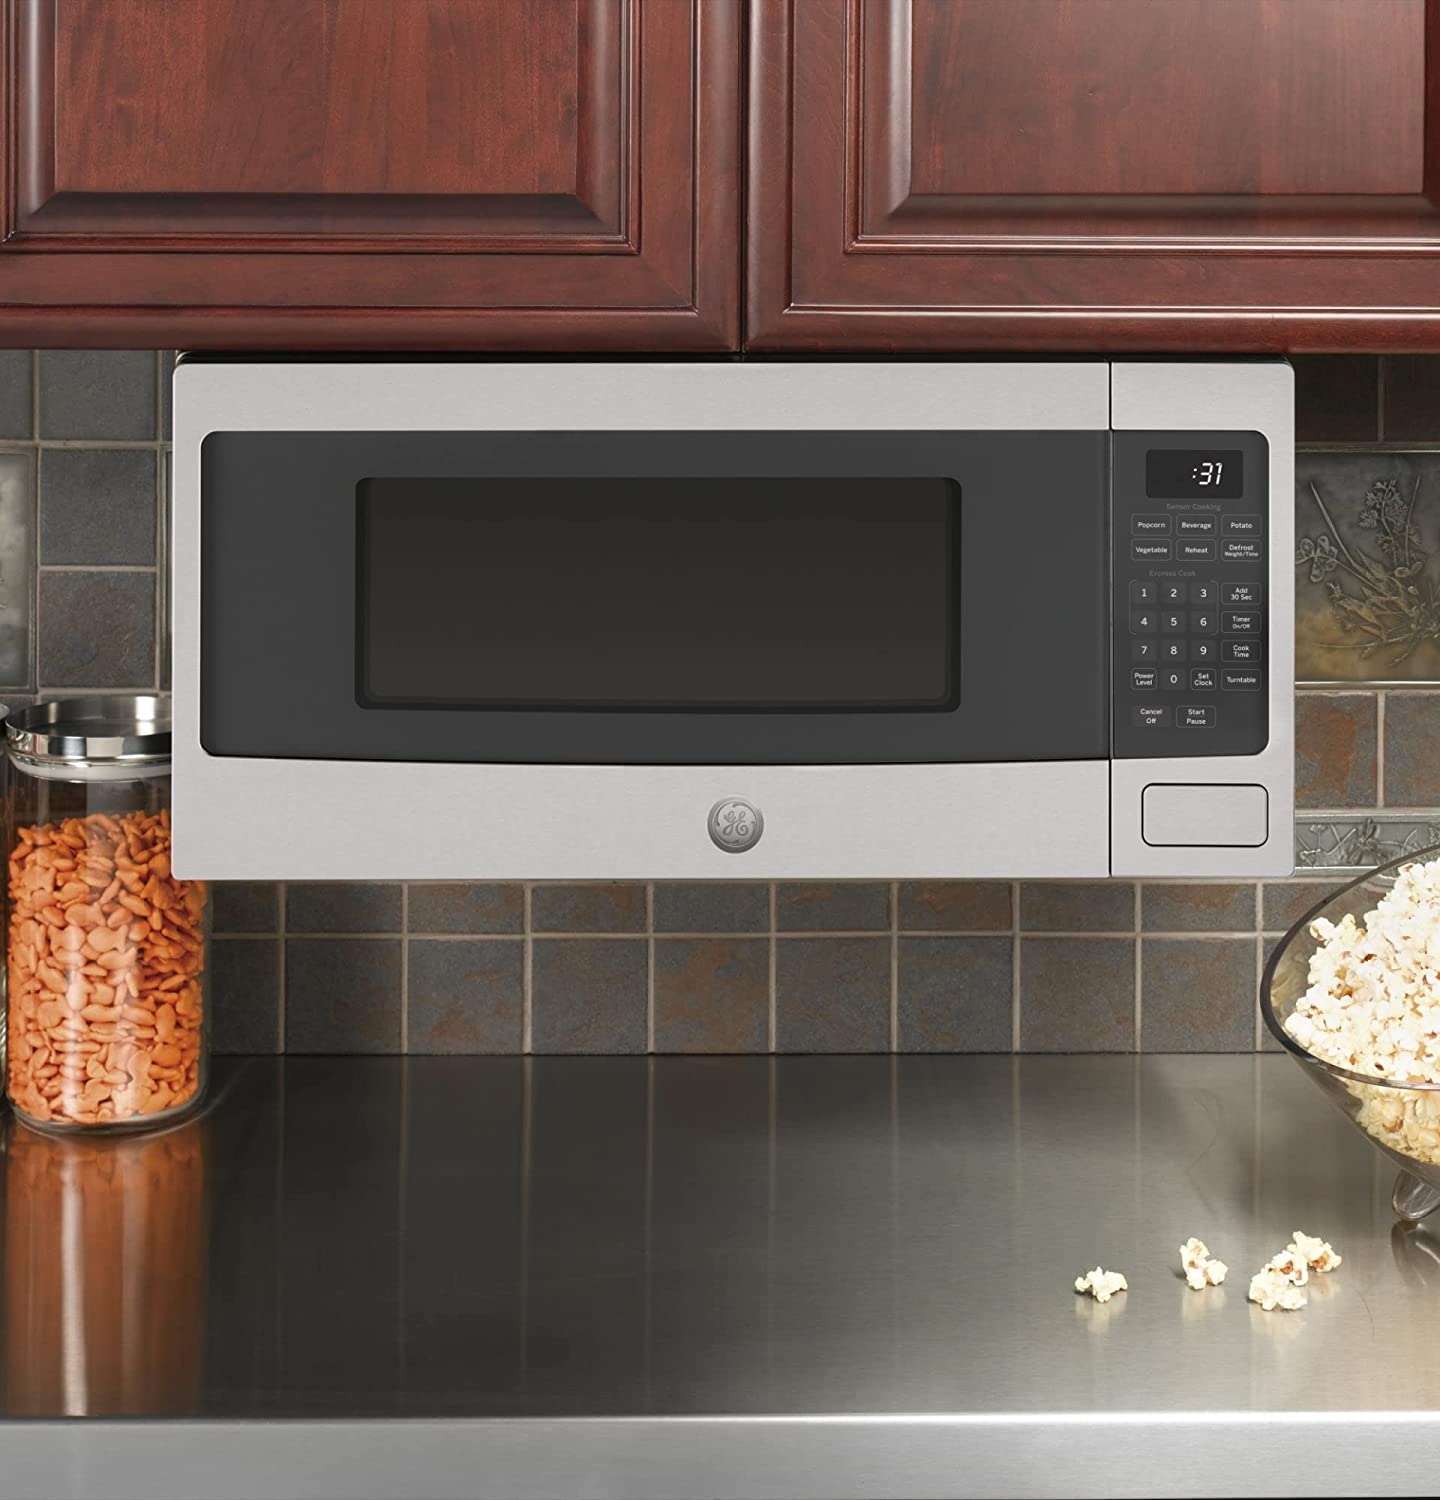
5. Weight Capacity: Determine the weight capacity of the cabinet and ensure it can withstand the items you plan to store inside. This is especially important for cabinets that will hold heavy items like kitchen appliances or bathroom products.
6. Budget: Consider your budget and look for cabinets that fall within your price range. Compare prices from different suppliers and retailers to ensure you get the best value for your money without compromising quality.
By carefully considering these factors, you can select a cabinet that meets your functional requirements, matches your desired style, and fits within your budget. Once you have chosen the perfect cabinet, you can proceed with the installation process following the manufacturer’s instructions and the guidelines provided in this guide.
Read more: How To Mount A Cabinet To The Wall
Measuring and Marking
Accurate measurements and precise markings are crucial for a successful cabinet installation. Here are the steps to ensure you measure and mark the wall correctly:
1. Measure the Wall: Use a tape measure to determine the height and width of the wall space where the cabinet will be installed. Measure from floor to ceiling or countertop to ceiling, and from side to side. Note down these measurements for reference.
2. Mark the Cabinet Placement: Use a pencil to mark the desired height and width of the cabinet on the wall. Take into account any specific instructions from the manufacturer regarding recommended distances from the floor, ceiling, or nearby fixtures.
3. Consider Clearance: Ensure you have enough clearance space above and around the cabinet. This is particularly important if you have doors that need to open fully or if there are any obstacles in the area, such as light switches or outlets.
4. Account for Leveling: If your floor or countertop is not perfectly level, consider using a level and wooden shims to adjust the position of the cabinet. This will help ensure the cabinet sits level and flush against the wall.
5. Mark Stud Locations: Use a stud finder to locate the wall studs within the marked area. Mark the stud locations with a pencil, as these will be the primary points of attachment for the cabinet for added stability.
6. Indicate Screw Hole Positions: Determine the locations of the screw or bolt holes on the cabinet. Mark these positions on the back of the cabinet or on a separate template that you can transfer to the wall later.
By accurately measuring and marking the wall, you will be able to position the cabinet correctly and ensure a clean and professional-looking installation. Take your time to double-check all measurements and markings before proceeding to the next steps of the cabinet installation process.
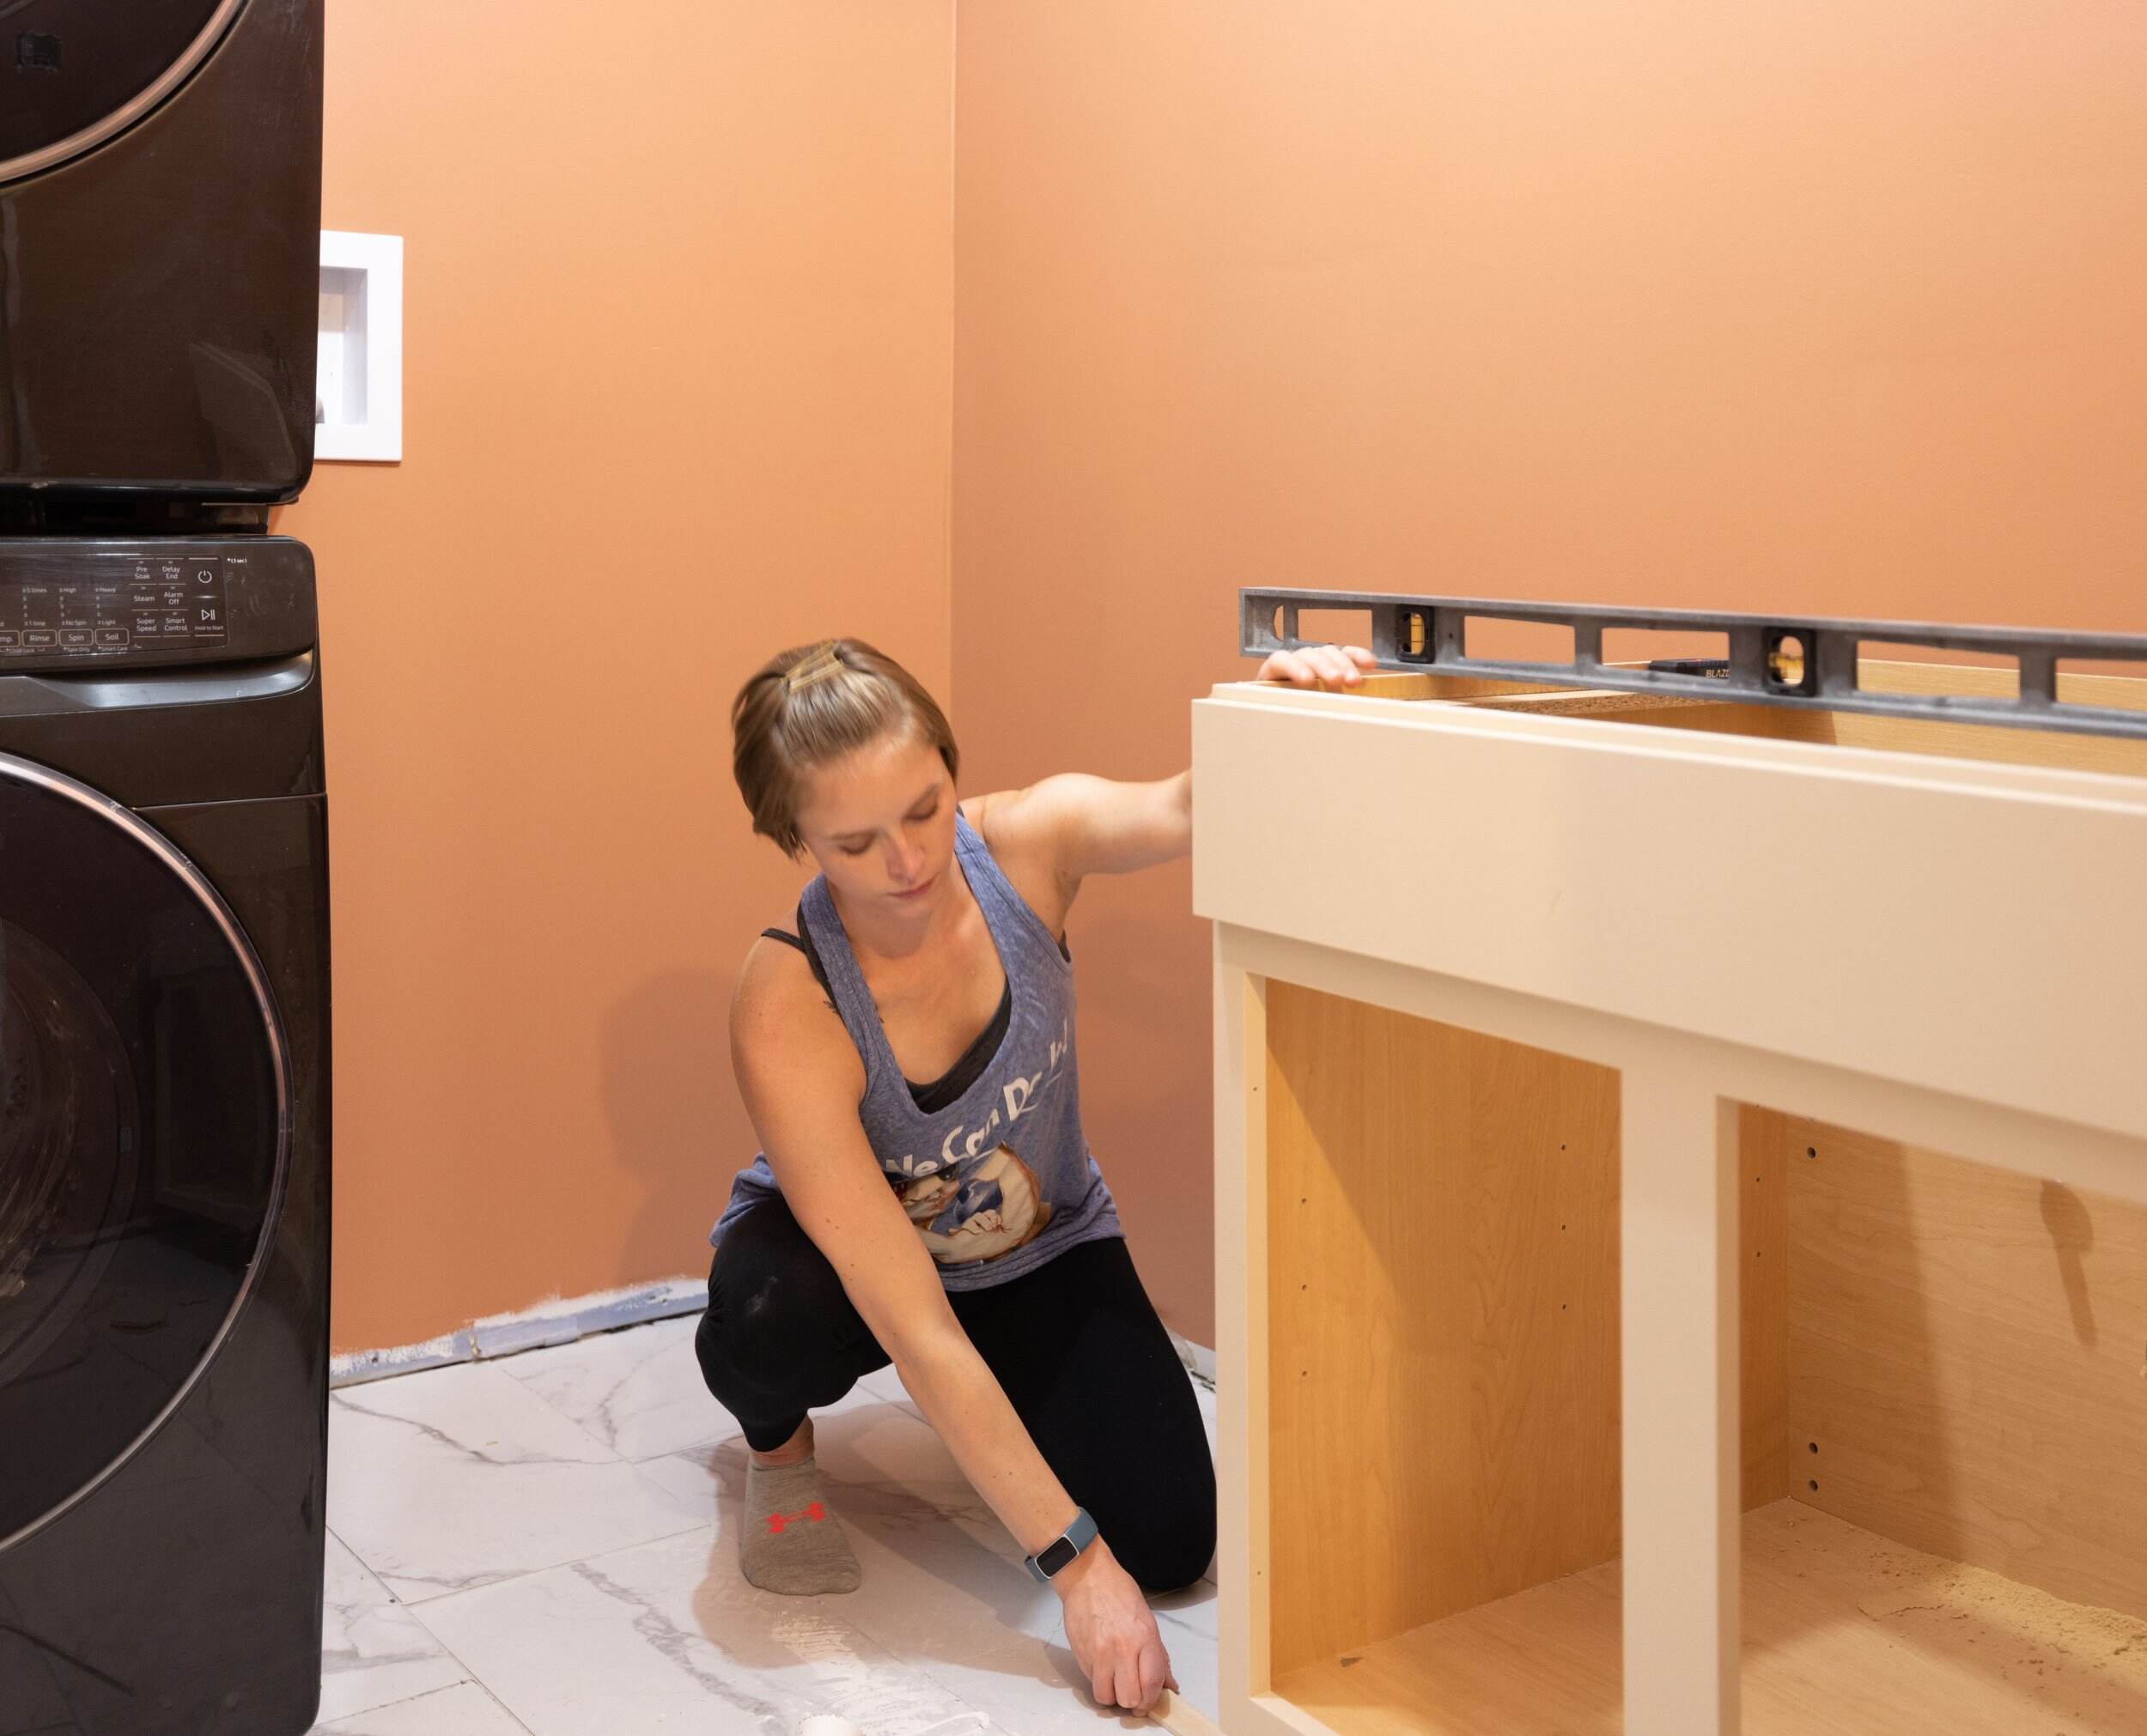
Before installing a cabinet on the wall, make sure to locate and mark the wall studs for secure anchoring. Use a level to ensure the cabinet is straight and properly aligned. Use appropriate hardware for the wall type.
Stud Finding
Locating wall studs is a crucial step in installing a cabinet on the wall, as they provide the necessary support and stability. Here’s how to find and mark the studs:
1. Use a Stud Finder: Invest in a high-quality stud finder tool, as it will greatly simplify the process of locating studs. Choose a stud finder that can detect both wood and metal studs, as some walls may have metal studs instead of wood.
2. Calibrate the Stud Finder: Follow the manufacturer’s instructions to calibrate the stud finder before use. This ensures accurate readings and reliable stud detection.
3. Start at an Exterior Wall: If possible, start your stud finding process near an exterior wall. Studs are typically spaced 16 or 24 inches apart, with the nearest stud usually located near the corner.
4. Slide the Stud Finder: Slowly slide the stud finder horizontally along the wall, with the sensor side against the wall surface. The stud finder will indicate when it detects a stud.
5. Mark the Stud Locations: Once a stud is detected, mark its edges with a pencil. Repeat the process to locate and mark additional studs along the wall. Be sure to mark the top and bottom edges of the studs for easy reference.
6. Check for Consistency: Verify the consistency of stud spacing by measuring the distance between the marked studs. If the spacing is consistent, it confirms that you have successfully located the studs.
7. Verify with Manual Methods: For added assurance, you can use manual methods such as tapping the wall lightly with your knuckles or using a small nail to probe for solid areas. These methods may help confirm the location of studs detected by the stud finder.
Remember that electrical outlets and switches are usually attached to a stud, so detecting these fixtures can provide additional clues about the stud placement. Double-check all marked stud locations before proceeding with the installation to ensure the cabinet will be securely anchored to the wall.
Leveling
Proper leveling is essential to ensure that the installed cabinet sits straight and secure on the wall. Here’s how to level the cabinet during the installation process:
1. Use a Level: Start by placing a level across the top of the cabinet. Adjust the position of the cabinet until the level indicates that it is perfectly horizontal. This will ensure that the cabinet is straight and aligned with the surrounding surfaces.
2. Shim the Cabinet: If the floor or countertop is not level, you may need to use shims to compensate for any unevenness. Gently insert shims between the bottom of the cabinet and the wall to adjust the cabinet’s position. Check the level again to ensure it remains straight.
3. Check Side-to-Side Leveling: After ensuring the cabinet is level horizontally, use a vertical level along the sides of the cabinet to check for any tilting or leaning. Adjust the placement of the shims as necessary to achieve proper side-to-side leveling.
4. Secure Shims: Once the cabinet is level, secure the shims in place using screws or nails. The shims will help support the cabinet’s weight and maintain its level position during and after installation.
5. Recheck Leveling: Double-check the level of the cabinet after securing the shims to ensure that it hasn’t shifted during the attachment process. Make any adjustments as needed to maintain proper leveling.
Proper leveling is crucial to prevent the cabinet from sagging or putting unnecessary pressure on one side. A leveled cabinet not only looks visually appealing but also ensures that the doors and drawers operate smoothly. Take the time to carefully level the cabinet before proceeding with the attachment process to achieve a professional and secure installation.
Attaching the Cabinet
Now that you have prepared the wall, located the studs, and ensured the cabinet is level, it’s time to attach the cabinet securely to the wall. Here are the steps to follow:
1. Position the Cabinet: Lift the cabinet and carefully position it against the wall, aligning it with the previously marked stud locations and leveling adjustments. Have a partner hold the cabinet in place, or use temporary support braces to keep it steady during the attachment.
2. Mark Attachment Points: With the cabinet in position, use a pencil or a separate template to mark the attachment points on the wall. This can be done by tracing the screw or bolt holes on the back of the cabinet onto the wall.
3. Pre-drill Pilot Holes: Remove the cabinet from the wall and set it aside. Using a power drill and an appropriate drill bit, pre-drill pilot holes at the marked attachment points on the wall. The size of the drill bit should match the diameter of the screws or bolts you will be using.
4. Install Mounting Brackets or Rail: Depending on the cabinet type, you may need to install mounting brackets or a mounting rail onto the wall using the pre-drilled pilot holes. Follow the manufacturer’s instructions provided with the cabinet for the specific attachment method.
5. Lift and Position the Cabinet: Lift the cabinet back into place against the wall, aligning the screw or bolt holes with the mounting brackets or rail. Ensure that the cabinet is level and flush against the wall.
6. Attach the Cabinet to the Wall: Insert screws or bolts into the pre-drilled pilot holes and secure the cabinet to the wall. Start with the top screws or bolts, then work your way down to the bottom, ensuring each one is tightened securely.
7. Check Alignment and Leveling: After attaching the cabinet, verify that it is still level and properly aligned. Make any necessary adjustments to the screws or shims to ensure a perfect fit.
By following these steps, you will properly attach the cabinet to the wall, ensuring it is secure and stable. Remember to refer to the manufacturer’s instructions for any specific guidance on attachment methods or hardware included with your cabinet model.
Read more: How To Install Cabinets And Countertops
Securing the Cabinet to the Wall
Once the cabinet is attached to the wall, it’s important to secure it properly to ensure stability and safety. Here are the steps to follow for securing the cabinet:
1. Check for Stability: After attaching the cabinet, gently give it a few shakes or nudges to check for any wobbling or instability. If you notice any movement, make sure that the screws or bolts are tightened properly.
2. Additional Support: Depending on the weight and size of the cabinet, you may need additional support to ensure stability. Consider using L-brackets, corner braces, or angle brackets to reinforce the attachment points. These brackets are typically installed inside the cabinet and attached to the wall for added strength.
3. Secure Shelves and Drawers: If your cabinet has adjustable shelves or drawers, make sure to secure them properly within the cabinet. Use the screws or hardware provided by the manufacturer to ensure that the shelves and drawers are securely in place.
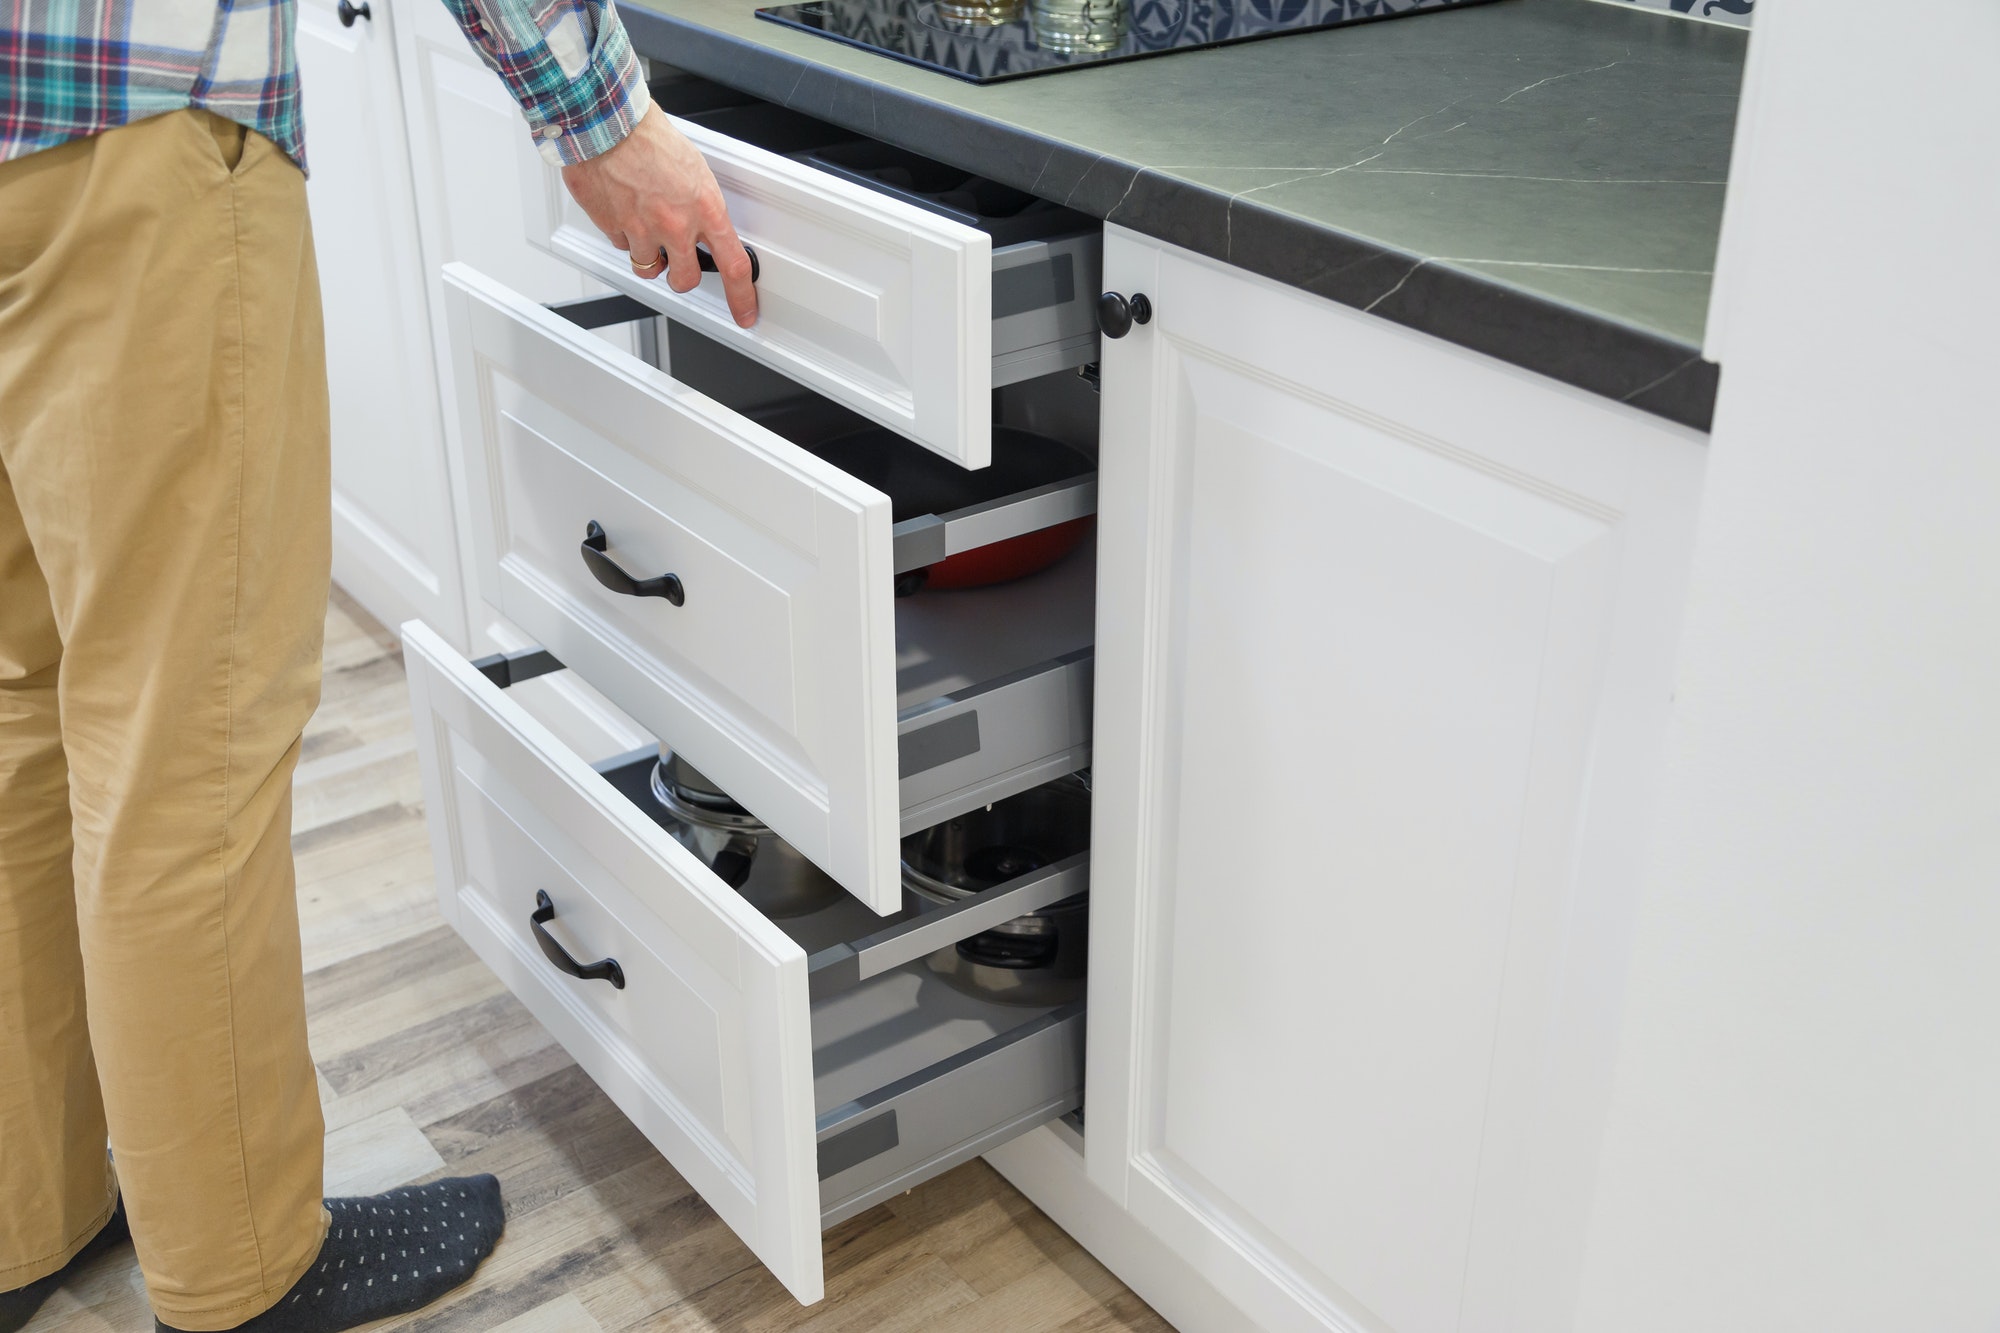
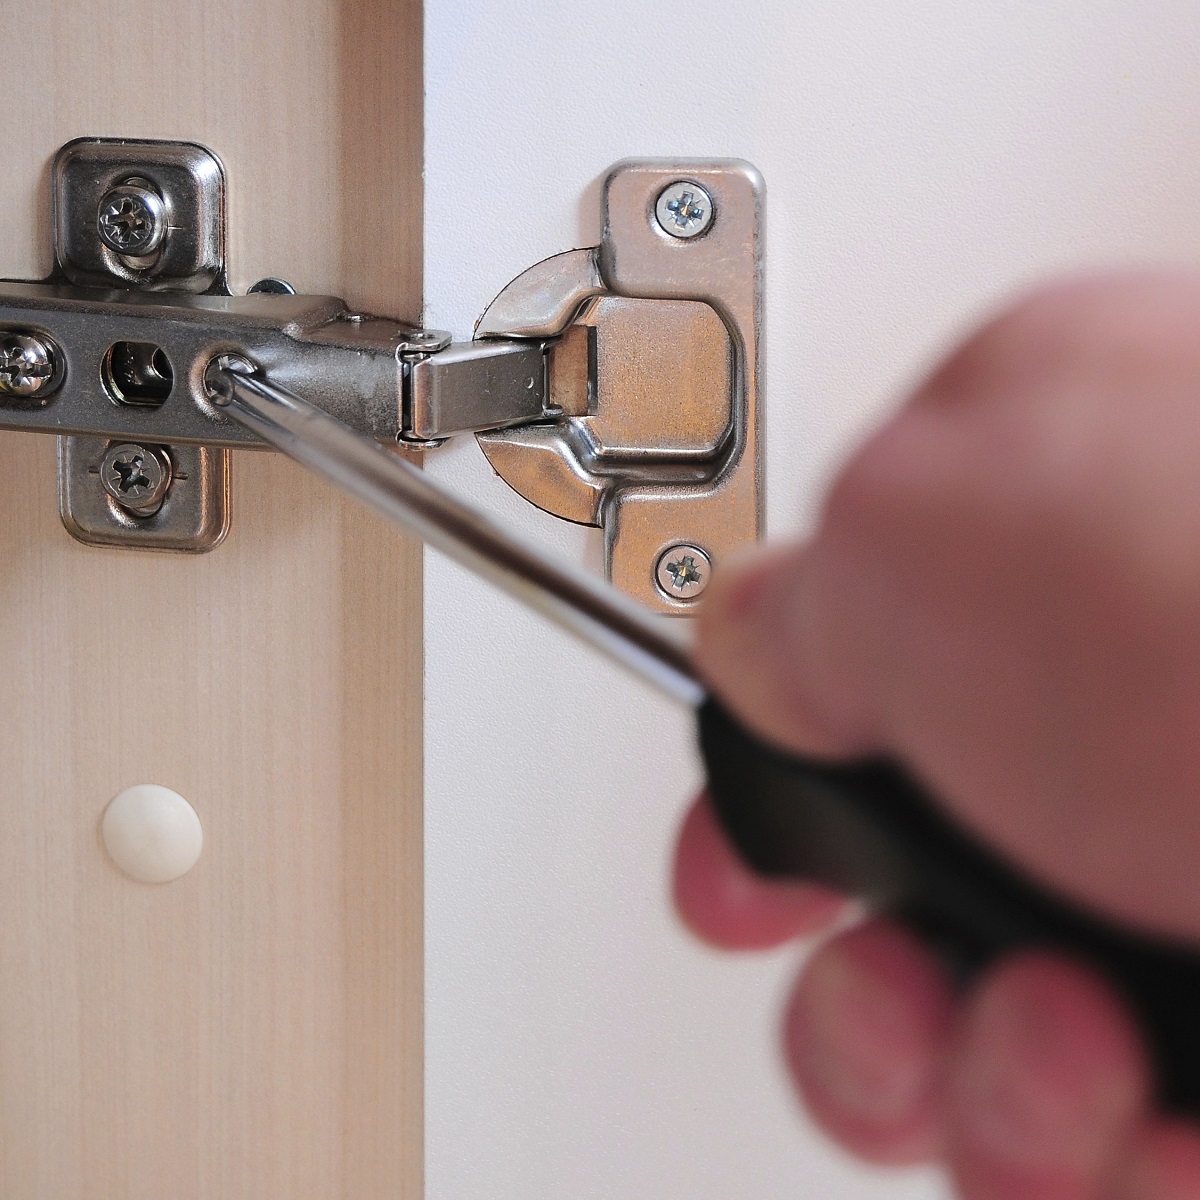
4. Test Door and Drawer Operations: Open and close the cabinet doors and drawers to ensure smooth operation. Adjust the hinges, glides, or slides as necessary to ensure they are aligned properly and function correctly.
5. Check Clearance and Alignment: Double-check the clearance and alignment of the cabinet doors and drawers. Make any necessary adjustments to ensure they open and close without obstruction.
6. Inspect for Safety: Carefully inspect the cabinet to ensure there are no sharp edges, loose parts, or protruding objects that may pose a safety risk. Make any necessary adjustments or repairs to ensure the cabinet is safe to use.
7. Regular Maintenance: Periodically inspect the cabinet and its attachment to the wall to ensure it remains secure and stable over time. Tighten any loose screws or bolts and make any necessary adjustments to maintain the cabinet’s integrity.
By following these steps and taking the necessary precautions, you can secure the cabinet to the wall effectively. A securely attached cabinet not only provides functional storage but also ensures the safety of everyone using the space. Take the time to regularly inspect and maintain the cabinet to ensure its long-term stability and functionality.
Final Adjustments
After securing the cabinet to the wall, it’s time to make final adjustments to ensure everything is in place and functioning properly. Here are some essential final adjustments to consider:
1. Check Leveling: Use a level to recheck the cabinet’s leveling. Make any necessary adjustments by loosening or tightening screws or shims until the cabinet is perfectly level both horizontally and vertically.
2. Align Doors and Drawers: Check the alignment of cabinet doors and drawers. Adjust the hinges or slides as needed to ensure they are properly aligned and operate smoothly. Ensure that doors and drawers open and close without rubbing or sticking.
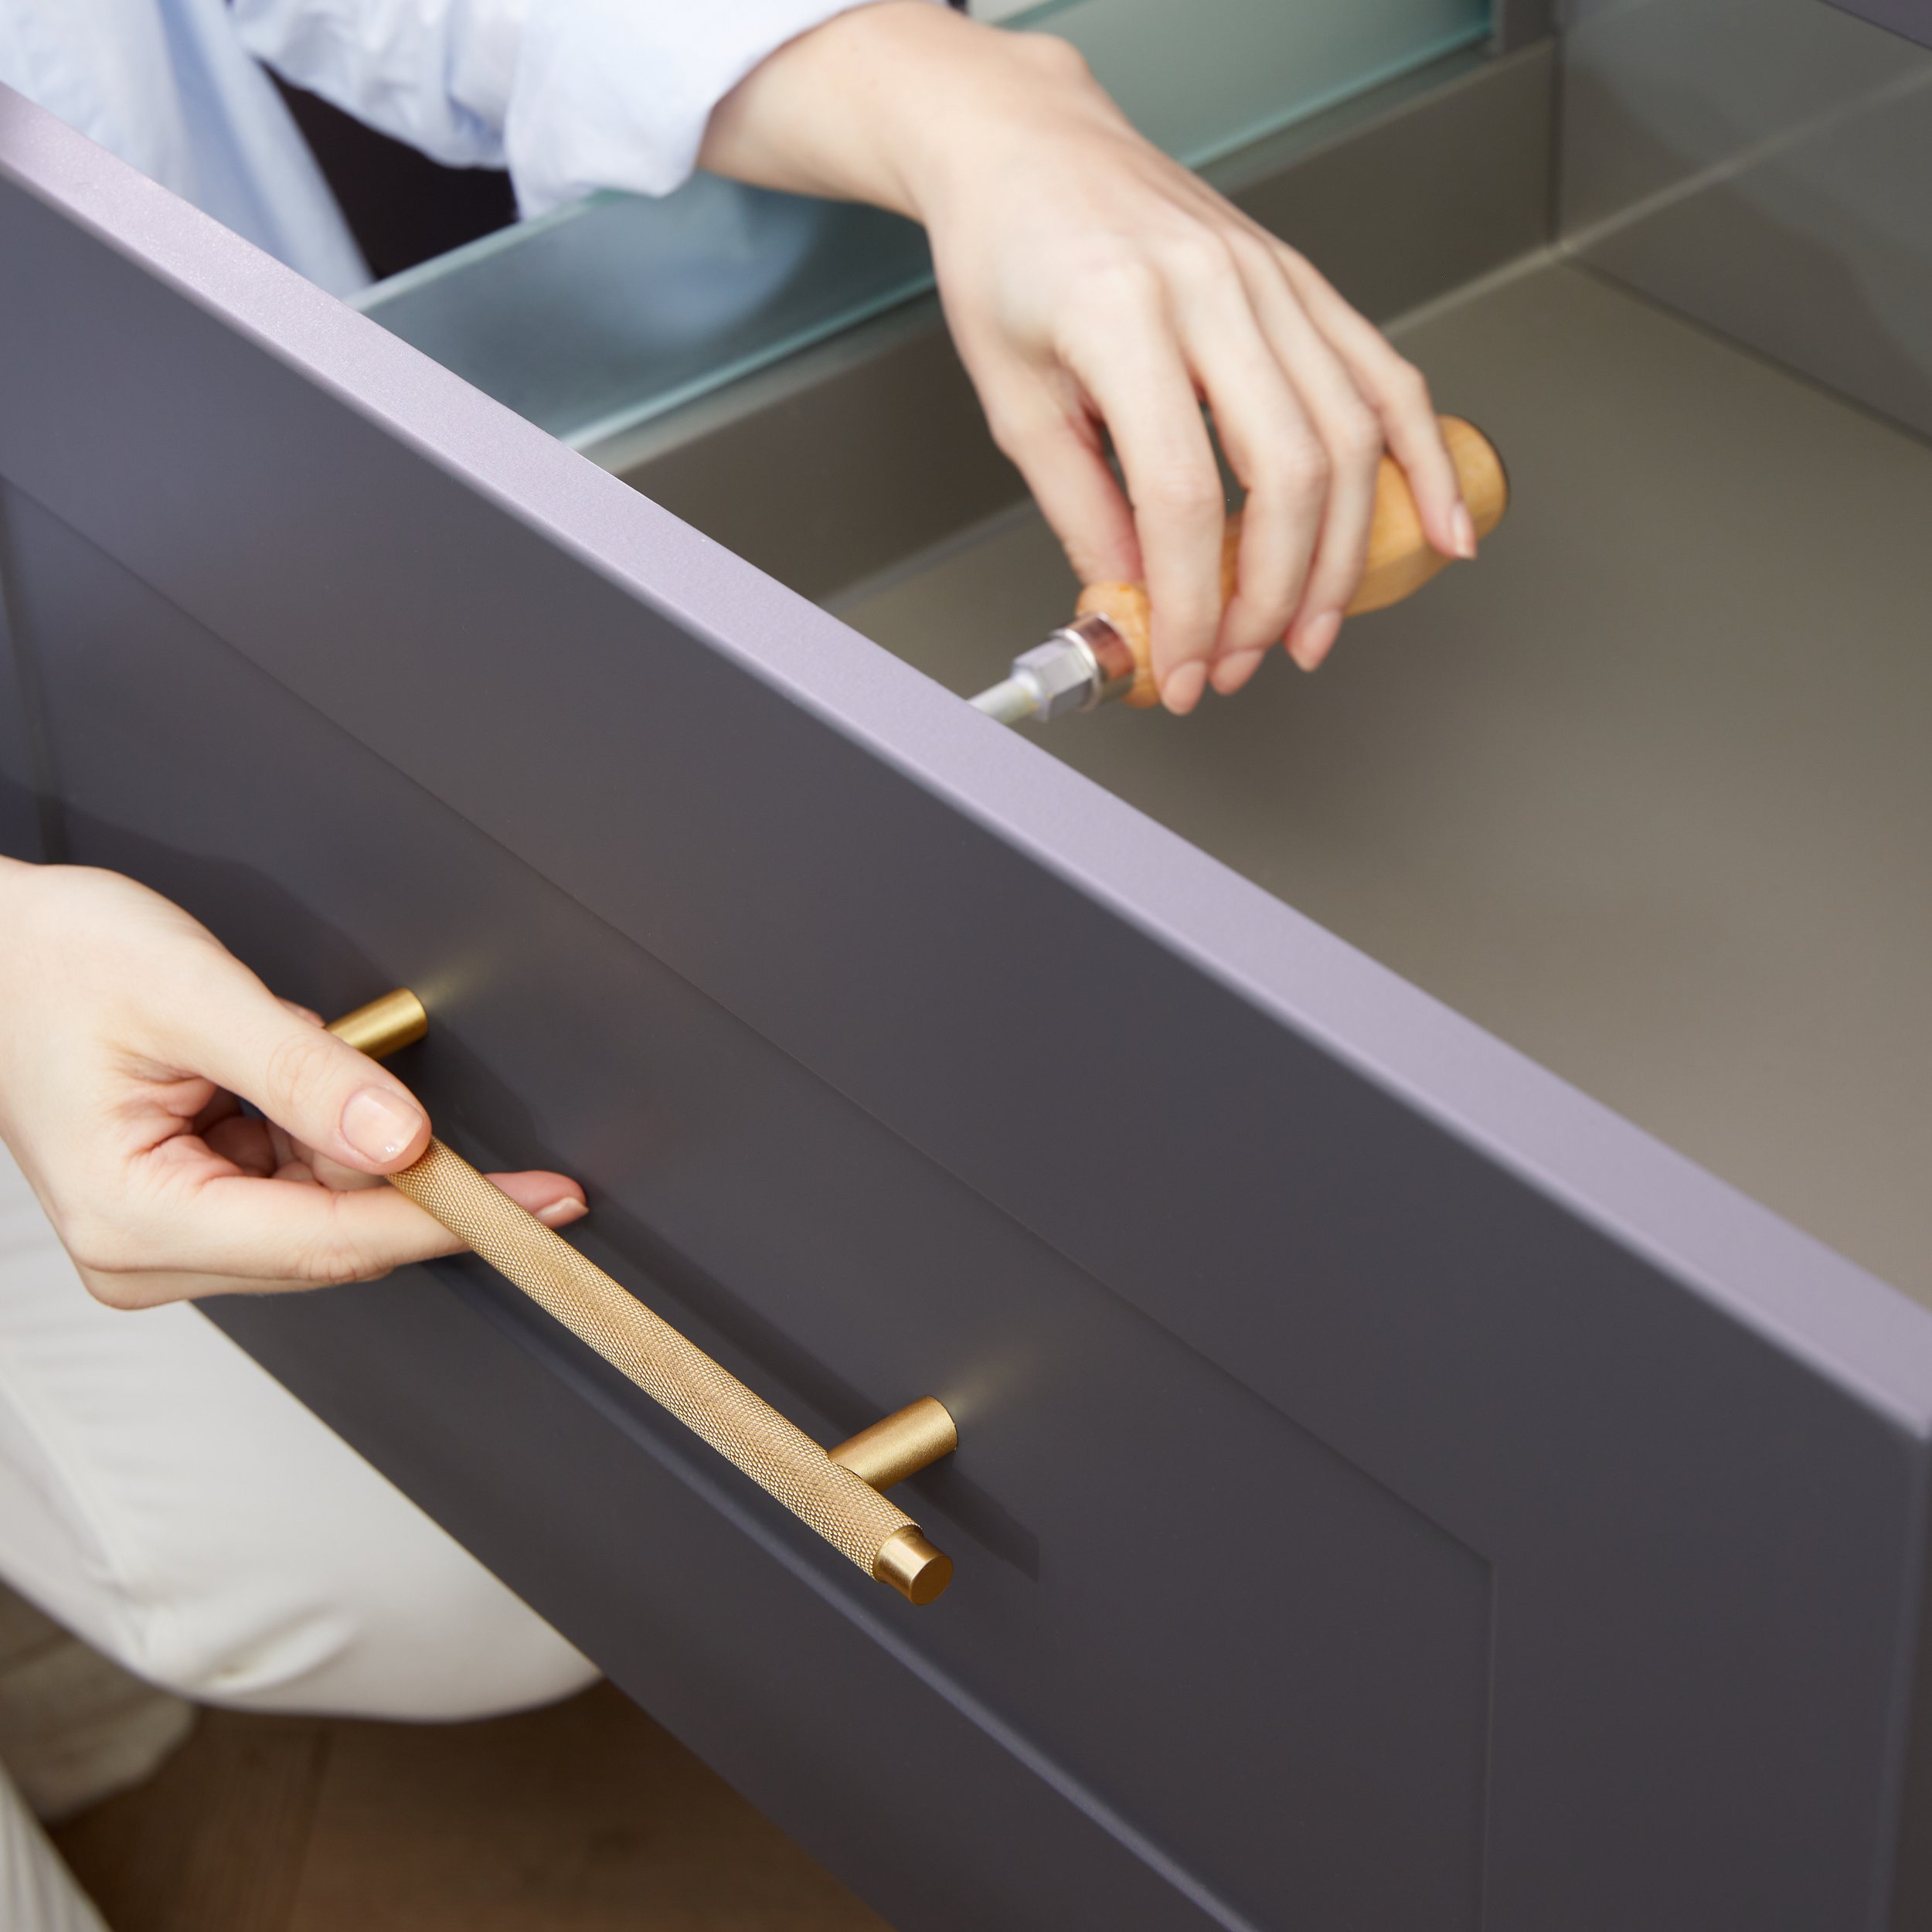
3. Secure Hardware: Double-check that all cabinet knobs, handles, or other hardware are securely tightened. If needed, use a screwdriver or hex key to tighten any loose hardware.
4. Clean and Polish: Take the time to clean and polish the cabinet surfaces, both inside and out. Wipe away any dust or debris, and use appropriate cleaning products to give the cabinet a fresh and finished look.
5. Functional Testing: Test the functionality of the cabinet by opening and closing doors, inspecting the motion of drawers, and ensuring that any interior shelving is sturdy. Address any issues that may arise, such as misalignment or sticking.
6. Review Safety Measures: Ensure that the cabinet is installed in a safe manner and does not pose any hazards. Check for any sharp edges or corners that may need to be addressed to prevent accidents.
7. Enjoy Your Newly Installed Cabinet: With the final adjustments made, take a step back and admire your work. Your cabinet installation is complete, and you can now enjoy the added storage and functionality it provides.
By making these final adjustments, you can ensure that your installed cabinet is not only visually appealing but also functional and safe to use. Taking the time to address any minor issues and perform functional tests will help ensure a successful cabinet installation that meets your needs and enhances your living space.
Conclusion
Congratulations! You have successfully learned how to install a cabinet on the wall. By following the steps outlined in this guide, you have created a functional storage solution that not only adds convenience but also enhances the aesthetic appeal of your space. Here’s a recap of the key points covered:
– Proper preparation of the wall, including clearing the work area and patching any imperfections, sets the stage for a smooth installation process.
– Stud finding ensures that the cabinet is securely anchored to the wall for stability and longevity.
– Leveling the cabinet is crucial to ensure it sits straight and aligned with the surrounding surfaces.
– Attaching the cabinet with the appropriate hardware and brackets provides a secure and sturdy installation.
– Final adjustments, including fine-tuning the leveling, aligning doors and drawers, and cleaning the cabinet, ensure a professional and polished final result.
Remember, safety is paramount during the installation process. Always take proper precautions and seek professional help if needed, especially when dealing with complex wiring or plumbing behind the wall.
Now that your cabinet is successfully installed, it’s time to enjoy the benefits of your new storage solution. Take pride in your accomplishment and marvel at the increased functionality and organization it brings to your home.
Thank you for following this guide on how to install a cabinet on the wall. We hope it has been informative and helpful in your DIY journey. Happy organizing!
Frequently Asked Questions about How To Install Cabinet On Wall
Was this page helpful?
At Storables.com, we guarantee accurate and reliable information. Our content, validated by Expert Board Contributors, is crafted following stringent Editorial Policies. We're committed to providing you with well-researched, expert-backed insights for all your informational needs.


0 thoughts on “How To Install Cabinet On Wall”