Home>Articles>How To Attach Twis-Les Electrical Cord Cover & Detangler

Articles
How To Attach Twis-Les Electrical Cord Cover & Detangler
Modified: August 16, 2024
Learn how to easily attach the Twis-Les Electrical Cord Cover & Dangler to keep your cords organized and tangle-free. Read our informative articles for step-by-step instructions and tips.
(Many of the links in this article redirect to a specific reviewed product. Your purchase of these products through affiliate links helps to generate commission for Storables.com, at no extra cost. Learn more)
Twis-Les Electrical Cord Cover & Dangler: Introduction
Are you tired of untangling cords and dealing with unsightly electrical wires in your home or workspace? Look no further than the Twis-Les Electrical Cord Cover & Dangler! This innovative solution is designed to keep your cords organized, protected, and aesthetically pleasing.
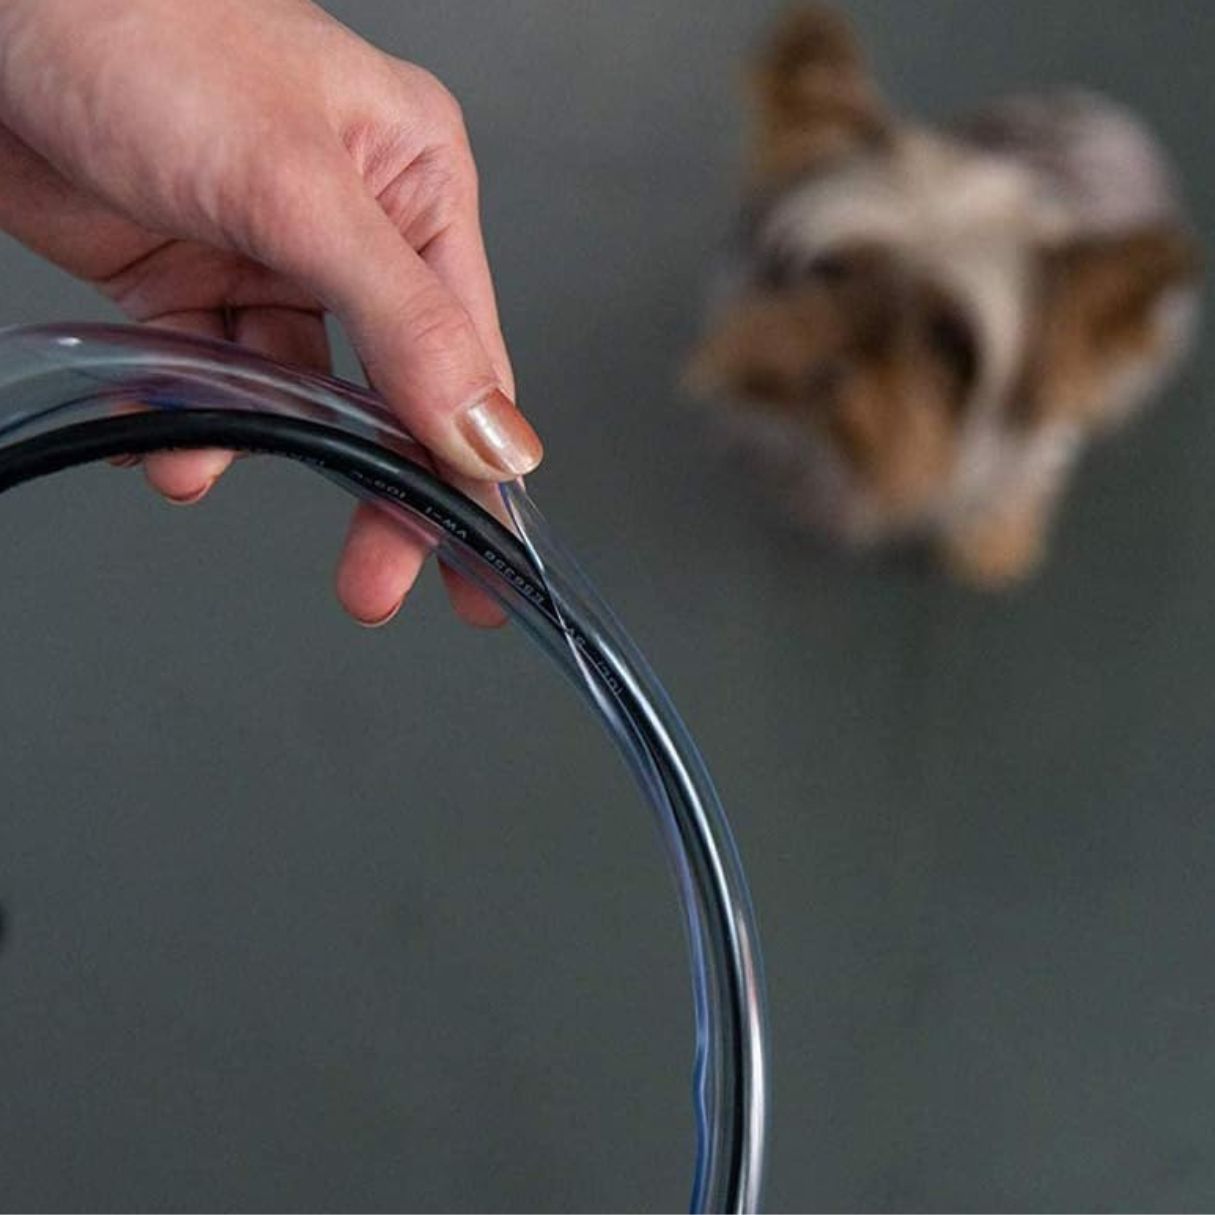
The Twis-Les Cord Cover is a flexible and durable sleeve that wraps around your cords, keeping them securely contained and preventing tangles. Additionally, the included Dangler provides a convenient way to suspend your cords and keep them off the ground, creating a cleaner and safer environment.
In this guide, we will walk you through the step-by-step process of attaching the Twis-Les Electrical Cord Cover and Dangler, ensuring a hassle-free installation. Get ready to transform your space and say goodbye to messy cords!
Key Takeaways:
- Say goodbye to tangled cords and unsightly wires with the Twis-Les Electrical Cord Cover & Dangler. Transform your space into a clutter-free environment that is both aesthetically pleasing and safe.
- Prioritize safety and efficiency by incorporating the Twis-Les Electrical Cord Cover & Dangler into your cord management system. Enjoy a well-organized space while taking control of your cords today!
Read more: How To Cover Electrical Cord On Floor
Tools and Materials Needed
Before you begin the installation process, make sure you have the following tools and materials on hand:
- Twis-Les Electrical Cord Cover
- Dangler
- Scissors
- Measuring tape or ruler
- Pencil or marking pen
- Double-sided adhesive tape
- Mounting brackets (if required)
- Wall anchors and screws (if required)
- Safety goggles and gloves
Having these items readily available will ensure a smooth installation process. Make sure to gather everything before you begin, so you don’t have to interrupt your progress.
Remember, safety should always be a top priority during any installation project. It is recommended to wear safety goggles and gloves when handling tools or working with electrical cords, especially if you are working with live electricity.
Step 1: Unpackaging and Preparing the Twis-Les Cord Cover
Before you can start installing the Twis-Les Cord Cover, you need to unpack it and prepare it for use. Follow these steps to get started:
- Begin by carefully removing the Twis-Les Cord Cover and Dangler from their packaging.
- Inspect the cord cover for any damage or defects. If you notice any issues, contact the manufacturer for a replacement.
- Unroll the cord cover and lay it flat on a clean surface. This will help remove creases and make it easier to work with.
- If necessary, use a pair of scissors to trim the cord cover to the desired length. Keep in mind that it is better to cut it slightly longer than needed to ensure a proper fit.
- Once the cord cover is cut to size, take a moment to clean the area where you’ll be installing it. This will ensure a secure attachment and a neat appearance.
By taking the time to unpack and prepare the Twis-Les Cord Cover, you’ll be setting yourself up for a successful installation. It’s important to properly inspect the cord cover and trim it to the appropriate length to ensure a clean and professional look.
Step 2: Measuring and Cutting the Cord Cover
Now that you have prepared the Twis-Les Cord Cover, it’s time to measure and cut it to fit your specific needs. Follow these steps to ensure a precise fit:
- Take a measuring tape or ruler and carefully measure the length of the cord or cords that you plan to cover. Add a few extra inches to allow for any twists and turns.
- Using a pencil or marking pen, make a small mark on the cord cover to indicate the desired length.
- Secure the cord cover in place and use the marks as a guide to cut along the length of the cover. Make sure to use a pair of scissors that are sharp and suitable for cutting through the material of the cord cover.
- When cutting, move slowly and carefully to avoid any accidental damage to the cord cover or yourself. If necessary, you can always trim off any excess length later.
- Once you have cut the cord cover to the desired length, double-check the fit by placing it over the cords. Adjust as needed to ensure a snug and secure fit.
Remember, it’s essential to measure and cut the cord cover accurately to achieve a clean and professional look. Taking the time to get the measurements right will ensure that the cord cover fits properly and effectively conceals your cords.
Step 3: Attaching the Cord Cover on the Wall
Now that you have measured and cut the cord cover, it’s time to attach it to the wall. Follow these steps to securely install the Twis-Les Cord Cover:
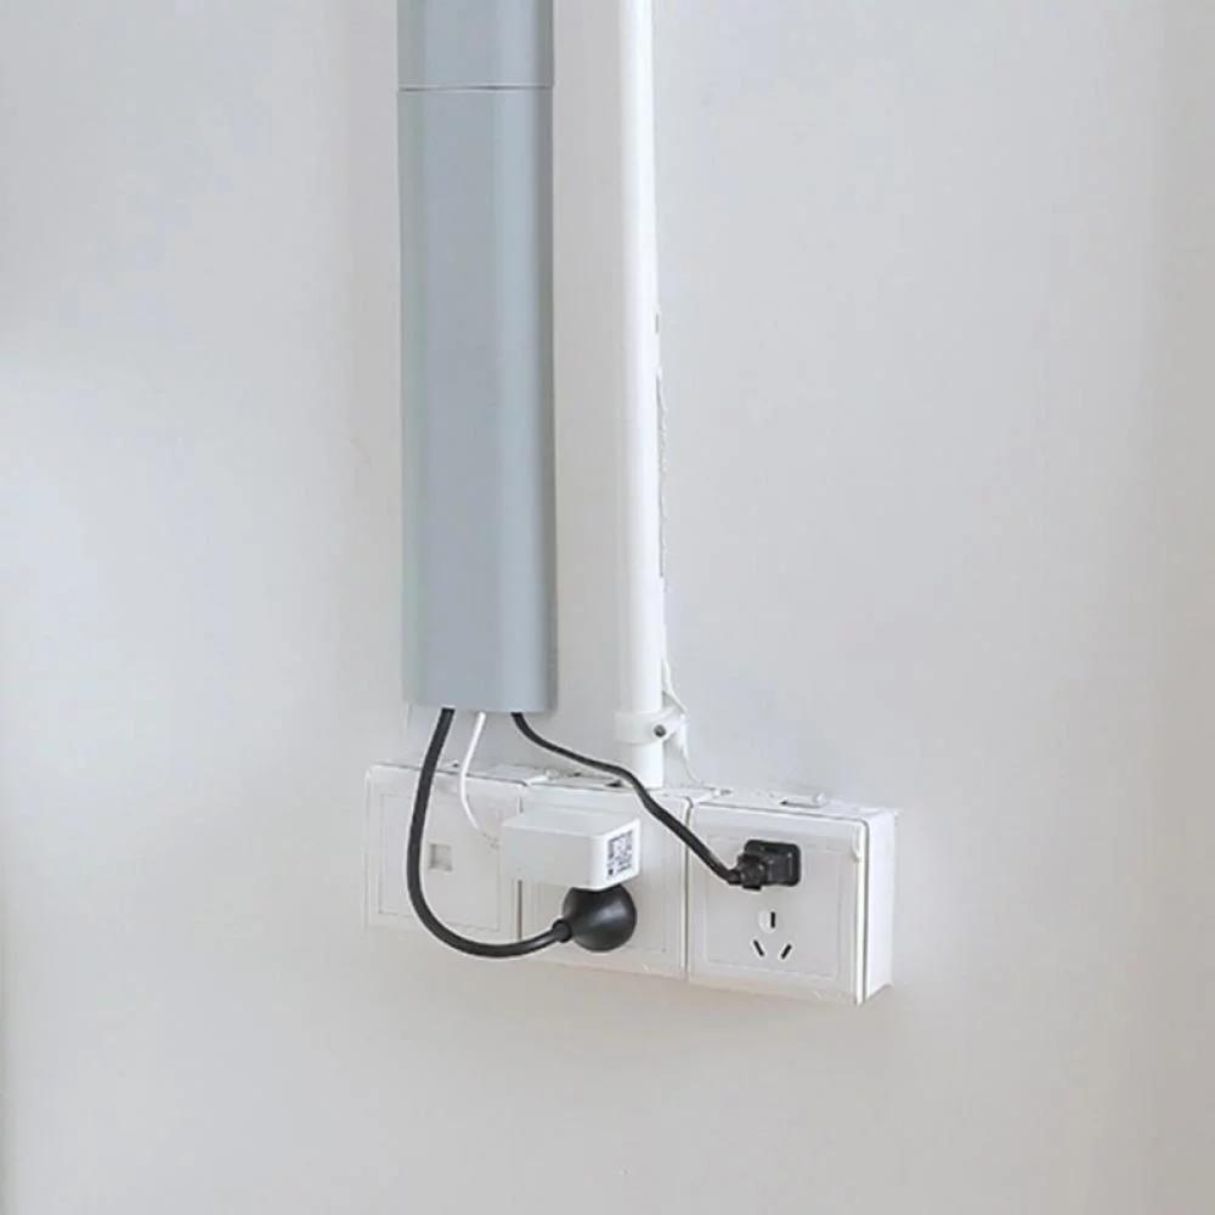
- Start by determining the location where you want to install the cord cover. Consider factors such as the proximity to power outlets and the overall aesthetics of the space.
- Clean the wall surface where you will be attaching the cord cover, ensuring it is free of dust and dirt. This will help the adhesive tape adhere better.
- If your cord cover comes with double-sided adhesive tape, peel off the backing from one side of the tape.
- Align the cord cover with the desired position on the wall and press it firmly against the surface.
- Continue to attach the cord cover along the desired path, pressing it against the wall and ensuring a secure bond with the adhesive tape.
- If your cord cover requires additional support, such as mounting brackets or wall anchors, follow the manufacturer’s instructions to properly install them.
- After attaching the cord cover, give it a gentle tug to ensure it is firmly secured to the wall. Make any necessary adjustments to ensure a clean and straight appearance.
By following these steps, you can effectively attach the Twis-Les Cord Cover to the wall, concealing and organizing your cords in a neat and tidy manner. The double-sided adhesive tape provides a quick and easy installation method, while additional support options offer added stability if needed.
When attaching a Twis-Les electrical cord cover and dangler, make sure to carefully follow the manufacturer’s instructions to ensure a secure and safe installation. Always double-check that the cover is properly secured before using the cord.
Read more: What Are Cloth Covered Electrical Cords
Step 4: Installing the Dangler for Cord Organization
With the cord cover securely attached to the wall, it’s time to install the Twis-Les Dangler, which will help you further organize and manage your cords. Follow these steps to install the dangler:
- Start by locating a suitable spot on the cord cover where you want to install the dangler. This could be at the end of the cord cover or at any point along its length, depending on your preference.
- Ensure that the area where you plan to attach the dangler is clean and free from any dust or debris. This will help the adhesive or mounting hardware adhere properly.
- If the dangler comes with adhesive backing, peel off the protective film to expose the adhesive surface.
- Align the dangler with the desired position on the cord cover and press it firmly against the surface. Ensure that it is securely attached.
- If the dangler requires additional support, such as screws or mounting brackets, follow the manufacturer’s instructions to correctly install them.
- Repeat the installation process if you want to install multiple danglers along the cord cover to hold multiple cords.
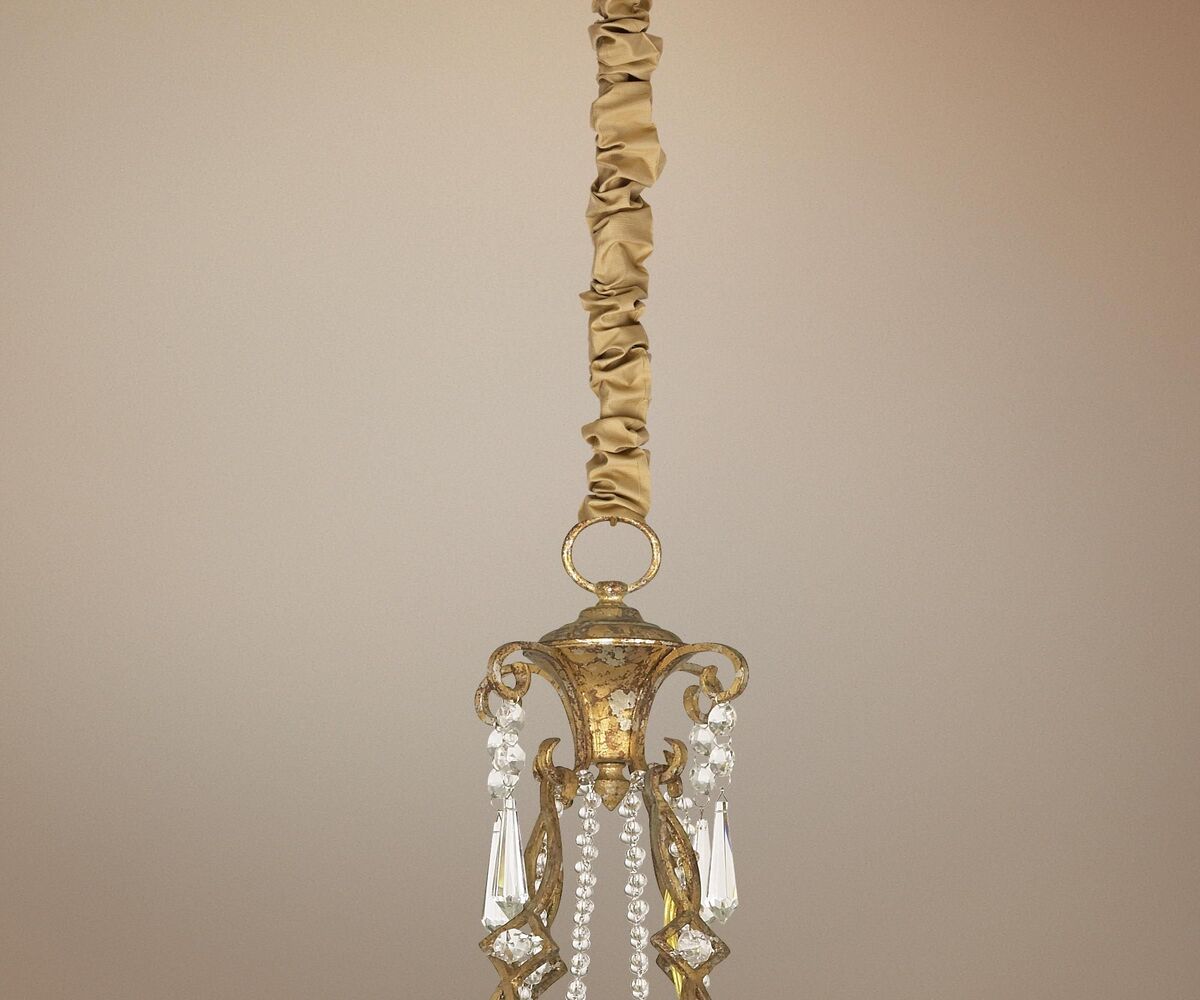
By installing the Twis-Les Dangler, you will have a convenient method to suspend and organize your cords. Whether you need to keep your charging cables off the floor or neatly manage cords behind your entertainment center, the dangler provides a sleek and practical solution.
Step 5: Securing the Cord in the Dangler
Now that the Twis-Les Dangler is securely installed on the cord cover, it’s time to secure your cords within the dangler. Follow these steps to properly secure the cords:
- Gently unplug the cord or cords that you want to secure in the dangler.
- Take the cord and guide it through the opening or loop of the dangler, ensuring that it is properly inserted.
- Continue to slide the cord through the dangler until it is held securely in place. Adjust the position of the cord if necessary to achieve the desired arrangement.
- If you are securing multiple cords, repeat the process for each cord, making sure to route them appropriately within the dangler.
- Once the cords are securely placed in the dangler, ensure that they are organized neatly and do not create any strain or tension on the cords themselves.
By securing your cords within the Twis-Les Dangler, you can prevent them from tangling or becoming tangled. This not only keeps your cords organized but also reduces the risk of accidental tripping or damage to the cords.
Step 6: Final Touches and Testing the Installation
With the installation of the Twis-Les Cord Cover and Dangler complete, it’s time for some final touches and a thorough test to ensure everything is working as intended. Follow these steps to wrap up the installation process:
- Inspect the cord cover and dangler to ensure they are securely attached to the wall and in the desired positions. Make any necessary adjustments if needed.
- Take a moment to straighten any cords within the cord cover and ensure they are neatly arranged.
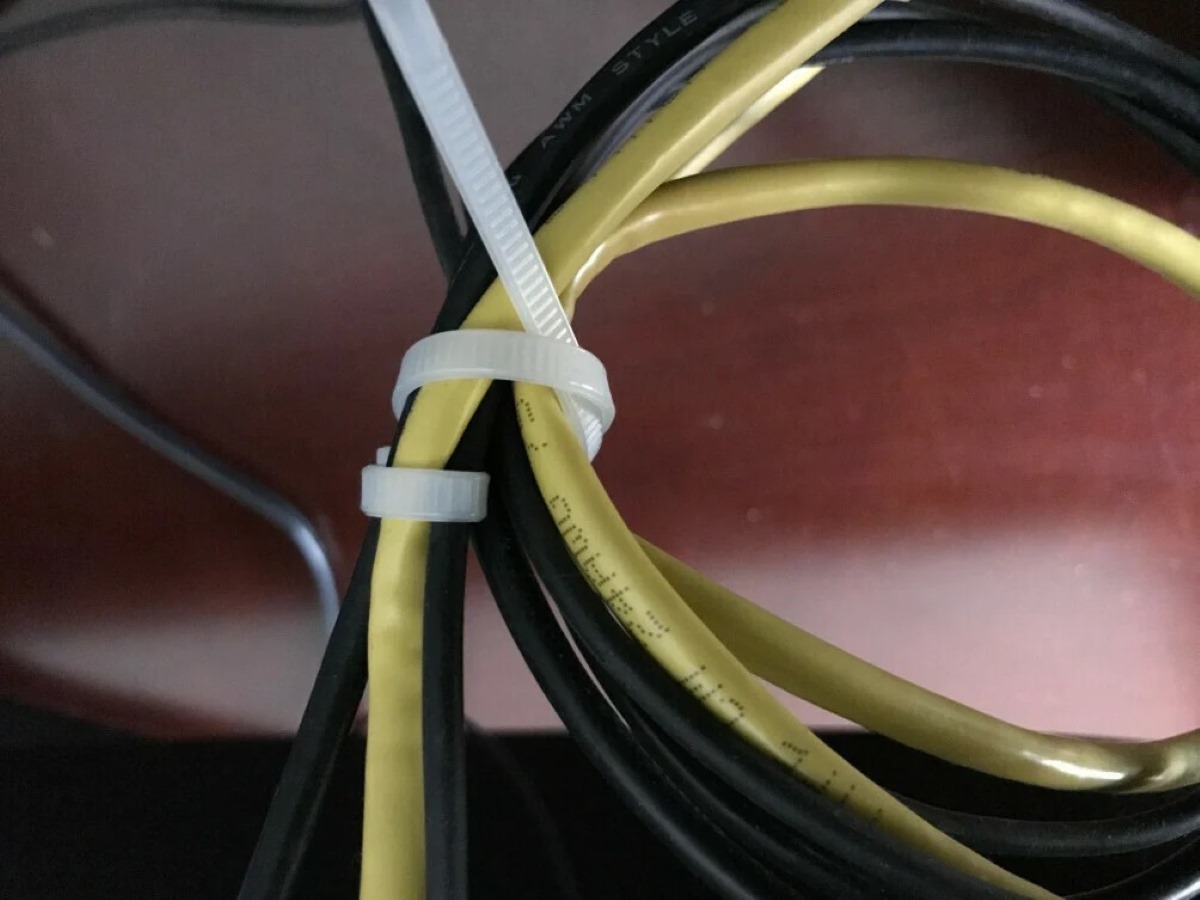
- If you notice any loose or excessively long cords, consider using cable ties or cord clips to further organize and manage them.
- Double-check all the connections to ensure the cords are properly plugged into their intended devices.
- Test the functionality of the cords by plugging them in and ensuring they provide power or data transmission as expected.
- Step back and admire your newly organized and aesthetically pleasing cord setup.
By completing these final touches and testing the installation, you can ensure that the Twis-Les Cord Cover and Dangler are effectively improving the organization and functionality of your cords. If any issues arise during the testing phase, revisit the previous steps to troubleshoot the problem.
Now, you can enjoy a clutter-free space and say goodbye to tangled cords and unsightly wires!
Tips and Safety Precautions
As you work on installing the Twis-Les Electrical Cord Cover and Dangler, keep these tips and safety precautions in mind:
- Ensure that the power is turned off and any devices are unplugged before working with electrical cords. This will help prevent electrical shocks and other potential hazards.
- Always wear safety goggles and gloves when handling tools or working with electrical cords, especially if you are dealing with live electricity.
- Carefully follow the manufacturer’s instructions for installation and use of the cord cover and dangler. This will ensure a seamless and effective installation process.
- If you are unsure about any step of the installation, consult a professional electrician for assistance.
- Regularly inspect the cord cover and dangler for any signs of wear or damage. Replace them if necessary to maintain optimal functionality and safety.
- Avoid overloading the cord cover with too many cords or using it for heavy-duty electrical equipment. Follow the manufacturer’s guidelines for maximum capacity and usage.
- Periodically clean the cord cover to prevent the build-up of dust or debris, which can affect its appearance and performance.
- Consider labeling the cords or using color-coded cable ties to easily identify specific cords for future maintenance or reconfiguration.
- Keep the area around the cord cover and dangler free from clutter and obstructions to minimize the risk of accidents or damage to the cords.
By following these tips and safety precautions, you can ensure a smooth and safe installation process, as well as maintain the longevity and effectiveness of the Twis-Les Electrical Cord Cover and Dangler.
Conclusion
In conclusion, the Twis-Les Electrical Cord Cover and Dangler provide an excellent solution for organizing and managing cords in your home or workspace. By following the step-by-step installation guide, you can easily transform a messy, tangled cord setup into a clean and organized space.
The Twis-Les Cord Cover effectively conceals your cords, preventing tangles and creating a neater appearance. The durable and flexible sleeve ensures that your cords are protected and securely contained. Additionally, the Twis-Les Dangler offers a convenient way to suspend your cords, keeping them off the ground and further enhancing the organization and safety of your space.
Throughout the installation process, remember to prioritize safety by wearing protective gear and following manufacturer’s instructions. Take the time to measure and cut the cord cover accurately, ensuring a proper fit. Attach it securely to the wall, and install the dangler at the desired location to hold and organize your cords effectively.
By incorporating the Twis-Les Electrical Cord Cover and Dangler into your cord management system, you can say goodbye to tangled cords, hazards, and unsightly wires. Enjoy a clutter-free environment that not only looks aesthetically pleasing but also promotes safety and efficiency.
Remember to periodically inspect and maintain your cord cover and dangler to ensure they are in good condition and functioning properly. Follow the provided tips and precautions to make the most of your cord management system and enjoy a well-organized space for years to come.
Embrace the convenience and functionality of the Twis-Les Electrical Cord Cover and Dangler, and take control of your cords today!
Frequently Asked Questions about How To Attach Twis-Les Electrical Cord Cover & Detangler
Was this page helpful?
At Storables.com, we guarantee accurate and reliable information. Our content, validated by Expert Board Contributors, is crafted following stringent Editorial Policies. We're committed to providing you with well-researched, expert-backed insights for all your informational needs.


0 thoughts on “How To Attach Twis-Les Electrical Cord Cover & Detangler”